

1983 928S
 06-30-2016 | 11:12 AM
#61
Developer
Joined: Dec 2001
Posts: 7,005
Likes: 60
From: Horicon, WI
The yaw and getting the angle front to back correct is a major headache.
06-30-2016 | 11:20 AM
#62
Developer
Joined: Dec 2001
Posts: 7,005
Likes: 60
From: Horicon, WI
Moose, another "trick" with headers is to give up on the two forward bolts on the lower bell housing. There are 6 short bolts that hold the lower bell housing up to the bell housing, and if the car has headers, we skip the forward two. The early lower bell housing has locating pins to keep it from shifting anyway.
06-30-2016 | 04:35 PM
#63
Rennlist Member
Joined: Mar 2002
Posts: 5,999
Likes: 286
From: Texas
You only need to loosen the header on the right side (passenger side if LHD) to swing the header out a little at the bottom to get the lower bell housing in and out. Easily done from the bottom with no steering column on that side.
No need to remove it. Just about a 1/4" on all the nuts is enough.
No need to remove it. Just about a 1/4" on all the nuts is enough.
06-30-2016 | 09:09 PM
#64
Thread Starter
Burning Brakes
Joined: May 2016
Posts: 832
Likes: 44
From: Nazareth, PA
Progress!!
Got the bell housing cover off then wrestled with getting the engine down on its mounts. The oil pan is wider than the spacing between the mounts so it kept getting hung up. Finally I got my buddy to operate the hoist while I was under with a long crow bar and shoe-horned it in place.
Then the next thing was lining up the bell housing to torque tube housing. This was done by a combination of hoisting the engine slightly, jacking the TT housing, and guiding things with a crow bar. Pretty happy to get that done on a weeknight.
Now the only thing is the TT and intermediate shaft do not line up perfectly so I will have to loosen the clutch bolts to line things up perfect.
Now I have to study some of the clutch guides to make sure it is adjusted correctly before I reinstall the bell housing cover and tighten up the exhaust because it would be a real bummer to find out the clutch is dragging after I'm 100% done.
07-01-2016 | 02:57 PM
#66
Developer
Joined: Dec 2001
Posts: 7,005
Likes: 60
From: Horicon, WI
We do that as often as possible. On MT cars, we put the clutch on the flywheel and the bell housing on the back of the motor while its swinging from the chains, last thing before the motor goes in. Release fork and guide tube too. Works well, saves time.
07-01-2016 | 03:48 PM
#67
Thread Starter
Burning Brakes
Joined: May 2016
Posts: 832
Likes: 44
From: Nazareth, PA
Upon further thought, I think if I operate the clutch release lever that should relieve pressure within the clutch pack to be able to adjust the intermediate shaft angle?
Also, when it comes to installing the lower ball joints, how should I orient the eccentrics to get me in the ball park?
07-01-2016 | 04:29 PM
#69
Rennlist Member
Joined: Mar 2002
Posts: 5,999
Likes: 286
From: Texas
07-01-2016 | 06:03 PM
#70
Thread Starter
Burning Brakes
Joined: May 2016
Posts: 832
Likes: 44
From: Nazareth, PA
Update: Operating the clutch release lever allows you to manipulate the intermediate 'stub' shaft. I have got the coupler on now

Last edited by Majestic Moose; 07-01-2016 at 08:01 PM.
07-03-2016 | 09:58 AM
#71
Thread Starter
Burning Brakes
Joined: May 2016
Posts: 832
Likes: 44
From: Nazareth, PA
Alright so there is a reason NOT to install the clutch before you mount the engine to the TT. This leaves a frustratingly small amount of access for the two top bell housing to TT housing bolts. I had to undo the TT coupler and slide it back, tighten the bolts tediously with my finger tips till I could get a ratchet and socket up there and could only turn it slightly so that the ratchet wouldn't even click once. Anyway, got it done.
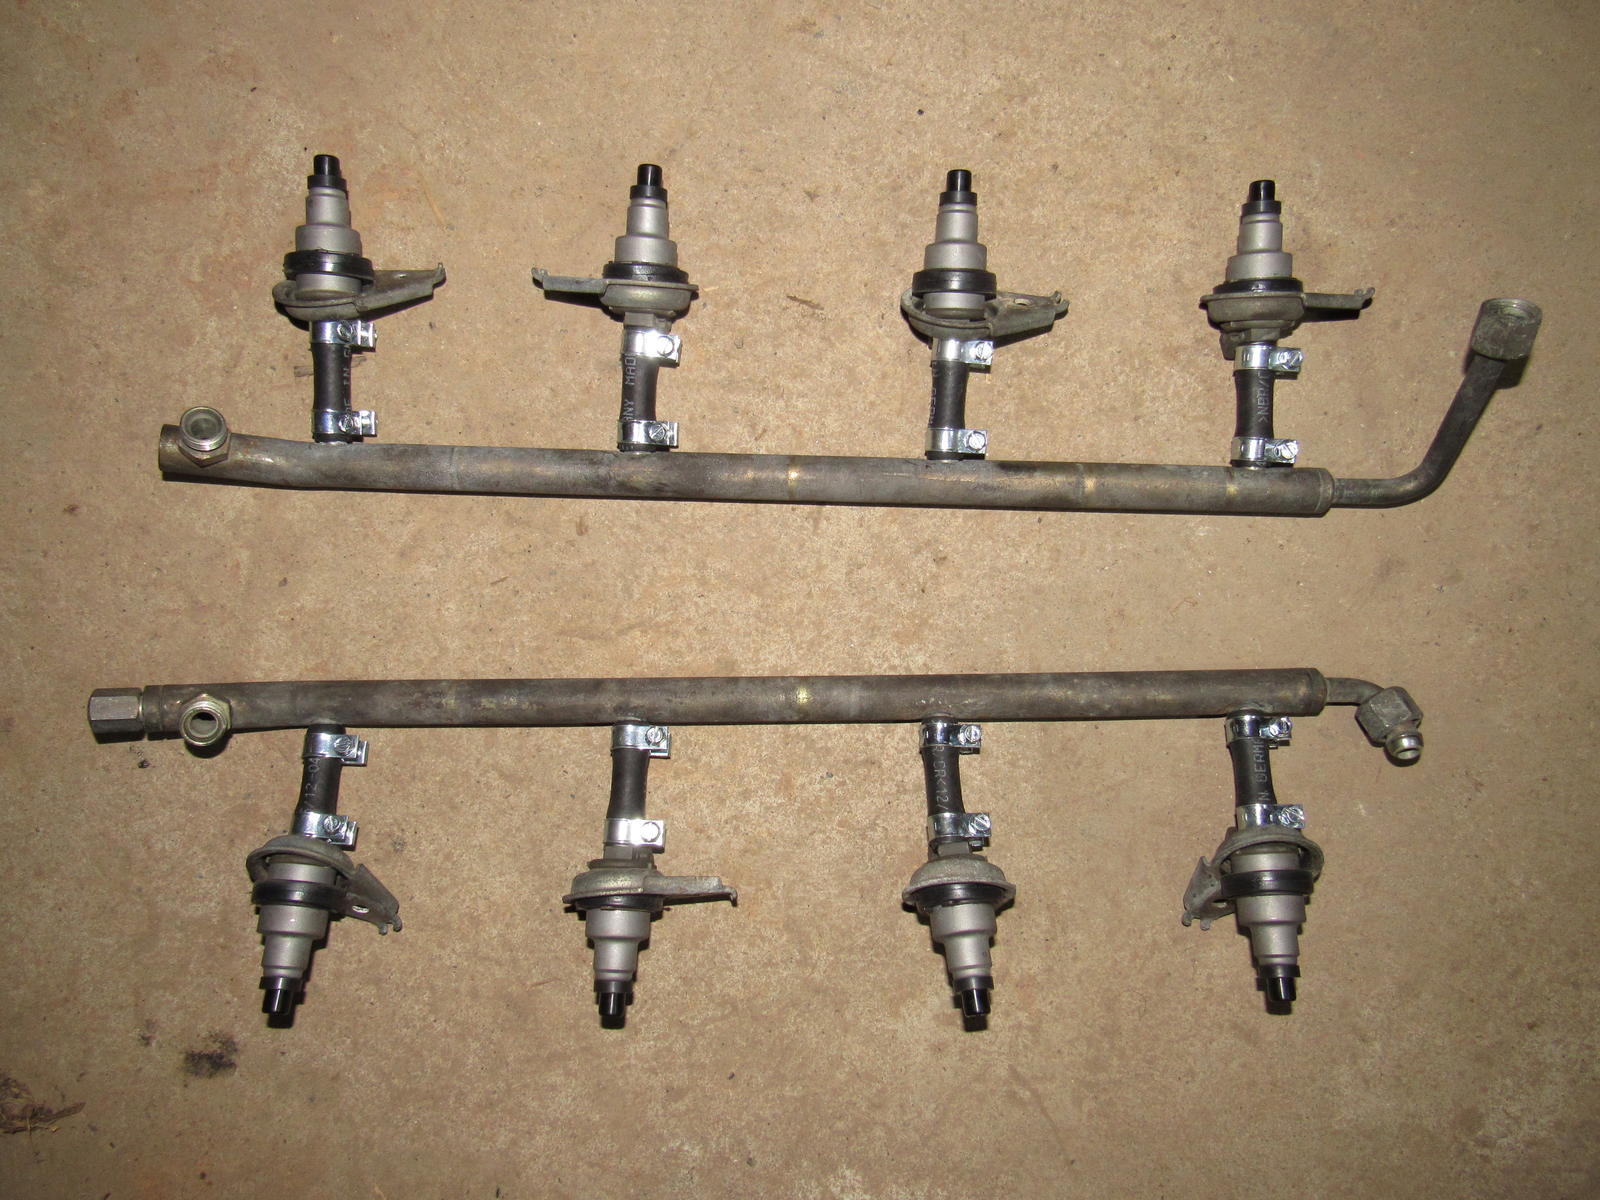
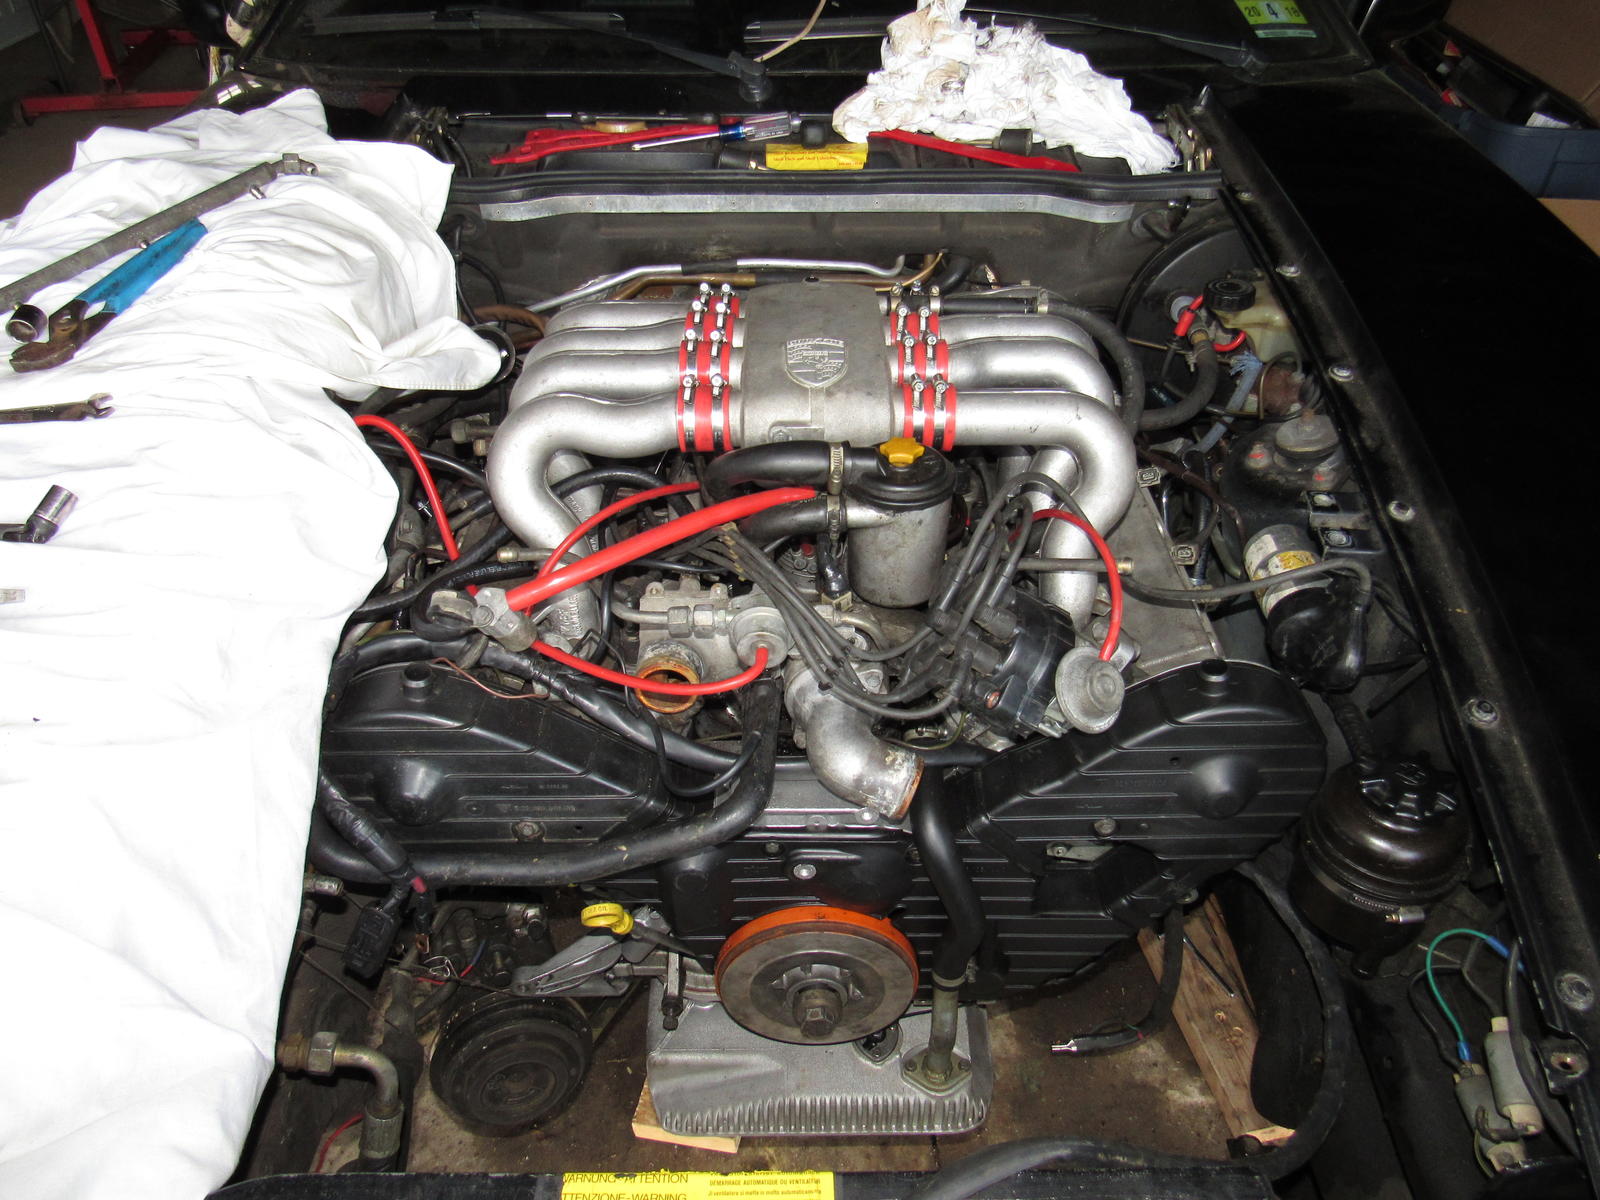
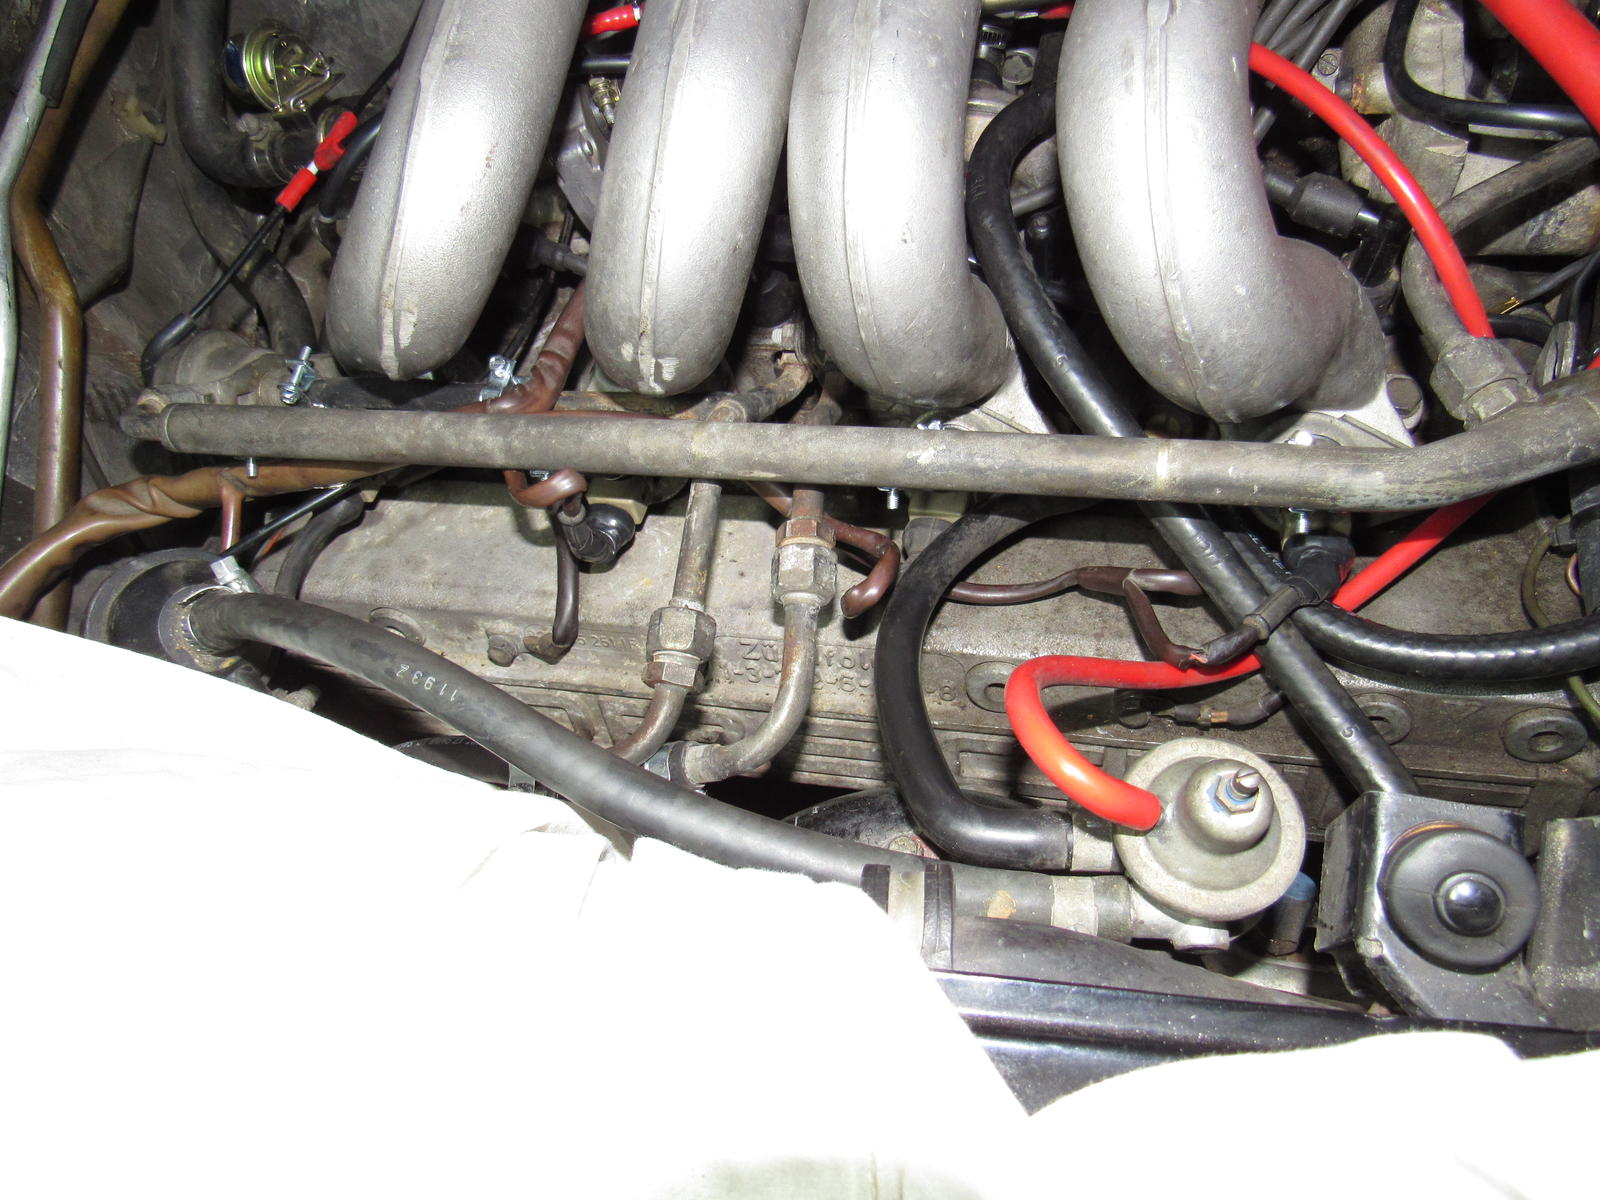
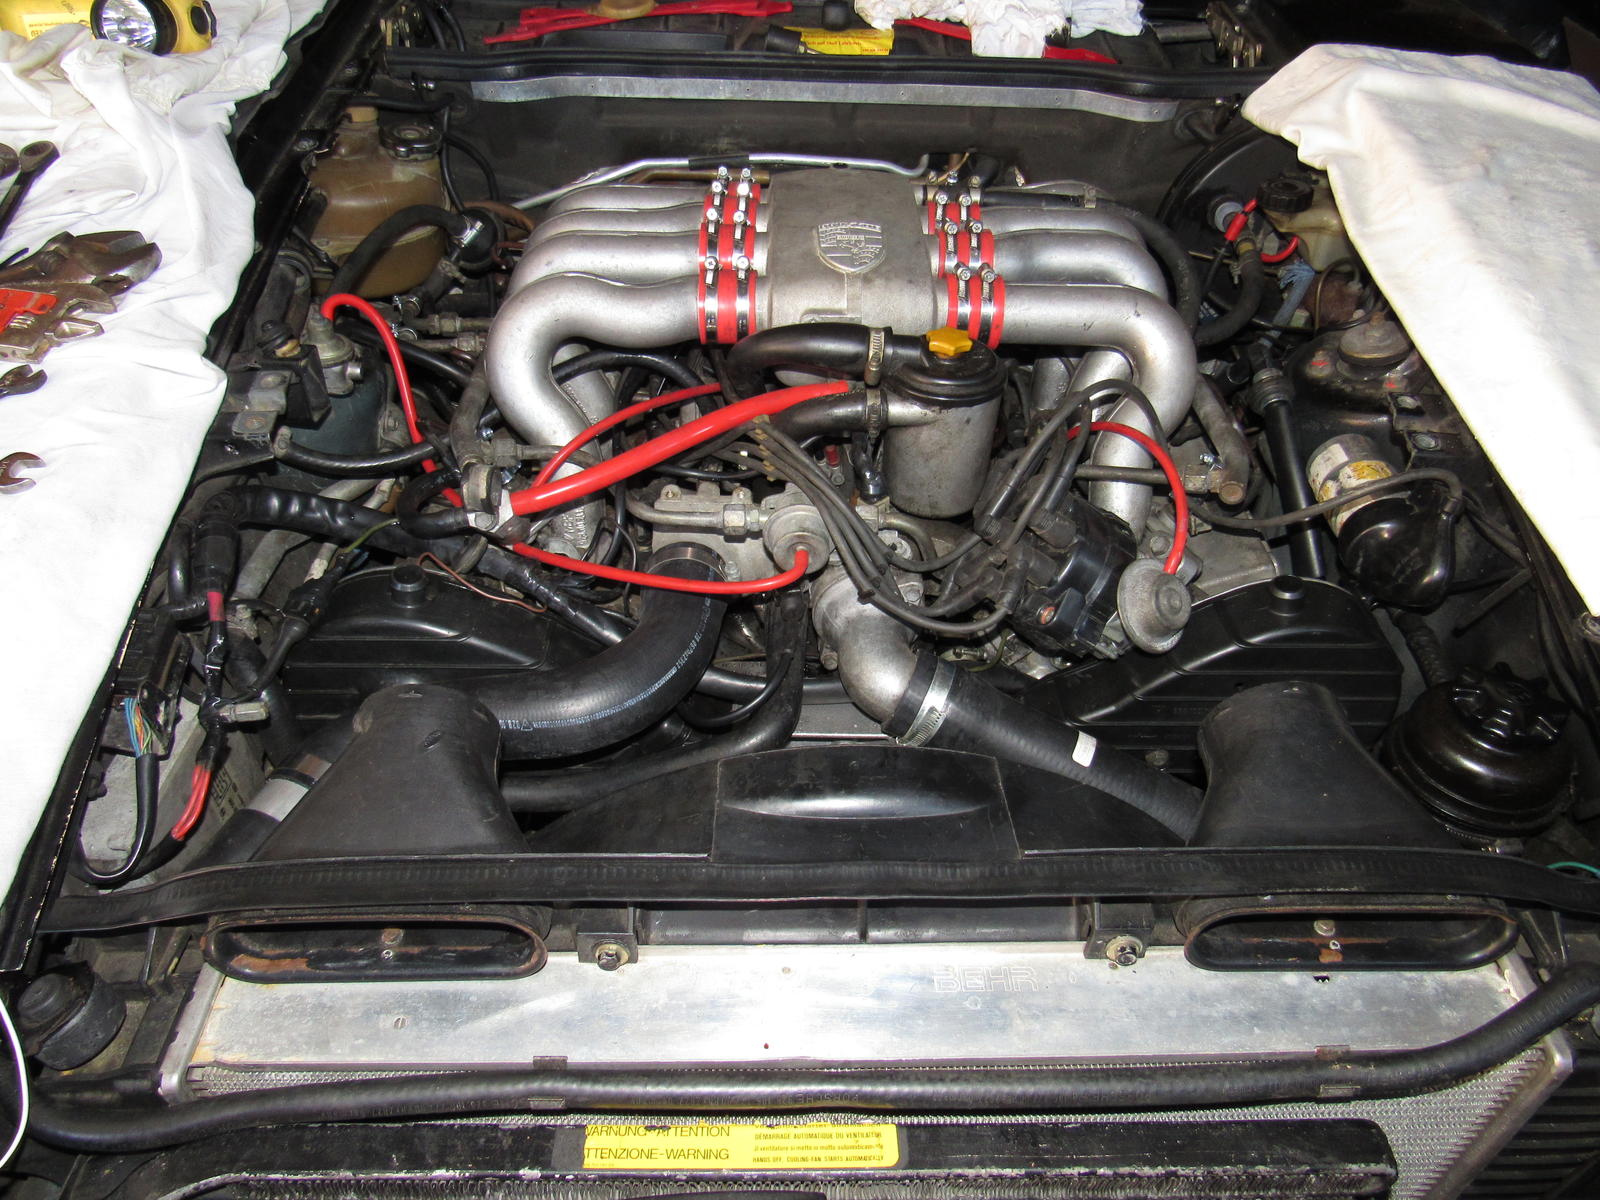
I have re-epoxied the upper ball joints and they seem to have hardened up properly. After spending all that time under the car I had to do something in an upright position for a change. I installed the intake and fuel system.
What is holding me up right now is that the headers are resting on and crushing the engine mount heat shields. I believe I should have removed them but it is late for that.
My posts have been heavy on words and light on photos so here you go.
Last edited by Majestic Moose; 07-08-2017 at 12:41 AM.
07-04-2016 | 10:02 AM
#72
Thread Starter
Burning Brakes
Joined: May 2016
Posts: 832
Likes: 44
From: Nazareth, PA
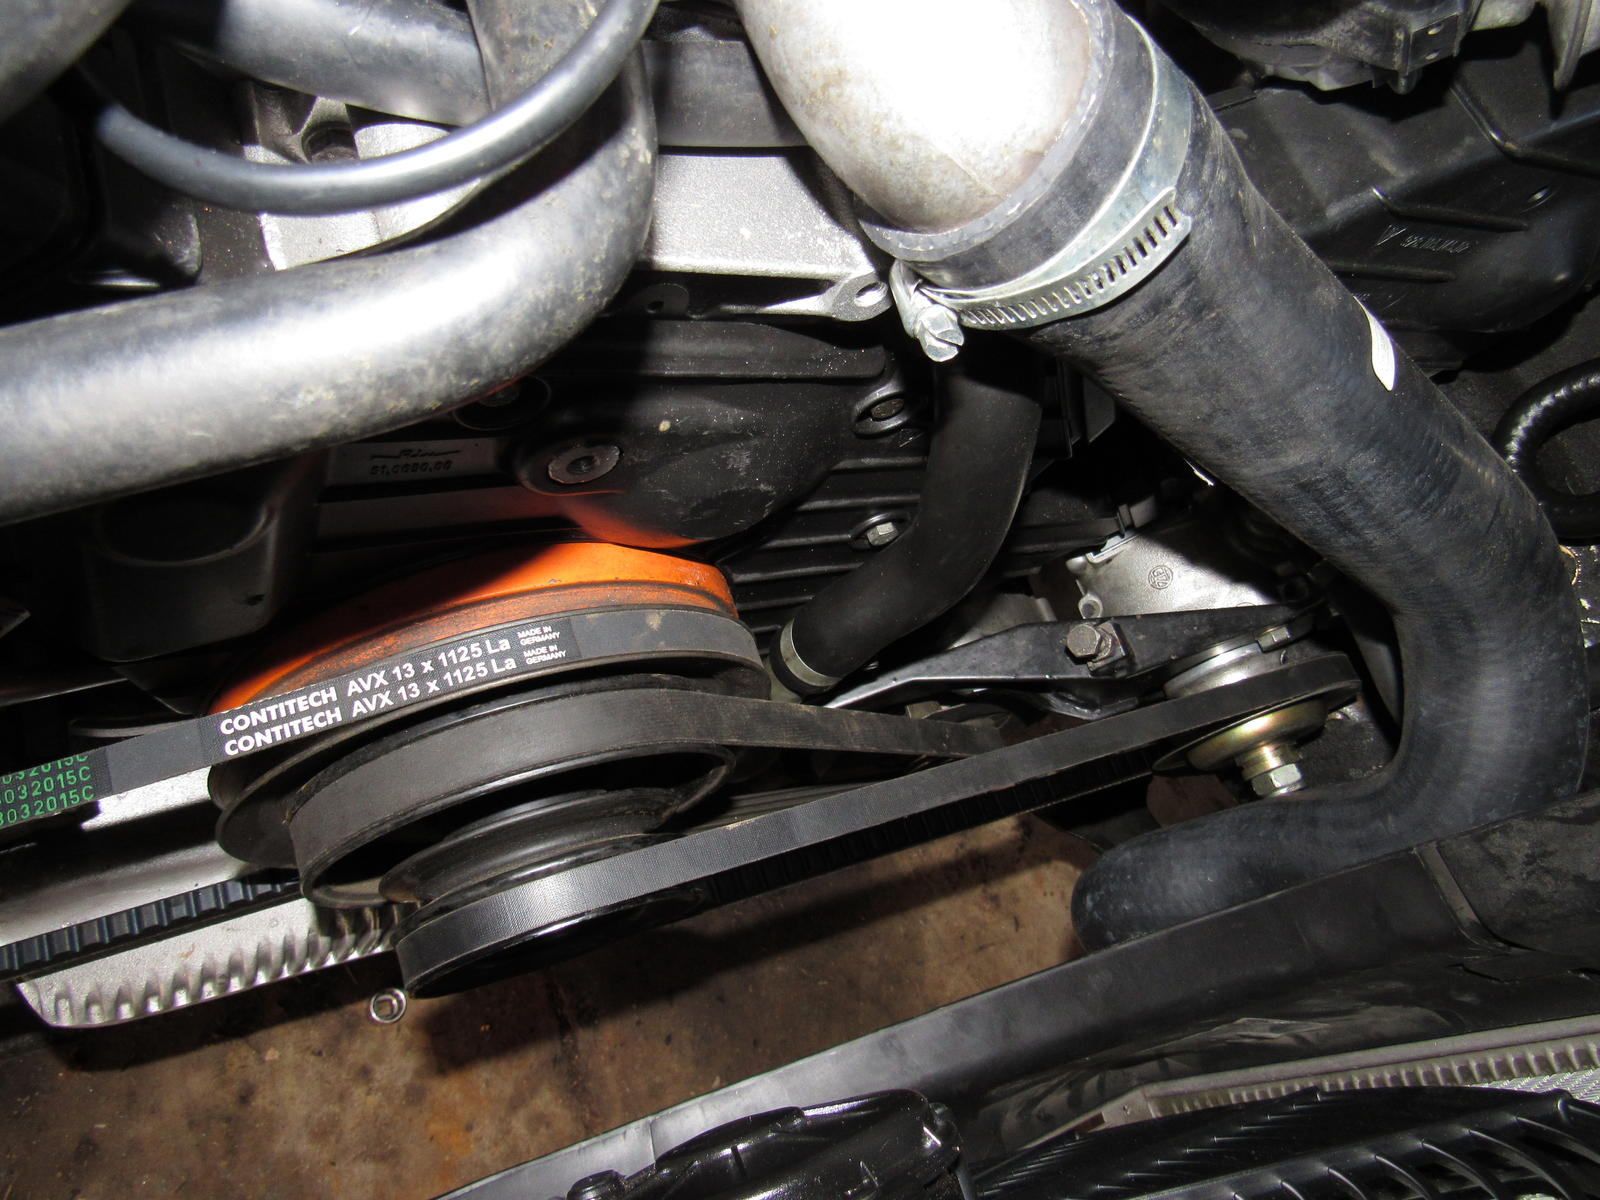
So another full day of activity yesterday. Turns out it wasn't too late to remove the engine mount heat shields, the two 10mm bolts are accessible from the front. I'll figure out something later for heat shielding, some kind of wrap. I mounted the AC, alternator, and power steering pump. I had to reuse my old alt belt, it has 5 ribs and a bit longer than the one I received.
Then I installed the radiator with new rubber mounts, electric fan, and coolant hoses. On the bottom I mounted the clutch slave cylinder and starter. That top starter bolt was another battle, took me a solid hour for that. Probably one of those allen keys you can use on an angle would have helped a lot.
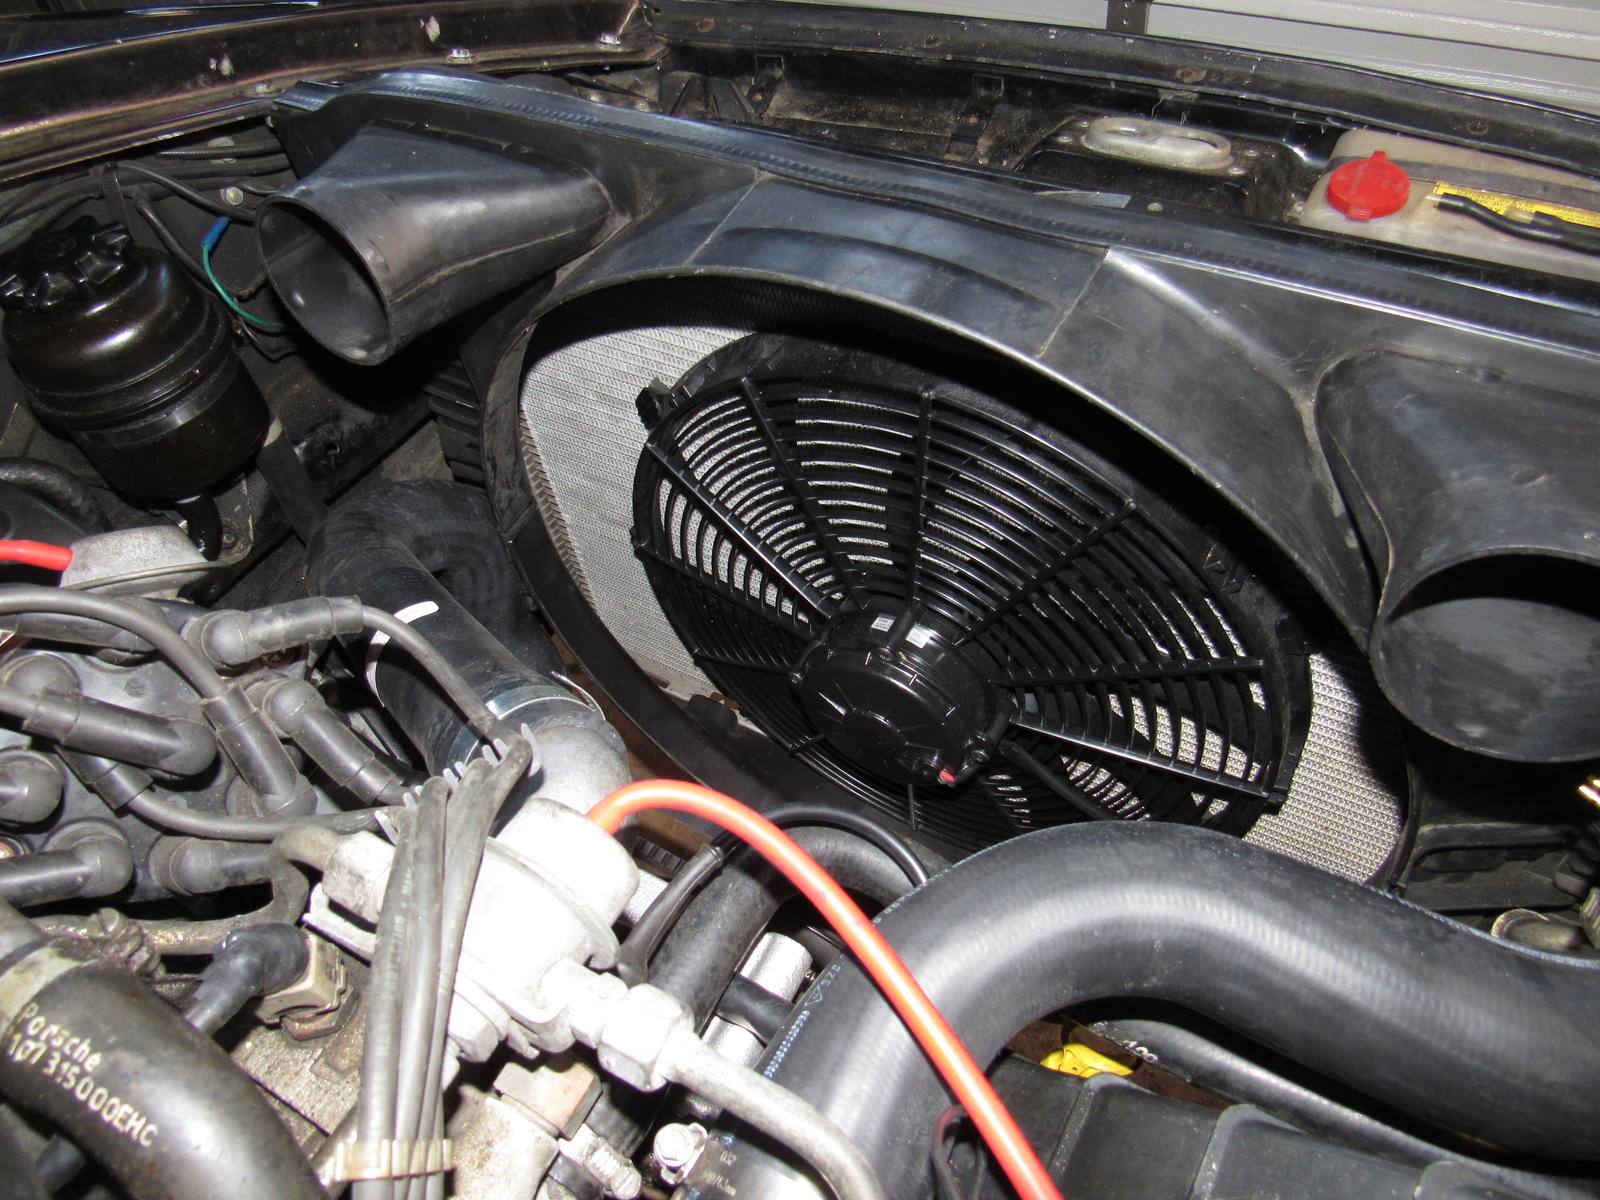
After all that, I filled all fluids, and connected the battery. I wanted to turn over the engine with the fuel cut to prime the oil pump. I turned it over no problem about 4-5 seconds, paused about 20 seconds then tried again and got a click and nothing. I can't get it to turn now. Battery is a couple months old with voltage at 12.4v and starter was replaced recently. I even hooked up a battery booster to see if it made a difference but no. I tapped the starter with a hammer too.
I'm a bit perplexed. The starter cranked just fine my first attempt and with authority. I hear the starter solenoid make its 'thunk' sound and the interior lights dim slightly like normal. I can turn over the engine by hand no problem so nothing is seized. All electrical connections are clean and tight. Any ideas?
Then I installed the radiator with new rubber mounts, electric fan, and coolant hoses. On the bottom I mounted the clutch slave cylinder and starter. That top starter bolt was another battle, took me a solid hour for that. Probably one of those allen keys you can use on an angle would have helped a lot.
After all that, I filled all fluids, and connected the battery. I wanted to turn over the engine with the fuel cut to prime the oil pump. I turned it over no problem about 4-5 seconds, paused about 20 seconds then tried again and got a click and nothing. I can't get it to turn now. Battery is a couple months old with voltage at 12.4v and starter was replaced recently. I even hooked up a battery booster to see if it made a difference but no. I tapped the starter with a hammer too.
I'm a bit perplexed. The starter cranked just fine my first attempt and with authority. I hear the starter solenoid make its 'thunk' sound and the interior lights dim slightly like normal. I can turn over the engine by hand no problem so nothing is seized. All electrical connections are clean and tight. Any ideas?
Last edited by Majestic Moose; 07-08-2017 at 12:47 AM.
07-04-2016 | 12:43 PM
#73

Rennlist Member
Joined: Oct 2004
Posts: 2,210
Likes: 6
From: Y-Bridge City, Zanesville, Ohio
... After all that, I filled all fluids, and connected the battery. I wanted to turn over the engine with the fuel cut to prime the oil pump. I turned it over no problem about 4-5 seconds, paused about 20 seconds then tried again and got a click and nothing. I can't get it to turn now. Battery is a couple months old with voltage at 12.4v and starter was replaced recently. I even hooked up a battery booster to see if it made a difference but no. I tapped the starter with a hammer too.
I'm a bit perplexed. The starter cranked just fine my first attempt and with authority. I hear the starter solenoid make its 'thunk' sound and the interior lights dim slightly like normal. I can turn over the engine by hand no problem so nothing is seized. All electrical connections are clean and tight. Any ideas? ...
I'm a bit perplexed. The starter cranked just fine my first attempt and with authority. I hear the starter solenoid make its 'thunk' sound and the interior lights dim slightly like normal. I can turn over the engine by hand no problem so nothing is seized. All electrical connections are clean and tight. Any ideas? ...
07-04-2016 | 01:41 PM
#74
Thread Starter
Burning Brakes
Joined: May 2016
Posts: 832
Likes: 44
From: Nazareth, PA
Anything is possible. There is a hot power post on the solenoid then a small white and black wire. Which of these could I jump directly to spin the starter?
Another thought is that maybe the starter gear is not meshing correctly with the starter ring? The starter feels that it is seated properly and tight but I will get a better tool to tighten the top bolt. I'm taking a couple days rest though. Not discouraged, just have to take care of some things I've neglected lately - like the grass getting pretty tall
Another thought is that maybe the starter gear is not meshing correctly with the starter ring? The starter feels that it is seated properly and tight but I will get a better tool to tighten the top bolt. I'm taking a couple days rest though. Not discouraged, just have to take care of some things I've neglected lately - like the grass getting pretty tall
07-06-2016 | 08:35 PM
#75
Thread Starter
Burning Brakes
Joined: May 2016
Posts: 832
Likes: 44
From: Nazareth, PA
OK so I have played around some more with no success then faced my fears and decided to remove the starter. So after an hour and a blistered finger tip I got it down and left the wiring connected. I turned the ignition and it does nothing nor spin freely as I thought it would. This leads me to believe that the starter is grounded through its mounting flange and bolts..? And if so, my problem could simply be that there is some oil residue creating resistance?
I will have the starter tested at any rate.
Update: I cleaned up surfaces and bolts and reinstalled the starter, it took me about 30 seconds to spin that top bolt in without anti-seize. No difference in results. Measured voltage between hot post on solenoid to mounting bracket: 12.7v, resistance between starter and bracket: .6 ohms.
Last edited by Majestic Moose; 07-06-2016 at 10:41 PM.