Let's Make a Radical Custom 928
#91
Rennlist Member
Thread Starter
I have the space cleared finally with just a few things still floating around that will be pushed aside for the project. I find it amazing how so much stuff can accumulate when you are not watching and trying to stay ahead of it.
The next task is to fabricate a sort of carriage to put one 928 stripped out tub on to move it out of the way outside in front of the garage door. Then the Red rolling tub that is going to get the treatments will be moved inside. If it doesn't snow this weekend, or before the weekend, I'll get that done and can then get the car set up where the work can start.
The first task is going to be to remove the windshield.
#93
Rennlist Member
Thread Starter
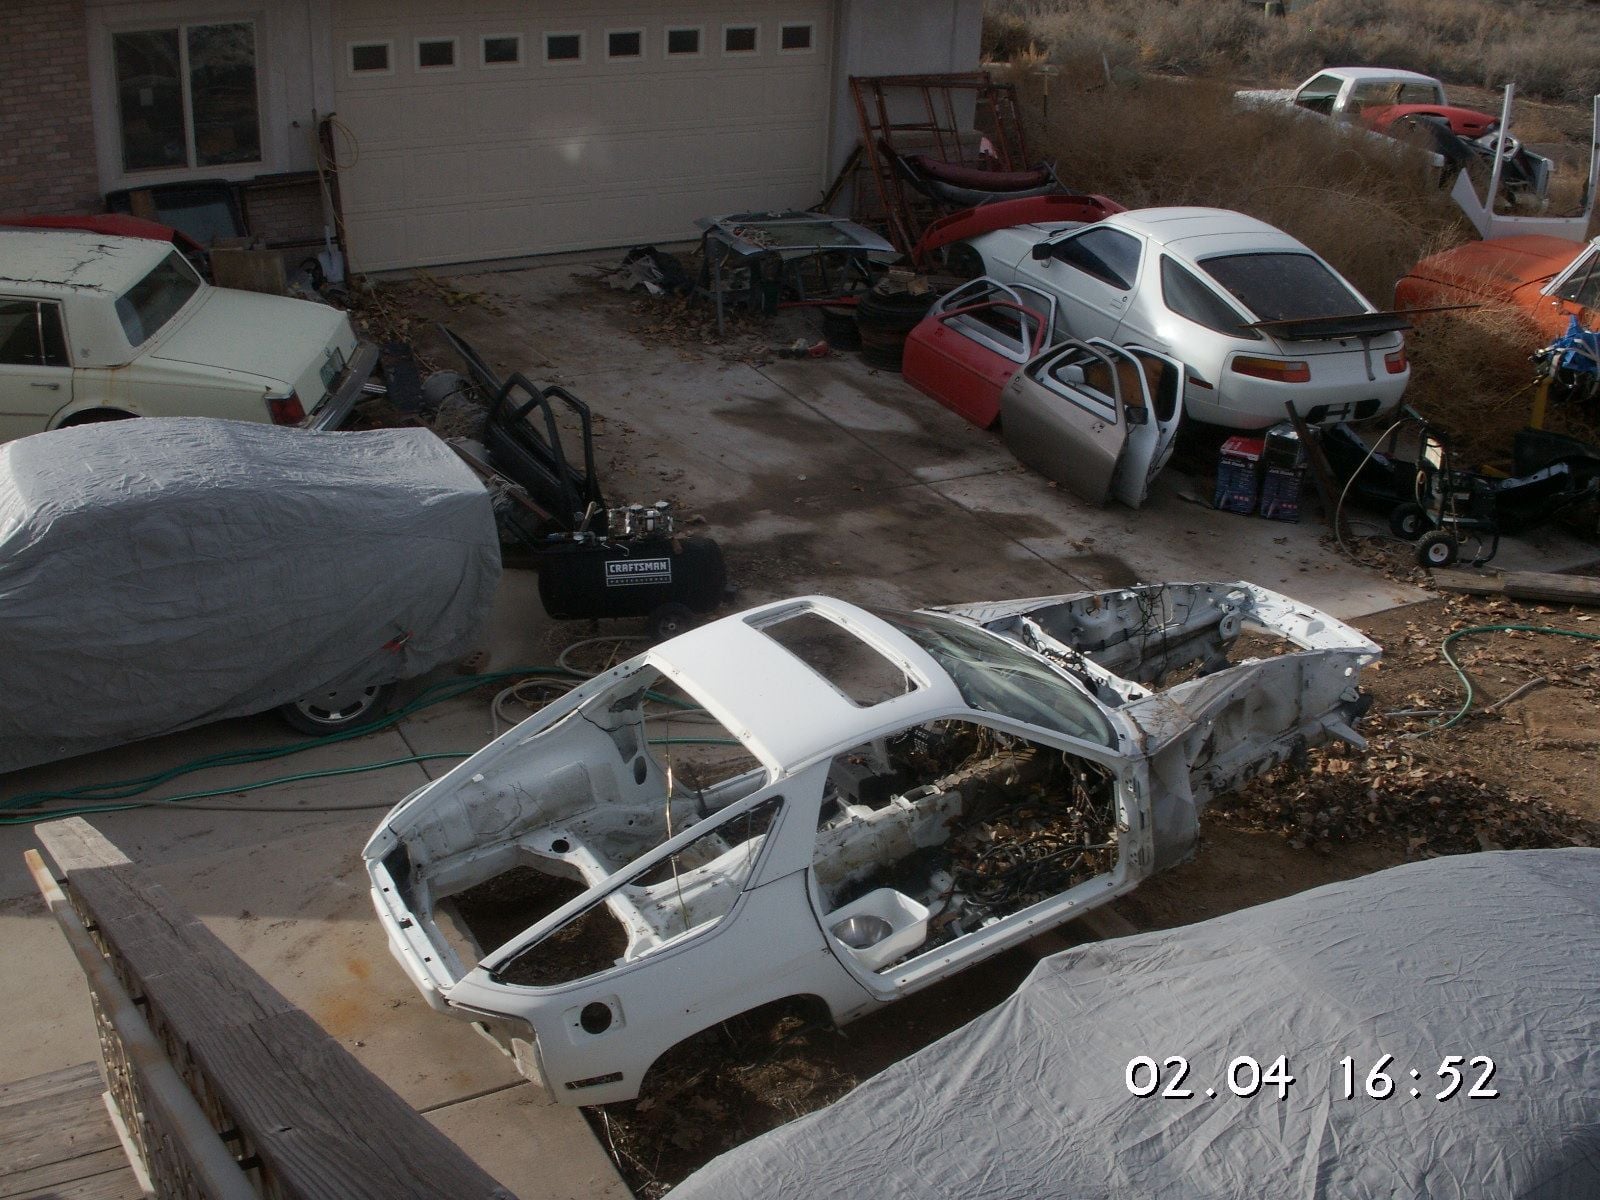
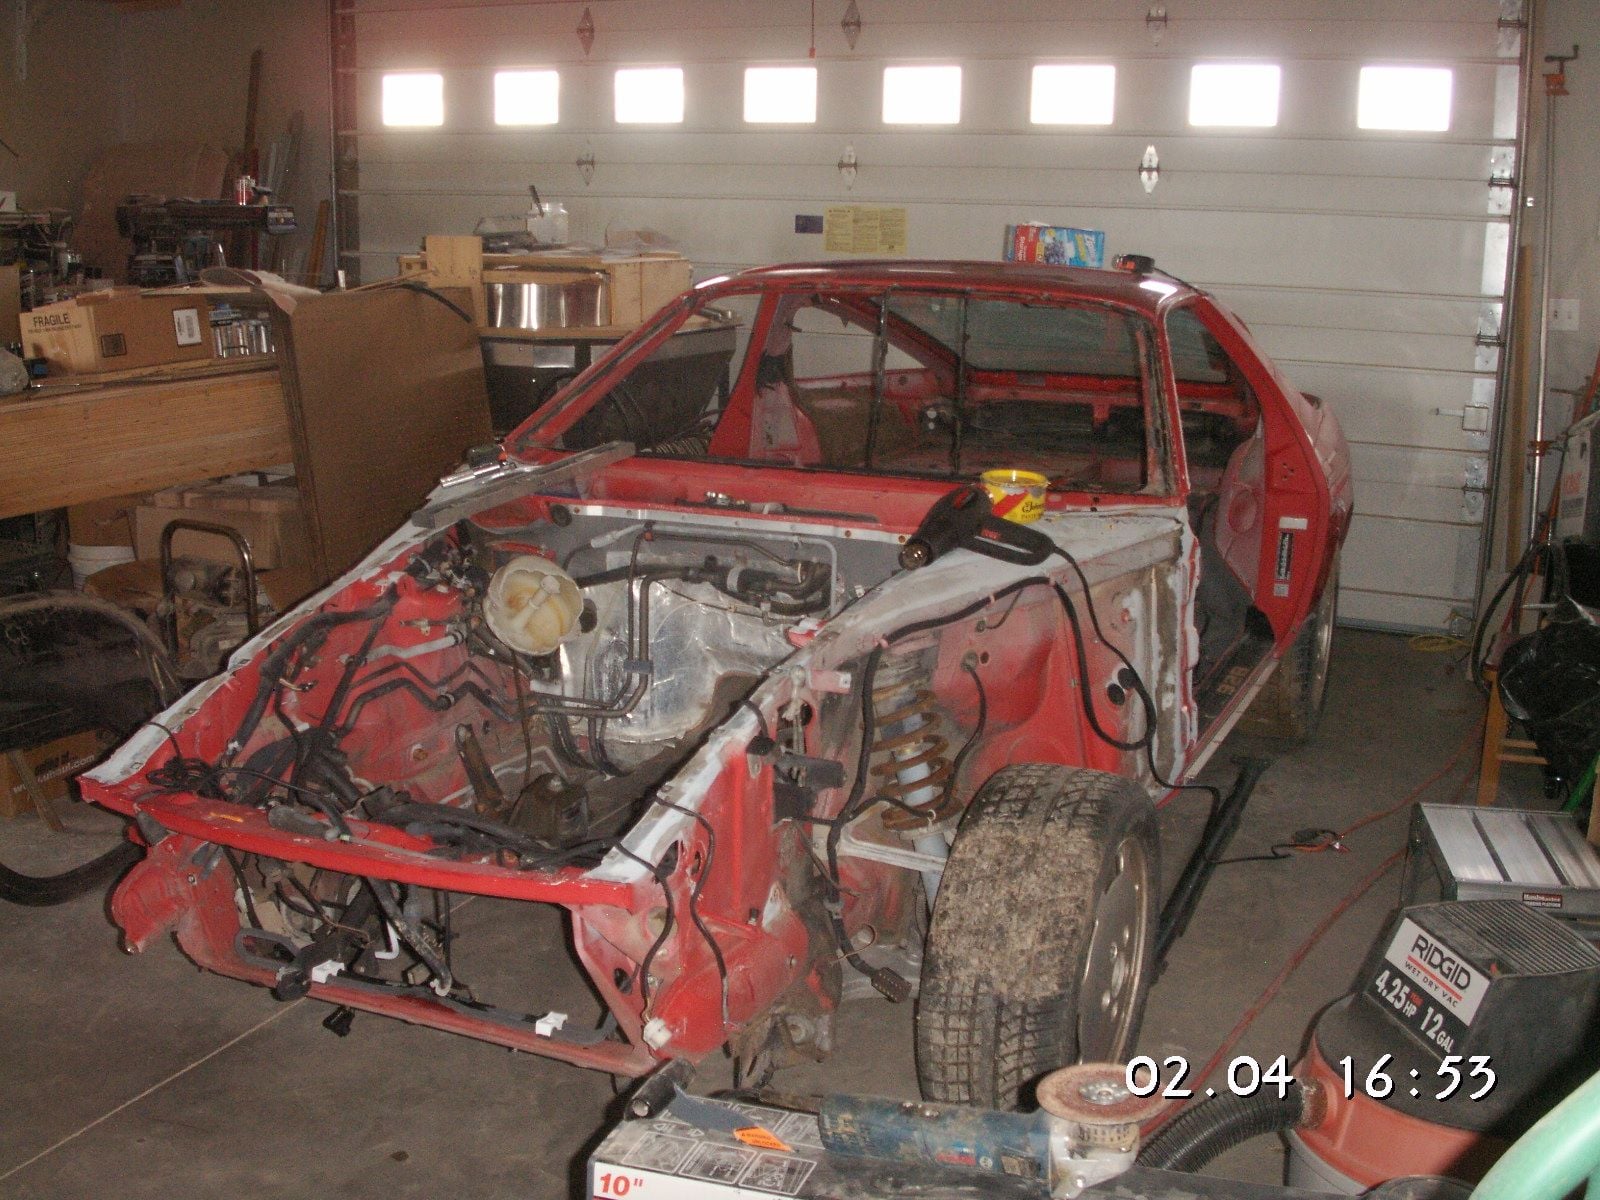
Finally I have space in the shop and have figured out how to move the tubs around to get the right one inside. The red one I'm going to start cutting on was where the white tub is now. Then I moved it out of the way and devised a sort of carriage to move the white one out of the way. My son, Tim, came over and he and his wife and I got them moved.
Then I started on the red one. I first took the Windshield out, and broke it of course. Boy are those fragile when it comes to any flex. Next I'll jack it up and block it level so I can verify my angle and length of cut measurements. Then I'll remove the unnecessary structure out of the inside of the roof and then put in a temporary structure to hold it in place while it is cut apart. I have some drive train and all the running gear to remove also. When setting out to do something, something else must be done first.
Last edited by Jerry Feather; 05-04-2018 at 11:09 AM.
#94
Rennlist Member
Thread Starter
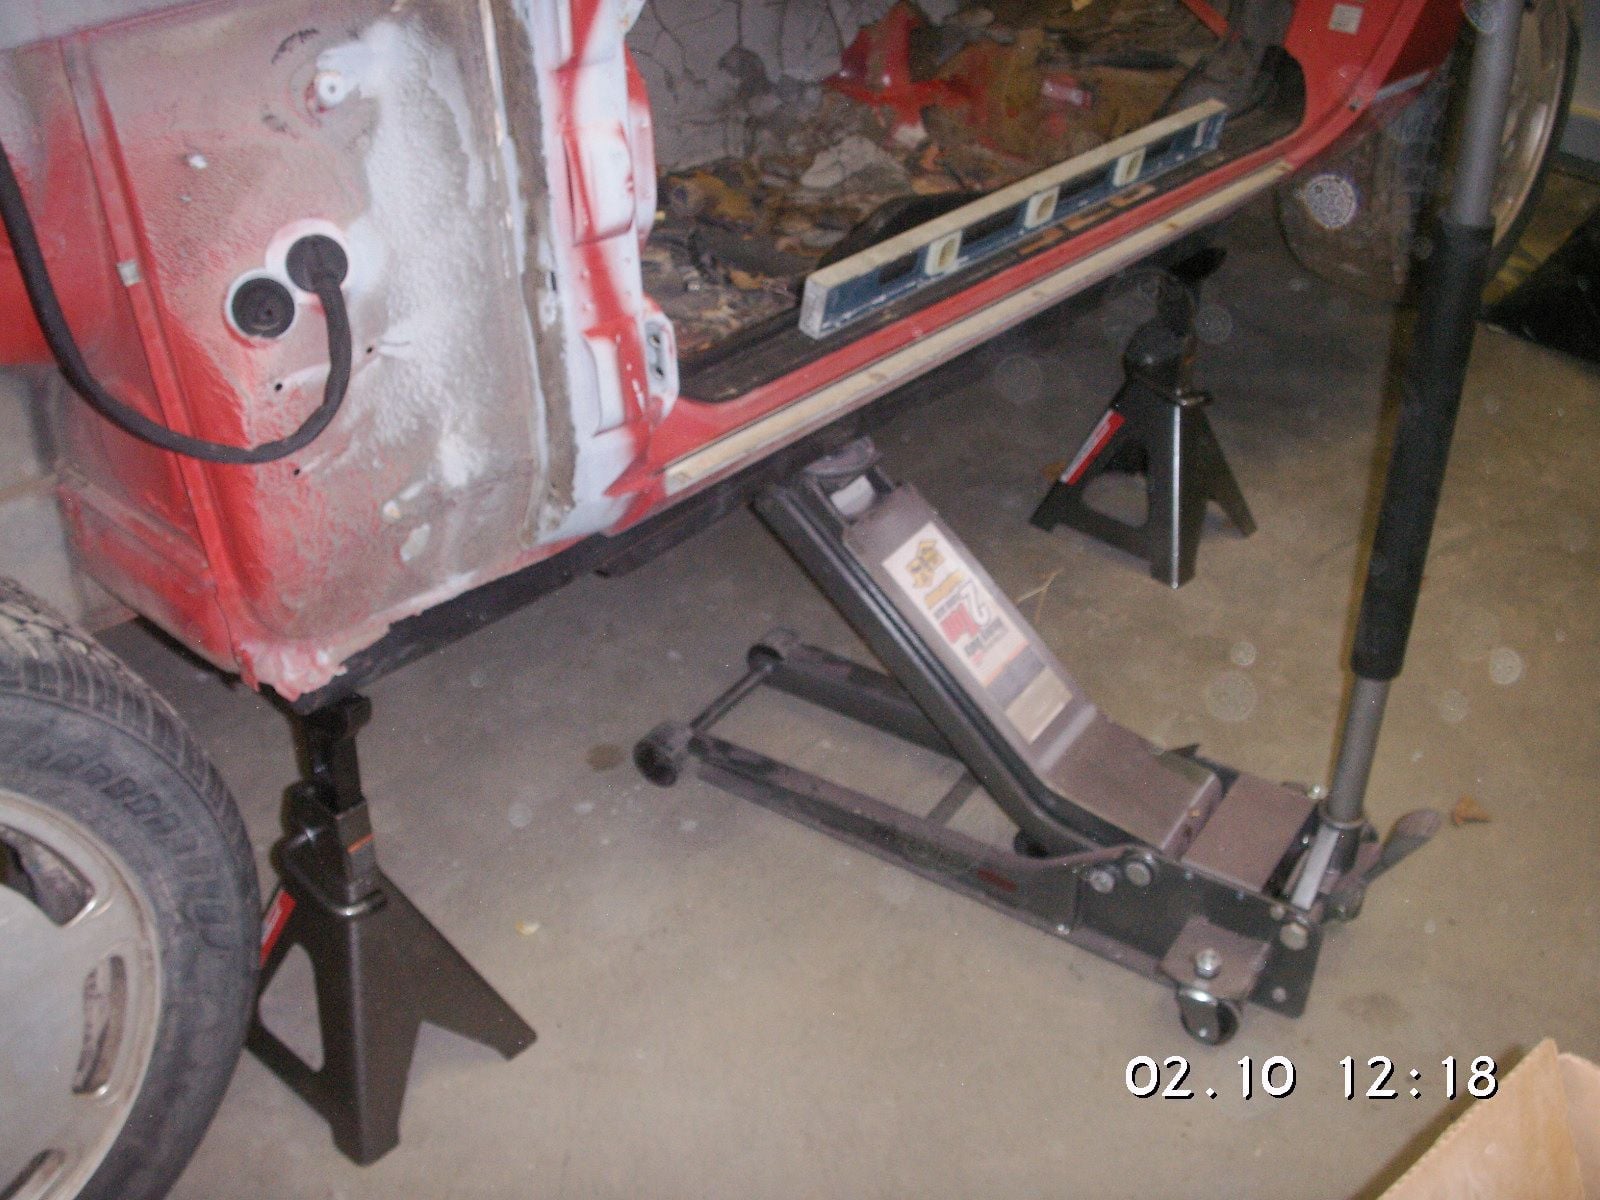
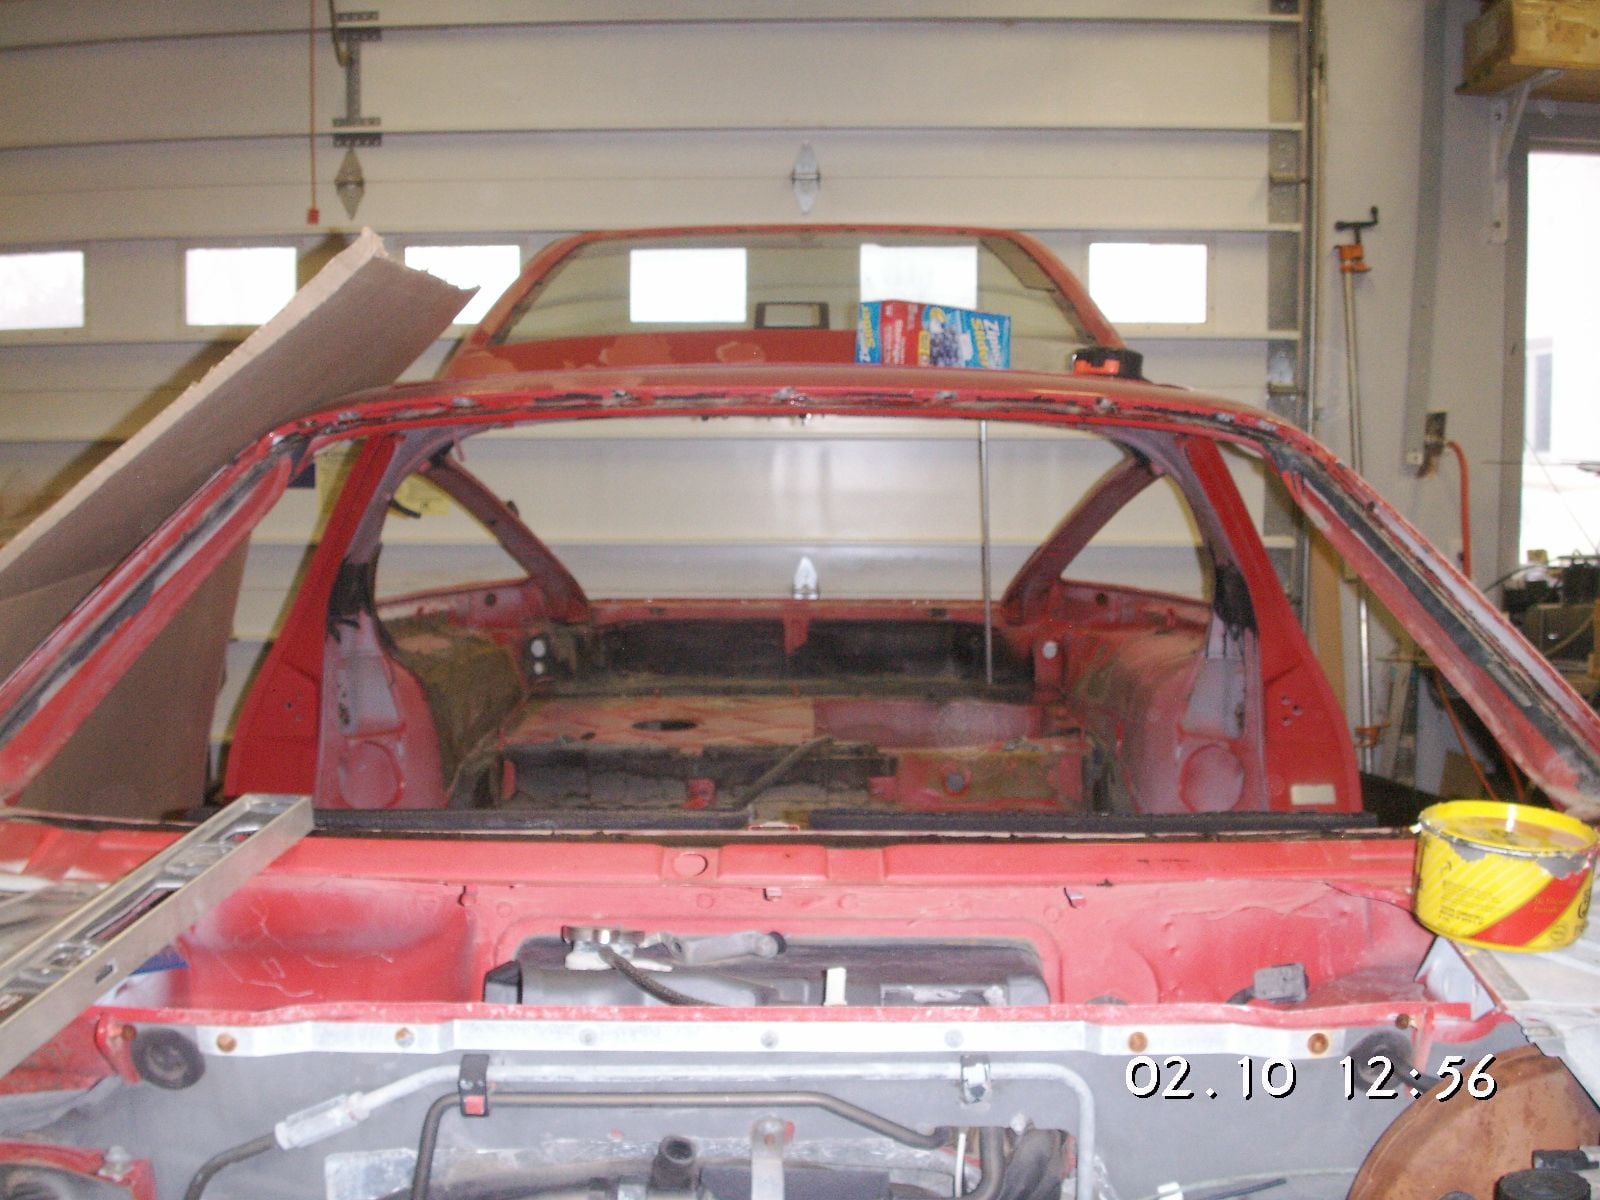
Today I got it jacked up and level. or very nearly so. Front to back it is within about an eighth of an inch to level and just about dead on side to side, based on the view out the back an in comparison to my garage door.
#95
Rennlist Member
Thread Starter
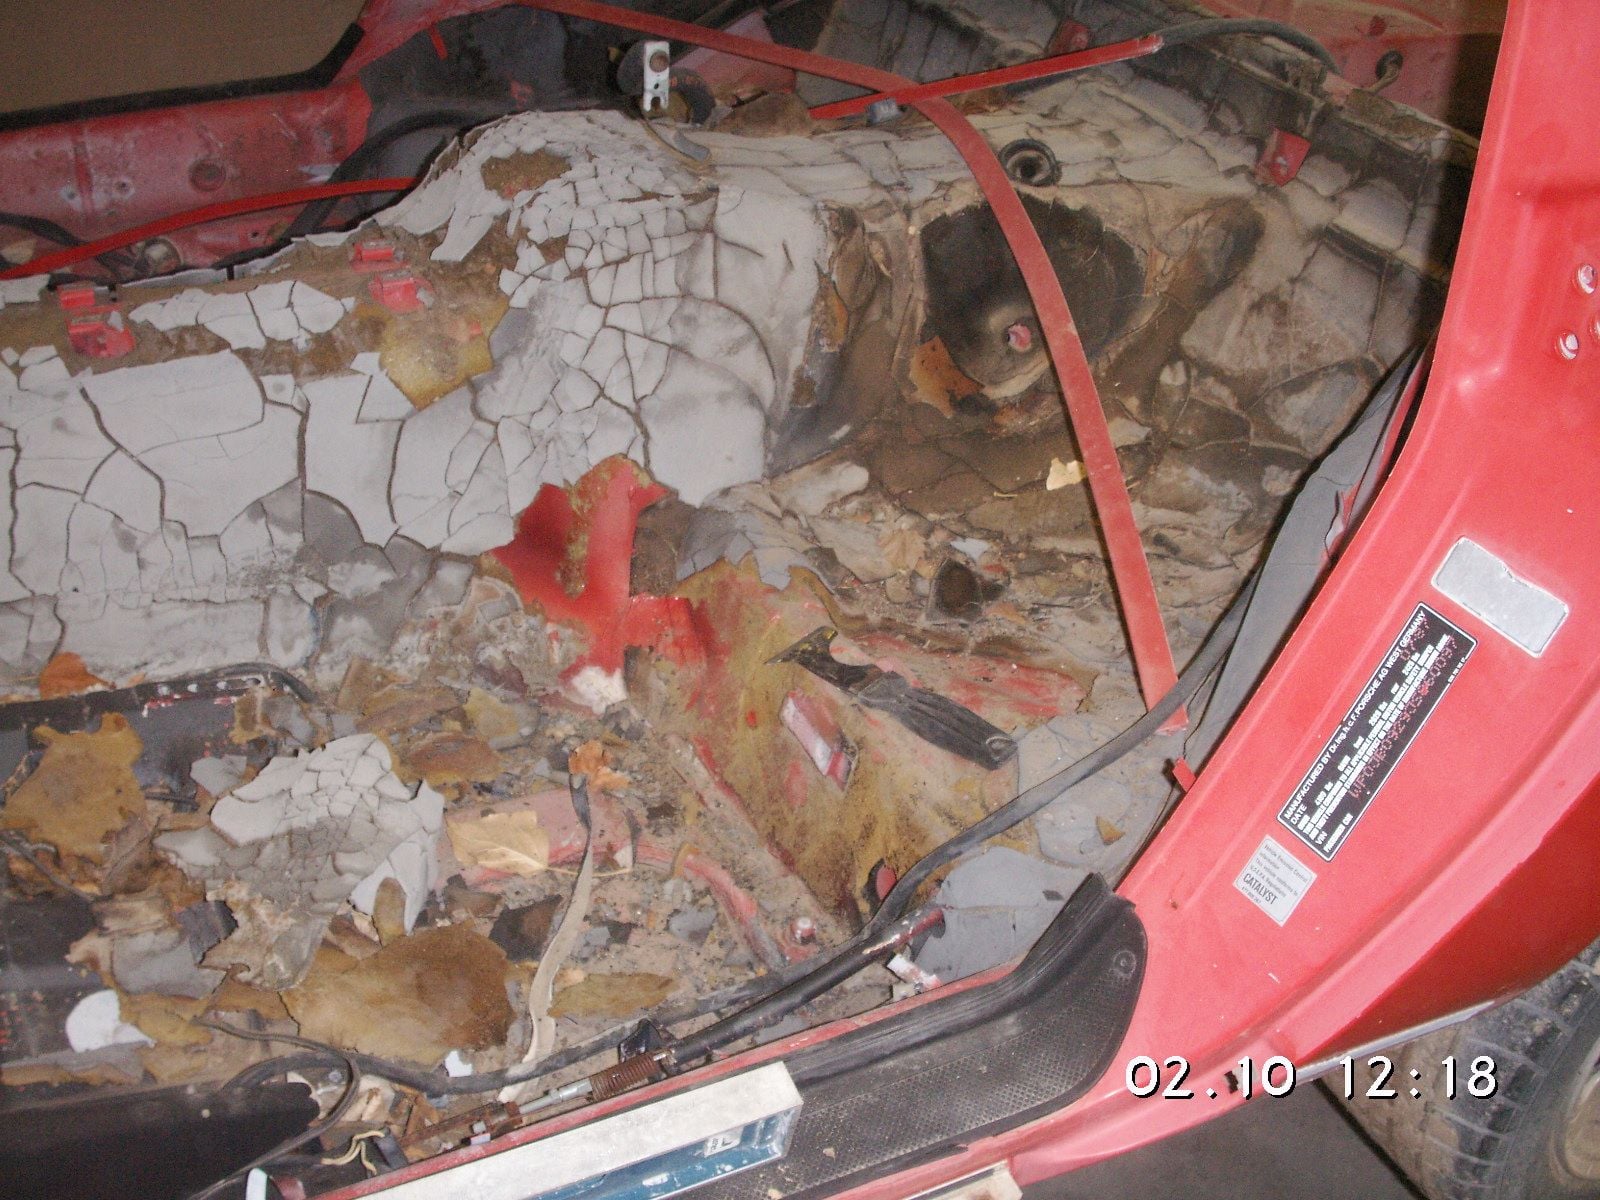
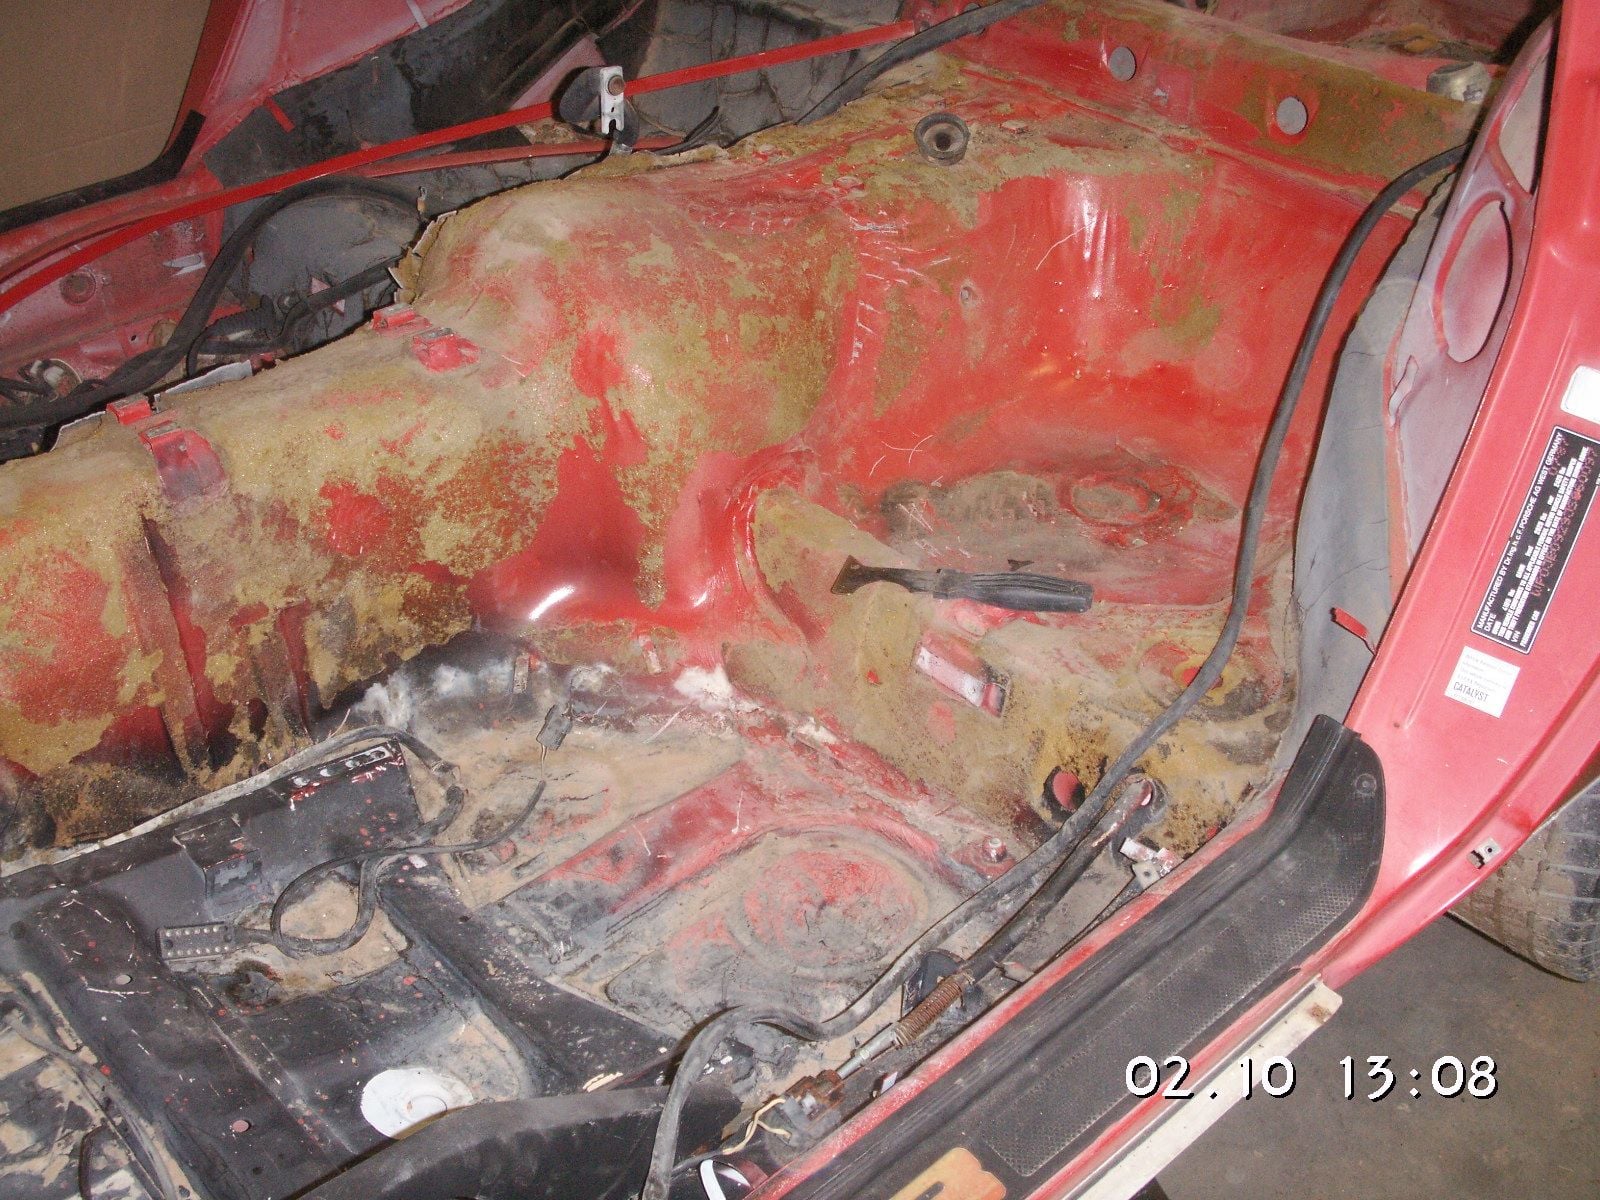
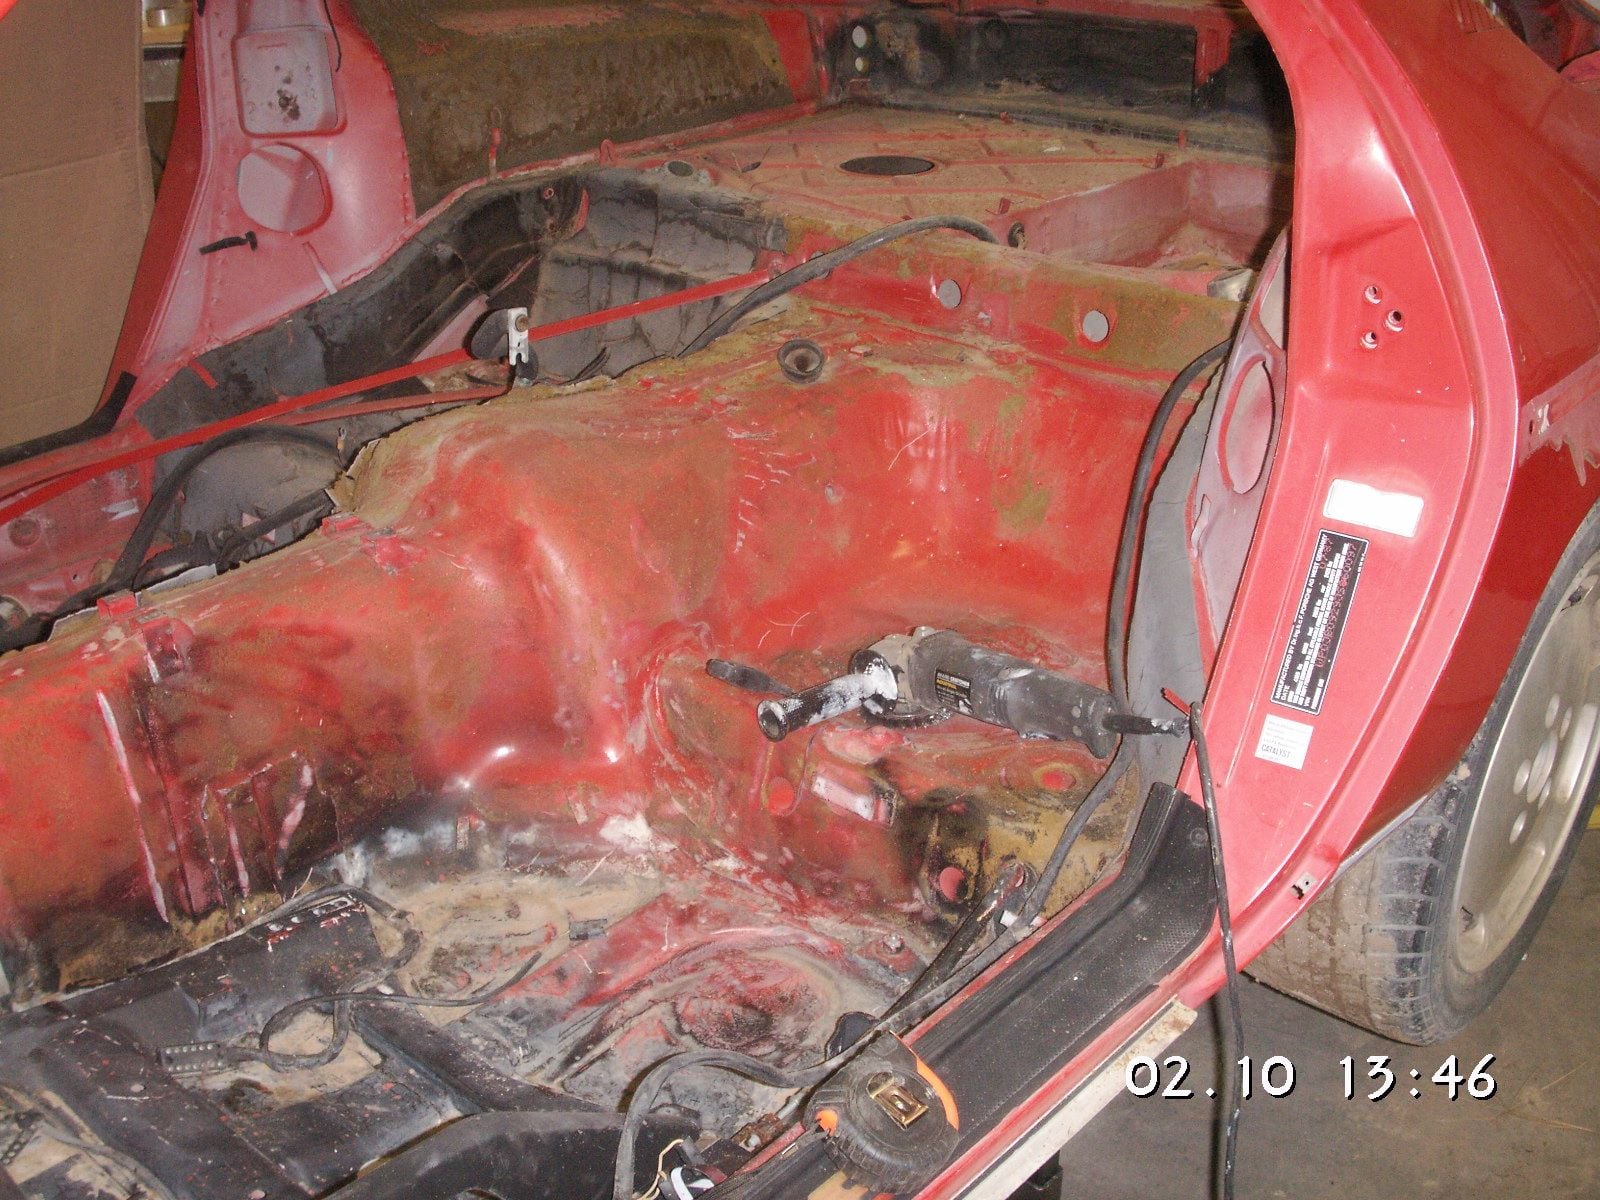
Then I took a good look inside and decided that I need to begin some of the skutt work that is going to be needed along the way, but cleaning out some of the mess inside, including much of the foam and insulation. I felt that doing some of that now might help make some of our progress pictures look a bit more professional. I first dug much of it out and then used my wire wheel to clean it up a bit more. I'll get to the other side after I take a break.
Last edited by Jerry Feather; 03-20-2018 at 09:10 PM.
#96
Rennlist Member
Thread Starter
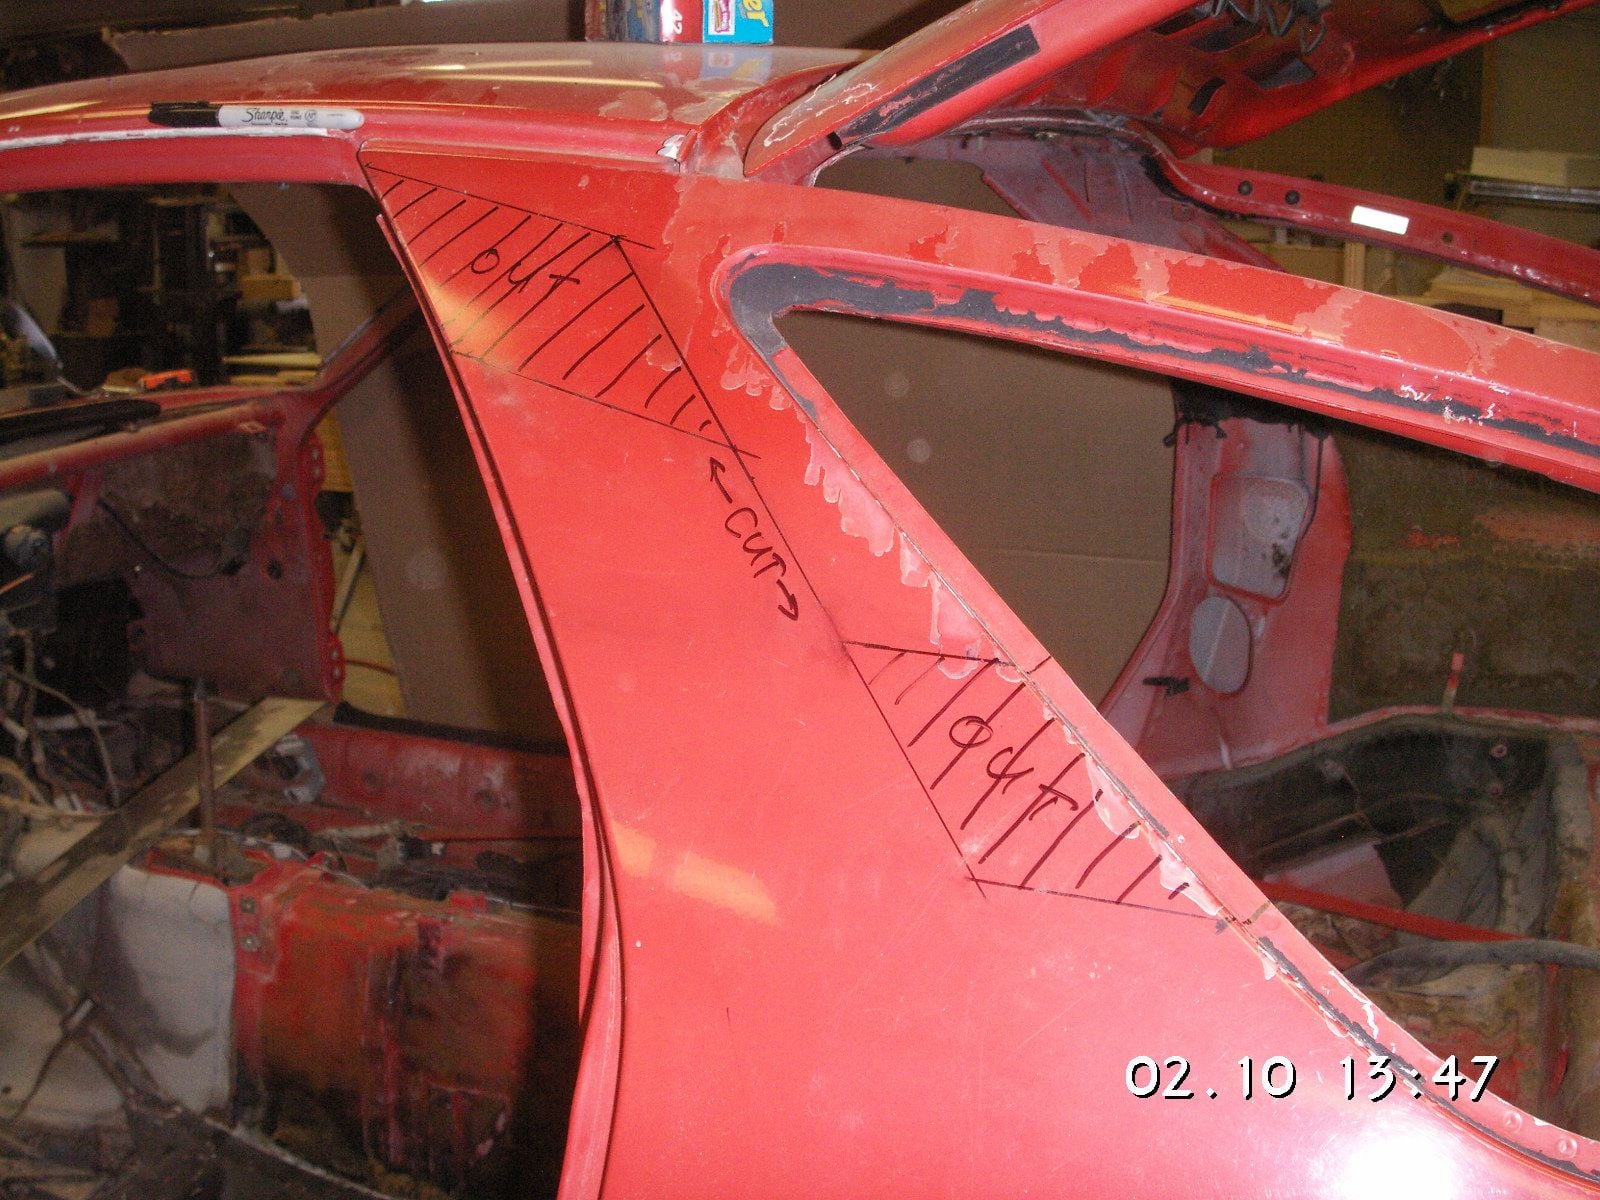
While I was resting I decided to try to lay out the cut pattern on the B-Post that has kind of been bothering me. I finally got it laid out about the way I think it needs to be, but then I noticed that there is a bit of curvature to the B-Posts that is not very apparent in the photographs. So, I am going to have to do some more figuring about how best to cut the B-Posts.
#97
Rennlist Member
Thread Starter
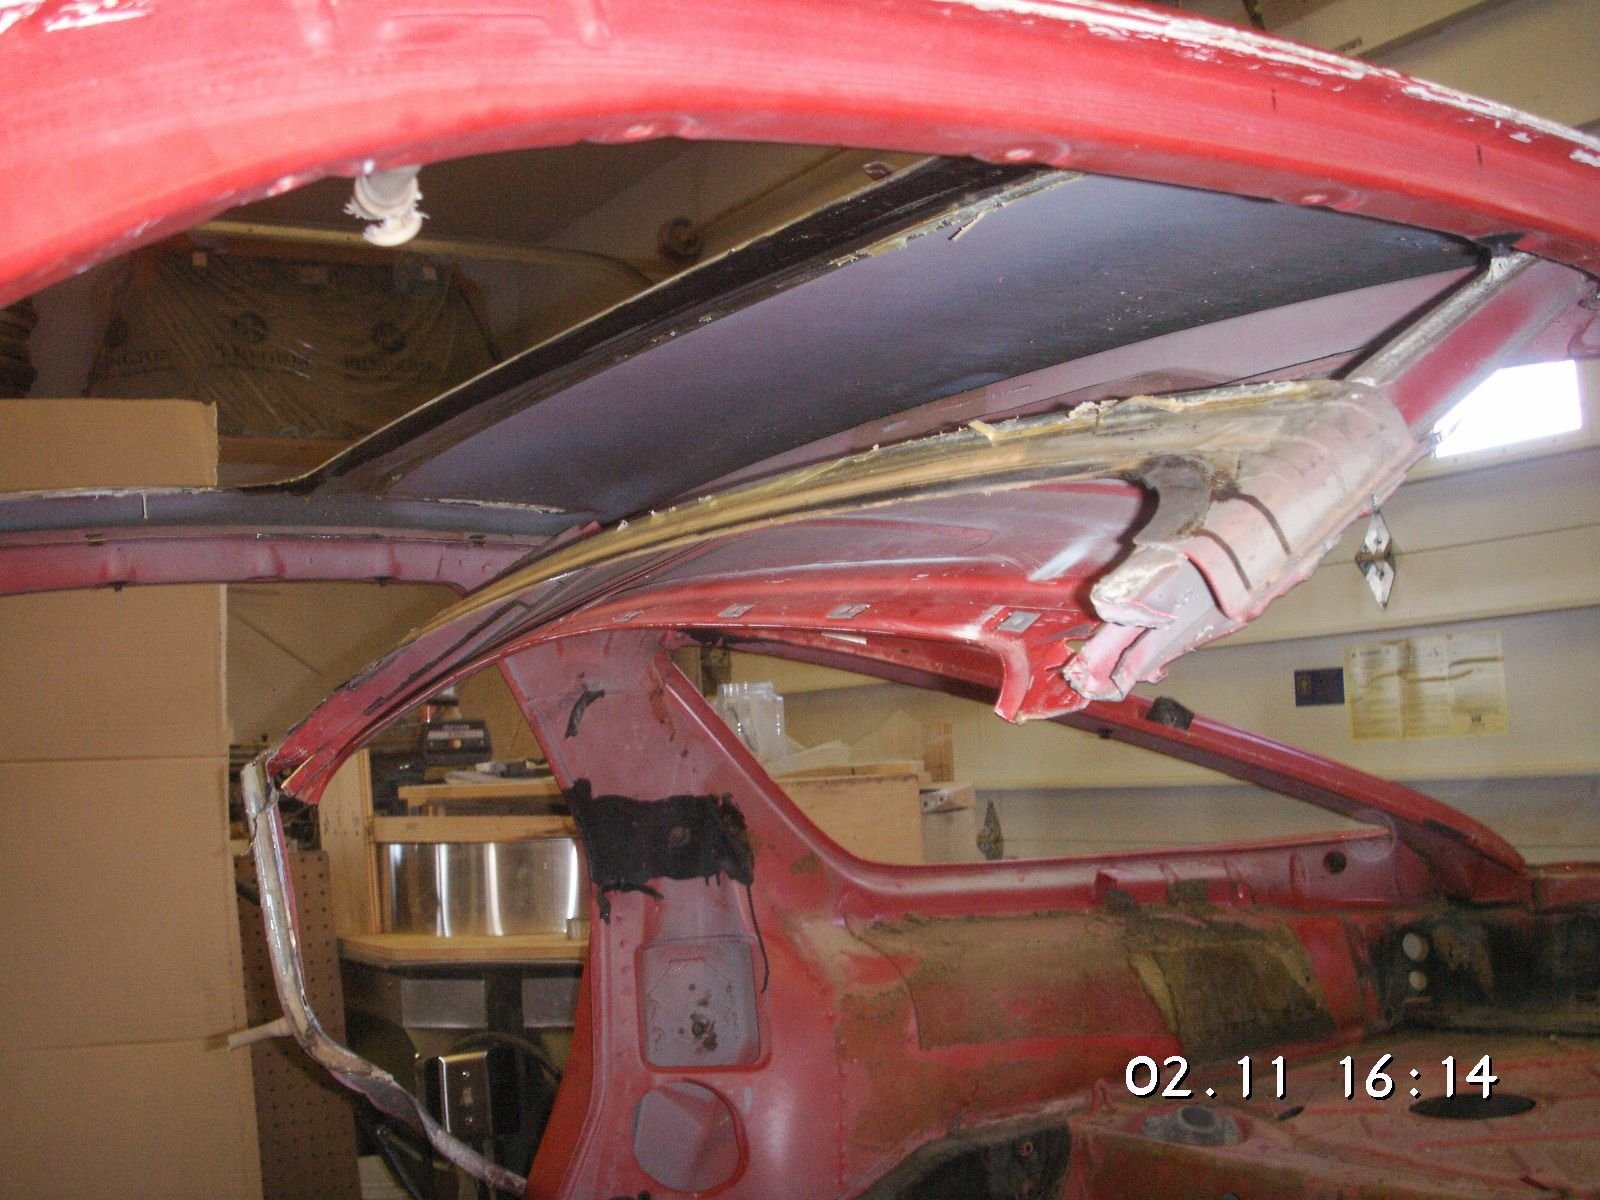
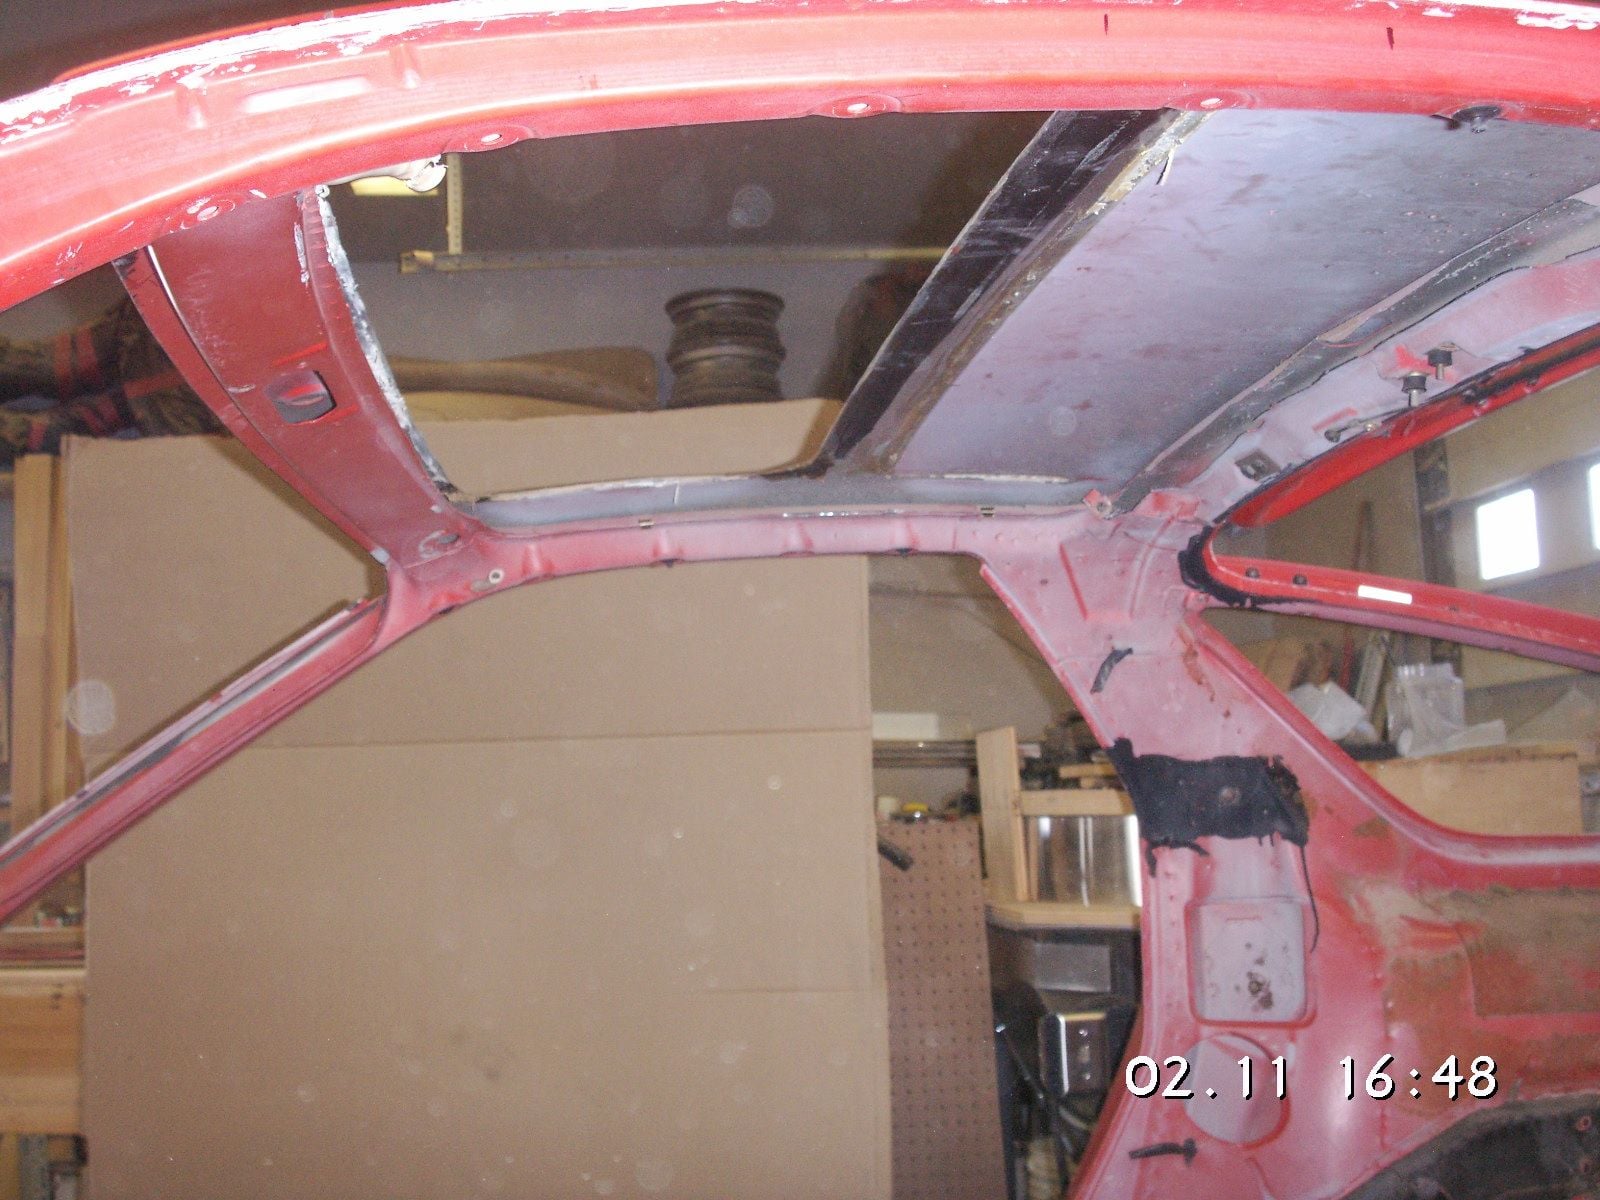
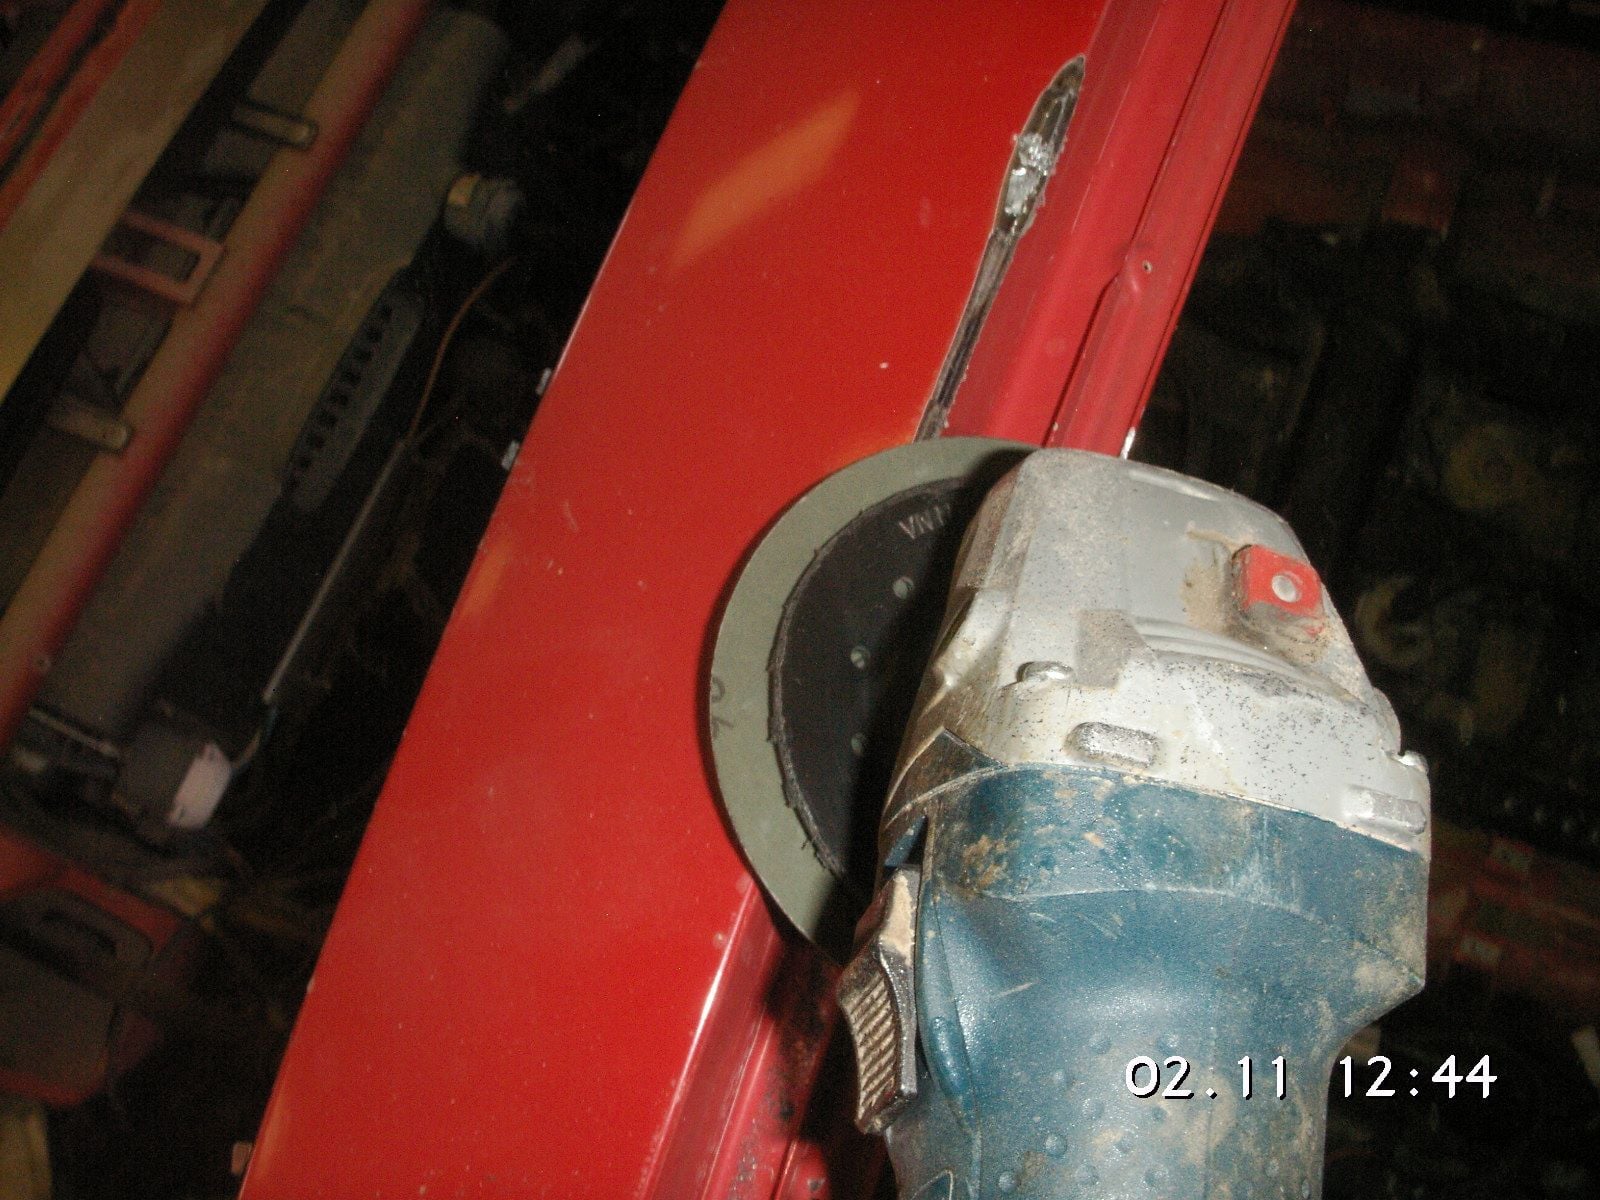
I got the other side of the rear inside cleaned off but haven't run my wire wheel over it yet. Then I set to removing the sunroof structure. Boy, was that a chore. I really didn't know quite how it was installed and just what should be left of it, but finally got out what I think should be out. I'll be able to trim and lshape what is left of the structure surrounding the roof so that it will blend into a nicely formed headliner, of some sort.
#98
Rennlist Member
Thread Starter
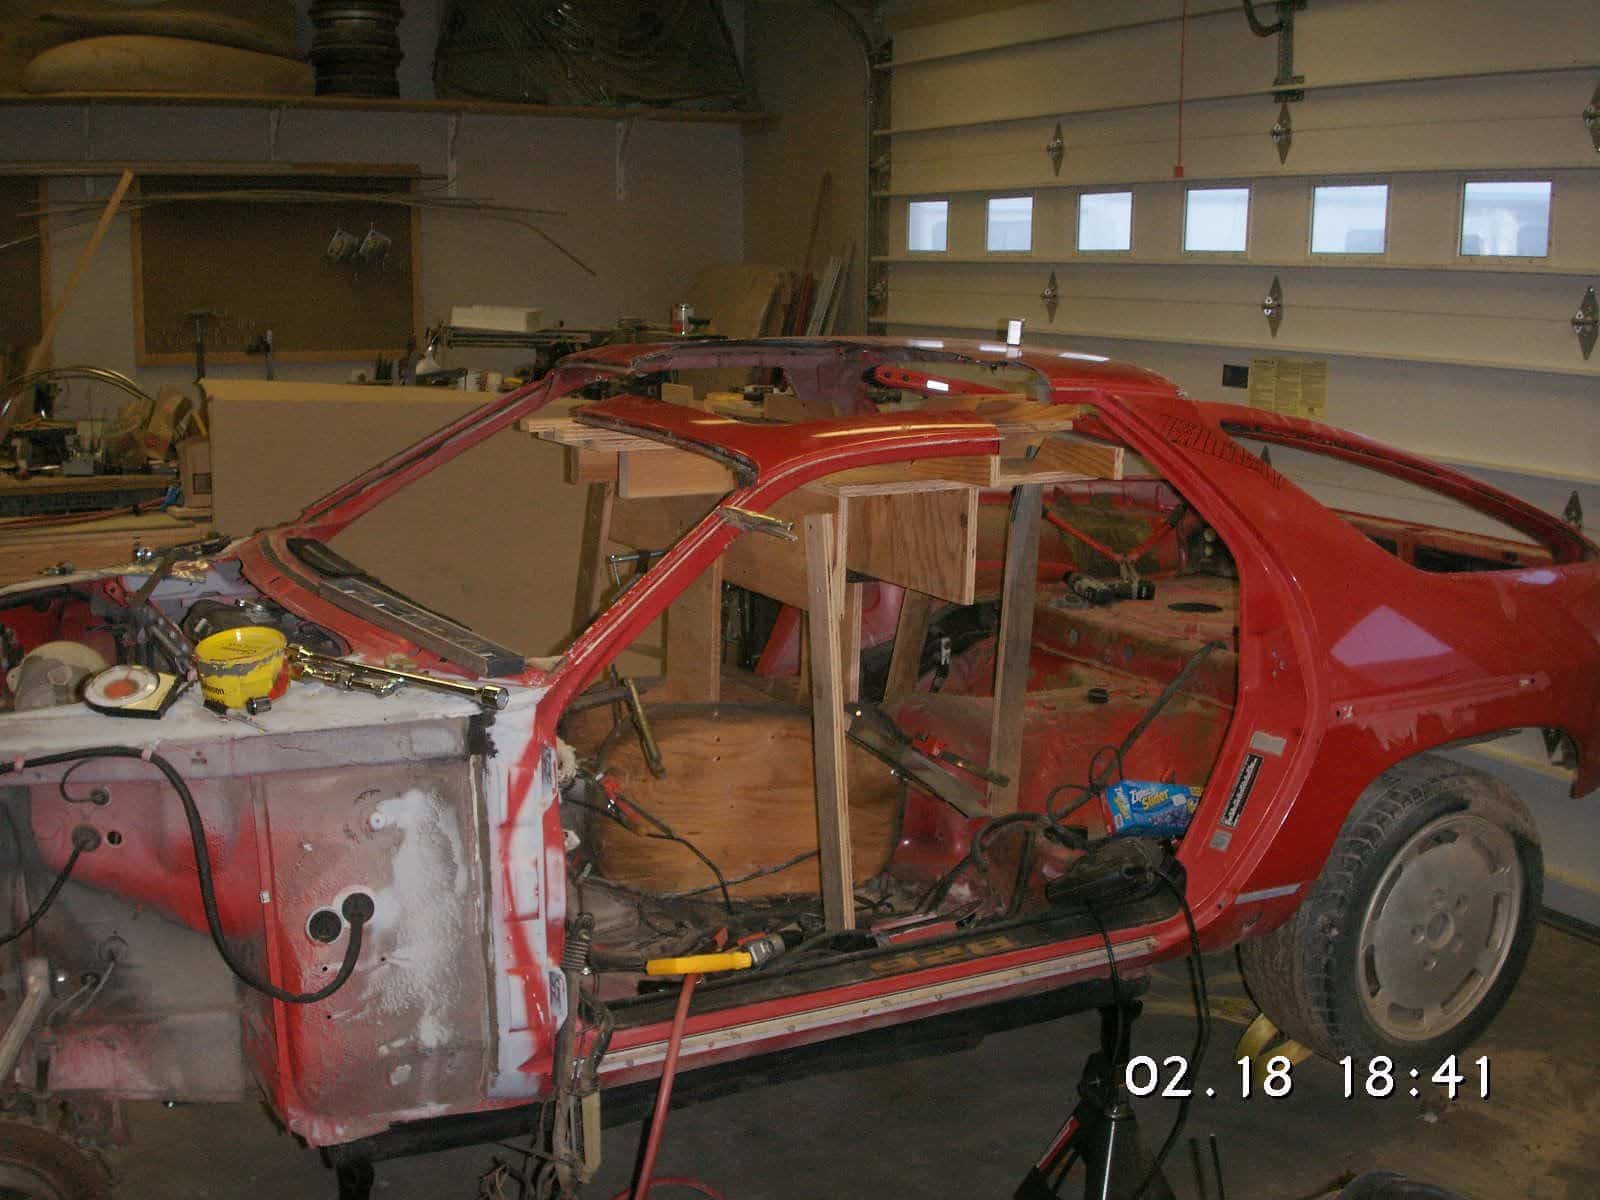
My next step is to assemble some kind of guide post structure inside the car to provide places to rest the rooftop sections next to the cuts where they will otherwise not have anything to hold them in position for realignment in their new wider locations.
In the meantime I have figured out how to do this chop without shortening the car forward of the rear wheels. That is going to save a really big bunch of work. Basically I'm going to do it by changing the chop from a 3 inch parallel cut front to back to something more like 3 1/8 inches in front, 2 3/4 in the middle at the B-Post, and about 2 1/2 or slightly less at the rear at the C-Post. By calculation, that reduces the front-to-back gap at the C-Post from about 9 1/2 inches to closer to 8 inches. That lesser amount can be taken up with about 3 1/4 at the B-Post, 1 3/4 at the bottom corner of the quarter windows and then 3 inches shortening the tail of the car, but aft of the rear wheels. I don't think the difference will even be noticeable.
In the meantime I have figured out how to do this chop without shortening the car forward of the rear wheels. That is going to save a really big bunch of work. Basically I'm going to do it by changing the chop from a 3 inch parallel cut front to back to something more like 3 1/8 inches in front, 2 3/4 in the middle at the B-Post, and about 2 1/2 or slightly less at the rear at the C-Post. By calculation, that reduces the front-to-back gap at the C-Post from about 9 1/2 inches to closer to 8 inches. That lesser amount can be taken up with about 3 1/4 at the B-Post, 1 3/4 at the bottom corner of the quarter windows and then 3 inches shortening the tail of the car, but aft of the rear wheels. I don't think the difference will even be noticeable.
#100
Rennlist Member
Thread Starter
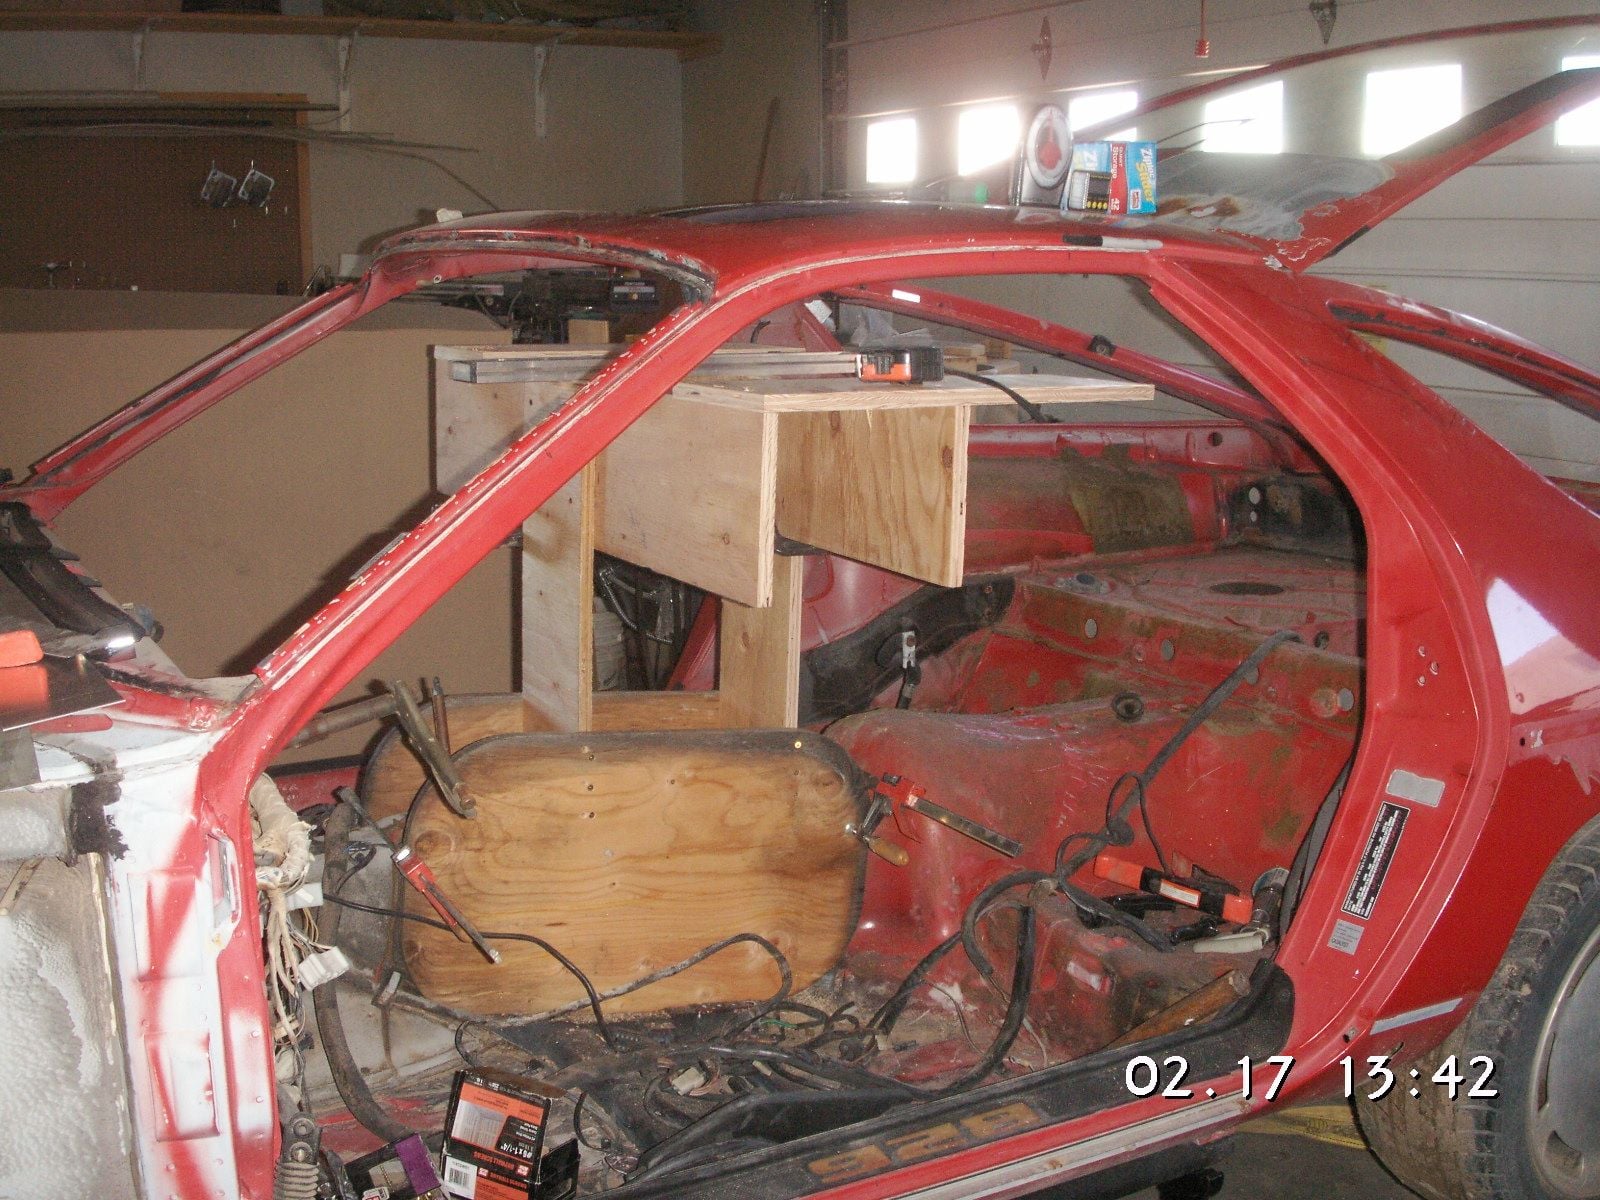
about 3/4 of the guidepost structure. Sthe shelves at the outer ends will have guide slats on them for the top of the door opening. Then I'll add longitudinal members to guide the front and back.
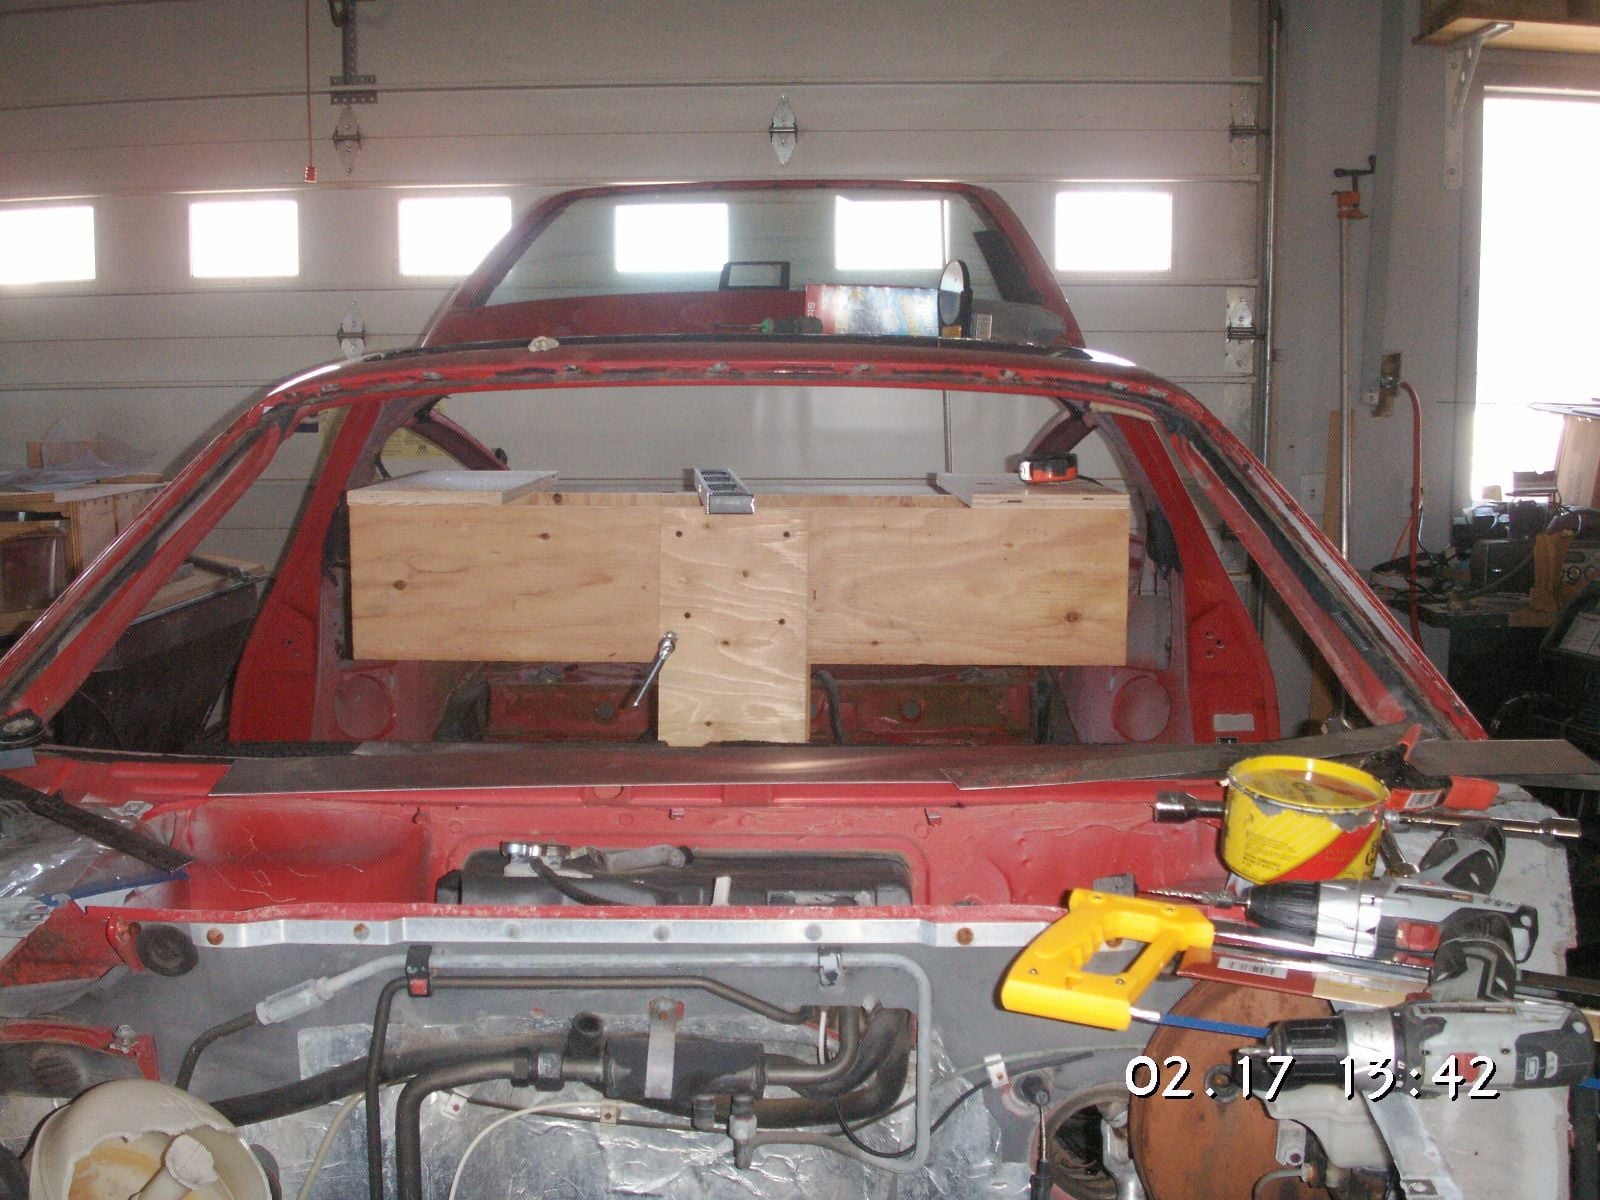
view of the structure from the front.
I have much of the guidepost structure put up inside the car to give me some resting places for the roof quarter sections when they are cut free, in addition to resting on the cut down tops of the A, B, and C posts.
I have worked up the angle measurements with some better measuring devices and on the actual car versus the pictures. One of the things I am learning is that the aft movement of the rear quarter sections, at the B-Posts, is going to be quite a bit greater that I have been figuring, and that is because I have not been accounting for the angle that the B-Popstys slope inward. The more they slope in the more they will move aft with the chop. What I think that means is that I am going to be back to an almost equal 3 inch chop all the way around and still without the need to cut the car in two in front of the rear wheels. I'm going to work on the measurements a bit more before starting any layouts and cuts.
Edit: Actually I finally figured out that I have been laying the B-Post cut pattern out incorrectly and that was giving rise to the erroneous aft movement of the rear roof quarter section. I got it correct, and the roof section will still move aft only 3 inches, as I have been planning on from the measurements off of the pictures.
Last edited by Jerry Feather; 02-17-2018 at 07:54 PM.
#101
Rennlist Member
Thread Starter
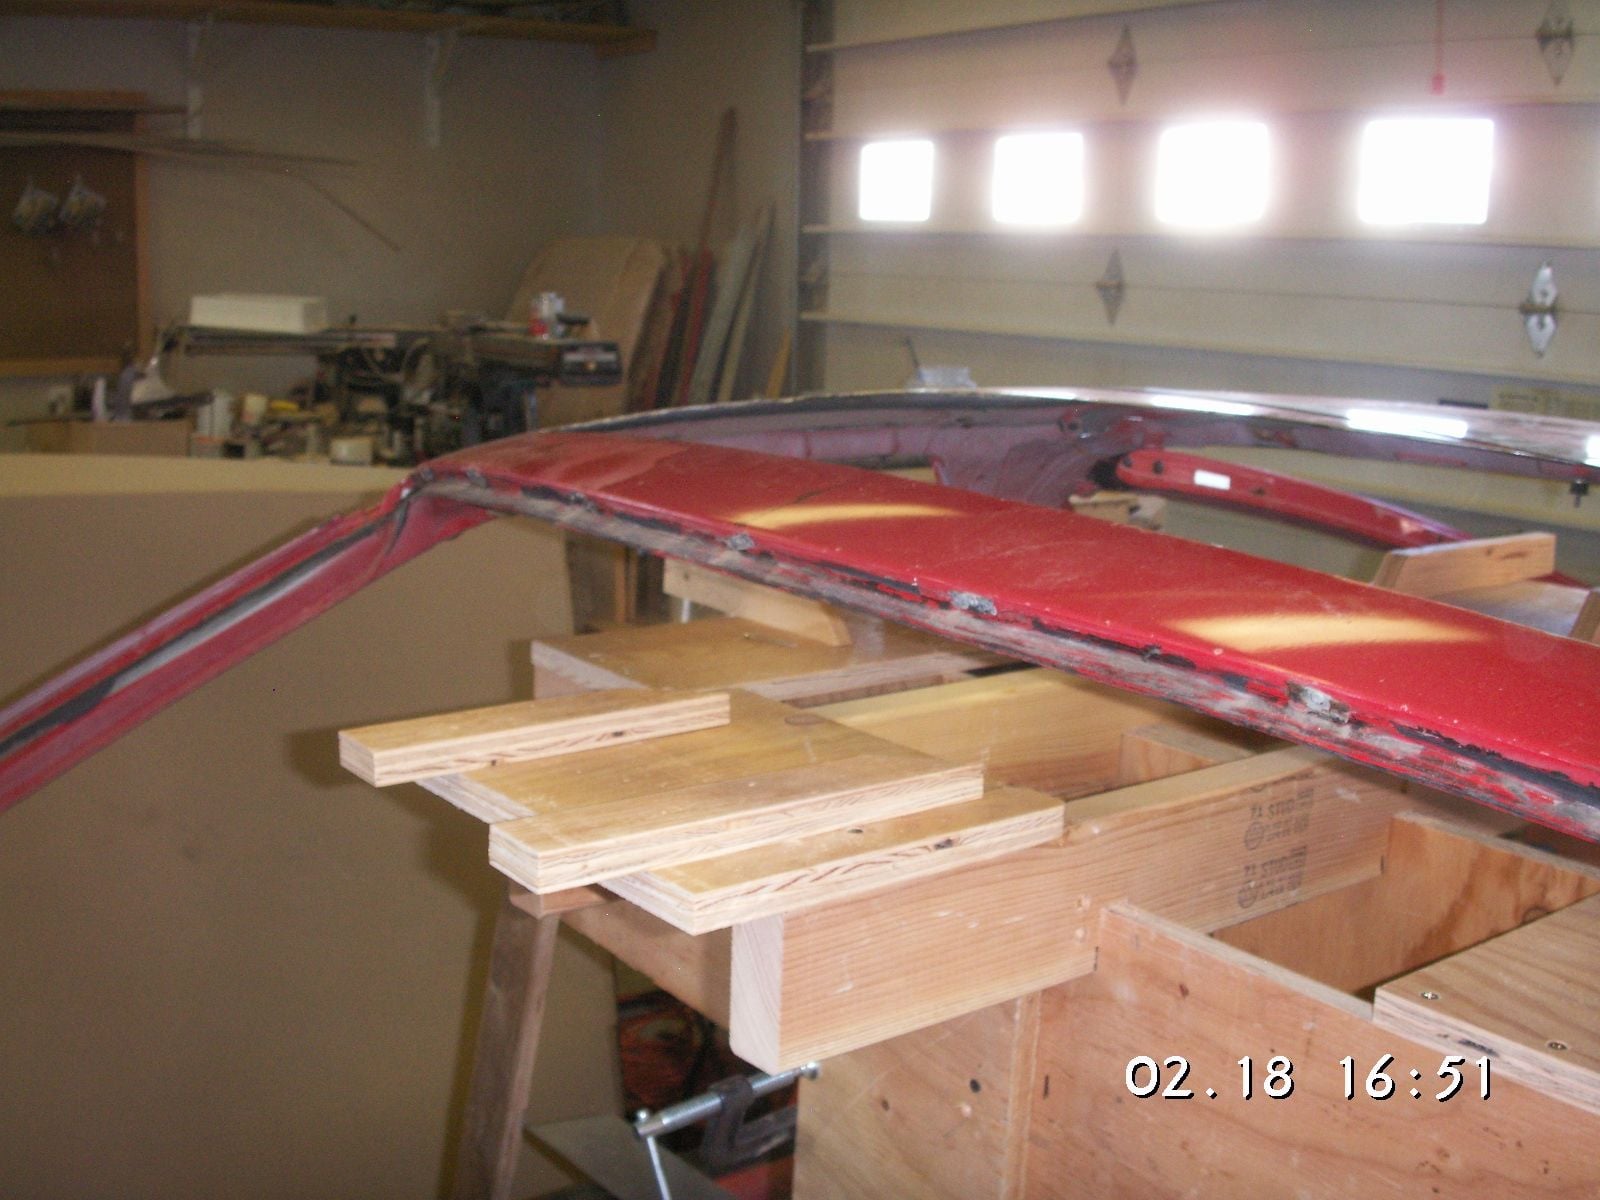
Front top of the structure.
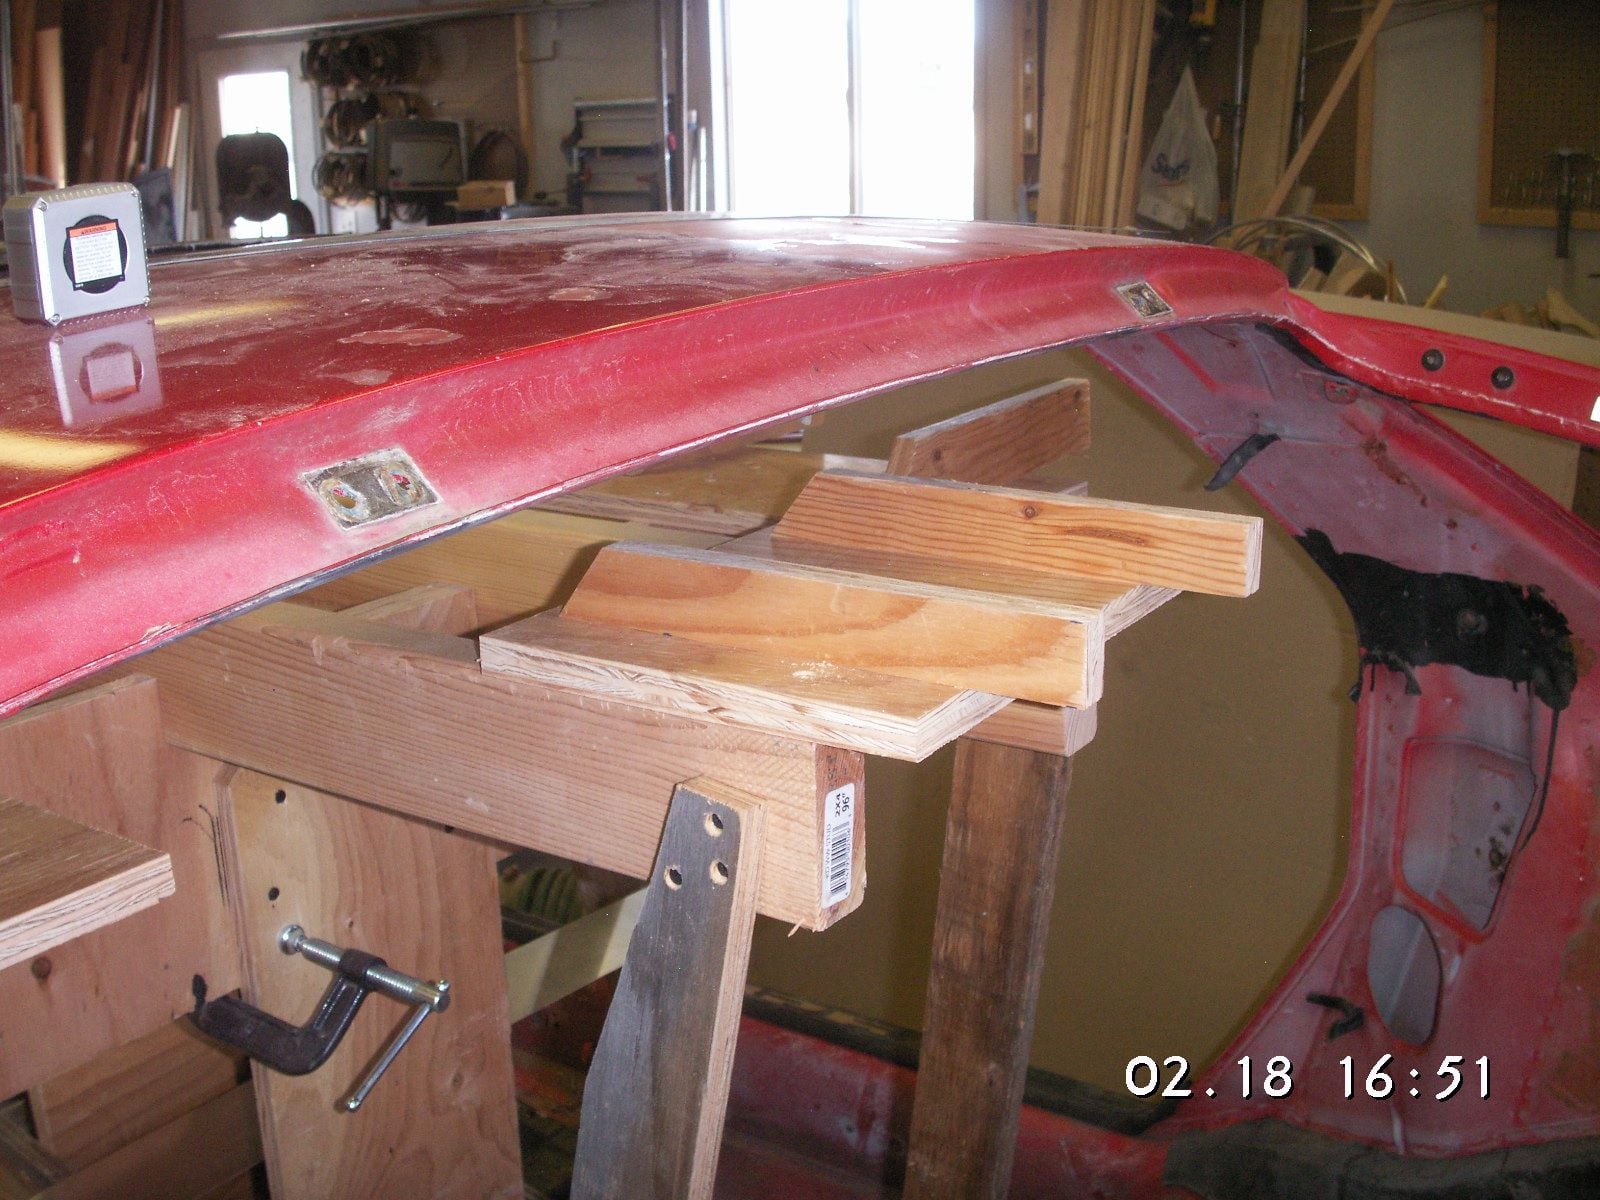
Rear of the structure. Show a bracing I put down the to the floor or part of the frame.
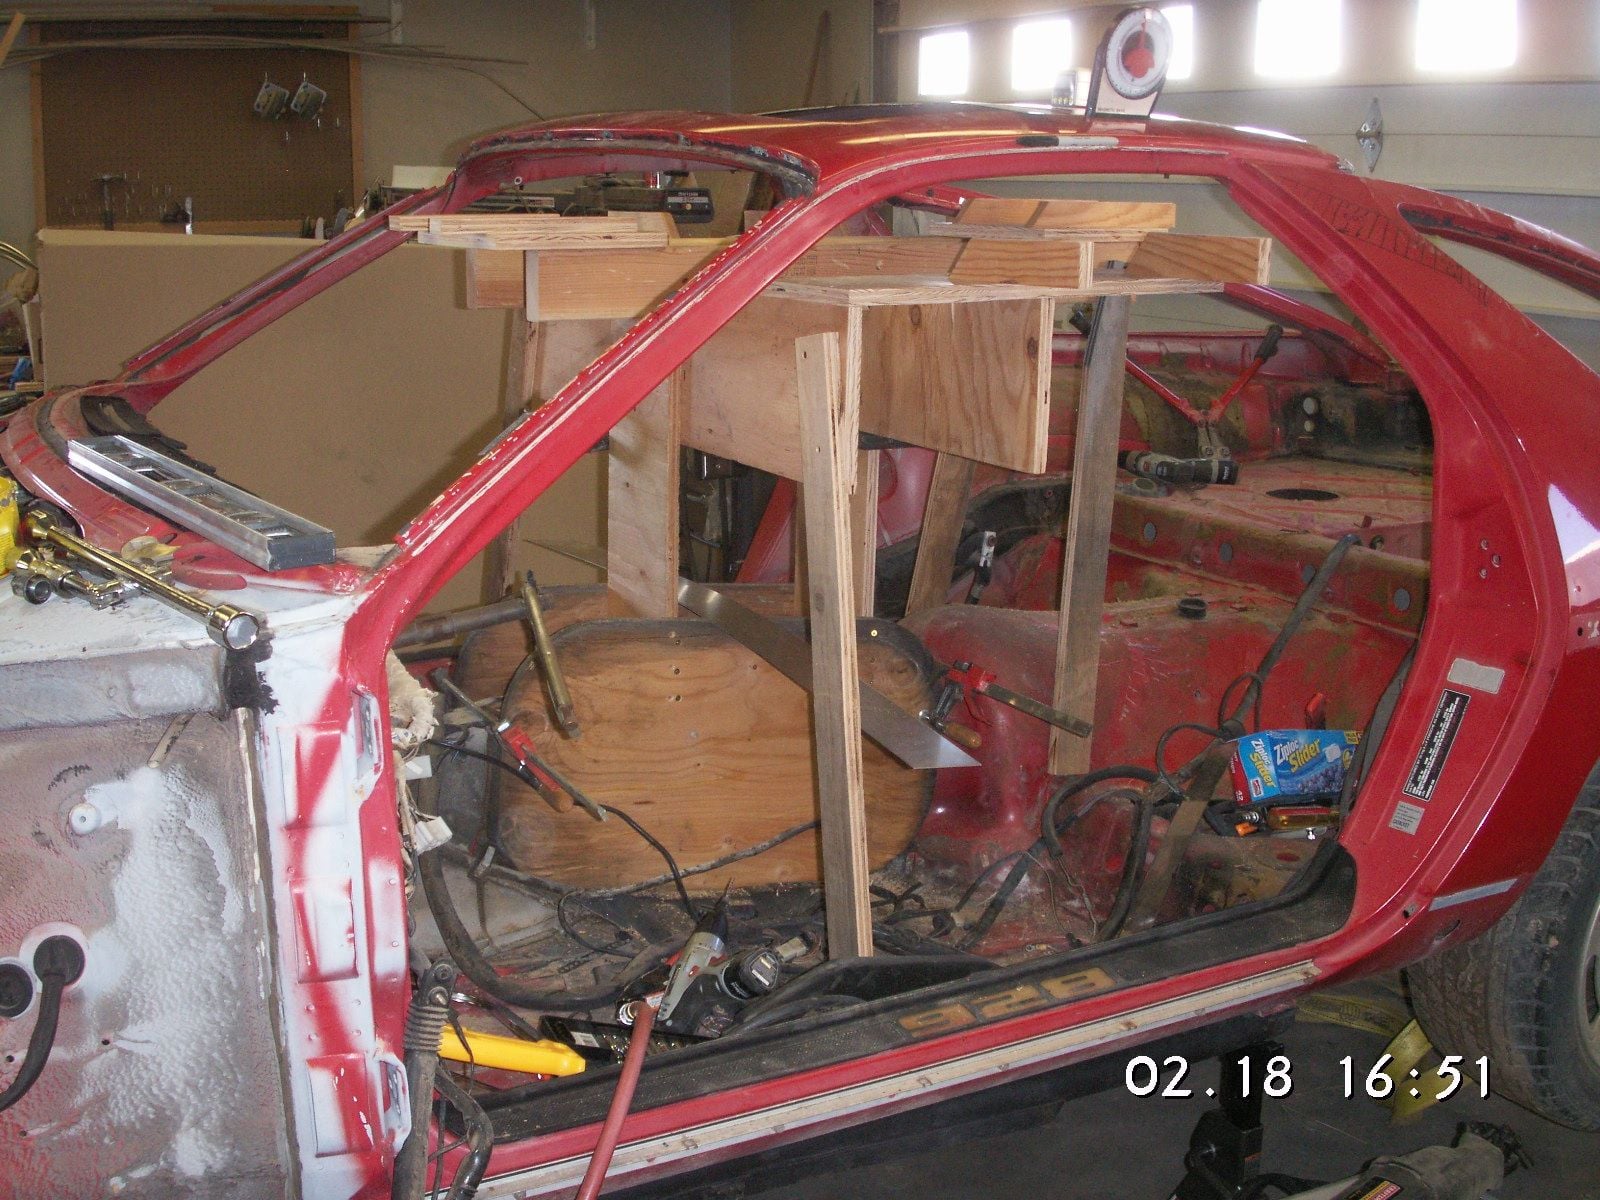
A broader overall view of the structure.
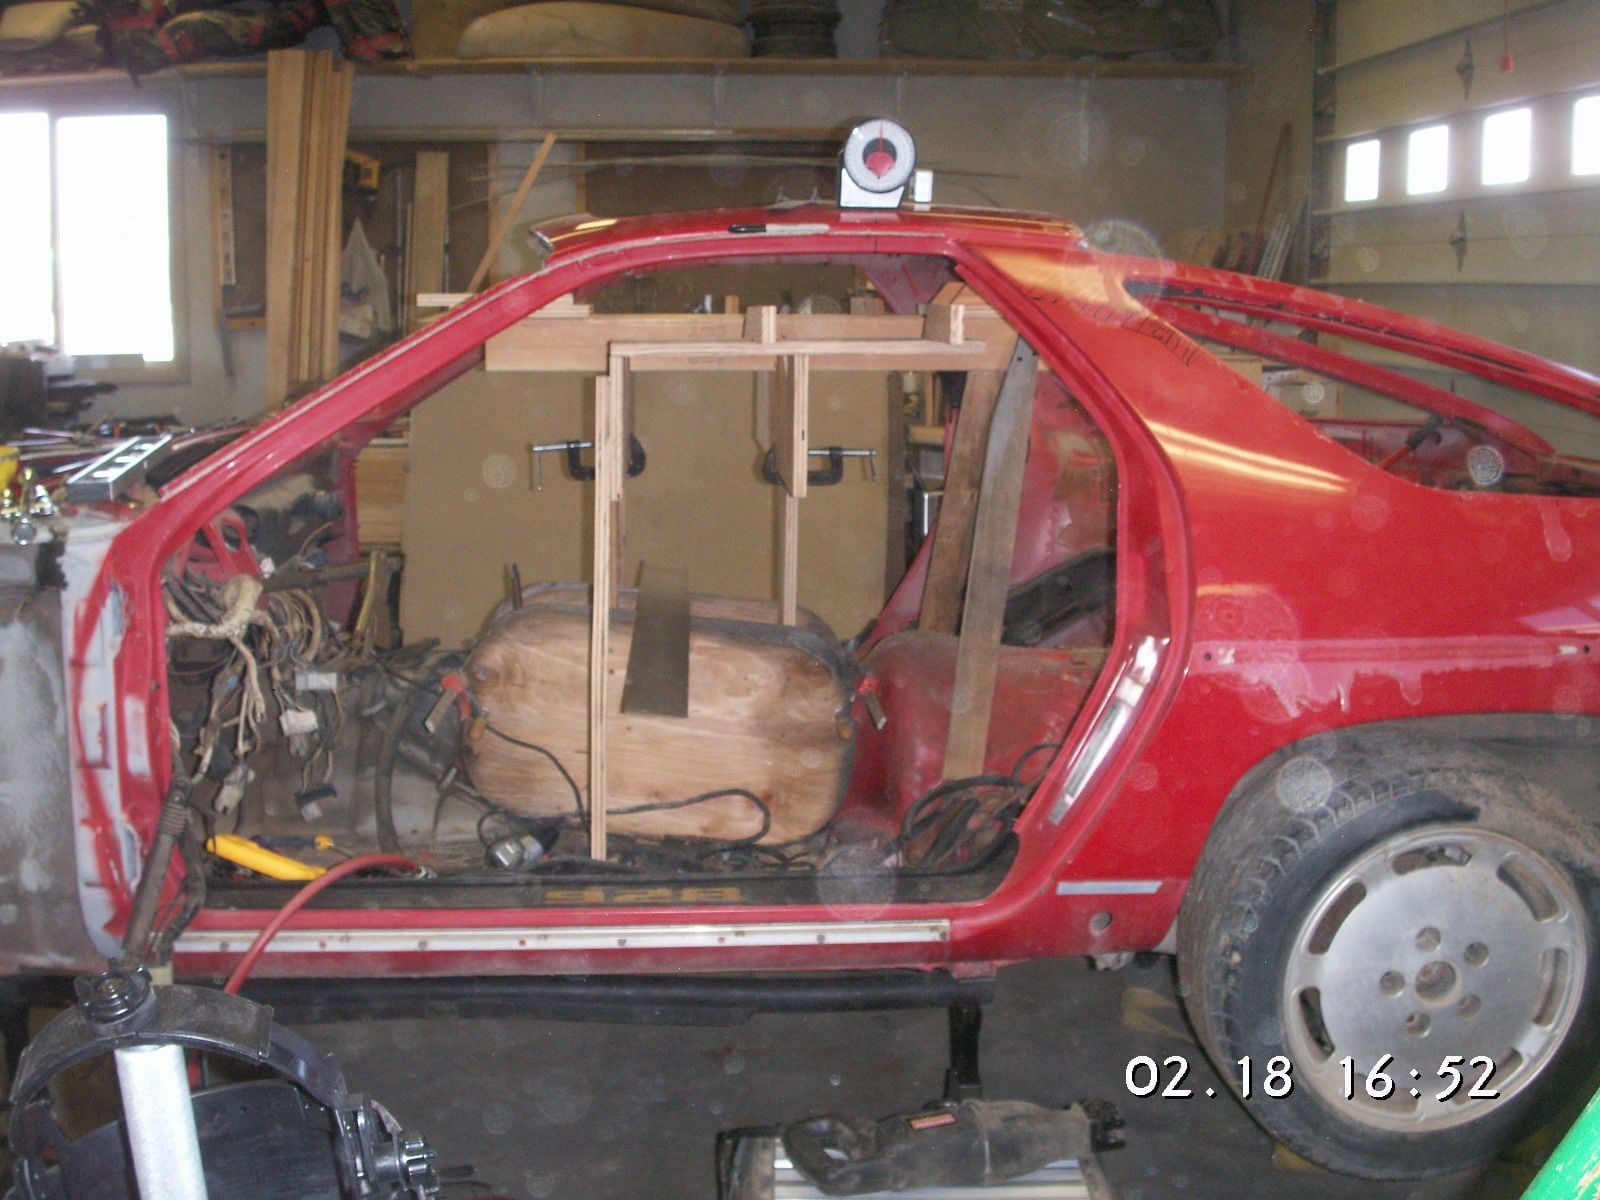
Side view of the car for later comparison.
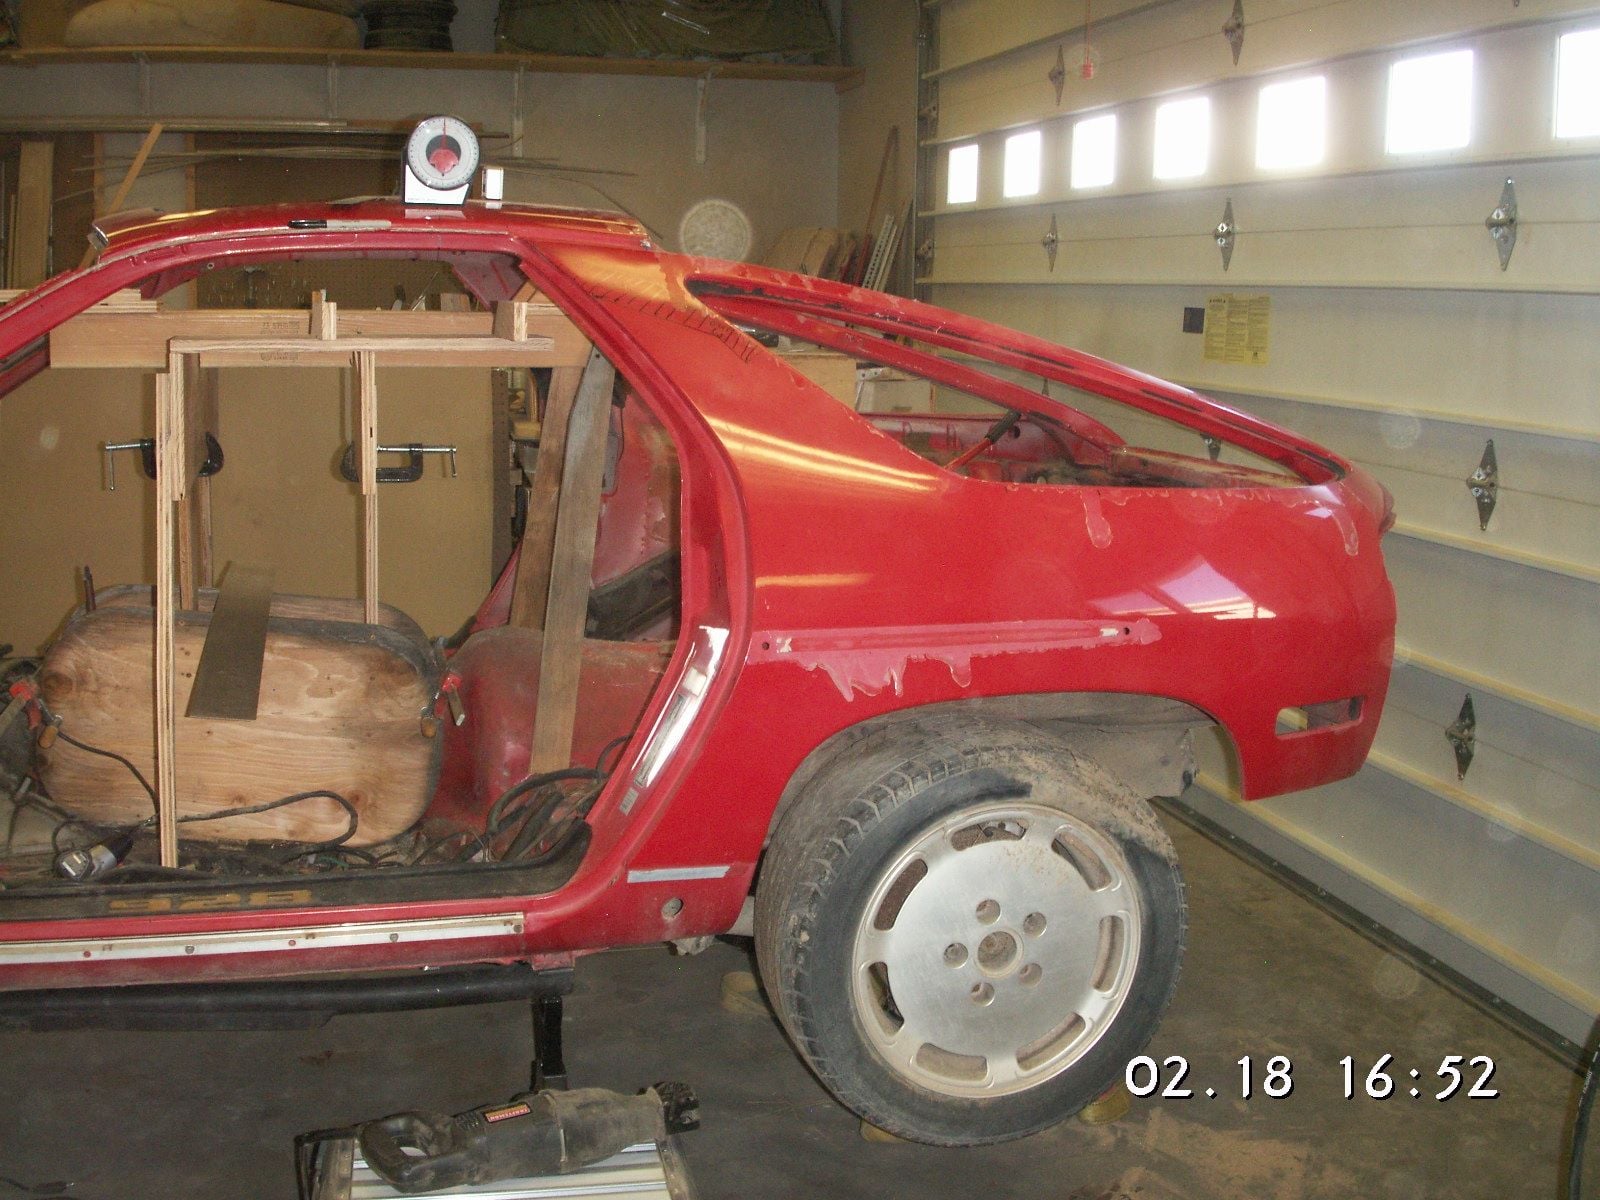
More side view, but more toward the rear.
I finished the guidepost structure. I was going to weld in some bracing, but the structure is pretty much in the way. Then, I decided that the 928 body is so rigid that a structure inside while the top is cut off is probably not needed.
#102
Rennlist Member
Thread Starter
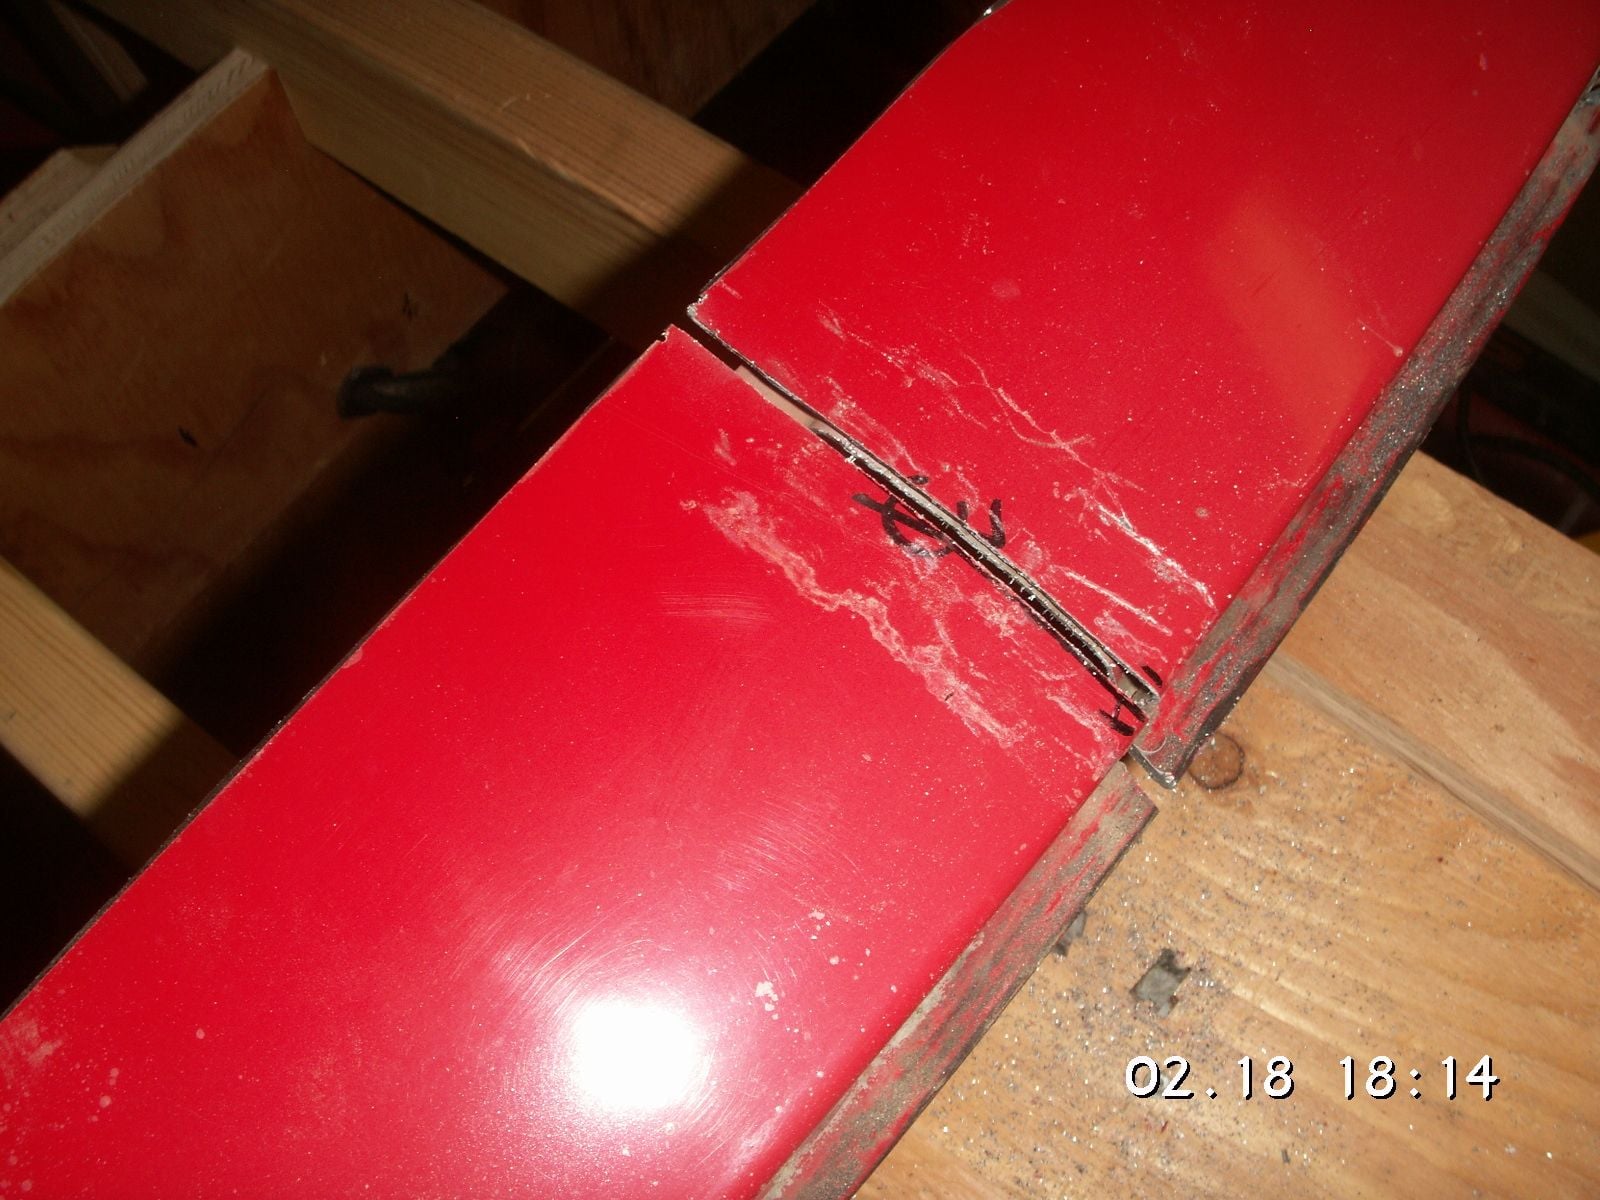
First cut in the middle at the top of the windshield. Notice that when I made this cut the cut opened up almost an eighth of an inch from built in stress.
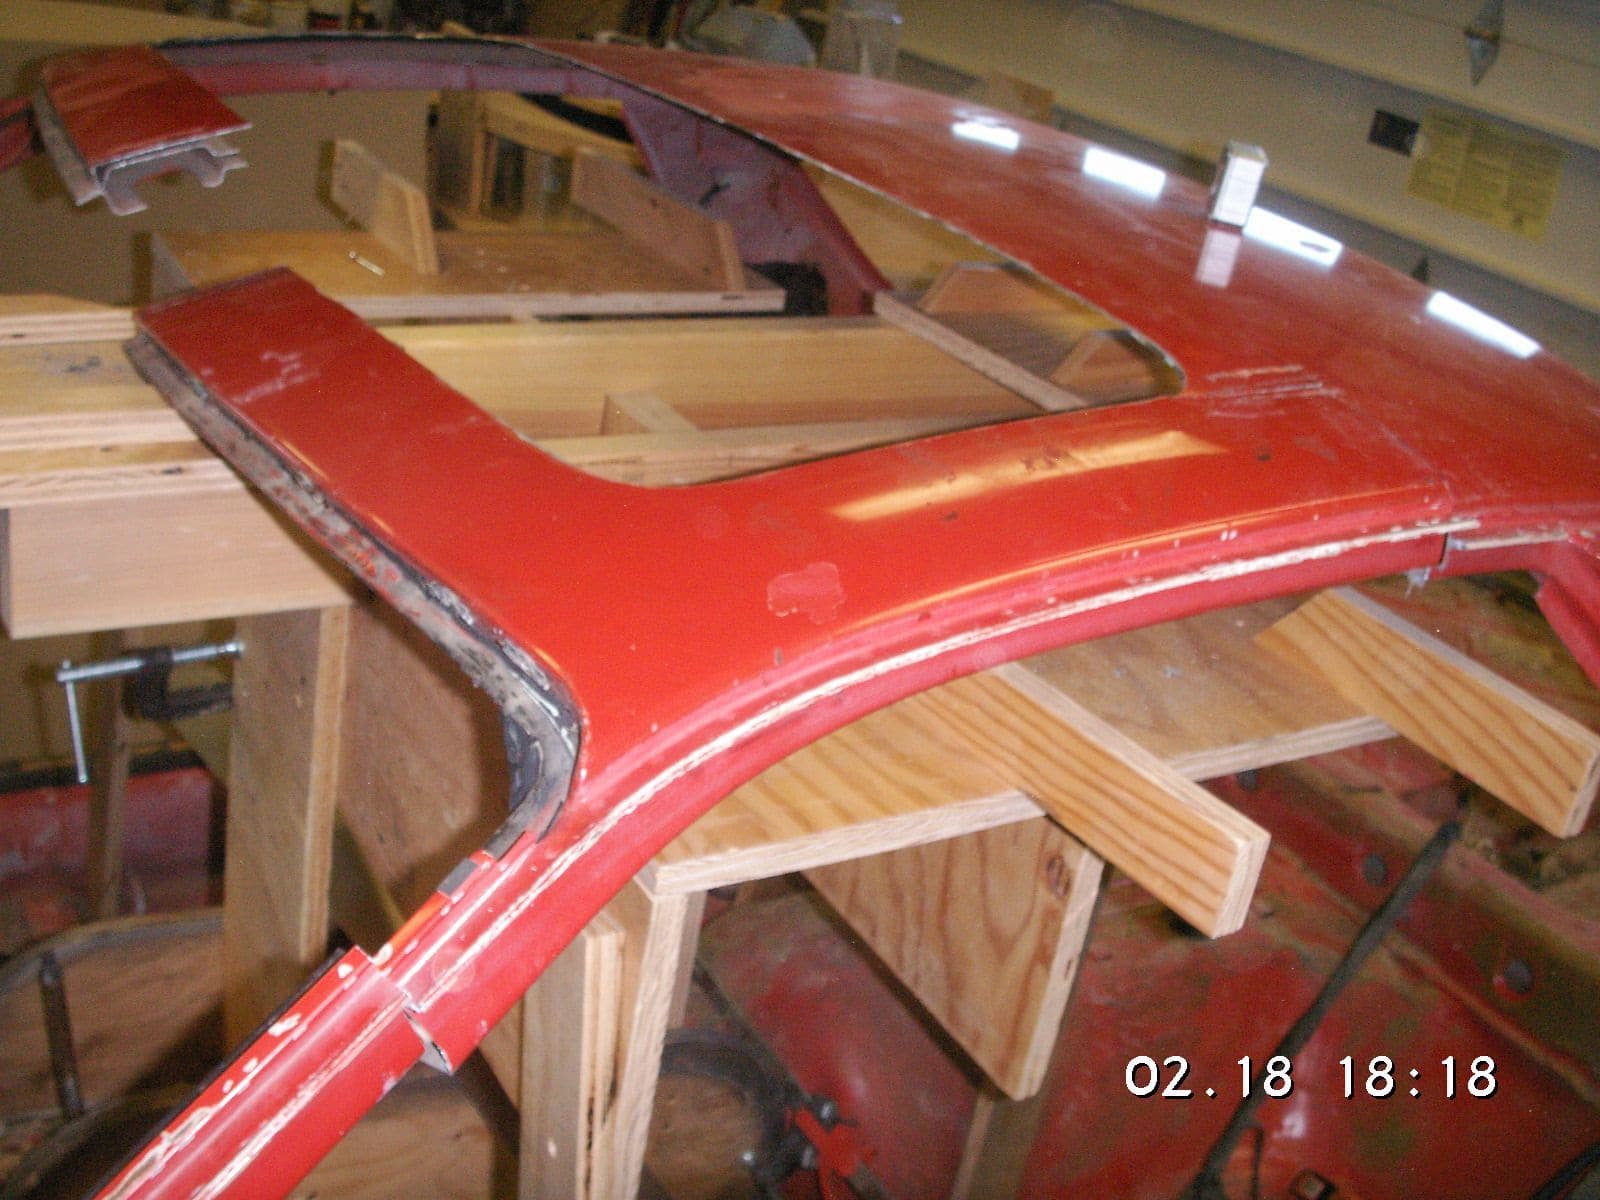
left front roof corner in its nearly new position.
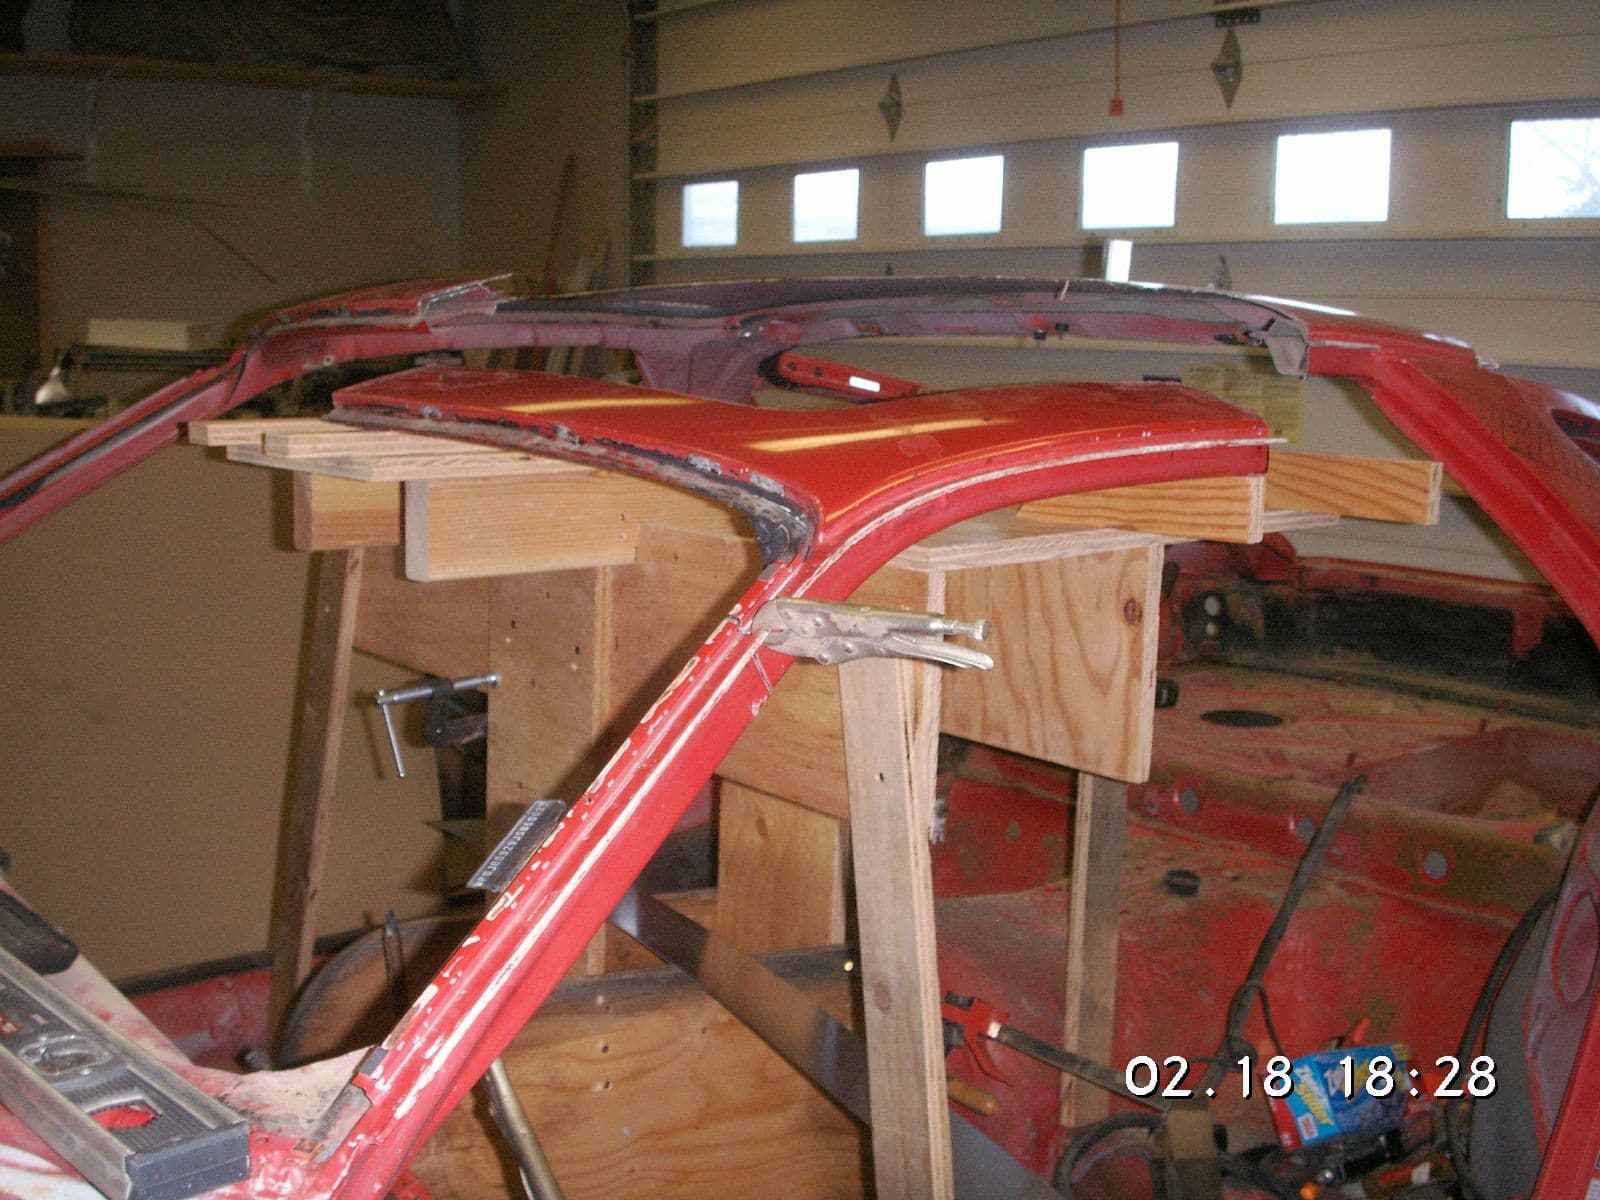
Broader view.
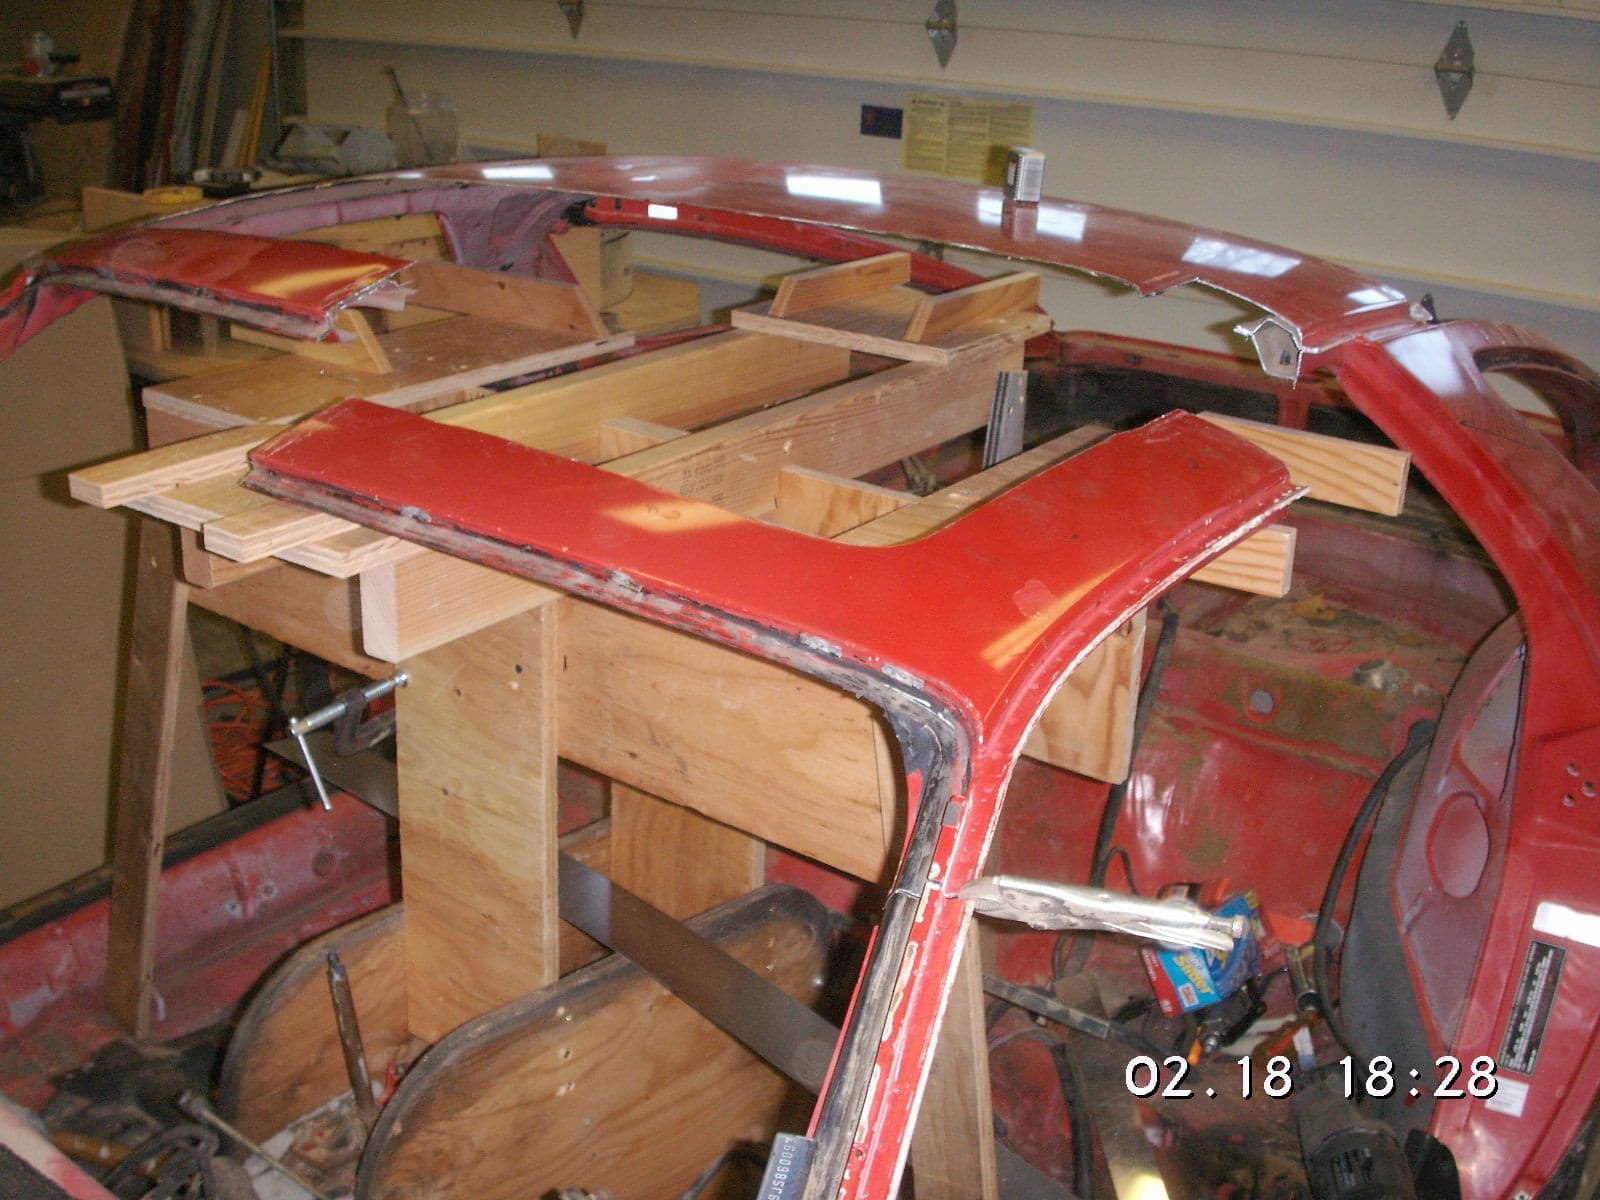
Different view.
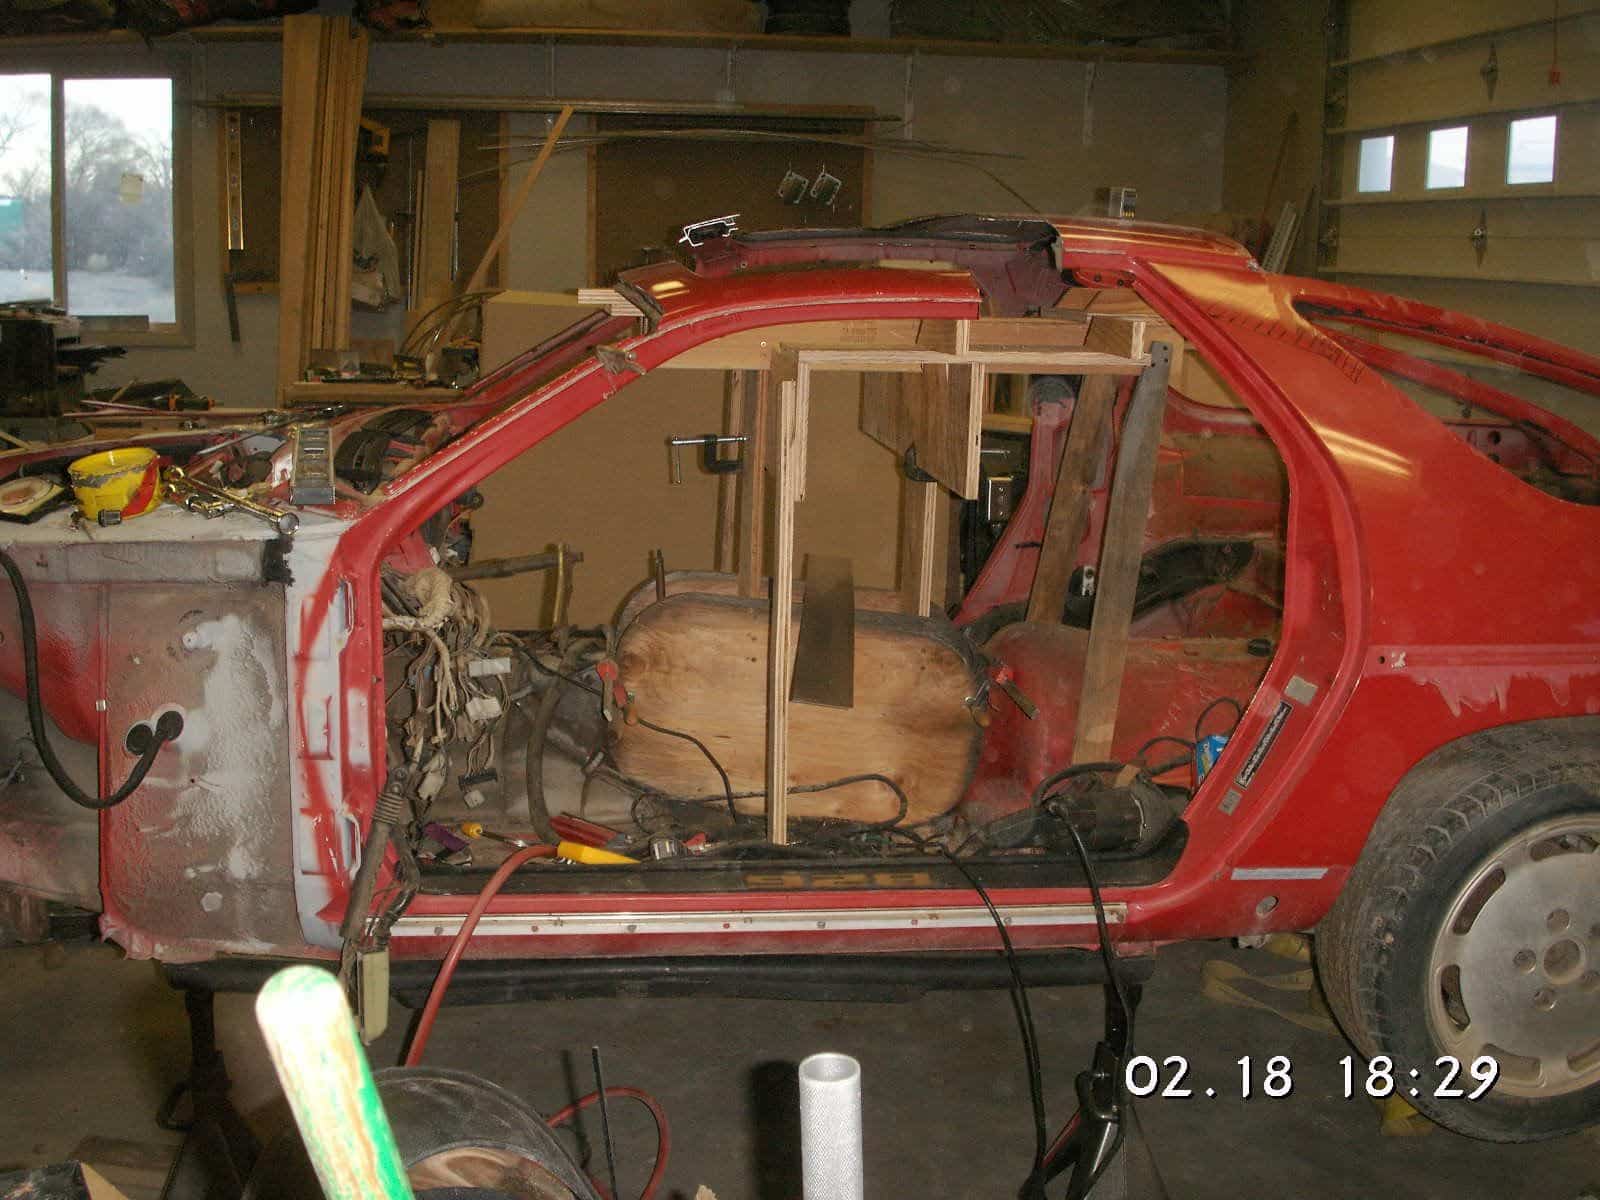
Side view to begin to see the new look.
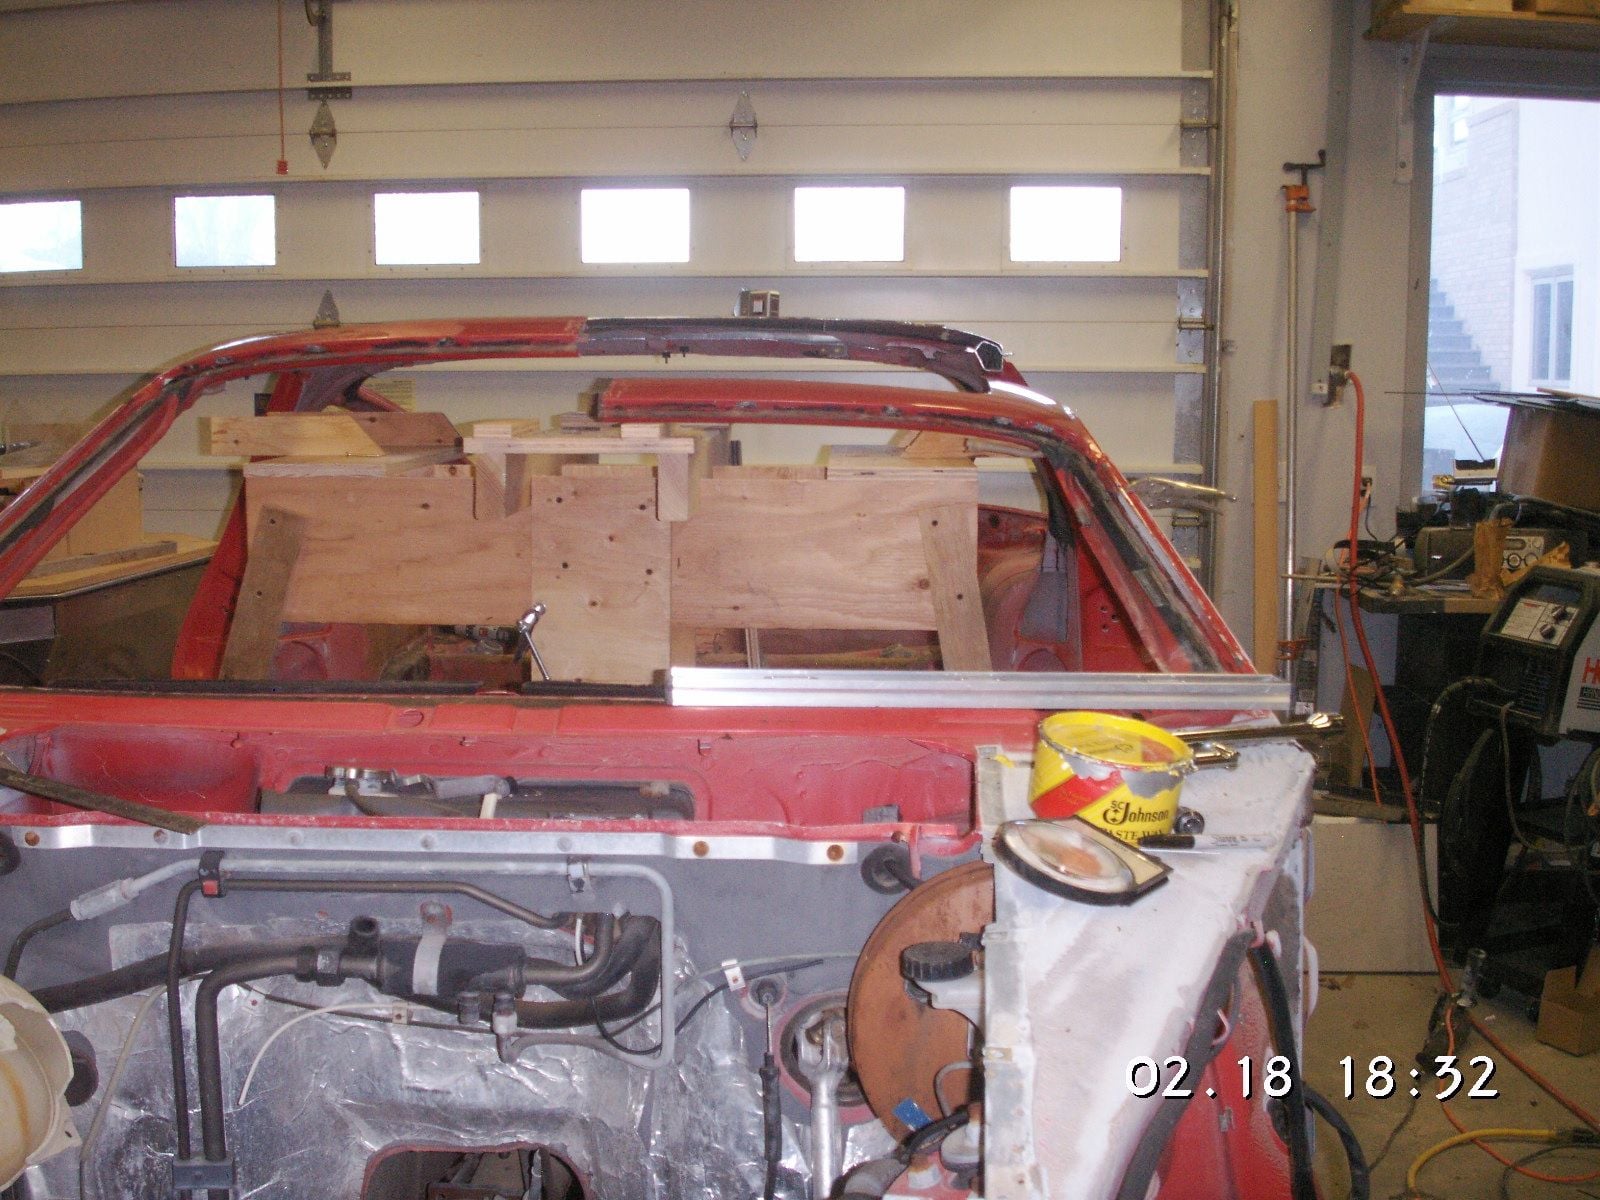
View from the front.
Ovderall view for the new look.
Then I went out to Sears and bought a couple of metal cutting blades for my Craftsman Sawzall. Boy, is that thing a brute. I carefully marked some of the roof cuts and then cut the first corner out and trimmed it to fit back onto the shortened A-Post. The other two ends are resting on the guidepost structure; and they can be shimmed or the guides ground down as necessary to get the pieces in alignment before cutting patches to fit each of the resulting gaps.
#103
Rennlist Member
Thread Starter
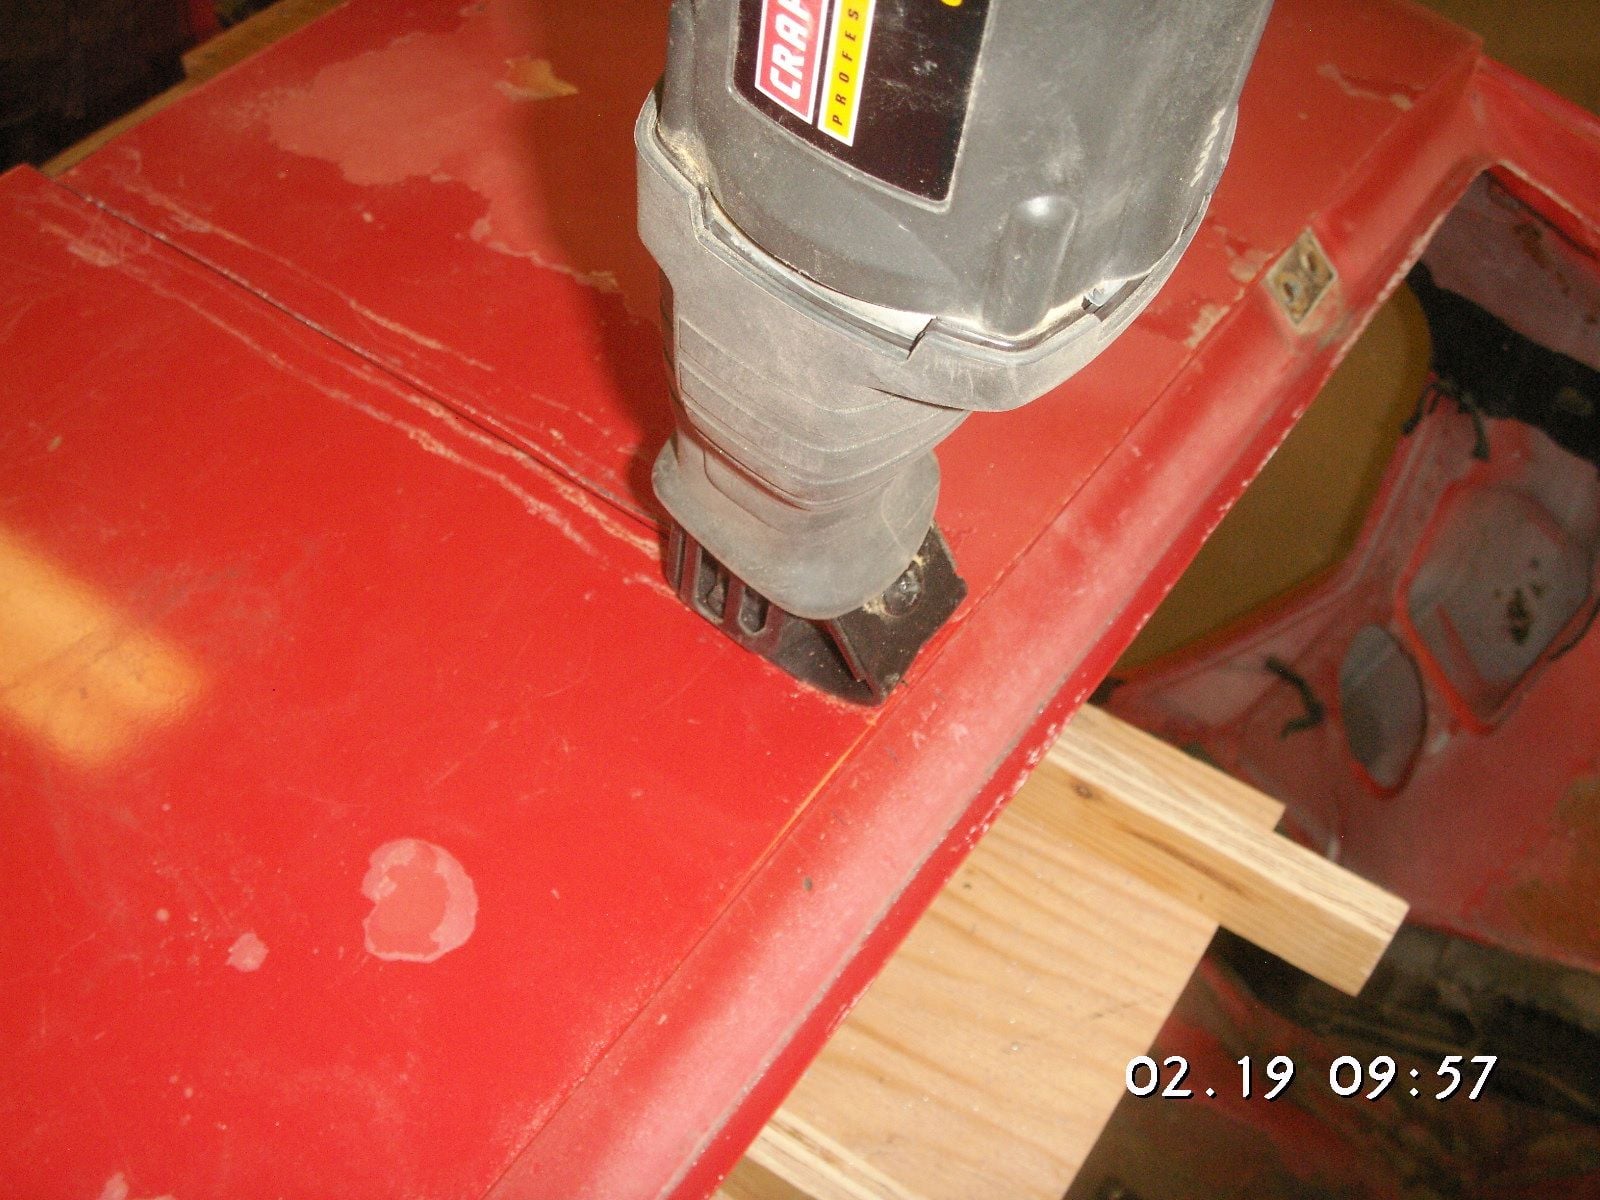
Cutting the rear center with the Sawzall.
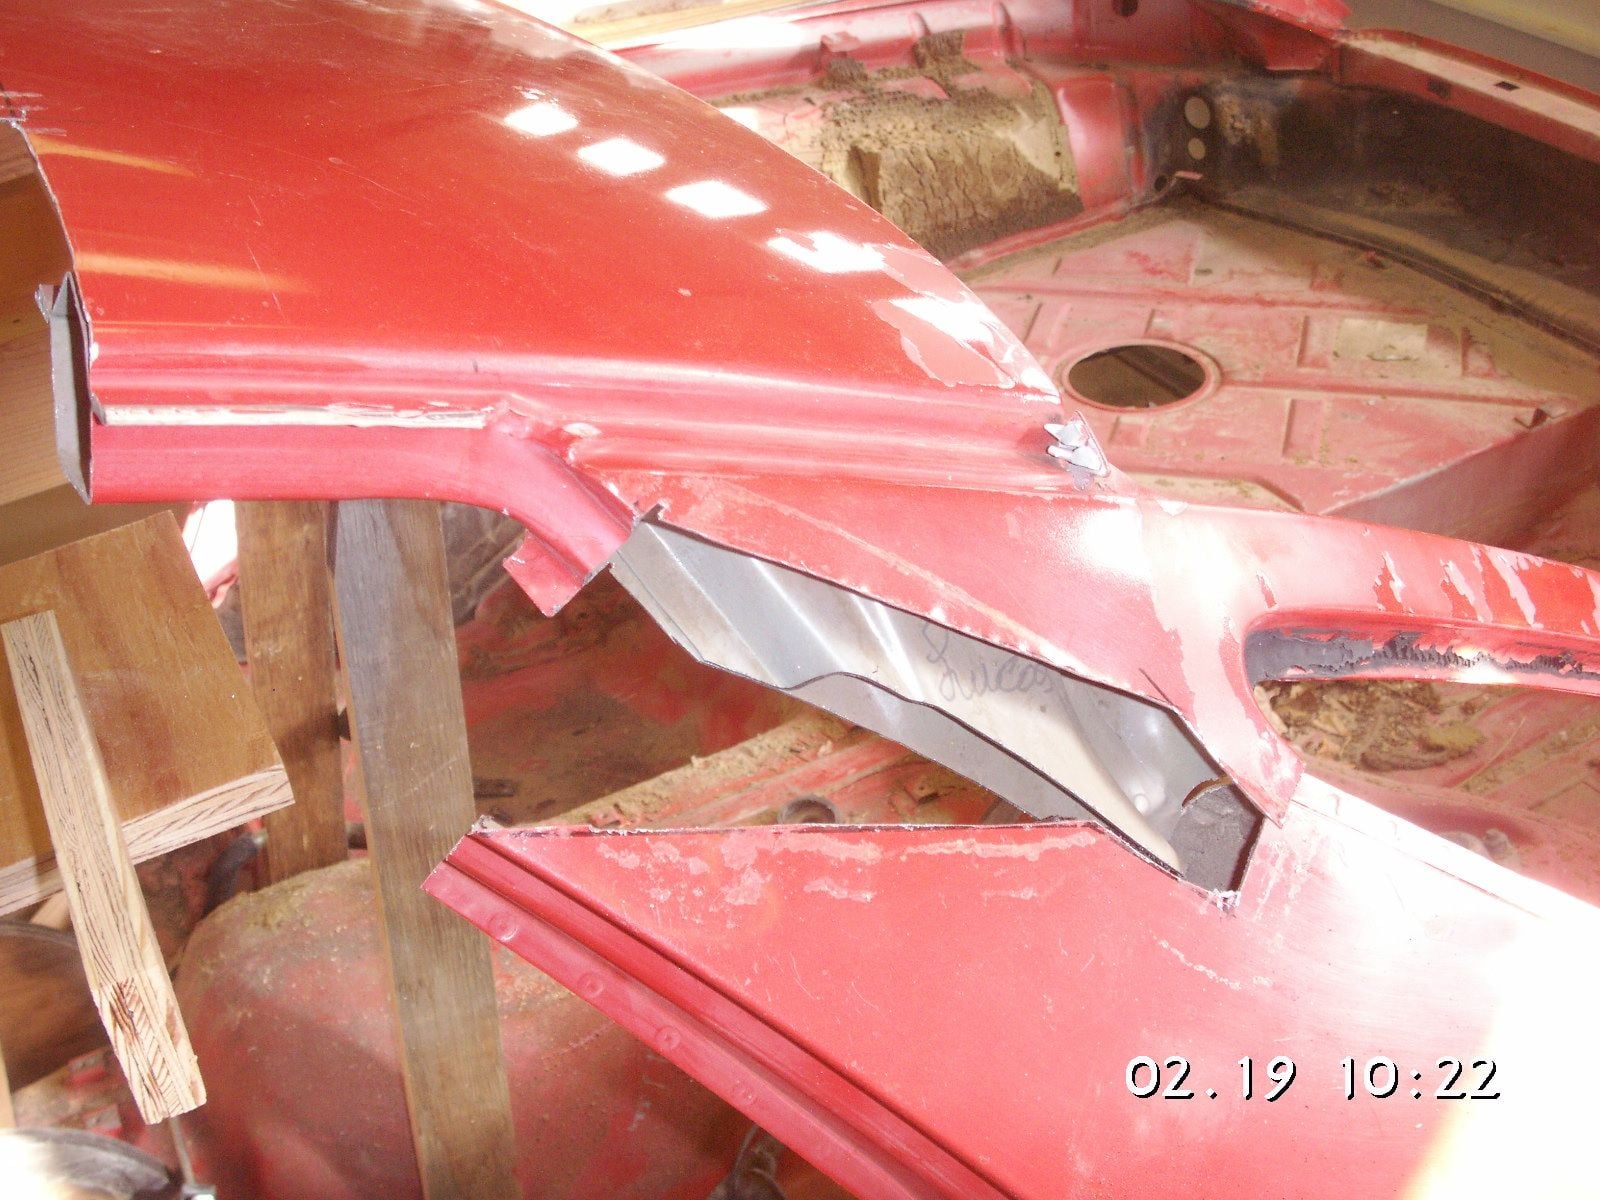
Top of the B-Post roughly cut free.
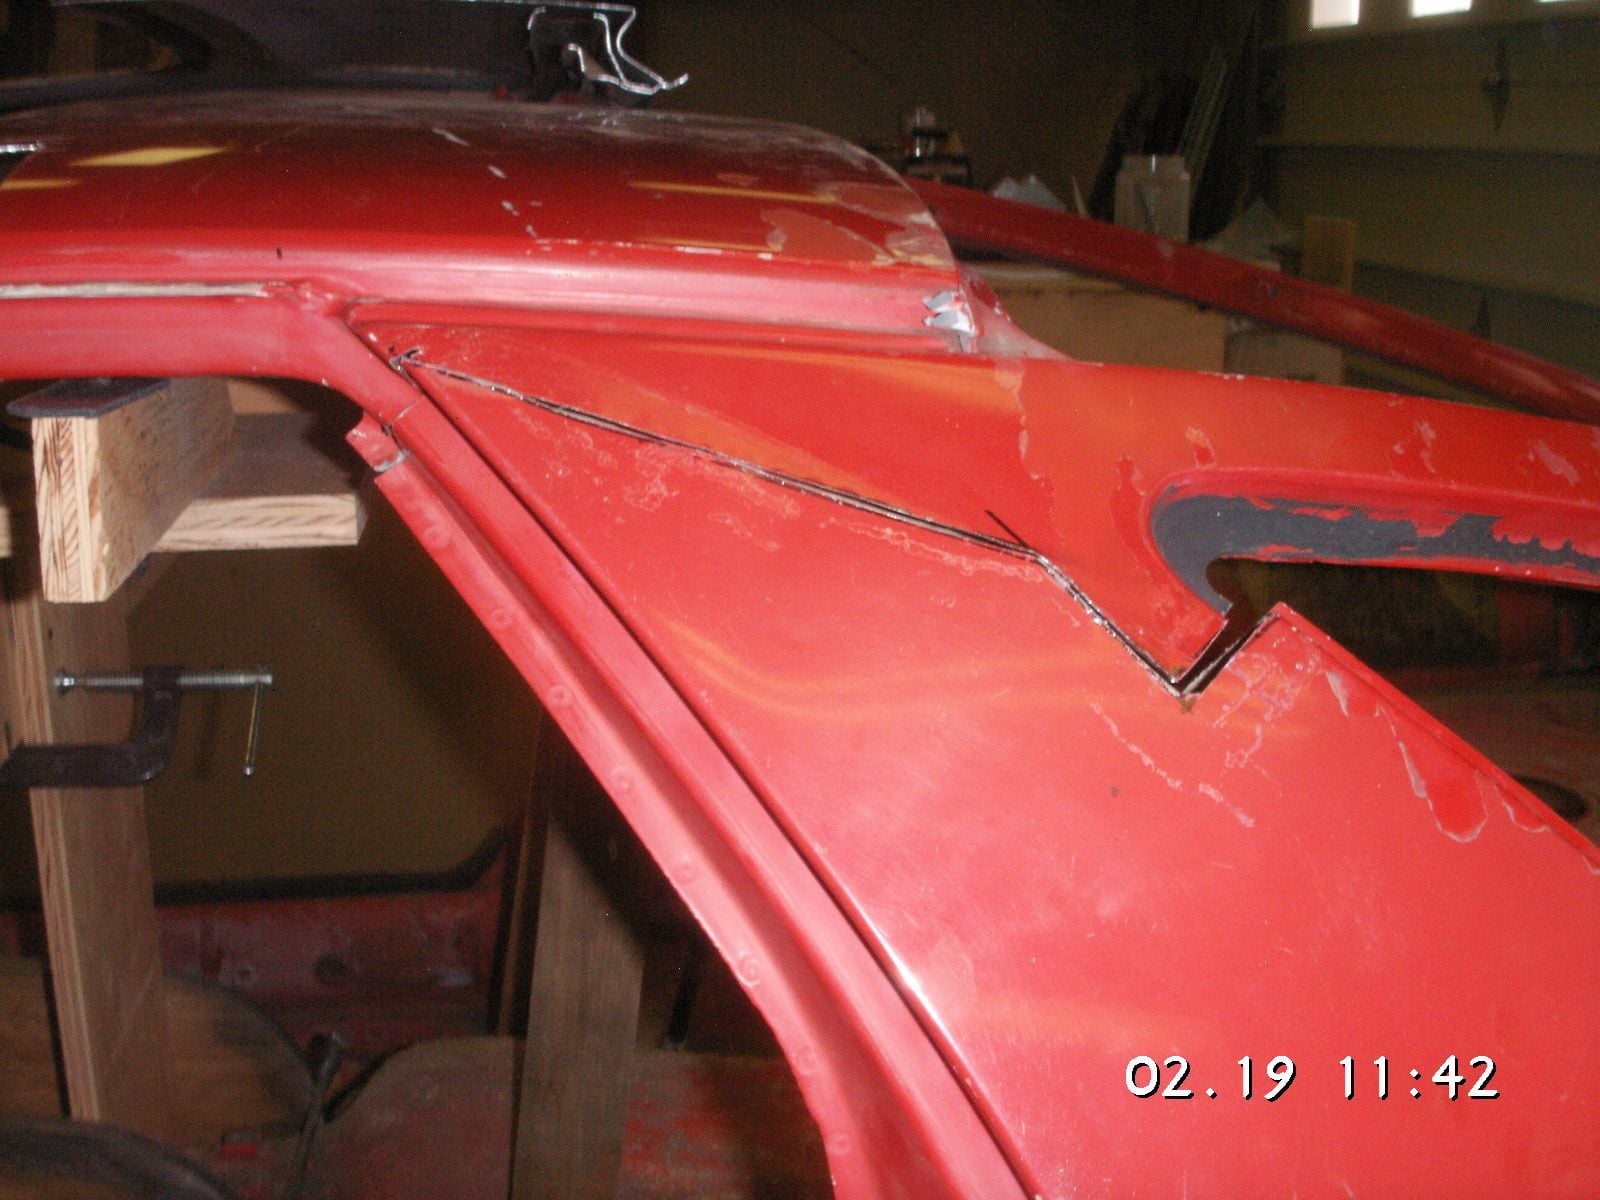
B-Post cuts a little more refined.
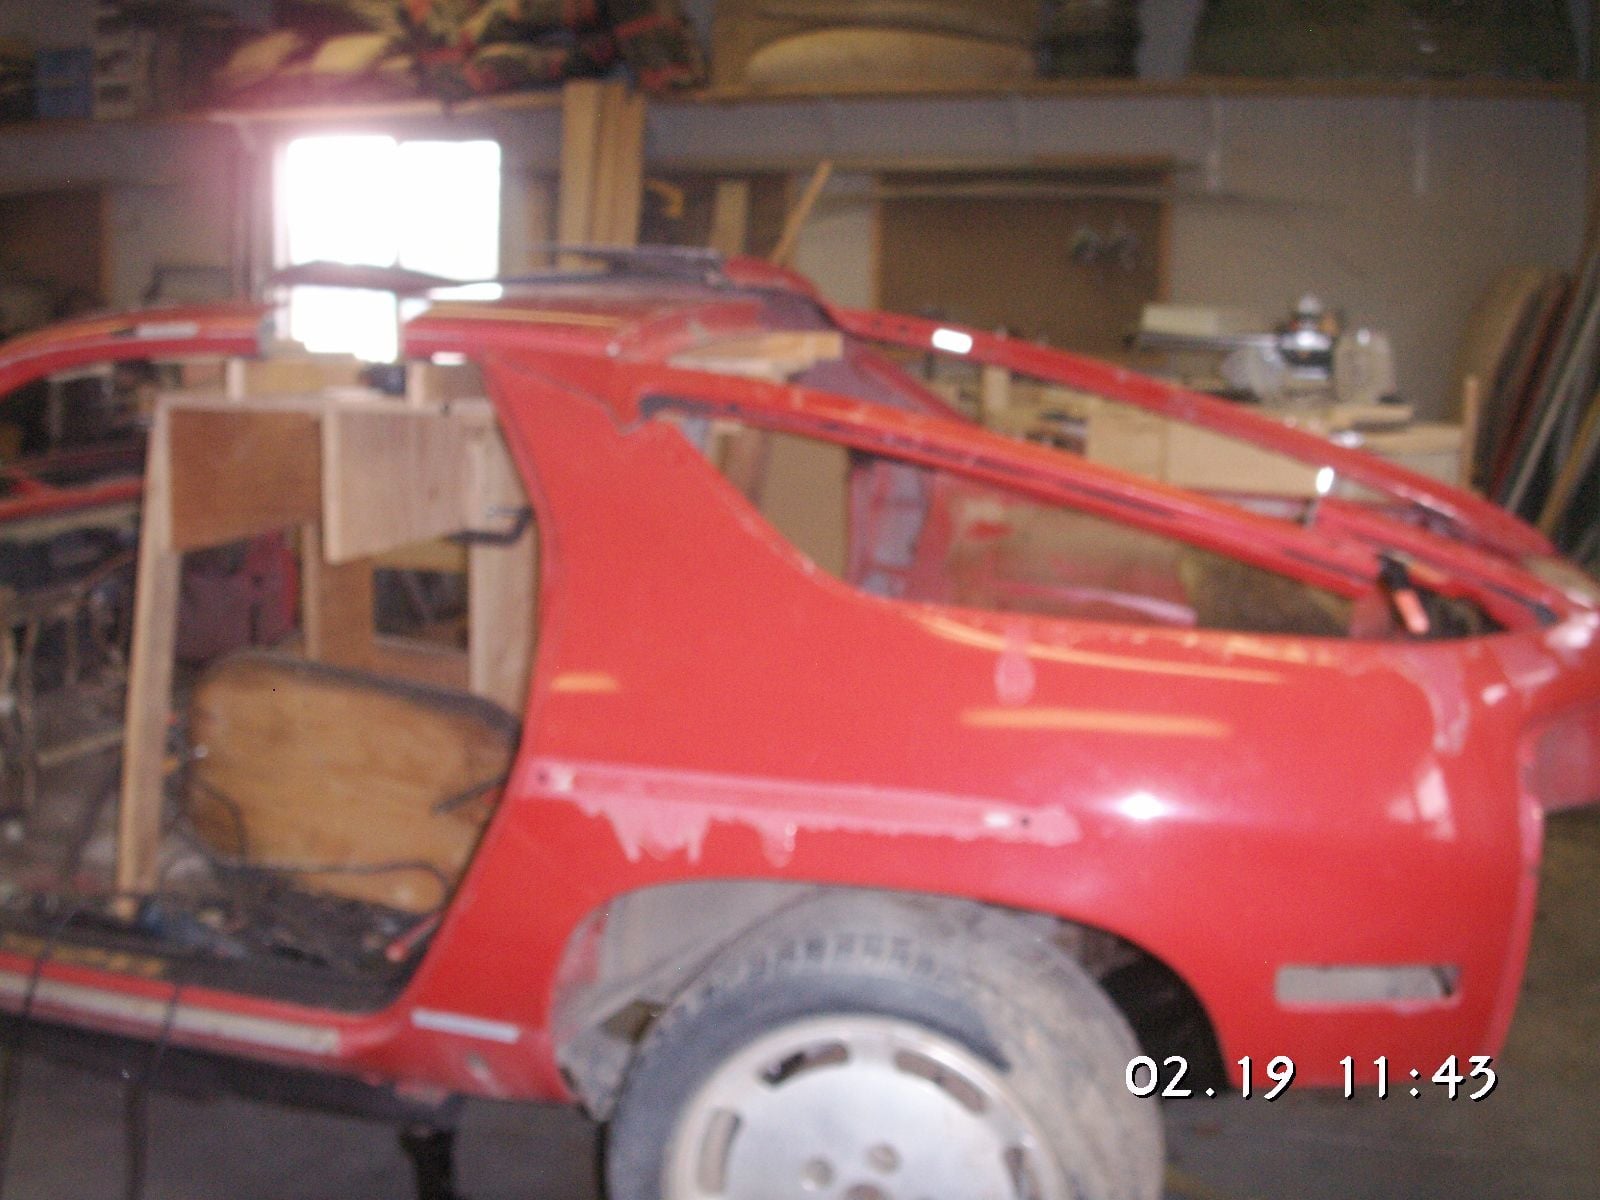
Rear section is approximate new position.
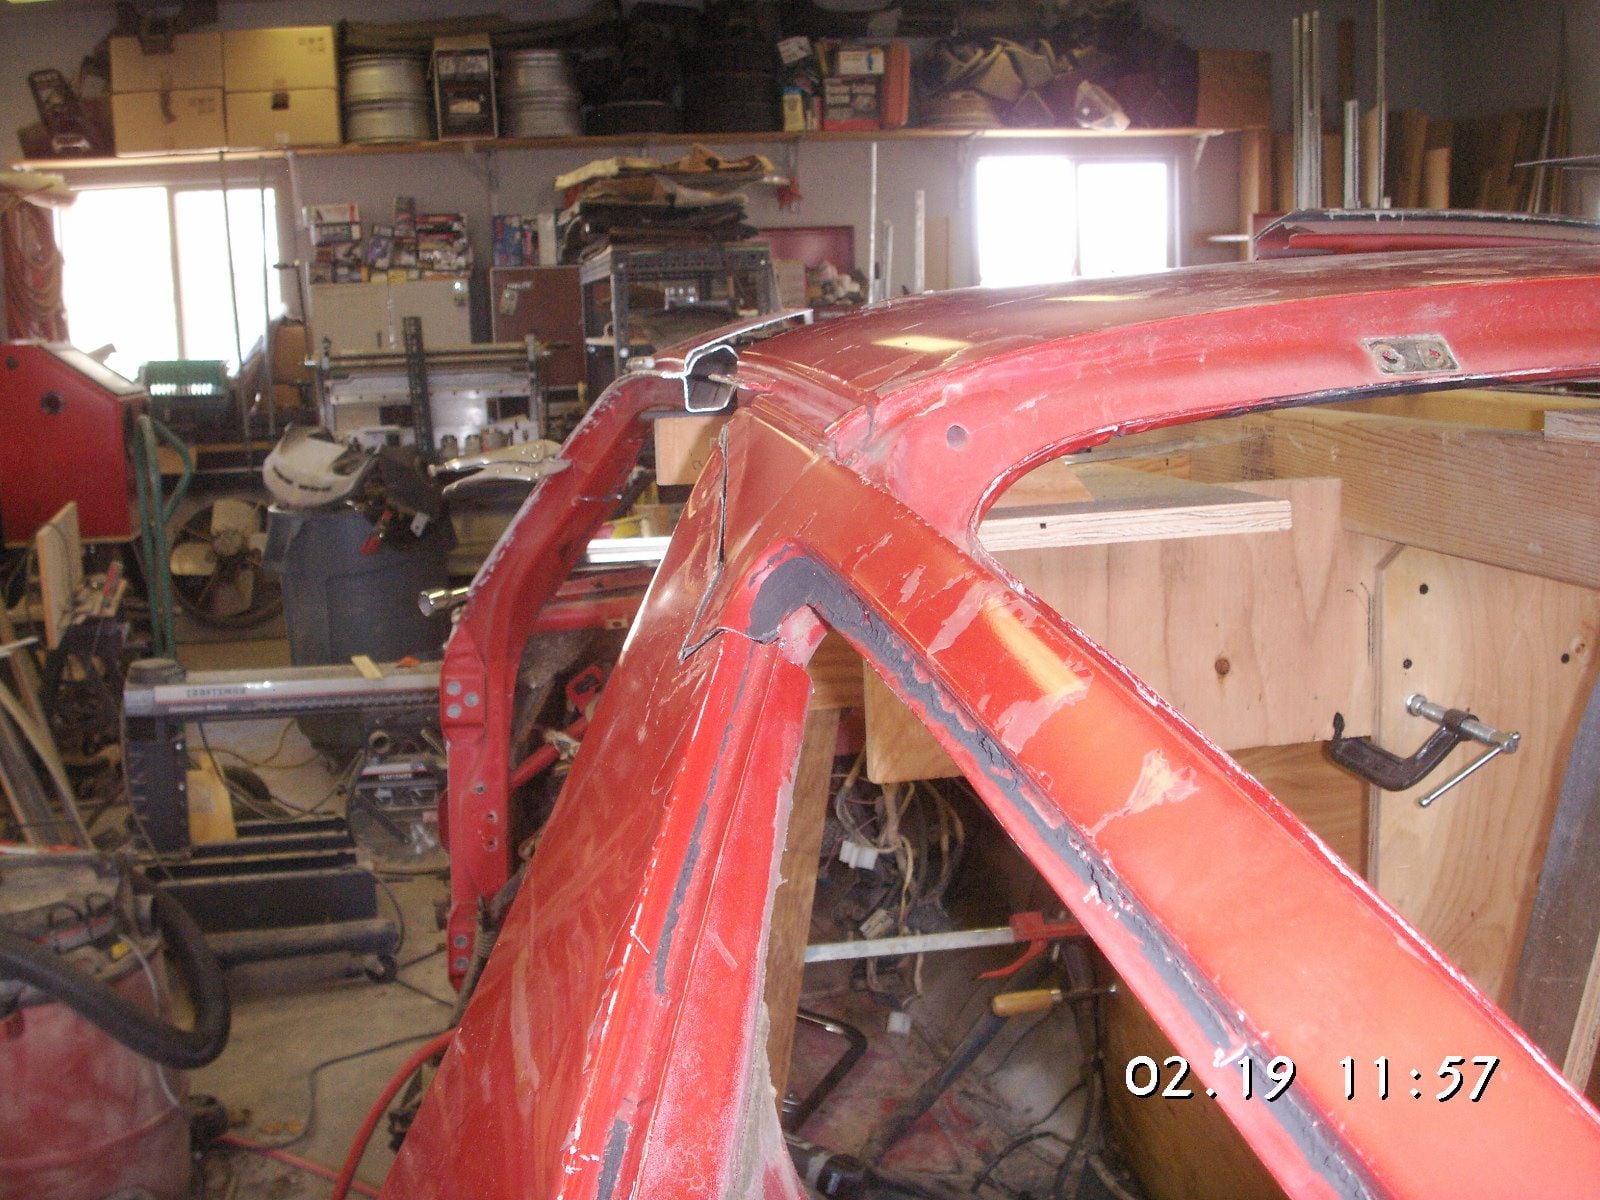
Alignment view.
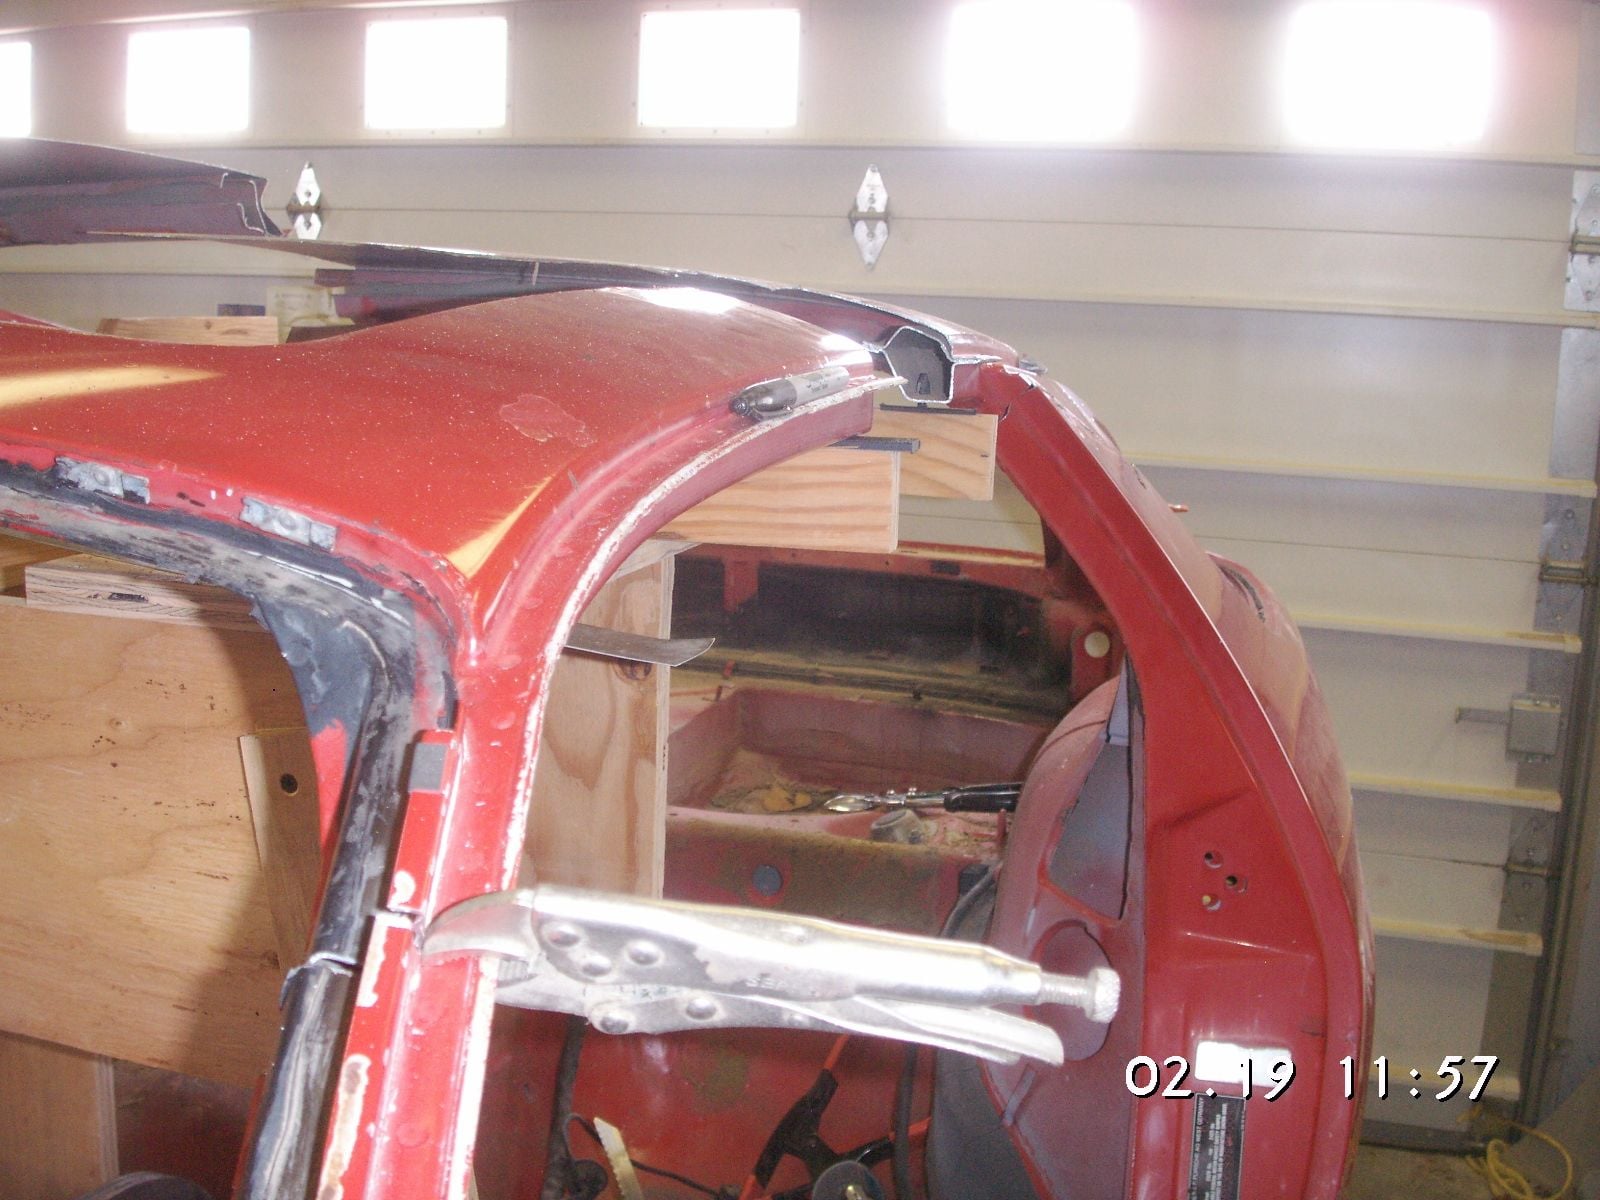
Alignment from the front.
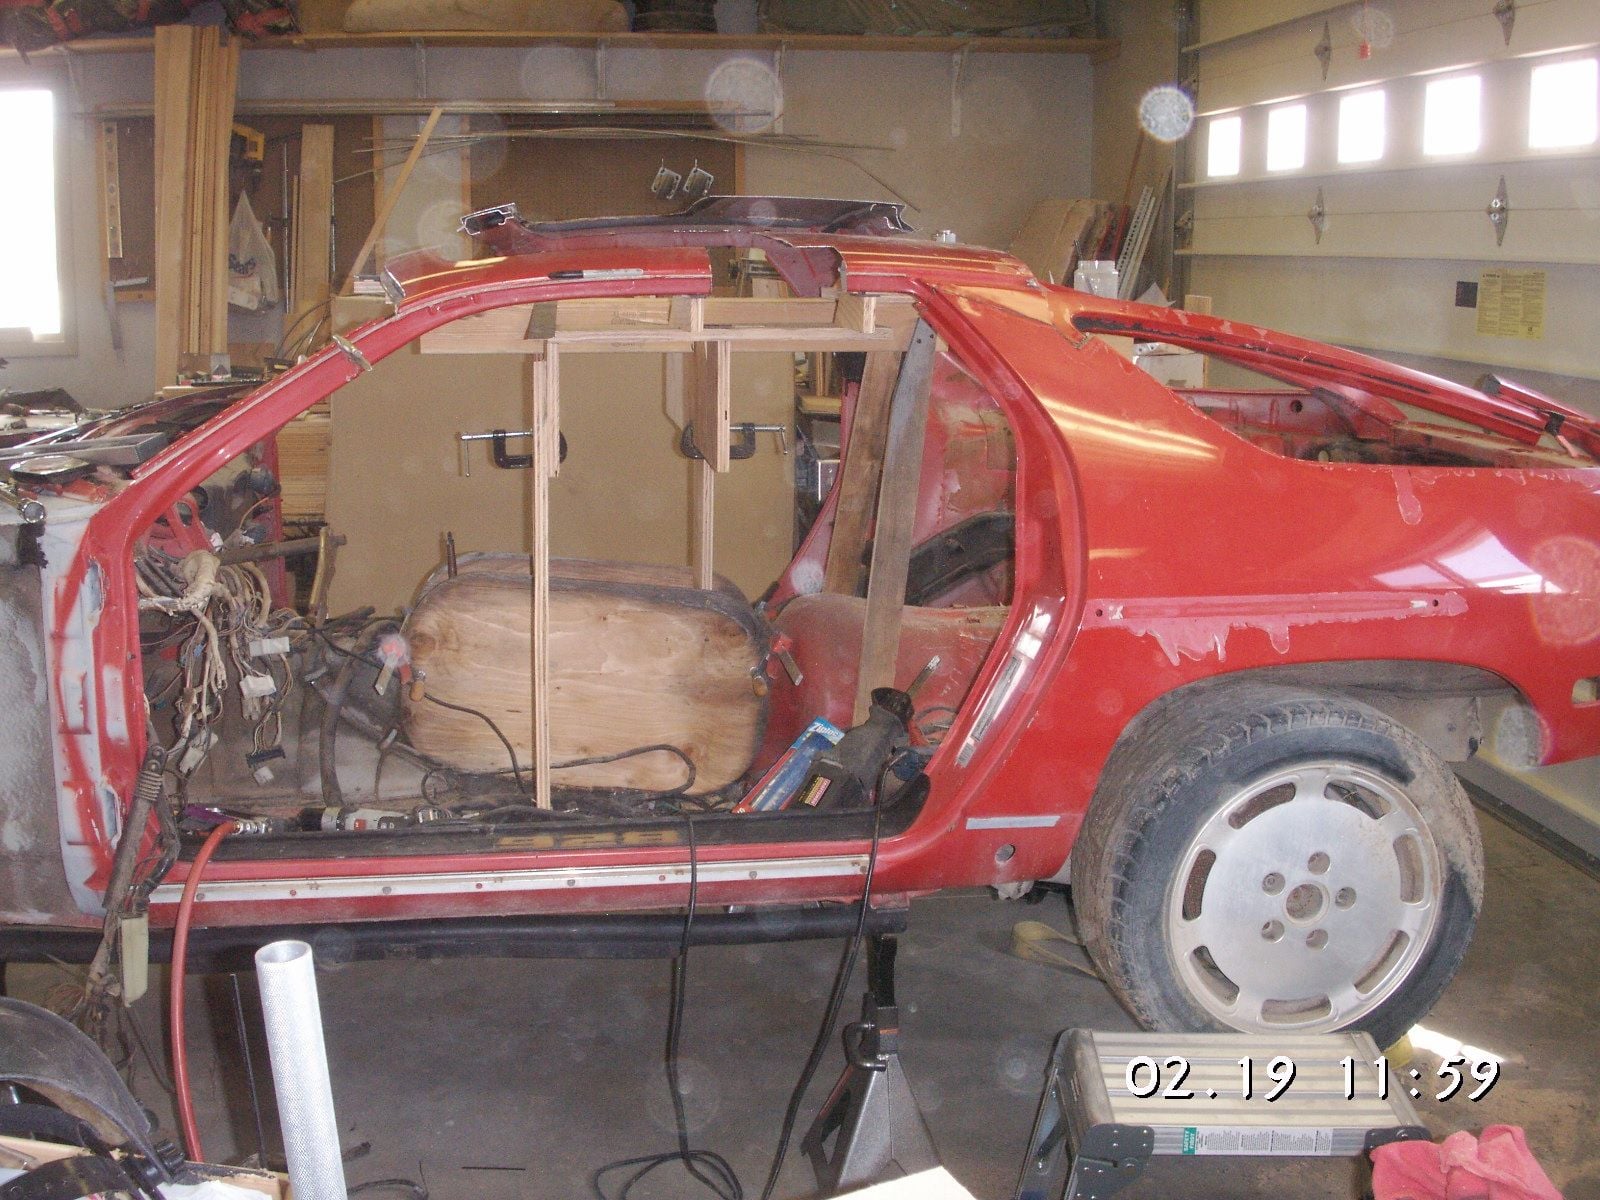
New side view.
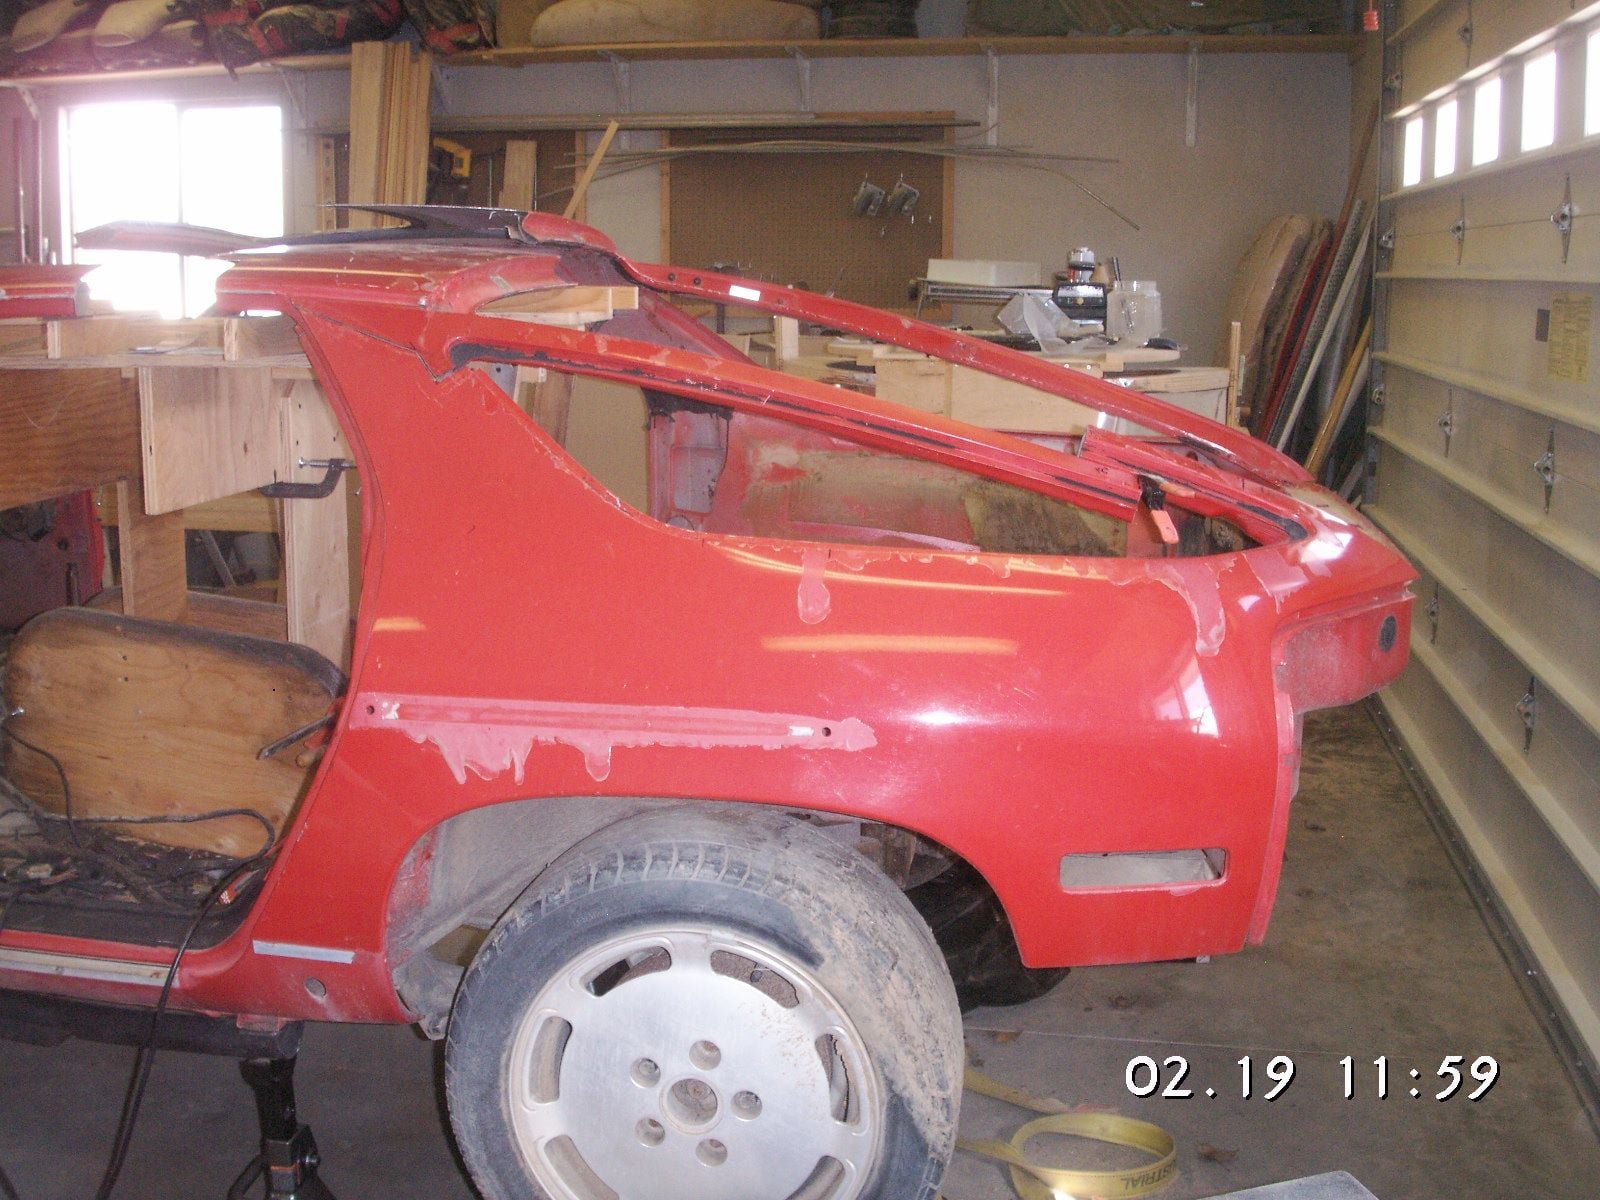
Side view of the rear quarter.
A little more cutting and trimming and I have the left rear quarter of the roof cut loose and mostly trimmed to fit in its new location. The cuts will need to be refined a bit and then the pieces lined up so I can start cutting patches to fill the gaps.
Then I need to cut the tail loose so it can be moved forward about 3 inches to help fill up the offset at the base of the C-Post. I also need to cut the base of the C-Posts off so they can move outward and forward to make the last C-Post gap correction.
Last edited by Jerry Feather; 02-19-2018 at 09:25 PM.
#104
Rennlist Member
Very exciting Jerry! You must have measured a thousand times prior to making all these cuts with such confidence! I re-read the entire thread - the whole concept you have going is great - I love the thought you have put into this!


