When you click on links to various merchants on this site and make a purchase, this can result in this site earning a commission. Affiliate programs and affiliations include, but are not limited to, the eBay Partner Network.
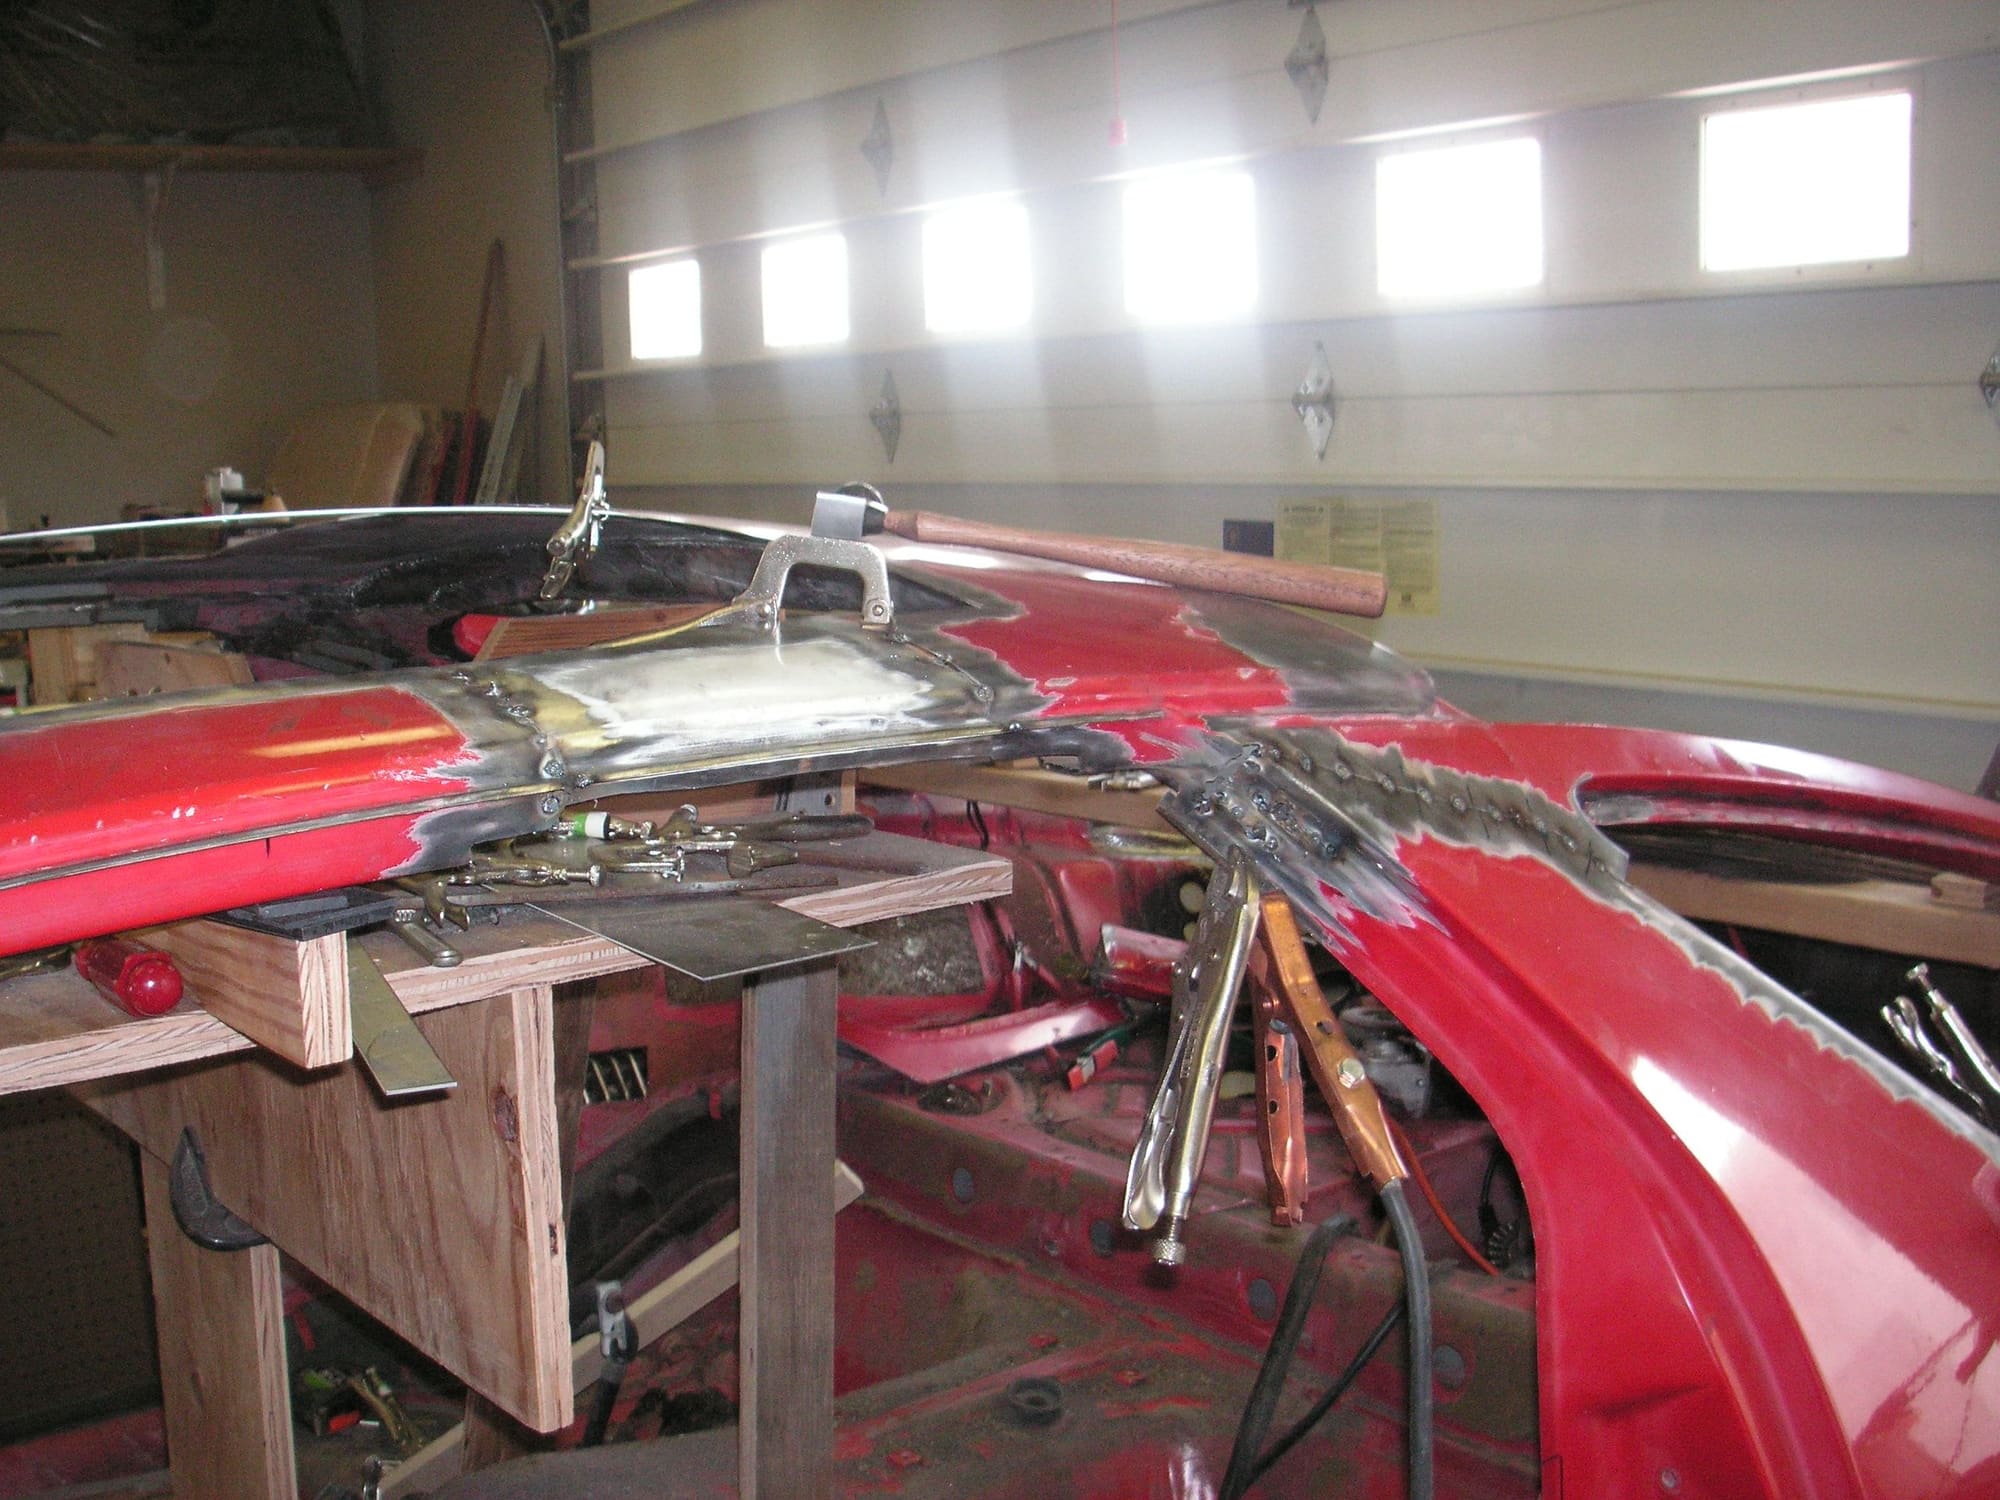
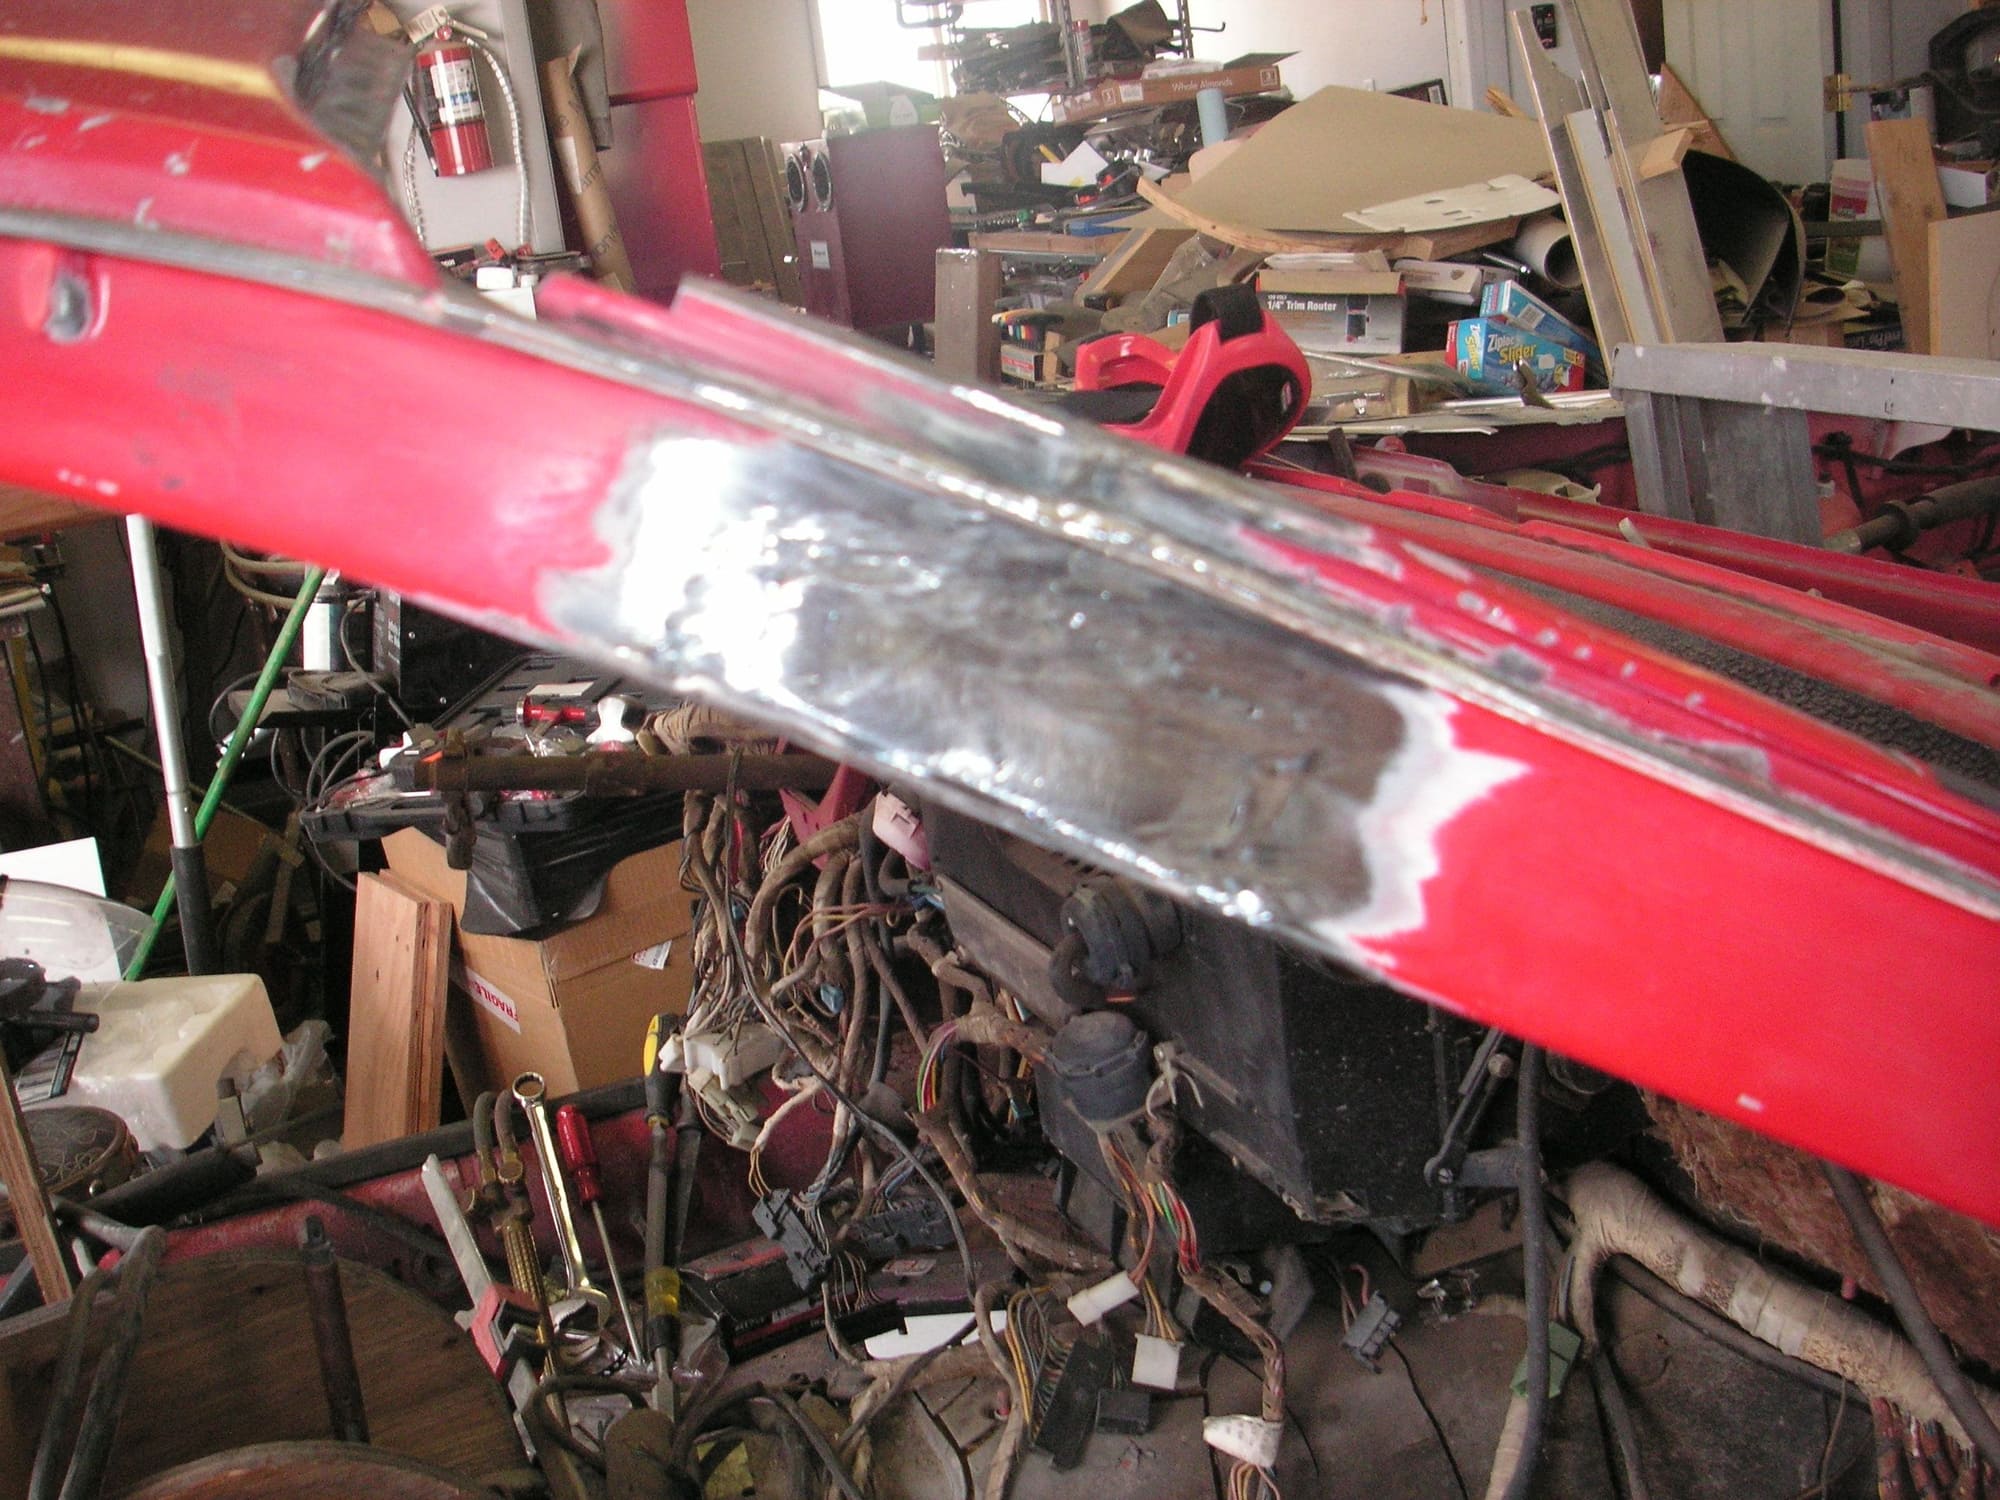
One thing that I notice with the pitch of the roof portion of the rear roof segments is that it is now much too high. I think what has taken place is that with the welding of the patches on the inside aft of those segments the welds have pulled somewhat on the roof and pooched it up higher than it should be. What I think we are going to have to do is cut about 5 slots in the roof and pull the material back down and weld it back at the correct pitch, or perhaps simply cut much of it out and replace it with a larger section of roof from the junkyard donor car when that is discovered; or maybe even a combination of these two solutions.
This also kind of leads us in a different direction in respect to welding in some of the inside roof patches. With the rear roof segments welded together I think we can take them off the car and fit and weld in the inner roof patches on the bench rather than waiting until later and doing that welding inside overhead. We may even do the same with the fairly complex set of patches for the center of the front two segments. Than that will leave only the side patches to weld in overhead, since I think the whole roof will be much too cumbersome to handle on the bench, and I think those patches can be welded overhead perhaps from the outside rather than trying to figure out a way to position myself inside the car.
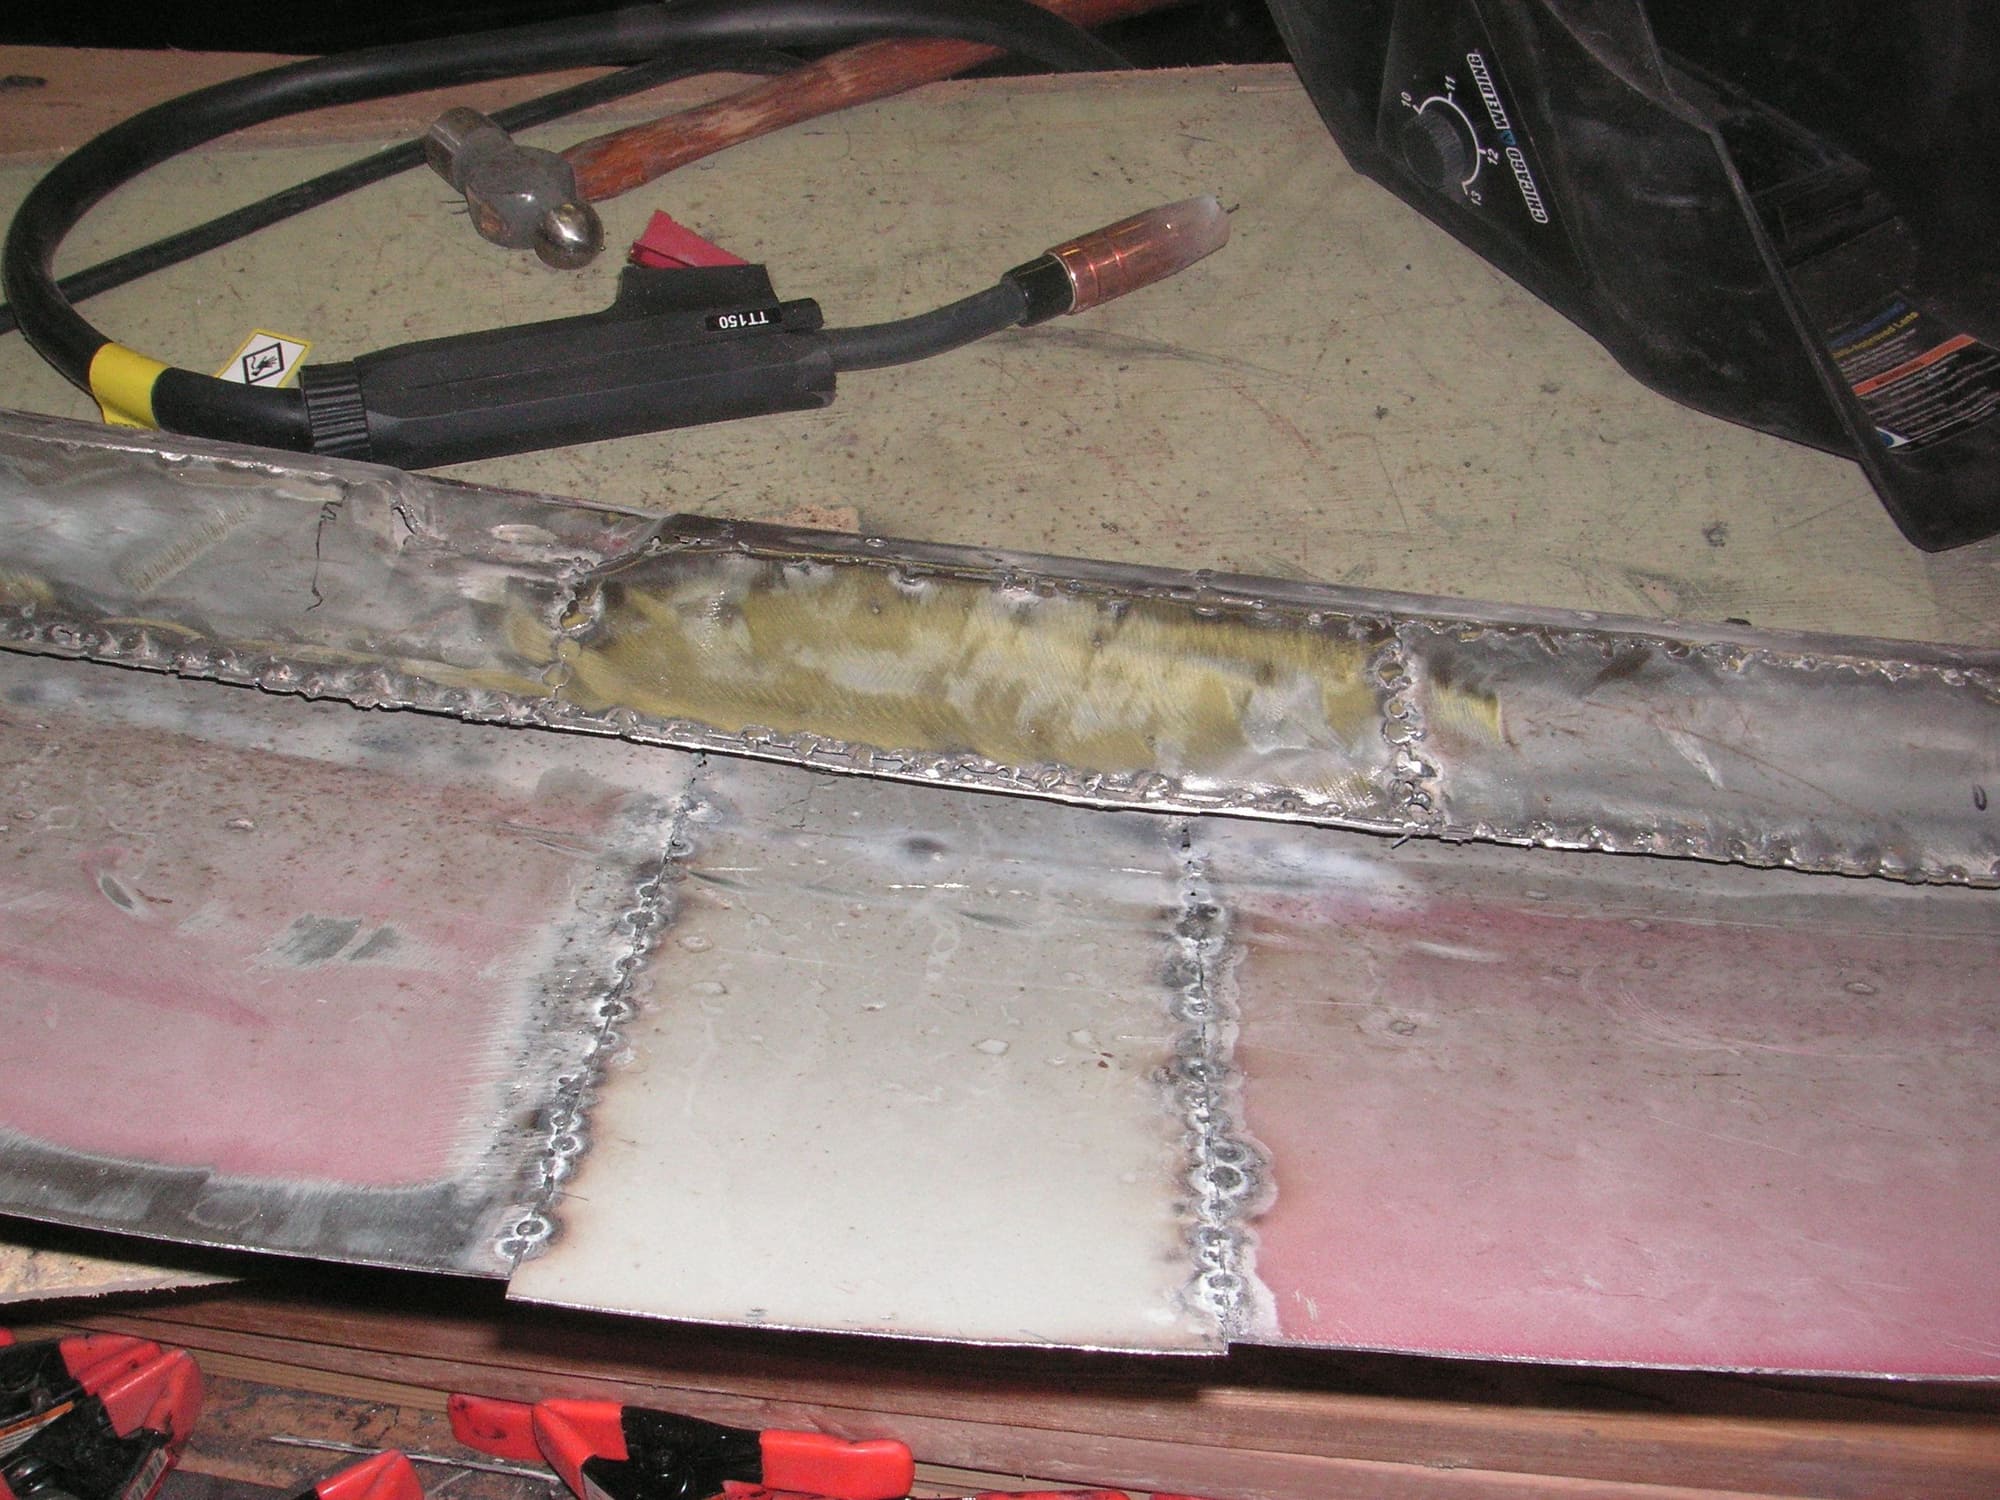
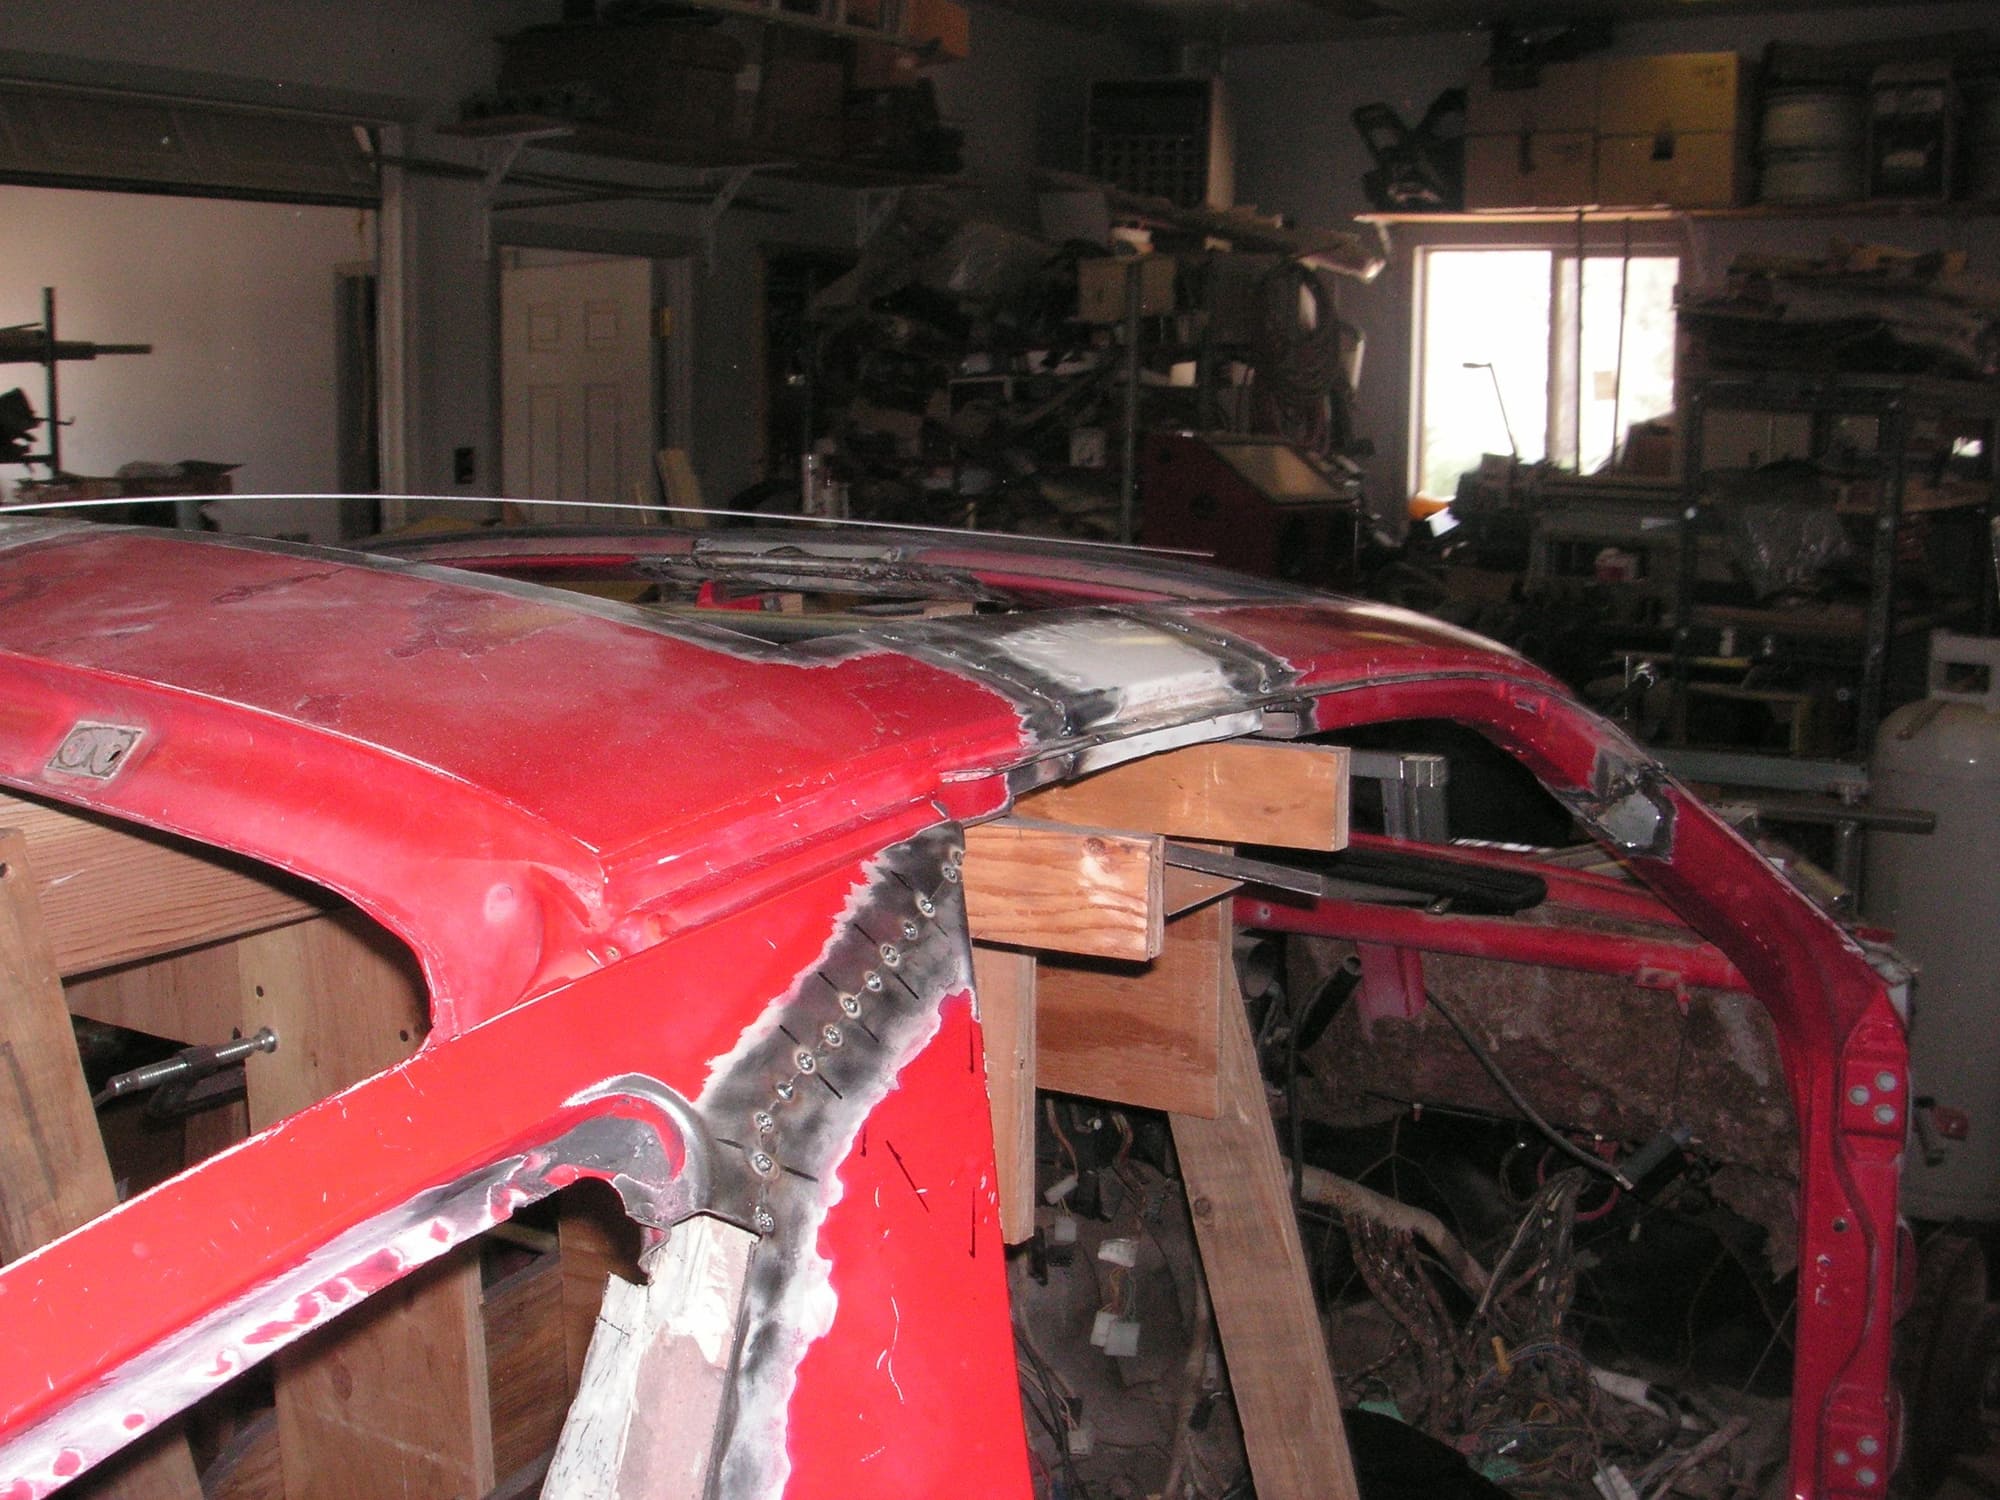
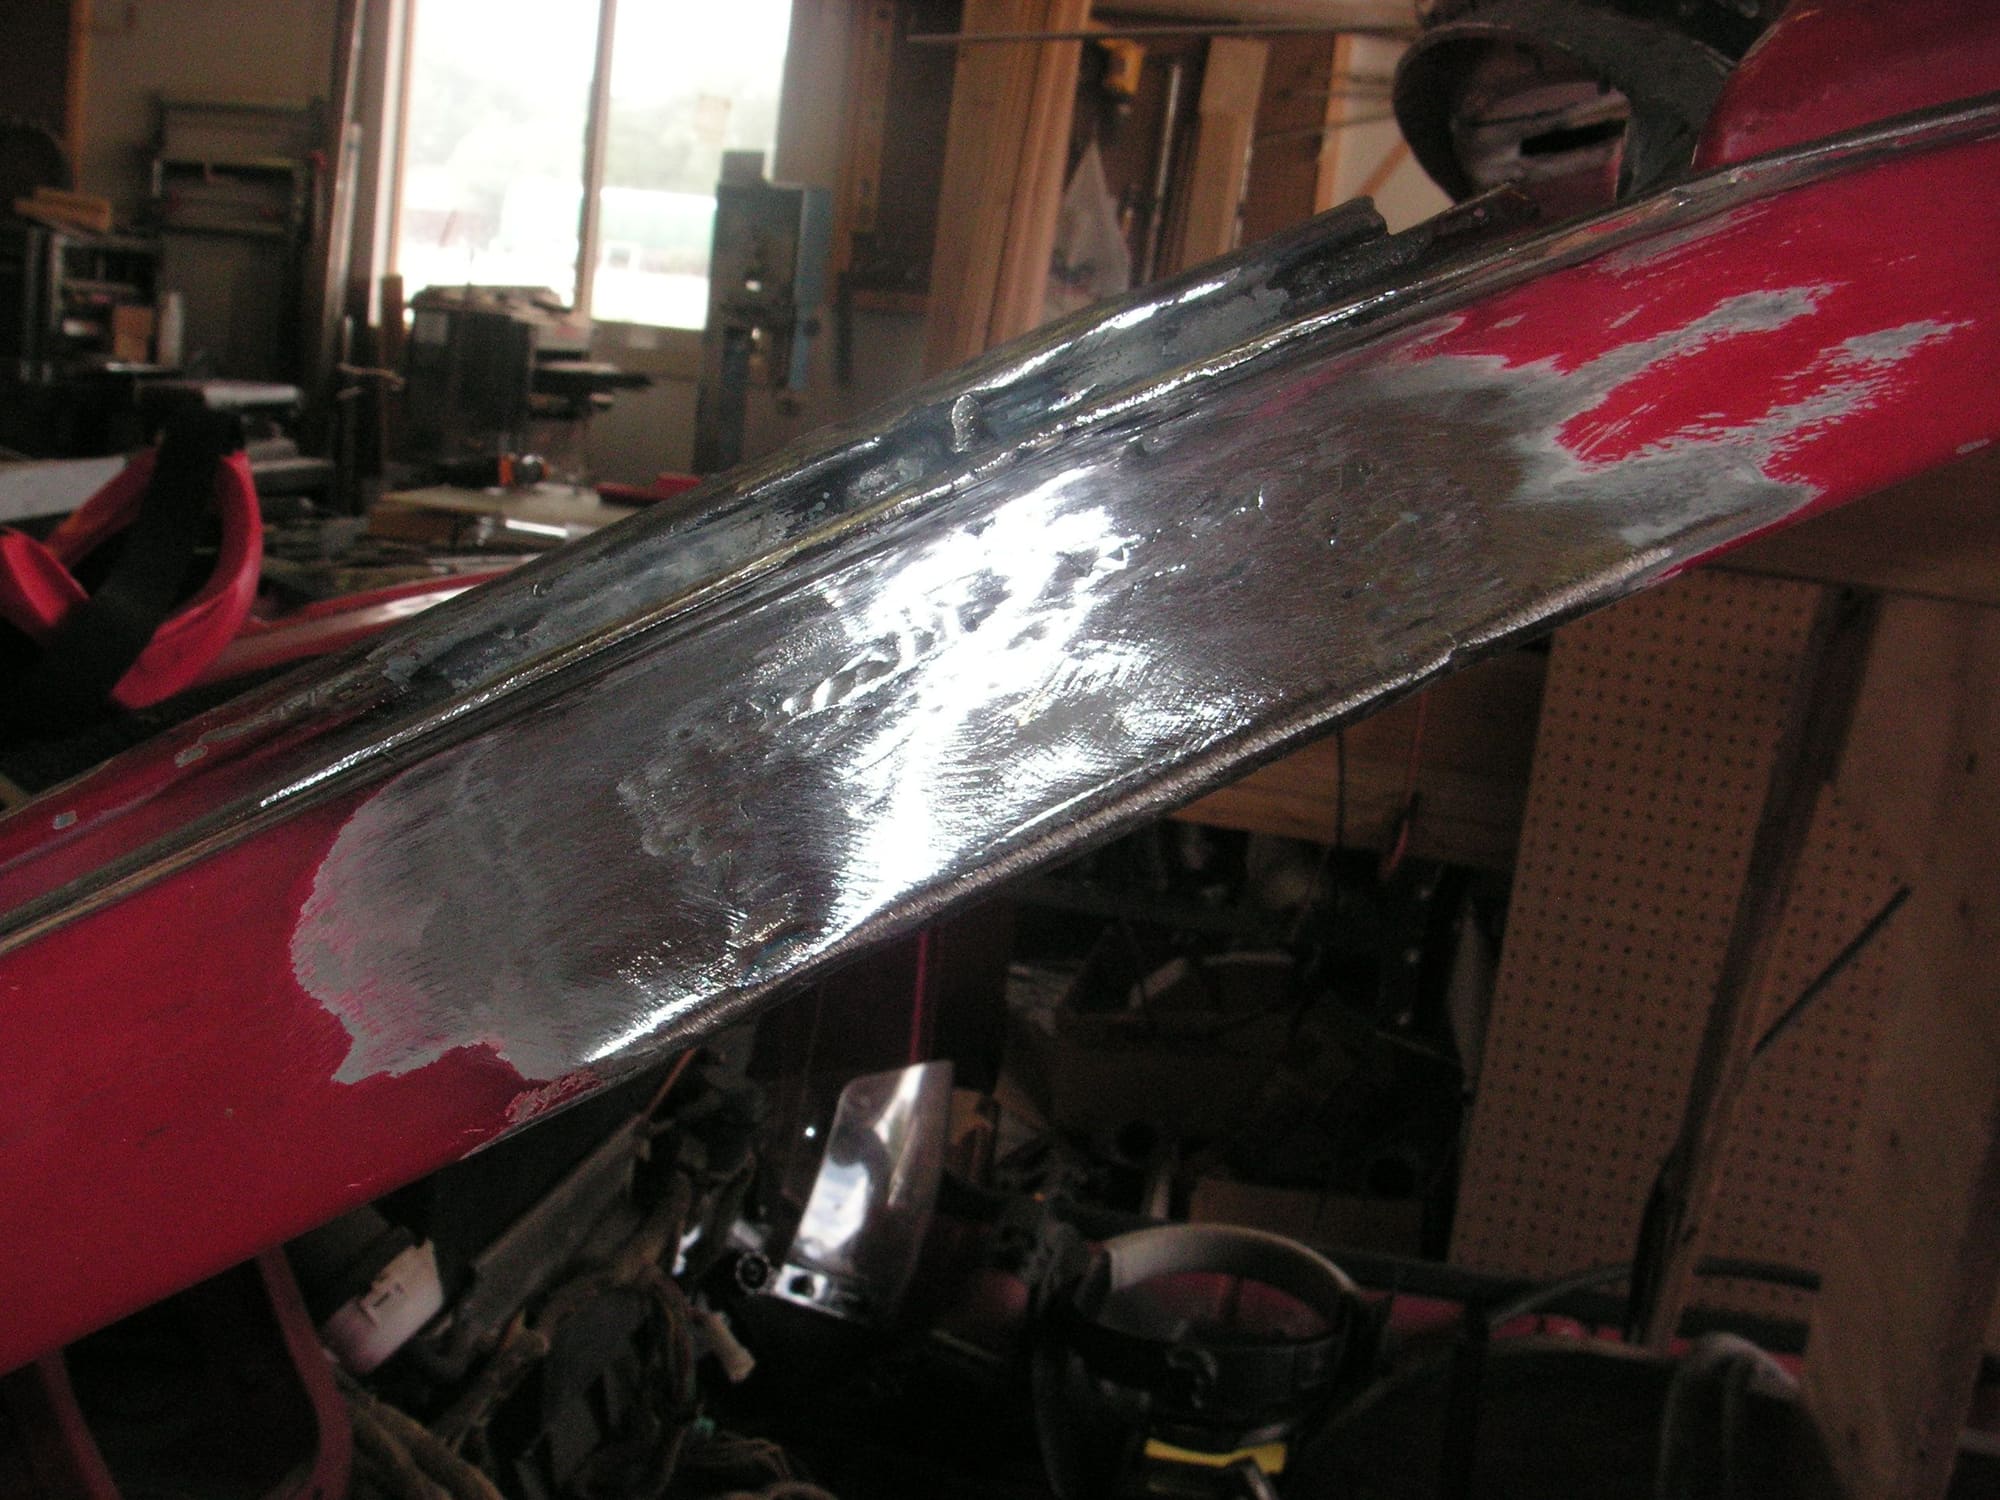
I found that I could handle the two rear segments of the roof while welded together and off of the car so I welded in the inner pieces of the rear roof edge.
Then after I put it back on the car I found that the top was warped a little, so I cut one of the outer seams open and squeezed it together and welded it back so the rear edge appears to have the correct curvature
at least at the edge. The metal forward of the edge is still arched too much. I still think I can do some cuts in it and squeeze them together and weld them to take the extra curvature out, but I'll wait until I get to the big roof patch from a donor roof at the junkyard.
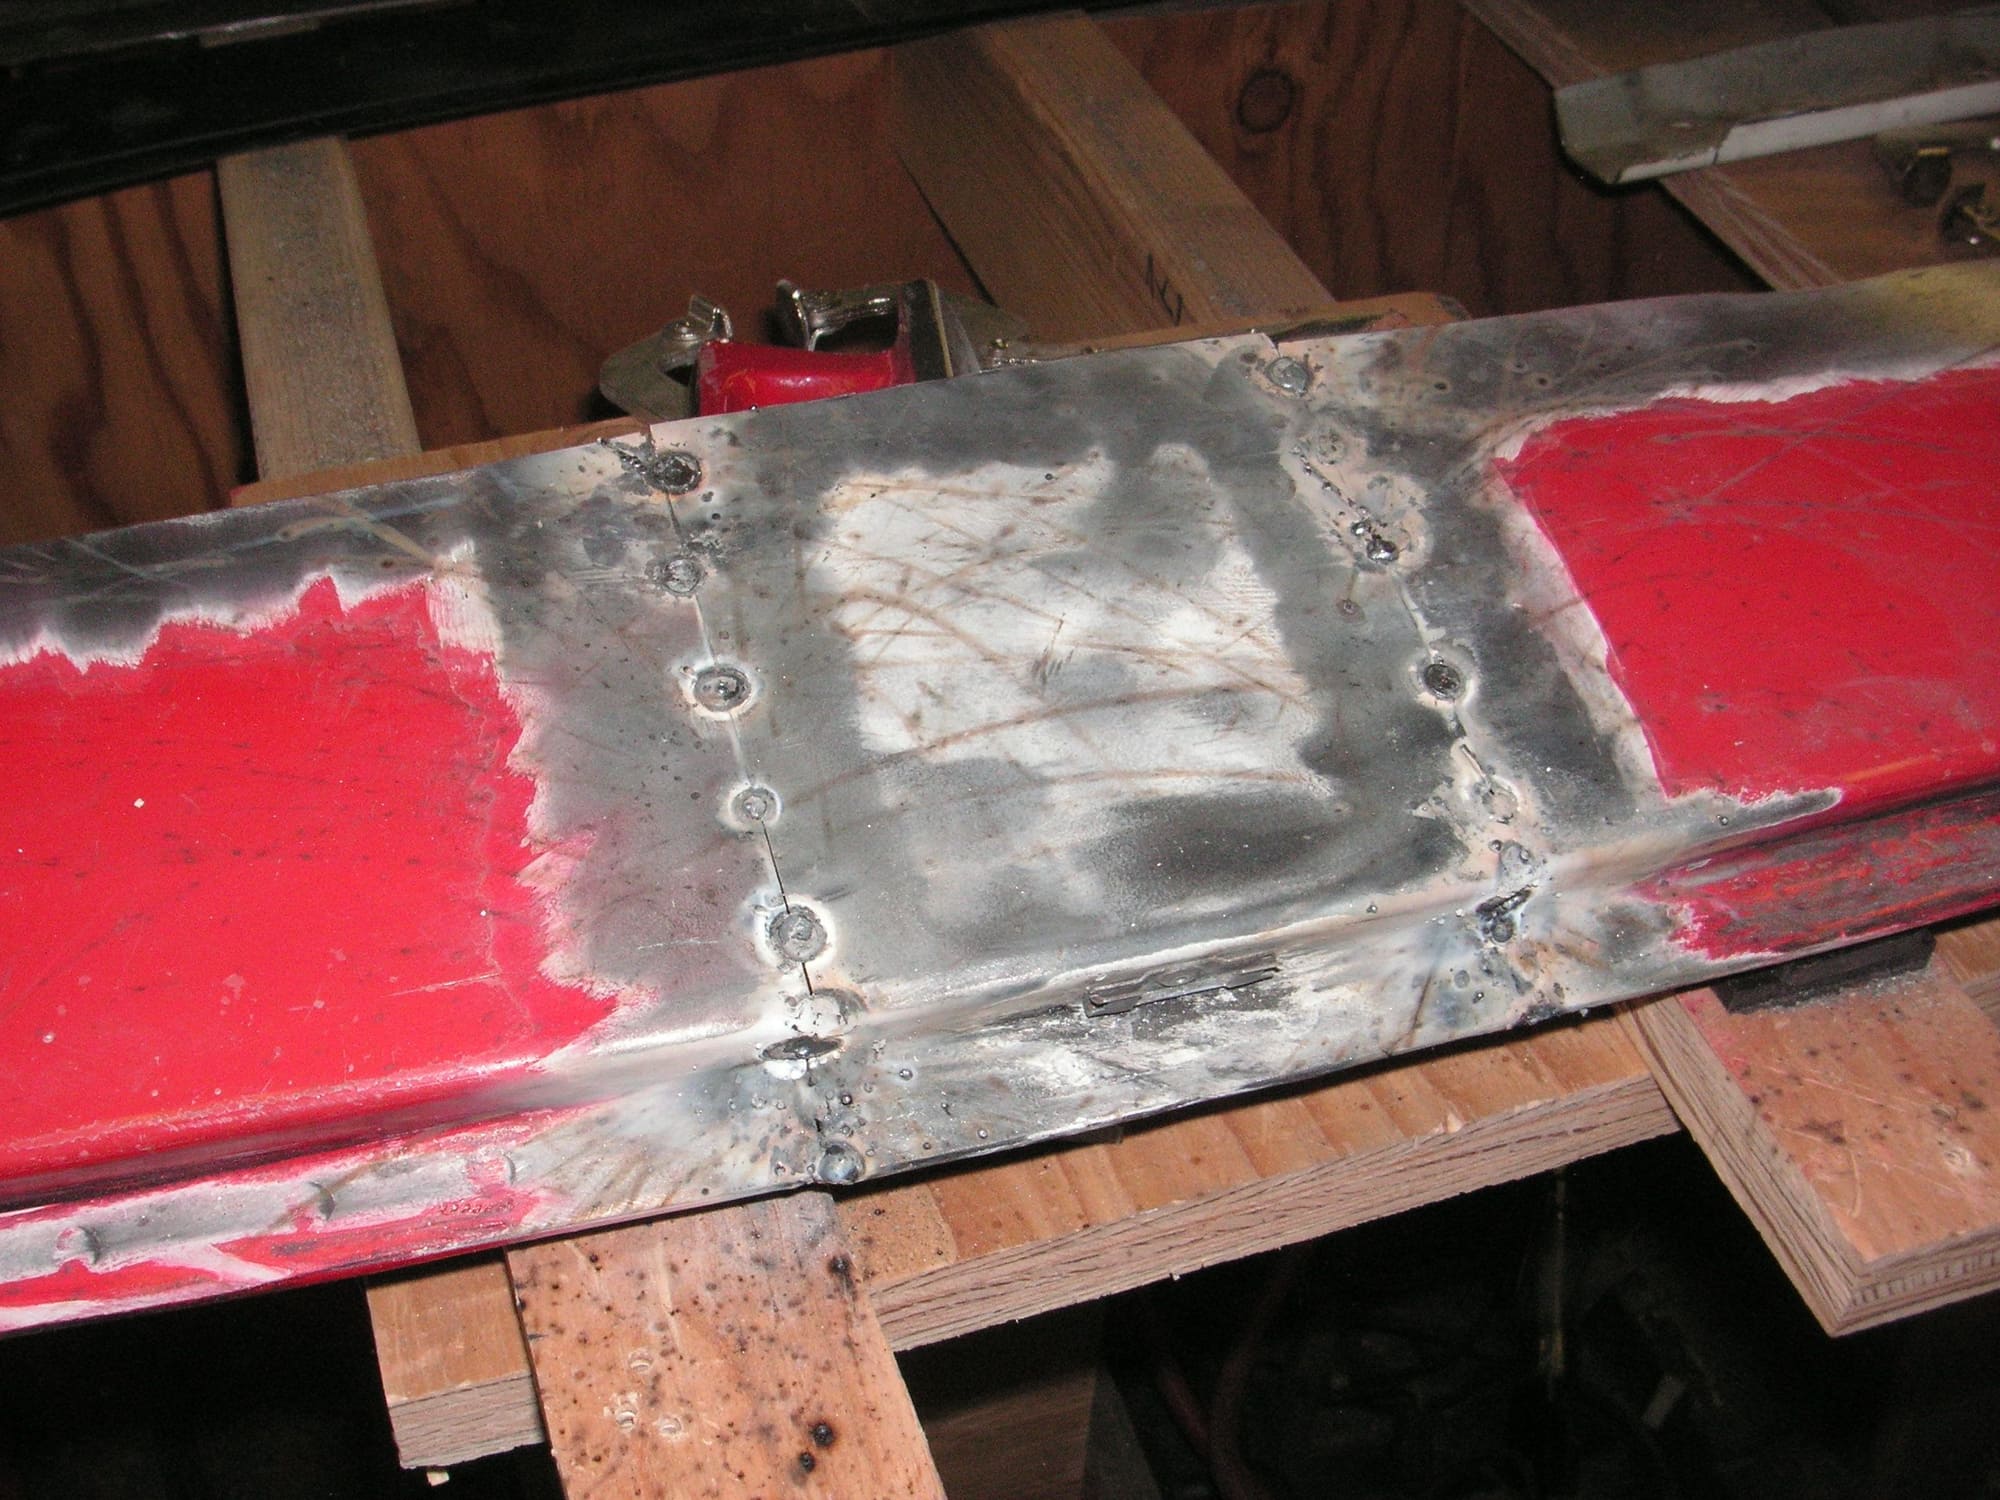
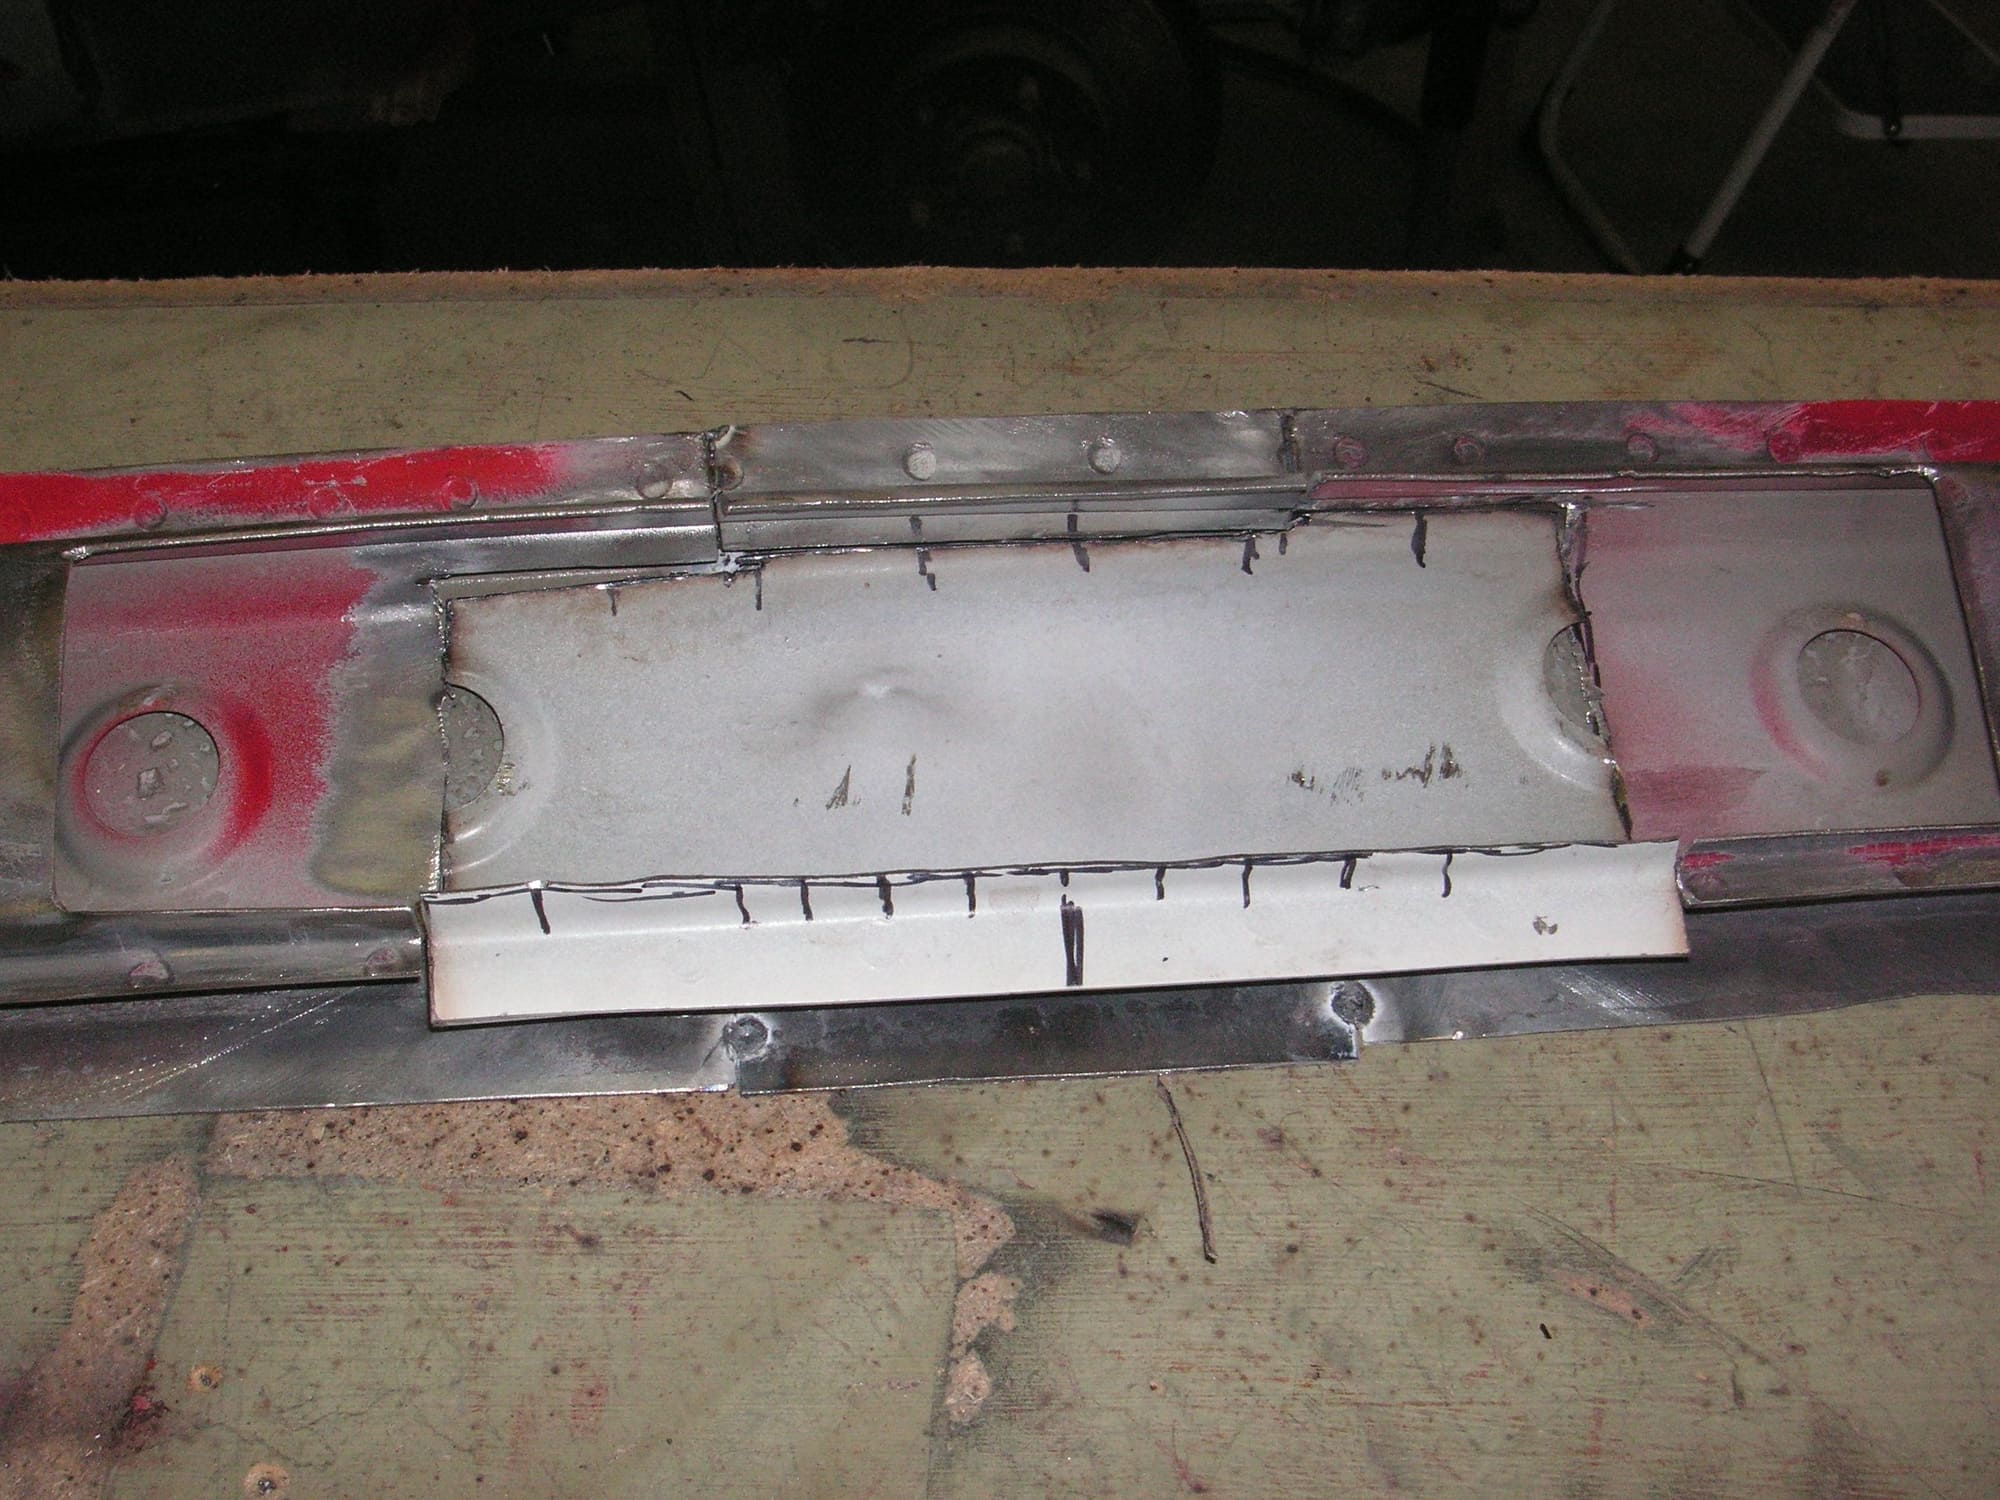
Then I welded the front patch in and one of the inside patches. The second inside patch turned out to be too small for the hole. so I grafted in another piece of metal and will take the front off and trim it to fit and weld in the last patch later. I think it is pretty handy to do these with the roof segments off the car.
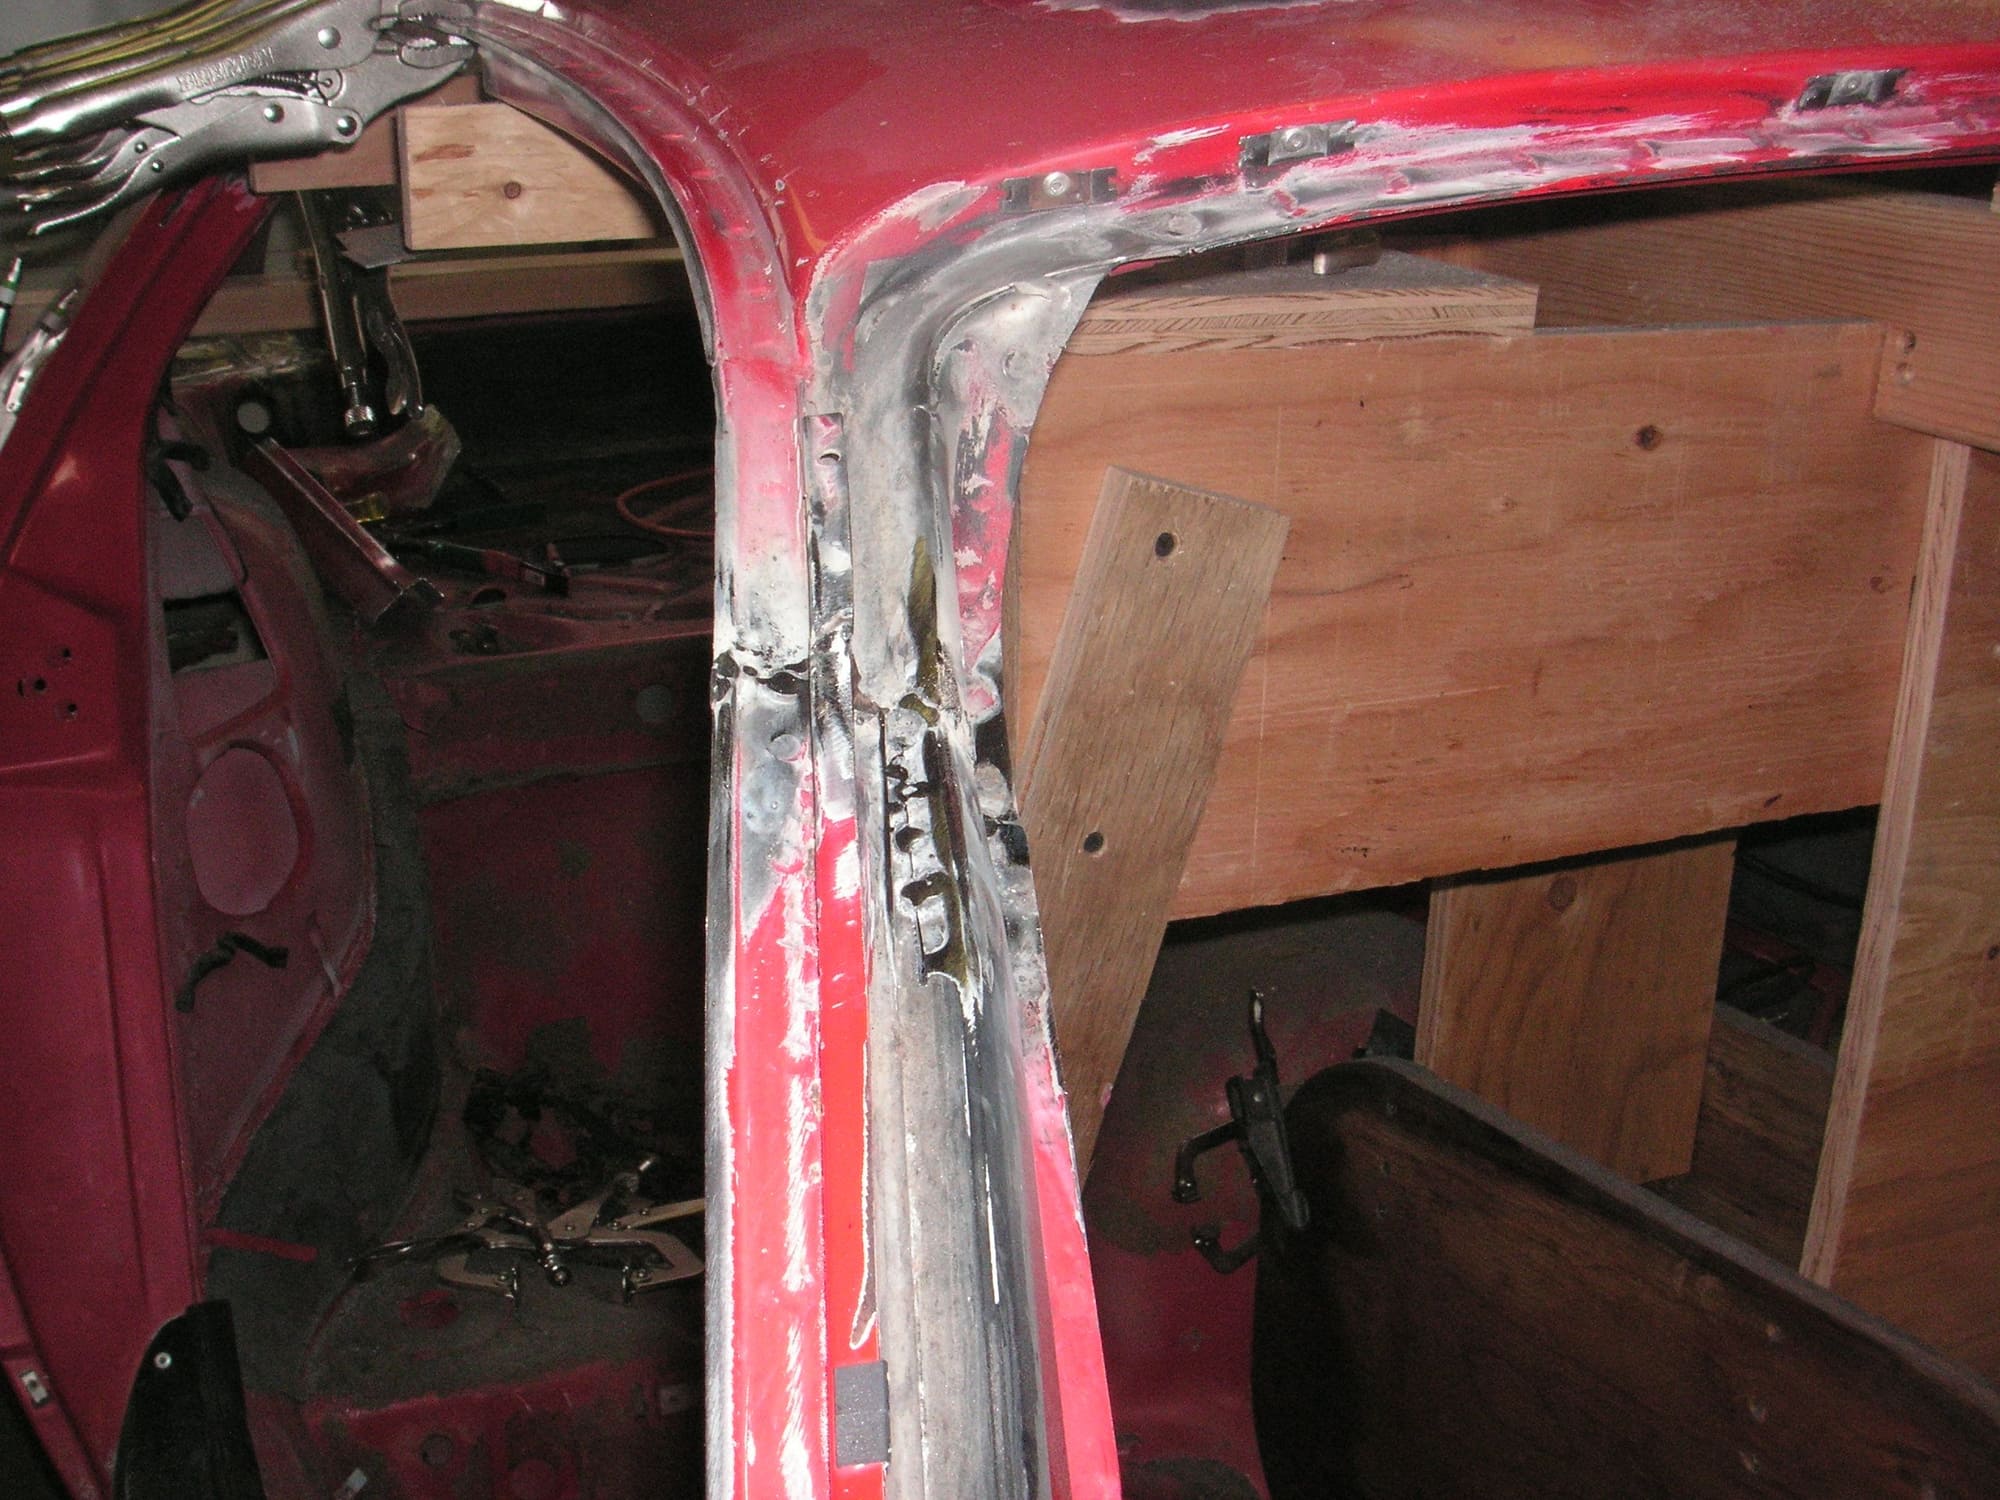
I tack welded tha last piece of patch under the front center roof patch, but I may want to weld it some more later. Then I put the front half of the roof on the car and welded the passenger A-Post back together. That too needs some more welding, but I think I am going to go back to my oxy/ace torch to finish it up and then do the other A-Post.
Yesterday I welded the Drivers A-Post with my oxy/Ace torch and it seemed to go better, although since many of the welds are in awkward positions they are not very pretty. My camera is at the office so I'll have to post a picture later. Then I found that the front two halves welded together have kind of narrowed at there aft ends. What I did was make a sort of spreader bar with a piece of half inch conduit and a nut and bolt and then spread the ends apart to where I think they ought to be.
Later today I will start welding some more of the roof starting at the front of the side patches and working my way back. Actually before that I need to weld in some patch work to close some gaps that are now too wide to close with weld filler rod; and I have made a patch for under the left rear qtr window corner where I cut it off kind of poorly.
What I find with the welding is that the most handy version is the flux wire welder from HF, since it is purely one handed. However, with mine I found that something in the cheap plastic torch handle is broken and the trigger is wanting to fall out, and then is hard to get to function like it should. Next I think is the Oxy/Ace torch but it is two-handed with the torch in one hand and filler rod in the other. That is not too bad and is going to work for much of what I think I am going to weld. Finally I think the best welder is going to turn out to be the TIG, but it requires the torch in one hand, filler rod in the other and then a power control under one of my feet. When I get to welding inside the top and on top of the car the foot pedal is going to become a problem. It may be that the most good I get out of the TIG is with the aluminum.
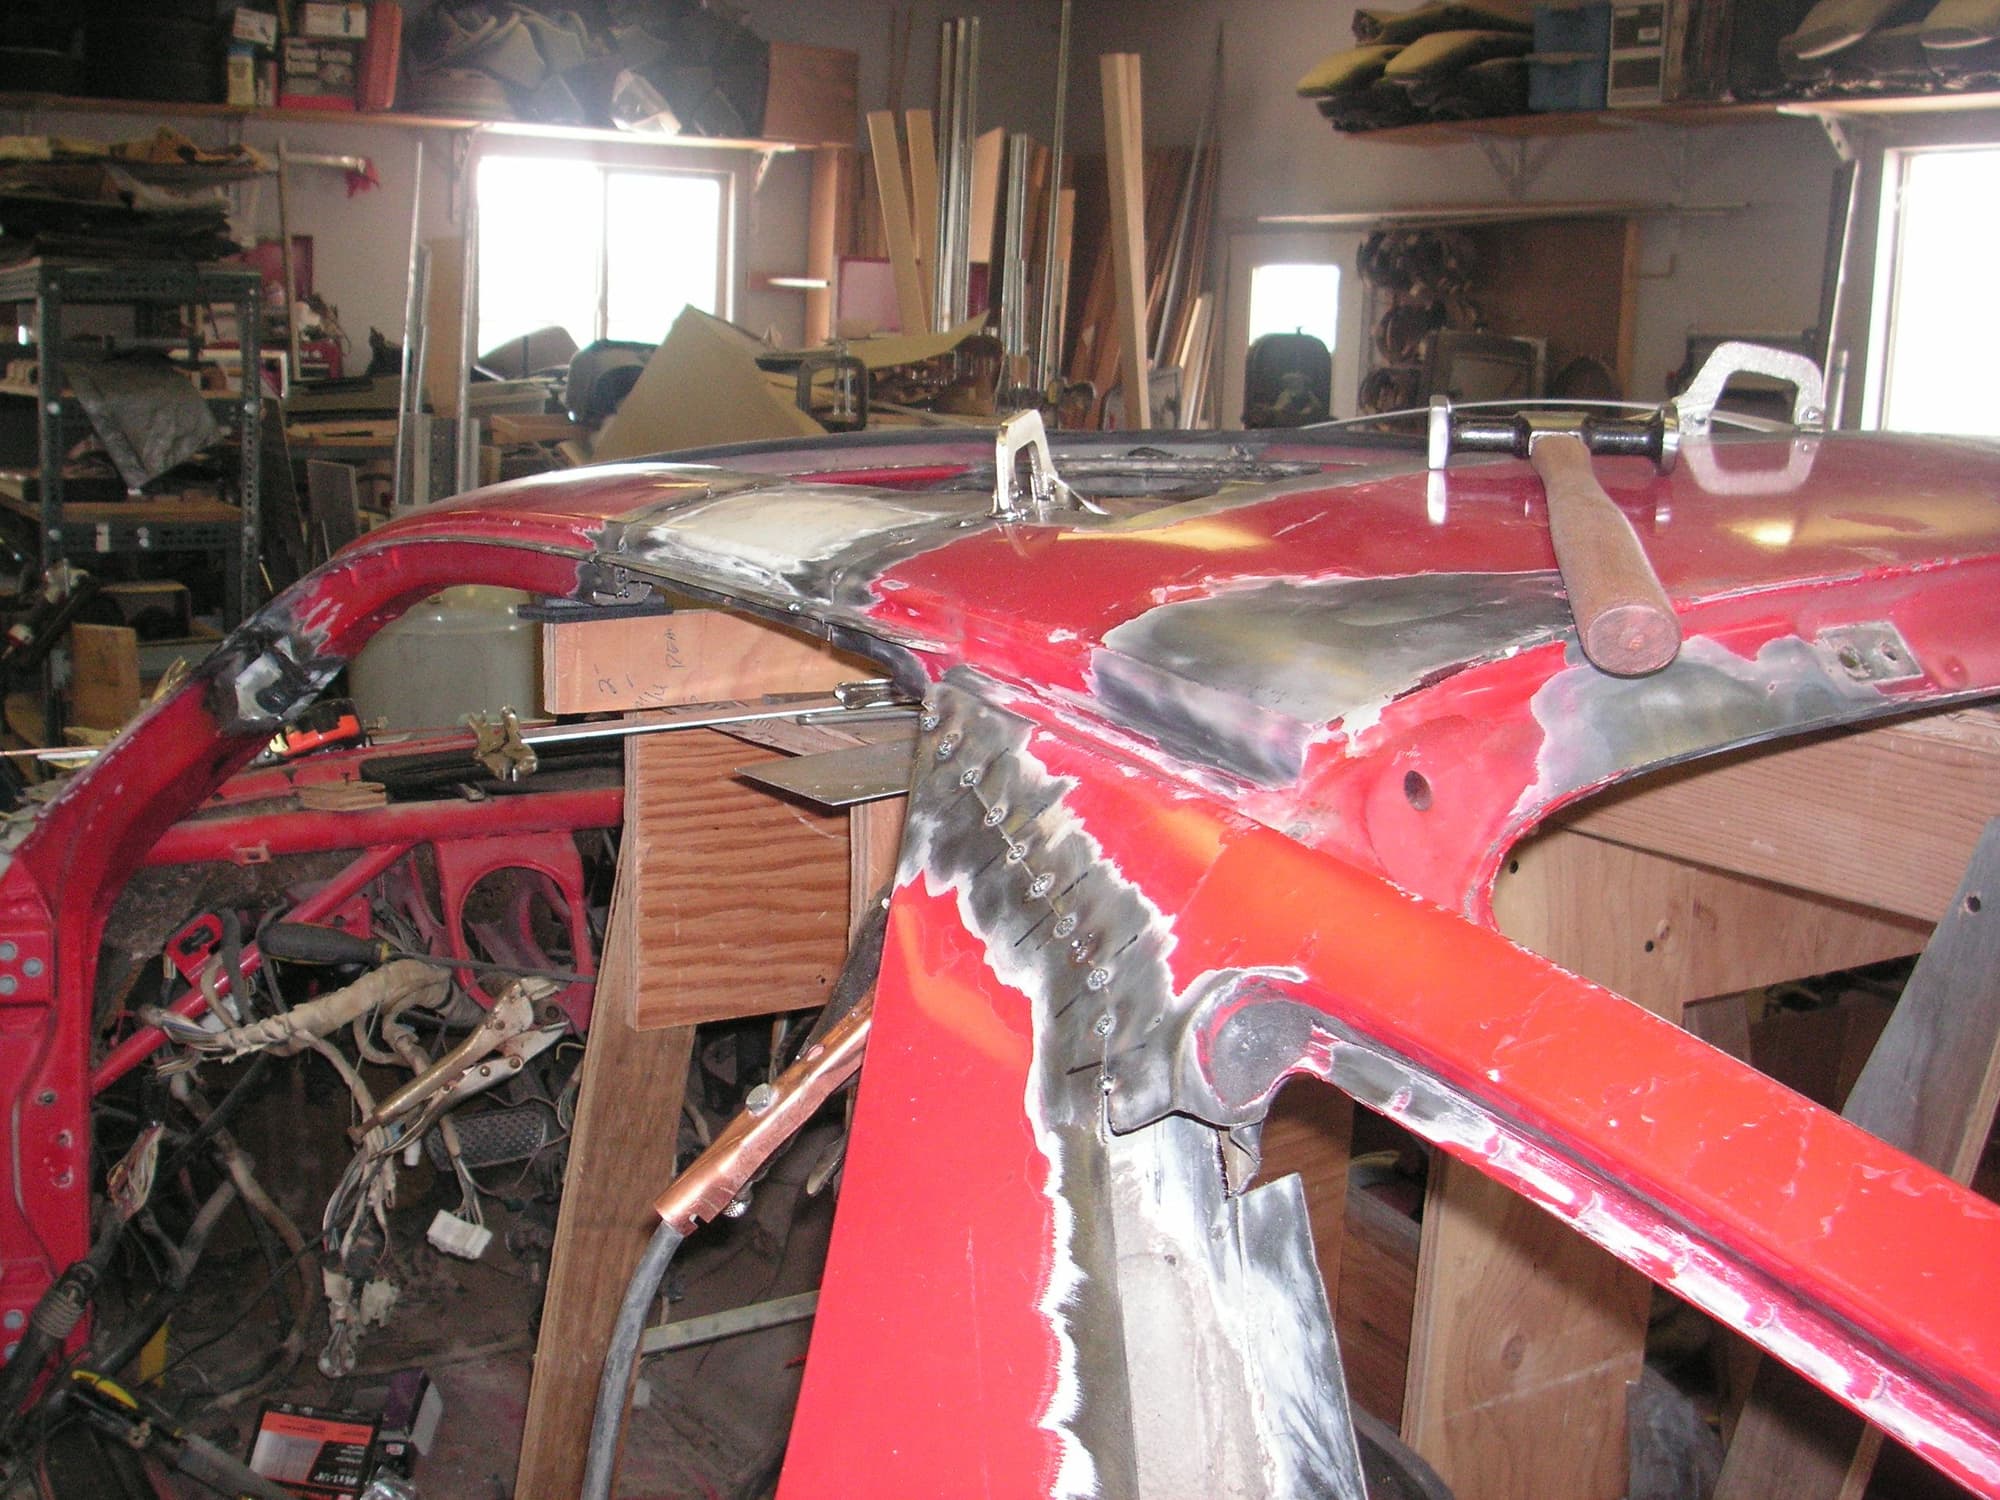
I don't like the results of the oxy/ace welds so far, so I rigged up my MIG welder and tried it. First, I forgot to turn on the shielding gas, but it welded not too bad, then I turned the gas on and could hear it flowing, but it didn't seem like it was sending any to the torch. Then I found that a fitting where the gas goes into the welder is broken and leaking gas. Now I have to try to replace that. In any case I got the top pieces tack welded into place and will finalize the welds a little at a time as I go forward. AT least the pieces are in place very accurately and quite firm.
So, I removed some of the guide post structure so I can get to some of the inner welds and then I can start to work up the mold for the headliner shell. In the meantime I'll finish up the roof pieces by finally fitting the C-Post tail ends and getting the tail of the car in its final position and tack welded into place.
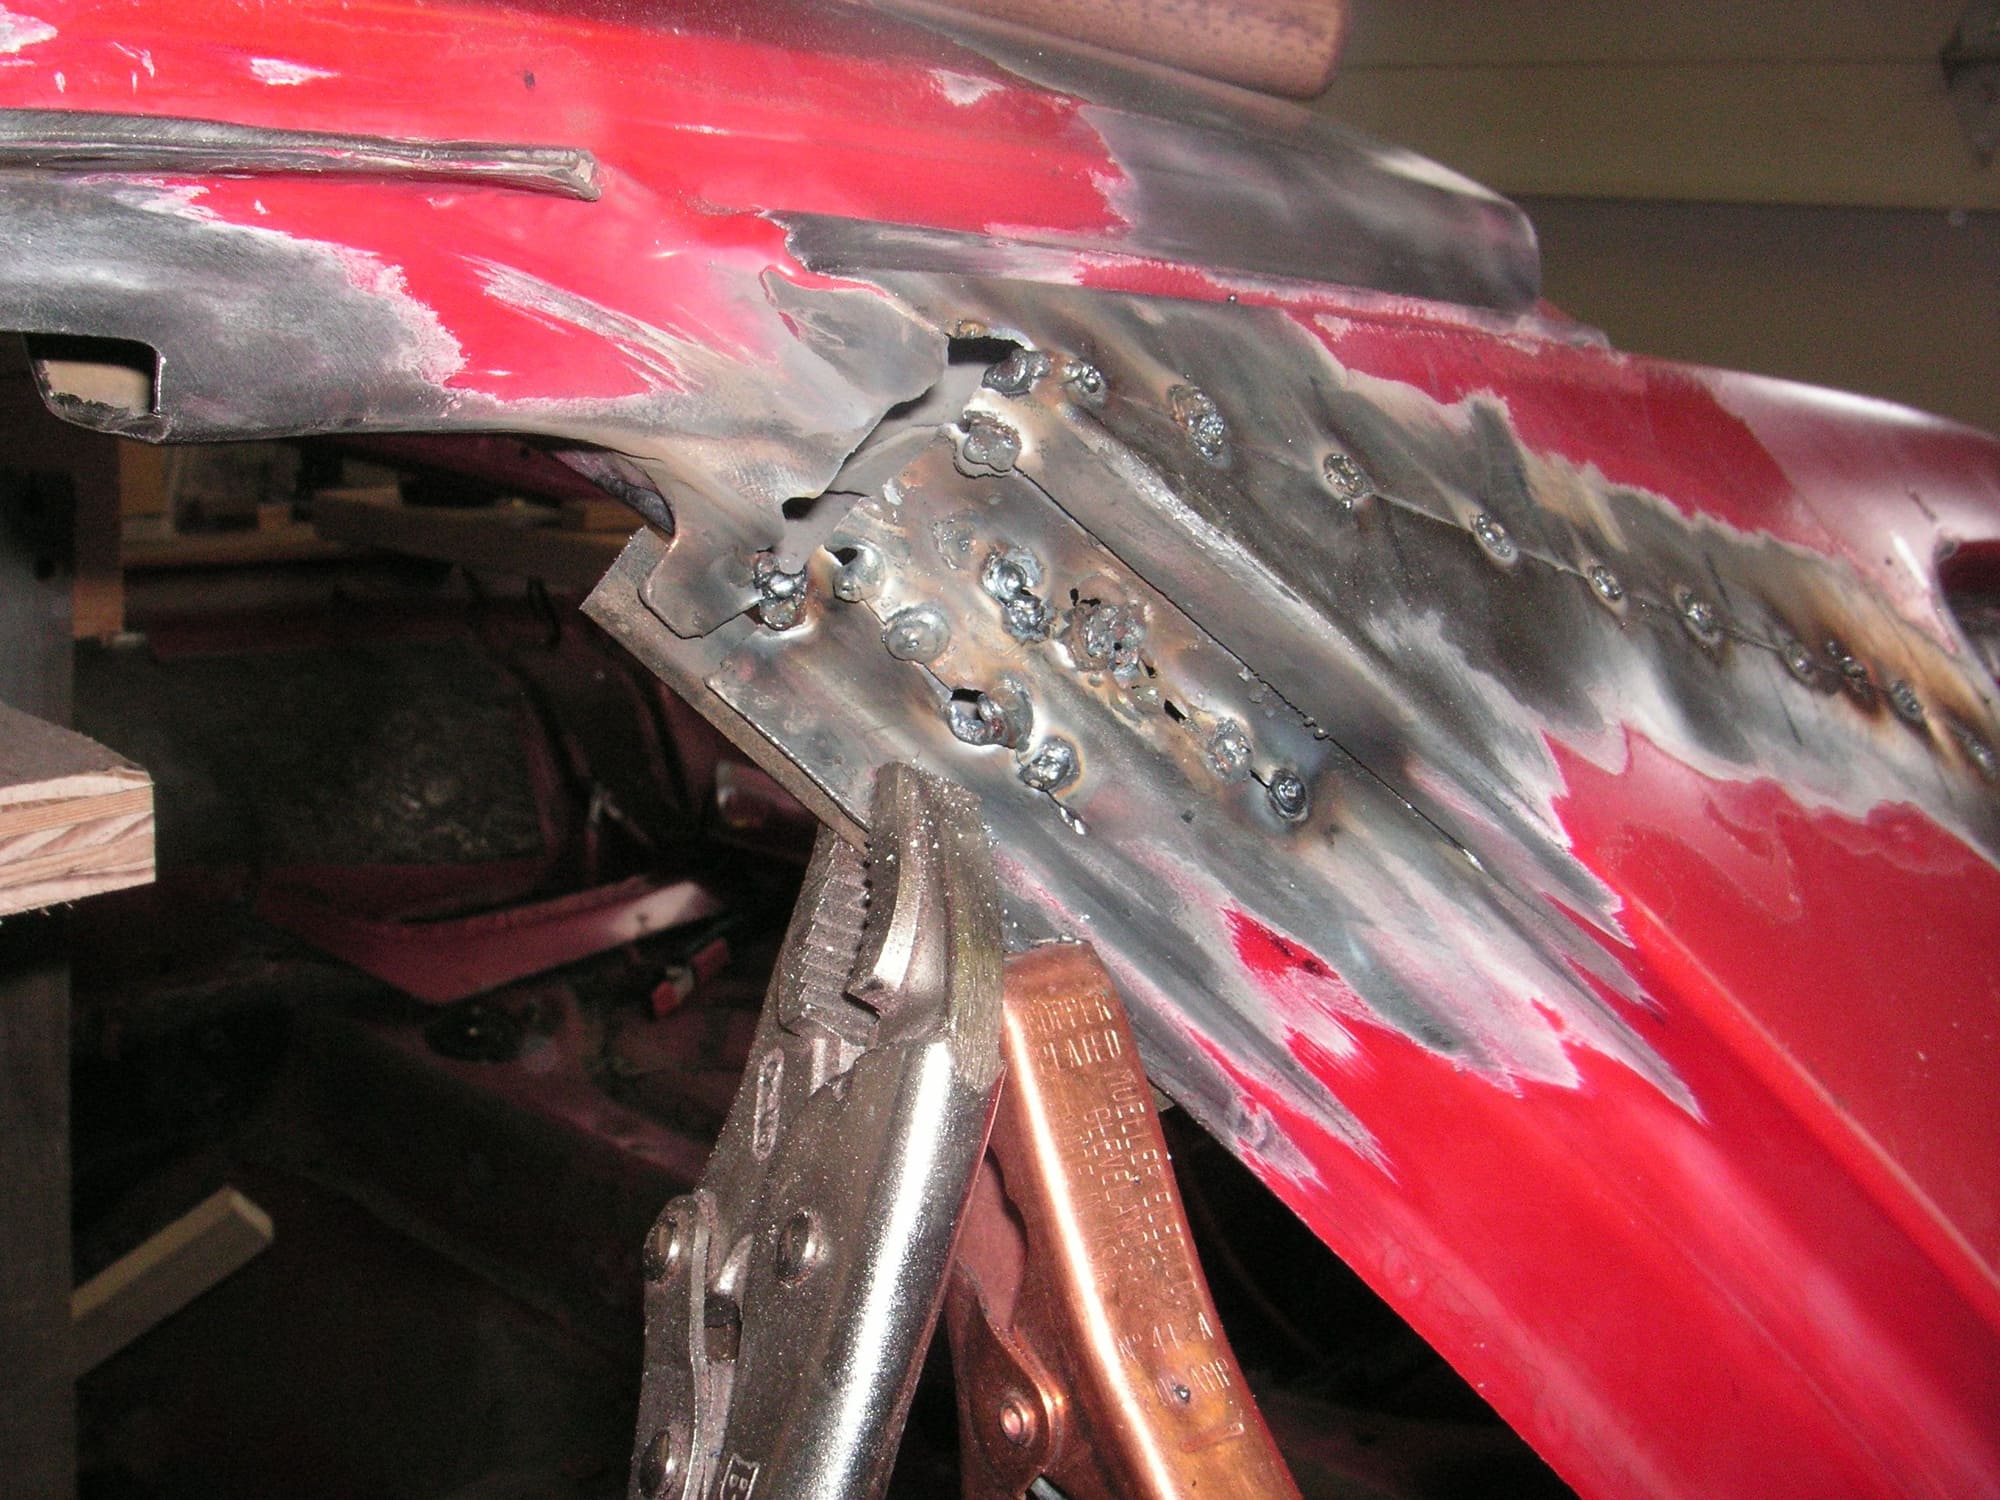
I know that some of that does not look very pretty, but when I grind the welds down and add some more it will end up looking pretty good. The only thing now is to figure out just how I am going to fill in the gaposis that has resulted at the front corner of the B-Post joints, and it is a bit worse on the other side.
I stewed all afternoon wondering where I might find the correct fitting for the MIG welder tomorrow, but then it occurred to me that I am a machinist and there is enough material in the broken piece to simply cut it off at the break, turn it down in the lathe and then re-thread it with the correct die, which I happen to have, and call it good. So I did and now I have the welder back in service.
I welded the two C-Post corners on at the rear and then had to cut one partly off again to get it to fit better. I'll weld it again next time. I have ground some of the previous welds down and will begin to fill in between them as I go.
Next I need to take the tail off again and do some major cutting on both the frame and on the tail itself before I can start to tack it into place. The last pieces of the chop will be the two front edges of the quarter windows since I will leave them out while I do some of the cutting inside to get the inside sheet metal to fit.
I find that I am having pretty good success with the MIG welder and it appears to work well without warping the metal, at least where I am working so far.
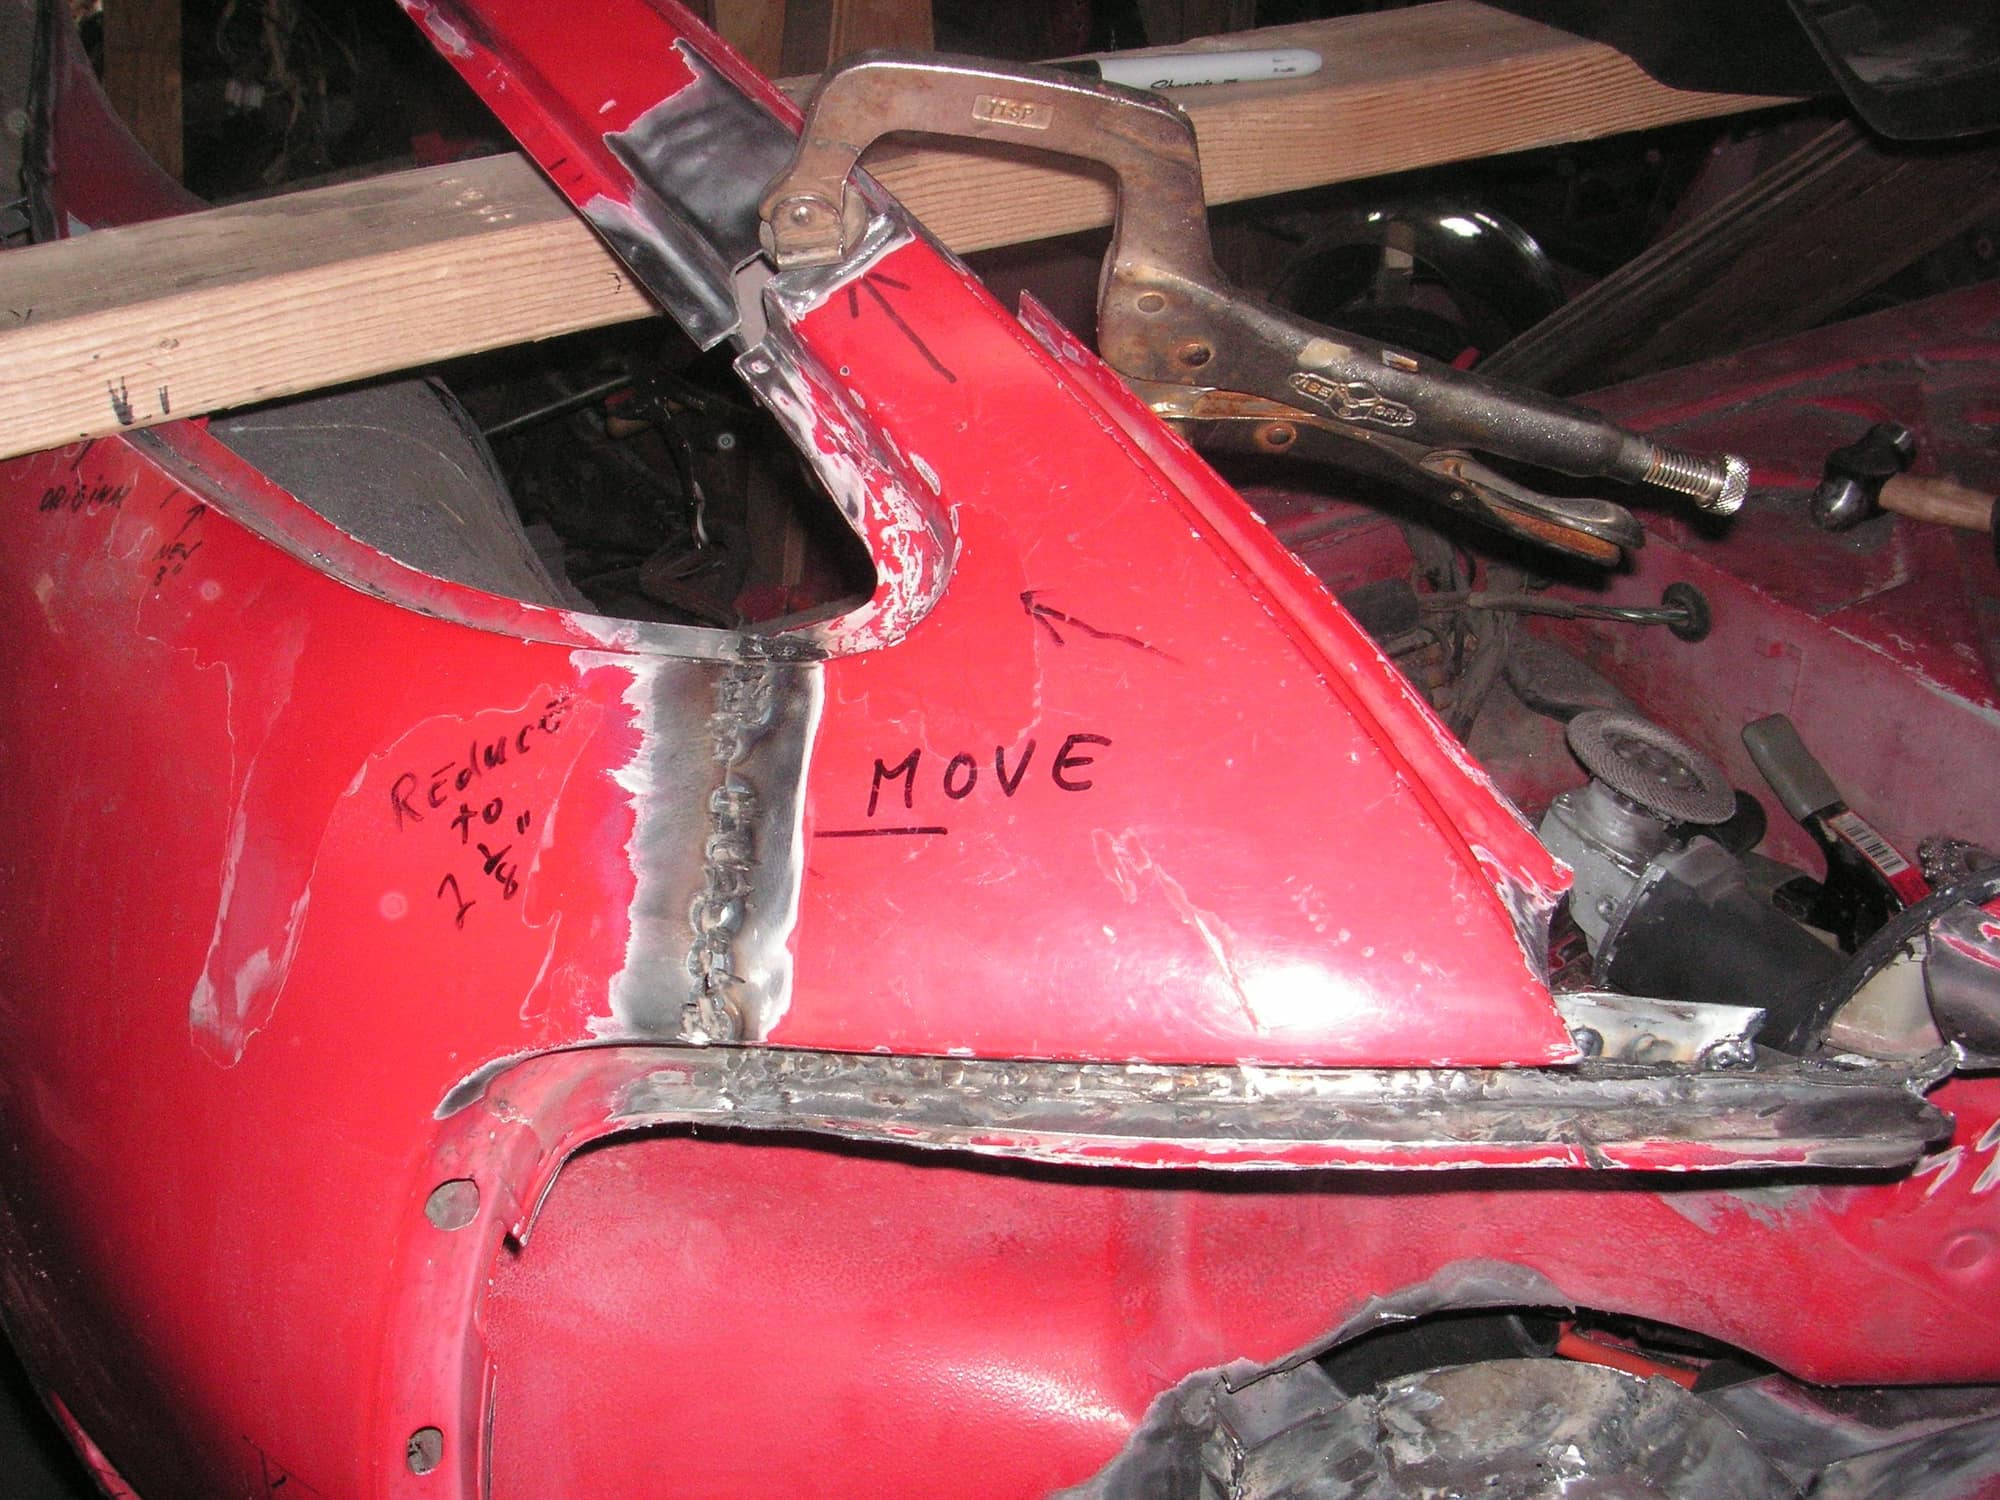
It looks like the tail is going to move forward about an additional 3/16 inch for the final fit. That is going to be just about right at 3 1/2 inches shorter than its original position.
I have also been researching the processes for cutting and welding the PU bumper covers when they are modified for both the chop and the section. I have some tools and material on order to try on some of that down the line.
Last edited by Jerry Feather; 05-22-2018 at 11:17 AM.
I continue to study this project and work on it as time will allow. Today I pushed the tail in a little further and then got the C-Posts to match very well. Rather than weld them together, which I really would like to do, I have to wait until I can do some further work on the tail and rear of the car where the tail will finally come to rest.
In my continued study I think I have determined that it will be best to get the tail to fit correctly then take it off and so some of the sectioning cuts on it and then let it rest until I finish the rest of the top. Then I think it will be best to put the tail back on only after I have done the sectioning of the whole car. The main reason is that there are a lot of complex cuts in the wheel wells and it will be a great advantage to be able to complete those while the tail is off and access is much better.
In the meantime I will finish up the main roof and put off creating the new hatch until much later. Actually I think the sectioning will even go much better with the tail off the car. There wont be so much to line up all at once and then I'll be able to do the final fitting of the tail by itself. Too, the top half of the car without the tail will be a little easier to handle in lowering it and raising it multiple times to get it to fit correctly.
Last edited by Jerry Feather; 05-27-2018 at 11:08 AM.
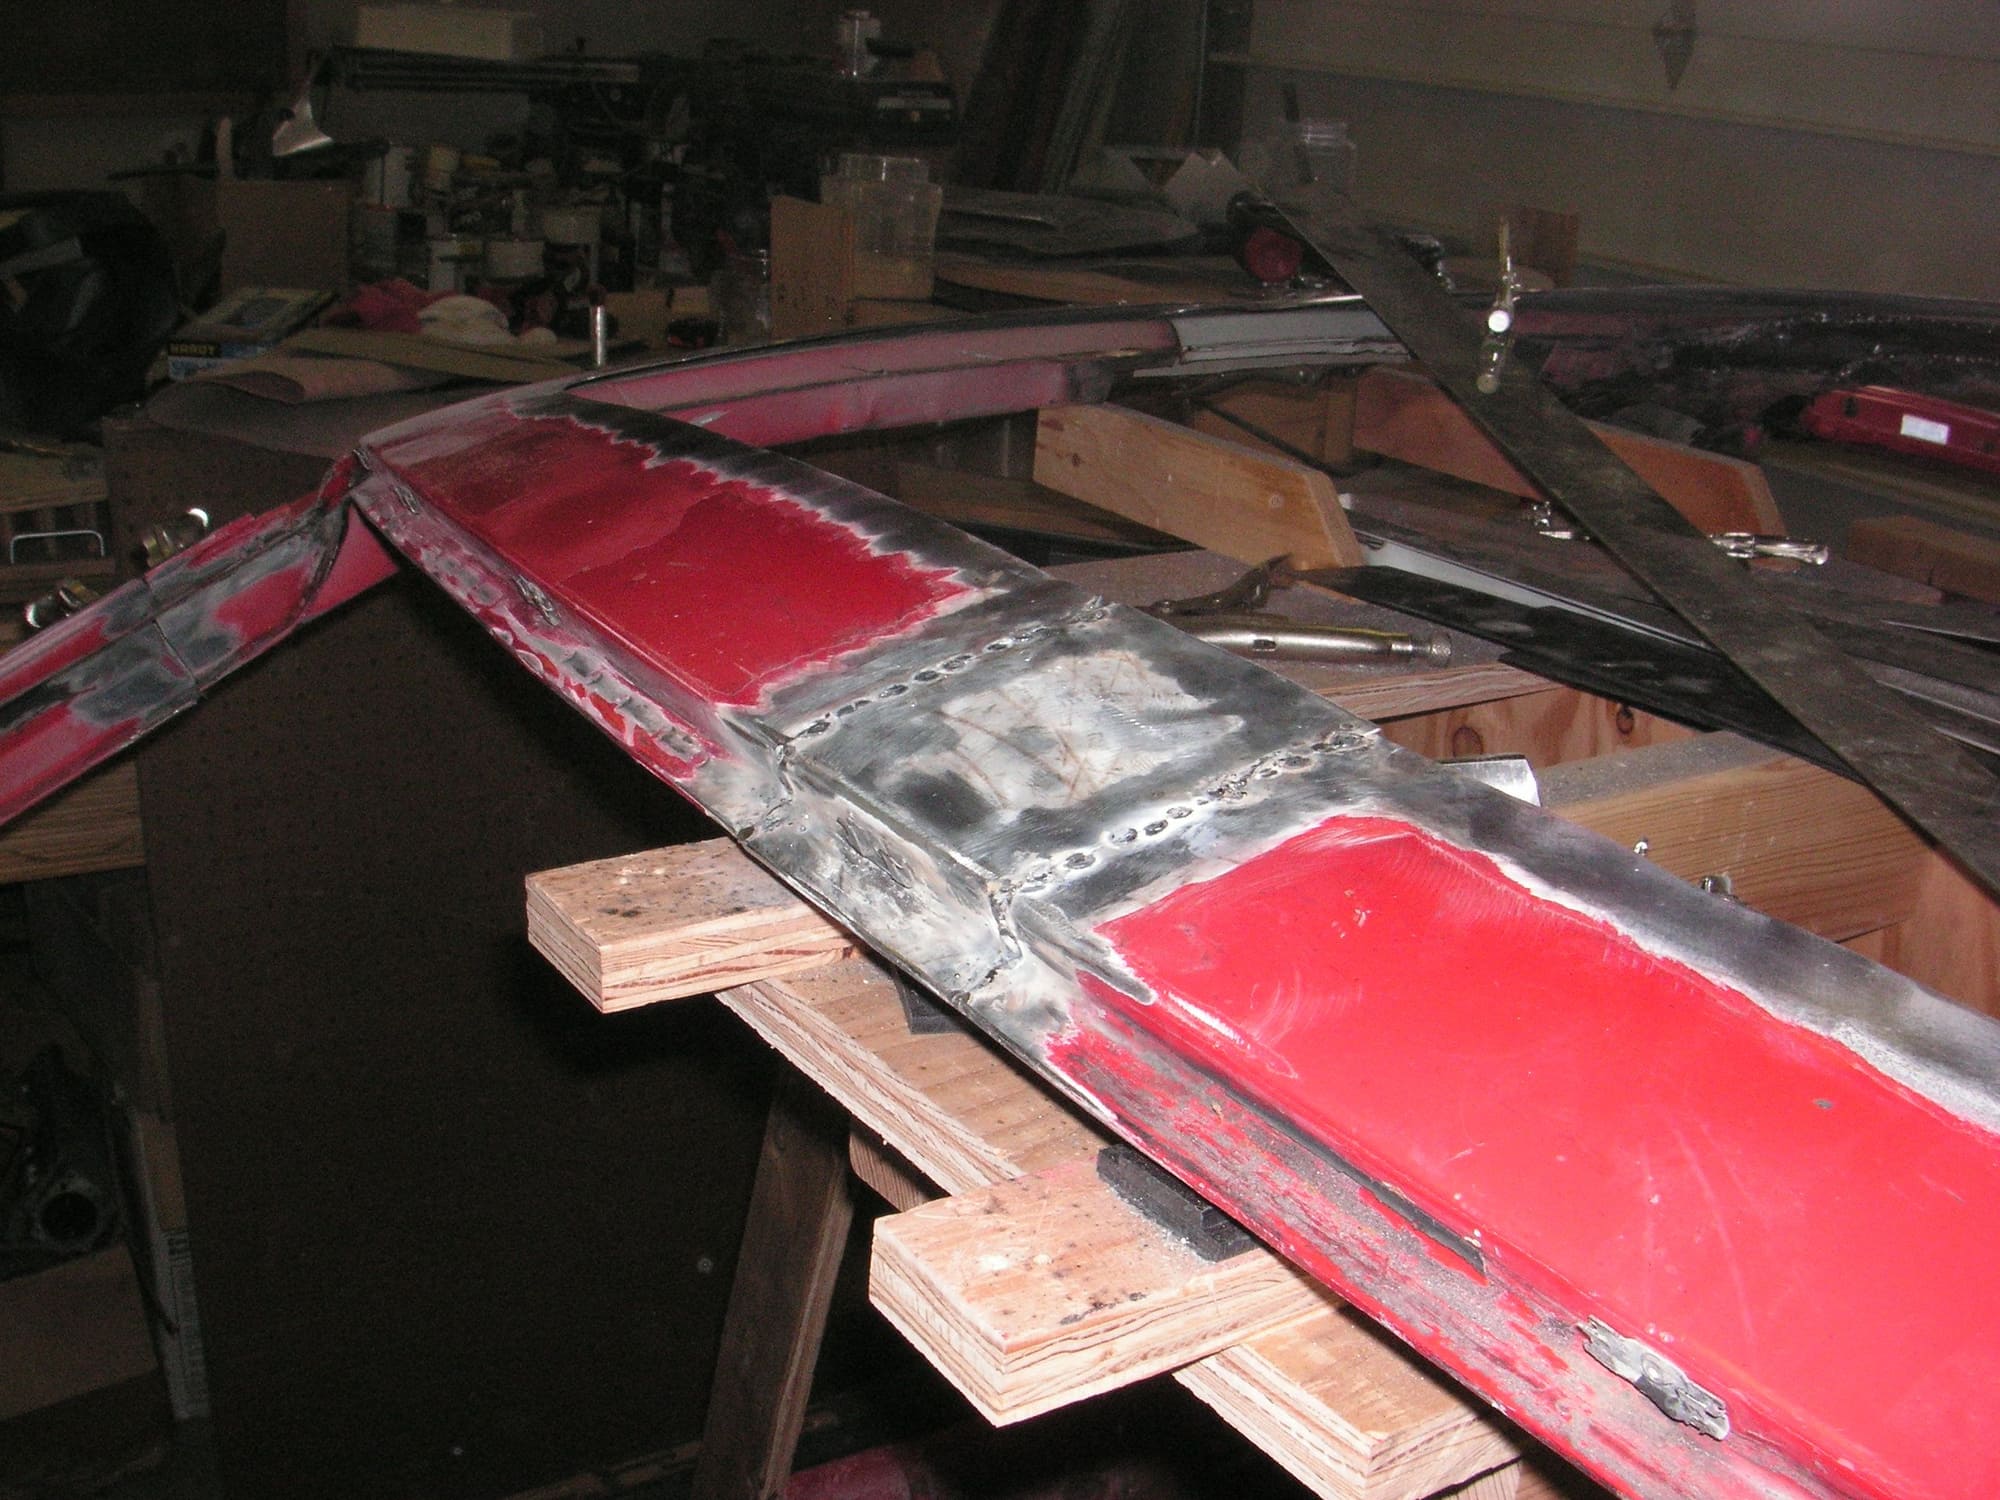
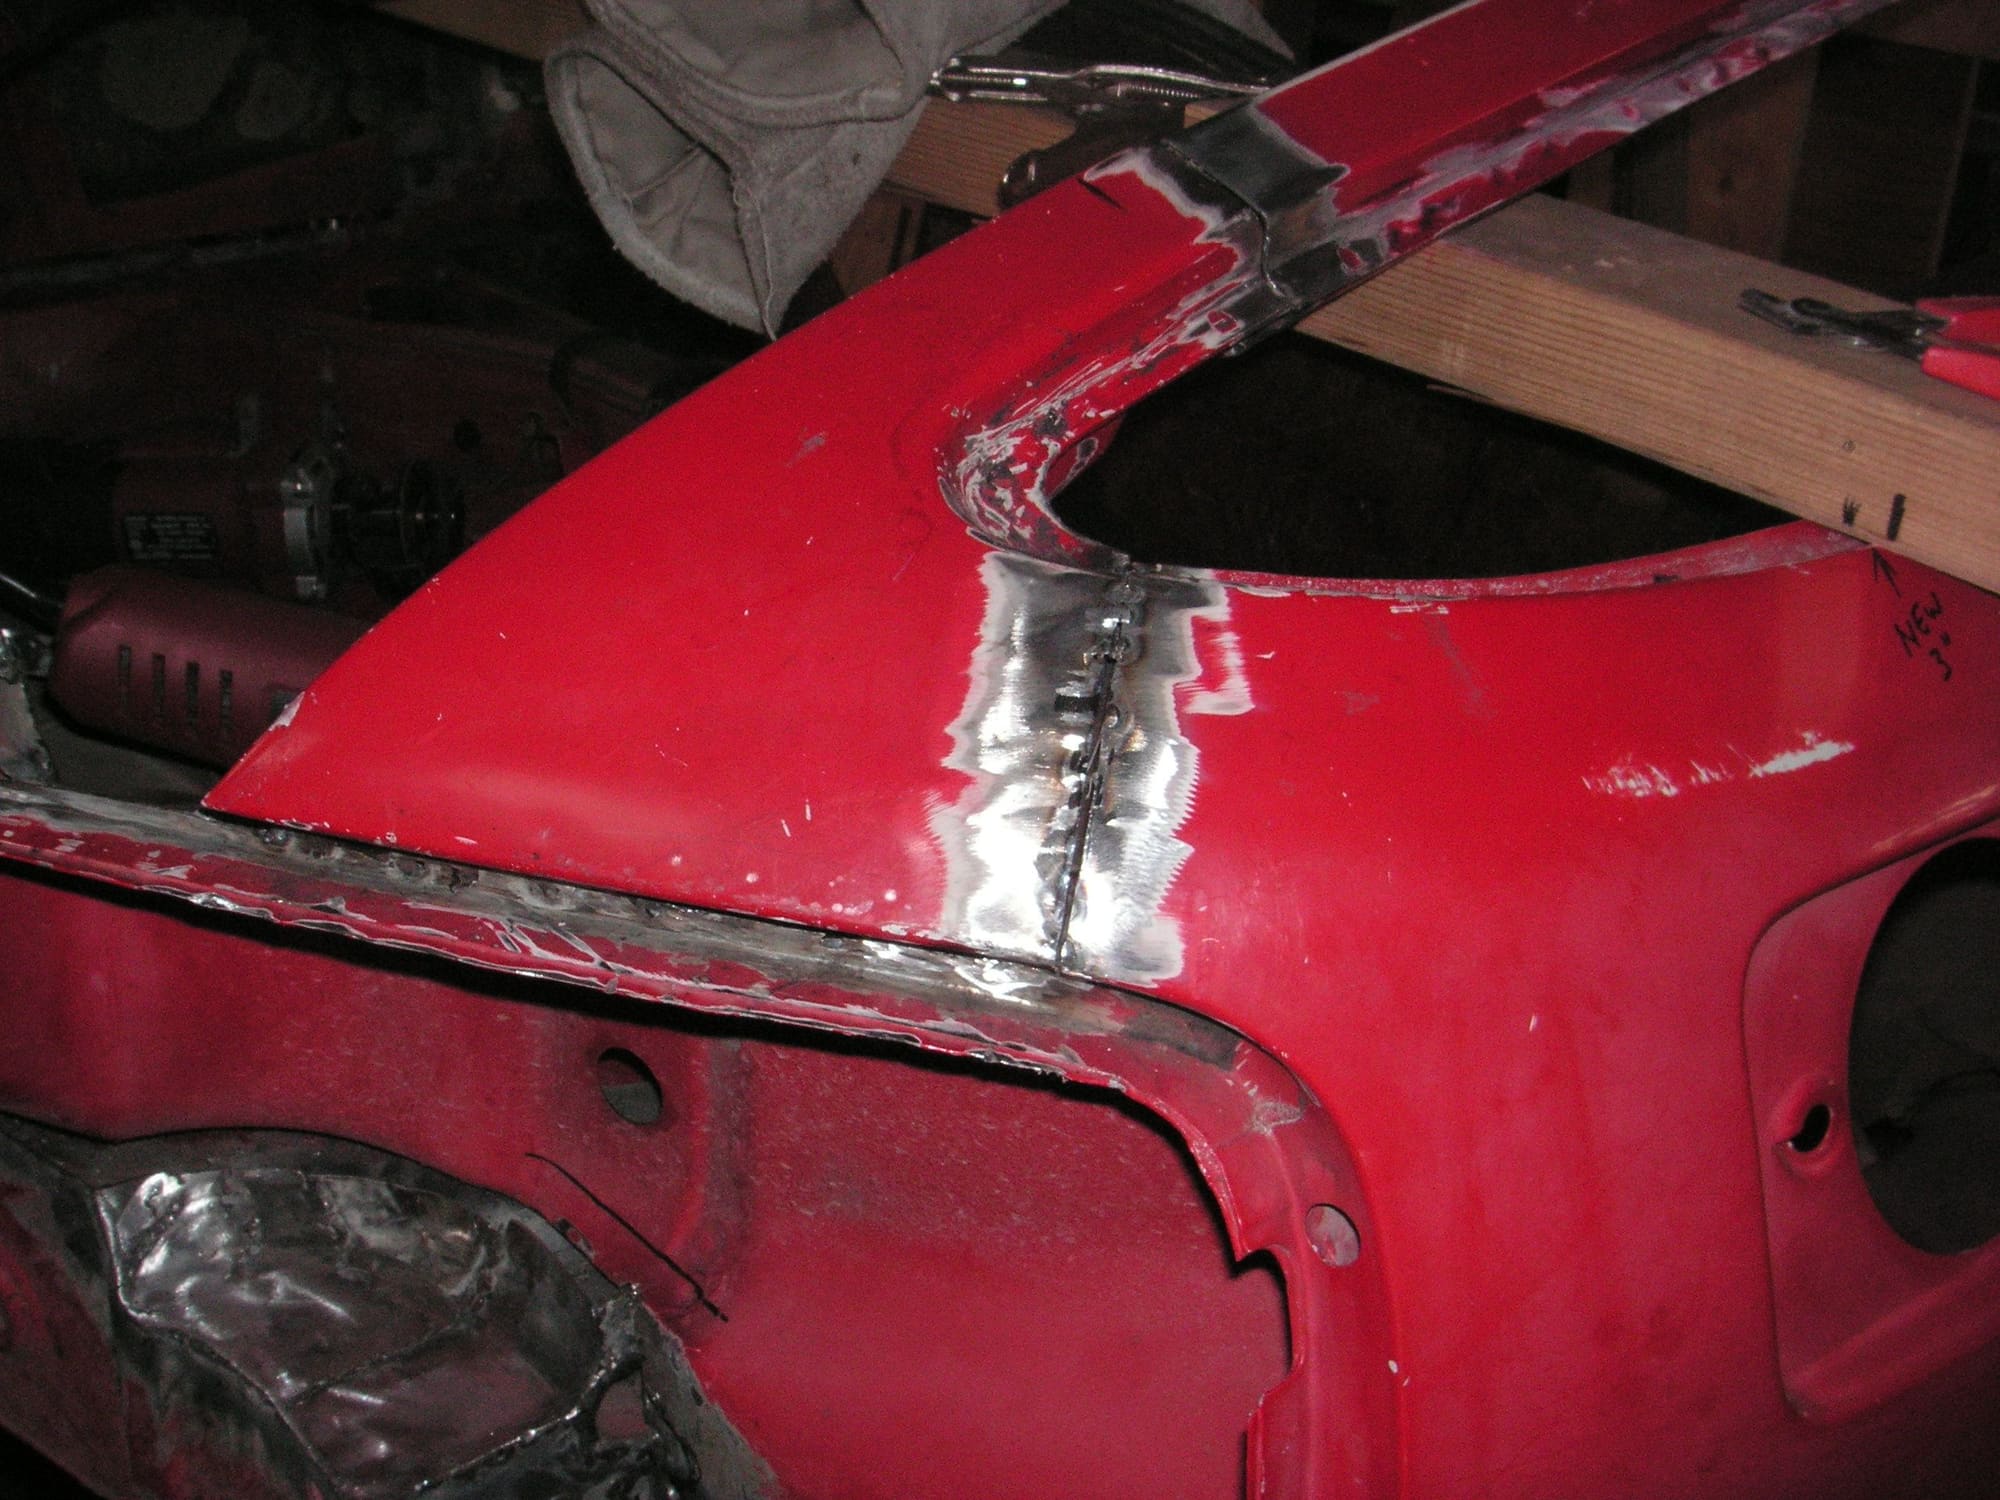
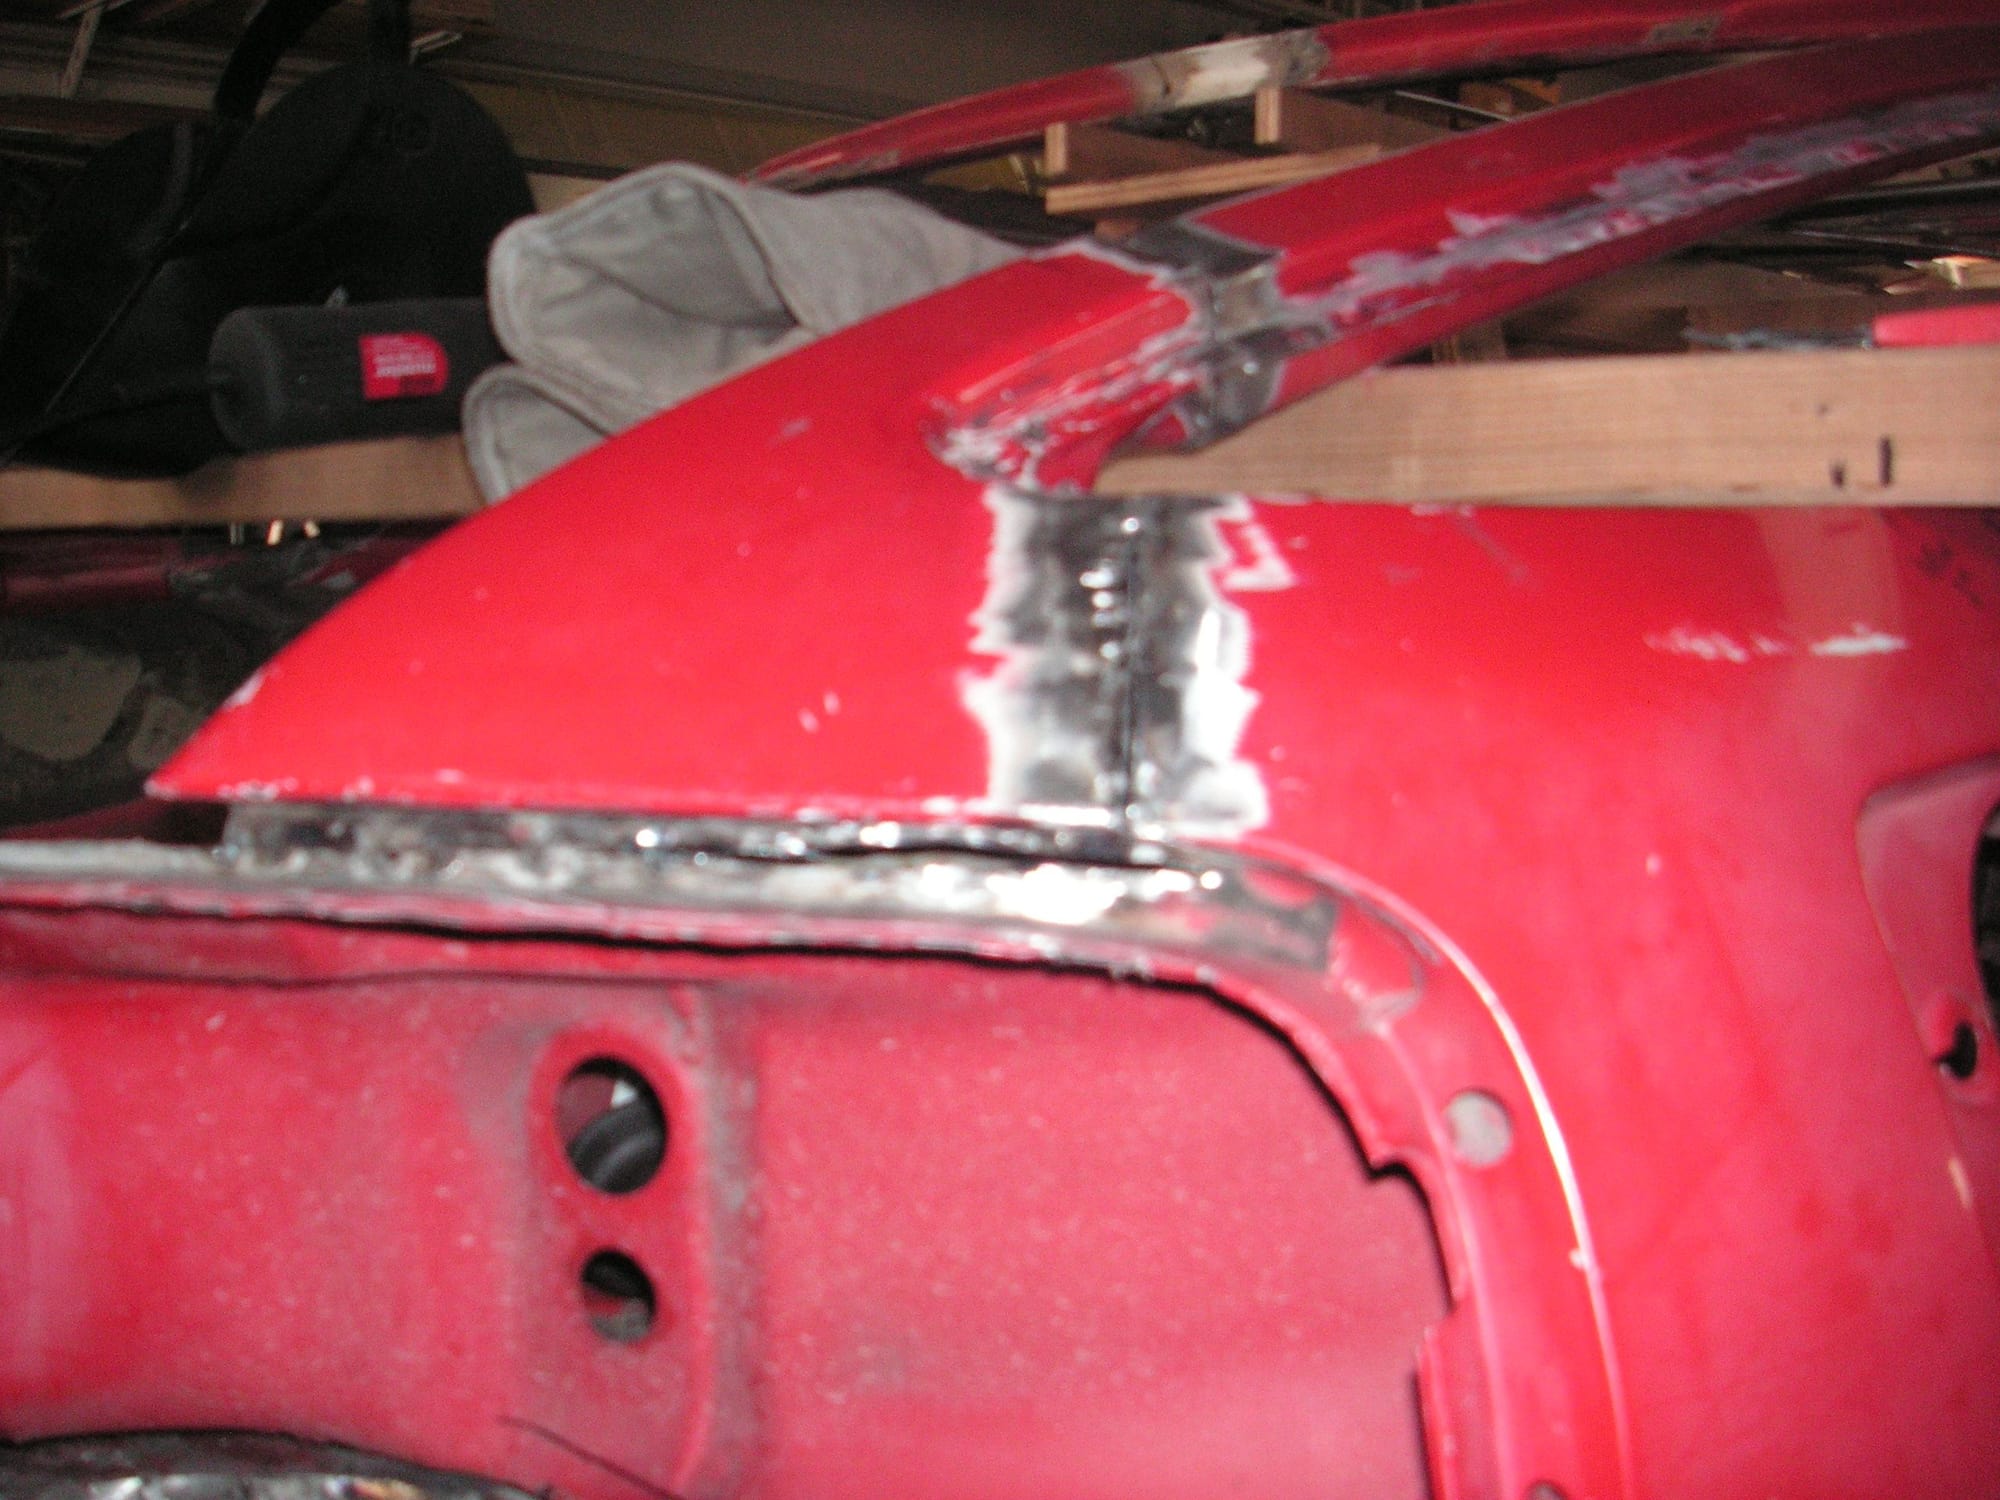
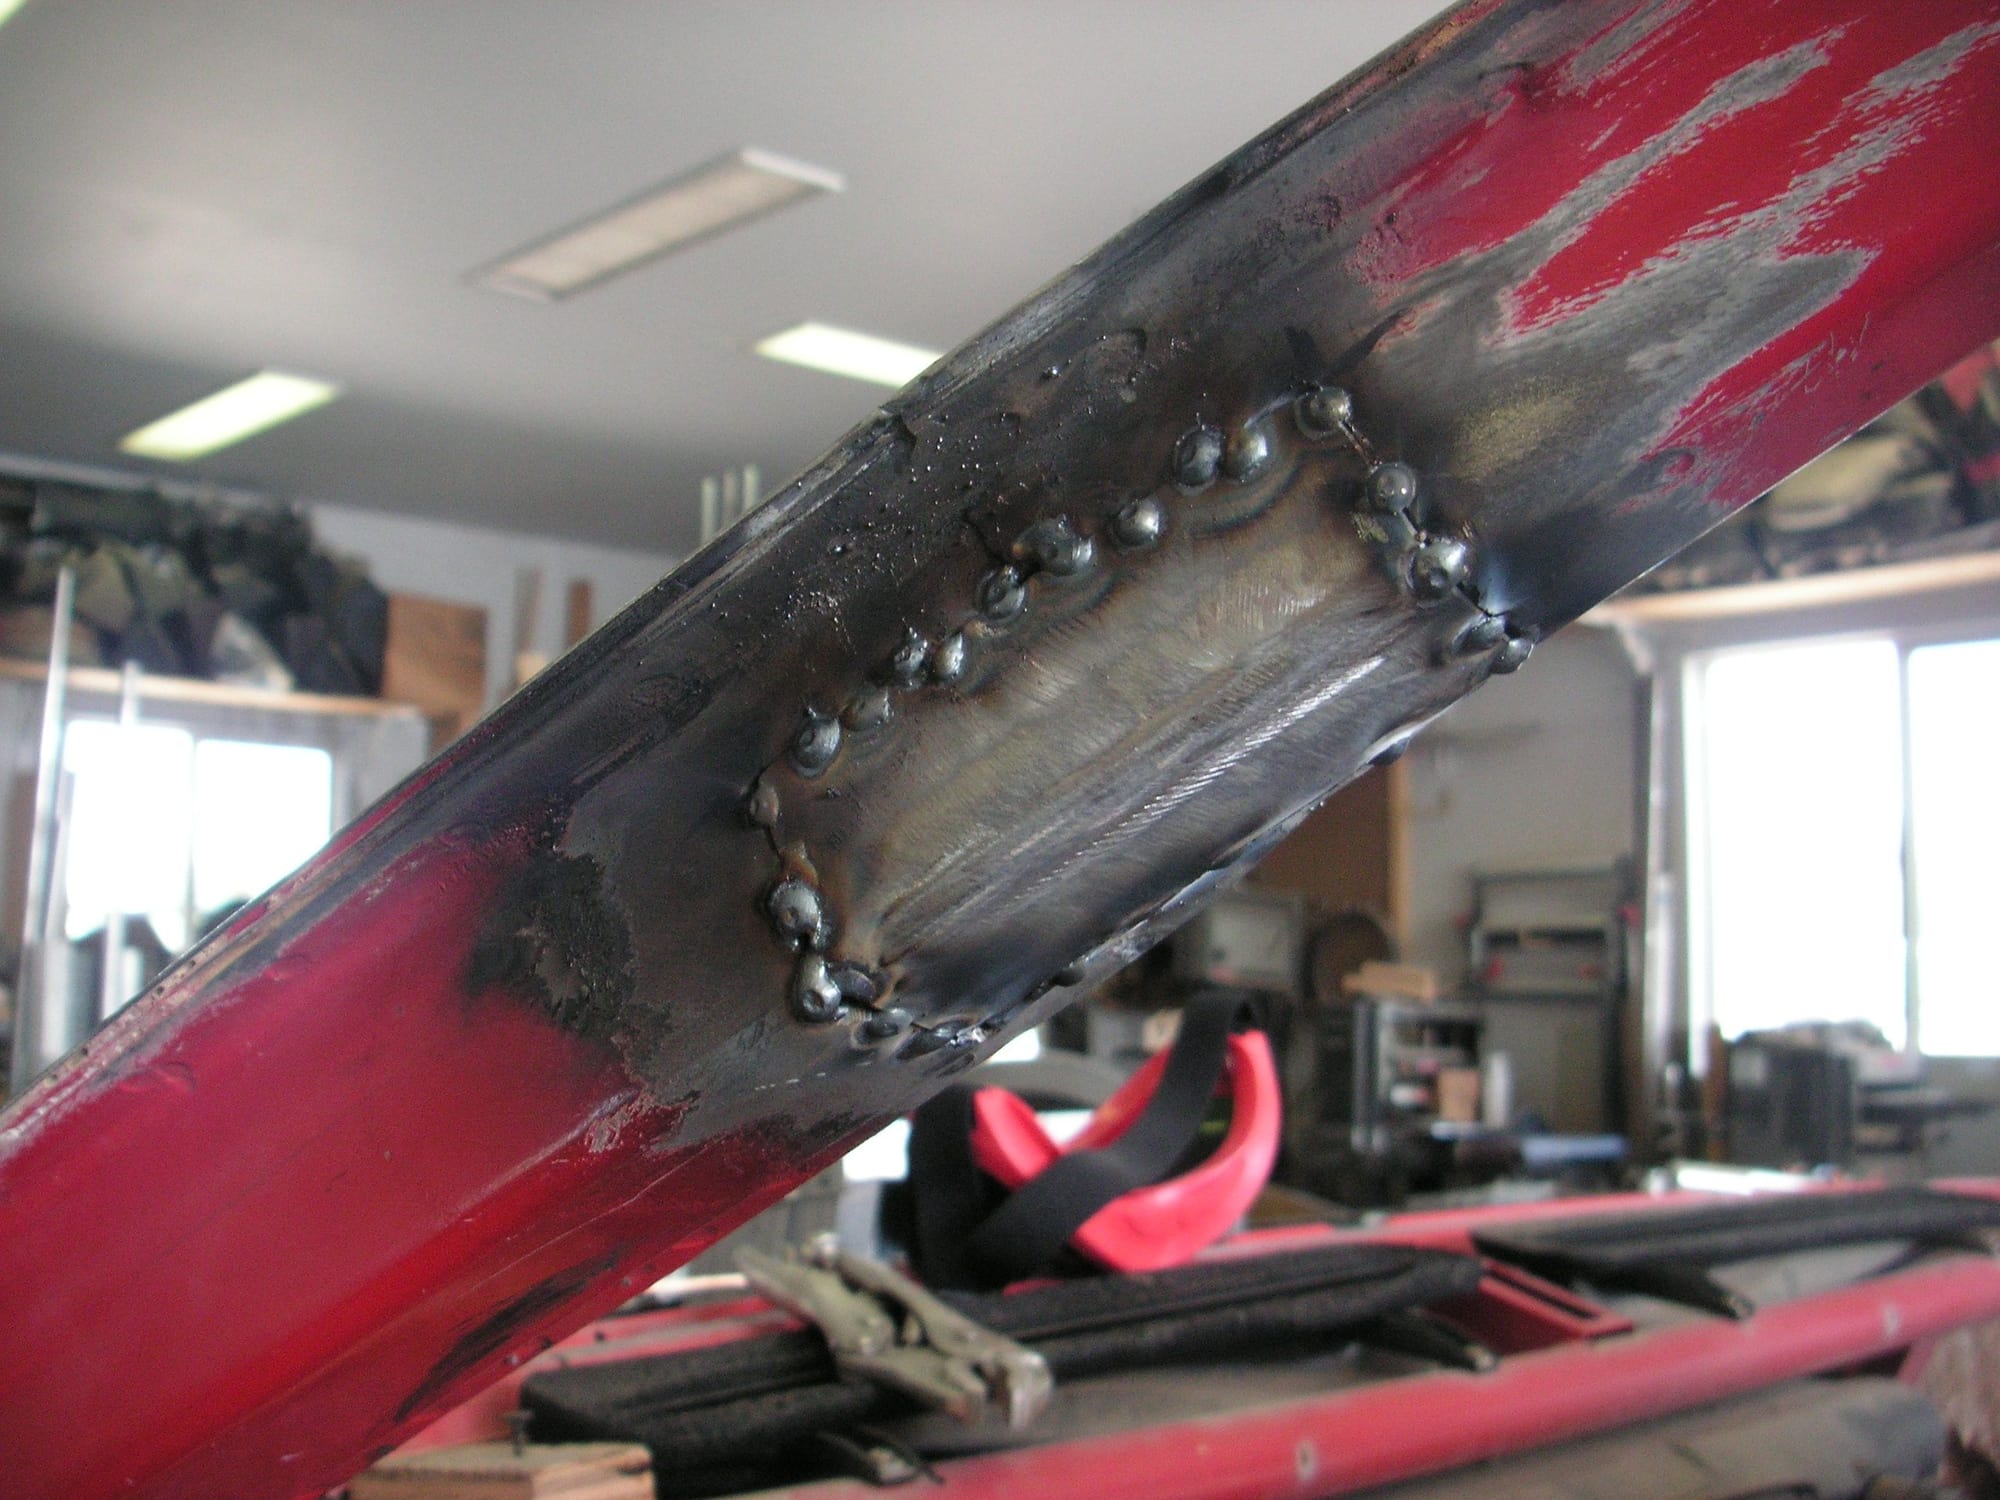
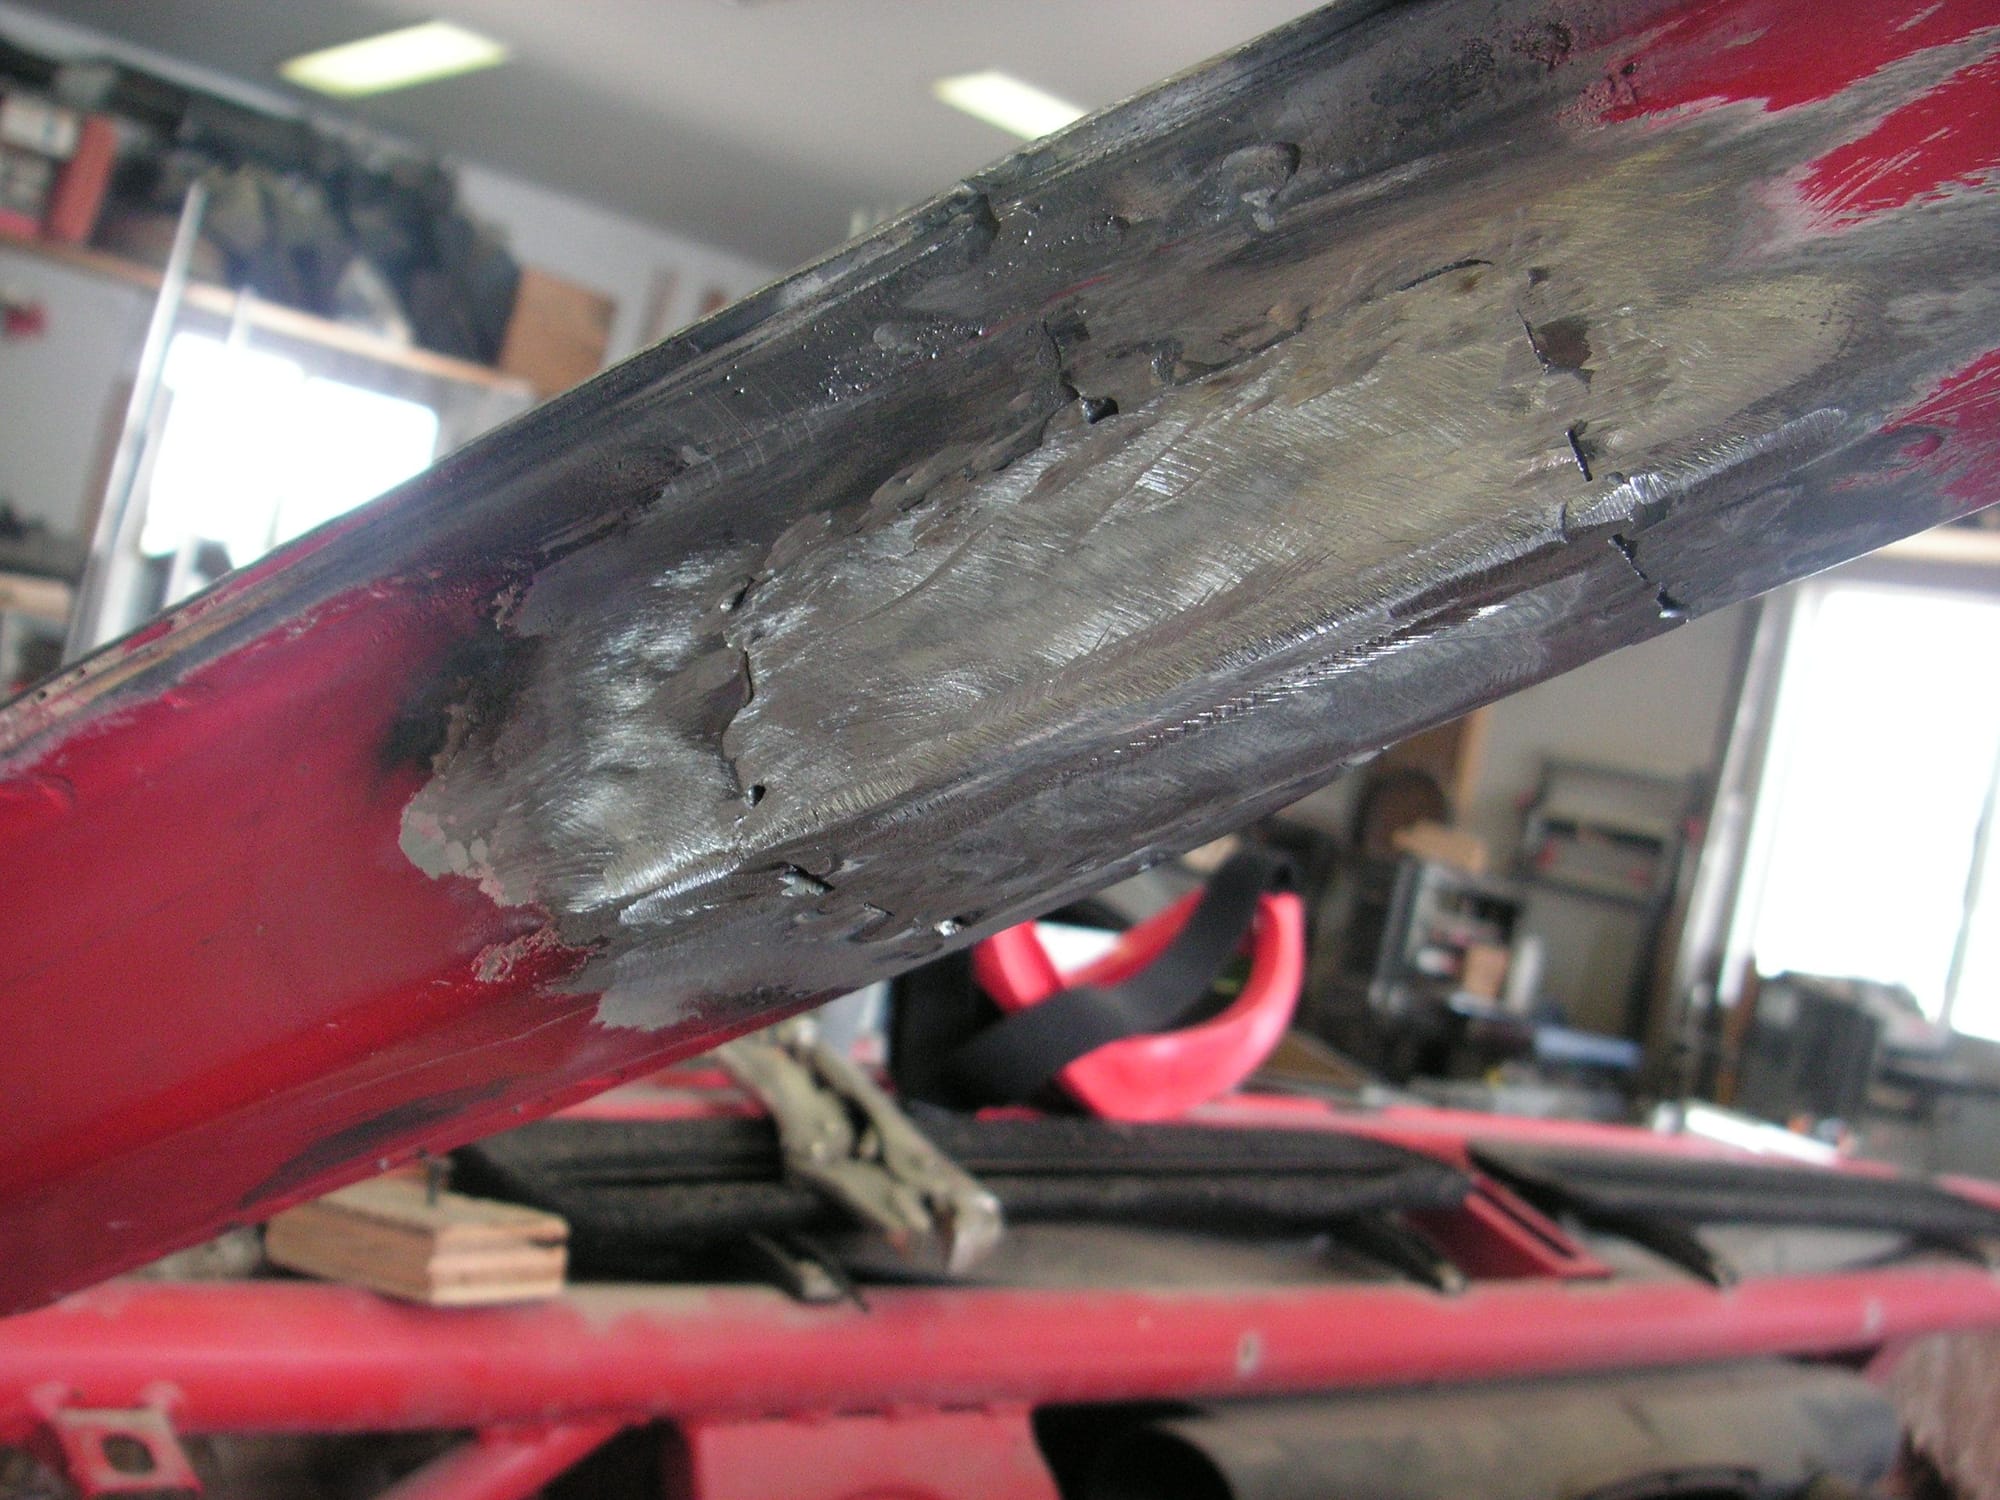
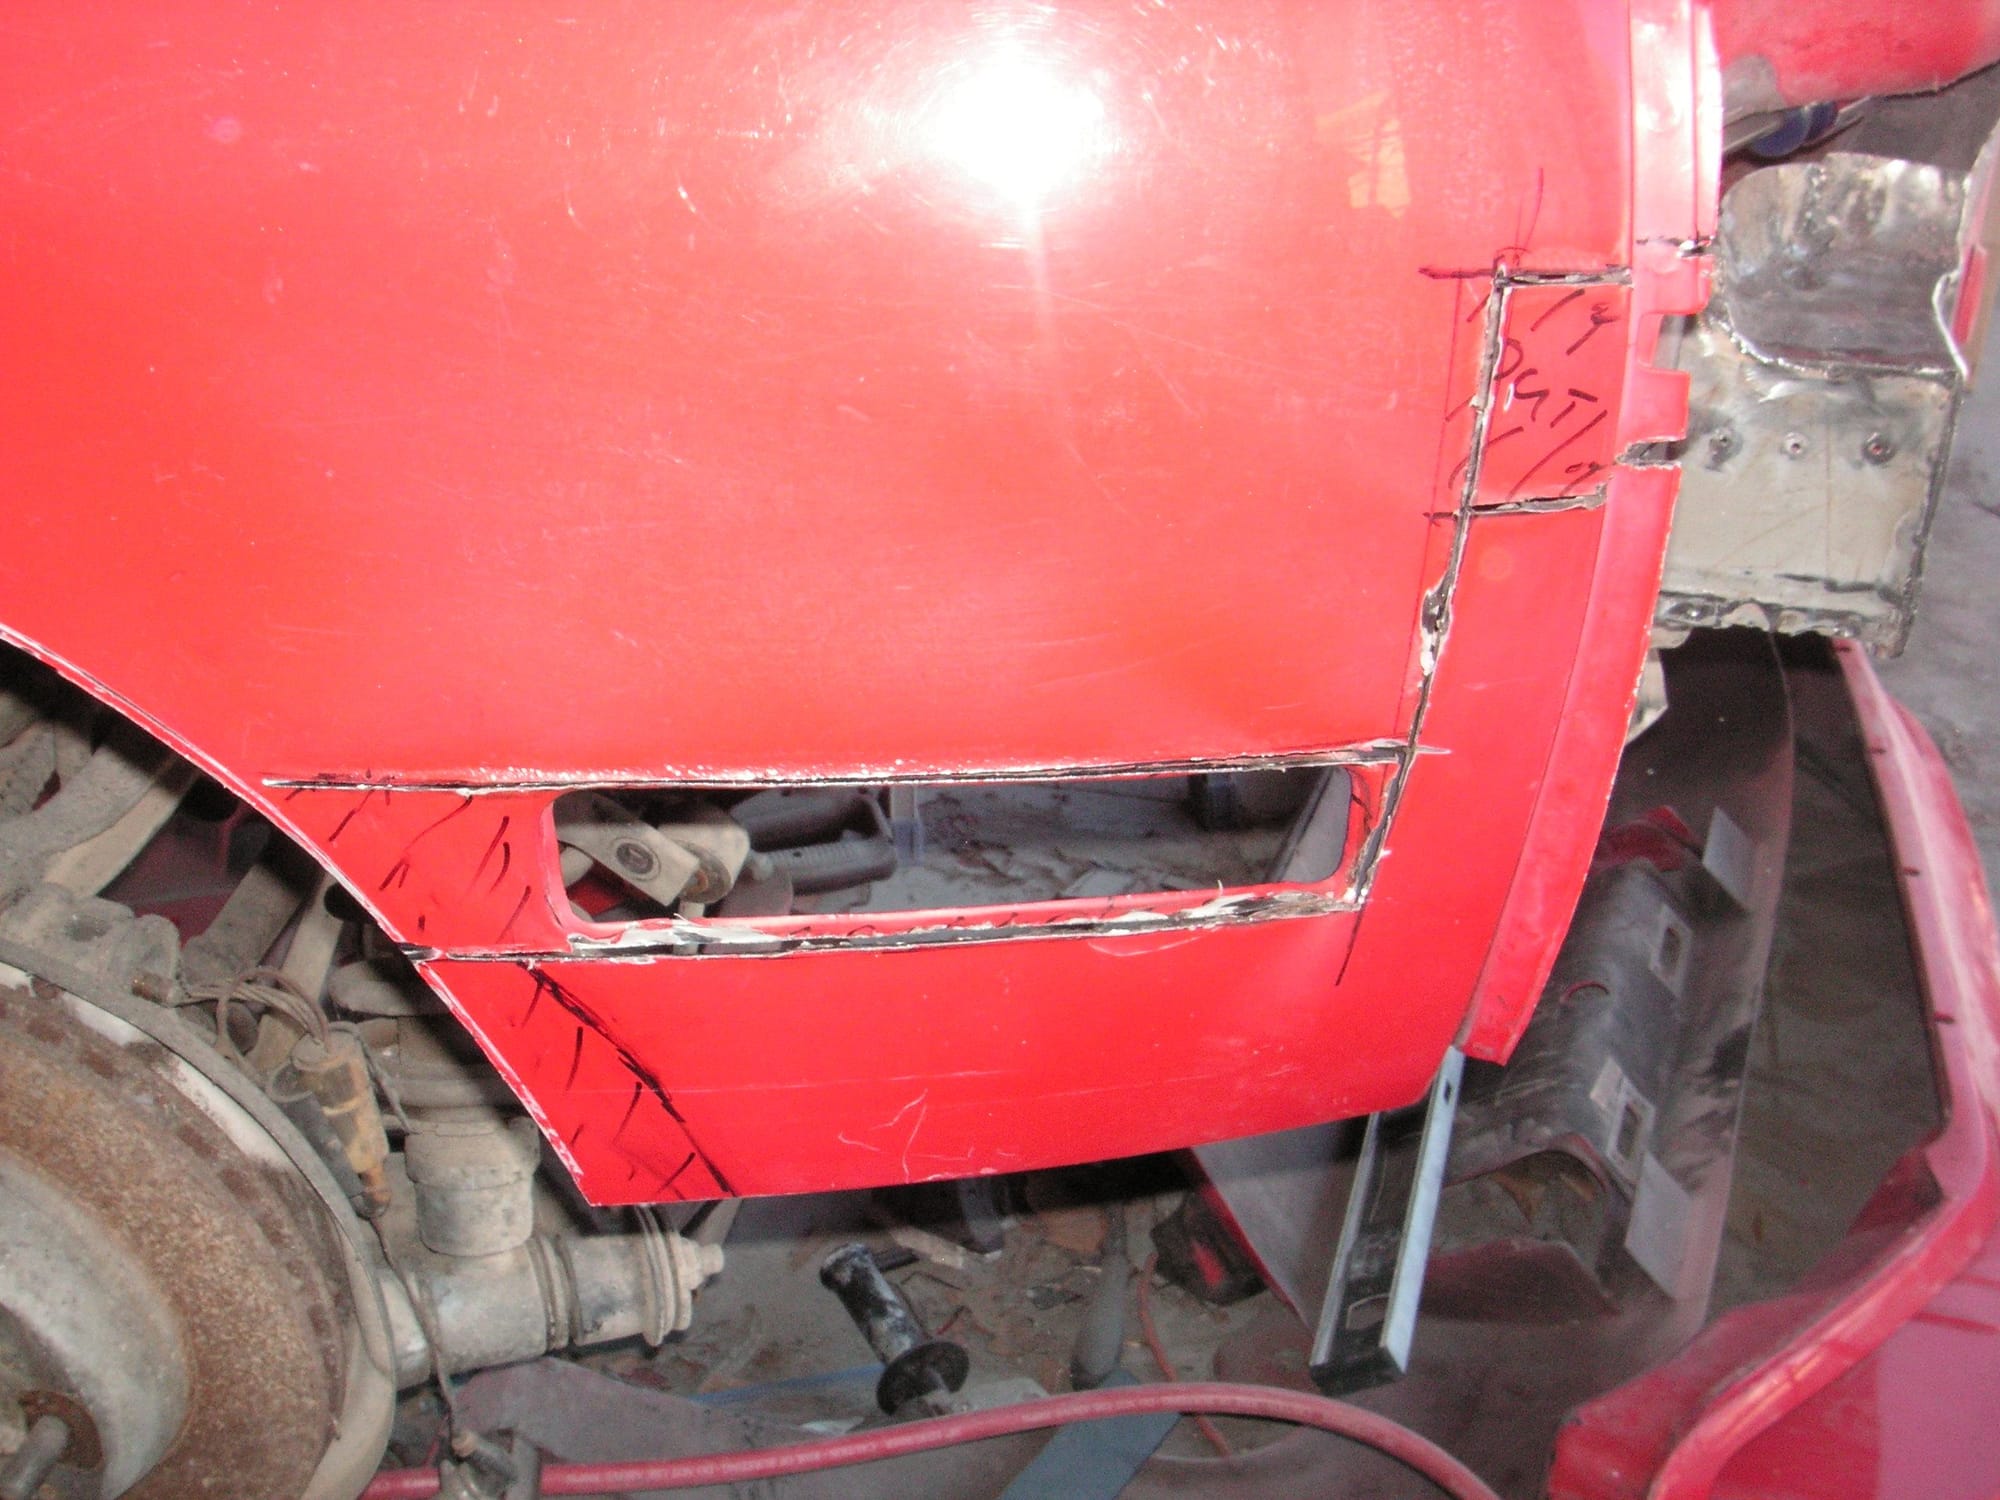
I worked on a couple of the roof welds today and then spent some time double checking the measurements. Here are a couple of pictures of how the rear corners are going to end up.
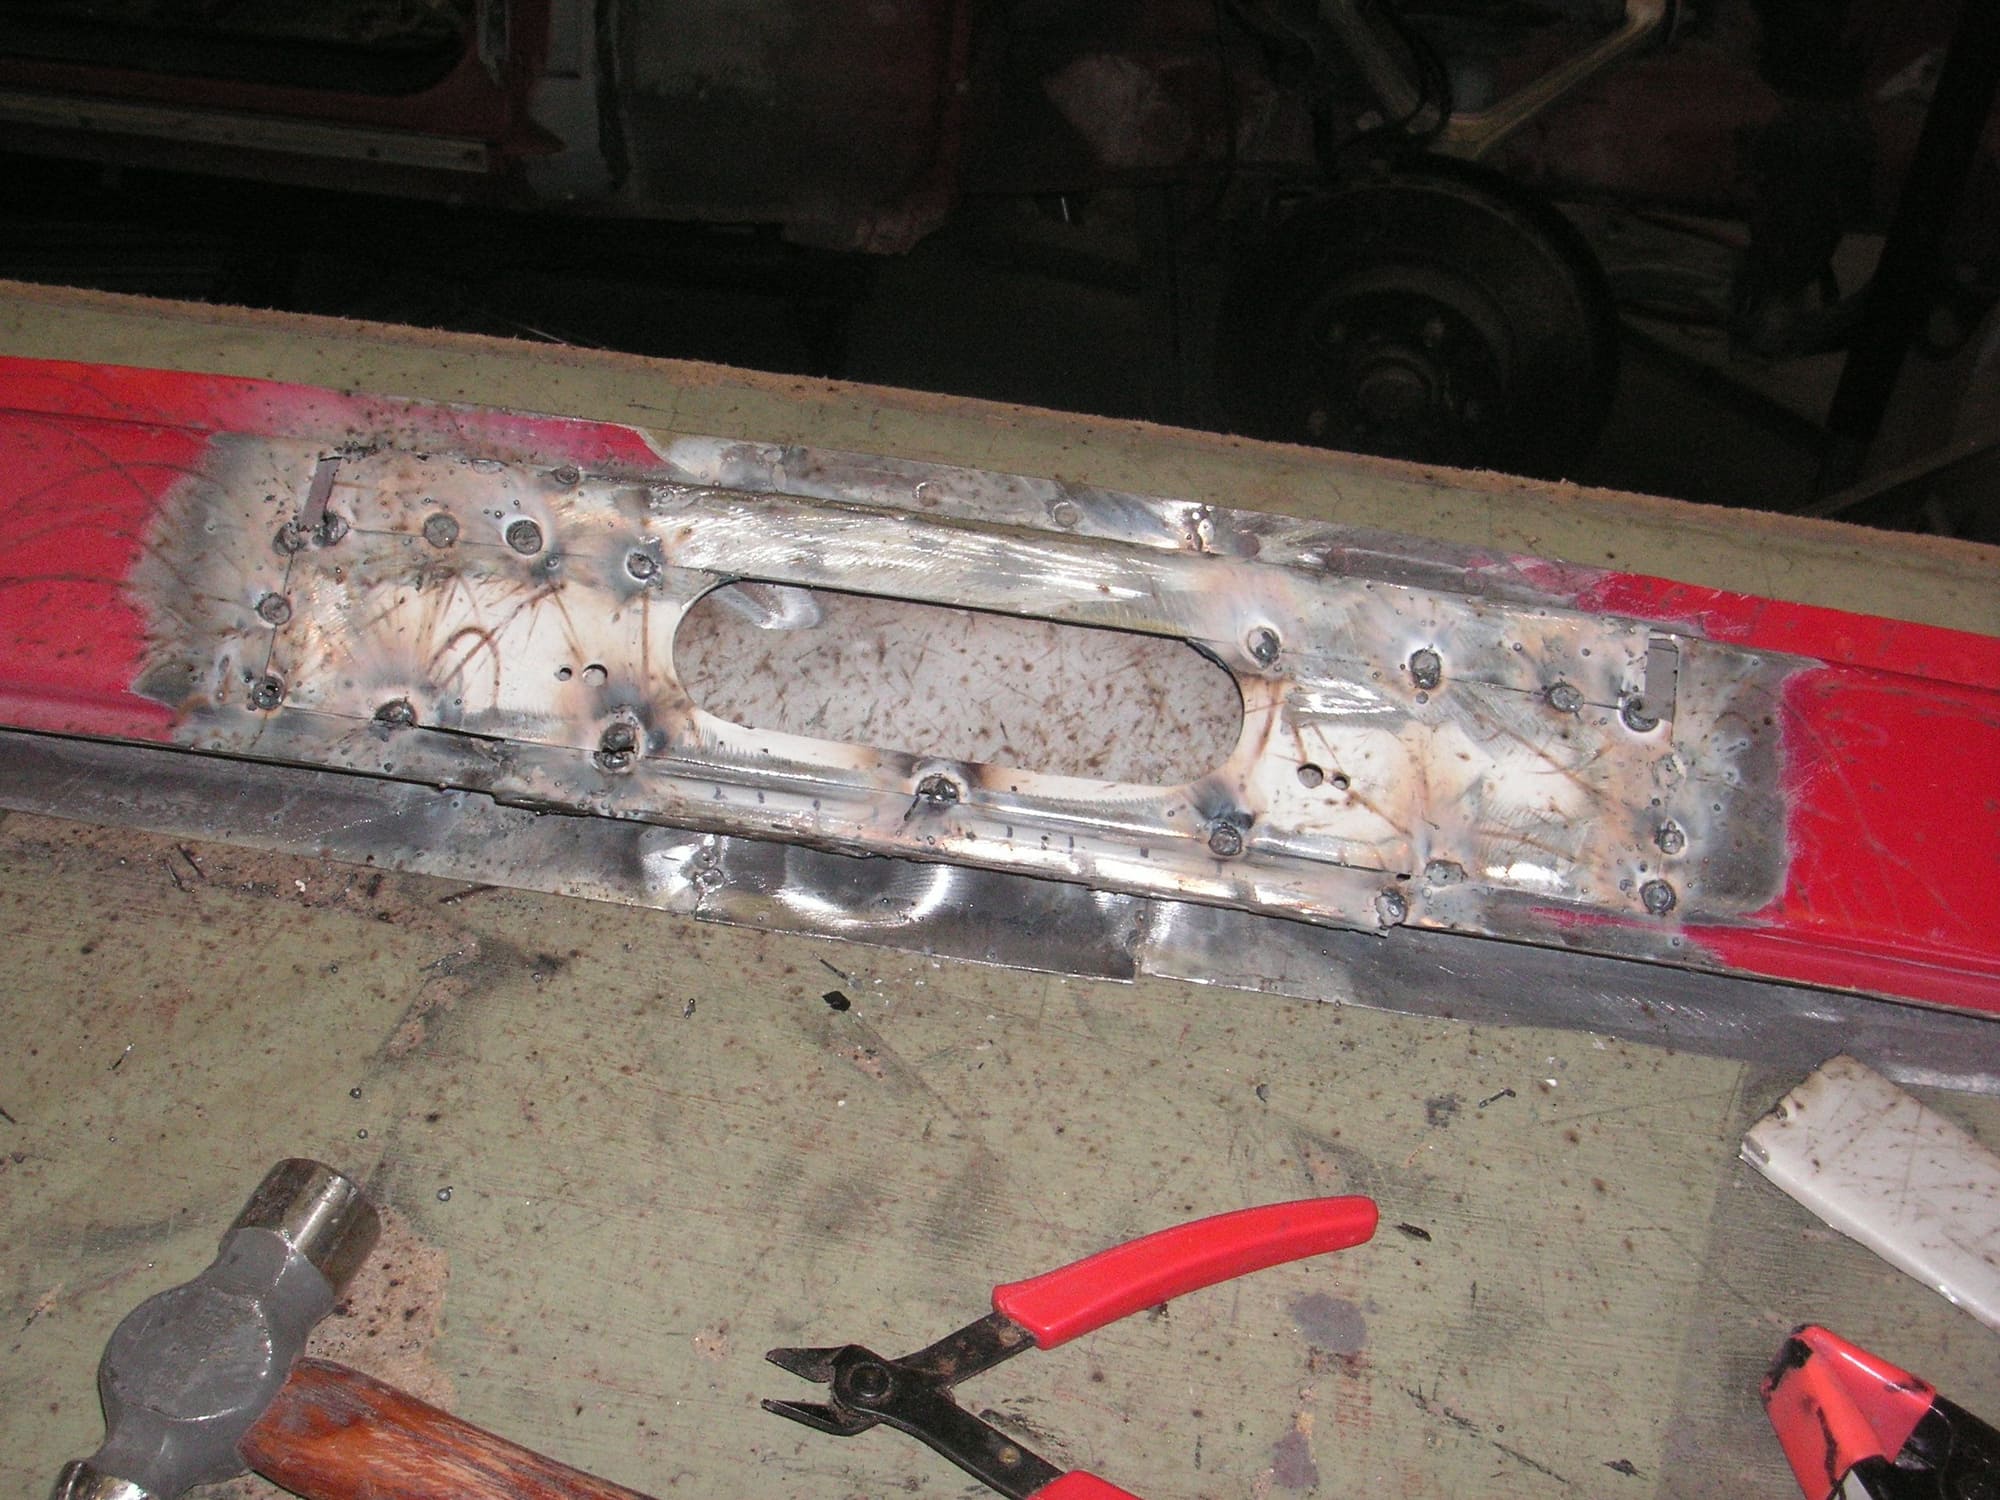
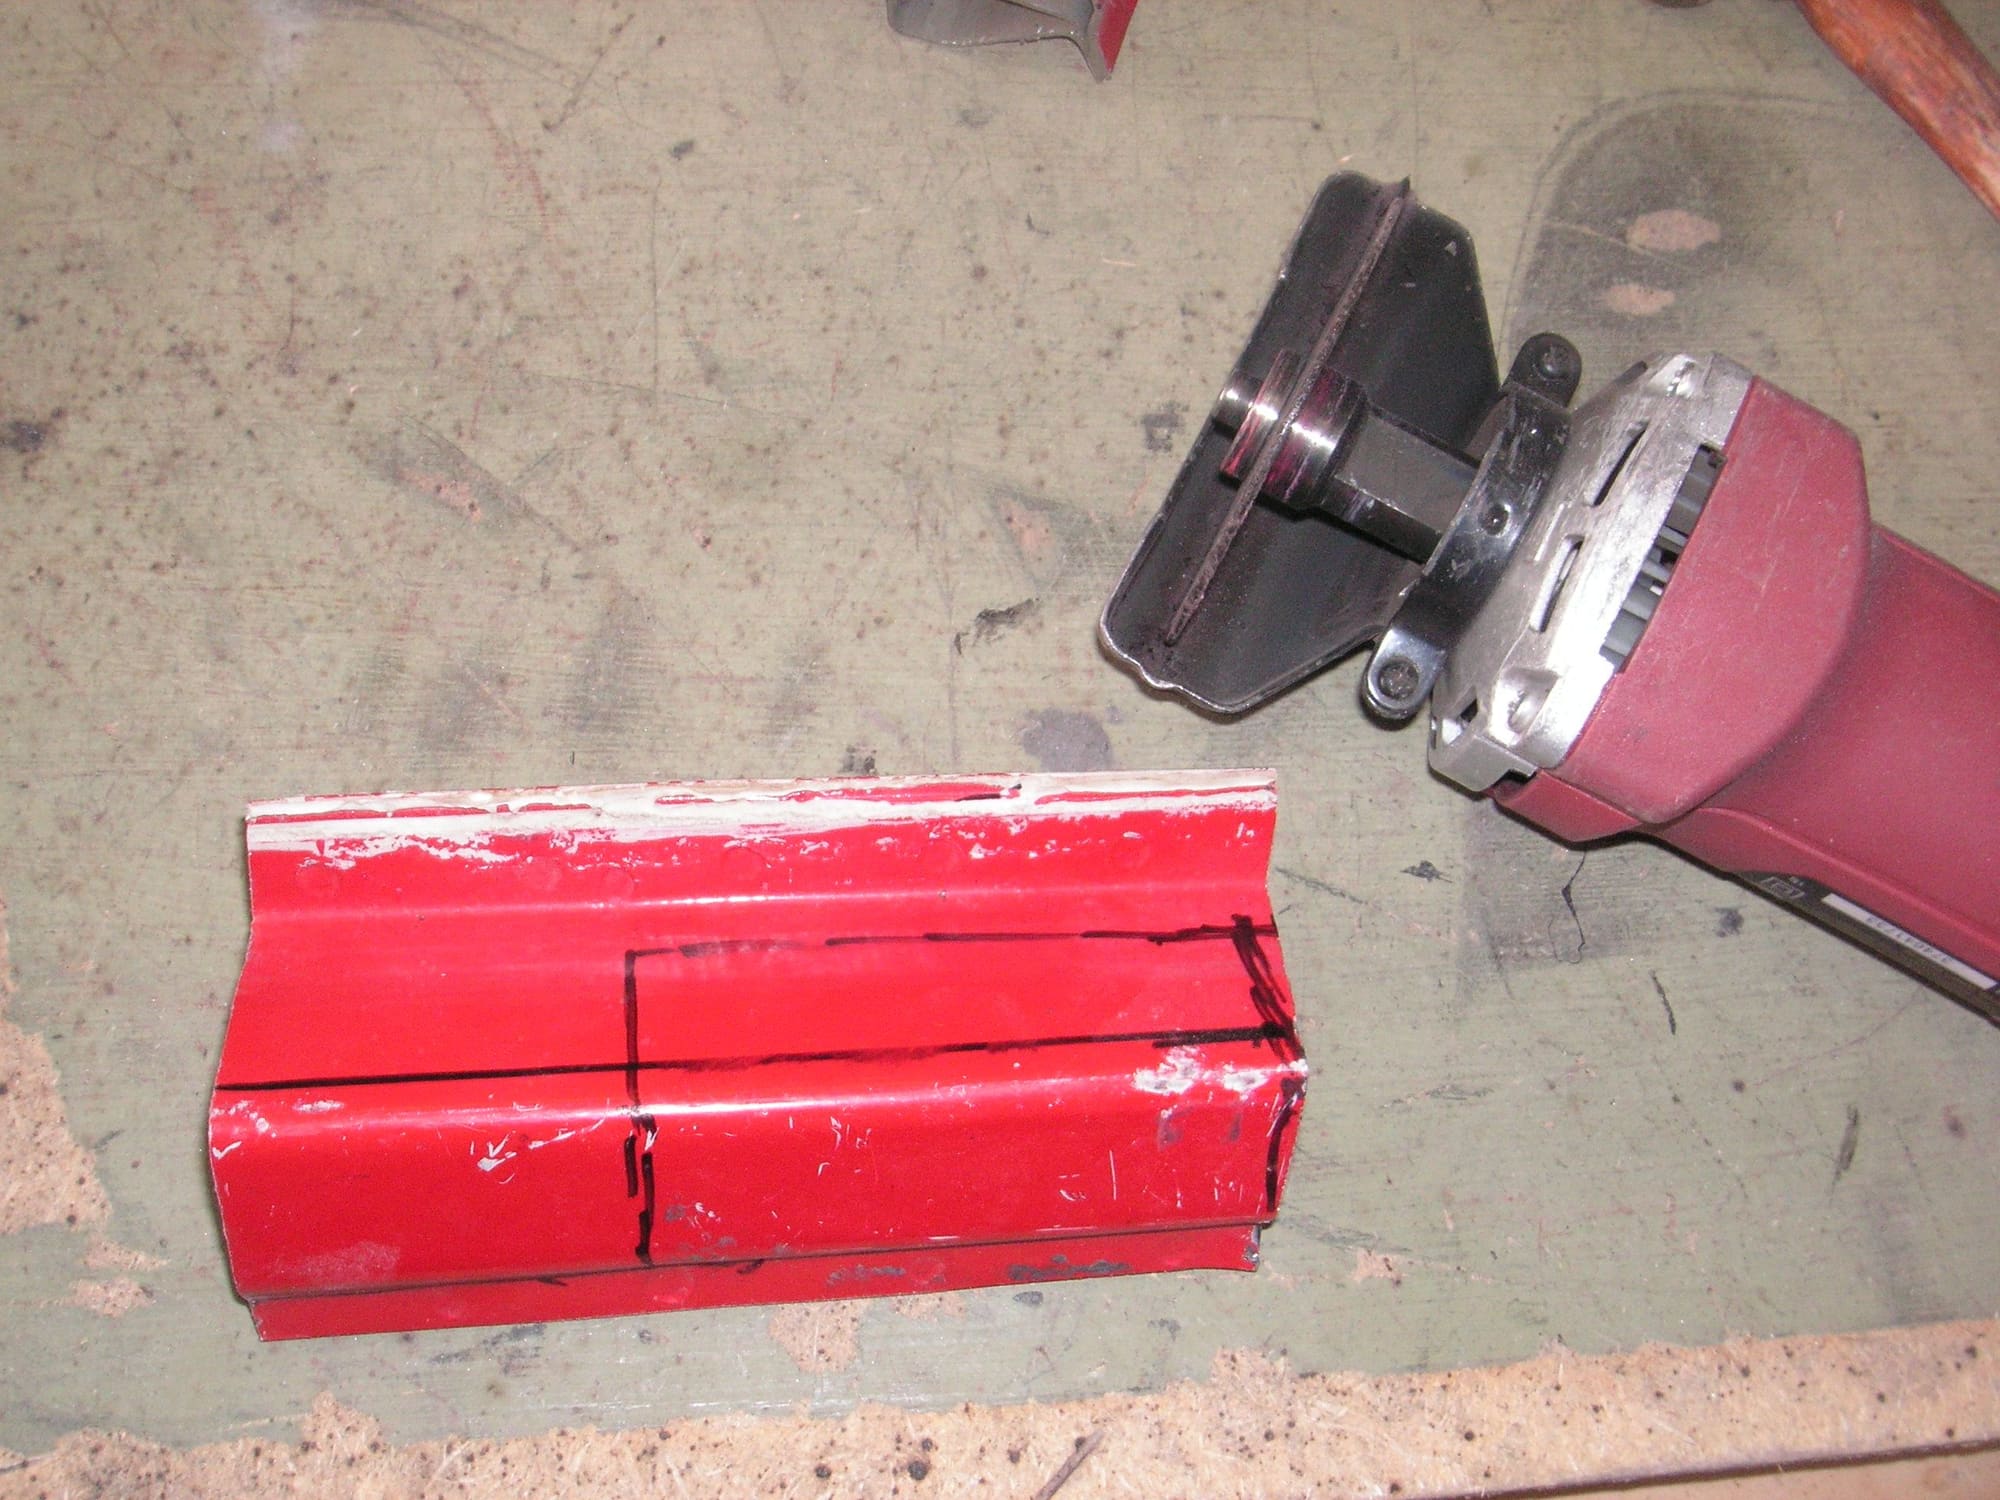
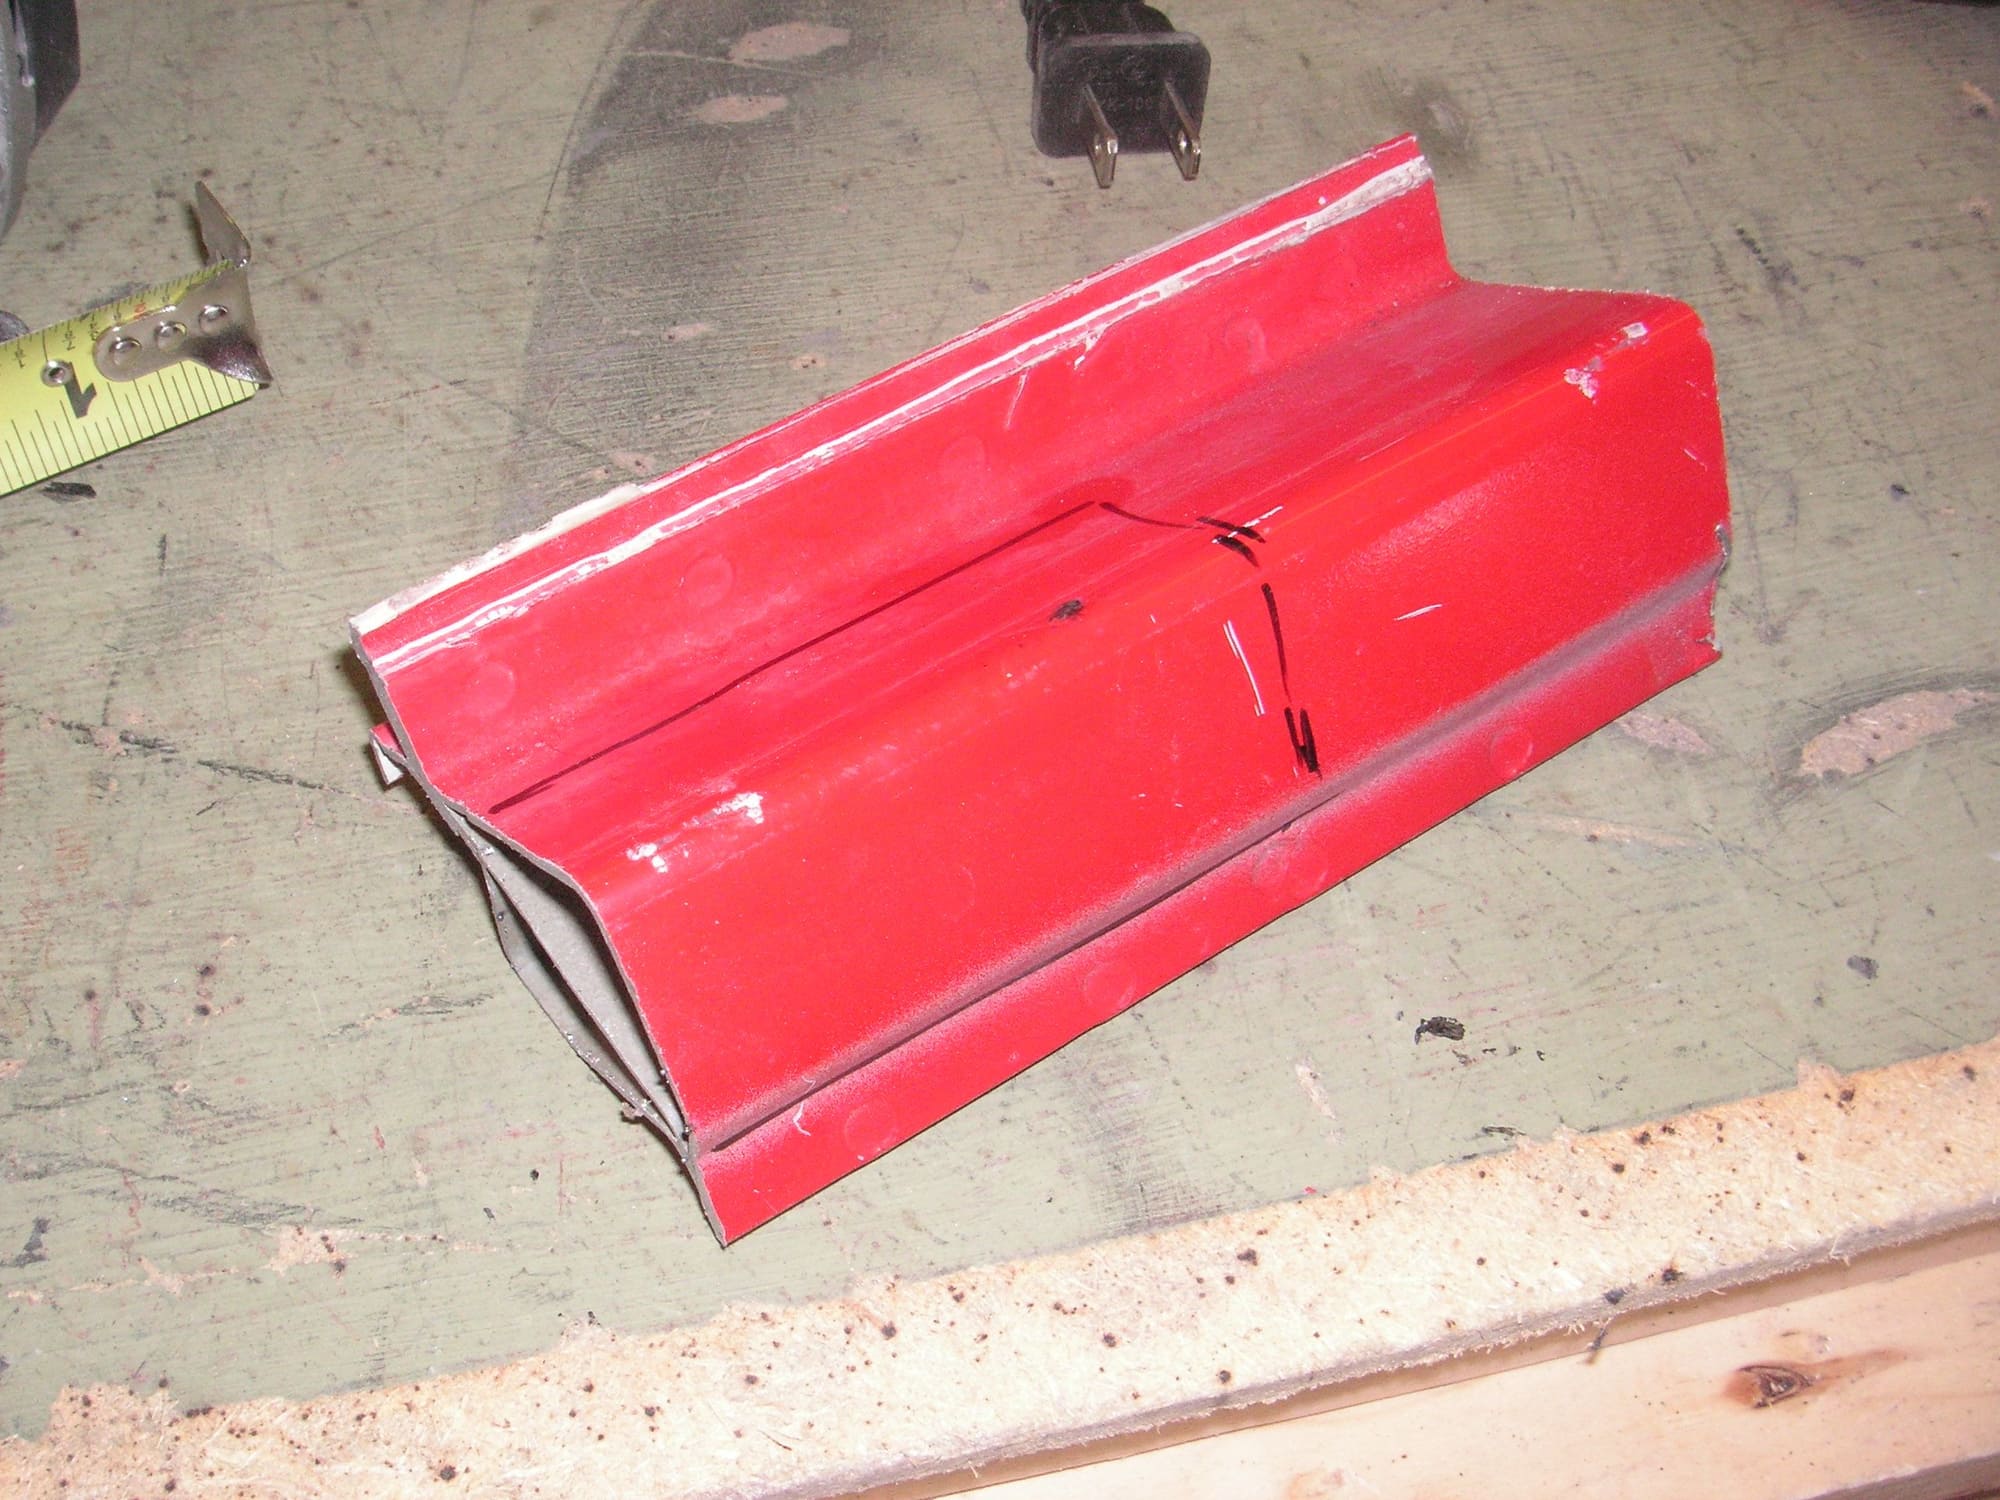
Then I decided to fit a rear bumper cover just to if we are going to have enough clearance for the tail lights and for whatever we end up with for a new bumper bar. I cut the cover across at both of the section lines and later I'll cut the bottom half up in order to narrow the license plate recess like ti had done some time ago to another cover. I was going to use the previous cover, but decided that I should make another one with fewer cuts and patches and using the method I have come up with for bonding PU plastic.
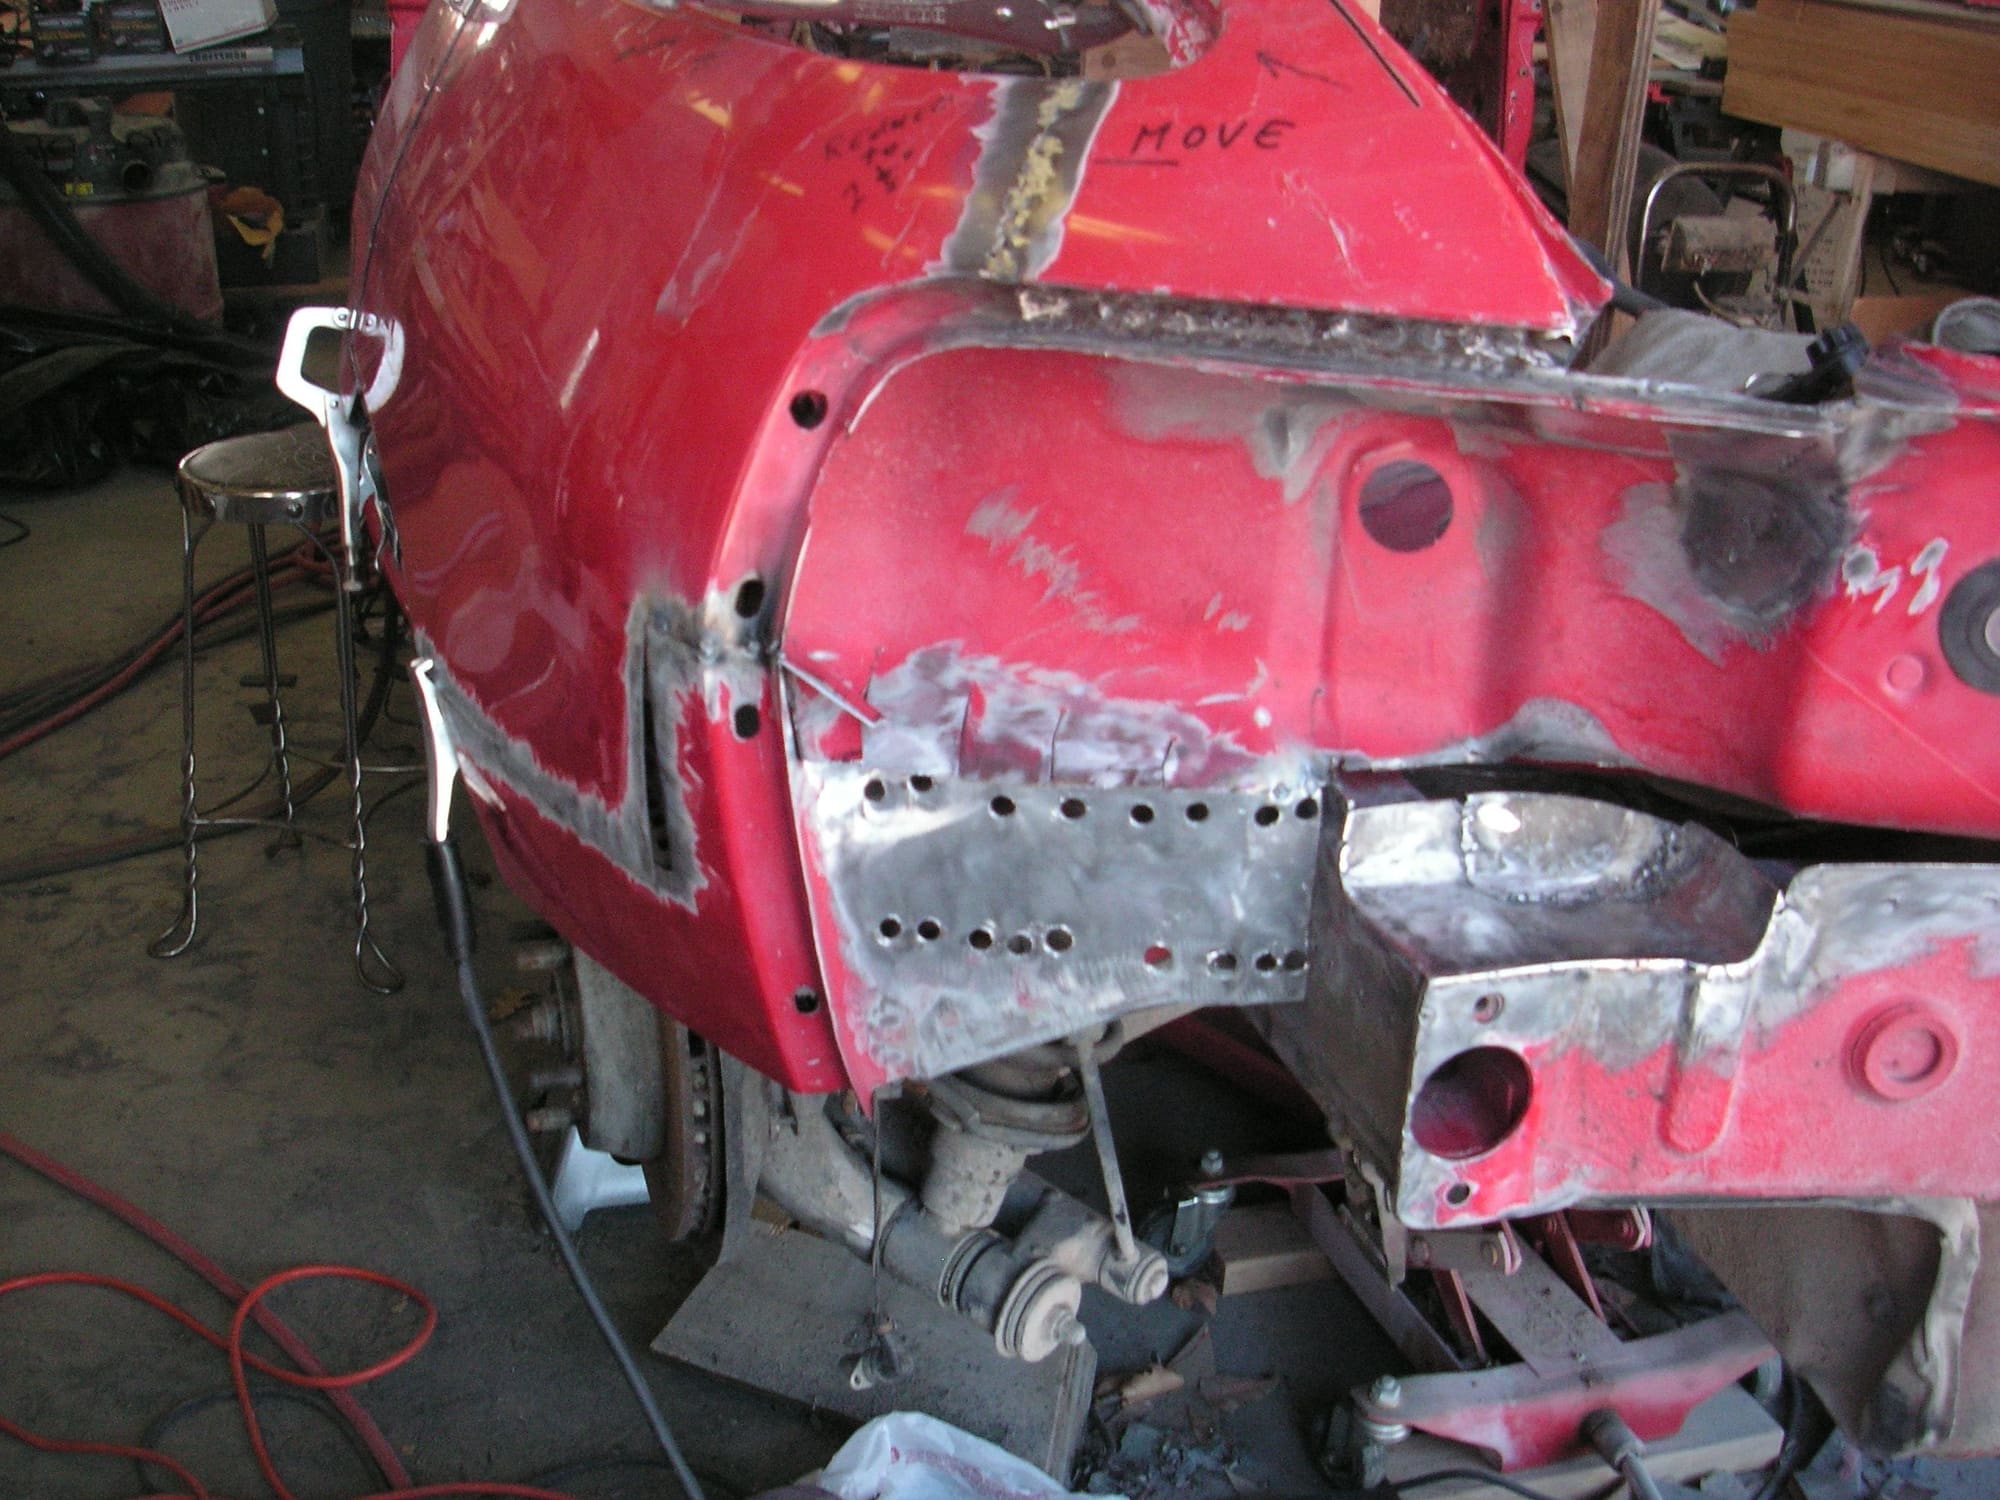
I got back to finishing up some of the openings left on the A-Posts,
and I am working on the same for the side roof patches. I cut one patch for the left A-Post and have it welded in and complete except for a couple of holes in the welds underneath. Then I have a patch for the right side almost ready to weld in.
The A-Posts are pretty well complete and weill need almost no filler to look like they were never severed.
Then I worked on the gap in the passenger side B-Post and have it nearly complete. I'll work on the drivers side later and then figure out how to set up to weld the side roof patches from underneath and upside down.
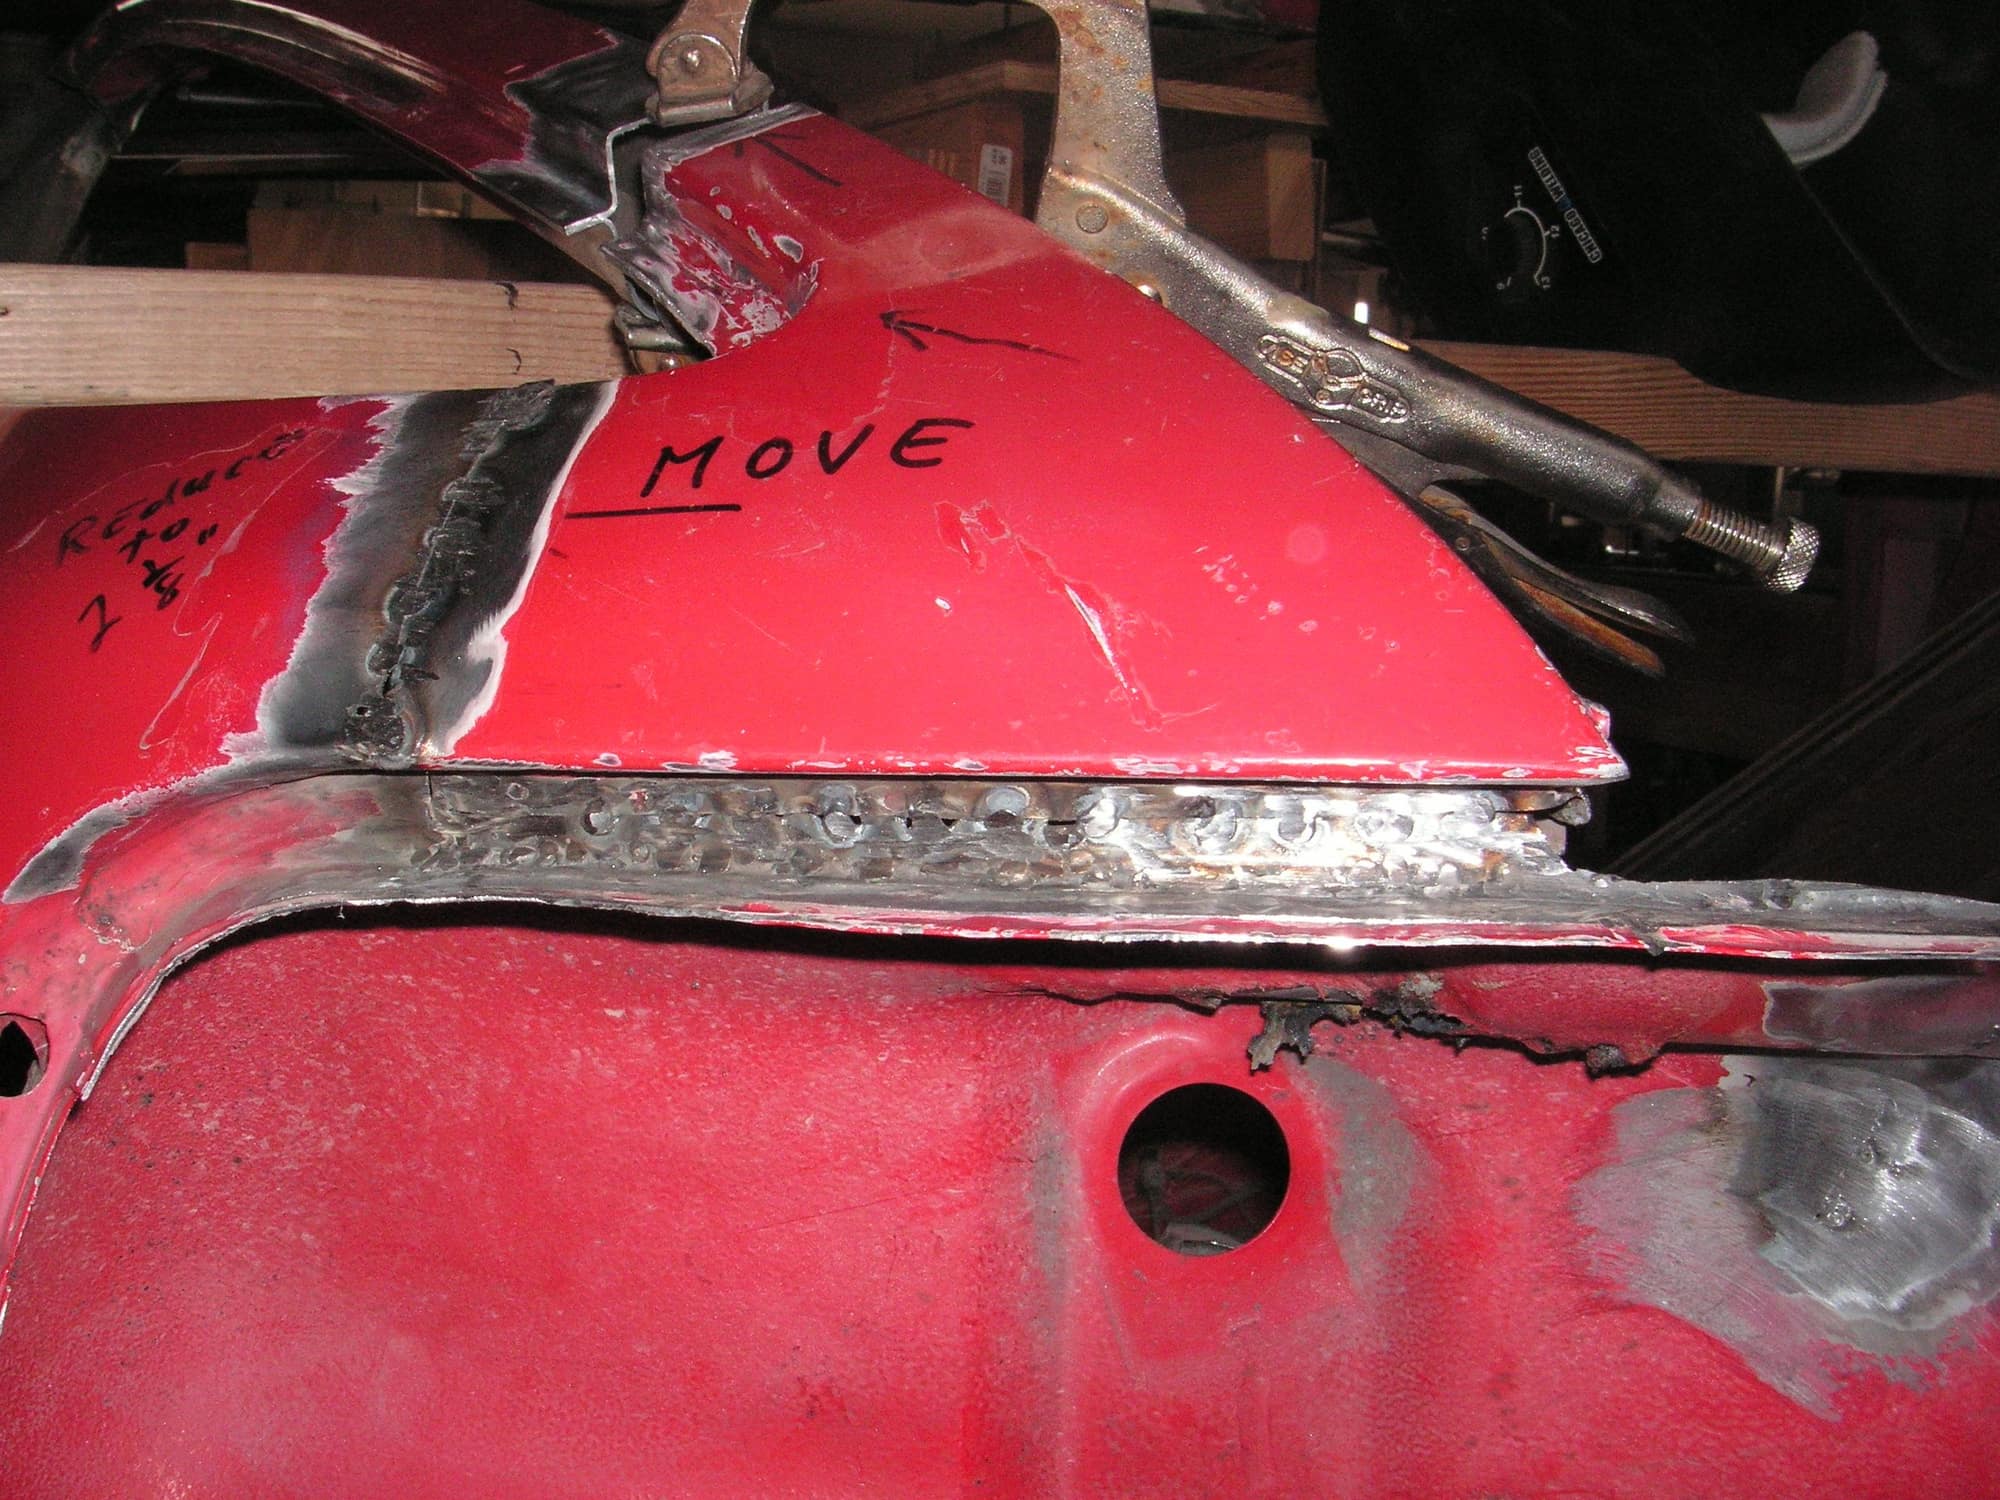
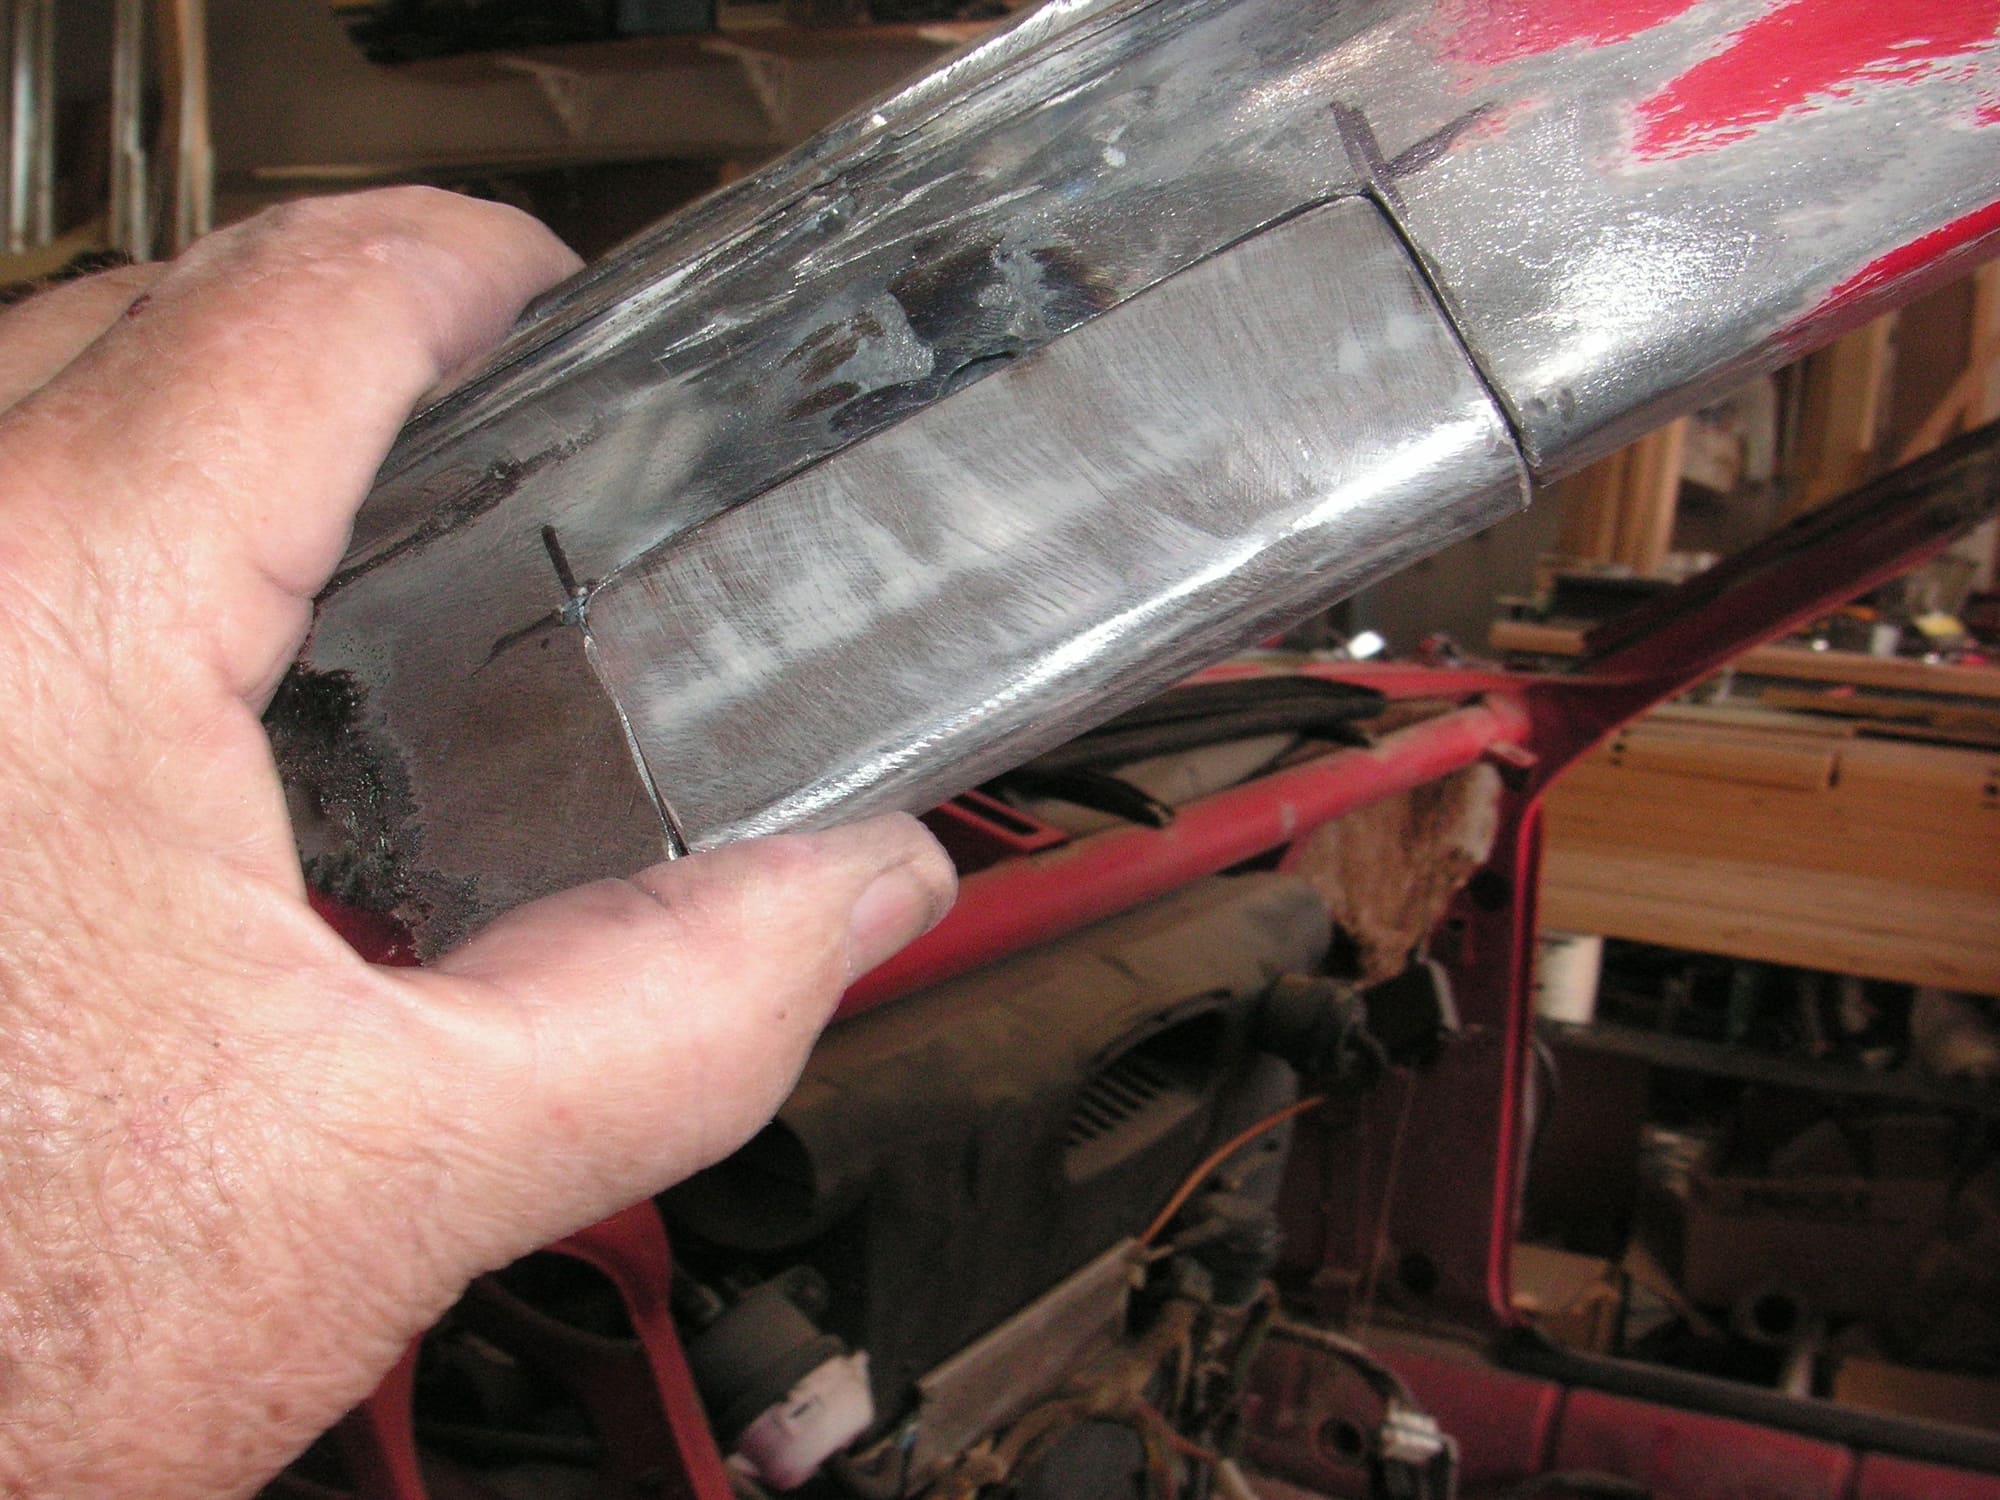
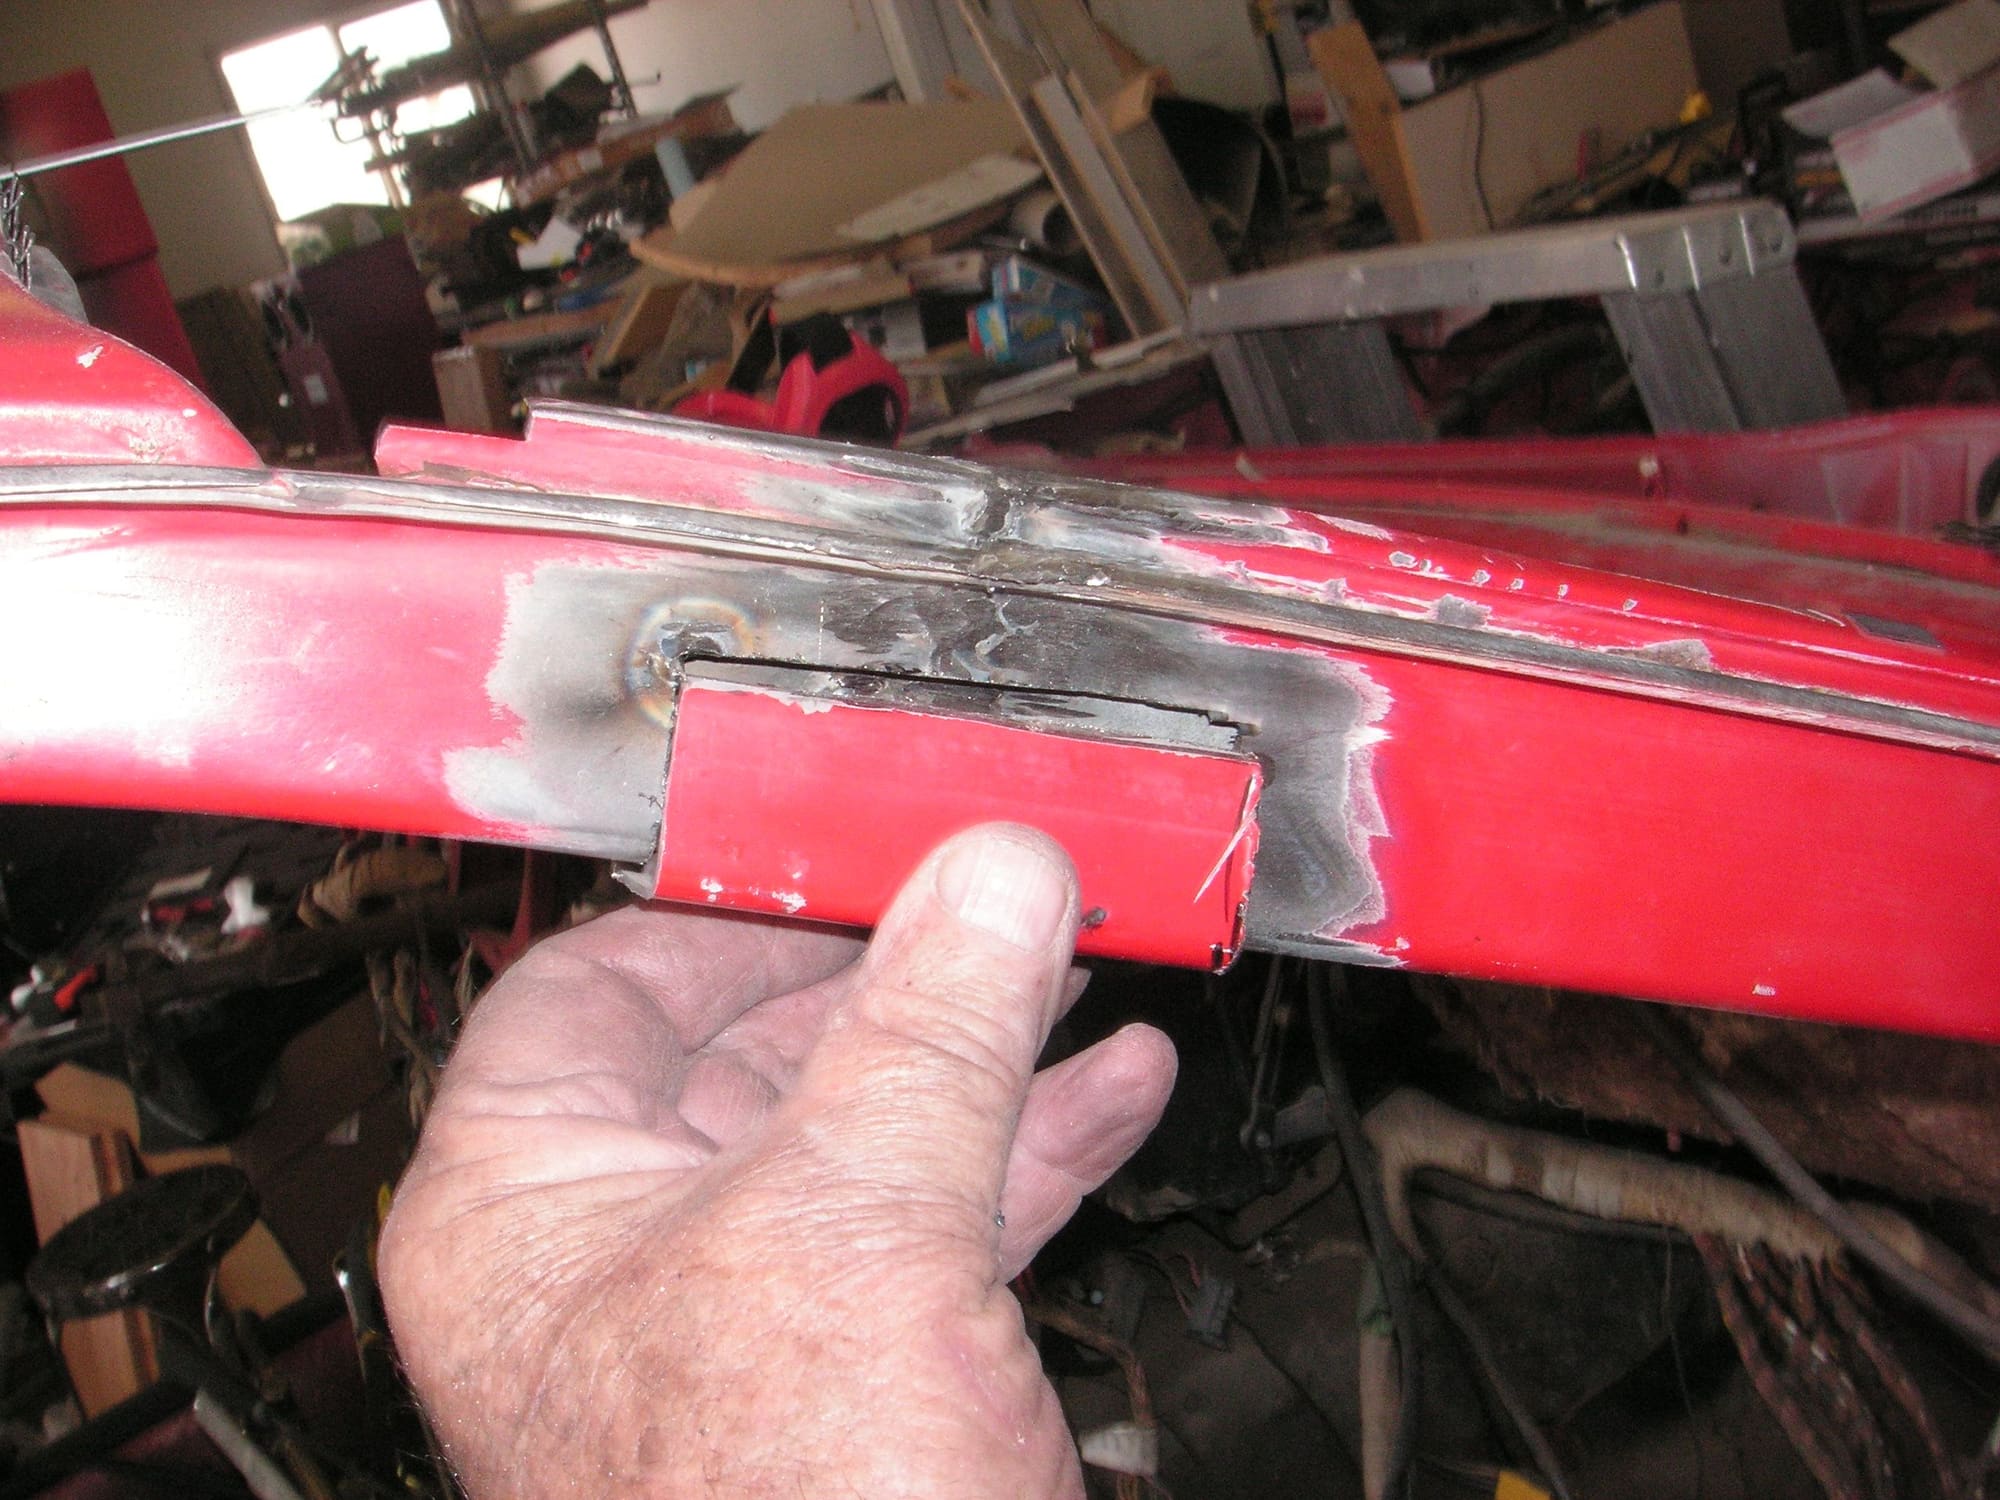
I decided to section the rear corners of the tail panel while I have it still temporarily on the car and before I take it off for quite a while. While it is off I want to set it up outside and use it as a work form to do the sectioning of the rear bumper cover, so it needs to be sectioned and doing that while it is on the car is best.
Aside from sectioning the other side of the tail panel, one of the things I need to do next is to remove the tail and then cut the top edge of the rear frame x-member down to where it is doubled and welded. Then I can mark the underside of the rear kind of box compartment where they will ultimately meet. I think we will find that the gap between the top of the frame and the bottom of the box is about 7/8 inch. That means that when we complete the tail sectioning we need to remove only 1 1/8 in of material out of the flat rear of that box compartment to accomplish our full 2 inch section.
I had kind of been planning to massage the soft body line along the side of the 928 out at its tail end just in front of where it meets the bumper cover. The reason is that the line does not flow thru and across the rear of the car very well since it has to take a dive to flow across the bumper cover under the tail lights. However, it looks like this sectioning there is going to in fact emphasize the body line some, so I guess we will have to live with it.
I have gone back to the flux wire welder. My MIG welder started to sputter too much and I was not too sure about how much penetration I was getting in some of the welds with it. I had given up on the flux wire welder that I started with that is 90 amp because the torch had broken and failed. I still have the 125 amp flux wire welder that I bought on clearance at HF so I thought I would put it into service even though it is rated for thin material only down to 18 gauge and I think the 928 is made of 20 or 22 gauge.
Anyway, I got the 125 welder set up and powered it up but it would not weld or run the wire. Then it occured to me that that is probably why it was returned and then sold on clearance for $37. So I first thought I would take the torch wire and feed tube off of it and put it onto the 90 amp welder, since they appear to be the same, but when I took the side covers off I found that it is much too complex to deal with. Then I started looking and feeling around inside of it and found a loose connection. When I put that back it now works just fine. So, I am going to use it for now since my next move will have to be the TIG welder and I don't want to start that since it takes three of my limbs to run it versus only one with the flux wire welder.
Last edited by Jerry Feather; 05-31-2018 at 10:14 PM.

 05-01-2018, 10:52 AM