When you click on links to various merchants on this site and make a purchase, this can result in this site earning a commission. Affiliate programs and affiliations include, but are not limited to, the eBay Partner Network.
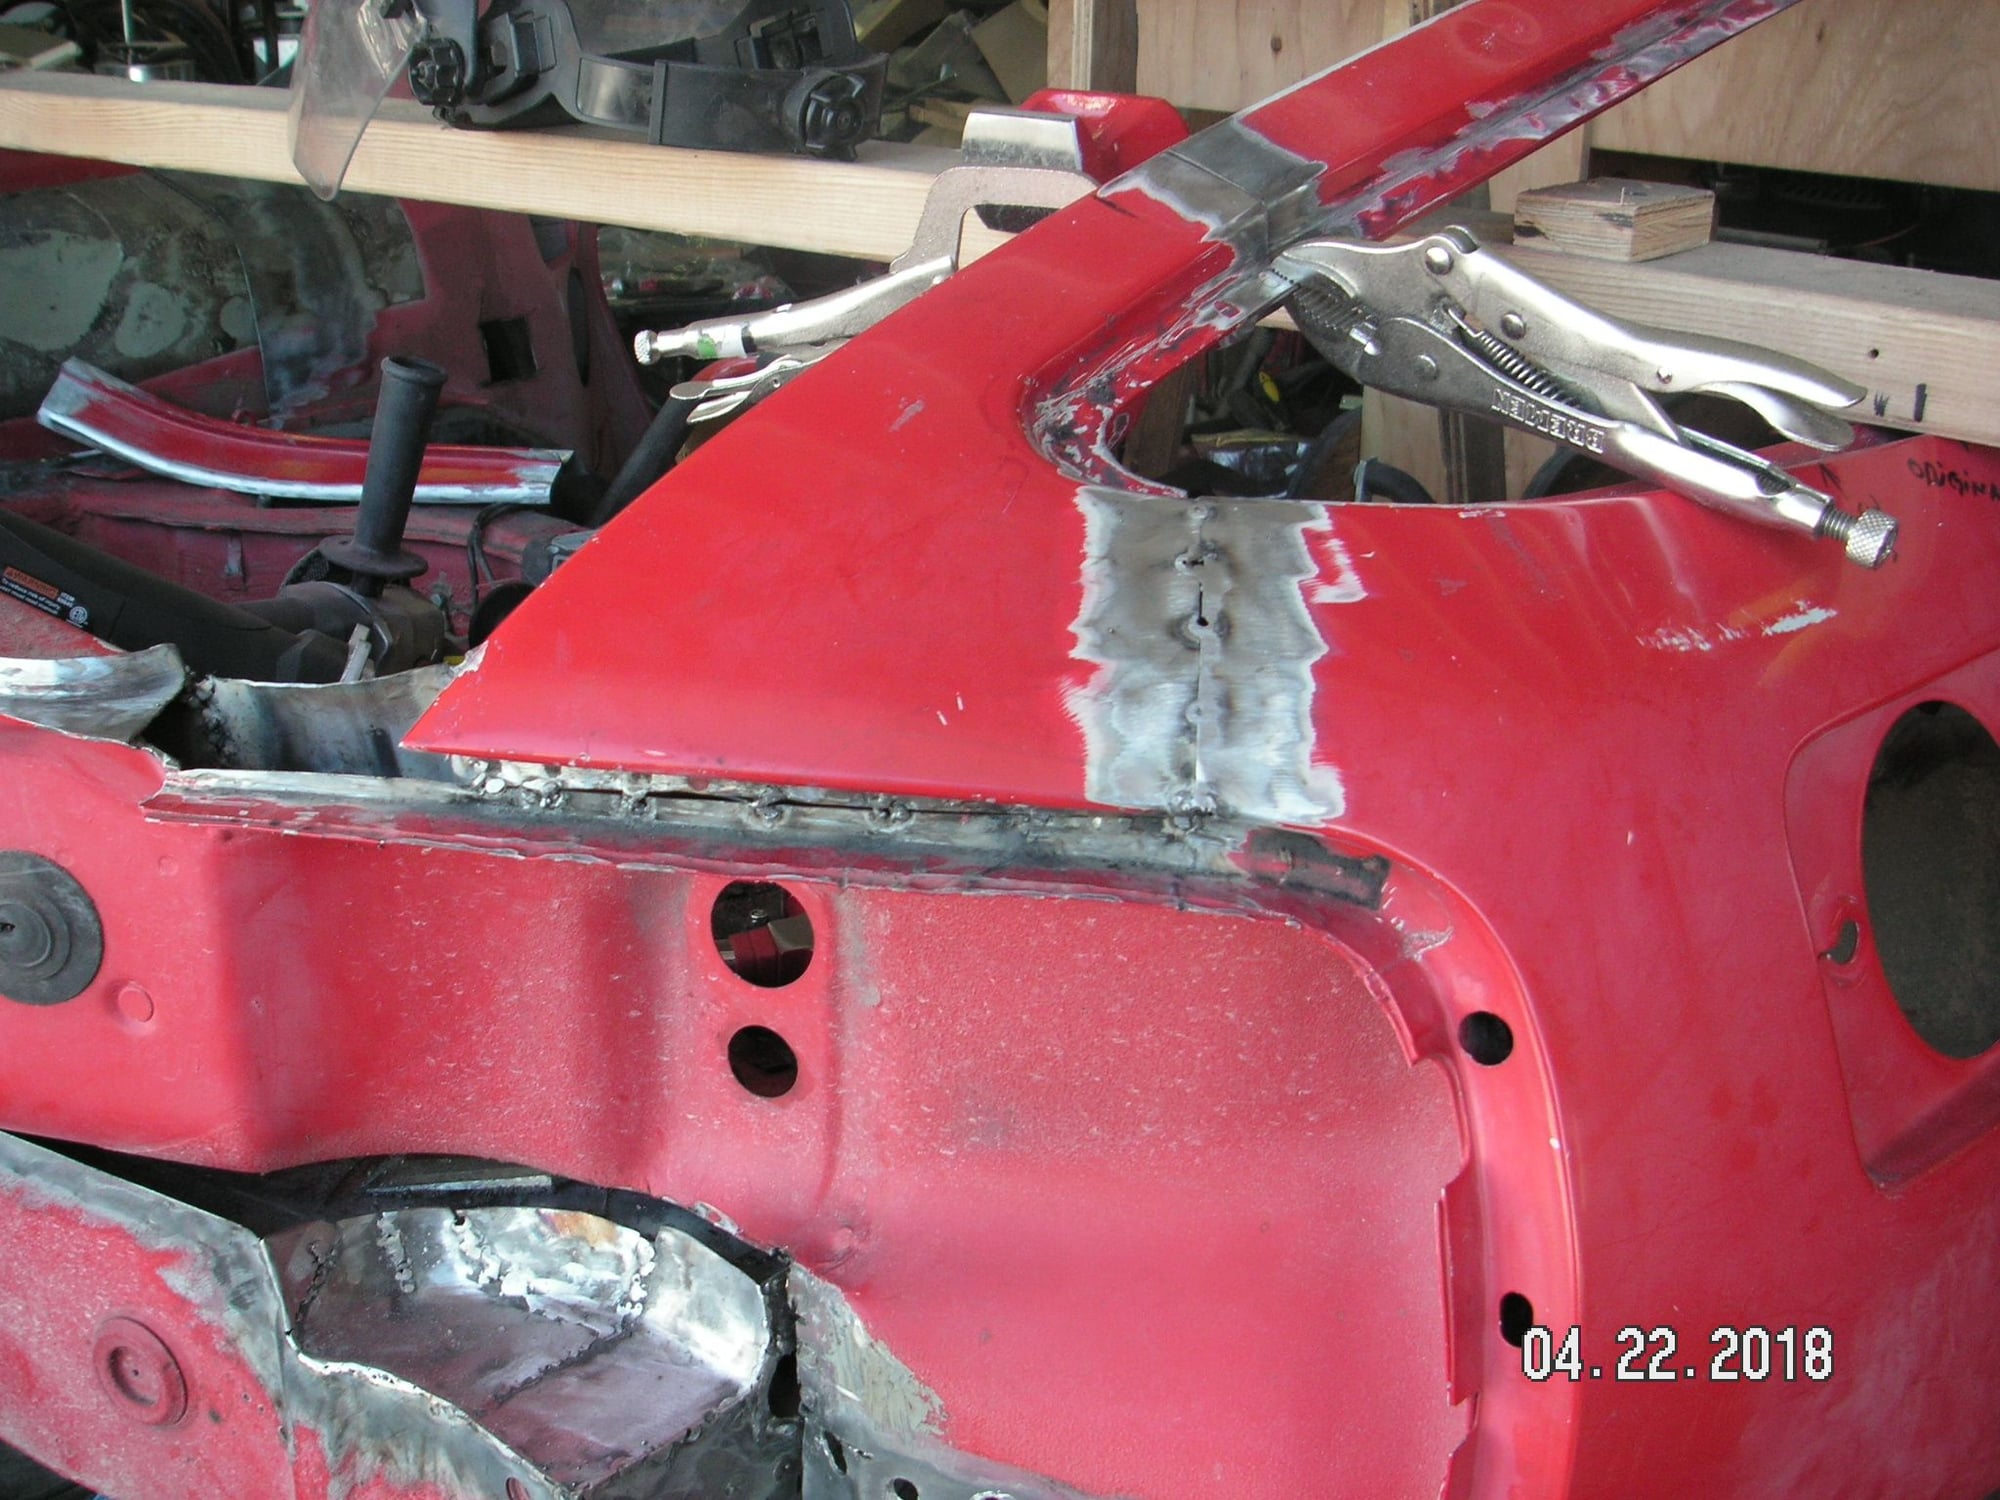
The elbow did hold me back some on this project. Friday and Saturday I didn't get to touch the car. Sunday, the swelling had gone down and the pain was under control so I did get a few things done. I welded in a couple of patches where they were going to be needed and cut the two slots at the top of the driver's B-Post so it can be correctly aligned.
This morning I have to see the Doc again. What he did the first time was put me on a strong antibiotic, and that seems to be helping. Today I'm not sure if he is going to see the need to drain the Bursa or not.
I think that before we start welding the roof pieces back together another thing we should do is design, locate and make some of the cuts for the later sectioning of the car as that relates to the post just behind the door, The structure of that post, inside, is called the lock post, and it needs to be carefully sectioned, preferably at or close to the lock itself, and we should do it while the area is pretty much opened up for access from the outside, so before we put the tail back in place. The cuts at that location are going to be very complicated in order to retain the lock area itself and the mounting point for the shoulder harness, and still allow for a minimum of offset between the top and bottom of the 2 inch cut-out section.
The elbow seems to be resolving itself fairly well. It has been drained twice of about 6 cc of infection fluid, but I think it is still producing some. I go back to the doc in 10 days and it will not surprise me to find that we probably need to cut it open to fully clean it out so it can heal.
Nevertheless, I am able to function and will get back to the chop job maybe even later today but for sure this weekend. Here is the list of tasks that we need to accomplish before we start welding the top pieces back together:
Cut slots in the A- and B-Posts so the profiles match;
Fabricate a patch for part of the other rear roof segment and weld it in;
Clean the paint off of the remaining weld surfaces; and
Design and cut the lock posts from the outside for the later section phase.
With all of that accomplished we will then be able to put the pieces all back together and verify their fit and then start welding them in place.
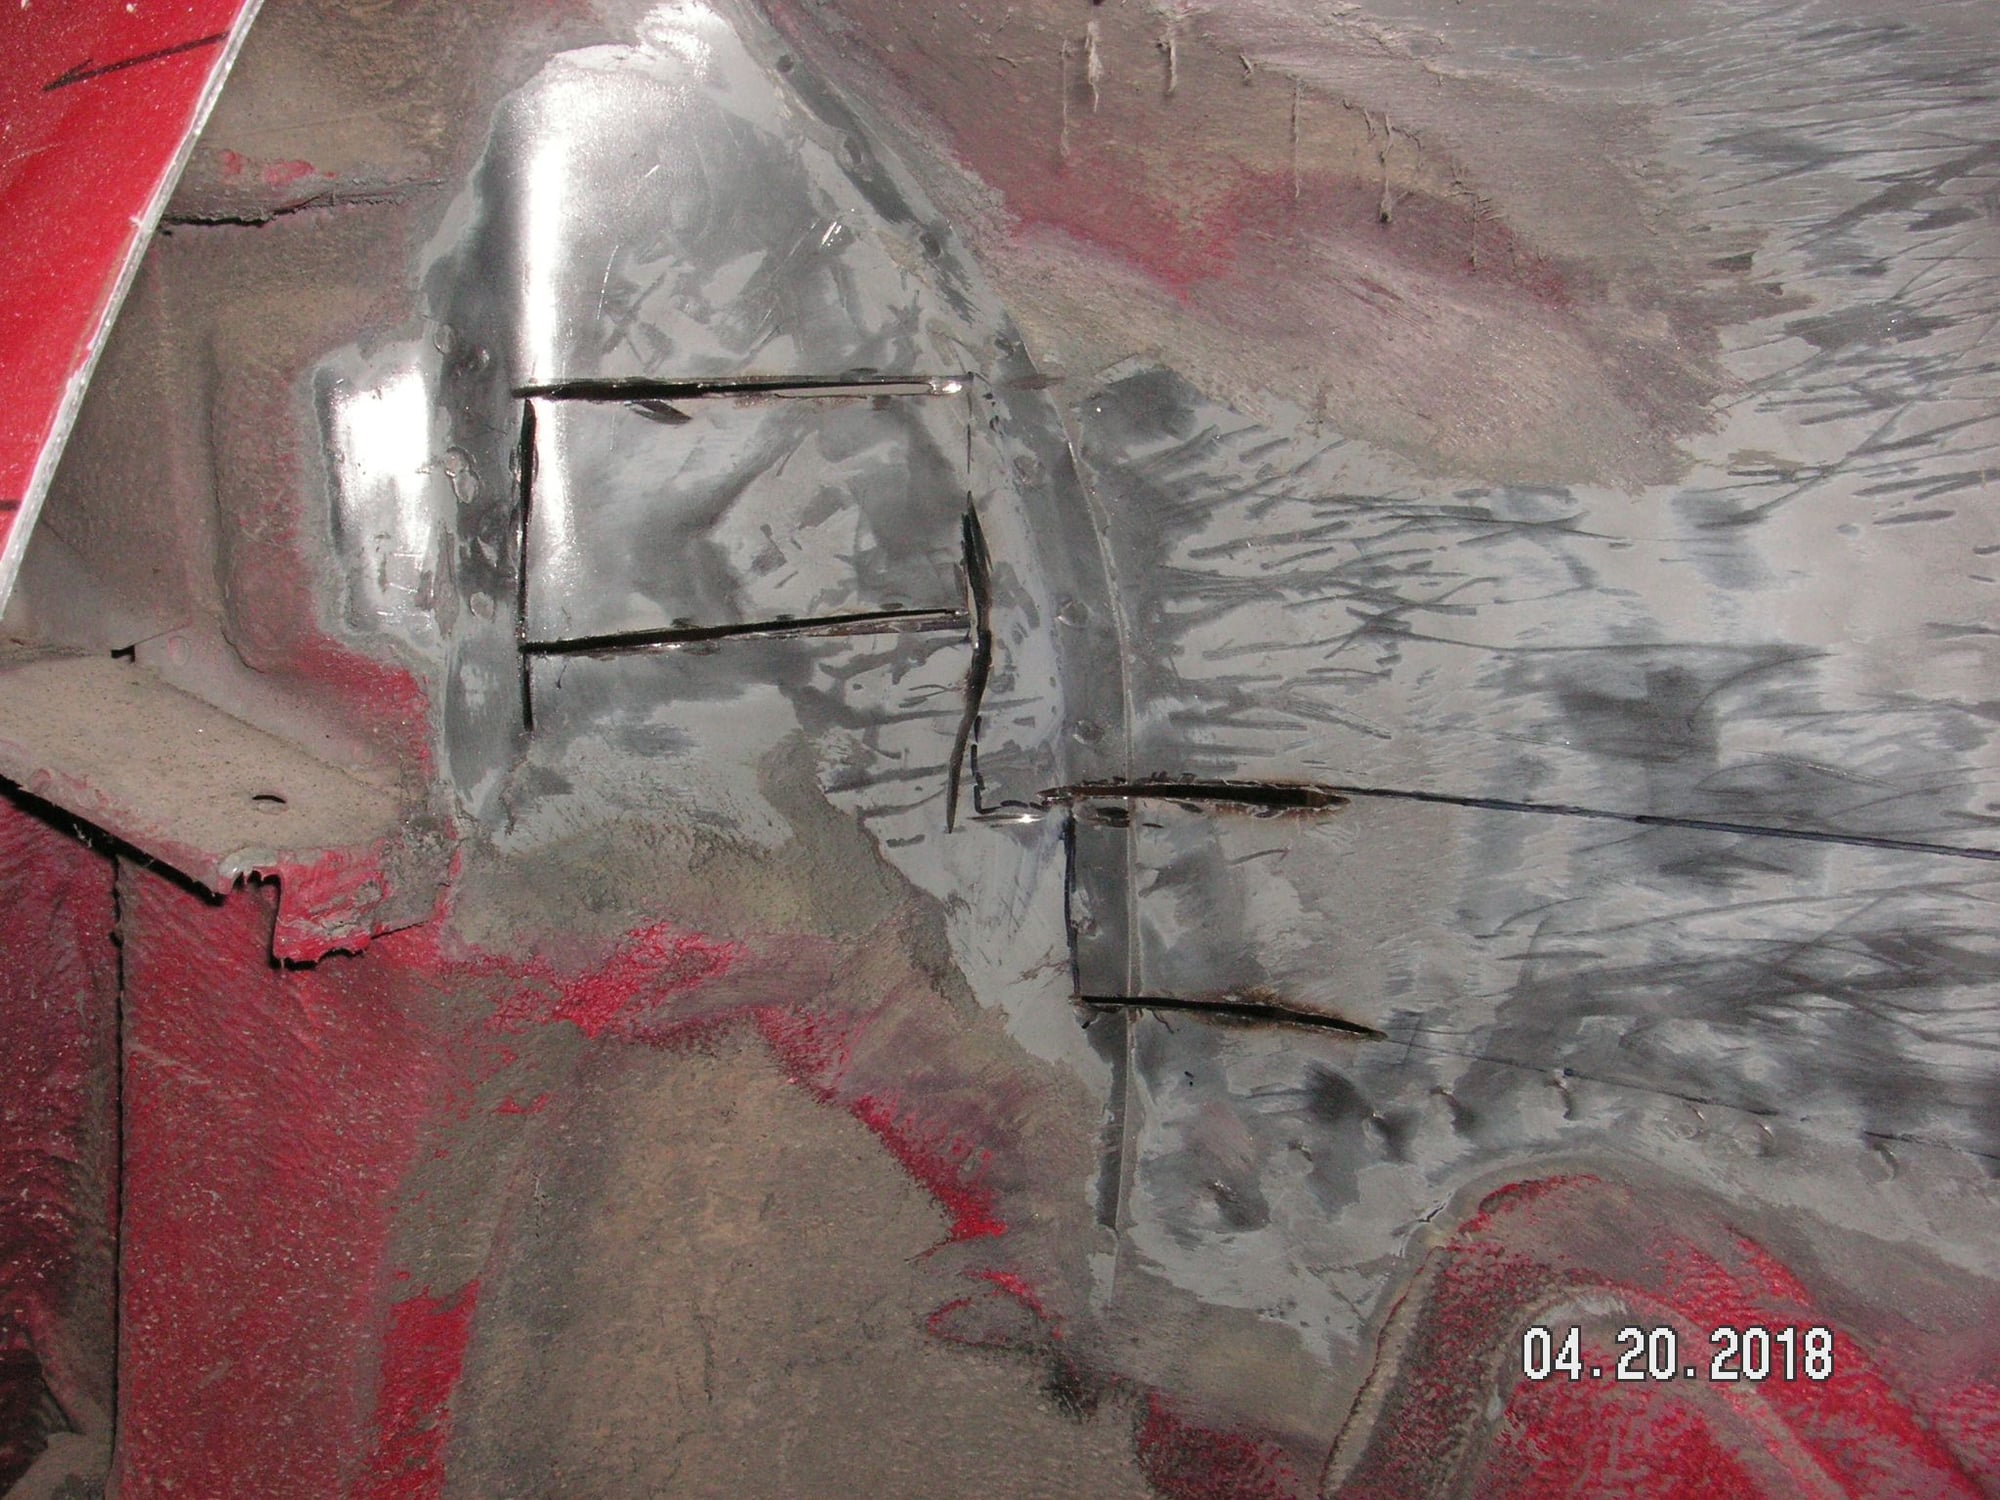
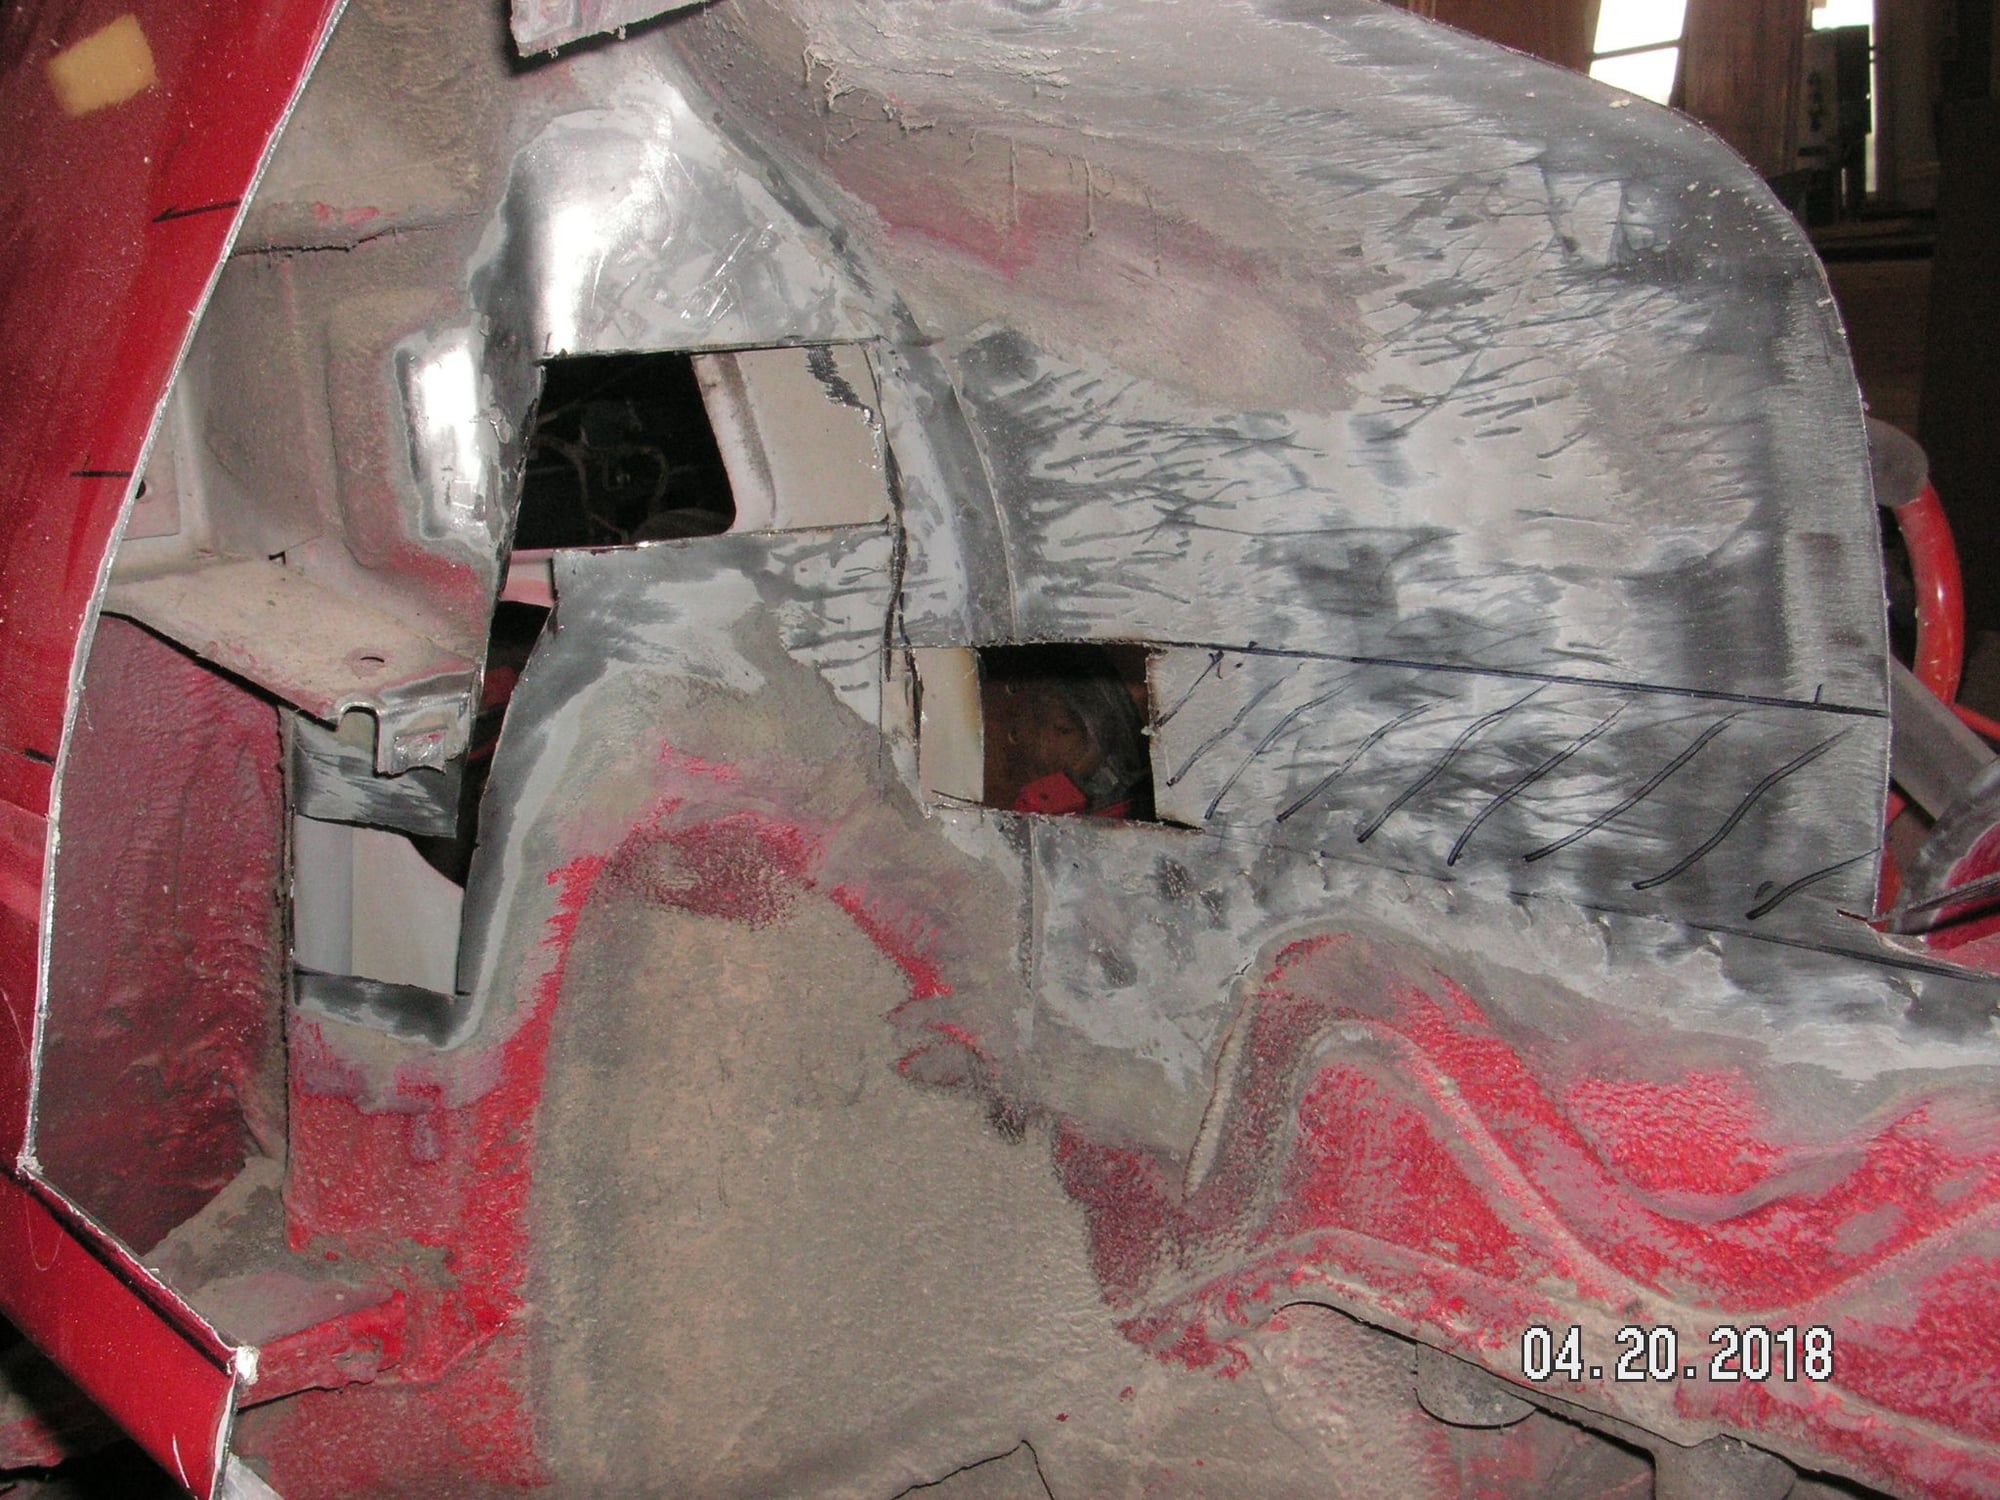
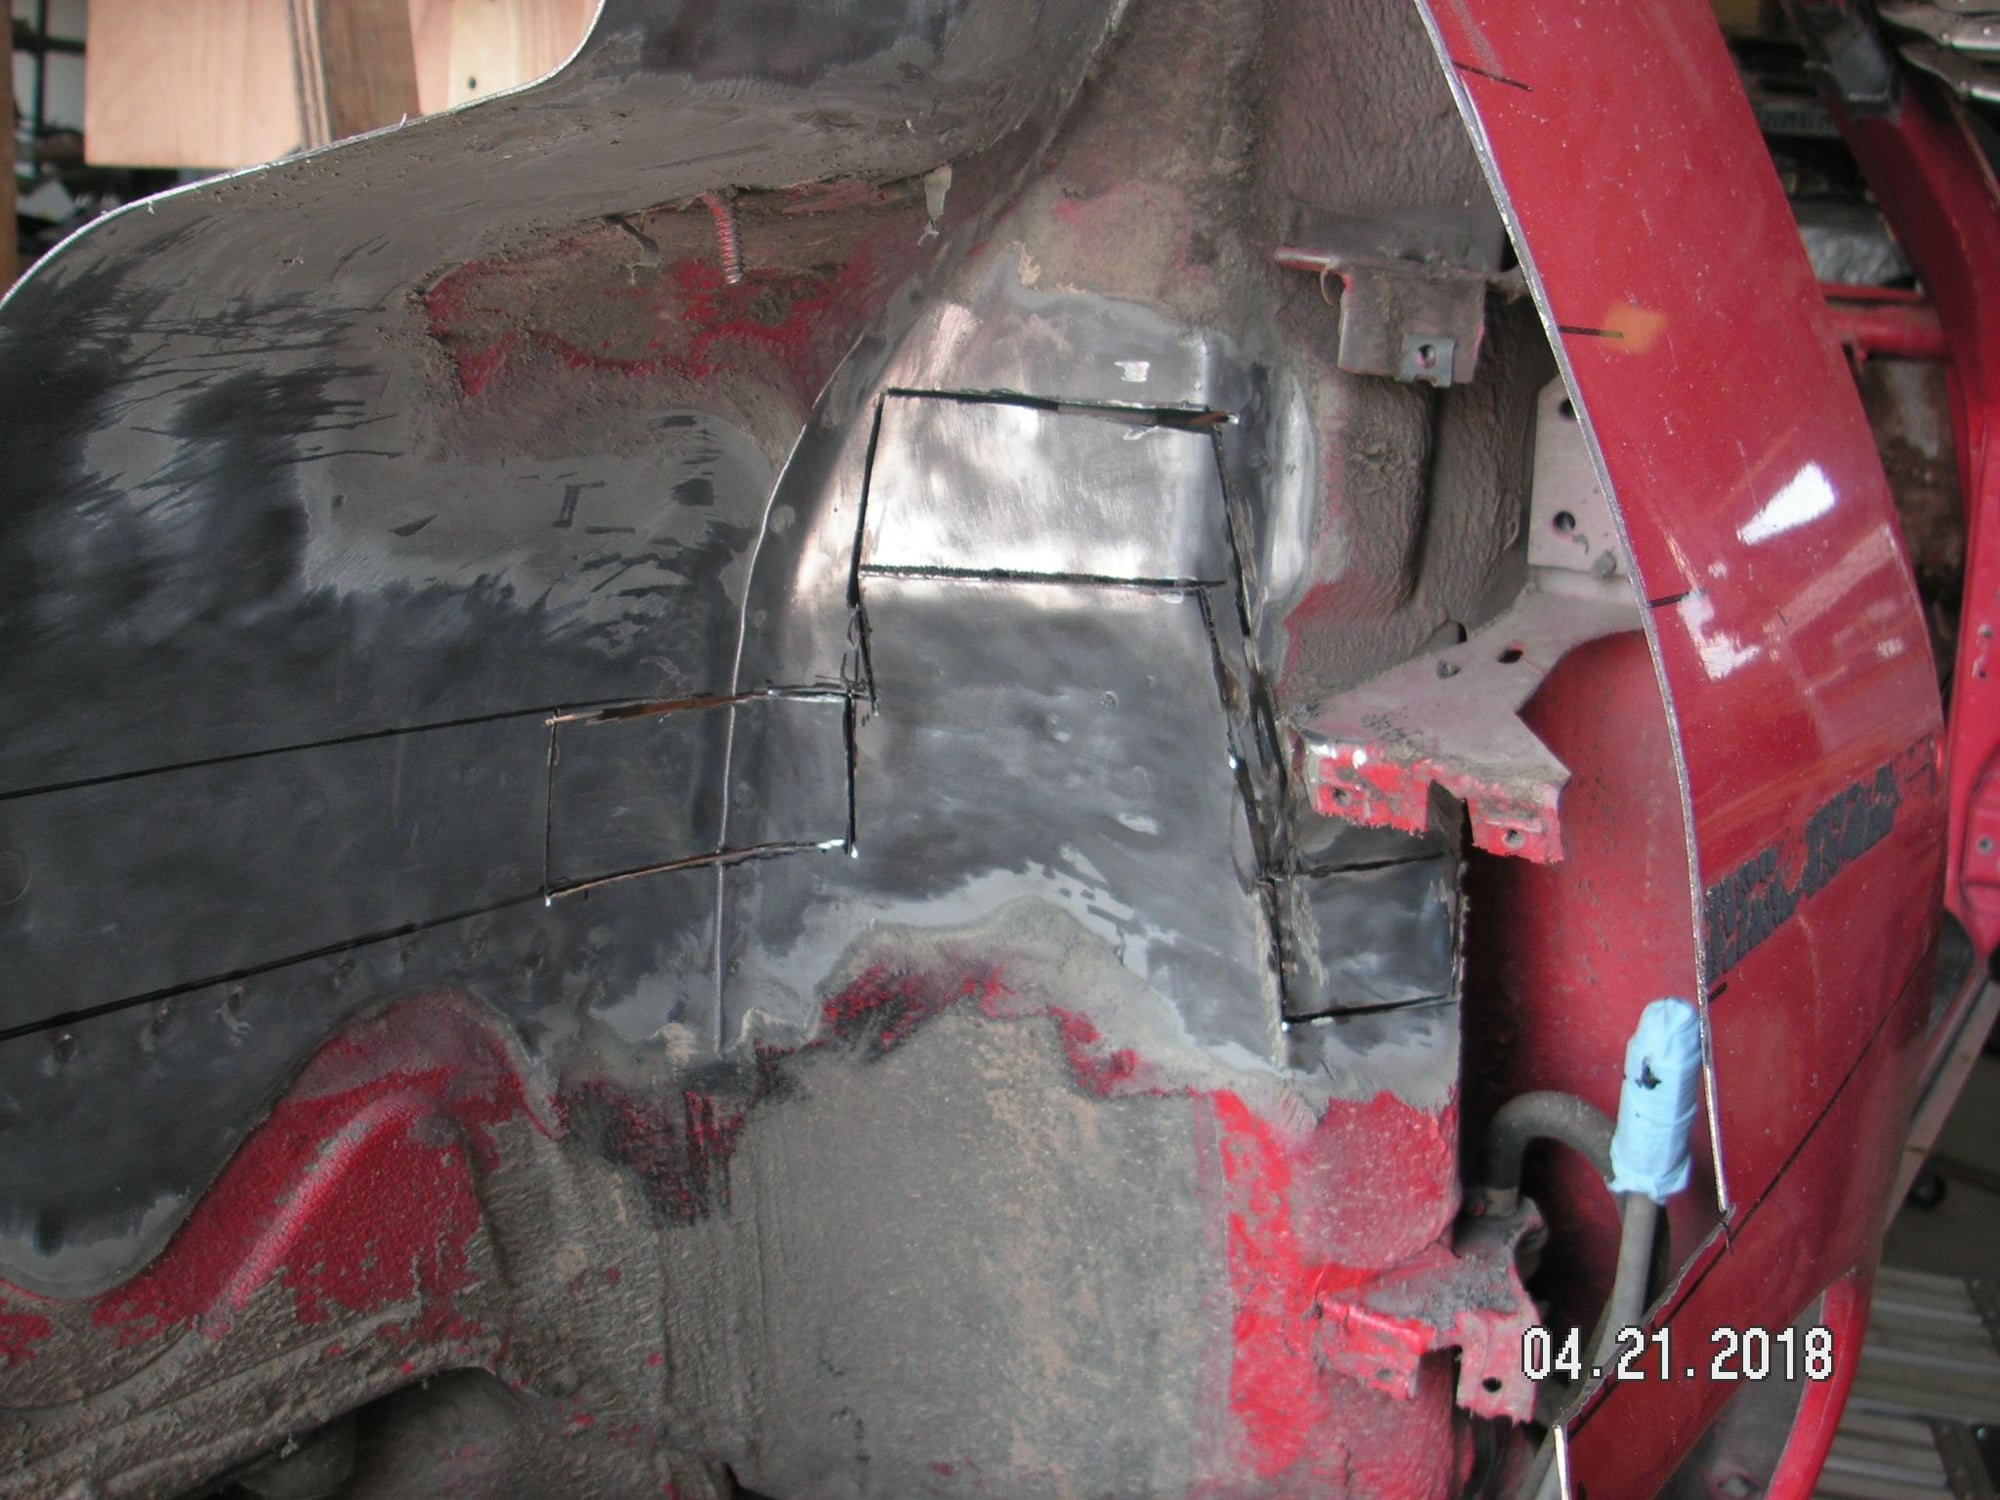
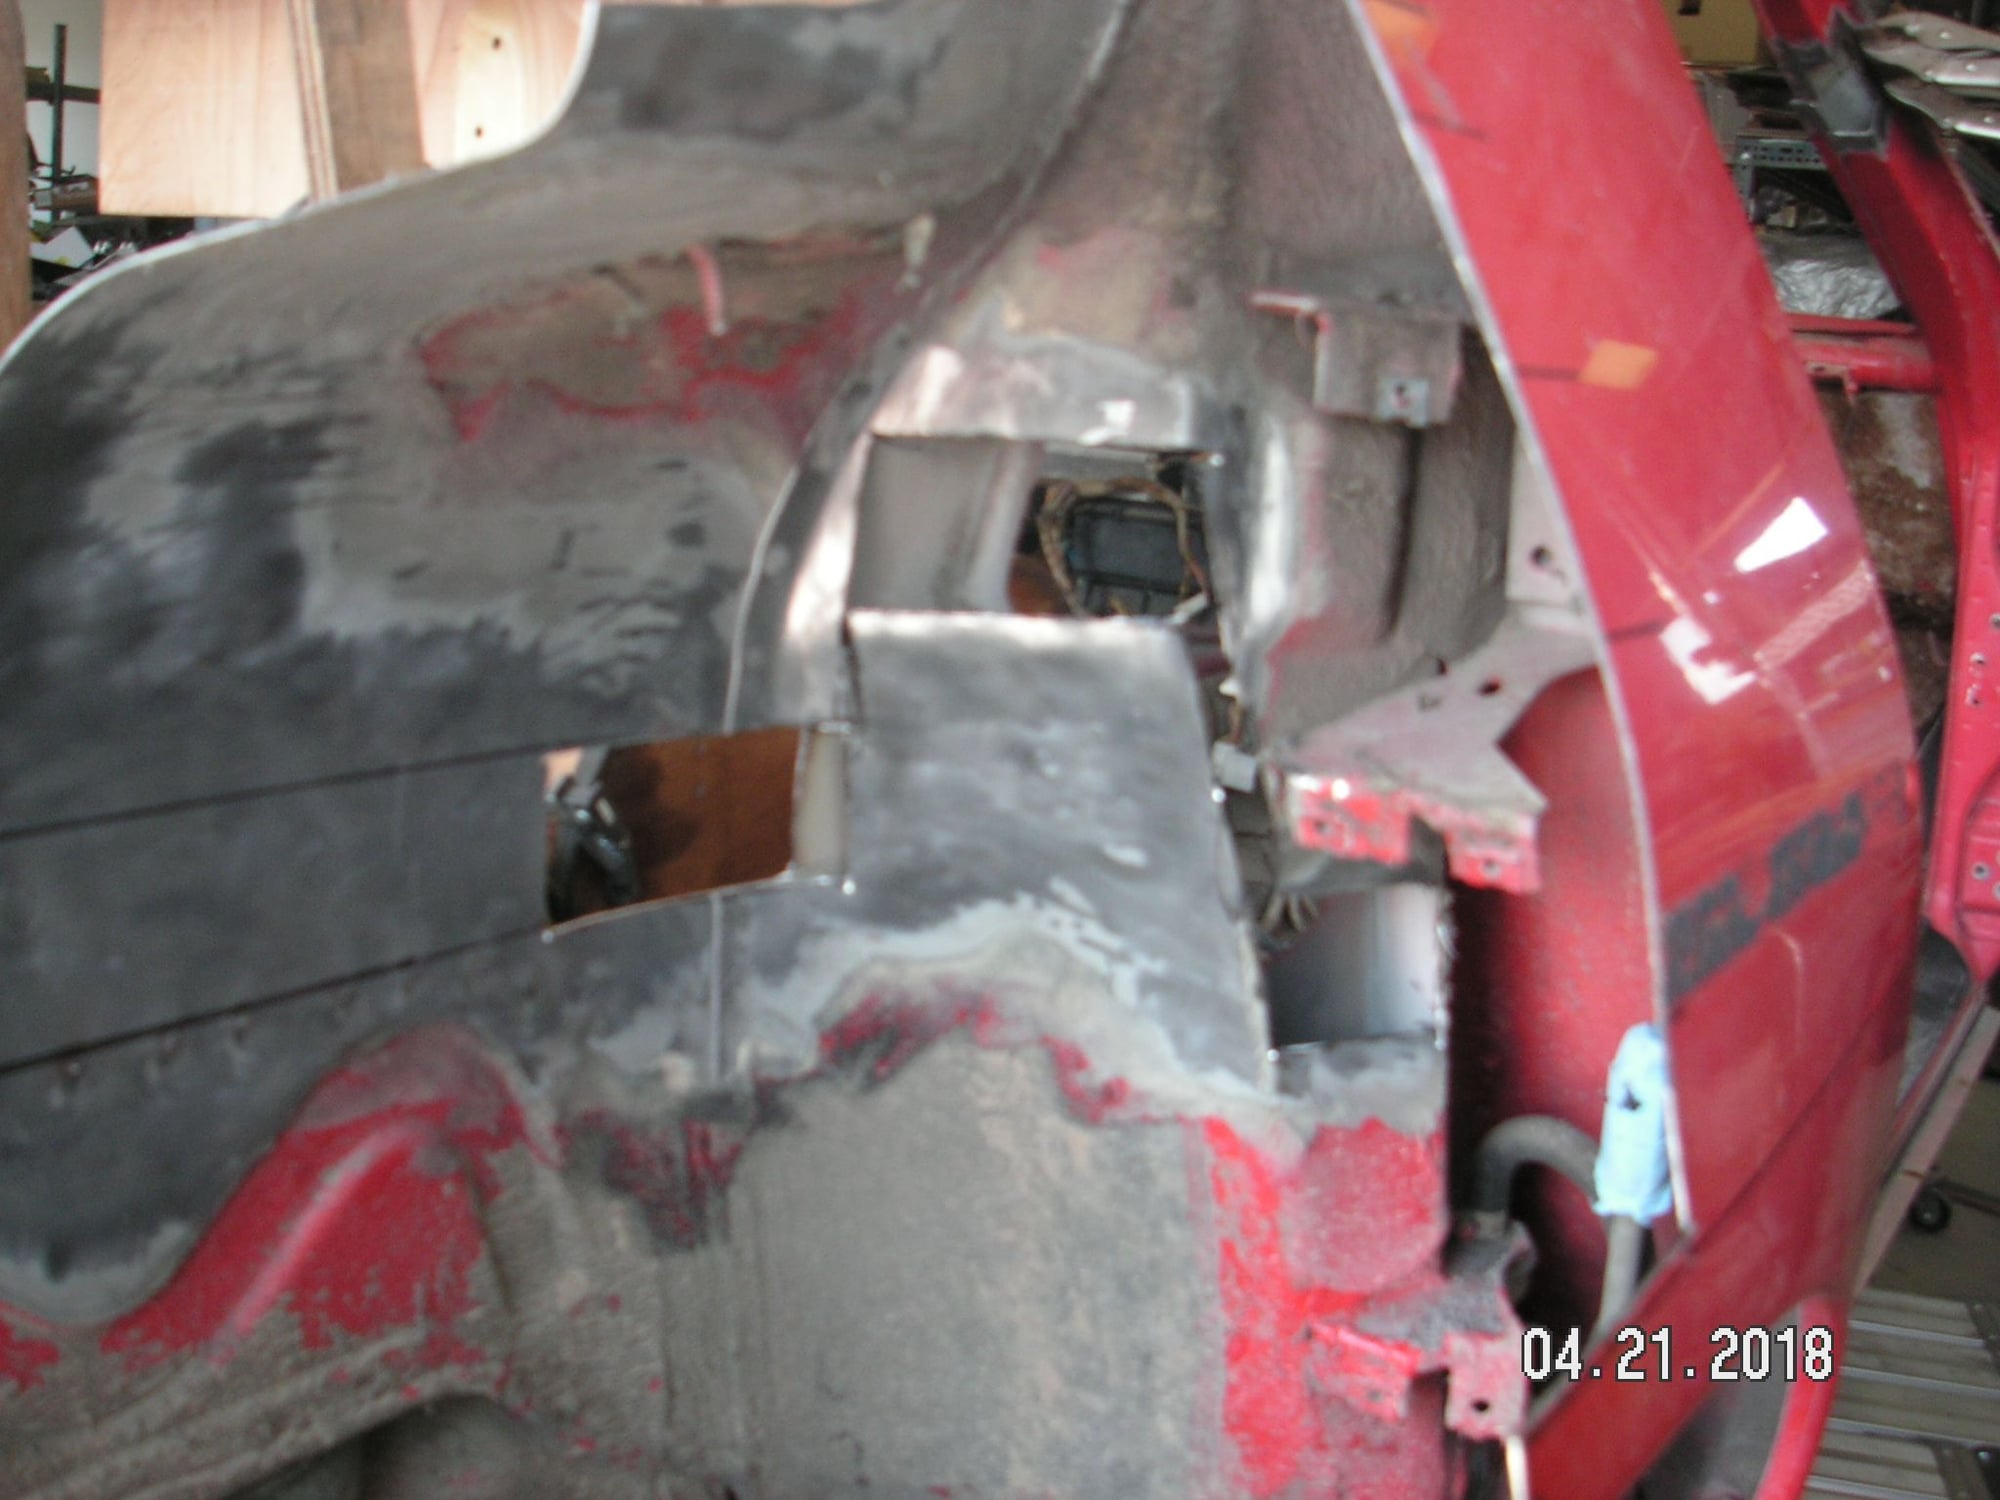
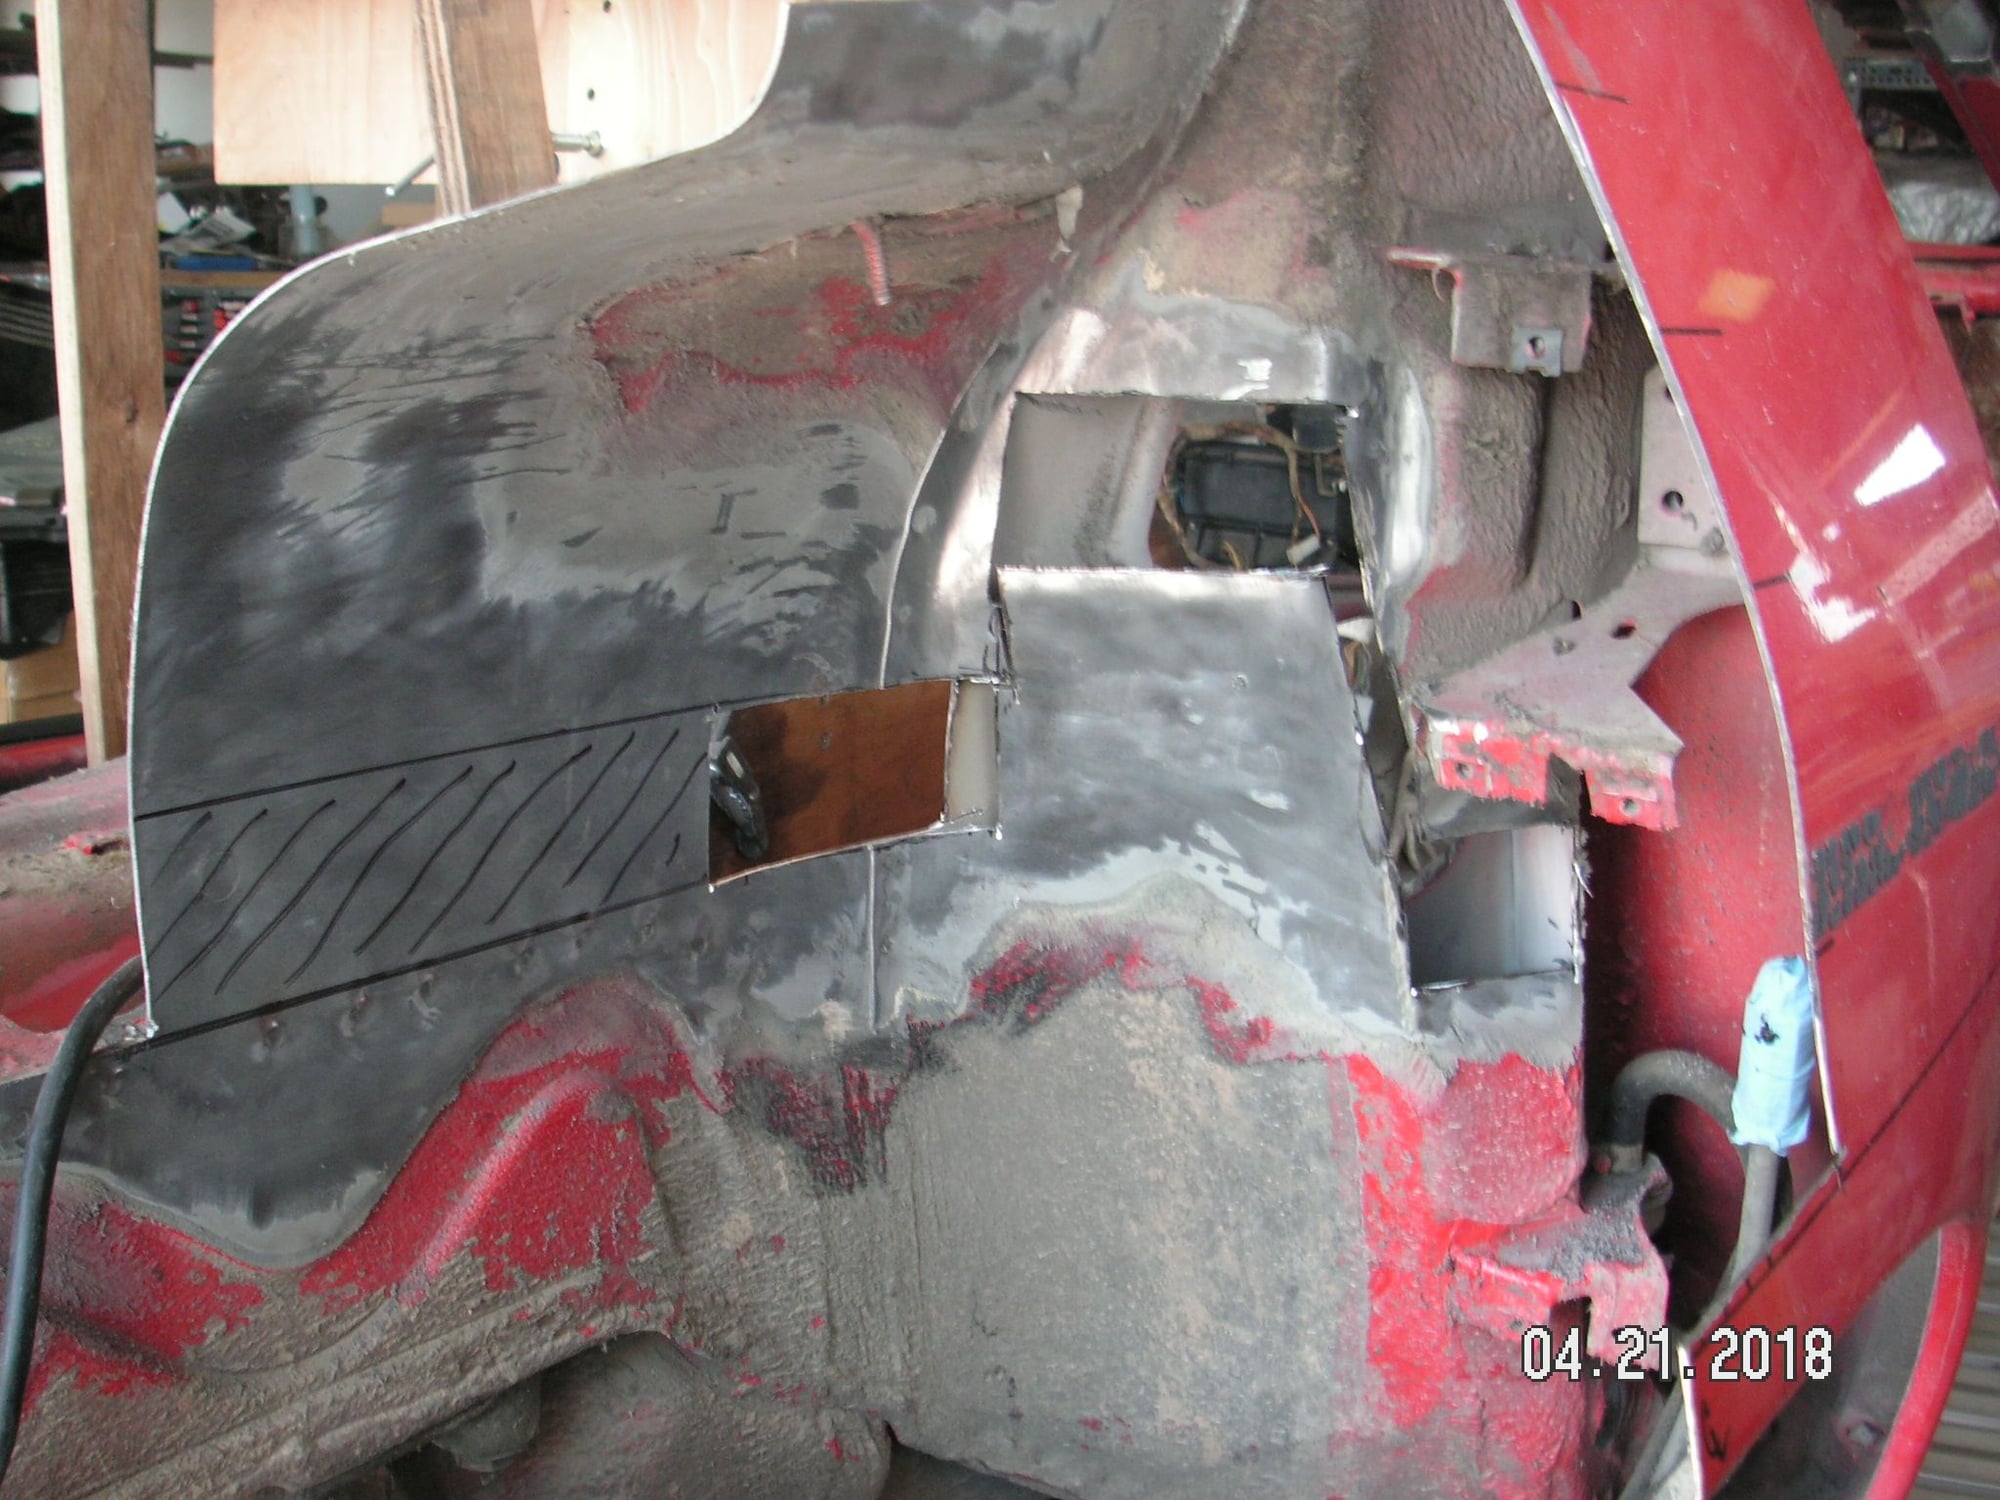
I think that not only was the elbow kind holding me back a bit, but so was dealing with the complexity of the section from inside the rear wheel wells giving me cause to pause. I put myself into it though on the drivers side and found that it is going to turn out to be not so complicated as I was worried about. I found the areas where the 2 inch section will be located at places where the drop is nearly vertical, or enough so that the metal can be massaged into place for welding, and I am avoiding cutting the structure inside the for the lock itself up or even cutting it loose. I get to the other side tomorrow.
The passenger side went pretty quickly since I know how it needs to be laid out. First I used my heat gun to warm and soften the undercoating and then scraped much of it off with the sharp end of a chistel. Then I used my disc grinder with a wire brush on the end and cleaned the residue and the factory primer under it off. Then I could use my hand made 2 inch plastic guides and lay out the cut lines. Then I used another disc grinder with a cut-off wheel in it and made most of the cuts. After that I finished the ends of the cuts with an air powered reciprocating body saw. The pieces pretty much just fell out.Then I trued up some of the cut surfaces to get them very close to the 2-inch section needed.
This is where I'll leave these cuts until we get the roof done and start on the section section of this project.
This must seem like a very slow pace for this project, and if we were on one of the programs on Velocity with a 2 or 3 week deadline, we would be in a world of hurt. However this is the best I can muster at this stage of my life. Every little bit does count though.
When you count it up, in addition to having the roof pretty closely fit and nearly ready to start welding back together, we actually have nearly half ot the section cuts for the rear half of the car. With having to remove the tail skin for the top chop that is actually making some progress with the sectioning. I have the remainder of the rear section cuts pretty well designed, so when we get there that half of the car will go pretty quickly, quickly at least at our pace.
I finished up yesterday, before quitting early to fix dinner for the family who were coming over, with some of the longways cuts in the A- and B-Posts on the drivers side, but then before going to the A-Post on the other side I took the drivers rear quarter segment of the roof and made a pattern for the extra layer of metal needed inside. I'll cut that pattern out of metal this morning and try to weld it in; then I'll do the other A-Post.
At that point I think we will be able to make a final placement of the roof segments and patches for final alignment and fit and then start tack welding it together. I think I'll be welding the four roof segments together in place before I make the final cuts in the larger sheet metal to match the tail skin back to the car. Too, I have the front edge of the right rear quarter window yet to trim to fit in its new location. Still I think that getting the basic roof all welded into place is going to help finalize the fit of the remainder.
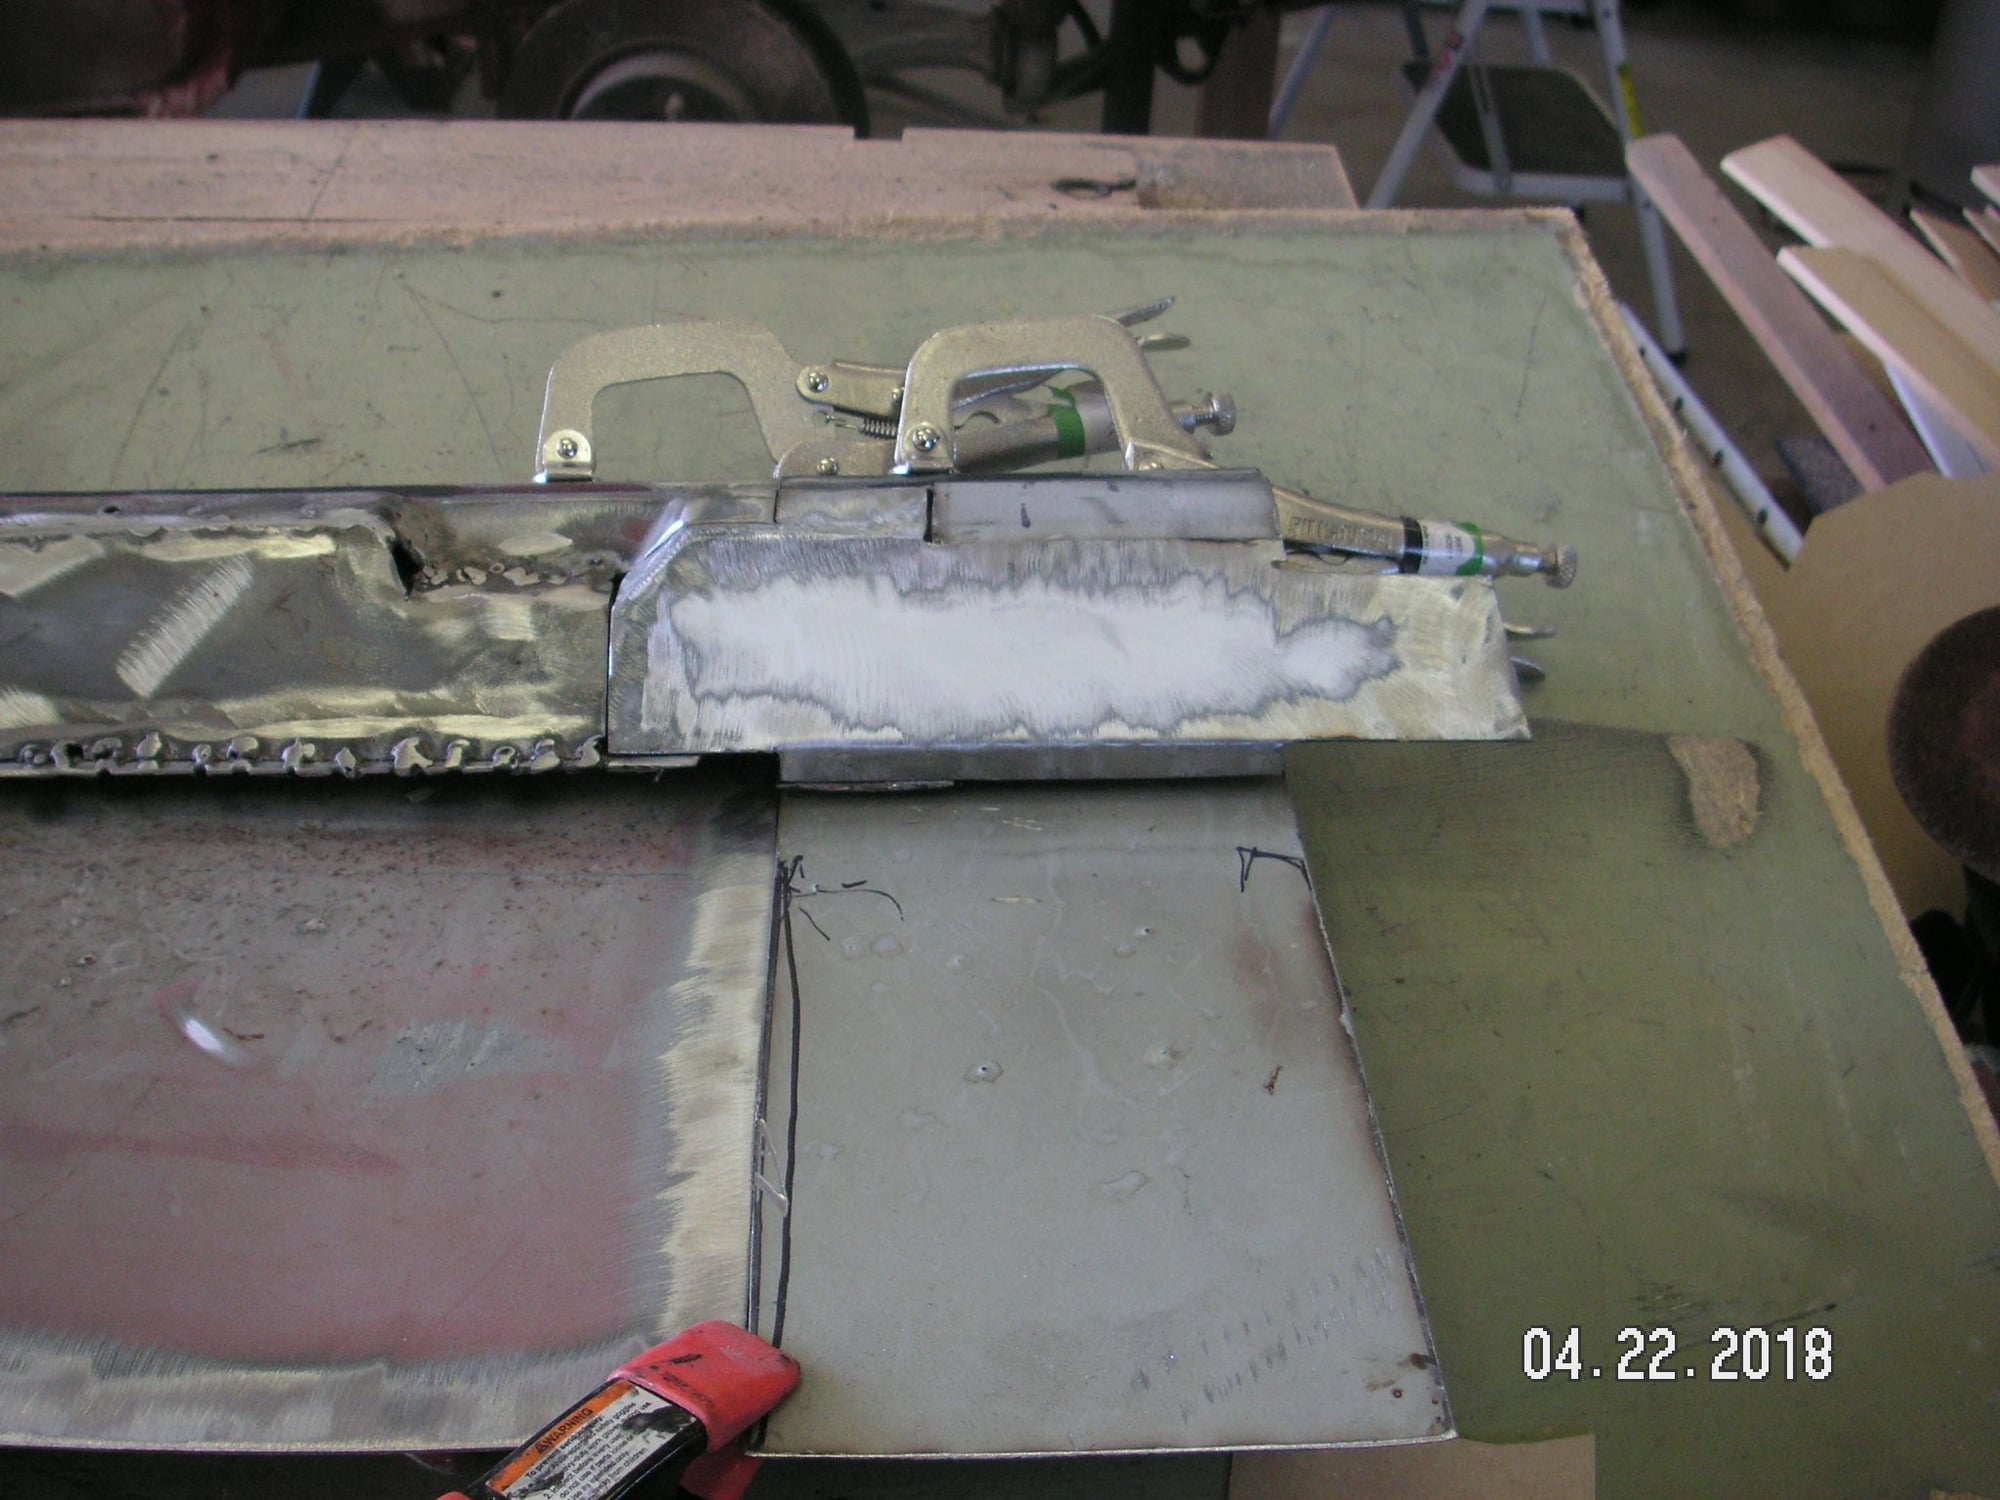
I have that patch tack welded crudely but firmly into place, so I decided to make a go at the middle patch that is going to be kind of complex but now is a better time to try to fabricate it for welding in later rather than trying to fit one in place laying on my back in the car. I made a mistake in it, but it is a lot of work to fabricate, so I think I'll just weld something over the mistake when I put it in.
Then I am about midway into trying to make a final location of the roof segments in anticipation of welding. I'm trying to measure everything for accuracy, but there are not too many locationsd where one can take measurements and be sure that they are the same on each side.
I did discover one interesting fact and that is that the metal structure inside the rear of the donpor roof is very different from the red car. I think they are both the S4s, but I don't remember which S4 the donor roof came off of.
More fitting of the pieces and I finally got tired of fitting the rear corners of the quarter windows, so I got one where I think it ought to be and tack welded it in place. Then I got the one on the other side almost correct, but I measured the length of the resulting quarter windows and find that one is a quarter inch longer than the other. The length of the tail in its new location measured from the back of the door opening to the trailing edge is the same on both sides. Go figure.
I did end up pushing the tail in a little bit more and now we are ending up with it being 3 3/8 inch shorter than original. I don't think the difference is going to cause any particular problem.
Last edited by Jerry Feather; 04-22-2018 at 08:08 PM.
Well, tacking that corner piece in was kind of getting ahead of myself. After I fit it I trimmed the one on the other side down to fit there and when I got it about right I found that there was nearly a half inch difference in their positions. The loose one was too small to try to make up the difference; so I just cut the weld tacks out and removed the one on the right. With quite a bit more measurements I think I can now refit the passenger side corner and get them to match much more closely. I feel a lot better about it now after thinking about it all night and much of today.
Here is where about 3/8 of an inch of material needs to come out to fit correctly.
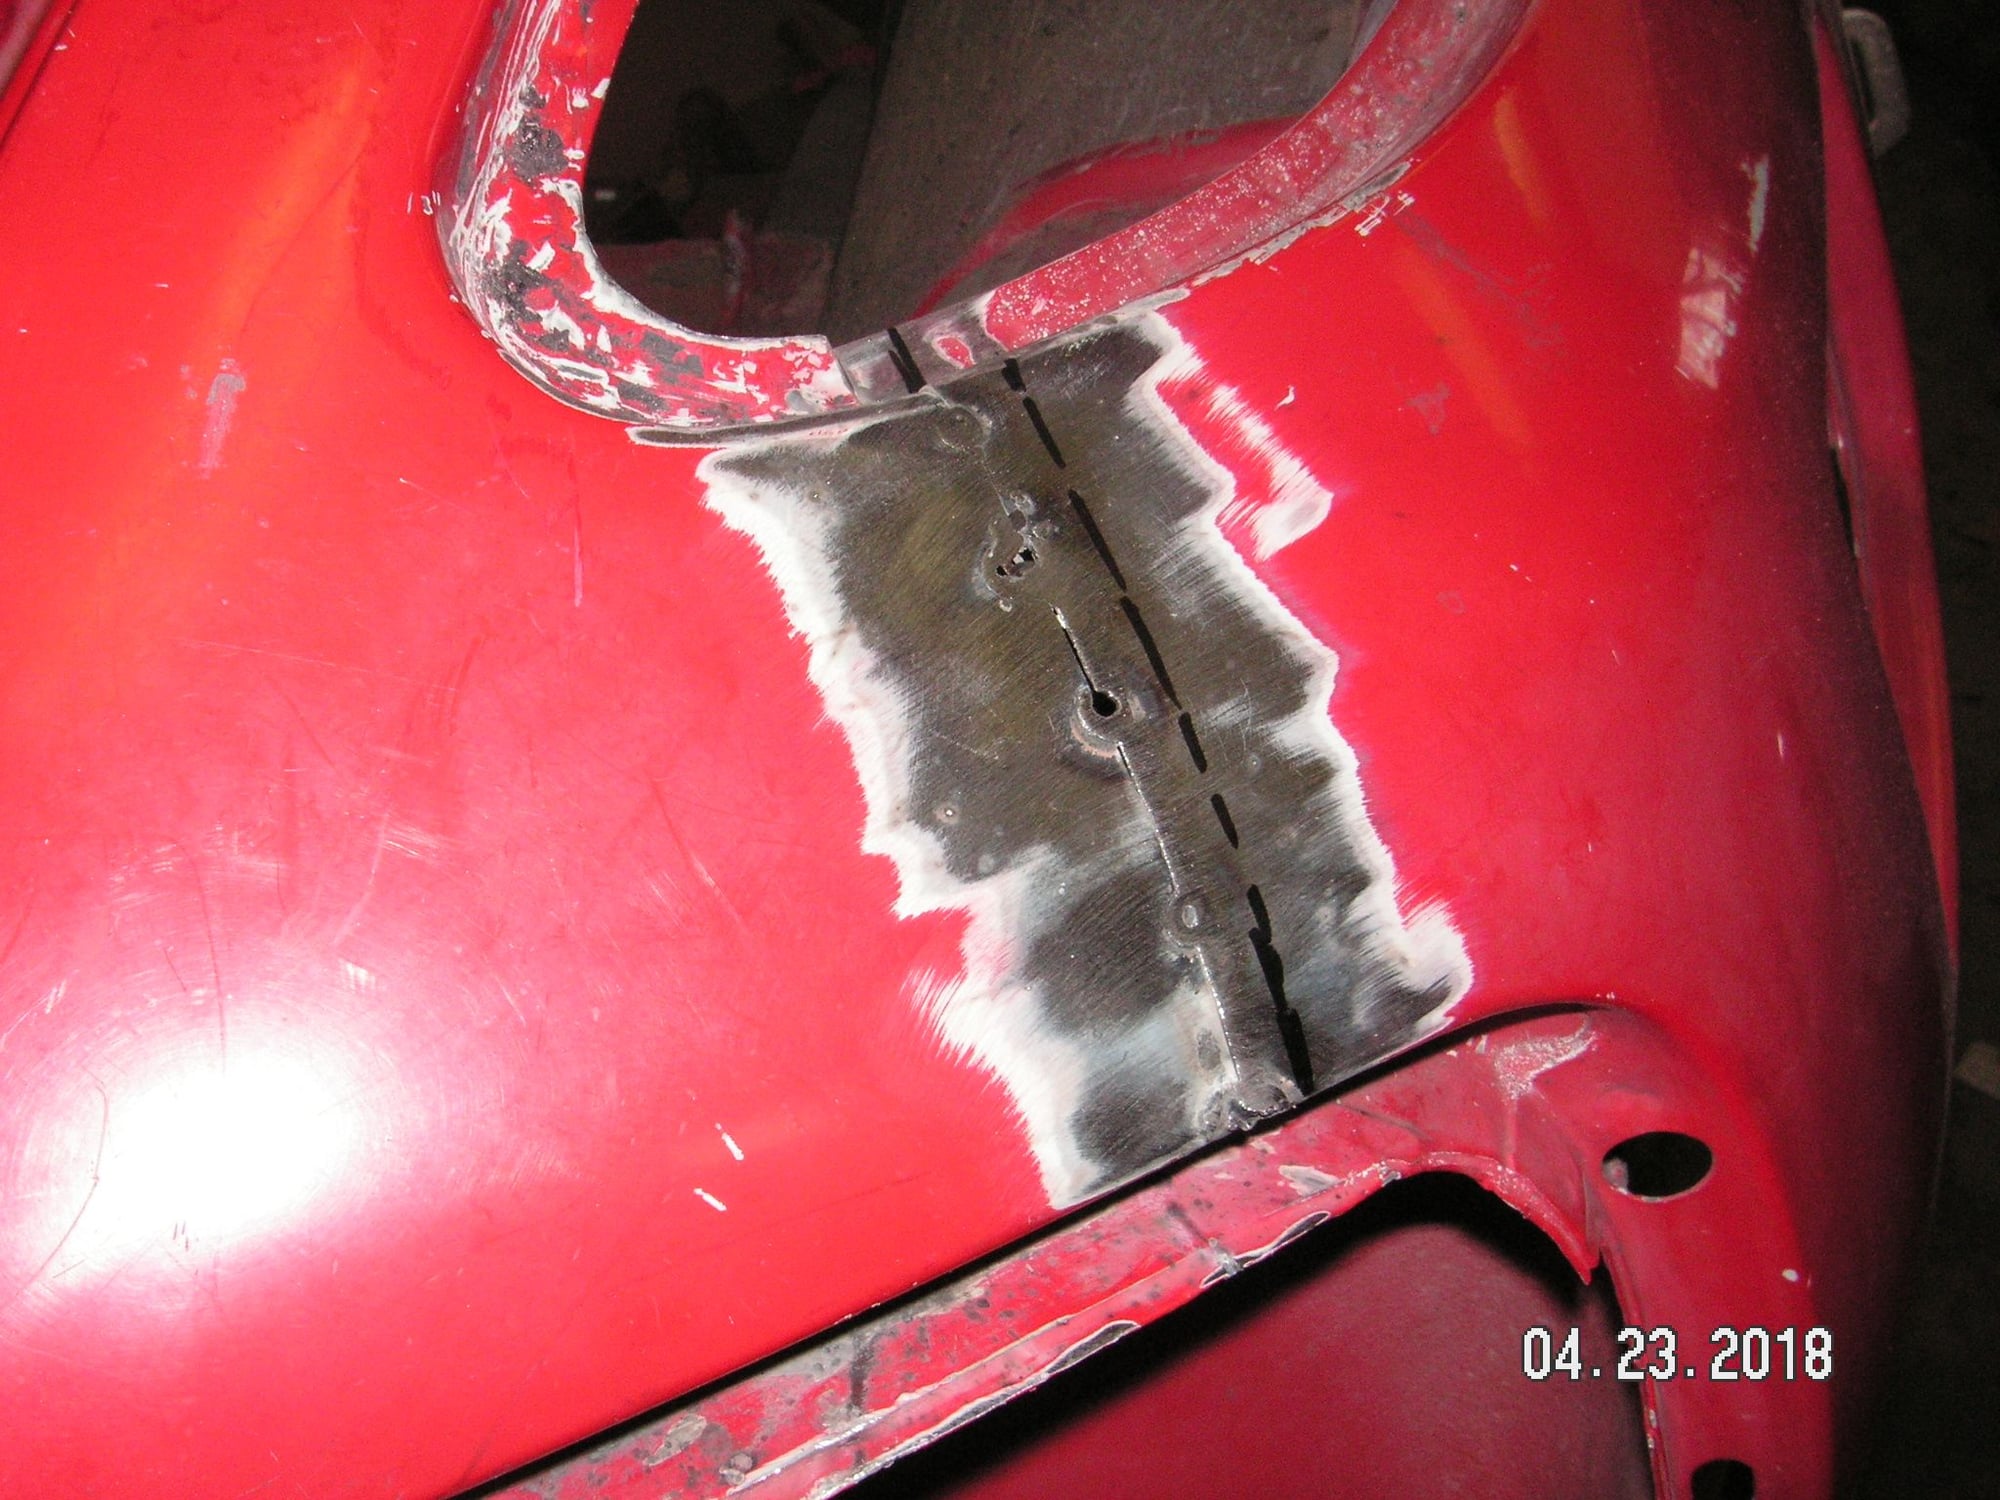
I spent much of the morning refitting the rear corners of the Quarter Windows and think I have them just about exactly the same now. Then I re-made the center patch for the rear center roof joint since there were too many errors in the first one. I have the new one pretty close now so that it will not be too much trouble to make final fitting adjustments and weld it in while I am upside down inside the car.
Now I think I can clamp all the roof segments in place and verify their fit and then start welding them in place. The biggest problem I have seen so far with these is that sometimes after doing some fitting and clamping, the rear edge of the roof has a kink in it and sometimes not. I think I'll start there and clamp it straight and tack weld it and then get the rest of the joints aligned to weld.
I tried to take a few images with my camera, but they didn't record for some reason. I'll take them again and post later.
I got one picture of the passenger side quarter window corner in its new more nearly correct position. It is not welded in yet, and I may wait until quite a bit later to do so.
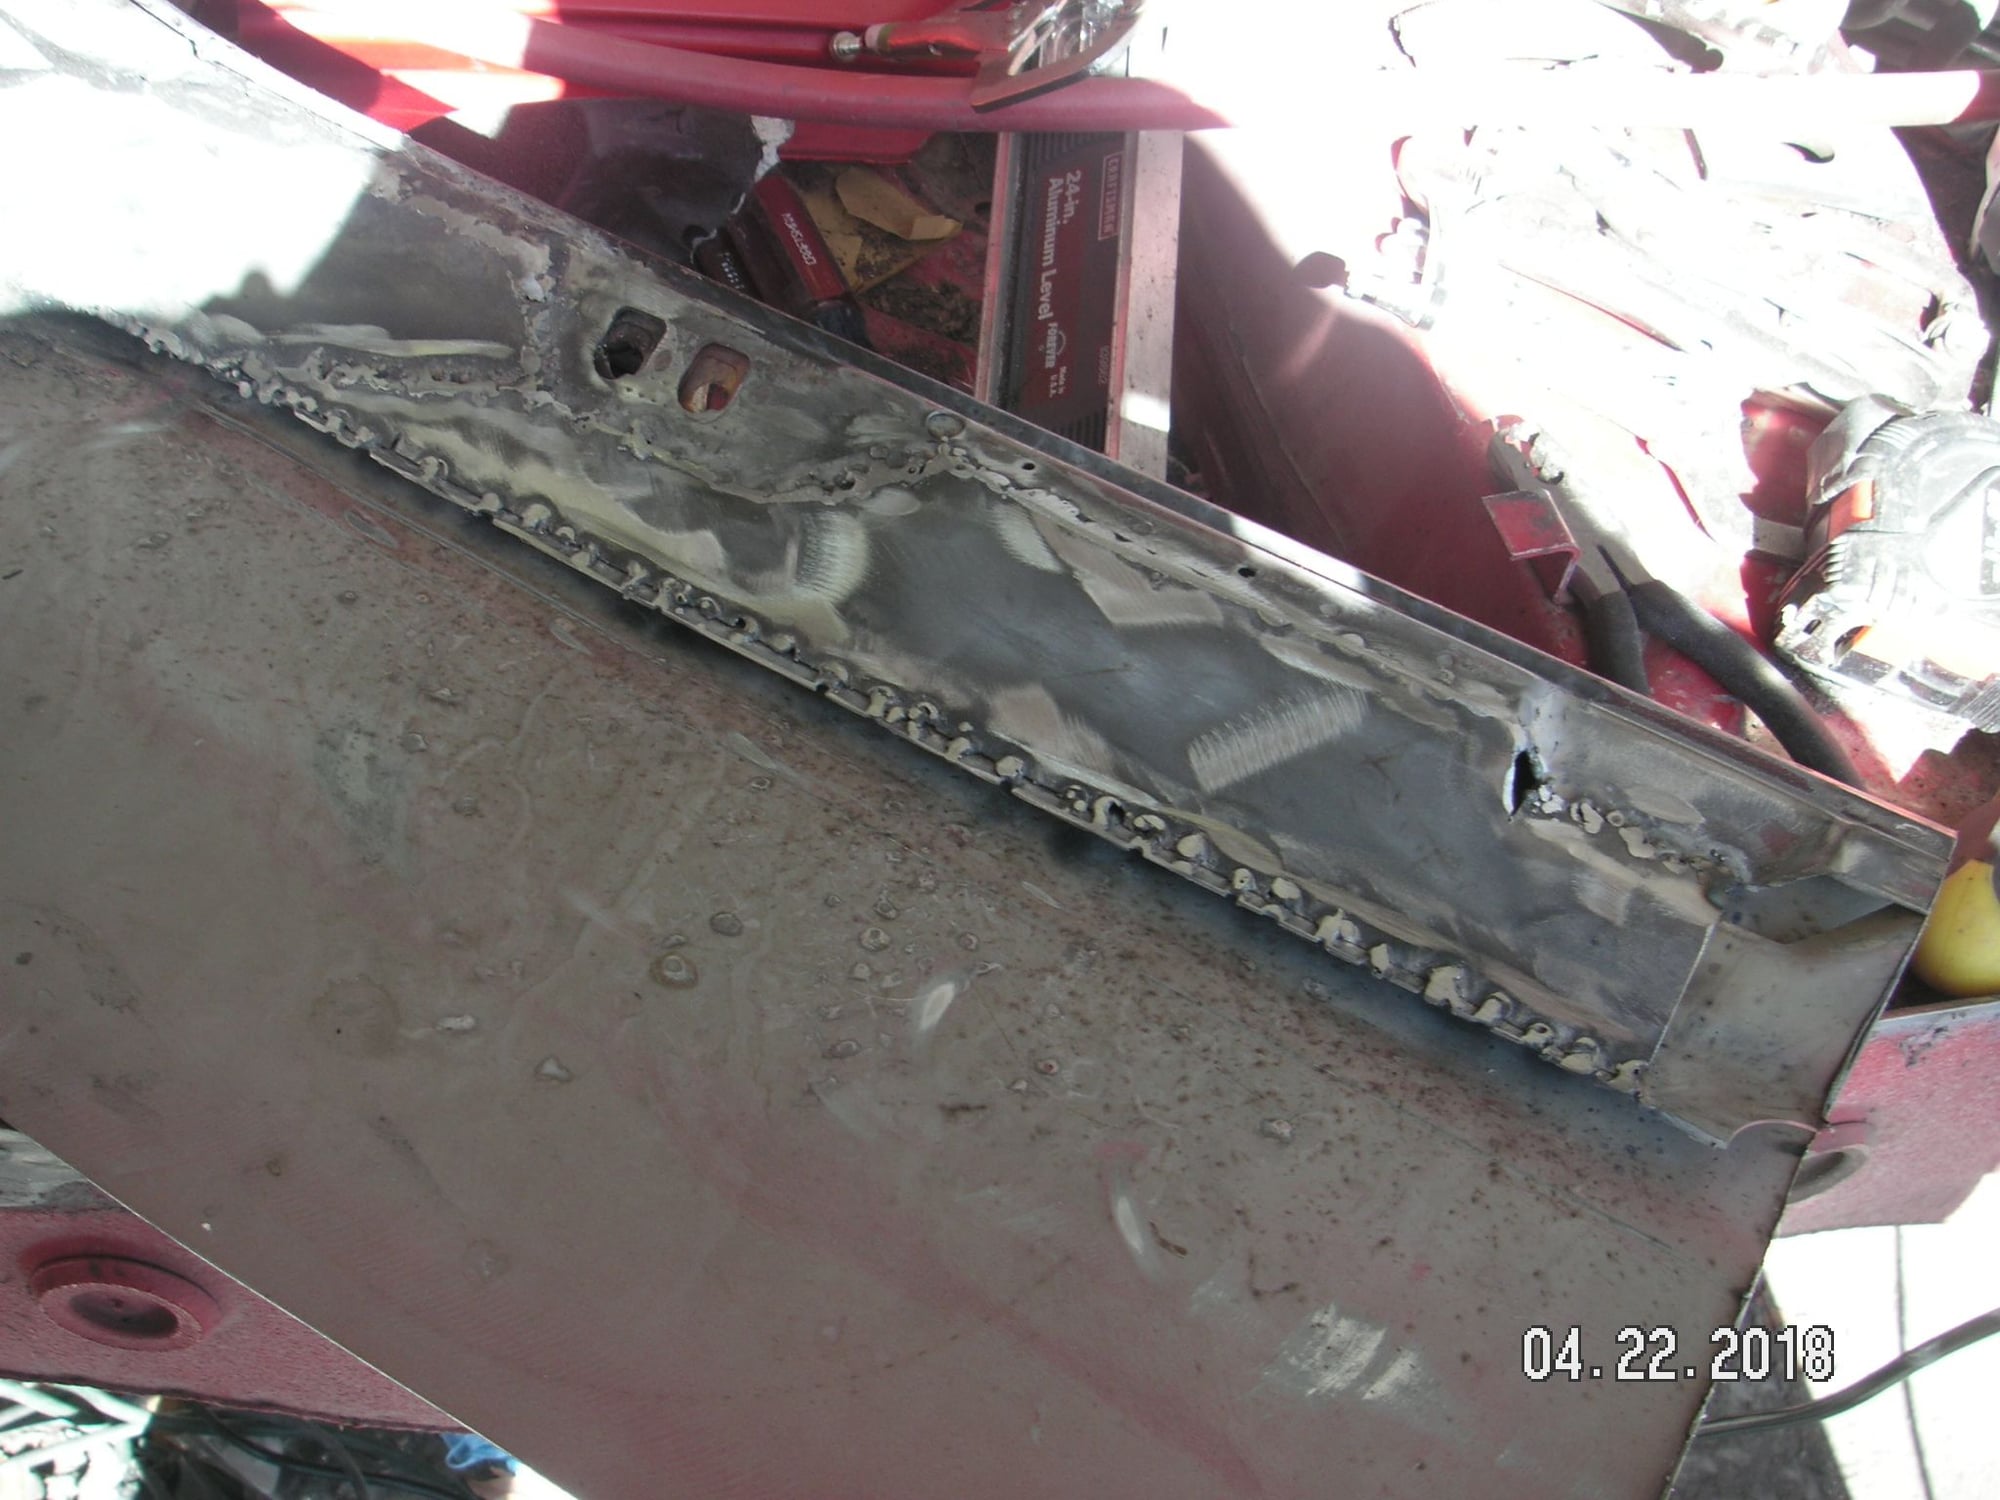
I did get the two rear roof segments tack welded together with their patch in the middle. First I had to grind it to fit since in its final configuration it needed to be about an eighth of an inch narrower. Then I tack welded it in place, then ground the welds a bit then hammered on the welds with a dolly underneath to put the metal back in its correct position. I'll fill in between the tack welds later a little bit at a time with the hammering in between to keep the warpage to a minimum or eliminated all together.
This morning I went out and put in an additional group of tack welds in the rear center roof patch and then went to the tops of the B-Posts to work on their fit before going to the front of the car to weld patches. There I find that the eighth of an inch I took off of each side of the rear center patch was a mistake. For some reason, even though I had the rear roof segments clamped pretty well into place they now turn out to be too short and the tops of the B-Posts do not fit. Now I have to either take the patch out and make another one, which I think I can do, or I need to cut one side of it open and splice in another narrow patch. I think I'll do the first one since I still have some to the donor roof available intact and I don't think it will matter if the new patch comes out of it slightly off-center.
OK, I cut the patch out and made a new one and tack welded it in place. Now the tops of the B-Posts seem to fit much better. Too, I think that even helped with the fit of the bottom of the C-Posts except that I pushed the rear roof pieces forward a bit and now may need to get another eighth of an inch of shortening of the tail for it all to fit.
Last edited by Jerry Feather; 04-30-2018 at 12:42 AM.

 04-16-2018, 10:38 AM