When you click on links to various merchants on this site and make a purchase, this can result in this site earning a commission. Affiliate programs and affiliations include, but are not limited to, the eBay Partner Network.
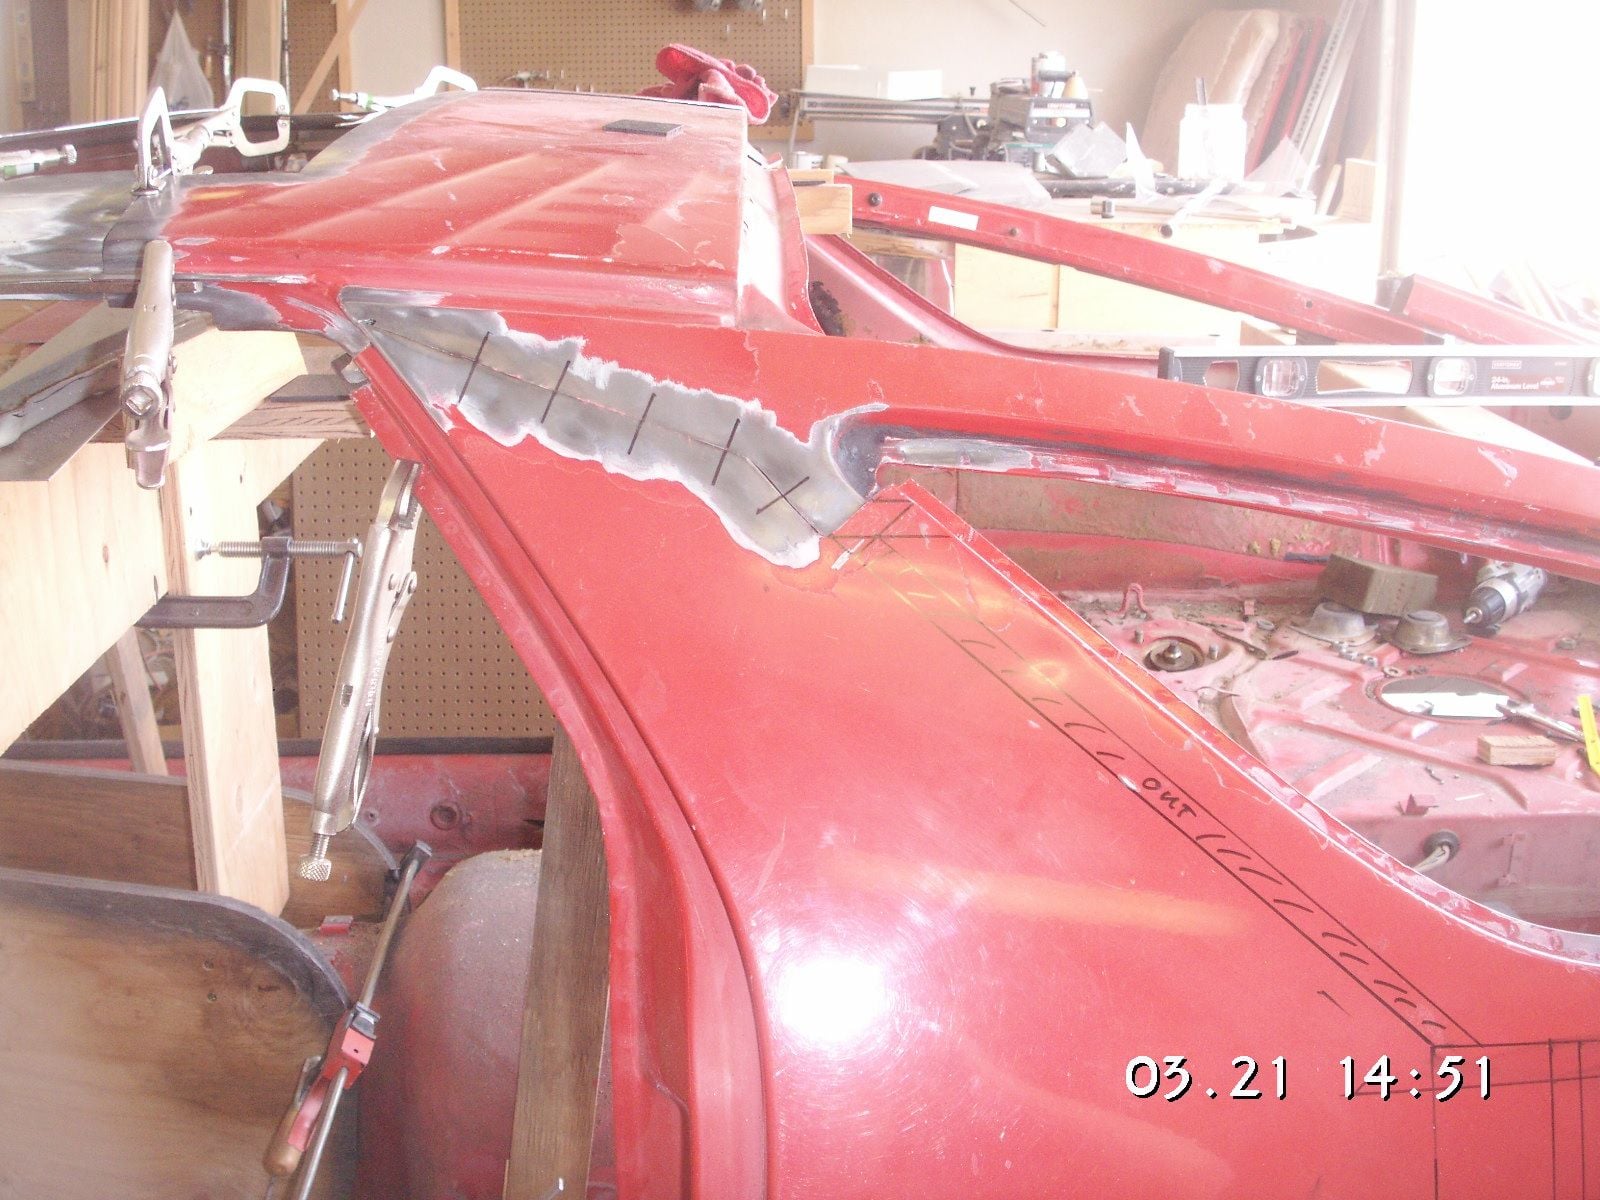
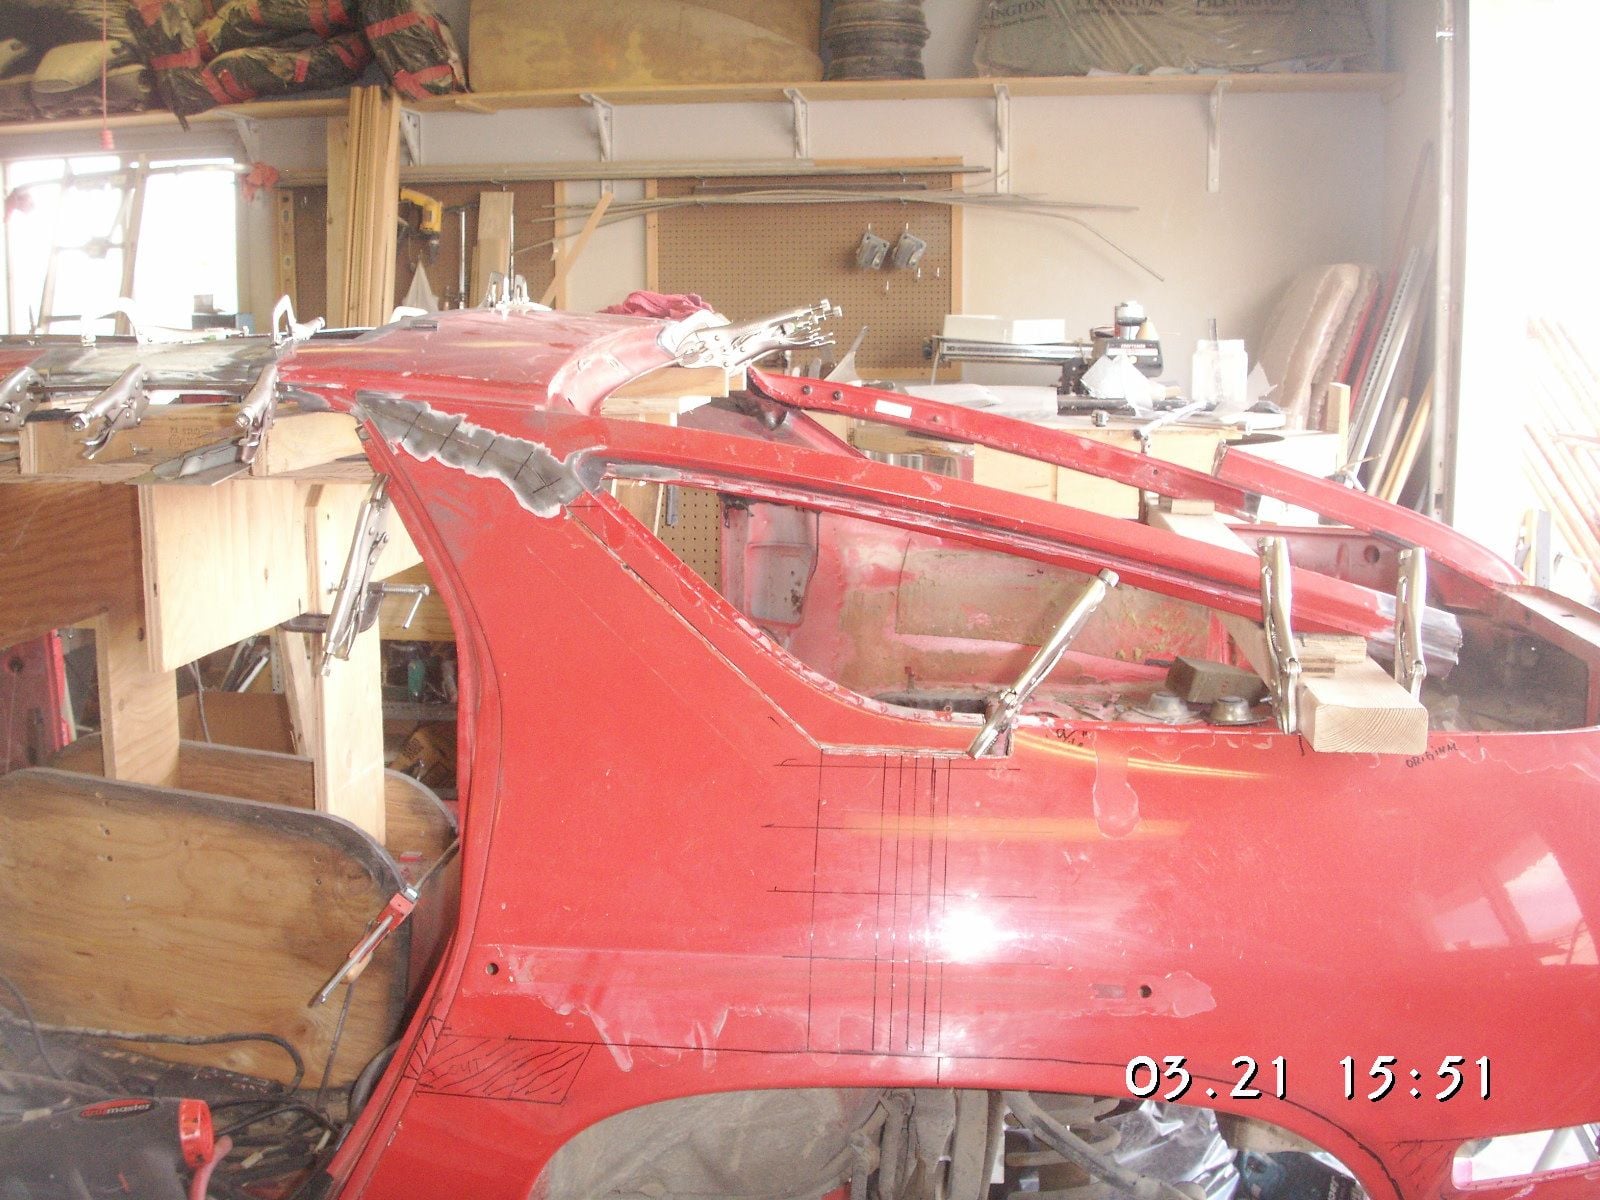
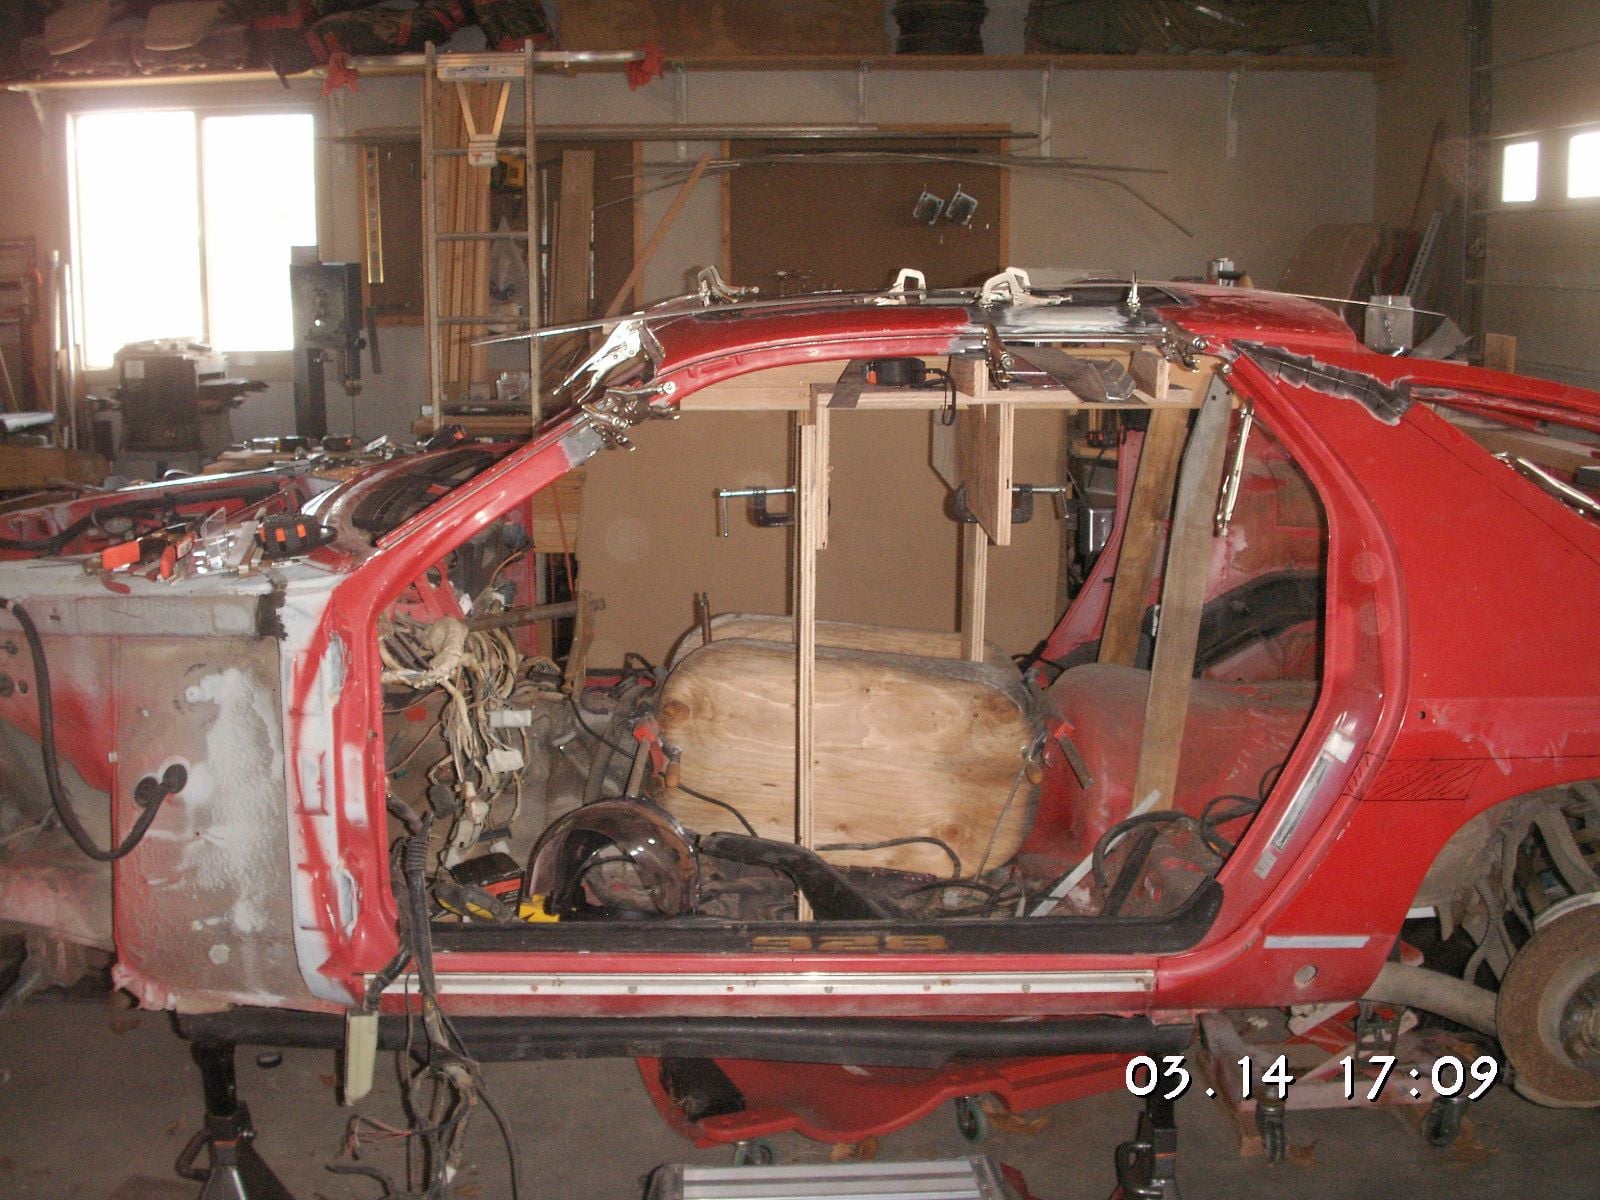
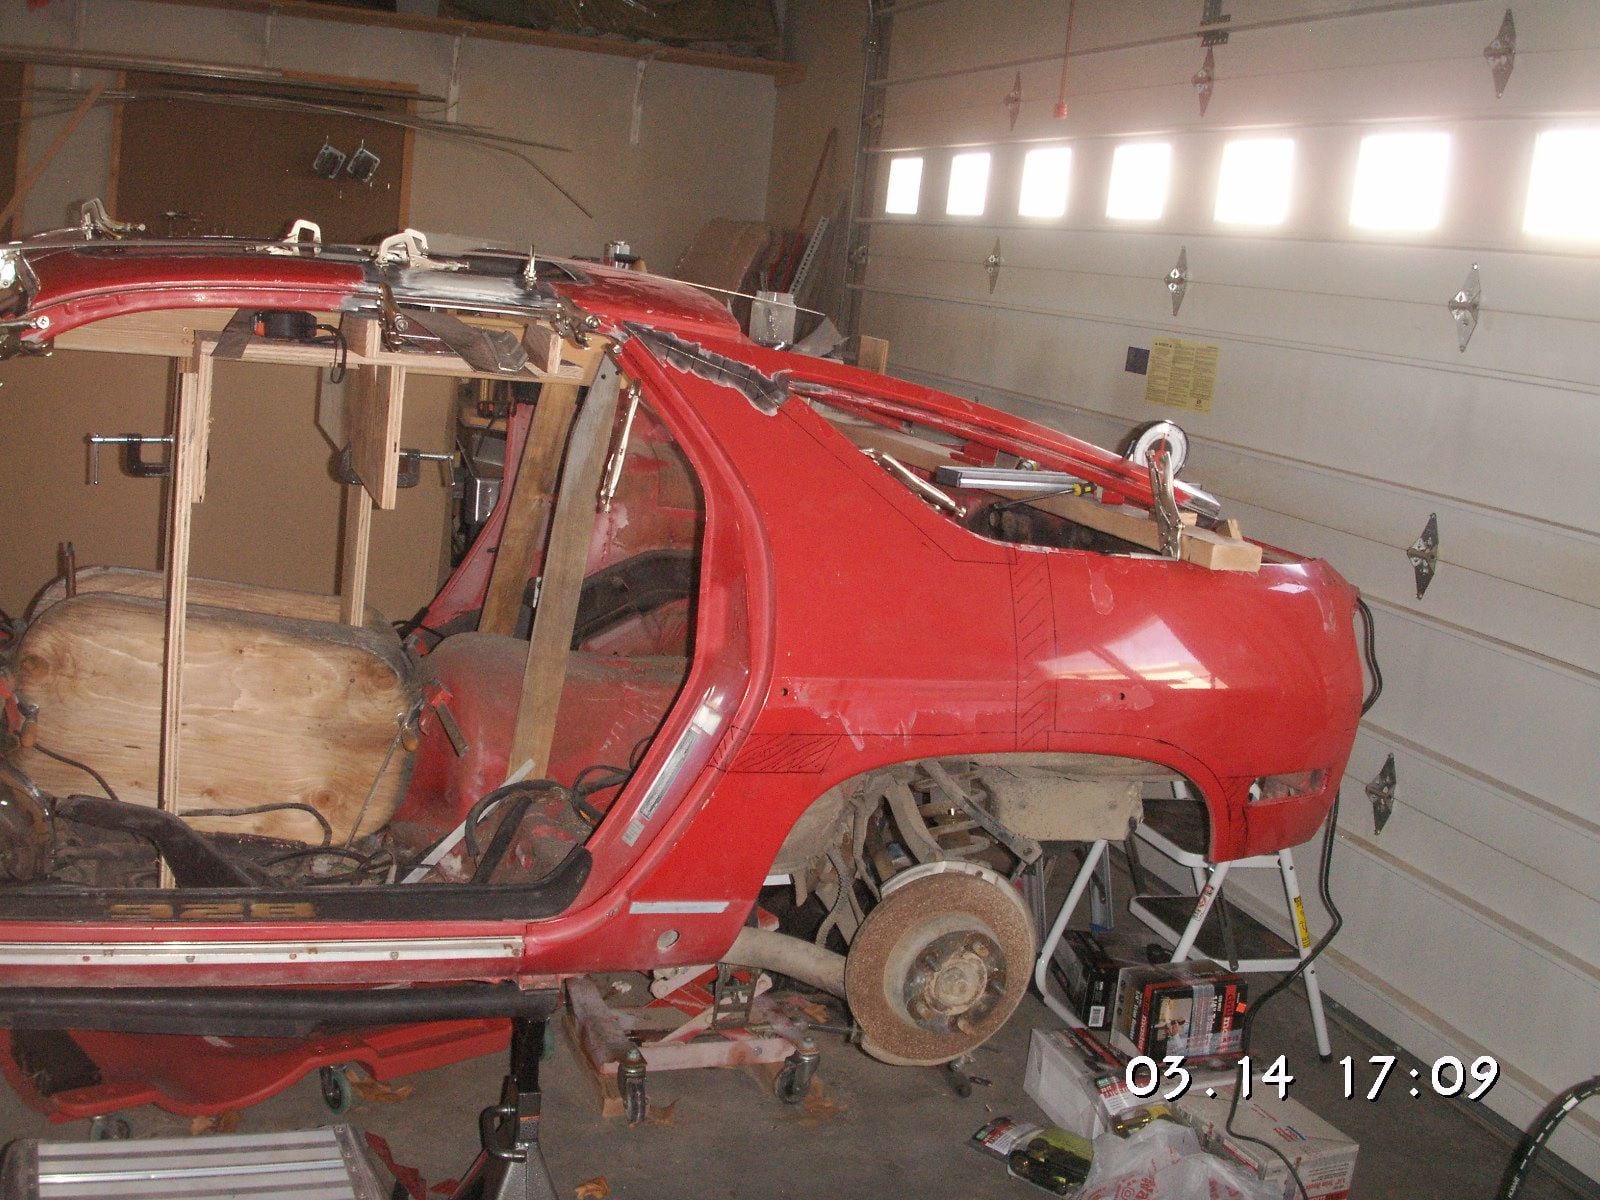
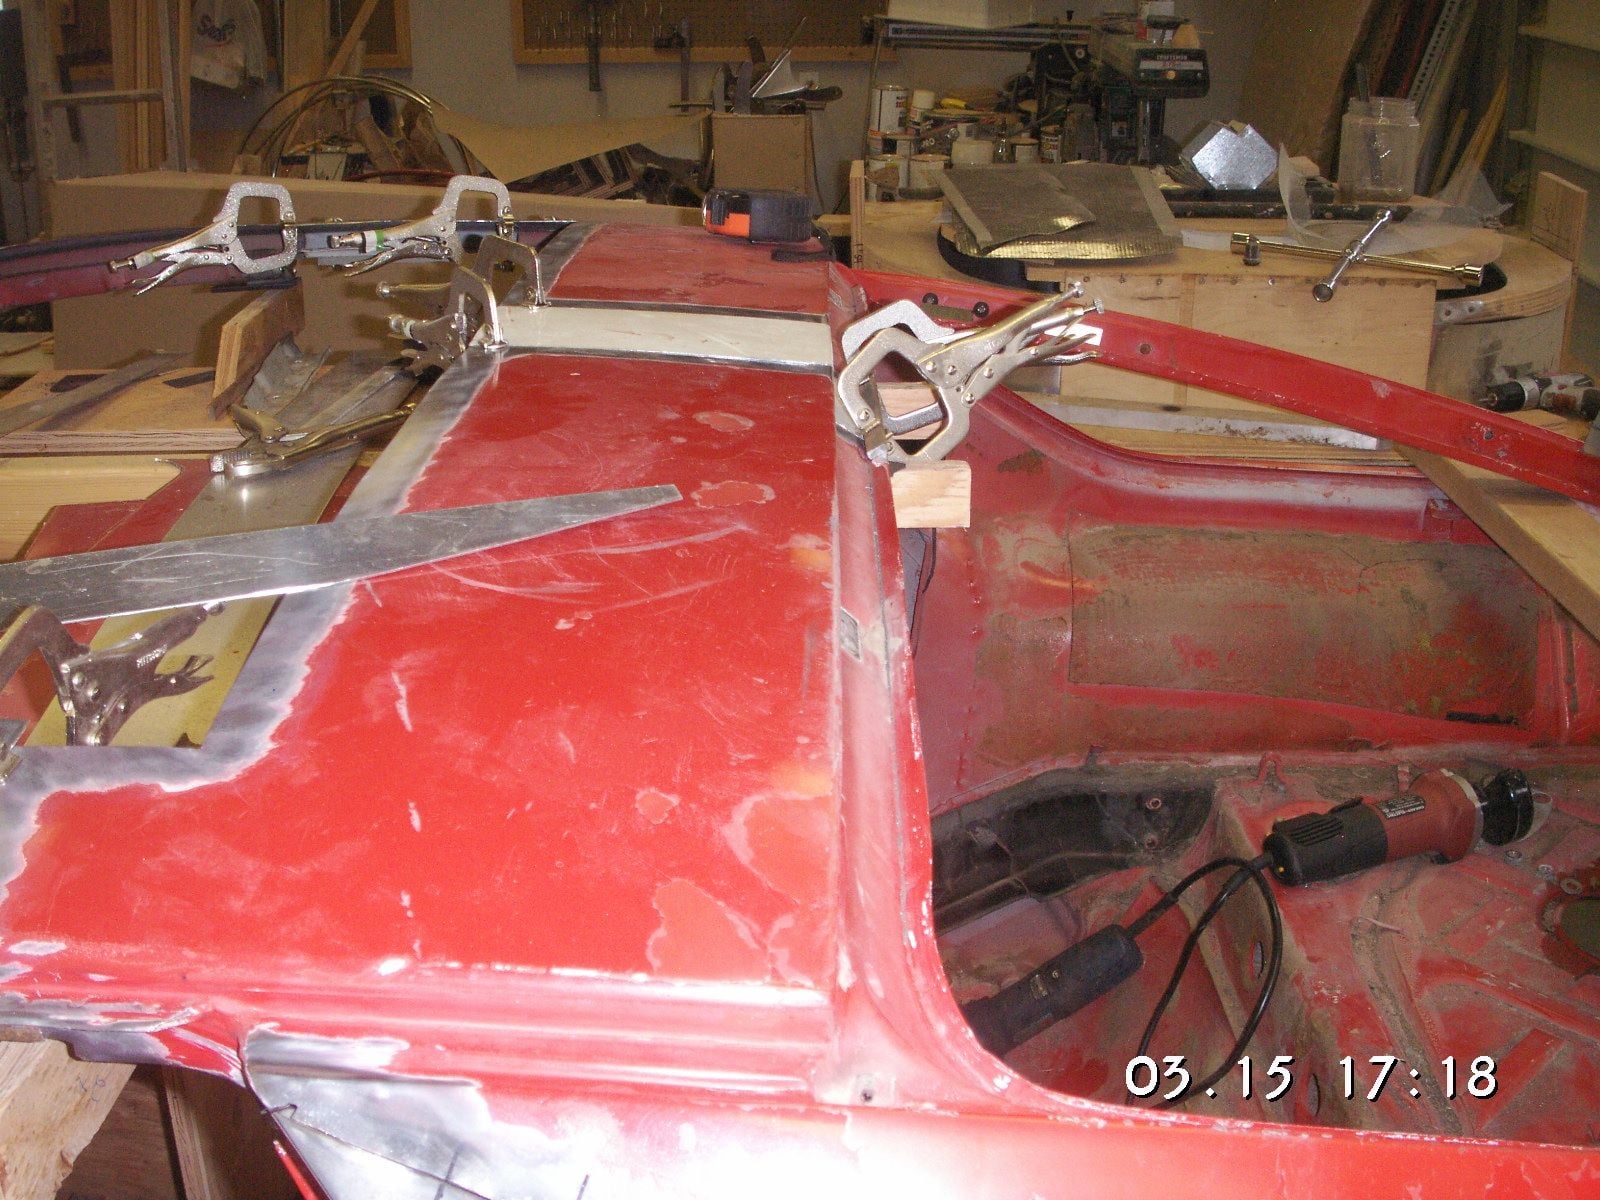
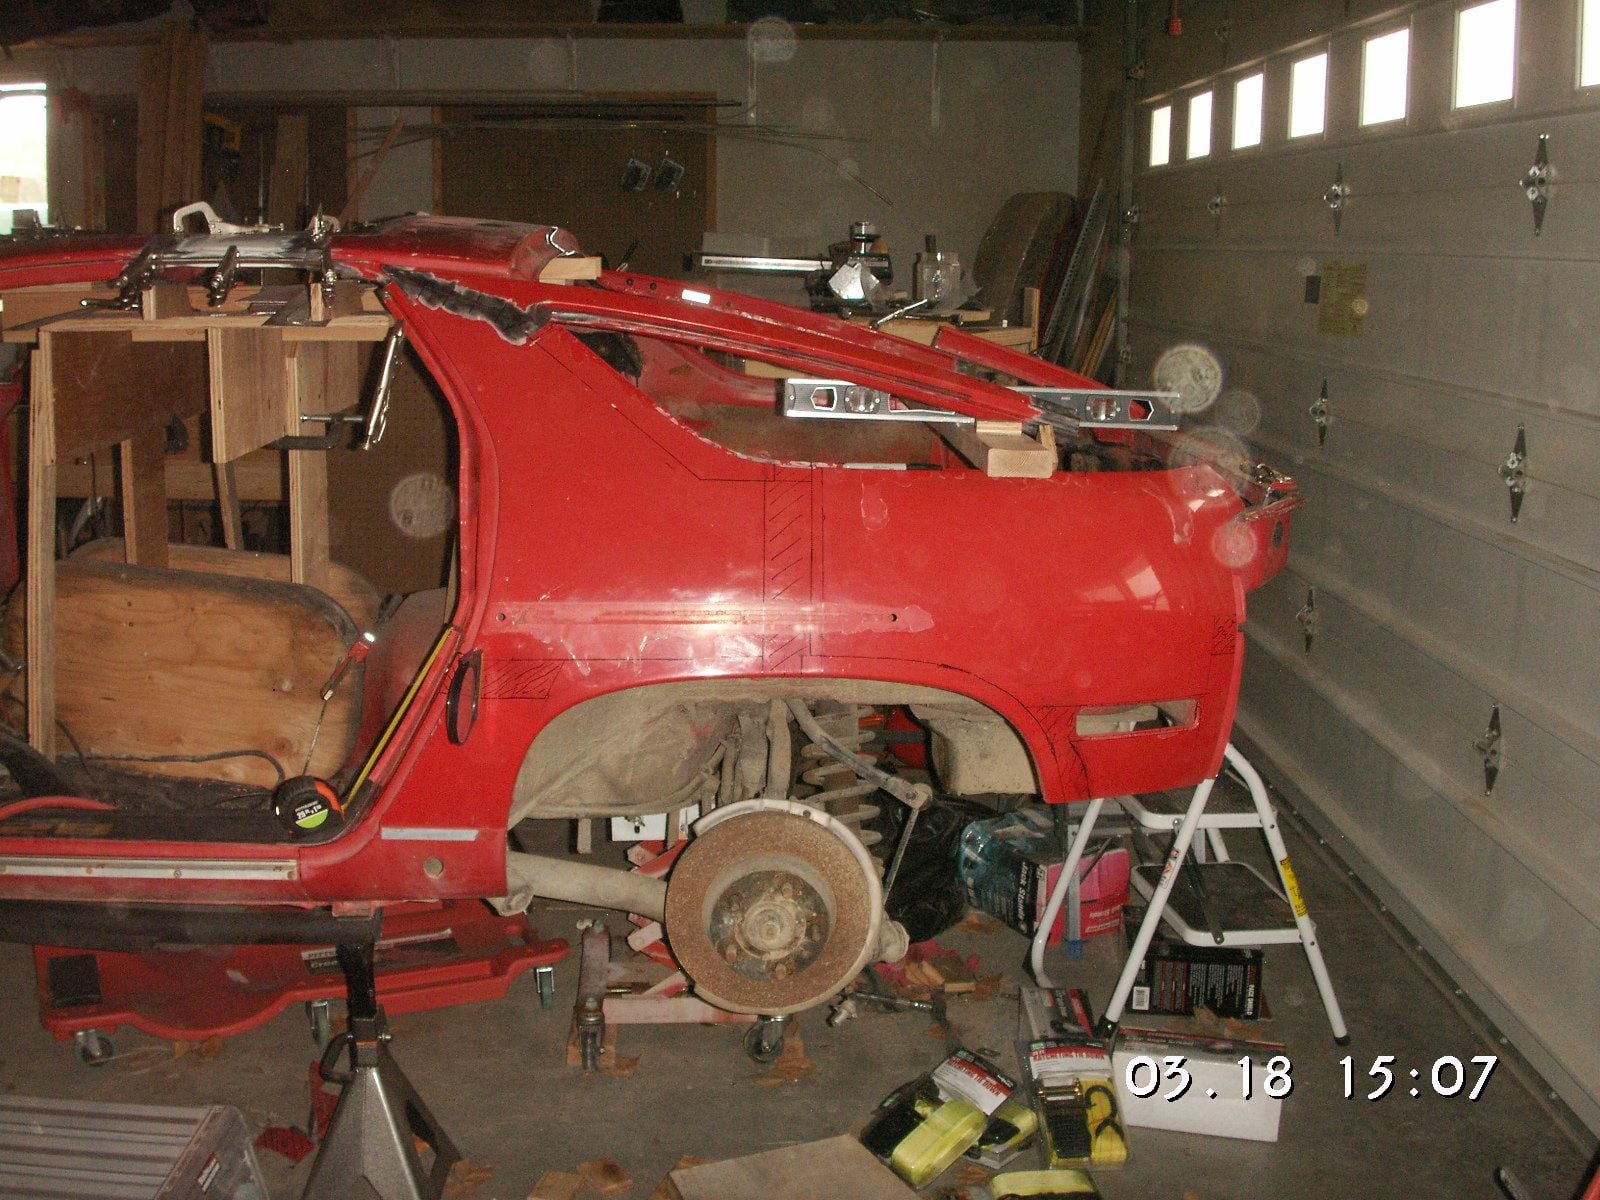
Here are two pictures of the side vies of what we have to this point. It pretty much looks like the previous view like this, but it is much closer to final here, and basically waiting on the start of welding.
Last edited by Jerry Feather; 03-15-2018 at 04:44 PM.
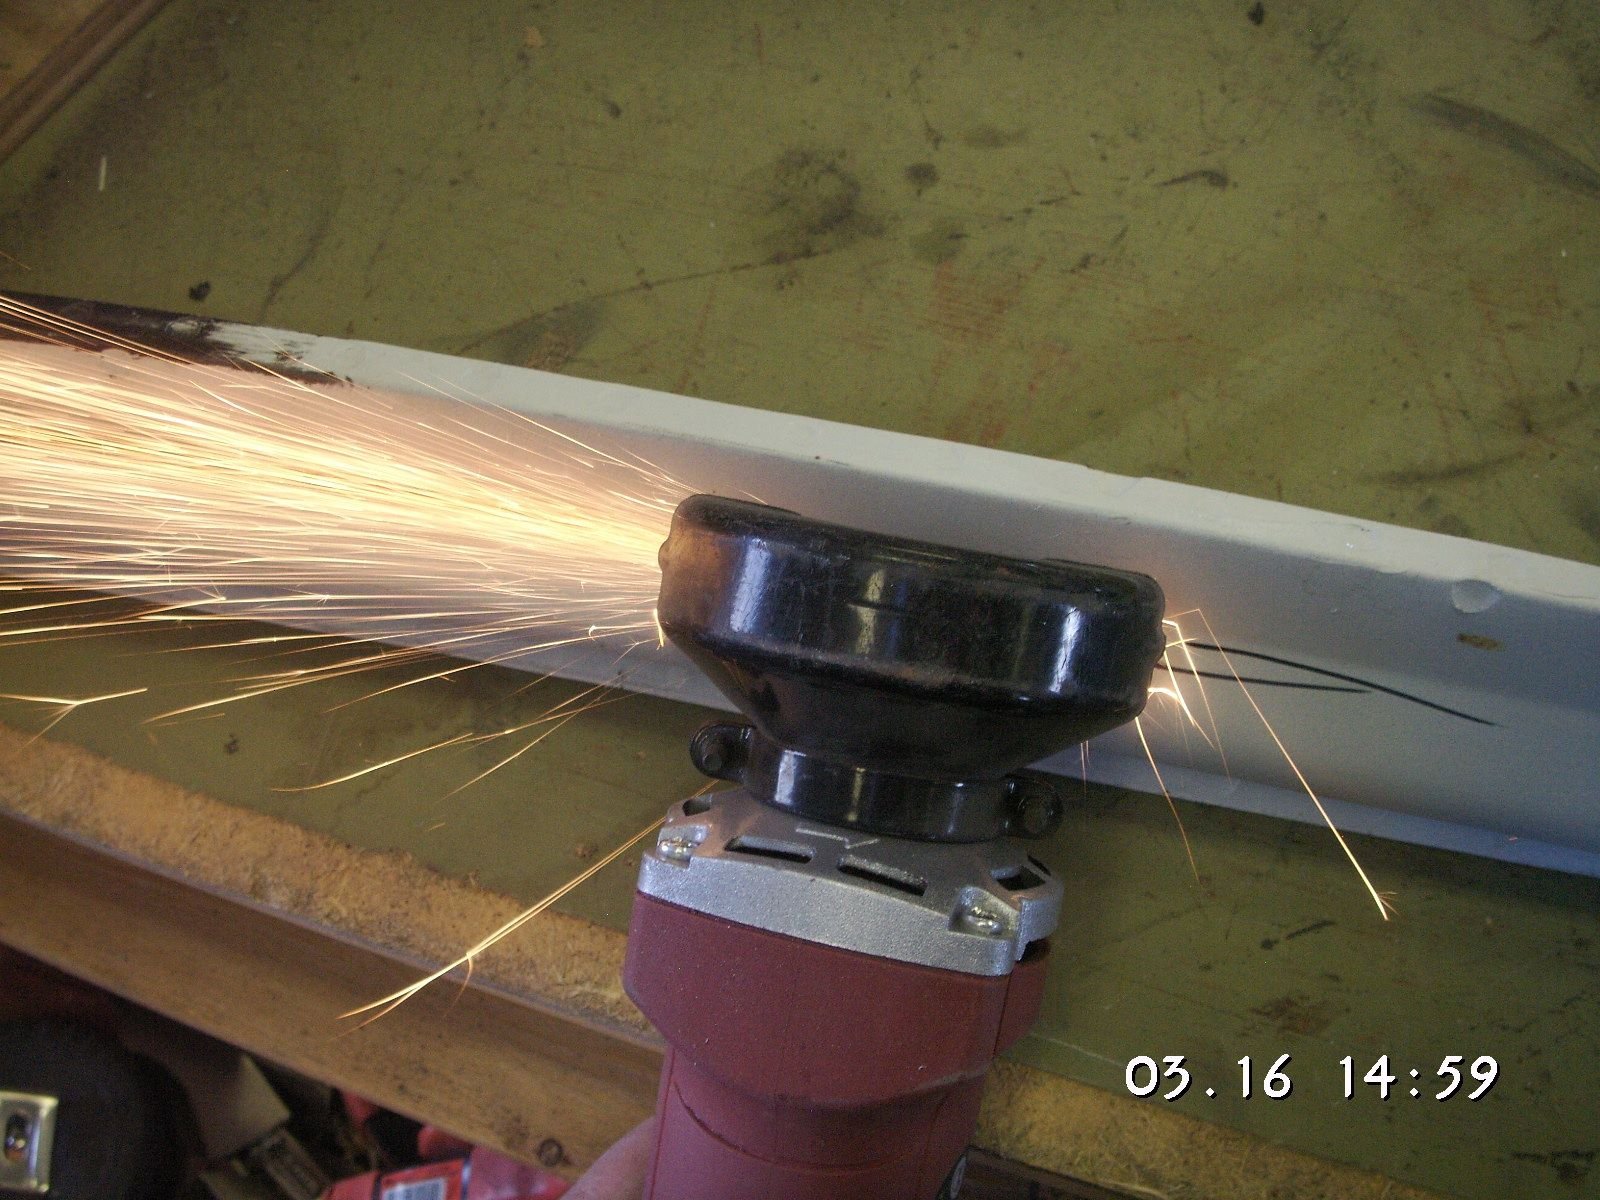
Now I have the last of the roof patches cut and fit, this one in the center of the rear edge of the roof. Next I'll take some of the paint off this one and off the front center one and then cut the bend-slots in the A- and B-Posts and then start welding this weekend. I hope I have the correct torch for the welding and enough Acetylene gas to make some progress.
Last edited by Jerry Feather; 04-04-2018 at 11:00 AM.
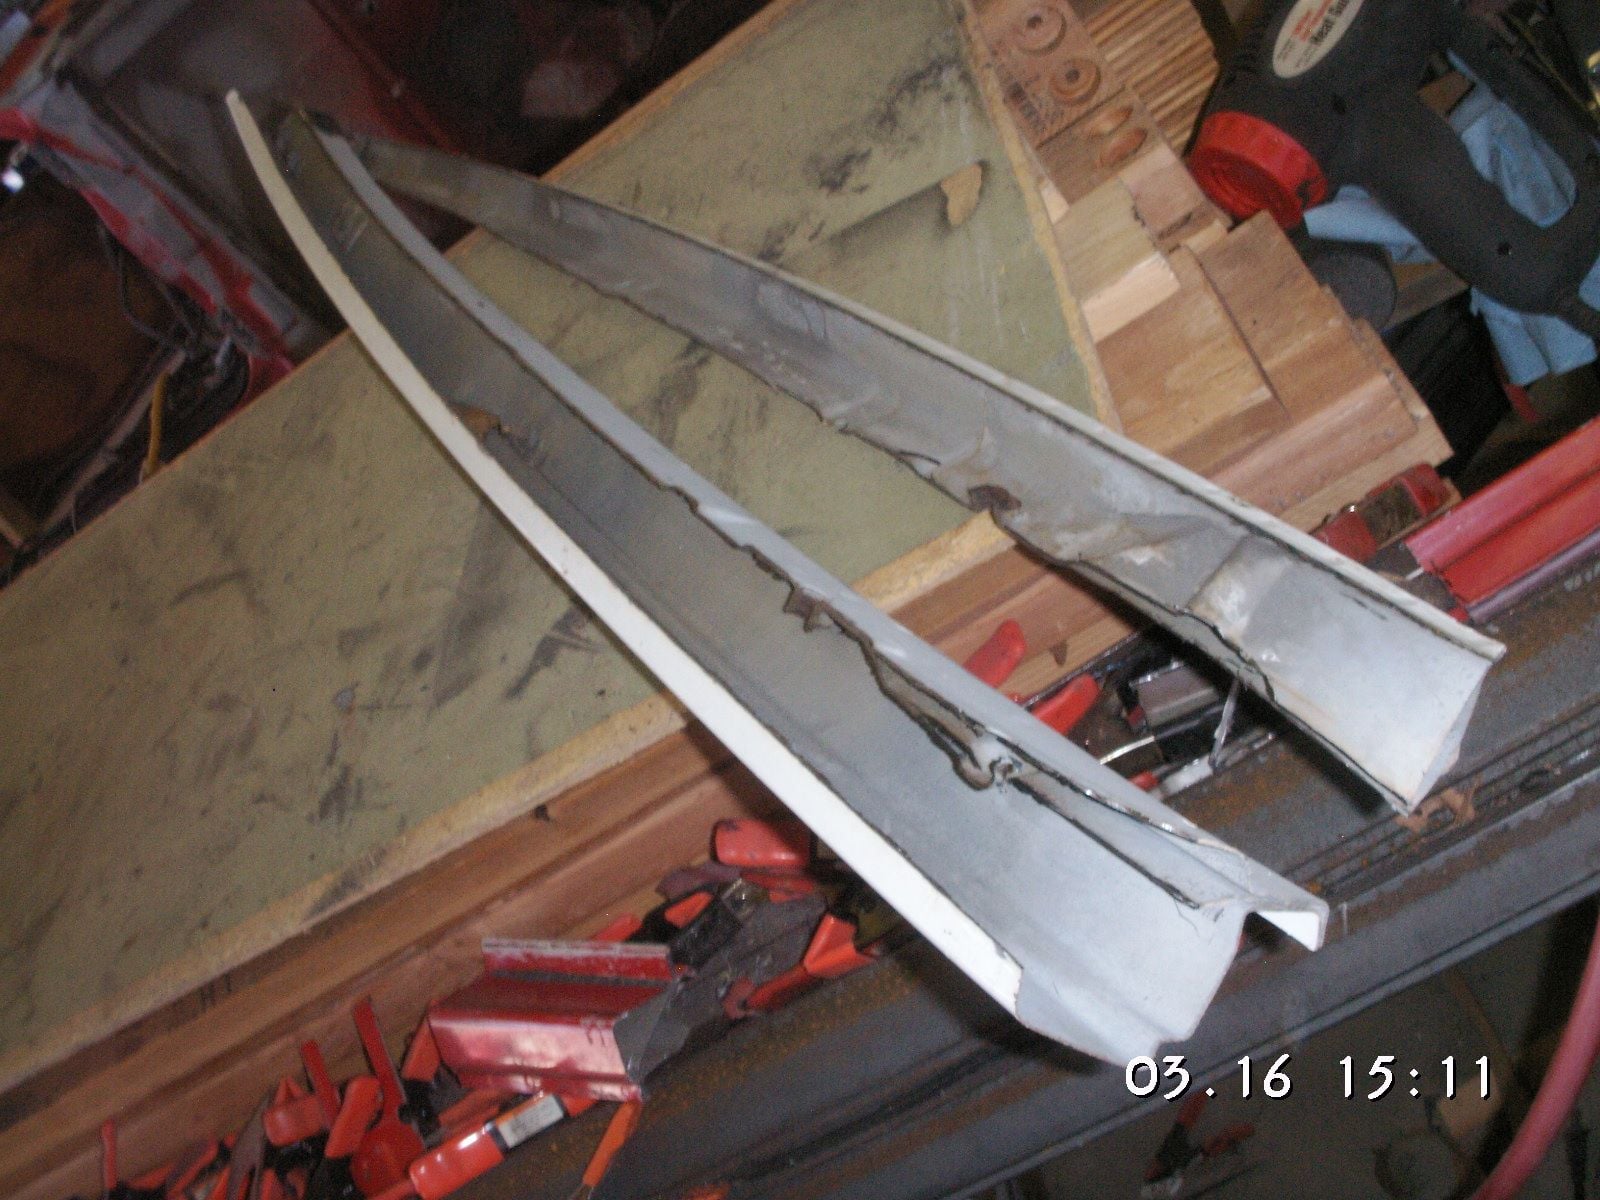
Now that I have the donor roof reduced to basically a pile of scrap, it occurs to me that the long pieces of the C-Posts that are cut off might have the correct curvature, or close to it, to make something to weld into the rear roof inside, rather than the angle iron I have been trying to work up. I think I'll look into that later today and see what I can come up with. In any case I am abandoning the angle iron piece at this point. If something out of the C-Posts does not work out, I'll probably be using some of the blank sheet metal out of the donor roof and simply fab up something to weld into the rear roof edge to kind of complete its three-layer cross section, which is otherwise reduced to about two layers.
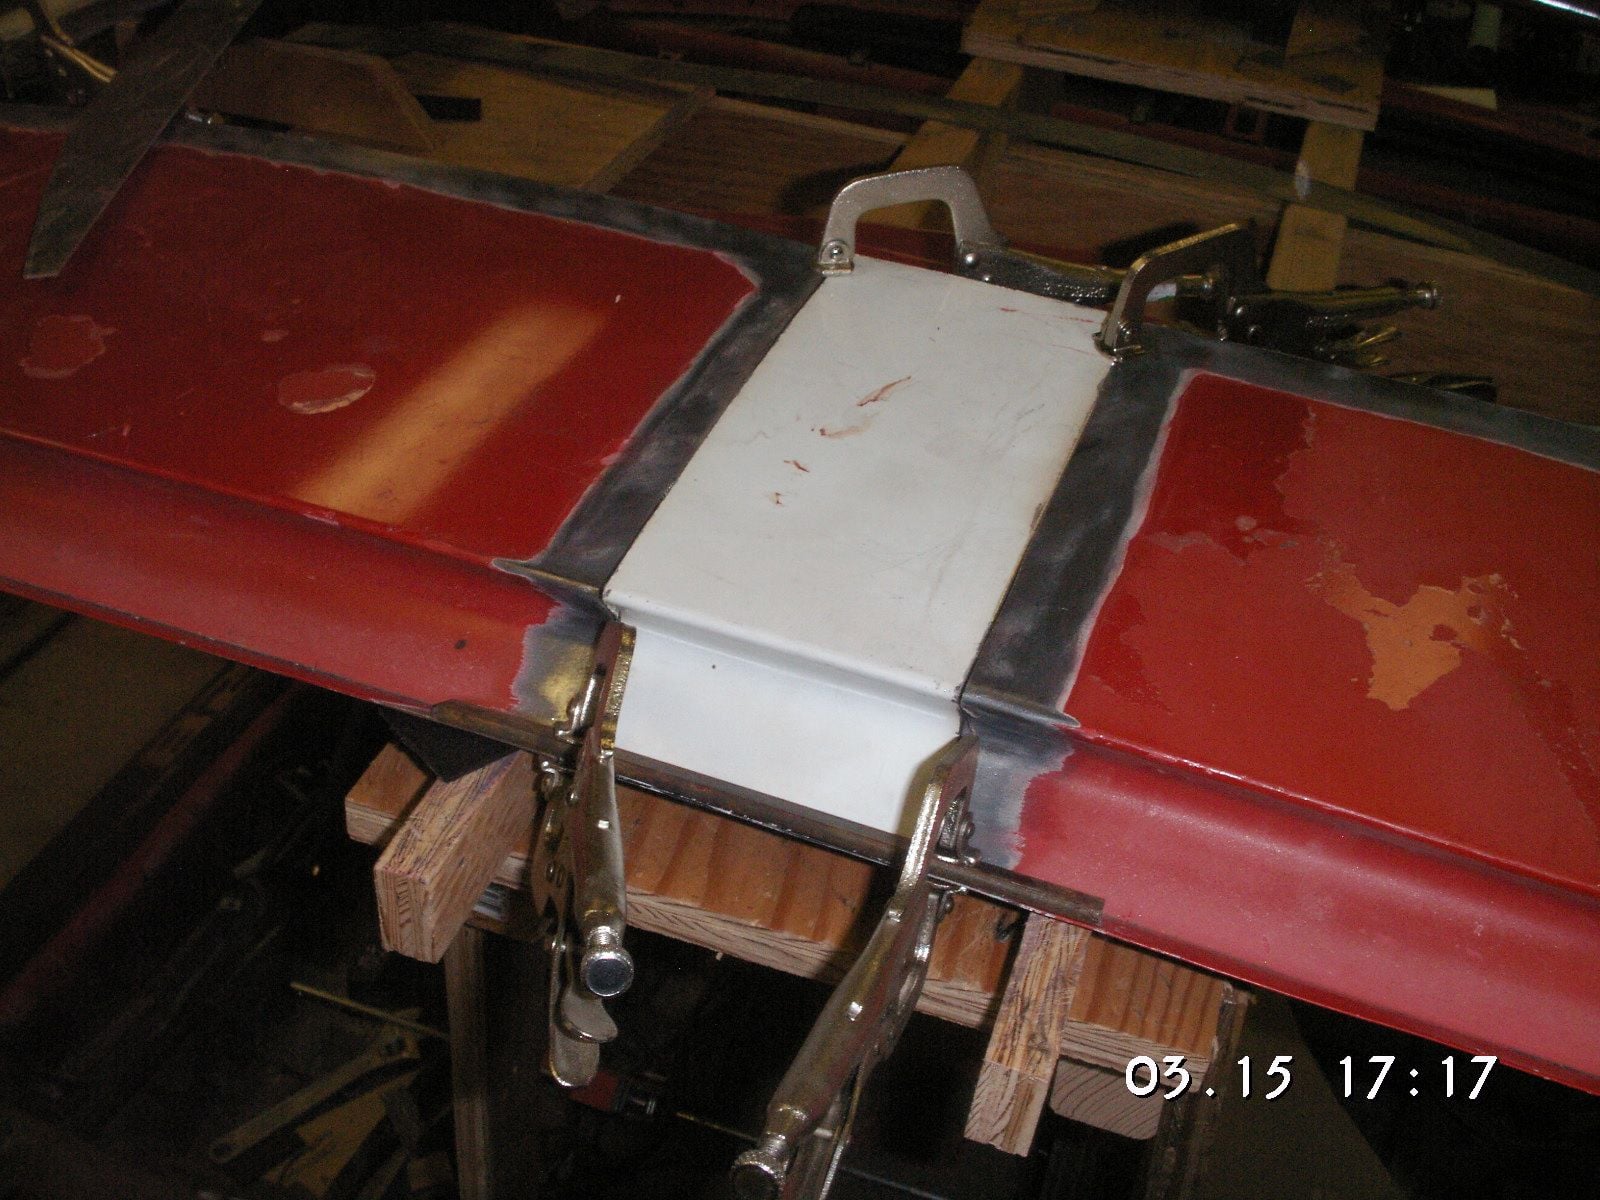
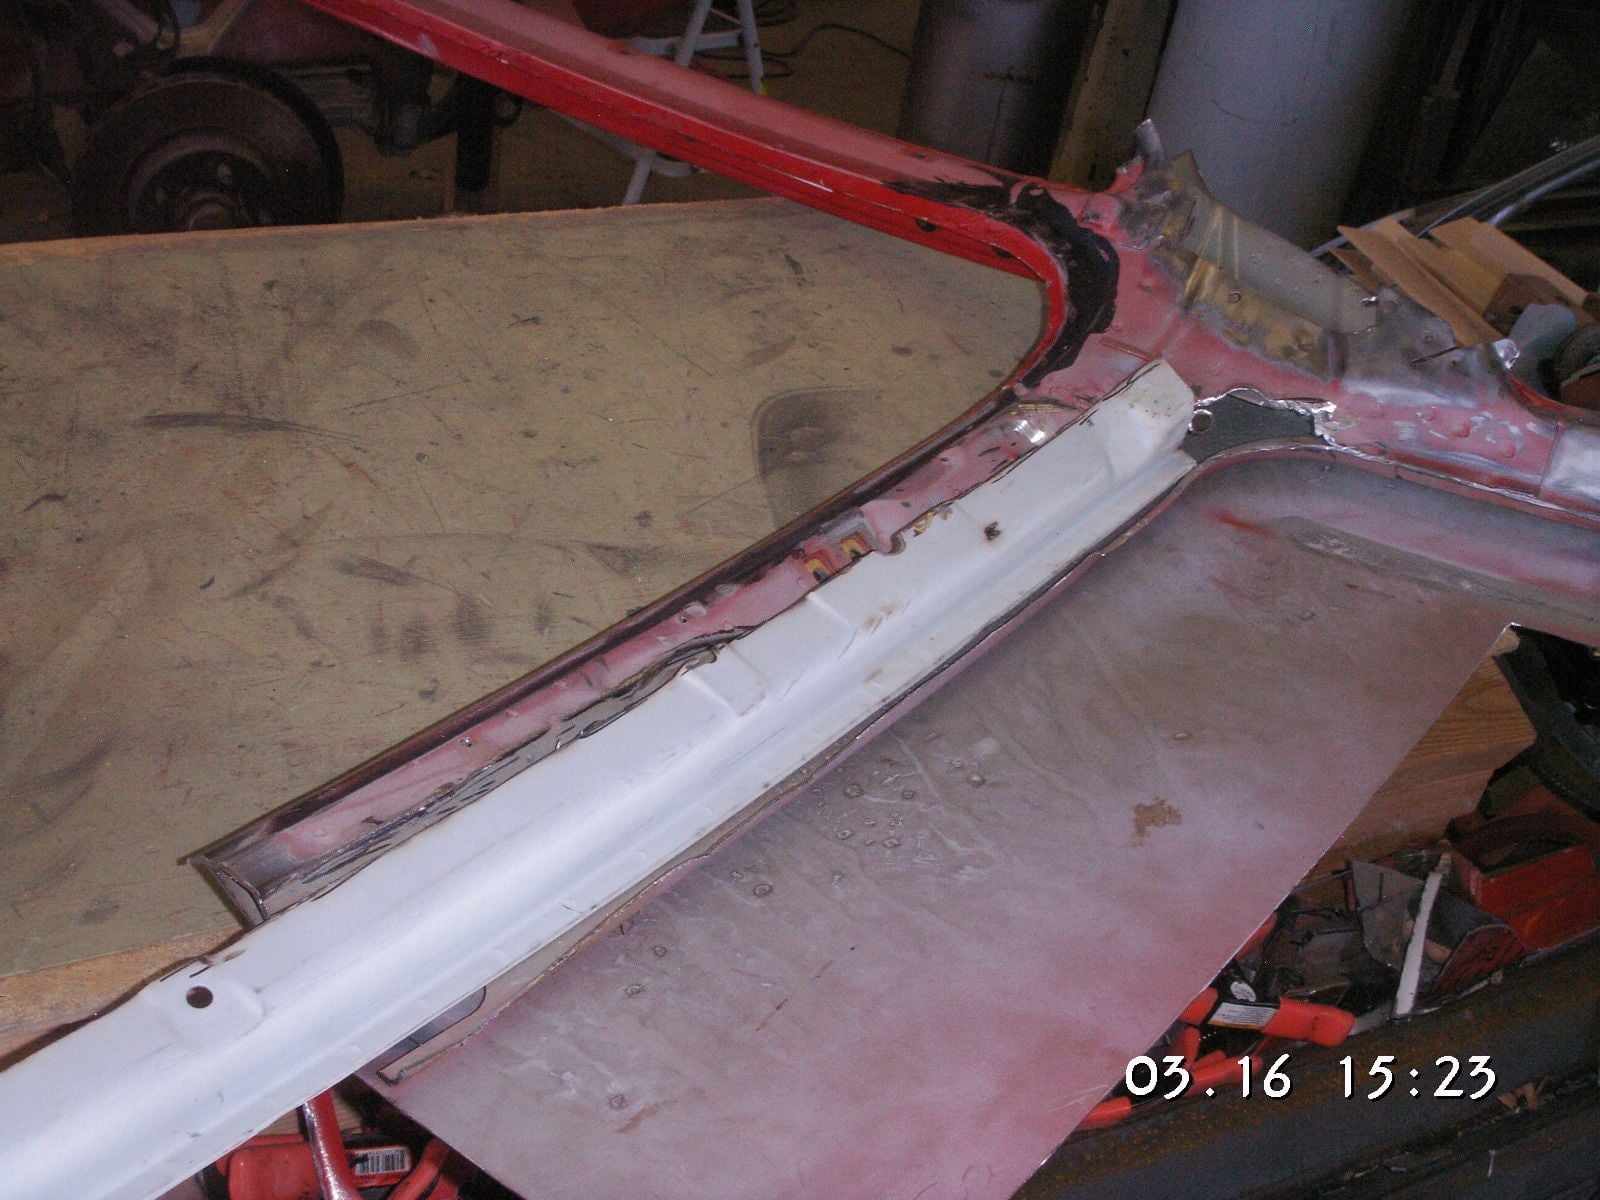
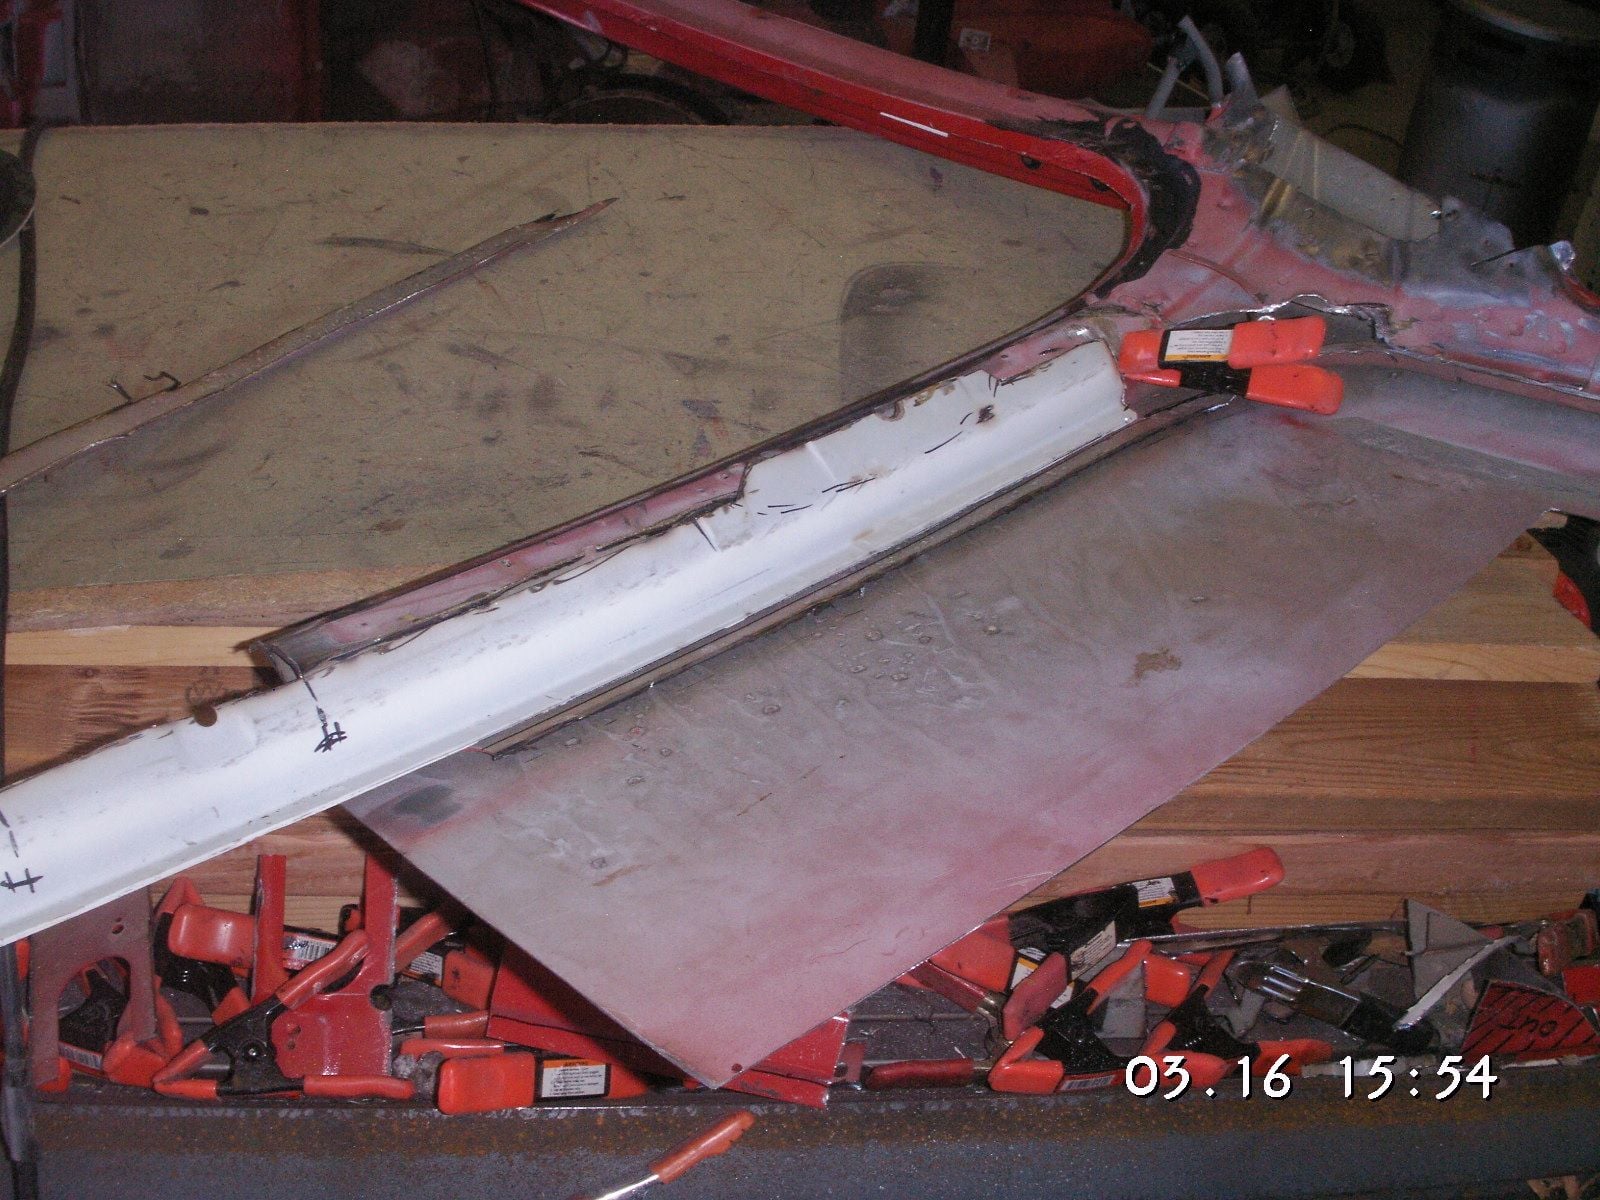
I cut a formed strip off of one of the C-Post left over from the donor top and find that the curvature fits the rear edge of the roof just about perfectly. I have it trimmed roughly to nest inside the rear edge of the roof
and will do some further trimming and fitting of it to weld into the roof for the additional structure I desire.
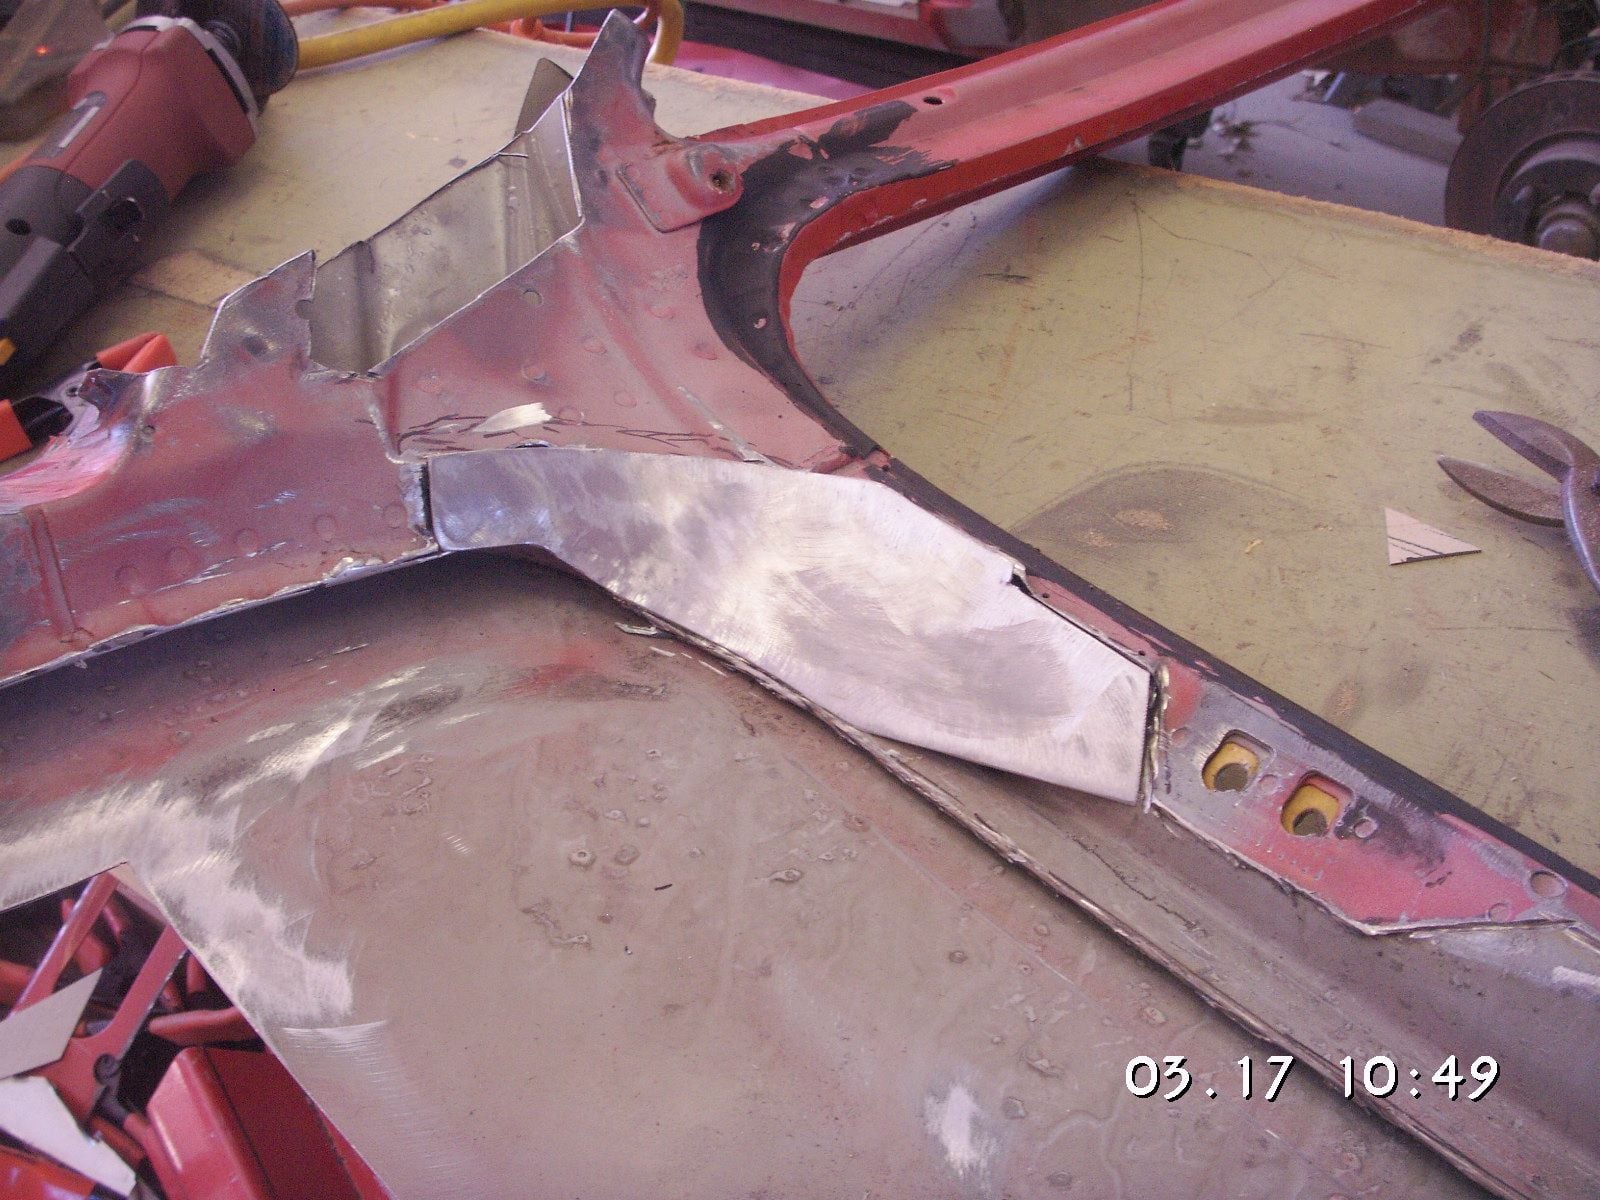
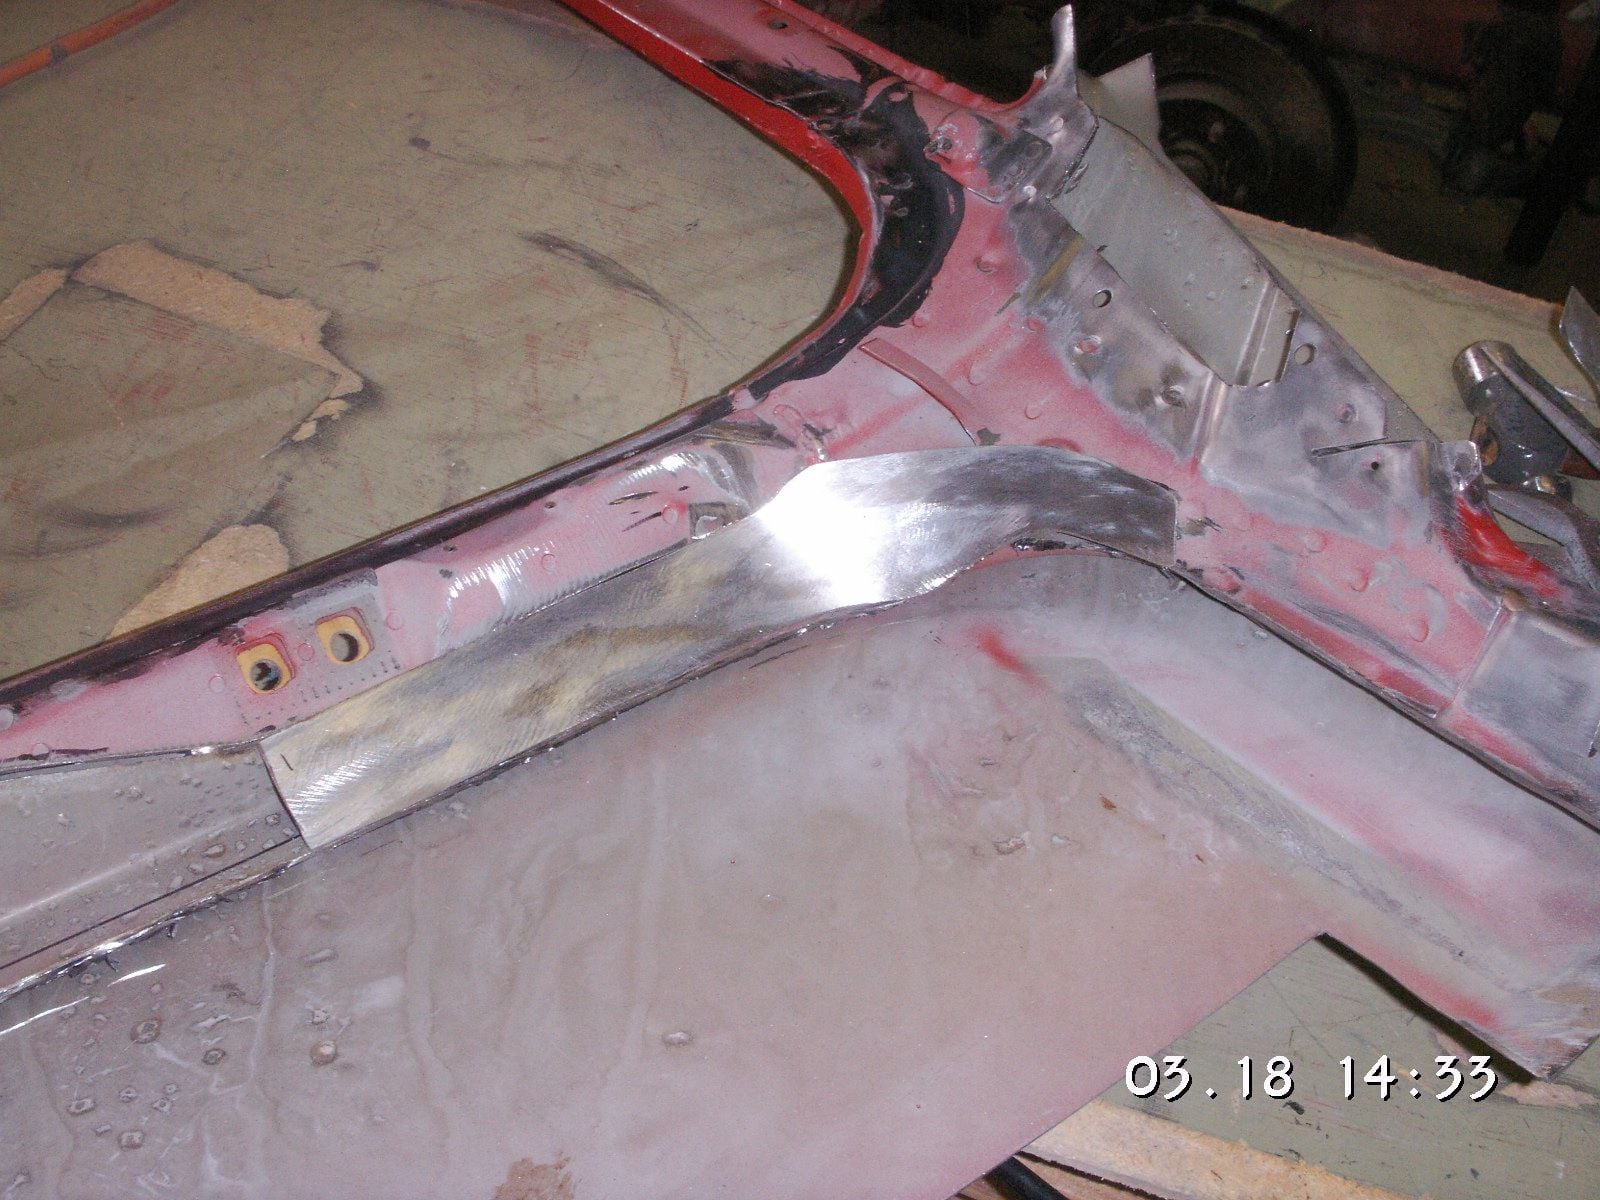
I think I should make the patches that go in the rear corners inside the roof before I weld these puzzle pieces in place, rather than waiting and having to do it working upside down. Here is one of them so far, but when I got to this point and thought I should weld it in, I discovered that I don't have any welding rod. I guess I'll have to see if any of the regular hardware store carry it because I'm pretty sure the welding shops are closed today.
I found one of the welder supply houses open and bought about 3 pounds of rod in 1/16 and 3/32 diameter. Then after I got back home and set up to weld a bit I found that the Acetylene is only 5 pounds of pressure in the tank and that is not enough to maintain the correct flame for welding. So I went back to the Welding supply, but found that they were closed. They must have been open only until about 1 pm.
Then I ran across my buddy, Doug, and he said he had a large bottle of Acetylene that I could have and that he would bring it over this morning. I hope he does. He has been wanting to come by and see what I am doing with this 928 anyway.
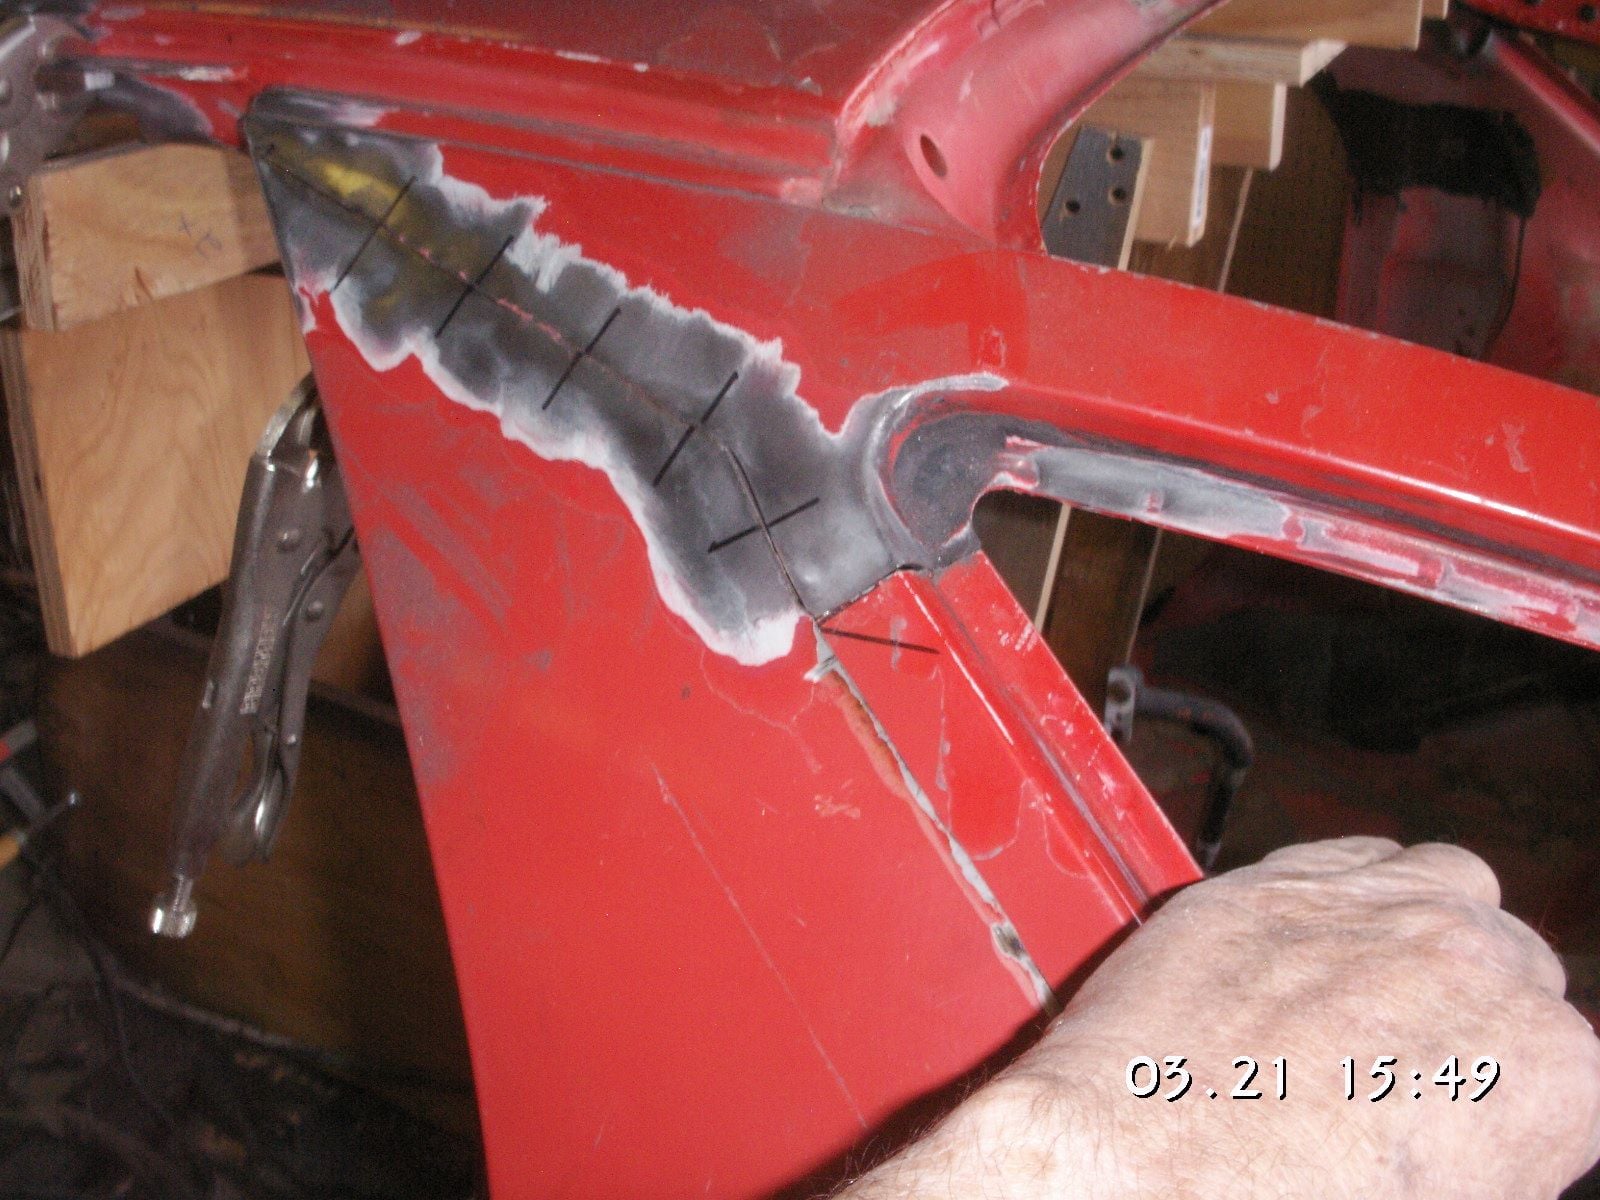
So I spent some time making further refinements to my joints, mainly because I finally realized that when I raised the chop in the B-Post by a quarter of an inch in order to eliminate the need to shorten the wheelbase of the car, (and that worked, better than I had planned), that I could now lower it a tiny bit and gain back the full 3 inch shortening of the tail of the car. So I did, and the joints at the B-Posts came together very nice with even less of a need to cut slots to get them to match.
That didn't go exactly as planned. What Doug had was a large bottle of Argon/CO2, so he brought it anyway. It wont help me do any welding today, but I think I might be able to put it to use when I get to the point of trying my MIG or TIG welders on some aspects of this project. In the meantime I guess I'll work on the patch for the inside of the other rear roof corner and on the slots to get the A- and B-Post cuts to line up better.
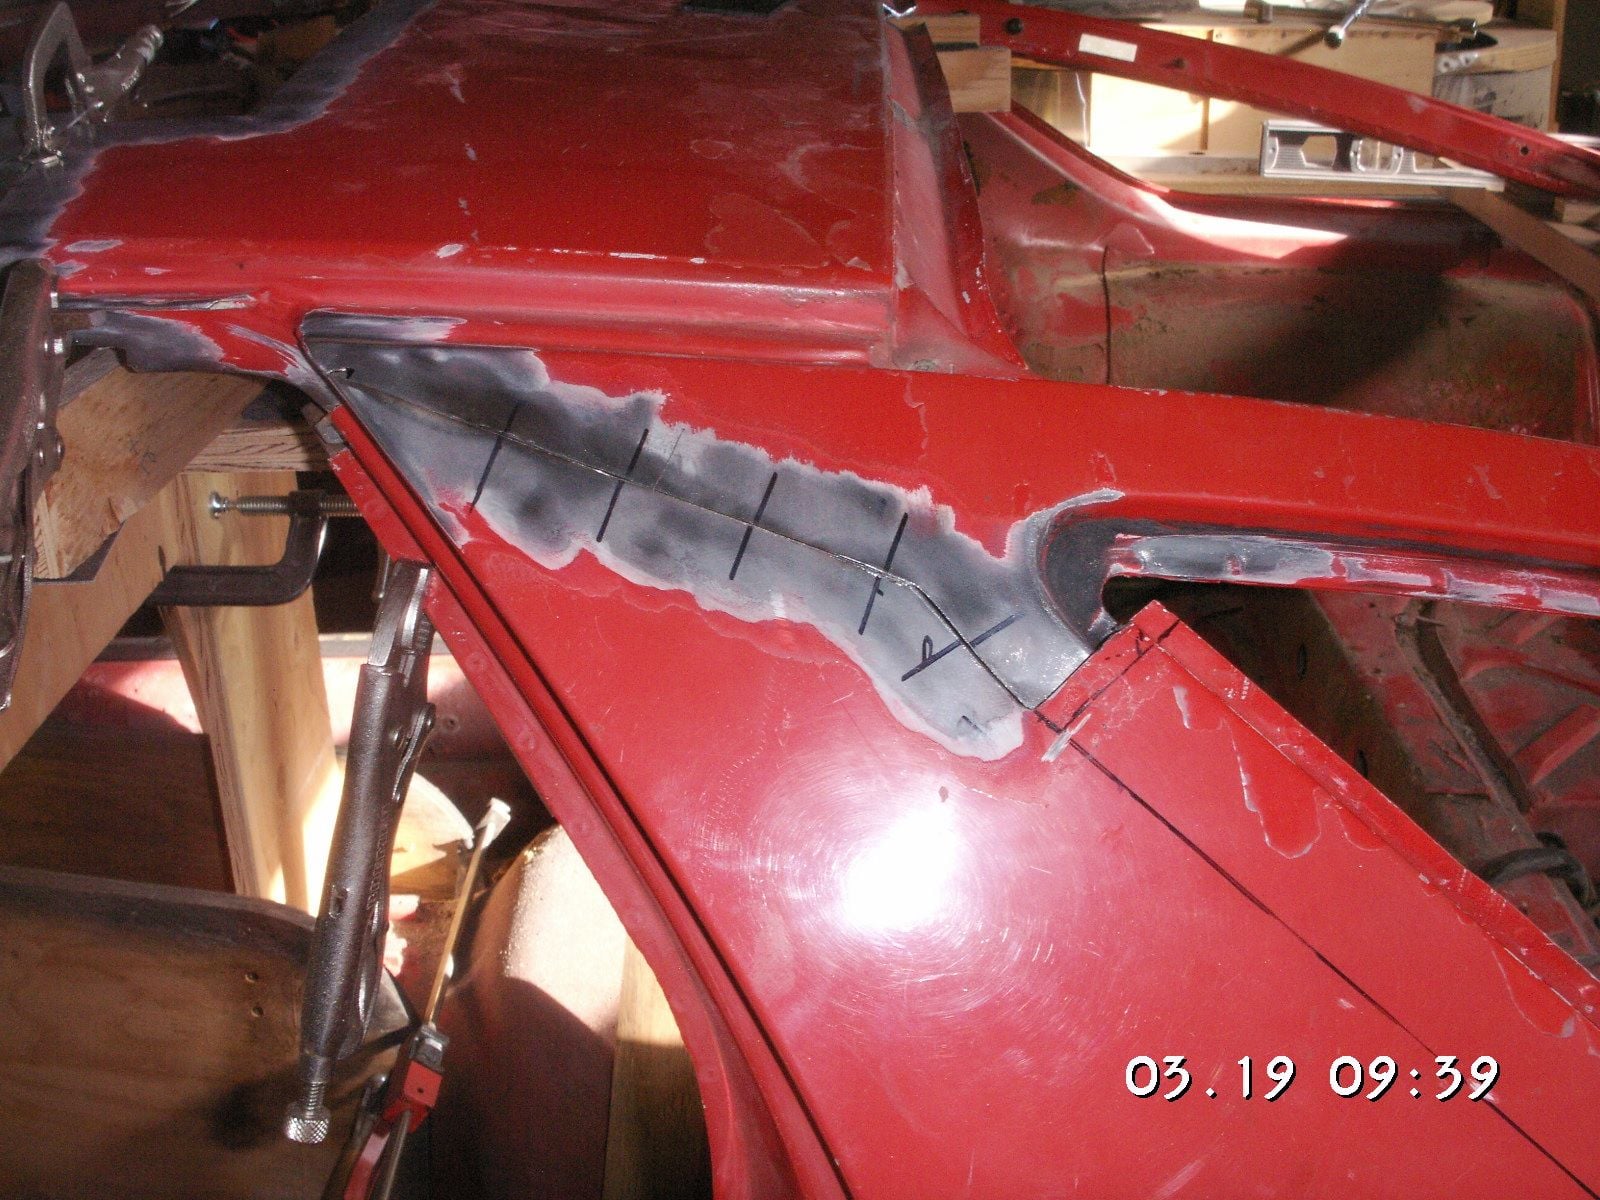
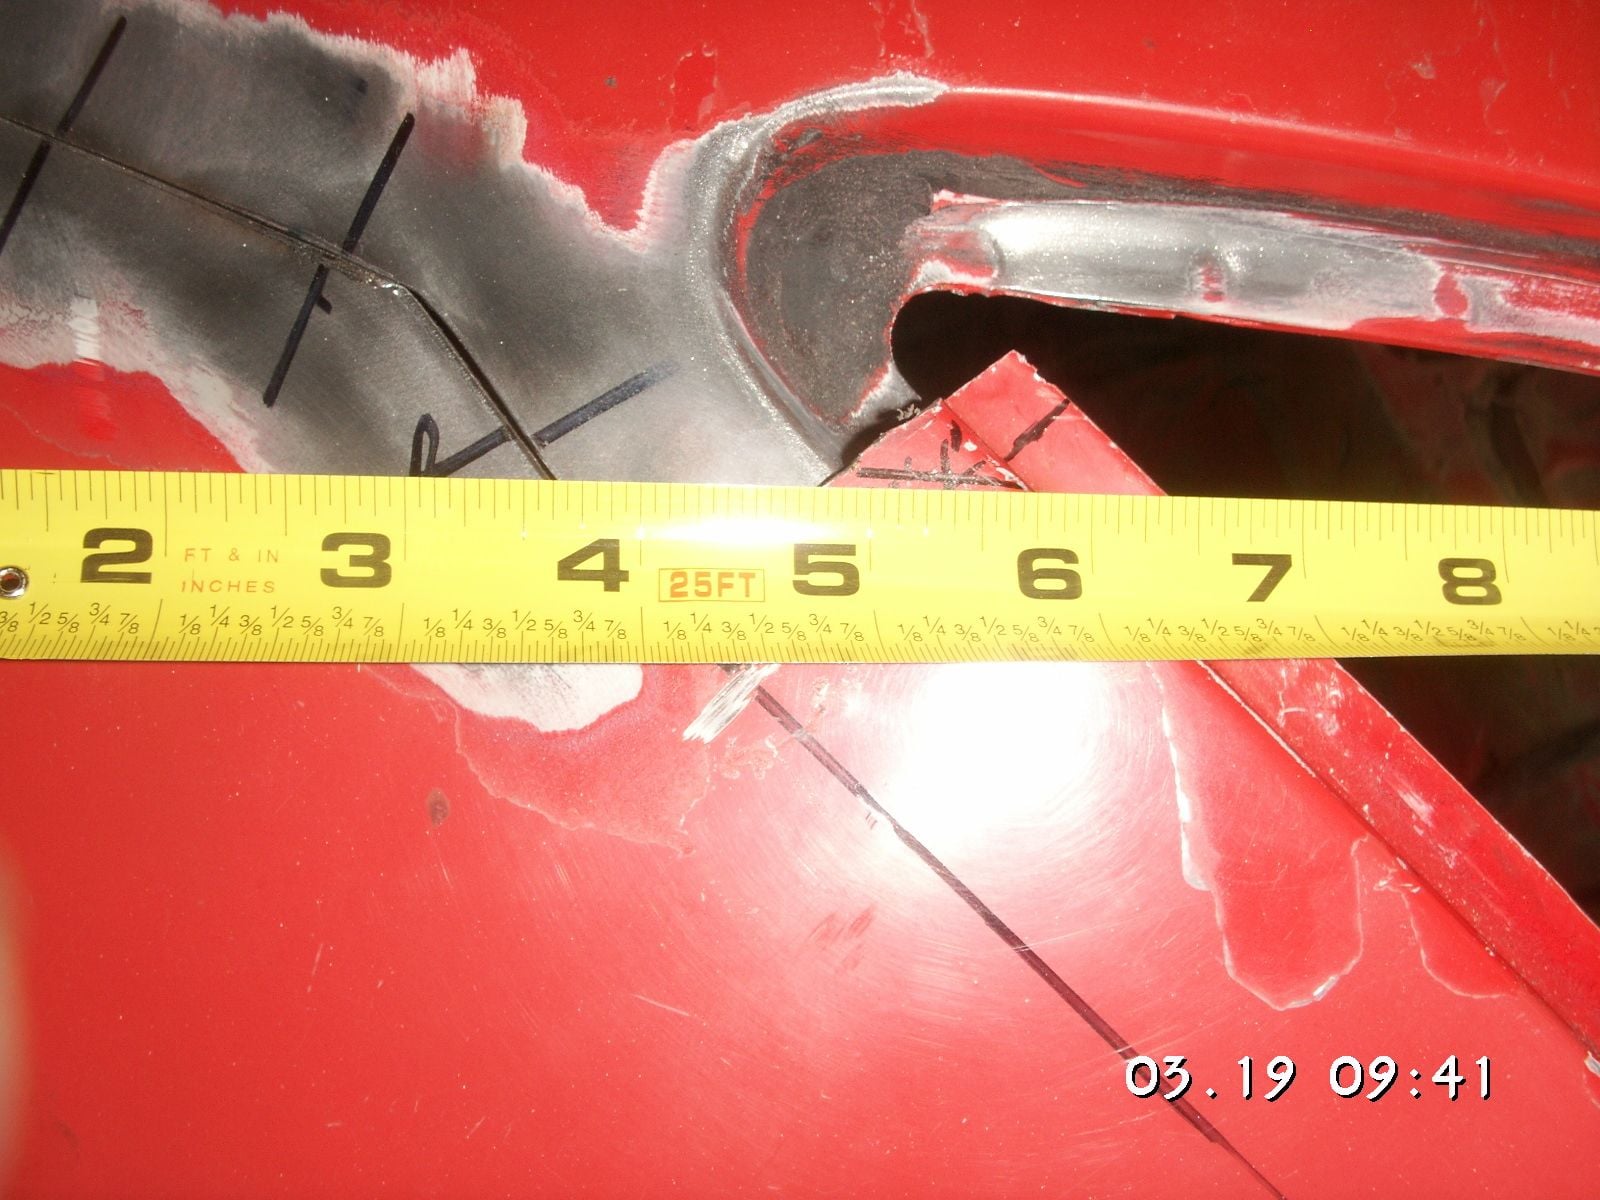
One interesting thing I have found in making all these minute adjustments in the chop cuts is that the roof is not actually coming straight down. I find that in the front the roof came down 3 inches and in doing so it spread out only 3.75 inches, or 1 and 7/8 inch each side. Then in the middle (at the rear edge of the roof proper) it spread out 4.25 inches or 2 and 1/8 each side. That then means that the tail ends of the C-Posts are spread apart another half inch or just under 5 inches.
That is causing a move of the rear quarter window corners nearly 2.5 inches out and the same forward, since they are moving on a 45 degree angle to the axis of the car. My original plan was for a two inch move out and forward of those corners and about just under 3 inches coming out of the bottom edge of those corner pieces. Now I have nearly an additional half inch to take out of those locations to get the corners to fit. I'll wait on that until I weld the A- and B-Posts back together and then tuck the tail in 2.5 or hopefully 3 inches to get it all to line up.
The only drawback to his discovery is that the width of the resulting hatch sides is going to be bit greater than originally planned; and I still don't know just how that is going to look.
I think the difference is a result of taking the B-Post cuts so near the top rather than lower at the middle or bottom because those Posts have some curve to them while the windshield Posts are very straight.
One thing I have been silently disappointed about was what appeared as a much less narrowing of the B-Post (the sail panel of our car) than I had originally expected from the pictures and preliminary calculations. When I got the B-Posts cut and lowered into their new position it has been appearing to me that the difference in the width at the cuts is only less than a half inch when I had been calculating that should be closer to an inch and a quarter. I had been kind of counting on the greater amount to help balance out the rest of the chop.
However, upon studying the pictures and then confirming on the car it finally occurred to me that I was viewing it incorrectly. Upon more careful evaluation I see that the front edge of the quarter windows are going to move forward closer to an inch rather than less than half inch. That amount will help balance out the look of the side view of the car when we are finished with the chop.
This is some crazy stuff....in a good way. How you are getting this stuff to all work out and "line up" with the curves, angles and patches is cant wait to see the end result!
As a side note, I have to say that I'm very impressed with the structural sturdiness of the roof and pillars.
It's been long known how strong the roof of the 928 is. IIRC, they had to make cuts in it for the Monster Truck Bigfoot to properly crush it in the second "Cannonball" movie.
Now I see exactly why it's as strong as it is.
And, of course, I'm very impressed with how Jerry is doing this. Way cool. I can't wait to see it finished.
Thanks Tony and Joe. I am anxious also, but trying not to get ahead of myself with it. Along that line I think the delay(s) in welding are trying to tell us something. That something is that at this point the vise grips are pretty well holding what we have so far and there is not a great need to weld any of it permanently, just yet. The better plan is going to be to cut the tail loose and move it and finish up the alignment of the tail ends of the C-Posts before we do any welding, at least as to permanent placement of what we have so far. There may be a need for some very tiny adjustment at the B-Posts in particular, and even a 16th of an inch in the B-Posts can make a much bigger difference at the tail ends of the C-posts.
So I am going to cut the front edges of the quarter windows out and then cut the tail off and set it up for forward movement so we can fit the bottom corners. Then we will know just exactly how much the tail can be shortened in the process, and we may be able to set the shortness at the 3 inches desired and then work backwards to the B-Posts to get it all correct.
I was even going to rebuild the structure that is aligning the tail ends of the C-Posts so that it is not dependent on the window sills, but now I think we can simply take it out and then put it back when the tail is moved; and, I think I have all the cuts figured out for these movements.
Last edited by Jerry Feather; 03-20-2018 at 11:12 AM.
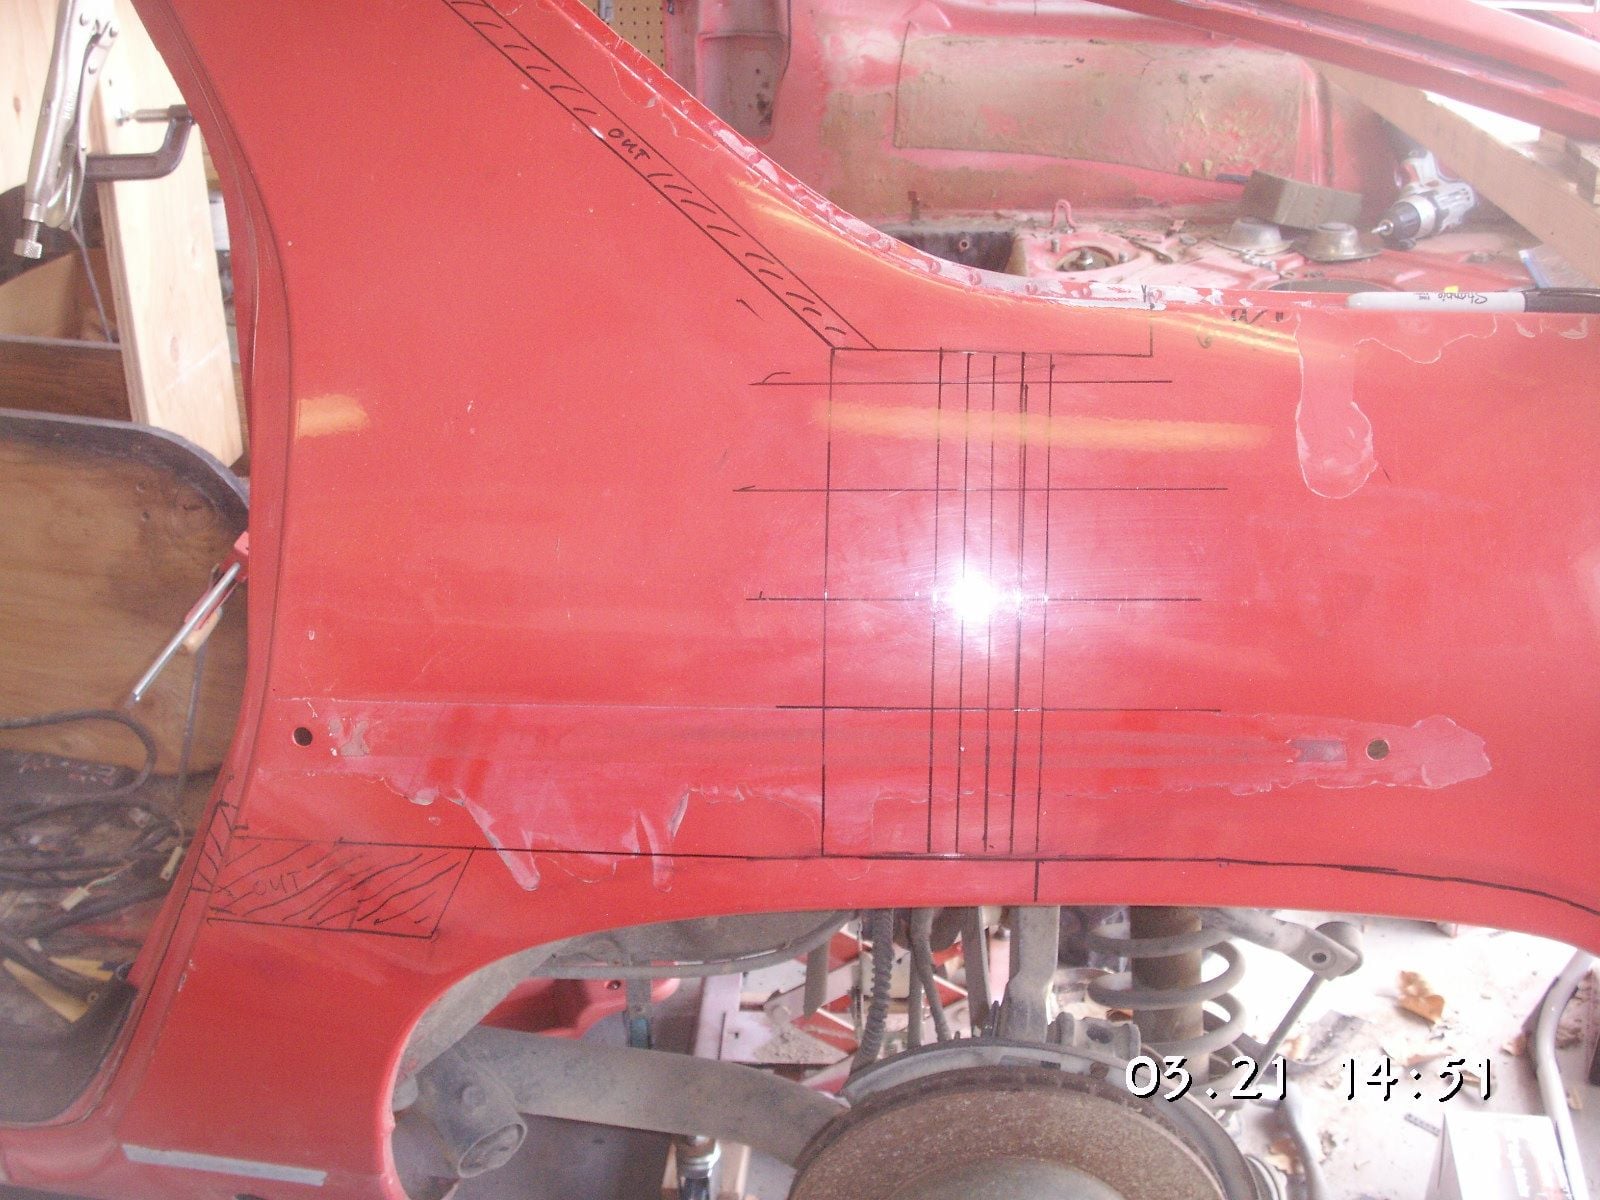
I think I'll get off early today and get to make some progress on this project. I'm going to clean off the current marks and then lay out my new plan in black marks. Then I think I'll start cutting off the tail. There is going to be a lot of metal to cut in that part of this project, but it will get us back to fitting the C-Post tails to the quarter window corners and then we can start welding.
There is some welding we can do on the inside of the rear quarters of the roof in the meantime, and I may try to do that this afternoon also.
One of the additional considerations in regard to the tail of the car is that it actually tapers a bit from the rear of the doors to over the wheel arches. In the area of the shortening of the tail, just above the arches, I think there is about a quarter of an inch of total taper that will have to be adjusted for and I think I'll be able to do the adjustment simply with some force. I'm going to make a simple tool with a tube and some bar stock and a bolt and nut that I can use to push the sides of the tail apart to line up again with their new position.
Oops, I was in the wrong membership when I drafted this.
__________________
ReDesign by FEATHER
by Jerry Feather
Producer for 928 of:
-Hatch Latch Receiver Liner--All Versions
-Replacement Heavy Duty Spare Tire Cover
-Flush Center Console Conversion
-Cowl Cover, Cowl Seal, & Shell Stickers--All versions
(RHD included)
-Aluminum Gas Cap Ratcheting Pawl
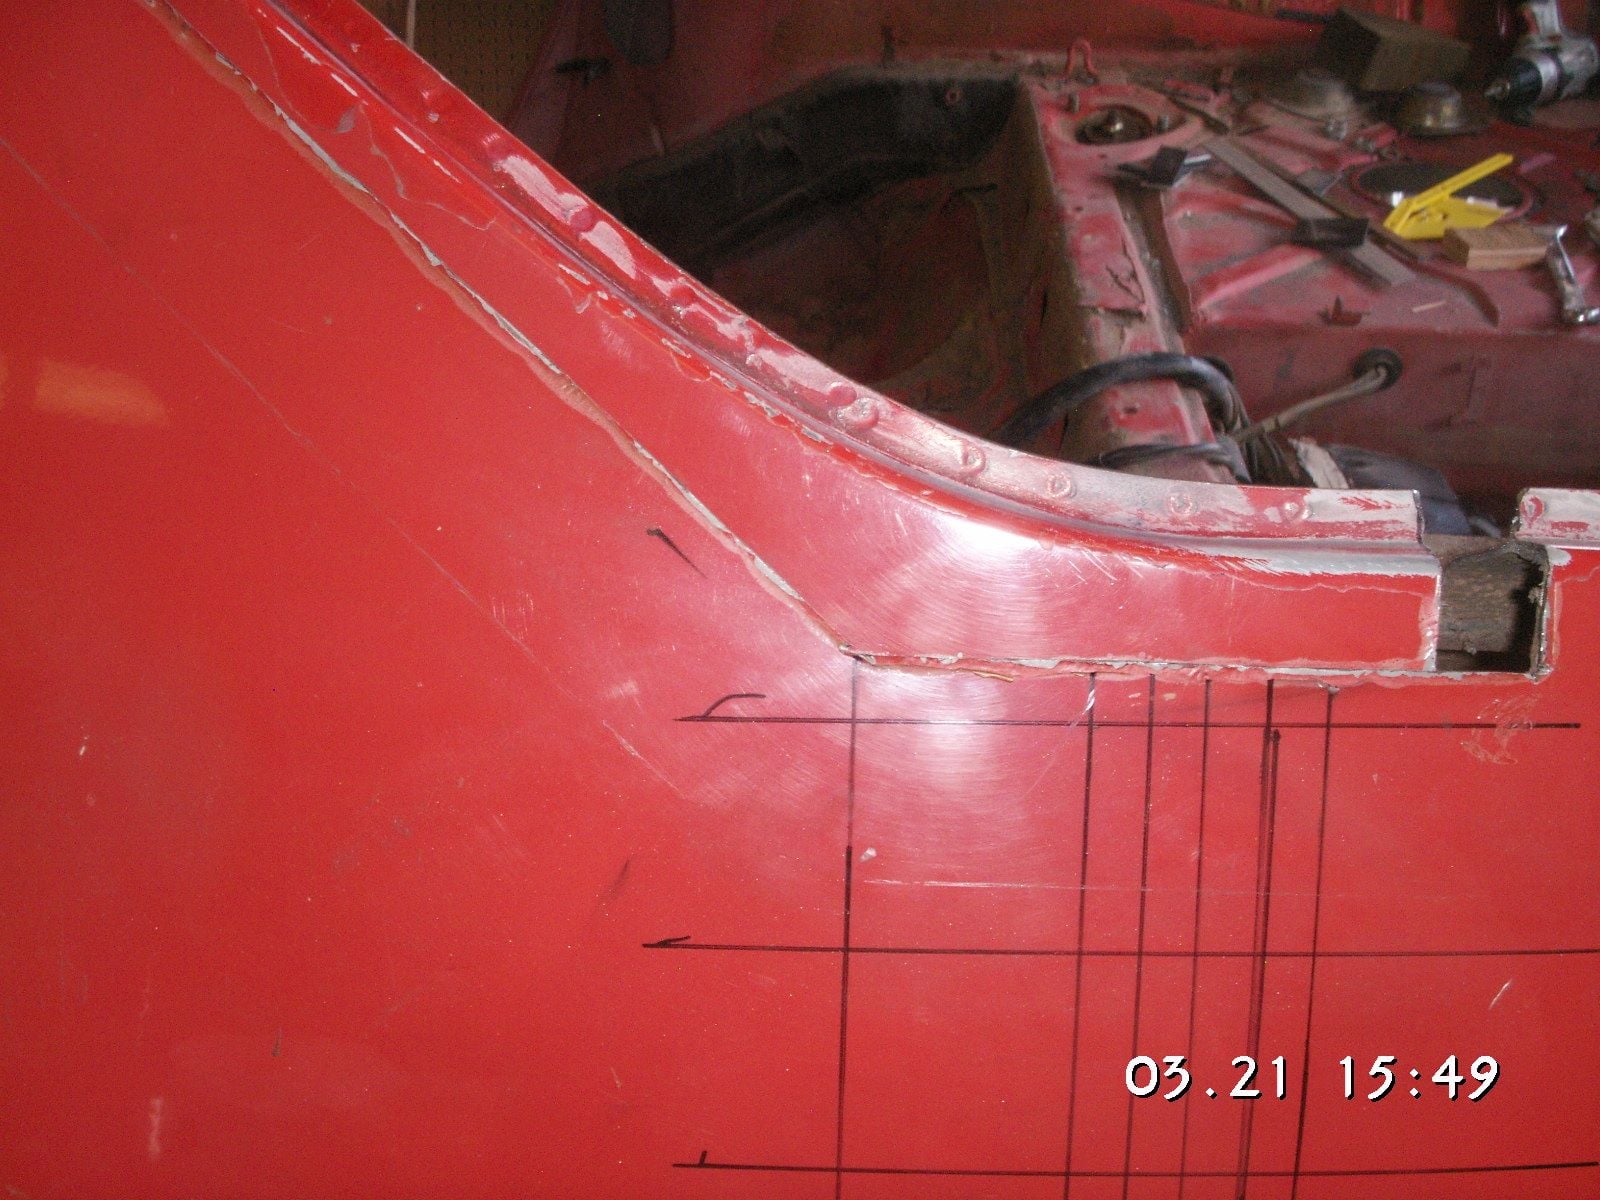
I layed out the new cutting and fitting lines on the rear quarter panels for moving the tail, and then I was able to cut the front edge of the left quarter window out so it can be trimmed to fit and moved to its new location just short of an inch forward.


 03-14-2018, 08:35 PM


 cant wait to see the end result!