When you click on links to various merchants on this site and make a purchase, this can result in this site earning a commission. Affiliate programs and affiliations include, but are not limited to, the eBay Partner Network.
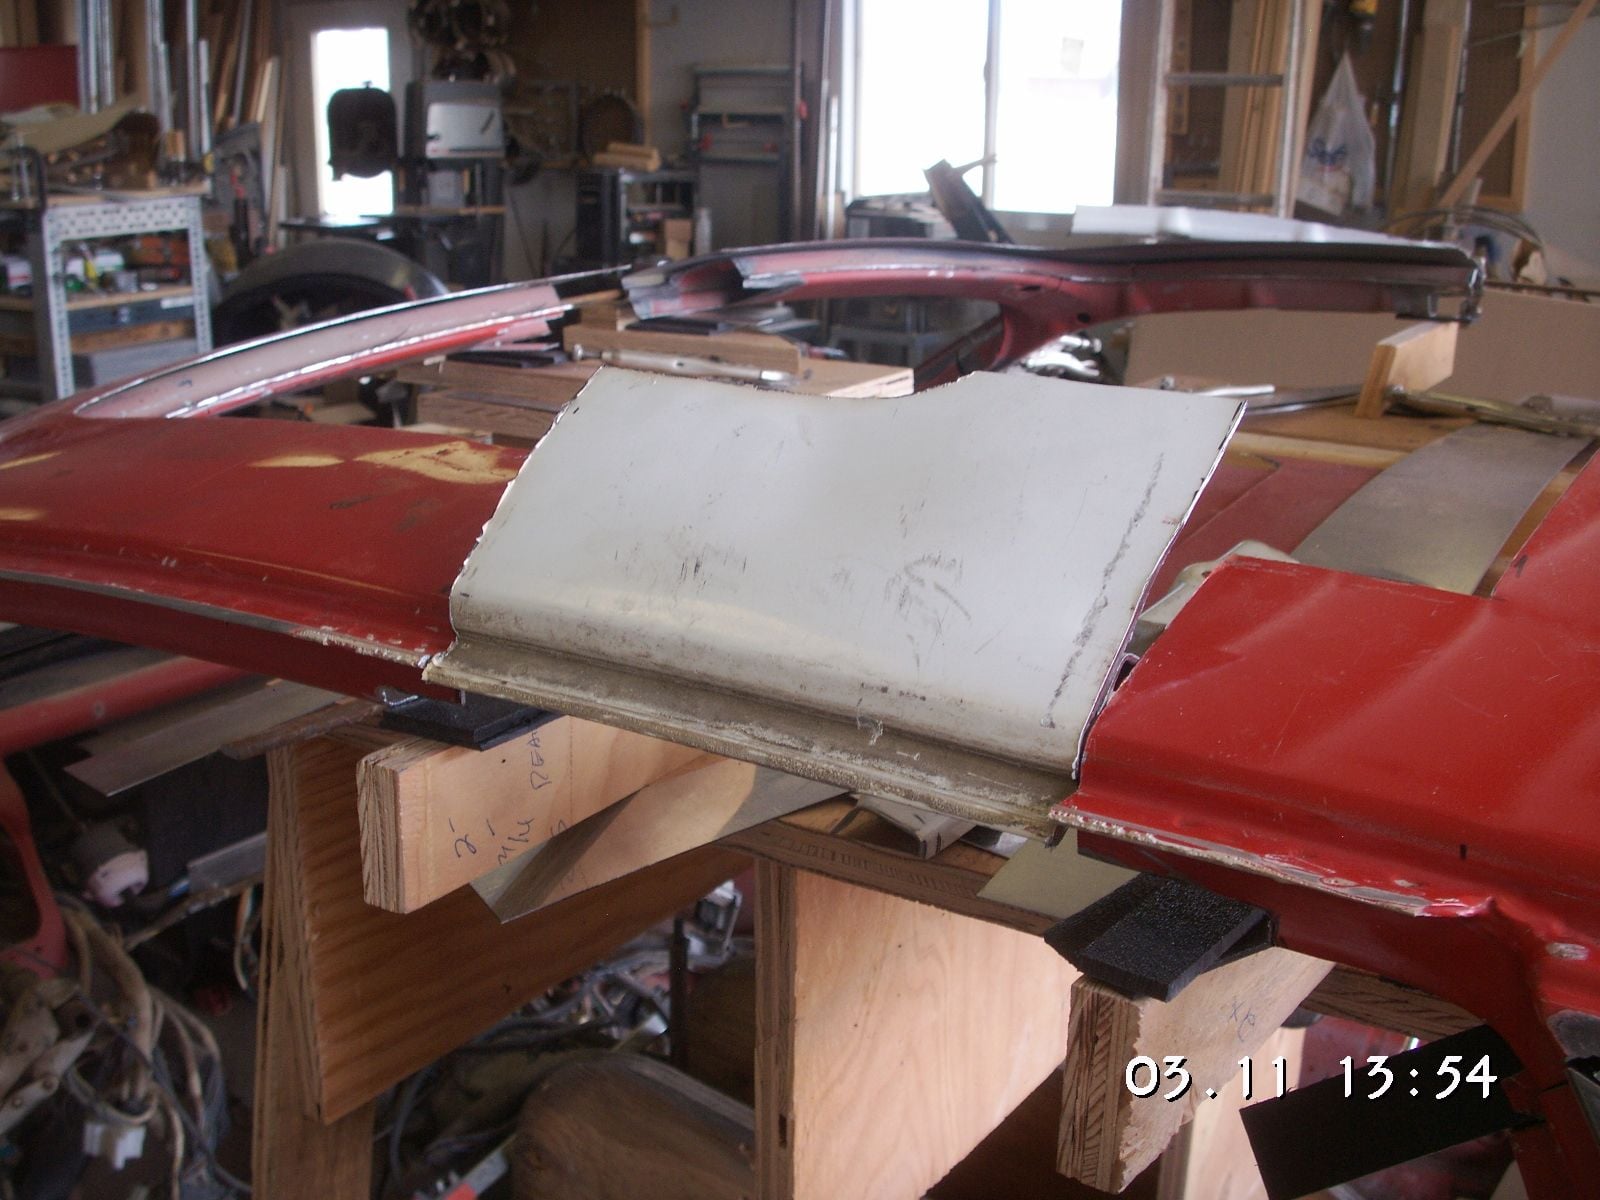
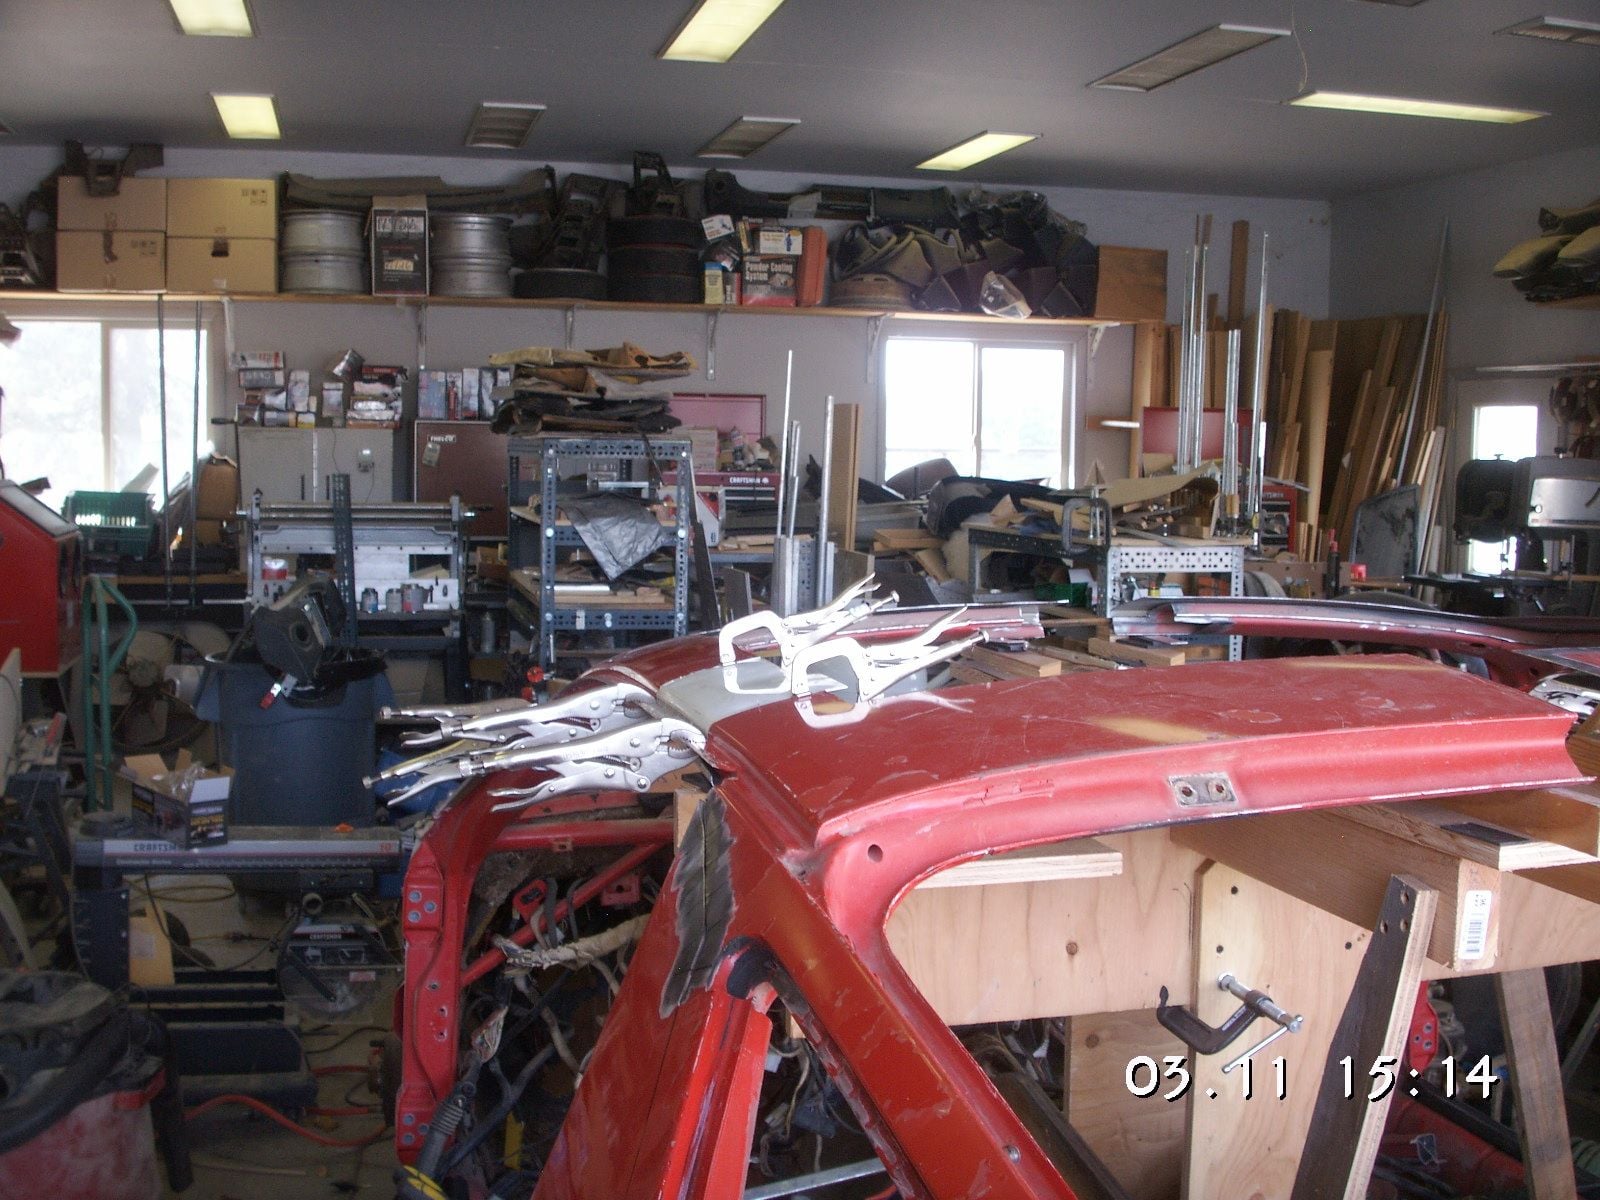
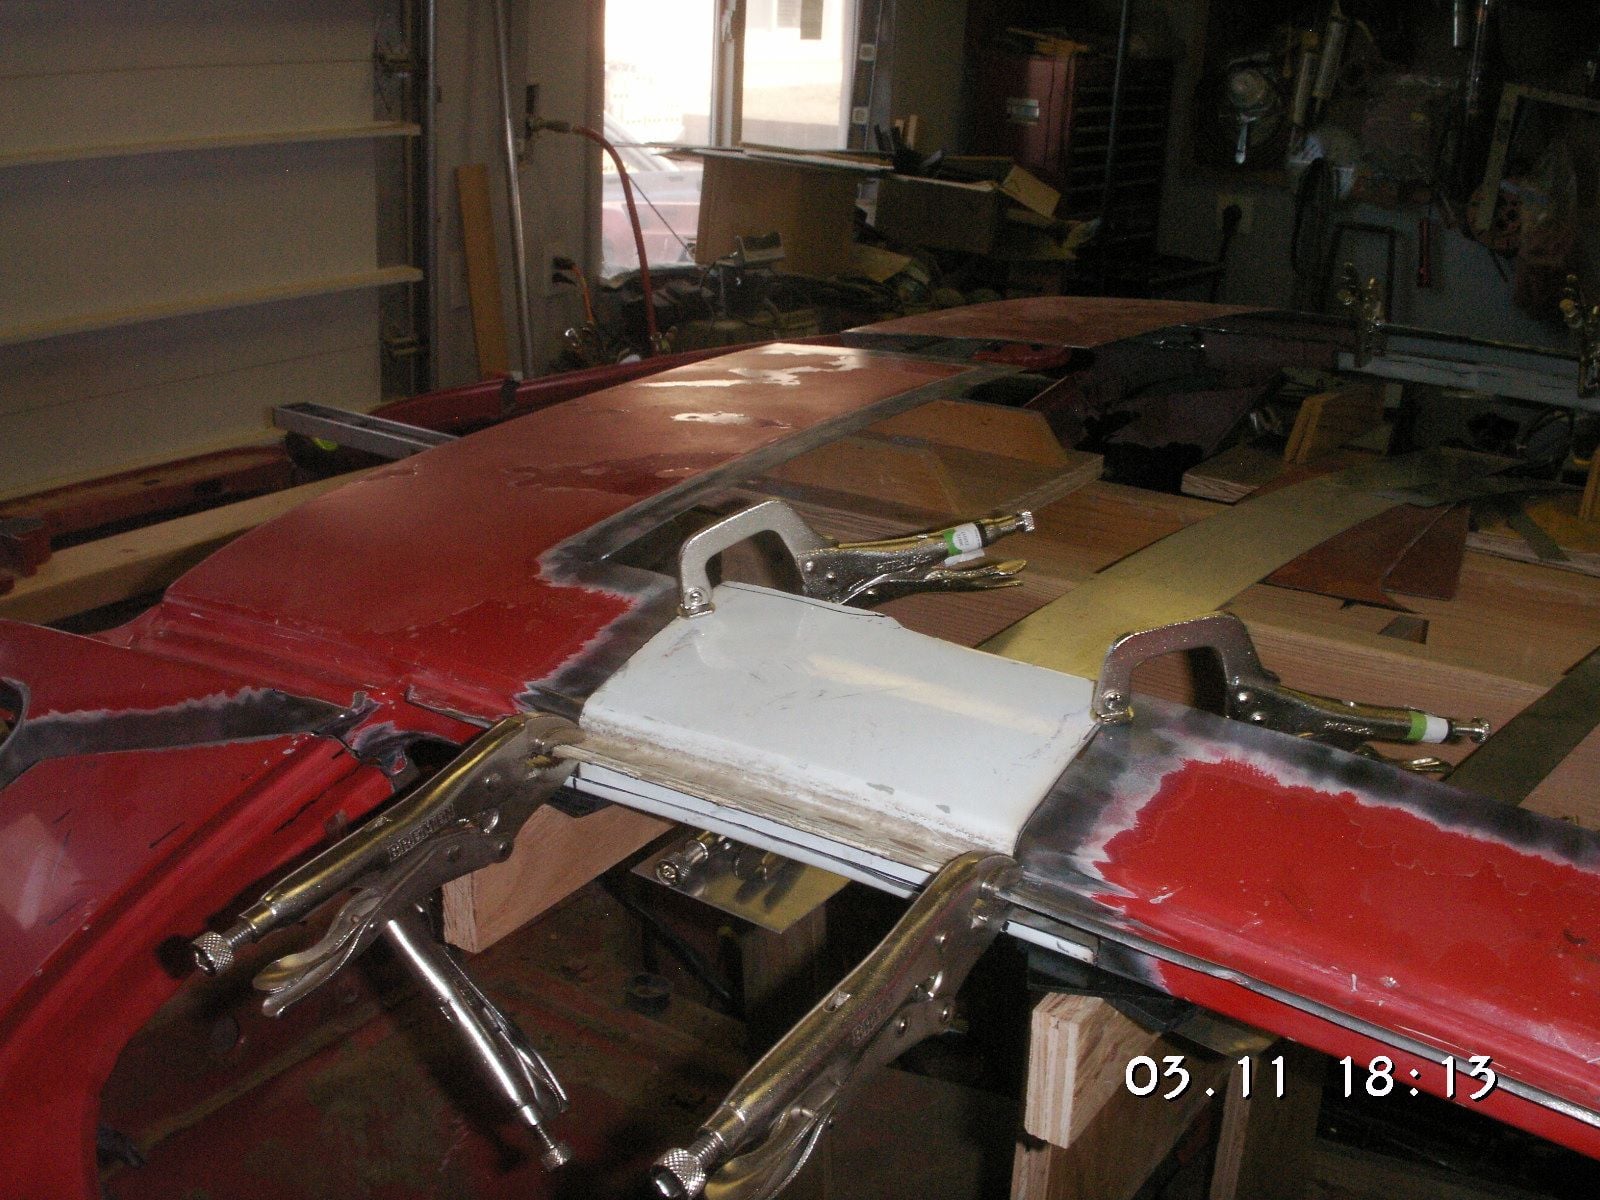
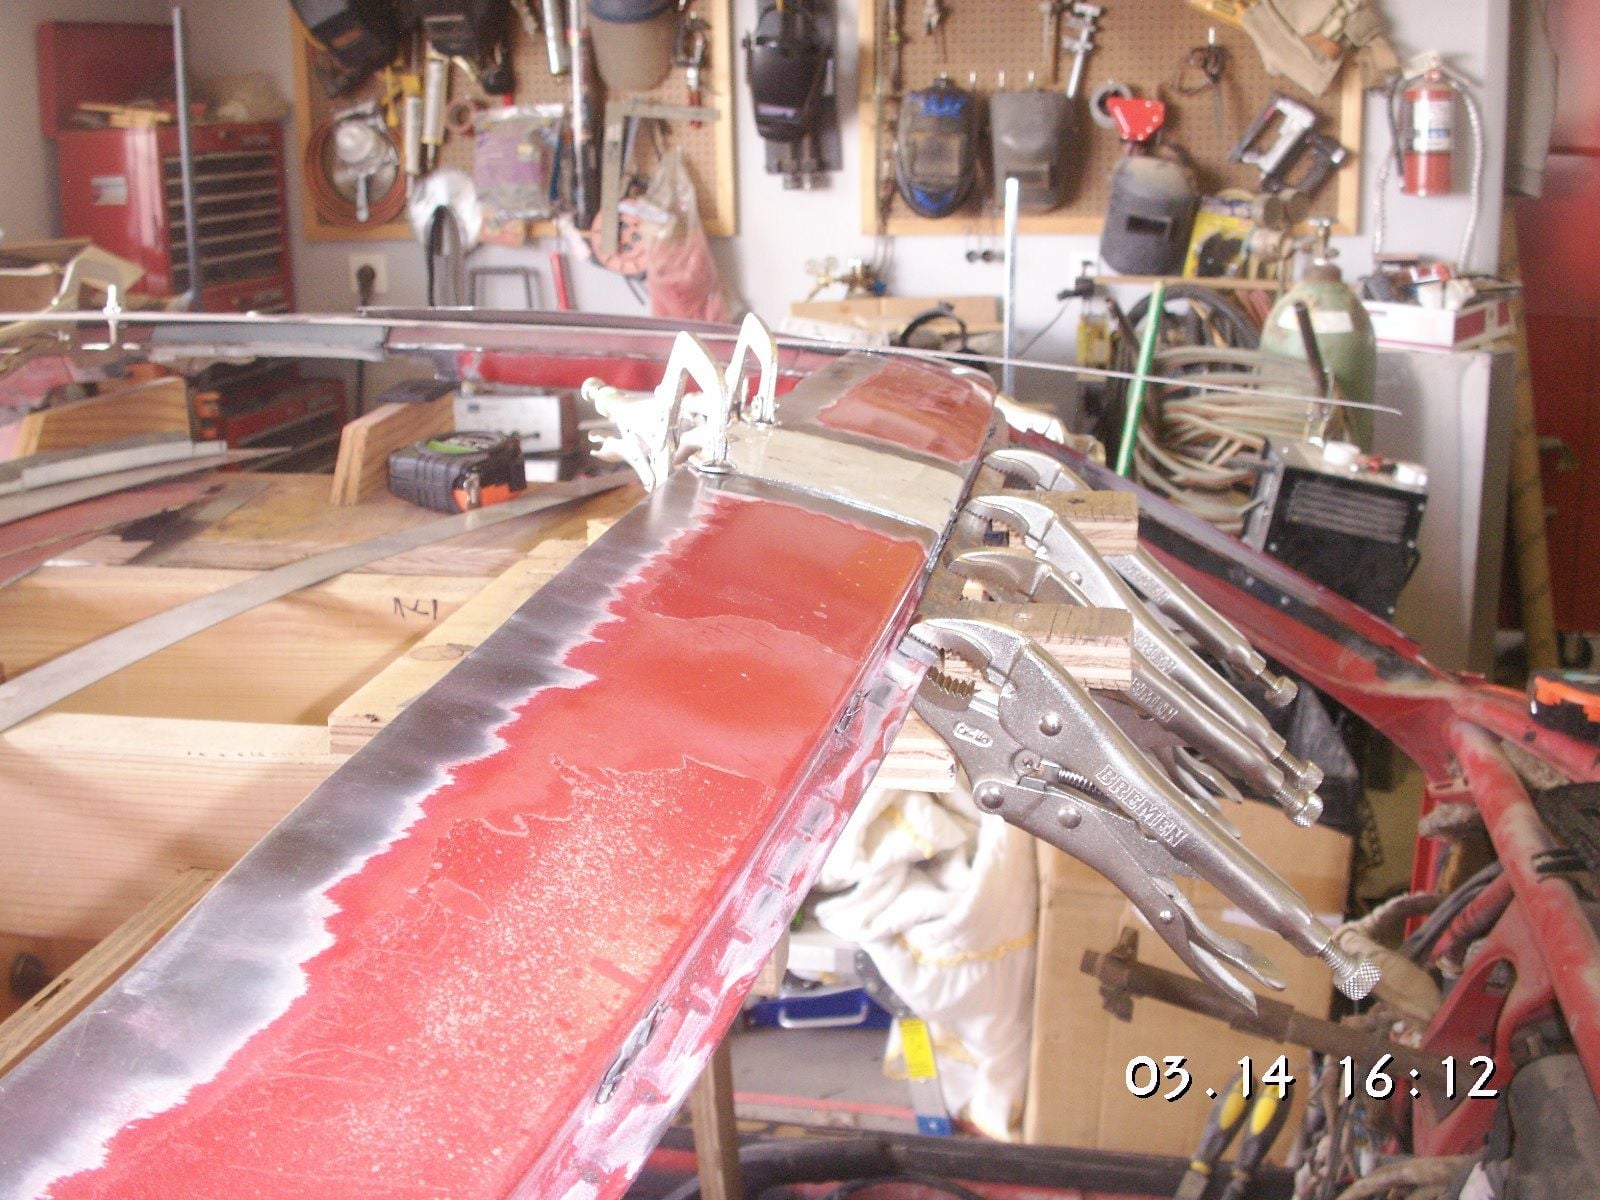
I got all 6 posts cut off of the donor roof and then it became much easier to handle. I took it into the shop and began cutting some of the gap filler patches out of it. I got about one and a half of them done. I started with the one over the driver's door and first cut the bottom channel out of the Donor roof and then fitted it. Then I matched it back to its cut exactly and then marked and cut out the outer part of the patch.
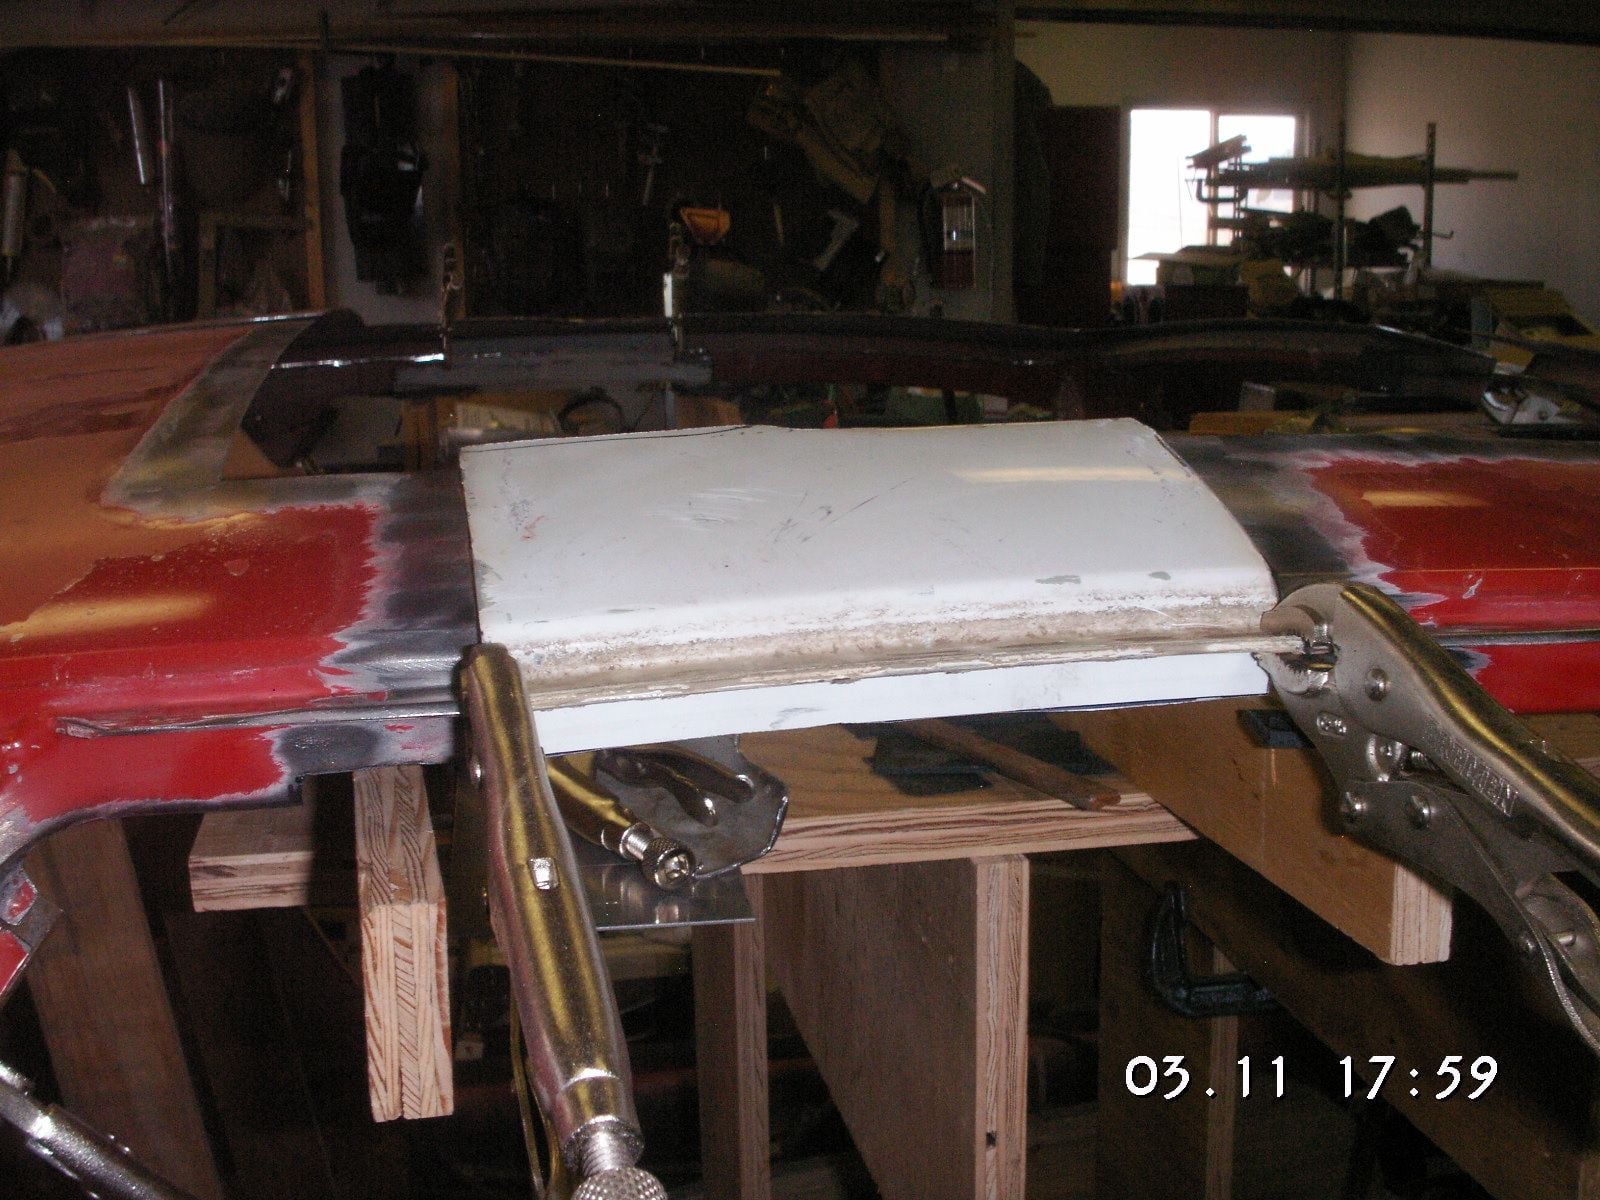
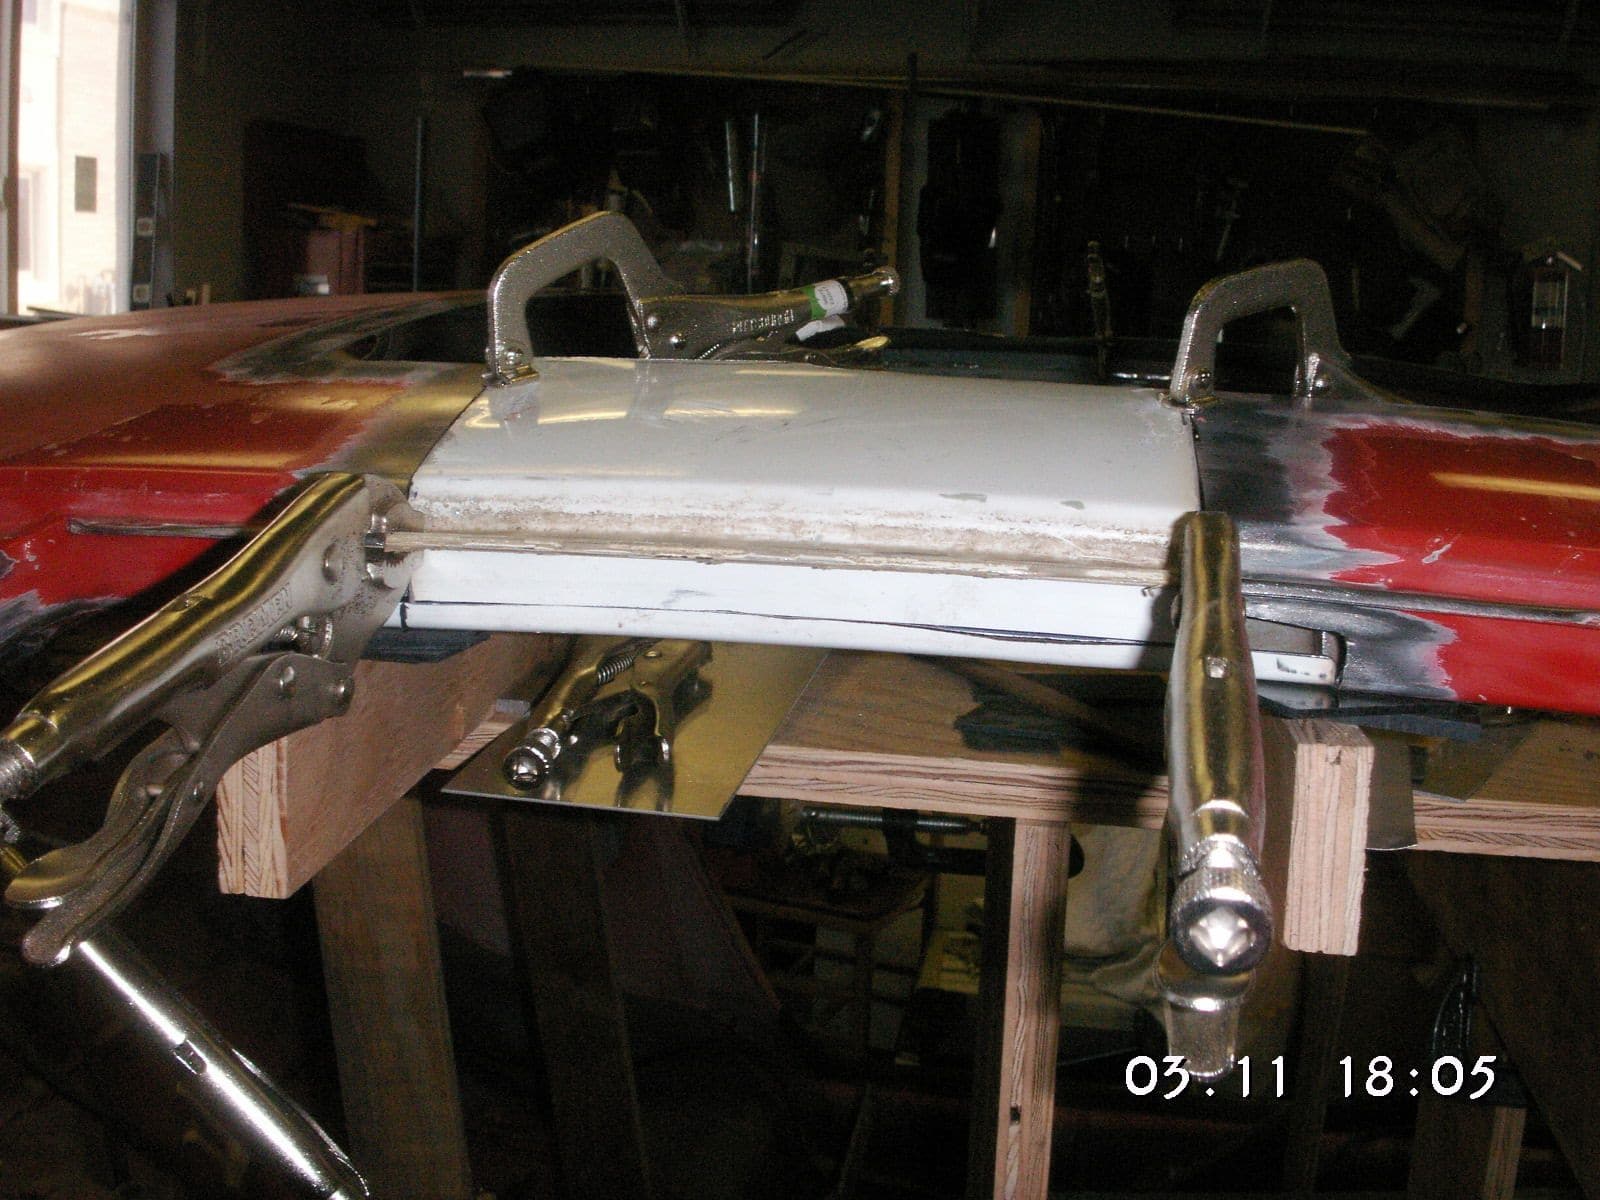
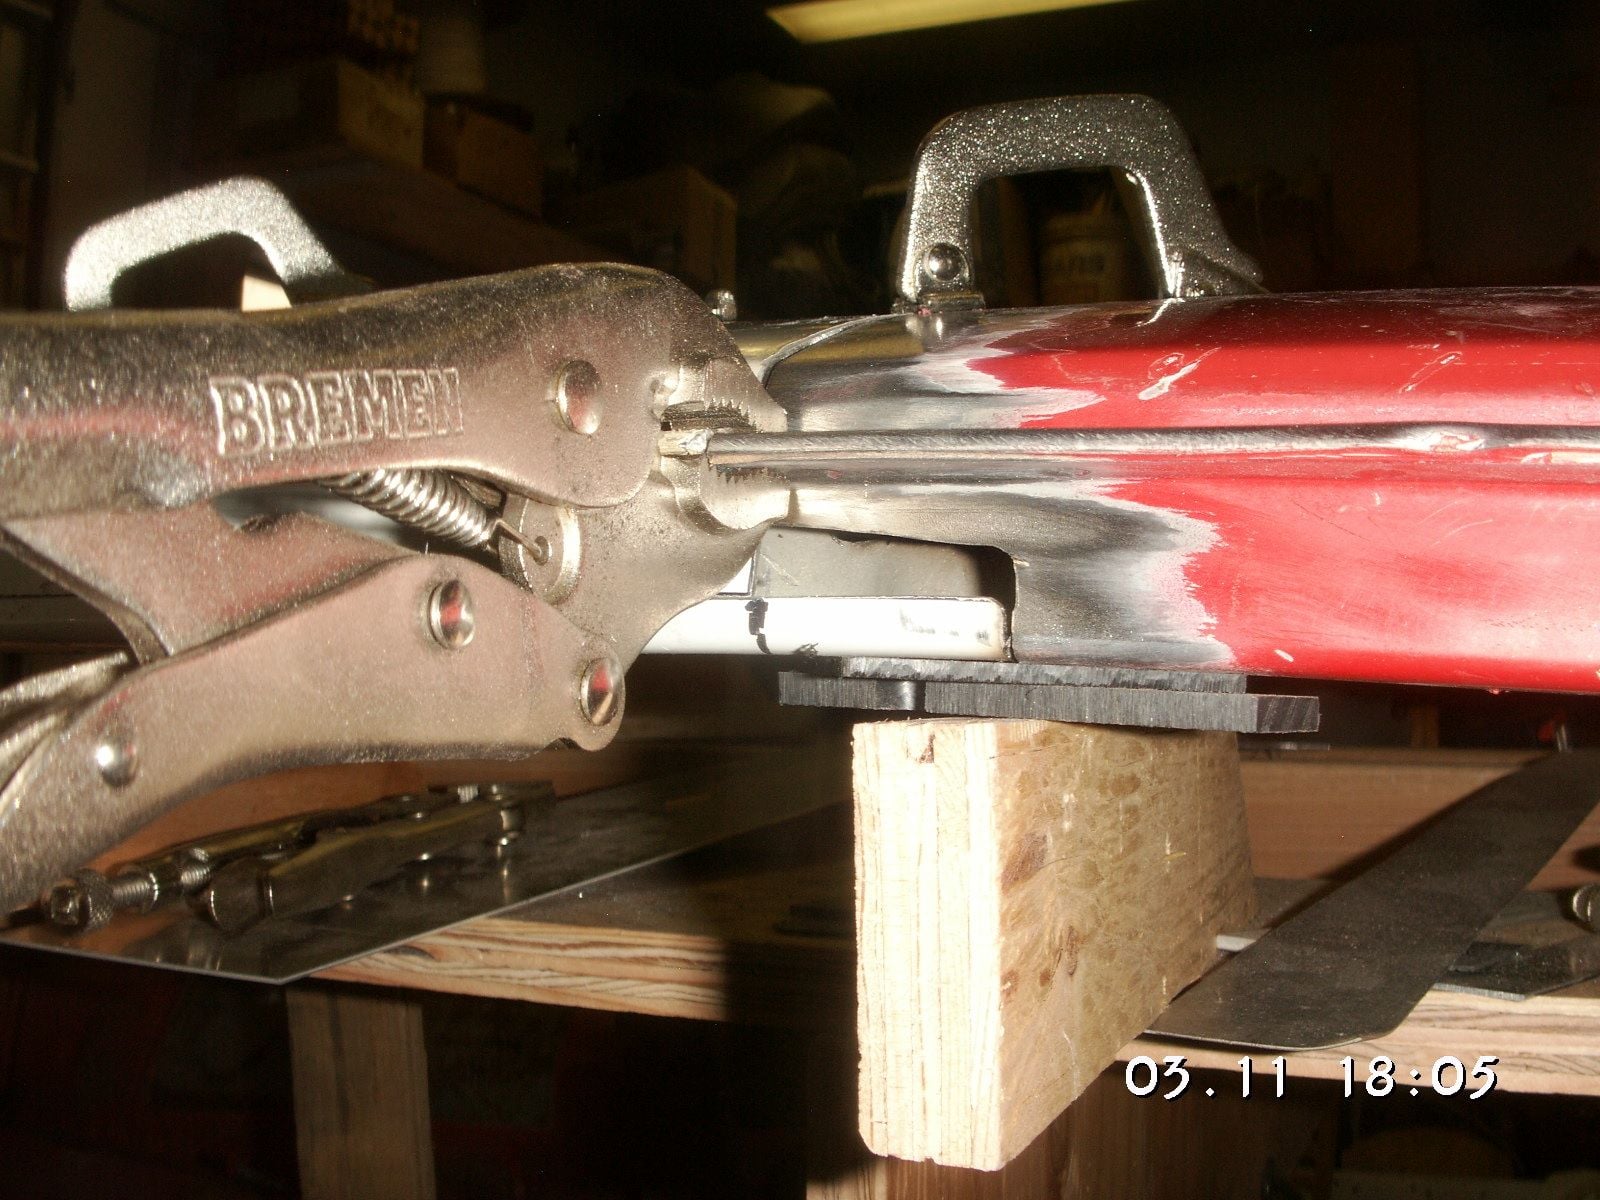
Once these parts are cut out they have to be trimmed to fit as closely as possible and they have to have their curvature changed to match what is needed for the new roof.
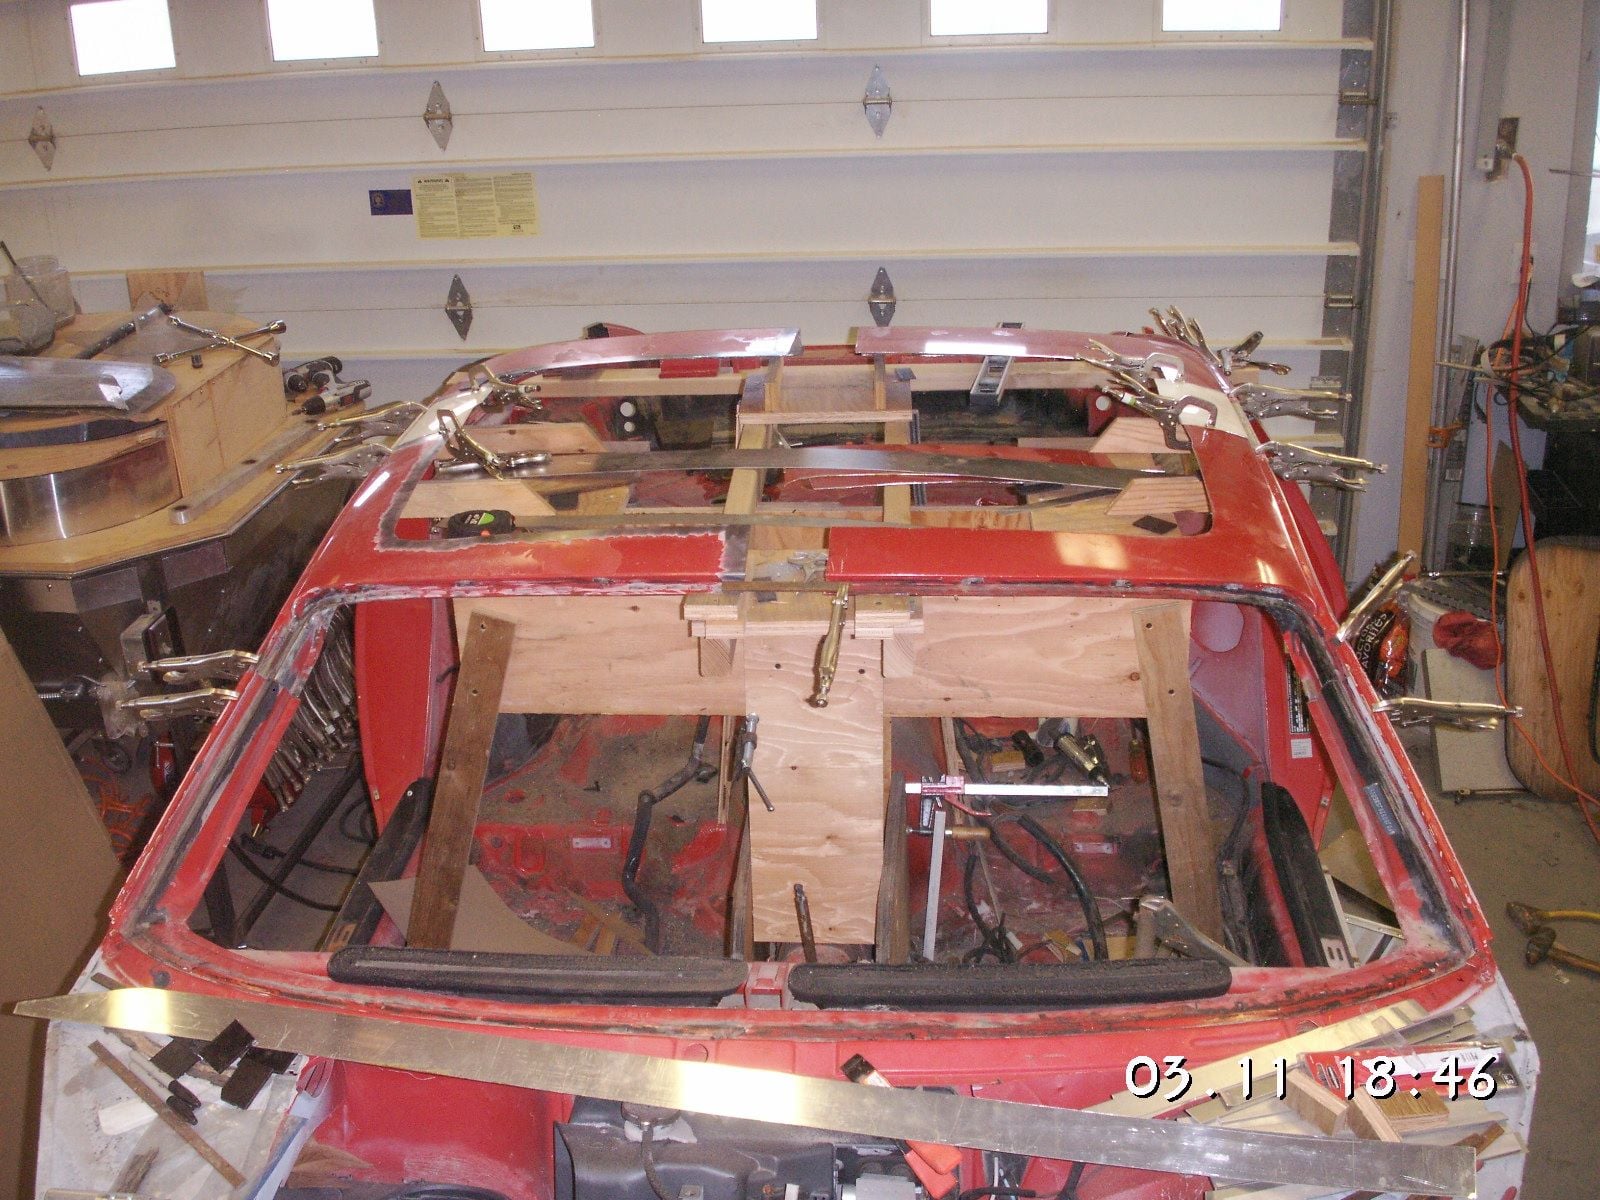
It is a real chore to do this fitting of the patches and keep all four quarters of the roof in correct alignment.
Last edited by Jerry Feather; 03-12-2018 at 11:00 AM.
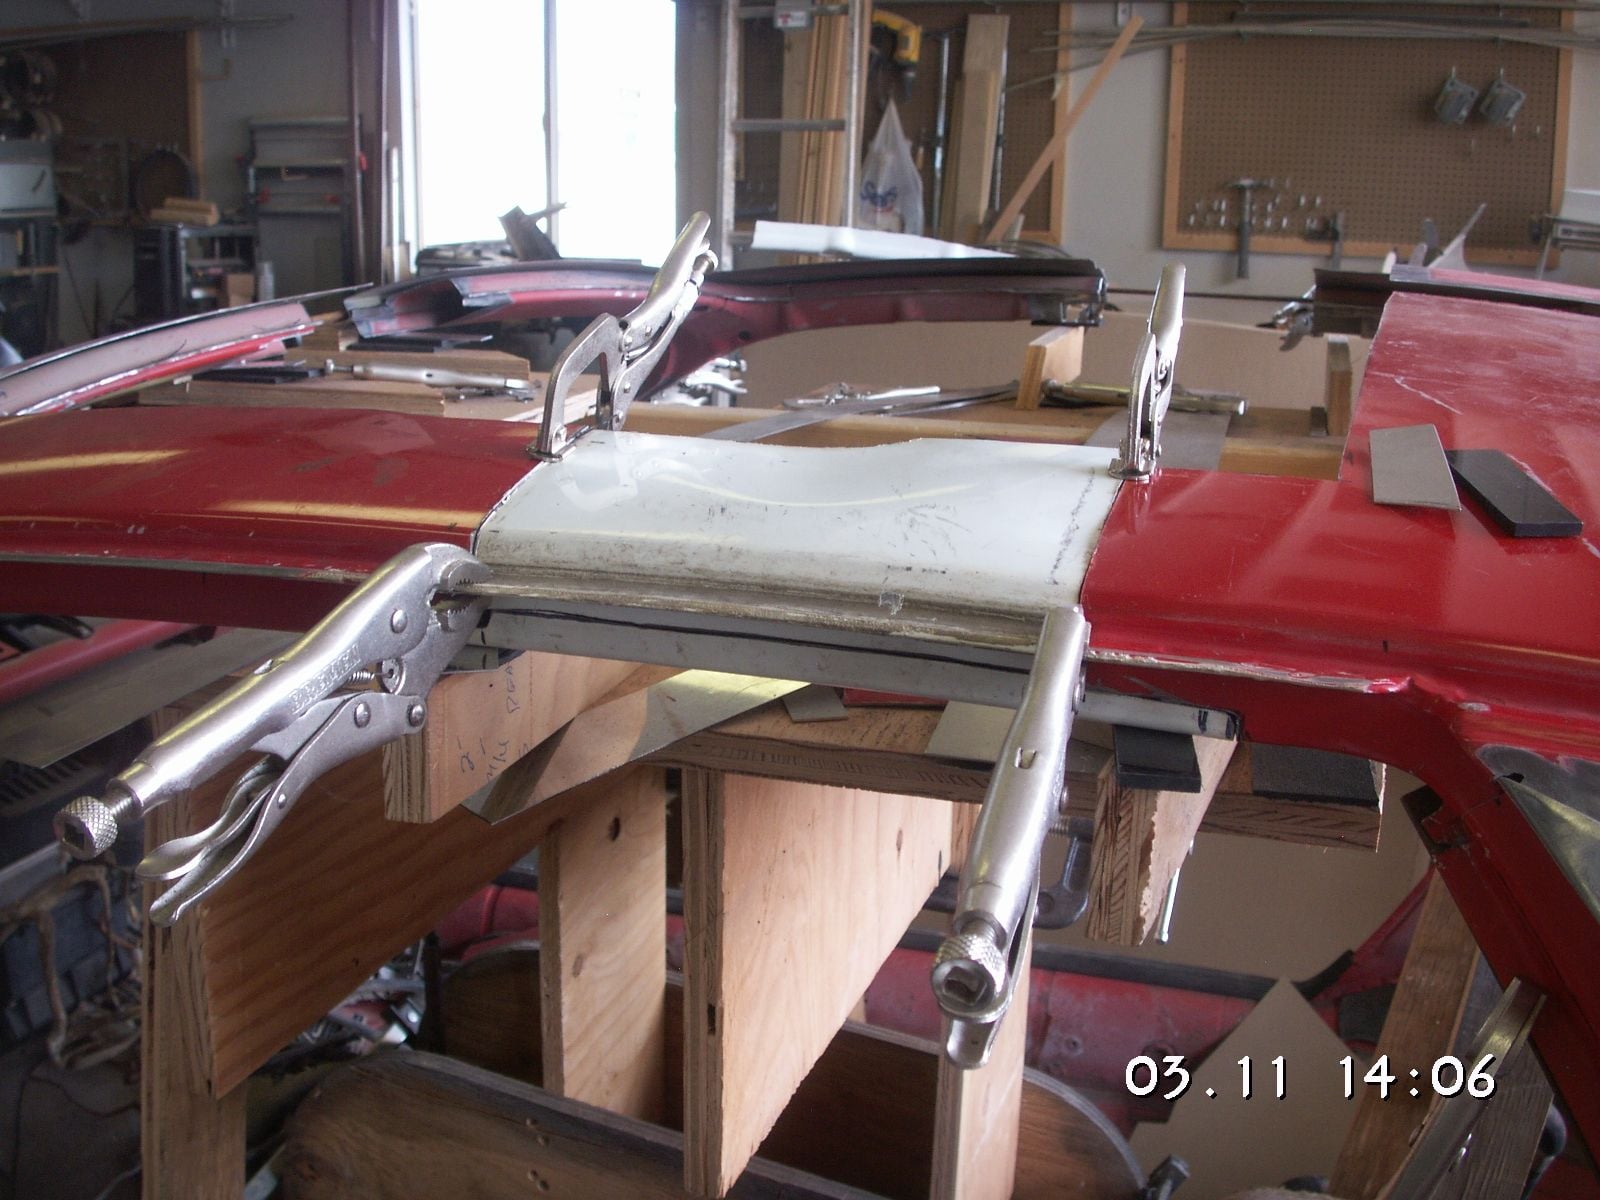
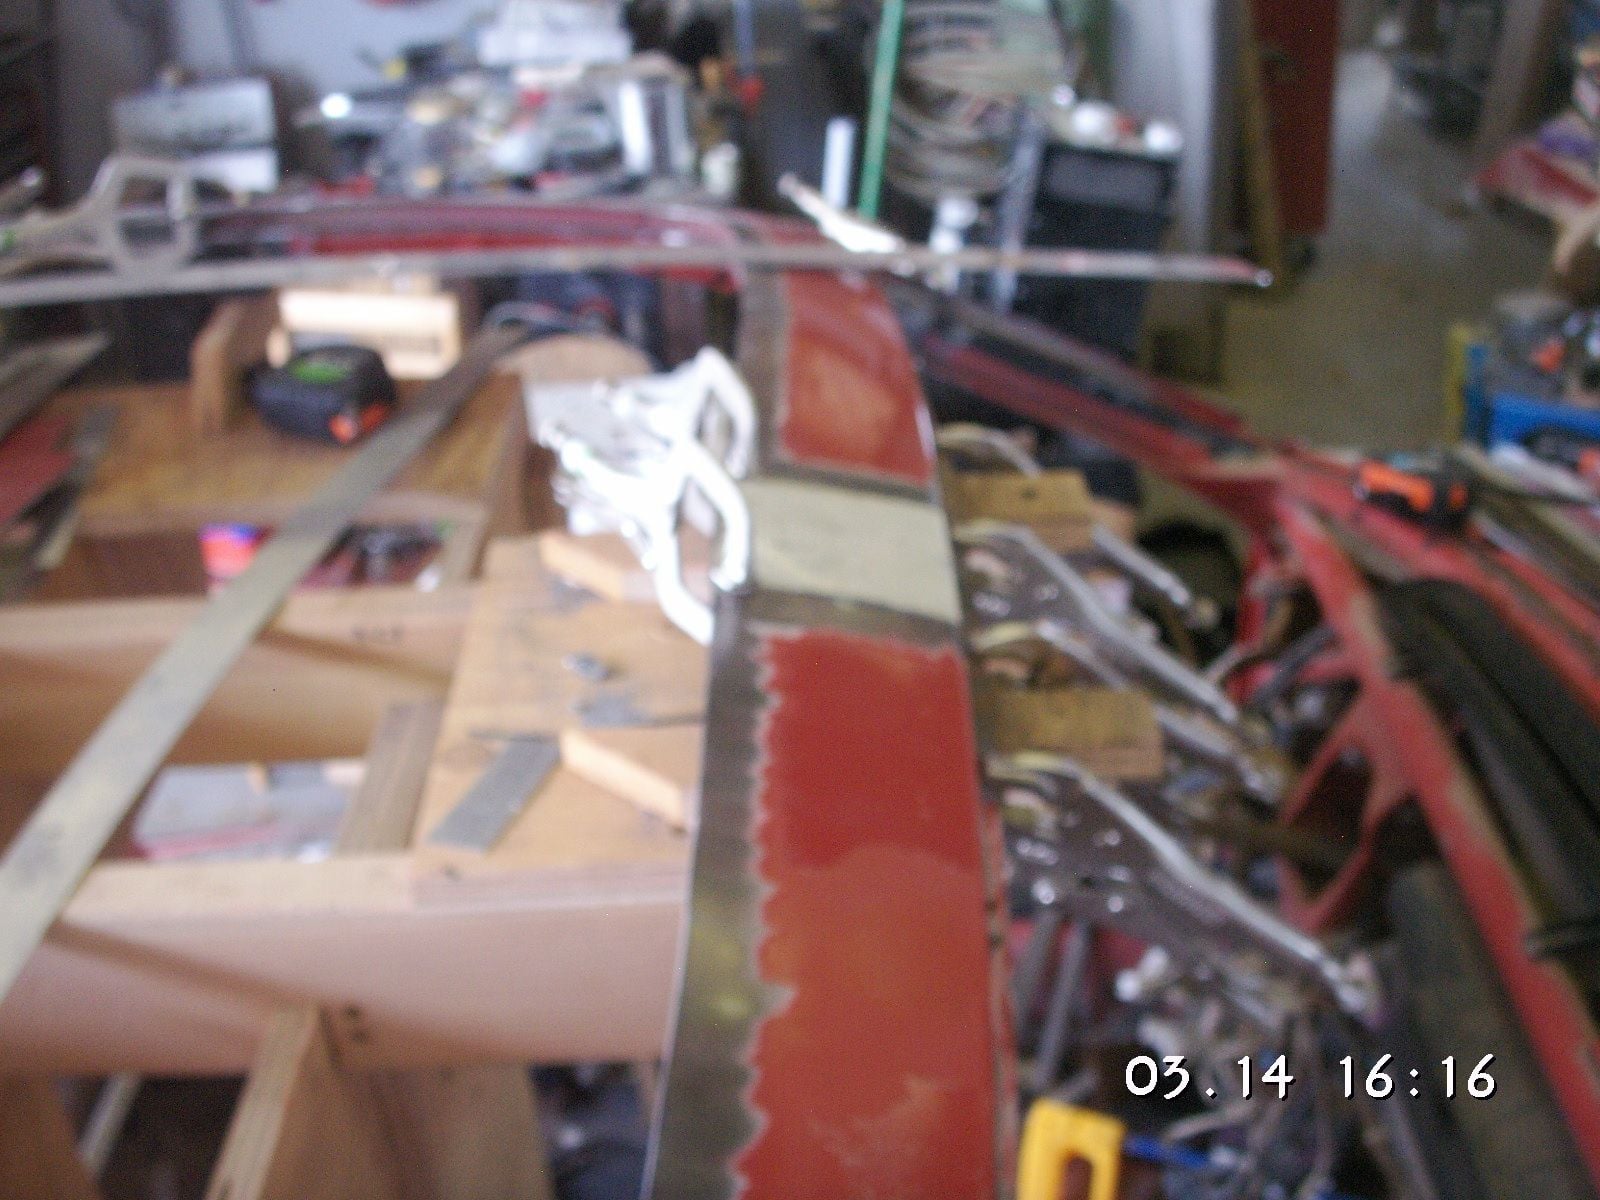
I got to go out after supper and finish the passenger side roof patch. It fits real nice. I think I might adjust the curvature a little bit more, but it is not too far off.
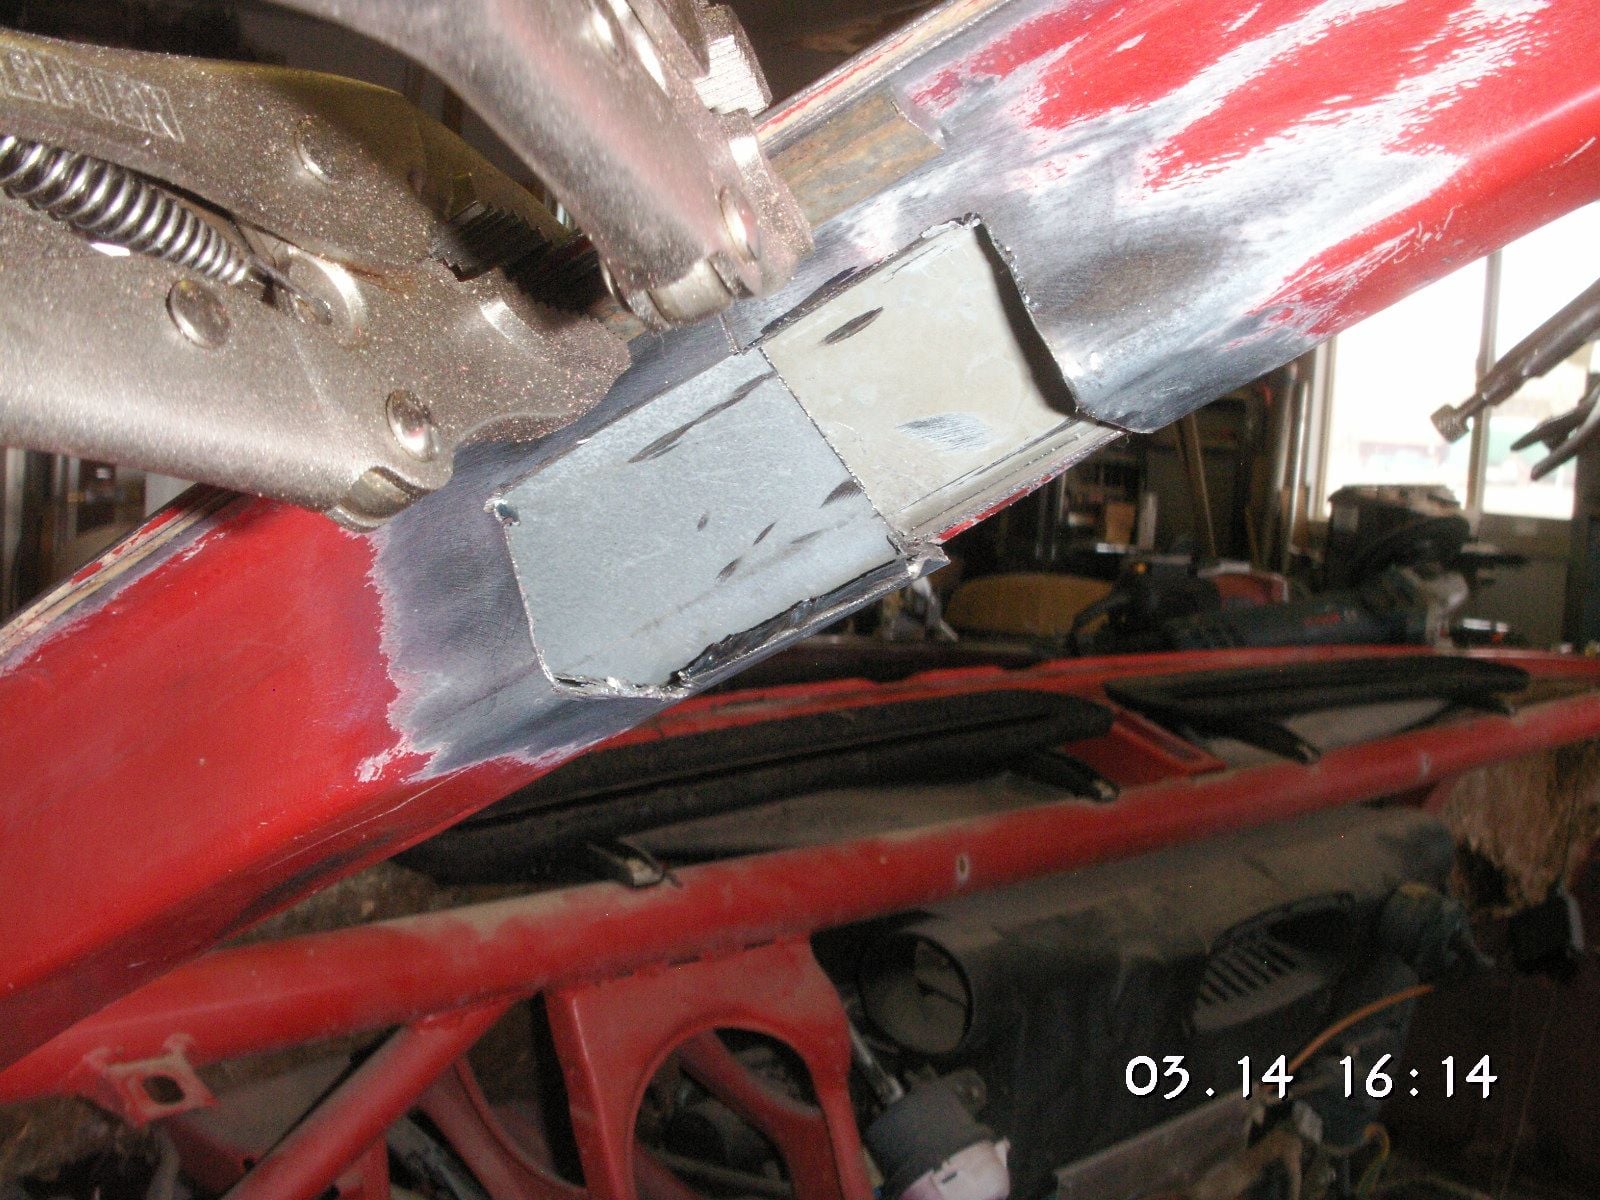
I have designed the front roof gap to take three pieces to patch it back together. The outer one, of course, will simply be the 4 inches wide to fill the gap in the skin, then the next one in will fill the gap in the top of the inner structure, finally the last one will be the one with the opening in it for the dome light. They are staggered so that I can work each of the welds without a layer of metal being in the way. I have the front of the donor roof laid out and will start cutting those patches maybe tomorrow.
Then the rear patch will be done in only one piece, but only after I figure out how I want to put some heavier structure back in there. The structure will likely be put back in from underneath after the patches are all in place waiting for the inside welding.
Last edited by Jerry Feather; 03-12-2018 at 11:45 AM.
At this point I find that the roof measures about a sixteenth of an inch taller on the passenger side from the other. I think it is in the B-Post cut. Before I progress I think I will refine that cut, and maybe the A-Post cut as well, to see if I can get the alignment correct. Also the tail of the C-Posts are not quite symmetrical in their locations, being off about an eighth of an inch. That will probably take care of itself when I get the B-Post on the passenger side correct. I don't think these corrections will affect the fit of the patch on the passenger roof, or at least not enough to matter.
Last edited by Jerry Feather; 03-13-2018 at 12:10 PM.
I spent today's work time on this project working on the joints mostly on the passenger side to get the roof even on both sides. That came out pretty well and I think I have it very close to exact, or probably as close as I am going to get it. The problem with leaving too much of an error in any given place it that the errors tend to compound themselves as you work forward. It didn't seem to have any effect on the passenger side roof patch, so we are good to go there.
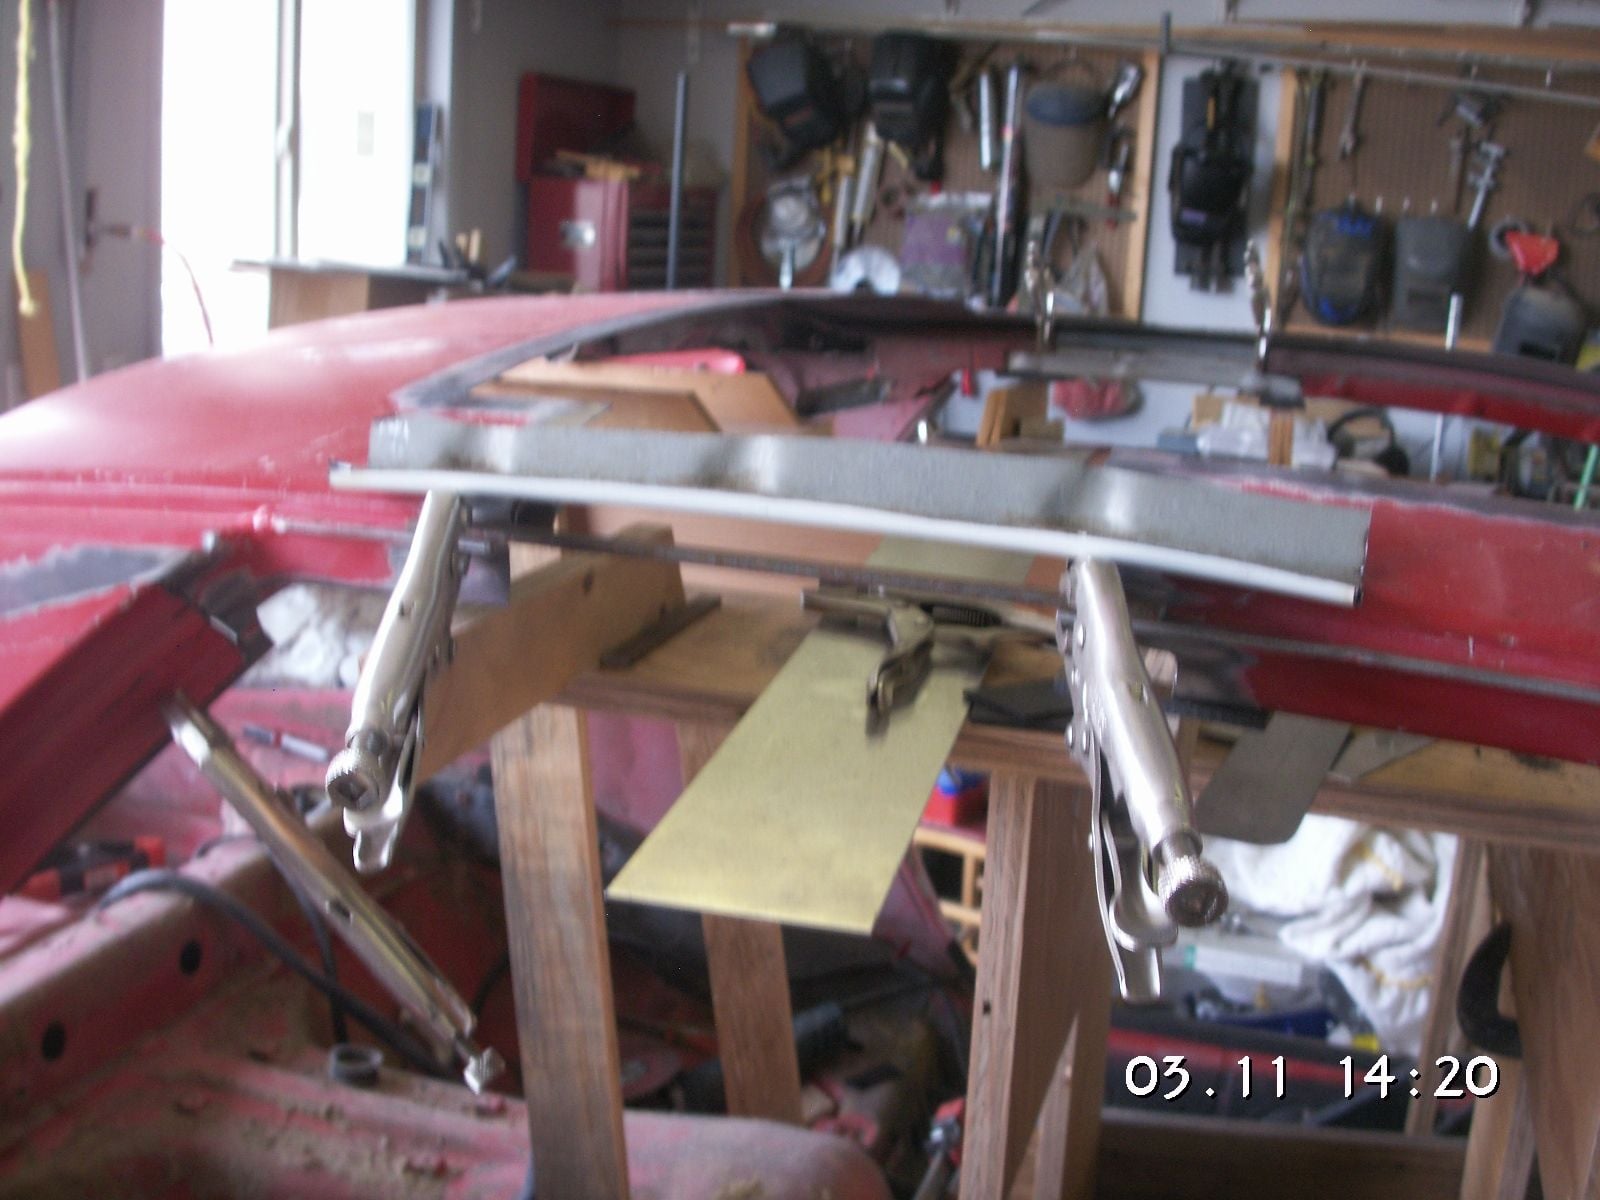
I also did some mill work on the piece of steel I want to put across the inside of the roof along the rear edge. I started with some 1 1/4 inch by 3/16 inch thick angle iron and milled one side of it down to about 5/8 inch. Then I made one edge of it thin enough to weld in spots. Now I need to figure out how to mill the back of the short edge at the correct angle to nest in the area it needs to fit. When I figure that out then I'll be able to start bending it to the correct curvature to fit. If it works out it will be welded in toward the end of the roof work. I think I'll also mill the other edge down to thin enough to weld to the sheet metal it will be laying up against.
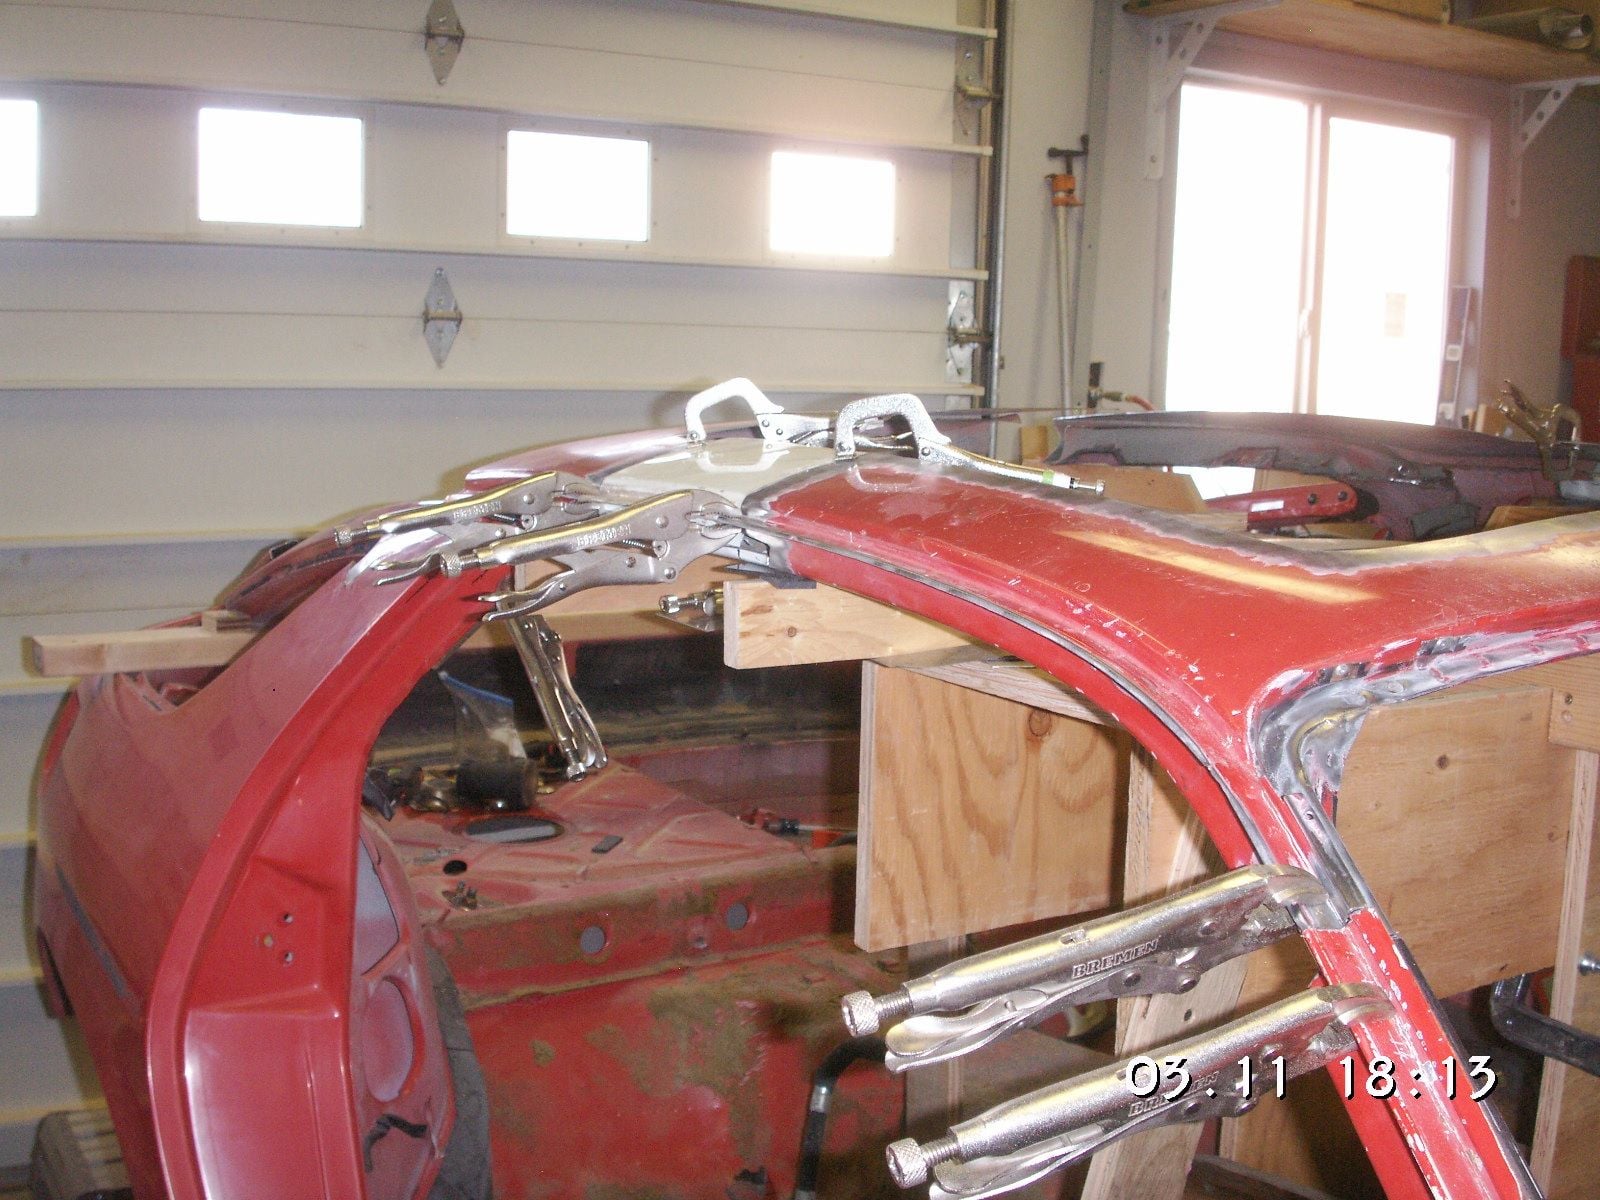
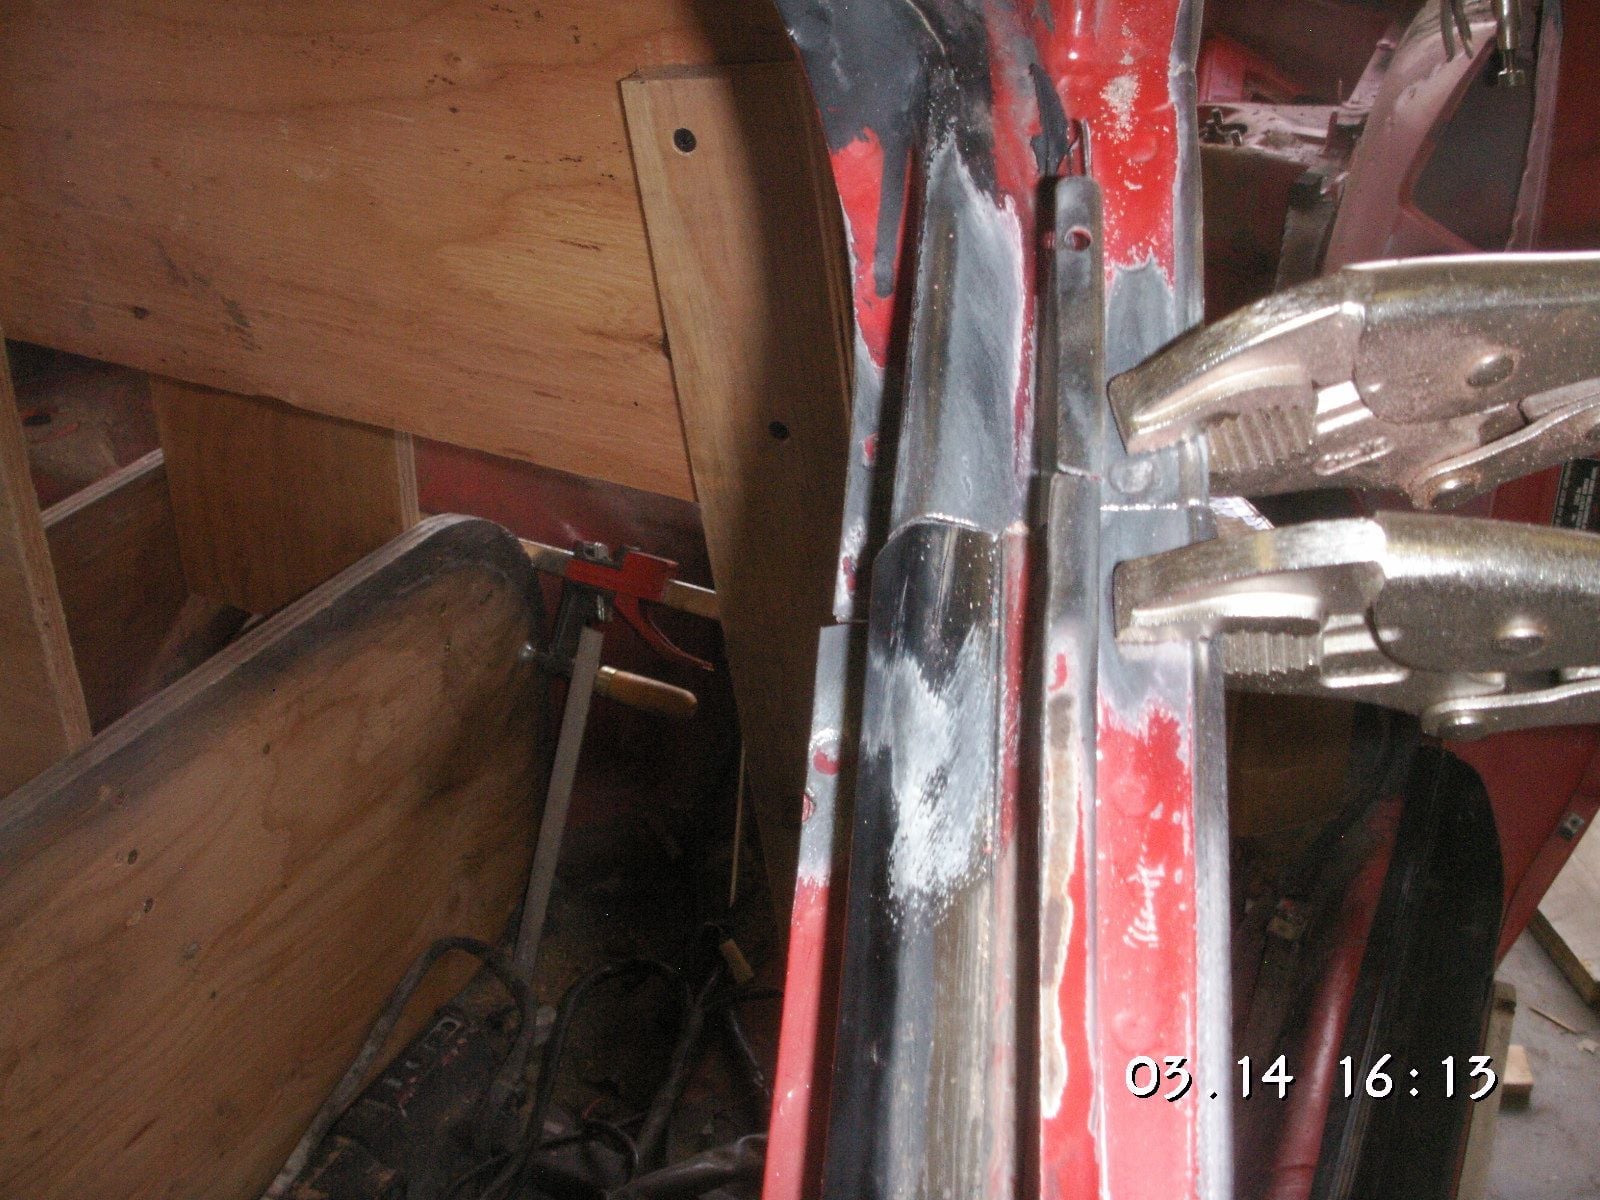
One of the things you might be able to see in some of the pictures, (but I'll take some better ones later to show what I am talking about) is that the A and B-Posts do not line up exactly. The A-Posts are tapered some and although the outer lines are the same, some of the surfaces inside do not match. I'll have to cut some slots in them in various places to be able to bend then to match for welding, then weld up the slots. As to the B-Posts, some of the same applies, but based mostly on some slight curvature at the front top of the posts. I'll be doing the same, or similar there to get them to match for welding.
After I get the front and rear gap patches in place and clamped I'll then weld the A and B-Posts. With those pretty well fixed I'll finally be able to start welding in the patches. When I get that done I'll be able to cut the outer tail loose and move it forward the 2.5 inches I am planning. I think I'll leave the gap flexible so I can determine for sure that I can get the quarter window rear corners to fit.
Another thing you are going to notice about this project is that the car is not going to look a lot like the photo chop picture we have been going by since it shows the tail of the car shortened by 6 inches or maybe more. In our case we are going to have only 2.5 inches and even that is going to look like much less since the rear of the wheel arches are going to be moved forward an inch. In appearance the tail is still going to look kind of long. I hope that doesn't detract too much from the overall look. I'm afraid that it might end up looking something like the second 49 Merc shown above that is chopped the most. With its roof moved forward like that it makes the rear of that car look much like the tail of a comet - - it is way too long.
Counterpoint: Jerry's Comet would be a really cool name for this beast
Originally Posted by Jerry Feather
Another thing you are going to notice about this project is that the car is not going to look a lot like the photo chop picture we have been going by since it shows the tail of the car shortened by 6 inches or maybe more. In our case we are going to have only 2.5 inches and even that is going to look like much less since the rear of the wheel arches are going to be moved forward an inch. In appearance the tail is still going to look kind of long. I hope that doesn't detract too much from the overall look. I'm afraid that it might end up looking something like the second 49 Merc shown above that is chopped the most. With its roof moved forward like that it makes the rear of that car look much like the tail of a comet - - it is way too long.
I agree 100% that the tail is WAY too long, as well as the side glass.
Most sport cars have their side-glass end right at the rear axle centerline.
Something else to consider is the humongous rear-hatch glass, and make it taper inward at the bottom to give it a 'big shoulders, little waist' look. I think that would really help make the rear of the 928 look sexier.
The rear quarter windows are going to be reduced substantially in size, and that will balance well with the lower door windows. However, I think that is also going to add to the resulting long look of the tail of the car. Where the tail-ends of the C-Posts fall is pretty much dictating where the rear of the car ends up. What we will see is what we will get. As to the hatch window, that and the hood are the two components of this project that will go unmolested. The hatch will change quite a bit, but not the glass. The hatch header panel is going to be about 6 inches narrower (from front to back) and the C-Post aspect of the hatch will be about 2 to 2 1/2 inches wider than original in order to fill the new space between the window and the new C-Post locations. the tail end of the hatch will also be about 2 to 2 1/2 inches farther aft from the outer rear corners of the hatch body. I'm real anxious to see how that is going to look.
We will be working on the hatch after the 6 roof posts are fixed in place and the outer welds are fully made; maybe even before the big hole in the roof is filled in.
Last edited by Jerry Feather; 03-13-2018 at 10:19 PM.
I was going to work on the front roof gap patches, but got distracted with double checking my fitting and then began cleaning up some of the other cut edges where the paint must be removed before welding. That took a couple of hours, but it also helped to show that the pieces of roof can be taken off and put back where they belong which is a great advantage when the final assembly starts.
Maybe tomorrow I 'll get the front patches made and maybe even the rear center patch.
Then I think I have figured out how to set my mill up to mill the rear edge roof stiffener to the desired shape. I'll work on that some in the next day or two.
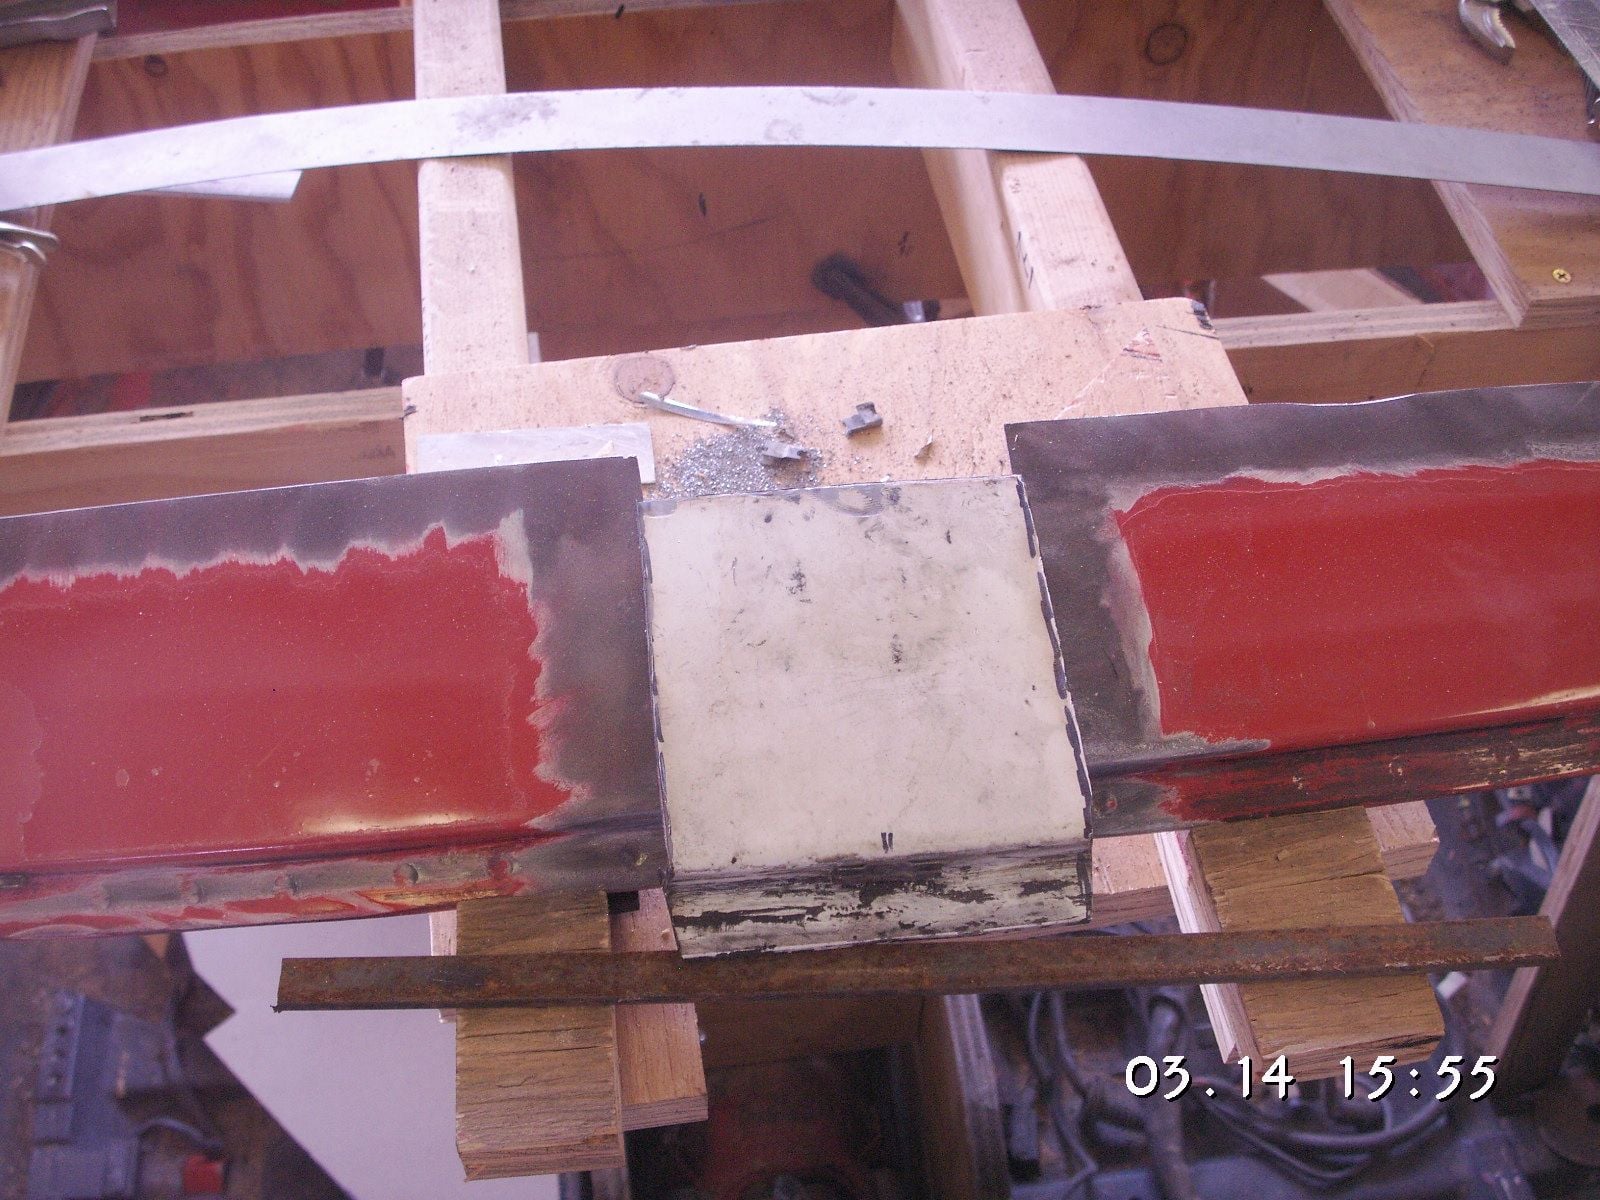
This afternoon I got the front center outer patch cut and fit in place. I think it will make the top edge curve very nice and hopefully it will match the new edge of the window. I also have the two inner parts of that patch roughed out, but I'll have to wait until I clear out the inside and start welding on the insides of the joints and patches before I trim those to fit.
I also worked on the tail ends of the C-Posts to even them up with each other to help get ready for the cutting to shorten the tail of the car.
(edit): I see in the photos that the front roof patch is actually about a quarter of an inch wider, front to back, than the mating edges of the original roof. I have been pretty careful to preserve the edges of these two pieces of roof, in particular, since there needs to be as much original roof there as possible, so the conclusion is that the sunroof in the white car was not located in the same position as the one in our subject car. I wouldn't have expected that much variation is the cars as produced.
Last edited by Jerry Feather; 03-15-2018 at 12:30 PM.
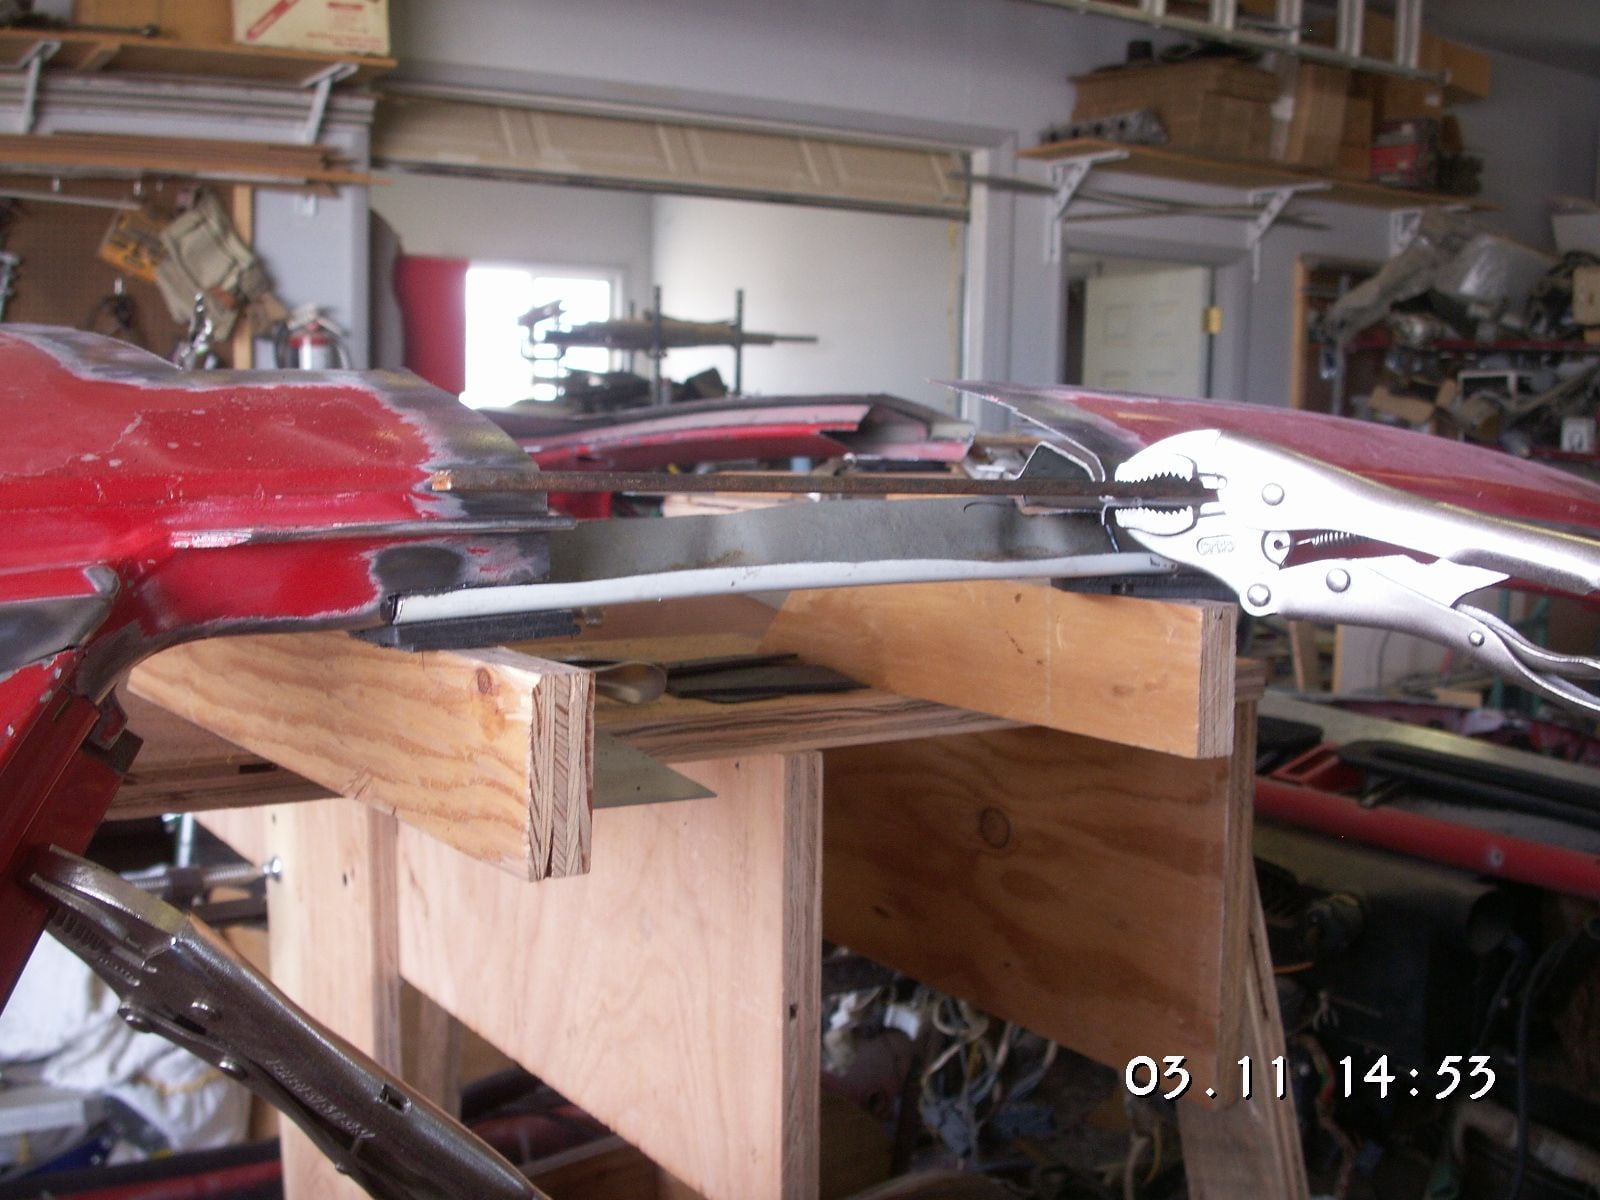
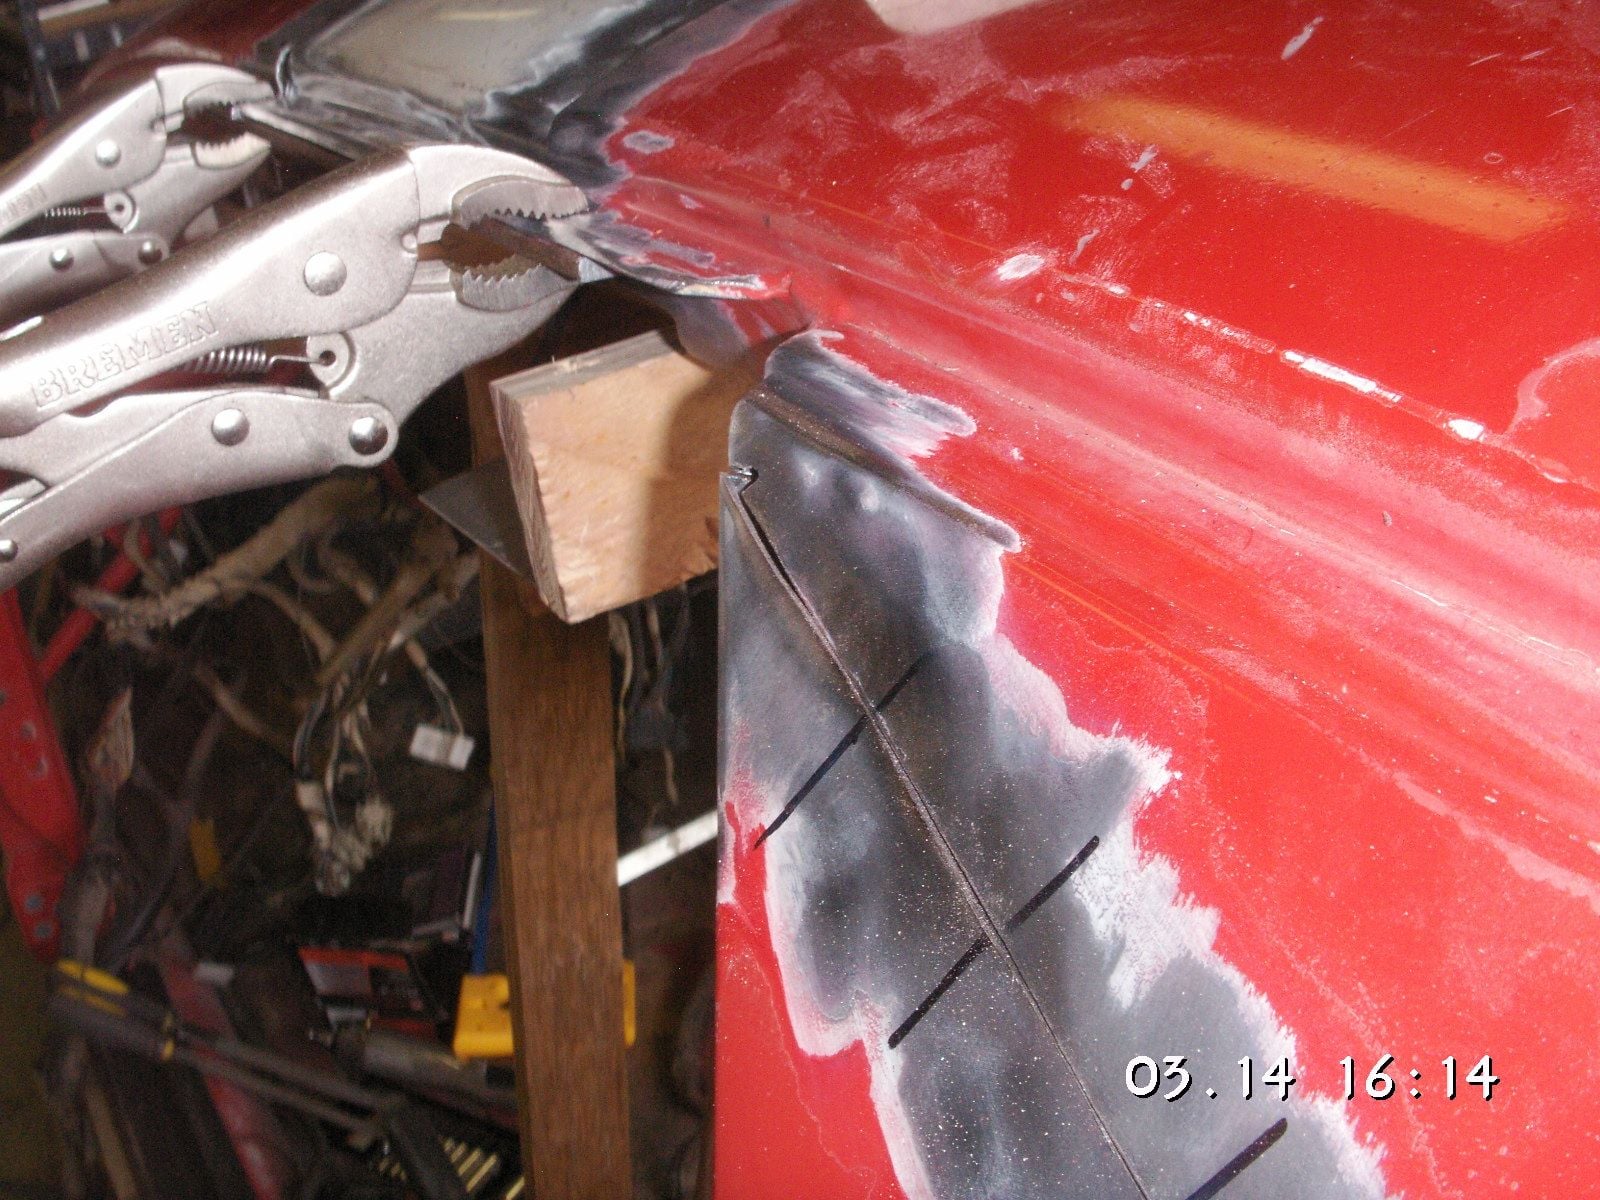
Here are a couple of pictures I promised which show the slight difference in the otherwise mating surfaces where the A- and B-Posts have been chopped. You have to look closely to see the displaced edges. I'll be cutting some slots longways near these in order to bend them into better alignment.
Last edited by Jerry Feather; 03-15-2018 at 12:01 PM.

 03-11-2018, 06:48 PM