
A fungus amung us, instrument cluster pics
 09-15-2015, 11:45 PM
#1
You can call me Otis
Rennlist Member
Rennlist Member
Thread Starter
Join Date: Feb 2013
Location: Terre Haute, Indiana
Posts: 6,662
Likes: 0
Received 10 Likes
on
10 Posts
It was not untill last weekend that I realized that the inst cluster is not supposed to be textured.
The PICS are of two different clusters.
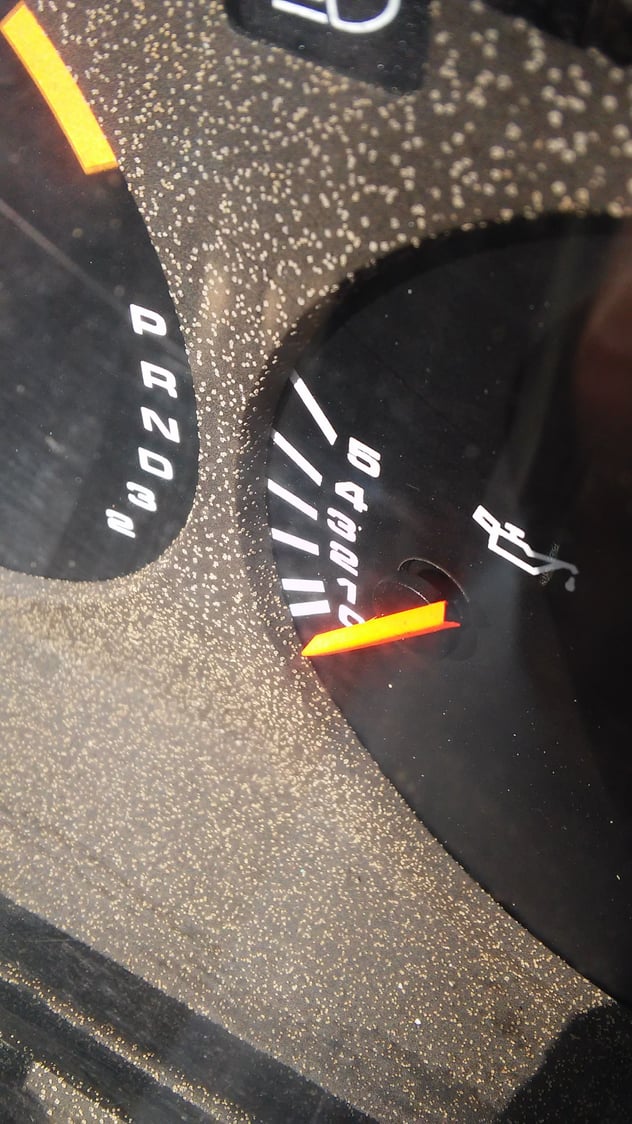
Mold?<br/>
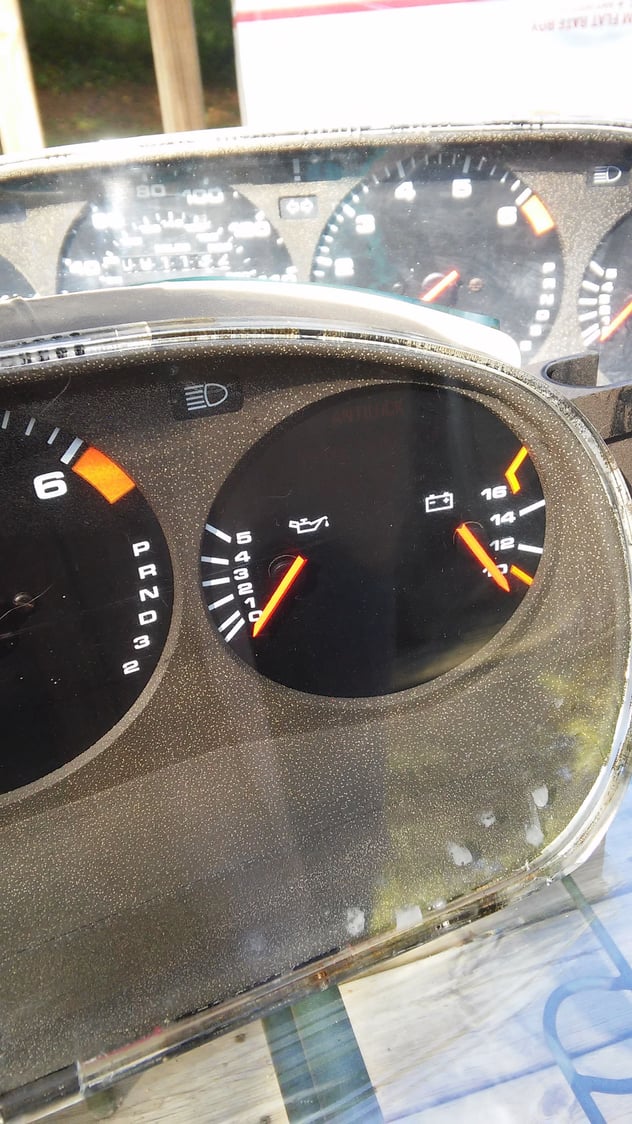
What are these spots?
The PICS are of two different clusters.

Mold?<br/>

What are these spots?


 09-16-2015, 12:35 PM
#6
Addict
Rennlist Member
Rennlist Member
Dust mites. 
And they're coming for YOU!

BTW, if you like them, they're available in stuffy form for your kids, too!:

And they're coming for YOU!
BTW, if you like them, they're available in stuffy form for your kids, too!:
09-16-2015, 07:27 PM
#7
Rennlist Member
That's normal texture on a 1982

Trending Topics
09-16-2015, 10:54 PM
#9
Rennlist Member
 09-17-2015, 02:39 PM
#11
Instructor
Join Date: Feb 2011
Location: hurleyville,NY
Posts: 228
Likes: 0
Received 0 Likes
on
0 Posts
It will come off with cleaner. mine was equally as bad. I used purple power watered down. it did take time but looks like new now no paint needed. hardest part was getting the lens off (be careful) good luck
here is a pic after in and old post of mine
https://rennlist.com/forums/928-foru...eed-lsd-4.html
here is a pic after in and old post of mine
https://rennlist.com/forums/928-foru...eed-lsd-4.html
 09-18-2015, 11:23 AM
#13
Rennlist Member

Join Date: May 2012
Location: 88 928 S4 in Dallas, TX
Posts: 319
Likes: 0
Received 2 Likes
on
2 Posts
W126 Model S Class Mercedes suffer from the same thing. I thought it was fungus too. You can in there and clean it but it's a PITA. I've used bleach mix with good results.
09-18-2015, 11:36 AM
#14
You can call me Otis
Rennlist Member
Rennlist Member
Thread Starter
Join Date: Feb 2013
Location: Terre Haute, Indiana
Posts: 6,662
Likes: 0
Received 10 Likes
on
10 Posts
I'm gonna experiment with the spare I have.
I think what I will do is use a scotch brite pad to knock down the organic texture, and then give it a good dose of plastidip.
If I get home early enough today I should have some pics of the procedure and results posted here tonight.
I think what I will do is use a scotch brite pad to knock down the organic texture, and then give it a good dose of plastidip.
If I get home early enough today I should have some pics of the procedure and results posted here tonight.
09-18-2015, 10:37 PM
#15
You can call me Otis
Rennlist Member
Rennlist Member
Thread Starter
Join Date: Feb 2013
Location: Terre Haute, Indiana
Posts: 6,662
Likes: 0
Received 10 Likes
on
10 Posts
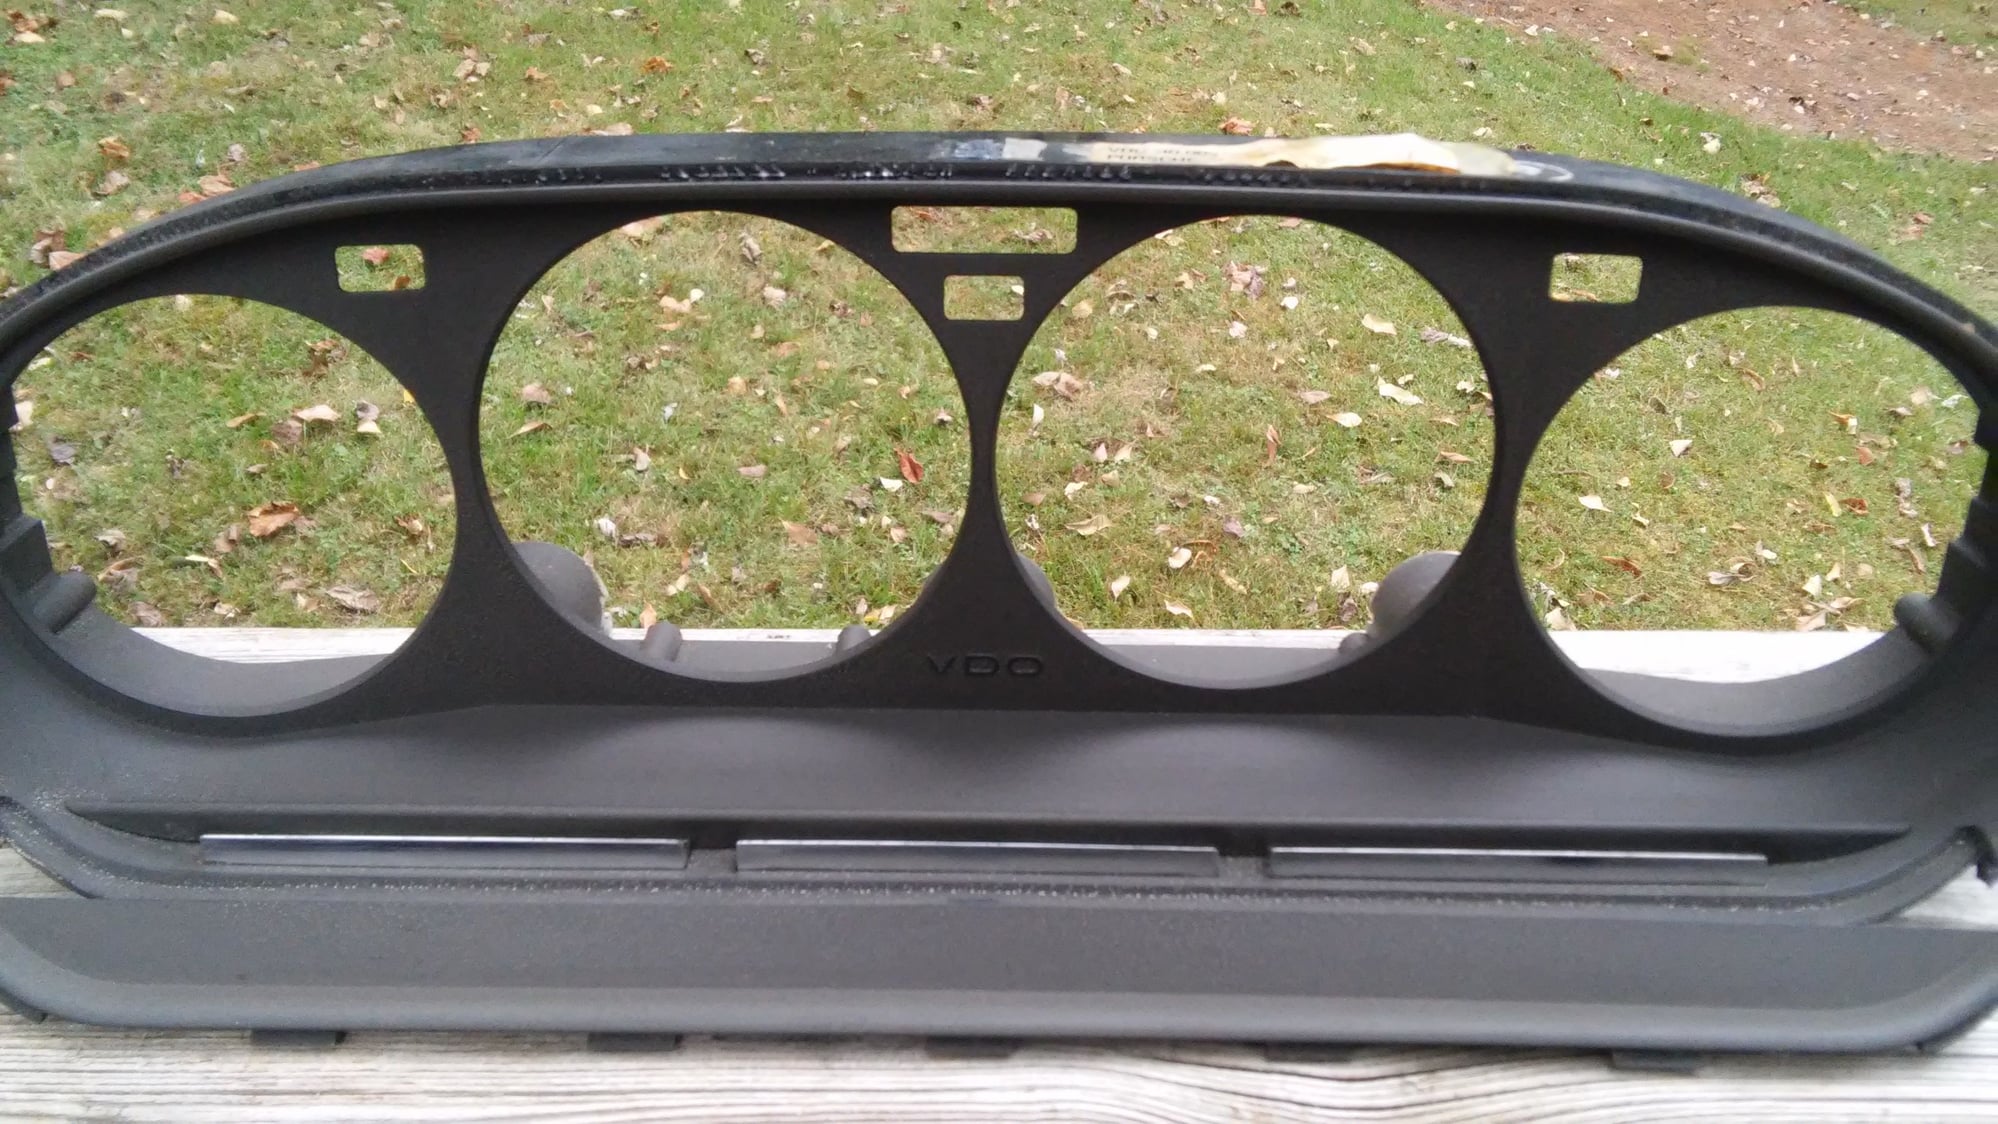
The following pics show in stages how I removed the fungus/mold type texture of the gauge cluster surround.
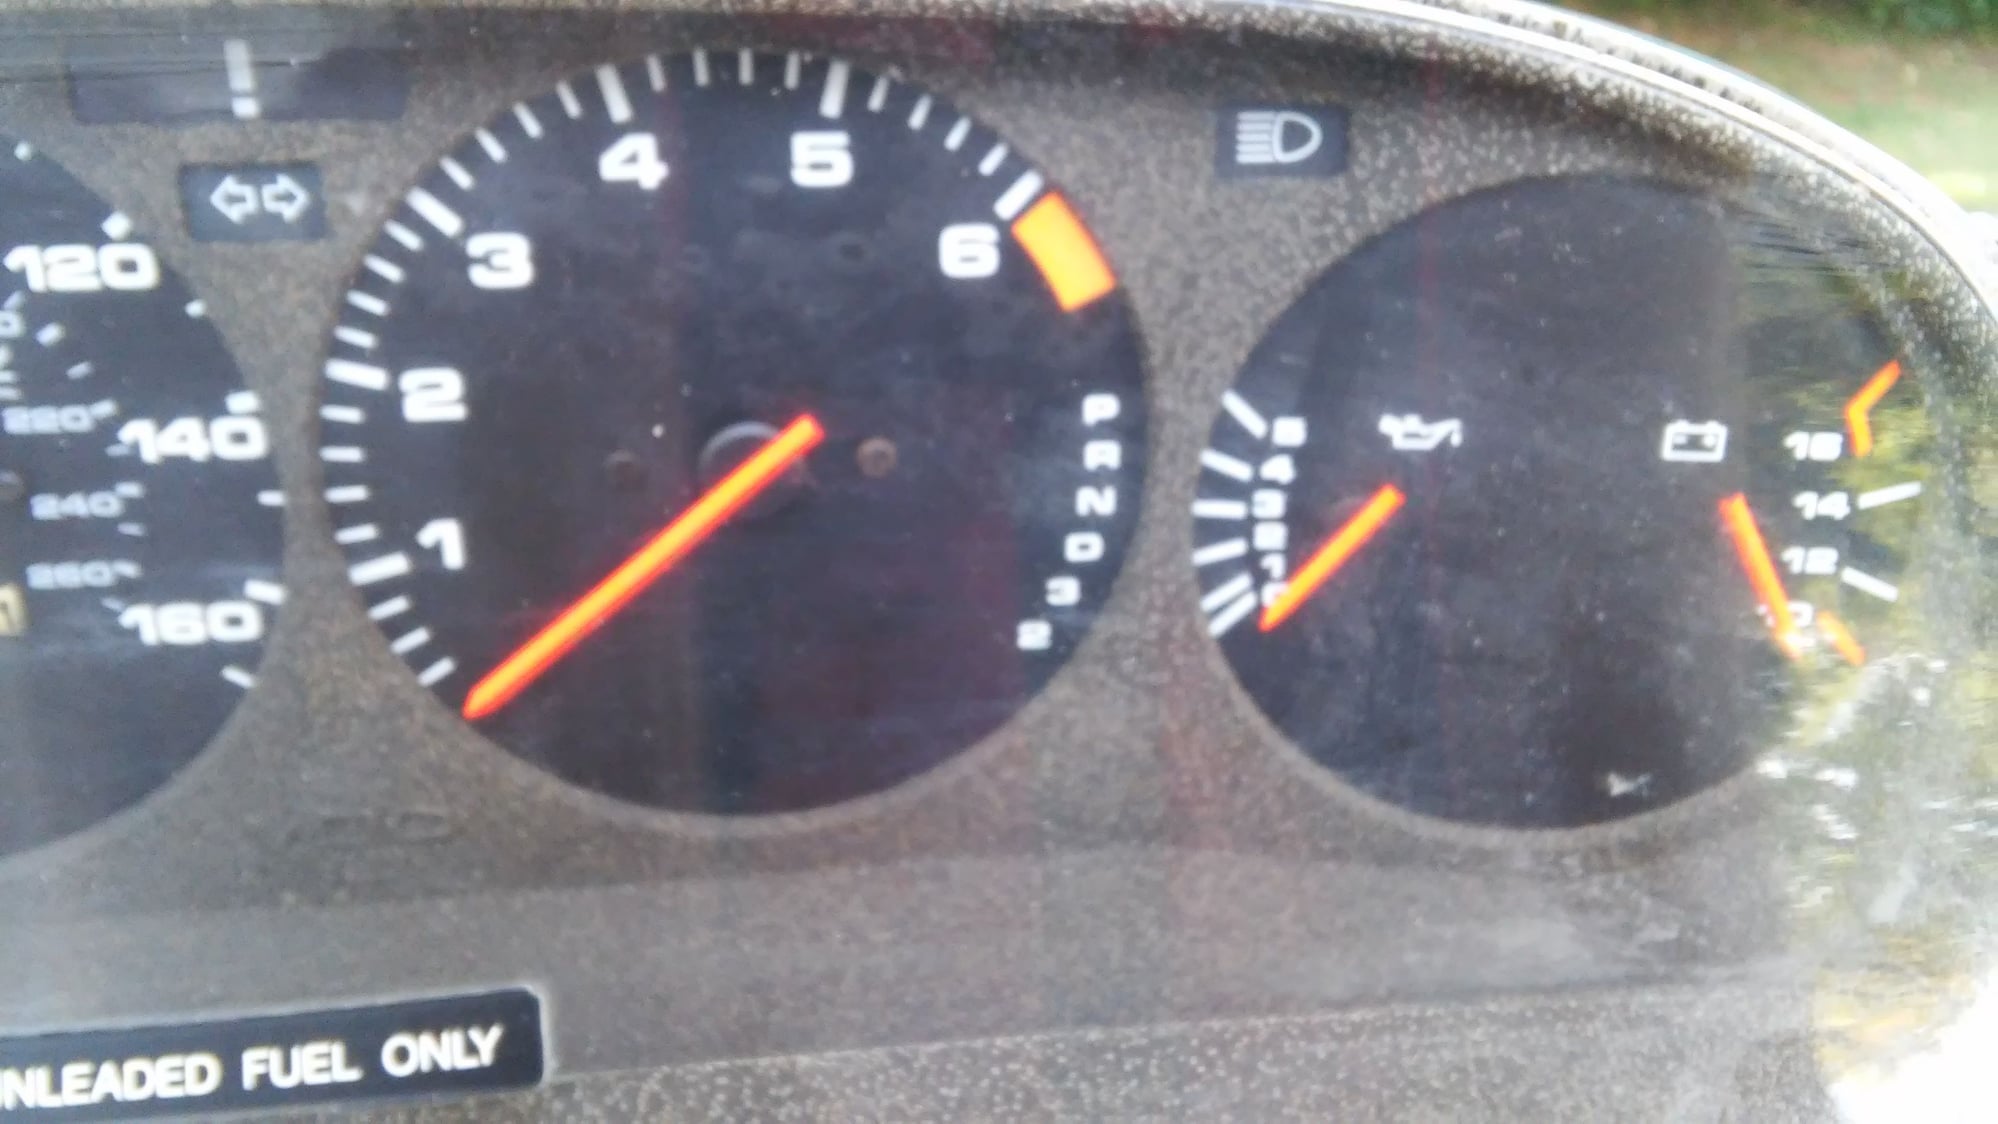
Notice spotty texture
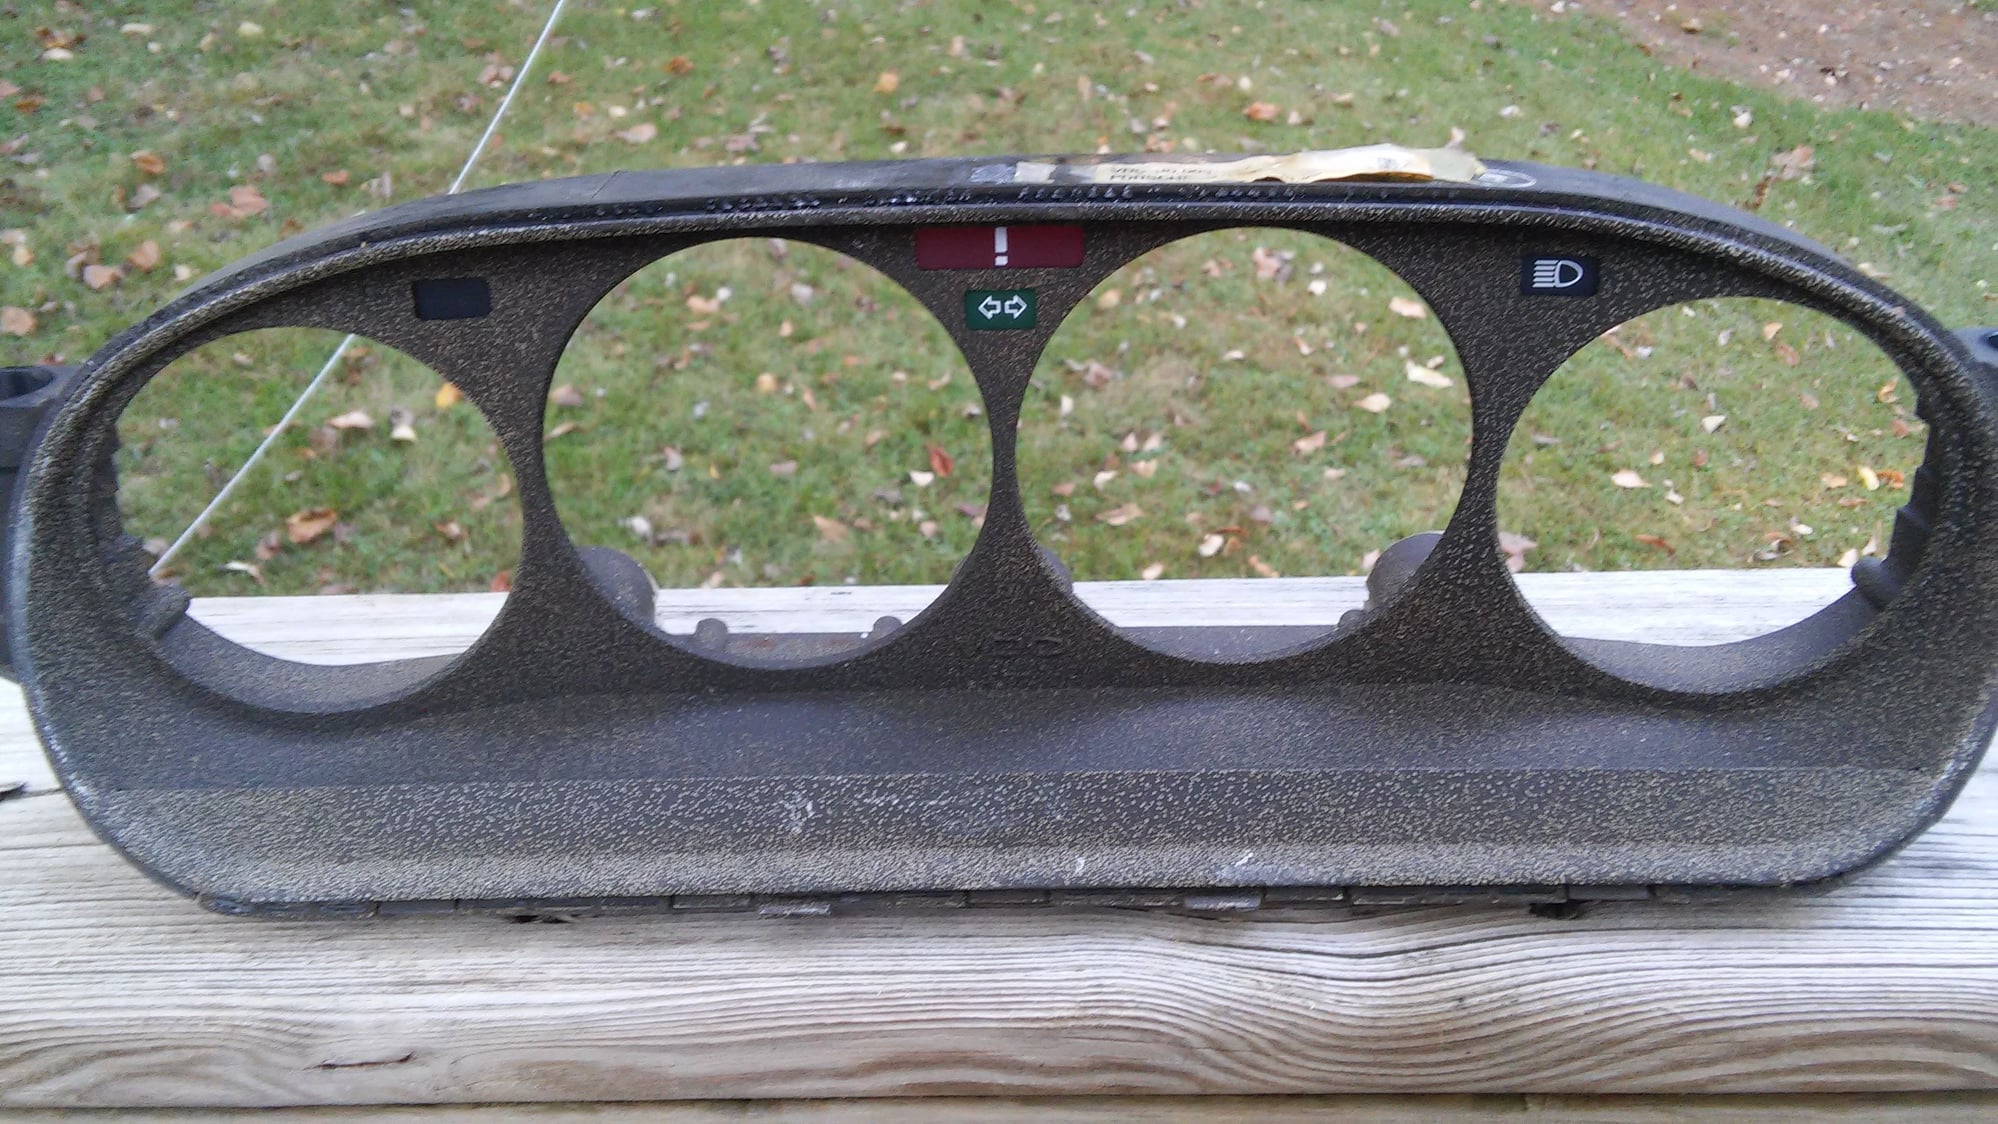
Surround removed from cluster

The plastic indicators need to be removed .<br/> I used a feeler gauge to pry them off of the posts

I used a small piece of scotch brite pad and water to scrub the texture off.
Fungus gone, the color here is not black, but a dark chocolate.<br/> Also i separated the piece that covers the lighting aparatus.
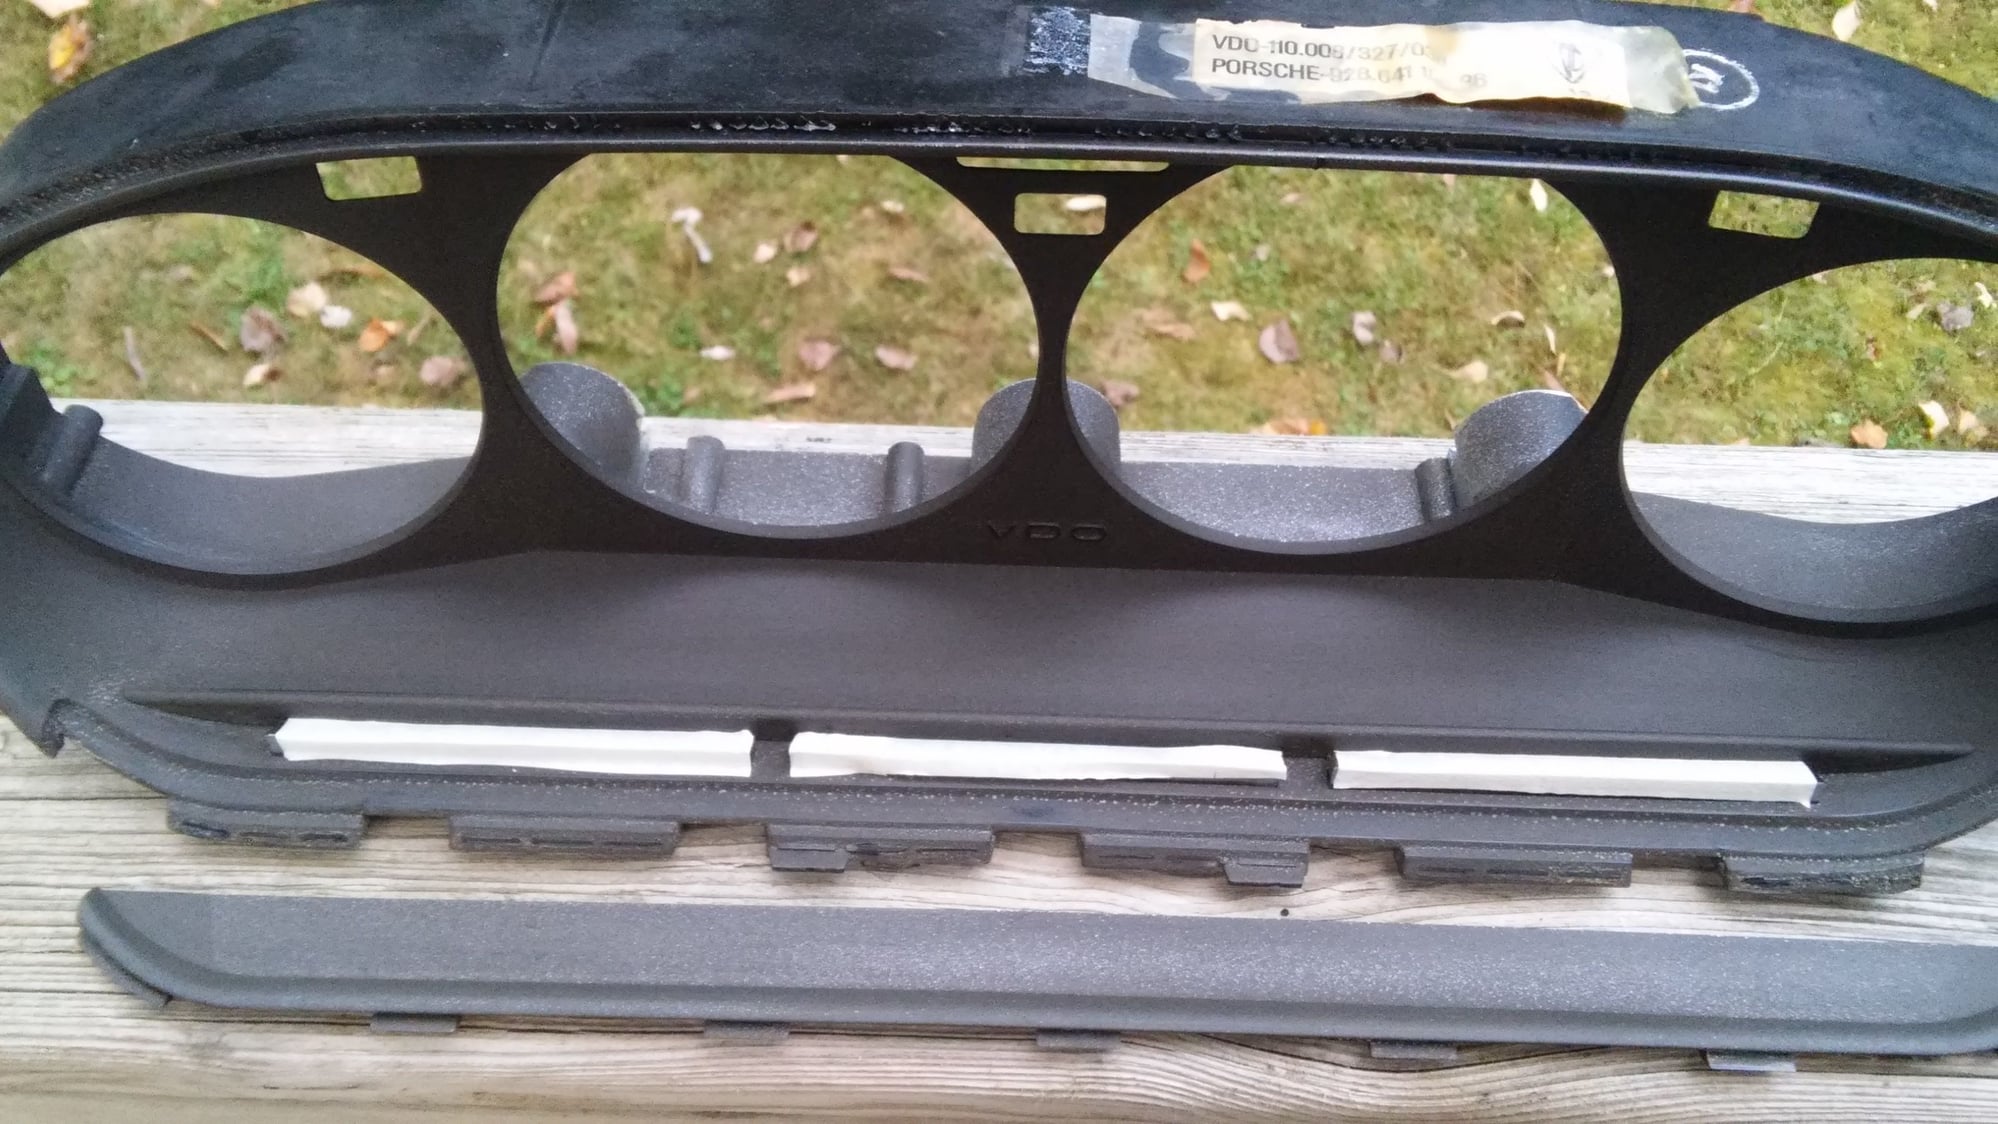
Clear light things neef to be taped off to protect from overspray during the recoating process.
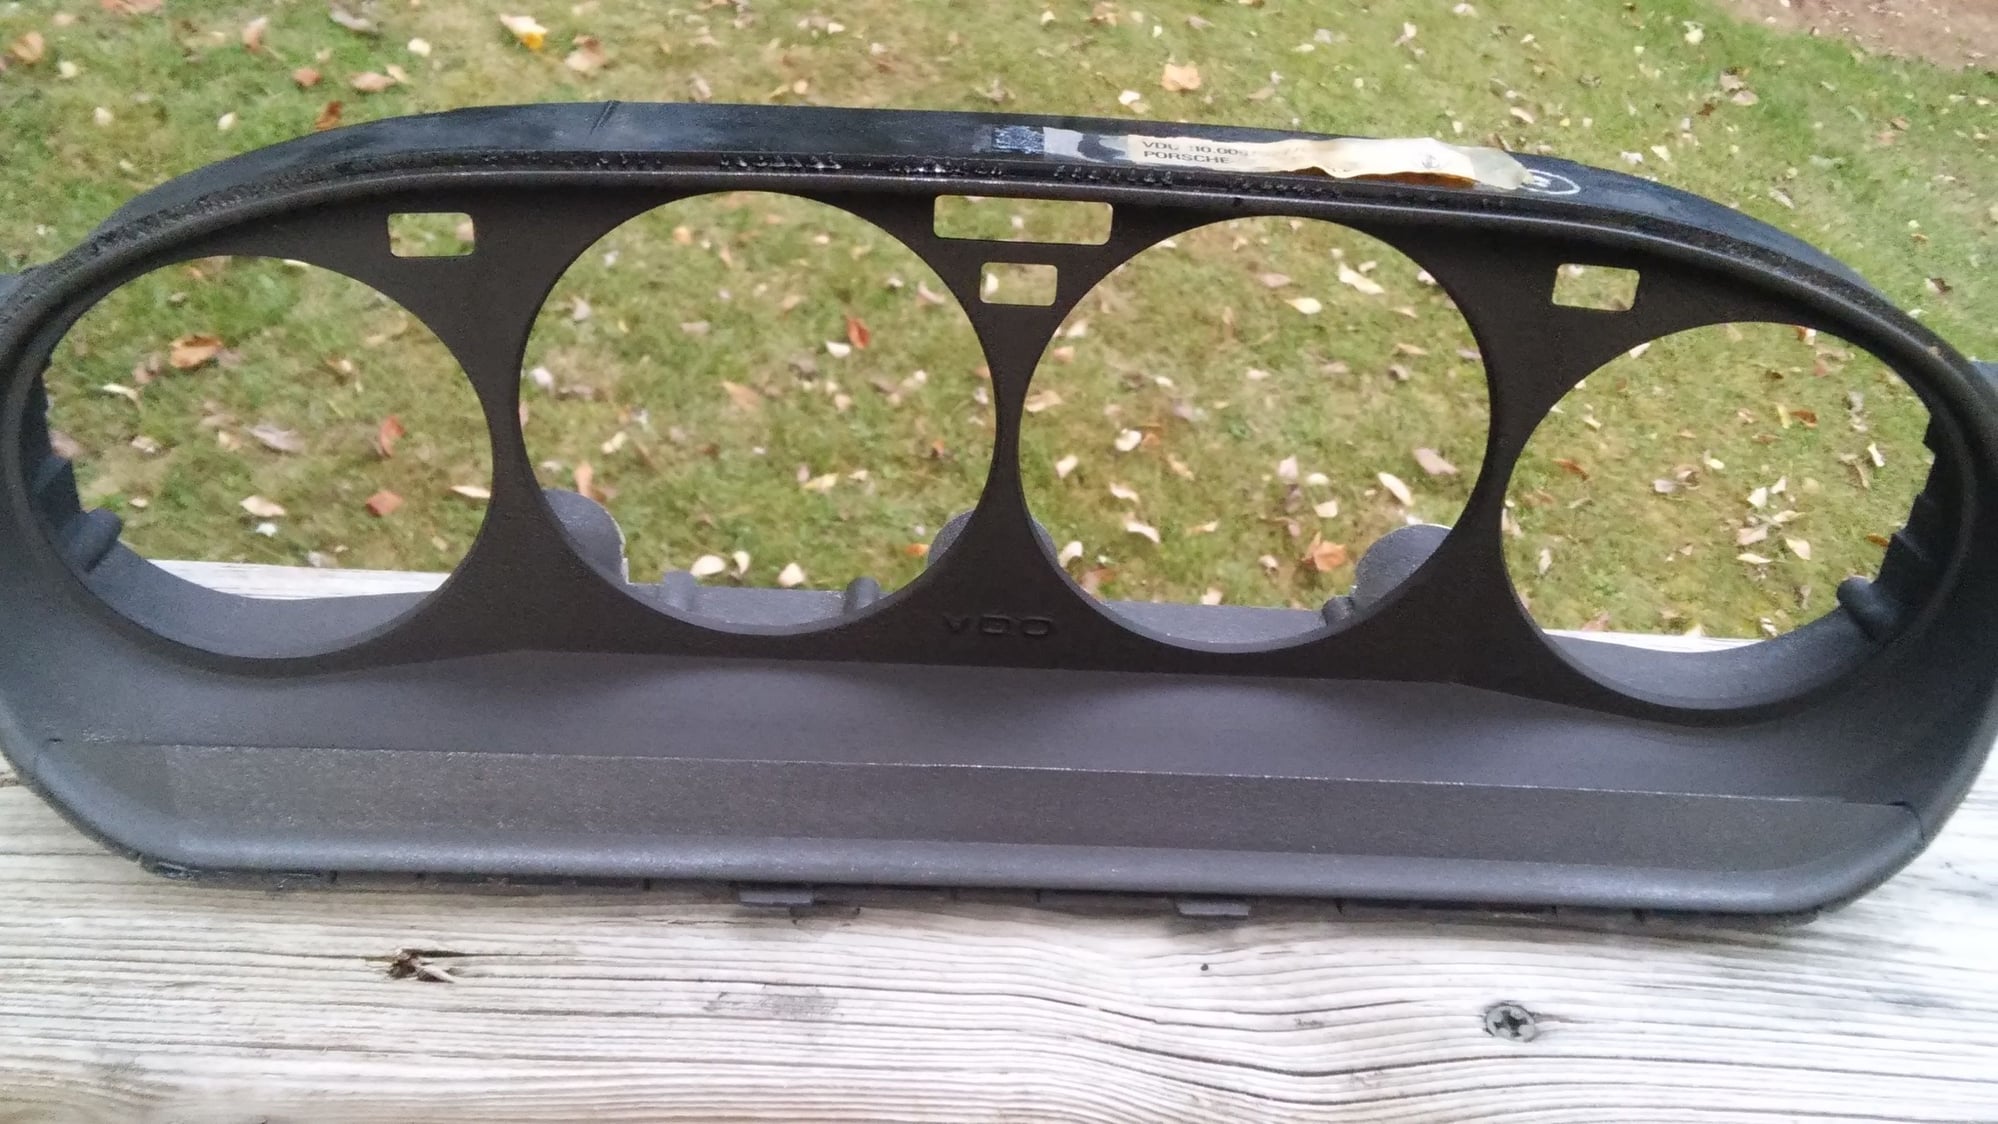
Surround is clean and ready for plastidip.

Notice spotty texture

Surround removed from cluster

The plastic indicators need to be removed .<br/> I used a feeler gauge to pry them off of the posts

I used a small piece of scotch brite pad and water to scrub the texture off.

Fungus gone, the color here is not black, but a dark chocolate.<br/> Also i separated the piece that covers the lighting aparatus.

Clear light things neef to be taped off to protect from overspray during the recoating process.

Surround is clean and ready for plastidip.