

My US '84 Rebirth
 06-28-2015, 03:15 AM
#31
Rennlist Member
Thread Starter
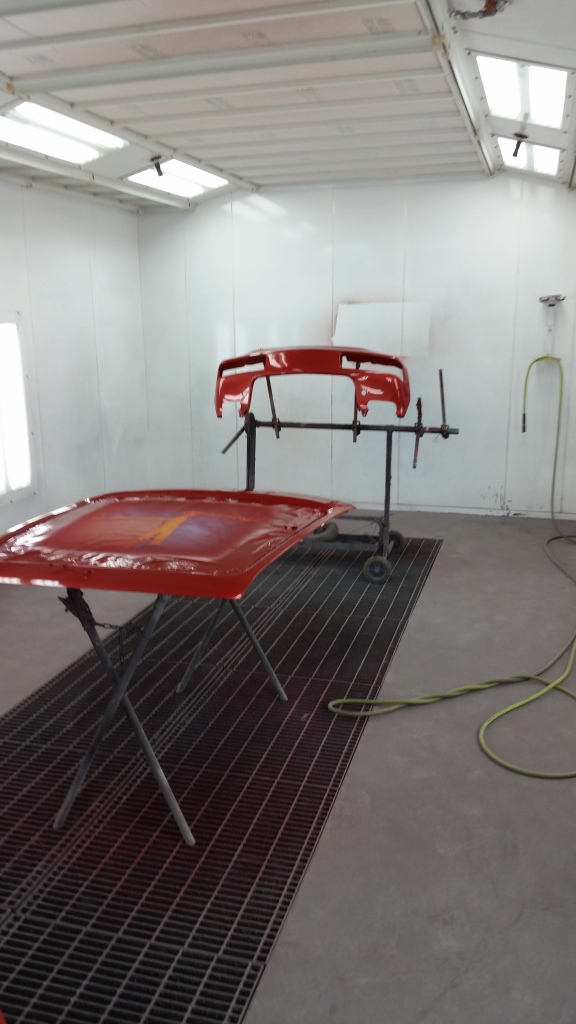
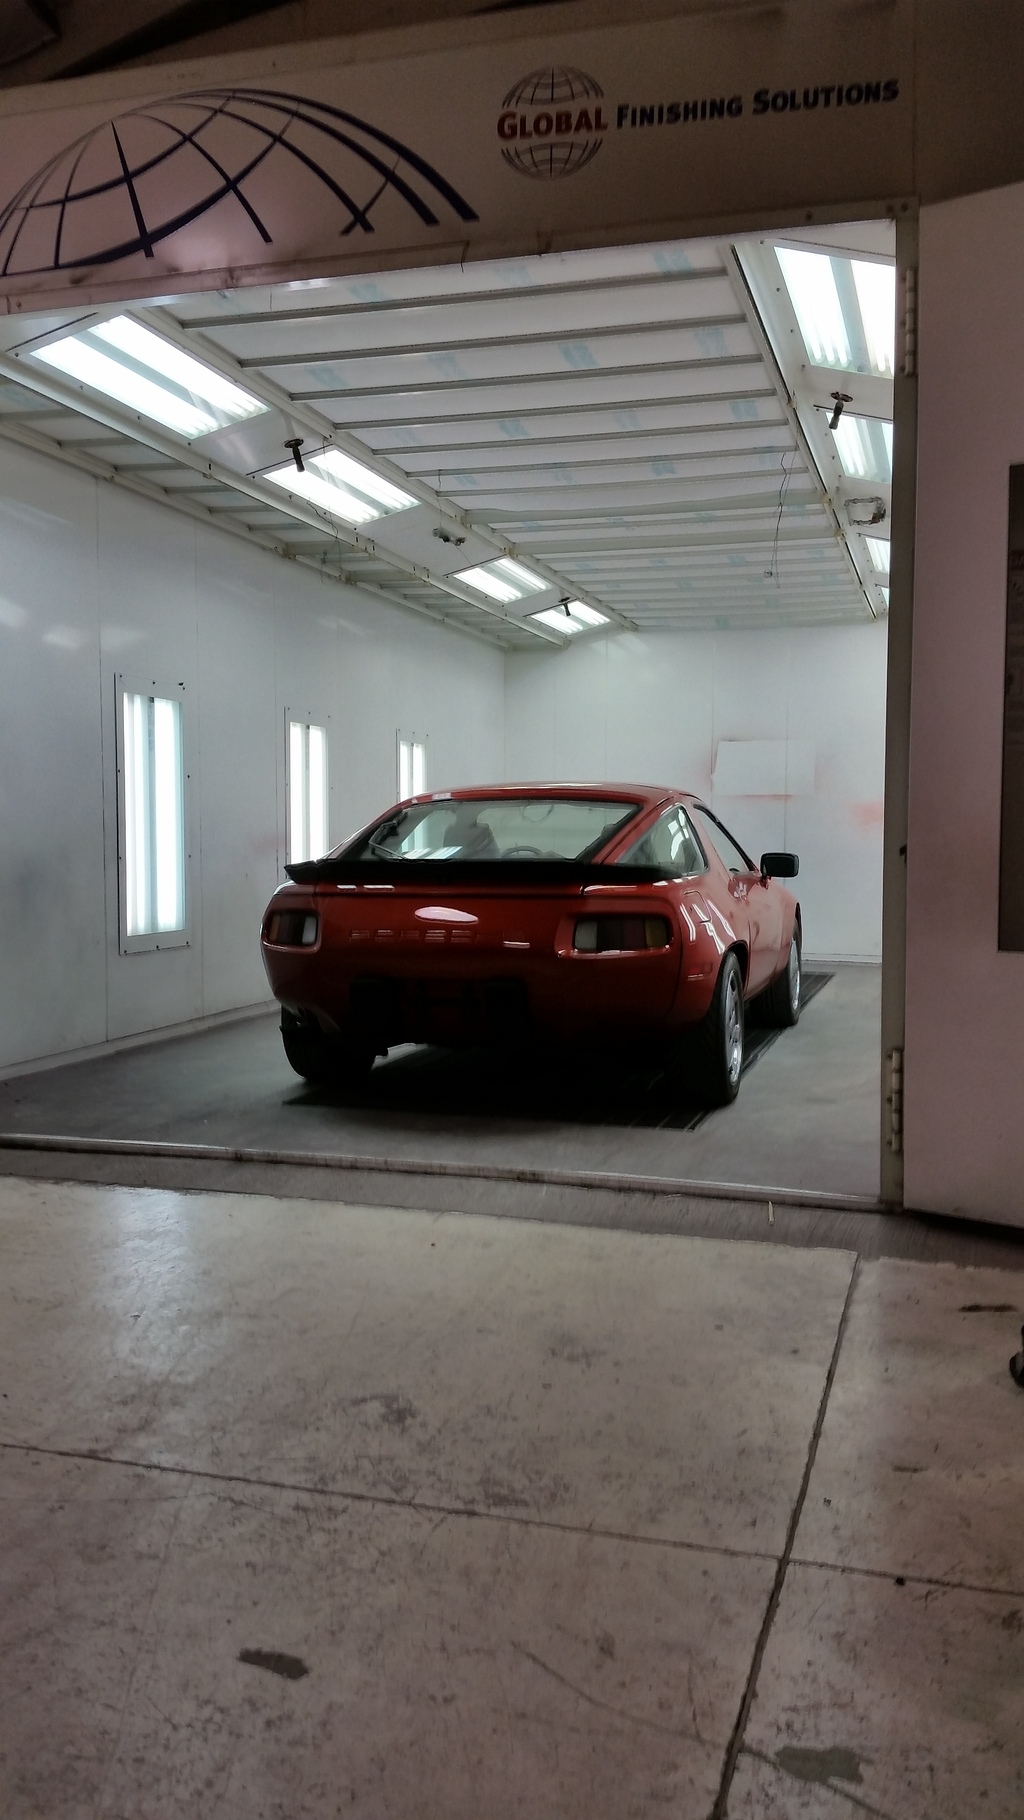
A little more painting went down Saturday night..
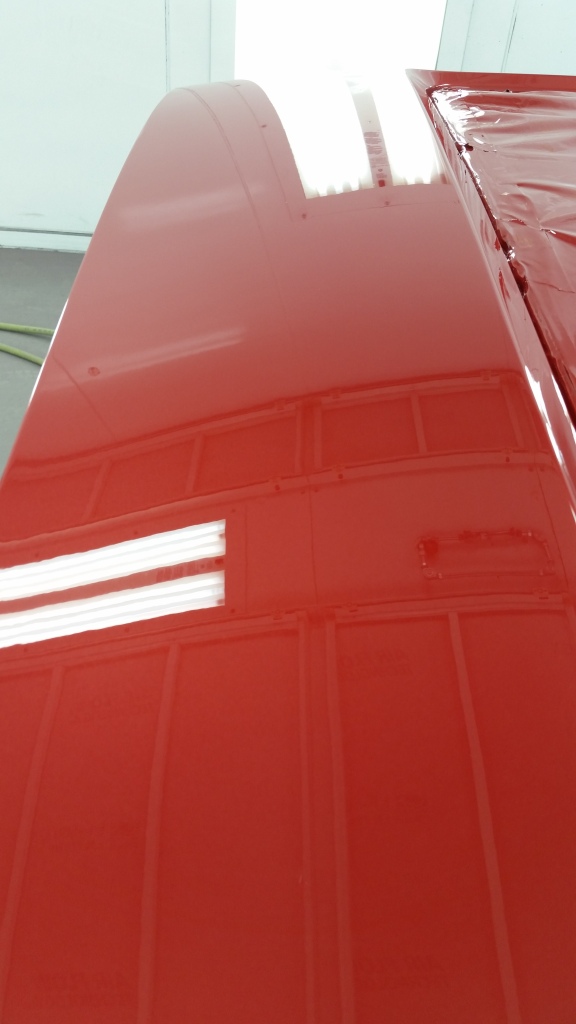
A close up of the top of the hatch to show the depth of the color through the Glasurit clear. Note the gloss and how level the clear lays. This is straight out of the gun obviously. No buffing has been done..
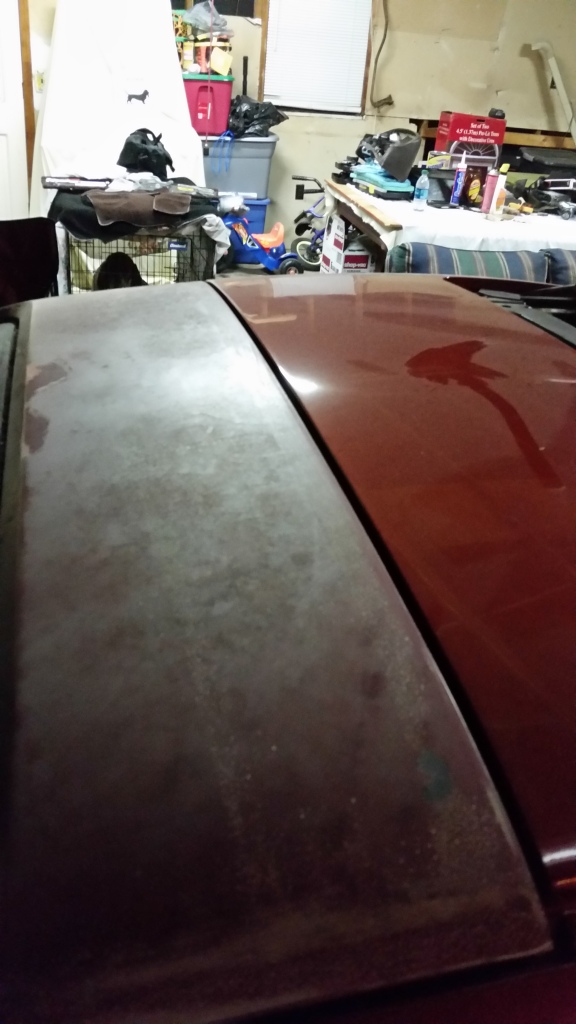
I had to take this shot as the old hatch will be removed in the morning in favor of the freshly painted replacement from the '85 parts donor. You can get a good idea of what shape the paint was in on the rest of the car from this. The hatch had to be replaced for corrosion that wasn't worth the repair effort.
More pics to come. I will start buffing in the morning. I need a little bit more basecoat before I will be able to finish the rear bumper, cowl, drip rail trim, and rub strips. Re-assembly may take place next weekend.
If you have the tools and skill to disassemble the doors then the bumpers are a breeze. The 1/4 glass are rope-in. I can do the 1/4 glasses for a small charge. There are instructions available about how to remove and re-install those available, but your first time won't be easy. They are much harder to remove without damaging the seals than they are to replace. I can certainly understand why most owners wouldn't want to fool with the glass for re-spray prep.

A close up of the top of the hatch to show the depth of the color through the Glasurit clear. Note the gloss and how level the clear lays. This is straight out of the gun obviously. No buffing has been done..

I had to take this shot as the old hatch will be removed in the morning in favor of the freshly painted replacement from the '85 parts donor. You can get a good idea of what shape the paint was in on the rest of the car from this. The hatch had to be replaced for corrosion that wasn't worth the repair effort.

More pics to come. I will start buffing in the morning. I need a little bit more basecoat before I will be able to finish the rear bumper, cowl, drip rail trim, and rub strips. Re-assembly may take place next weekend.
That sounds reasonable, especially given the expertise I feel that is necessary to get it done right. The first time. My cars that need paint are Silver Metallic and Light green Metallic. How much disassembly are you talking about (I can remove interior, lights, mirrors), but taking out rear quarter windows, bumper covers may be out of my wheelhouse....
 06-28-2015, 04:50 PM
#32
Drifting
07-20-2015, 12:25 AM
#33
Rennlist Member
Thread Starter
Hit a little bump in the road while starting on the front end reassemble. I don't mind telling on myself...
After stapling the beading back in place and fitting the nozzles it was time to put the front bumper cover on. The early bumpers are usually wavy as heck, so I straightened mine. It's been a while since I have done this on a 928. Oops! Got a squirter caught on the metal bumper while I tried to situate it to the fender. Separated the filler from the polyurethane. I'll have to redo the filler and repaint the bumper now.
After stapling the beading back in place and fitting the nozzles it was time to put the front bumper cover on. The early bumpers are usually wavy as heck, so I straightened mine. It's been a while since I have done this on a 928. Oops! Got a squirter caught on the metal bumper while I tried to situate it to the fender. Separated the filler from the polyurethane. I'll have to redo the filler and repaint the bumper now.
07-20-2015, 06:30 AM
#34
Glad you just consider that a little bump in the road...me...I'd be on suicide watch...lol.
Were you working by yourself, since that is when most of these things seem to happen. I'm always in to big of hurry too go get an extra set of hands...and then pay the price. I'm learning though...granted, it took 55 years to get there.
Good luck going forward. Really enjoying your project.
Brian.
Were you working by yourself, since that is when most of these things seem to happen. I'm always in to big of hurry too go get an extra set of hands...and then pay the price. I'm learning though...granted, it took 55 years to get there.
Good luck going forward. Really enjoying your project.
Brian.
07-20-2015, 09:17 AM
#35
Rennlist Member
Thread Starter
I wasn't working alone. It's never smart to set body parts without help. Too easy to scratch things, or worse. I did have female help, though. Maybe that is worse. It did crack on the side she was handling.

Still stupid of me for not dummy-proofing the situation by leaving the squirters mobile until the bumper was safely placed. They can still be secured with the bumper set.
10-19-2015, 04:48 AM
#36
Rennlist Member
Thread Starter
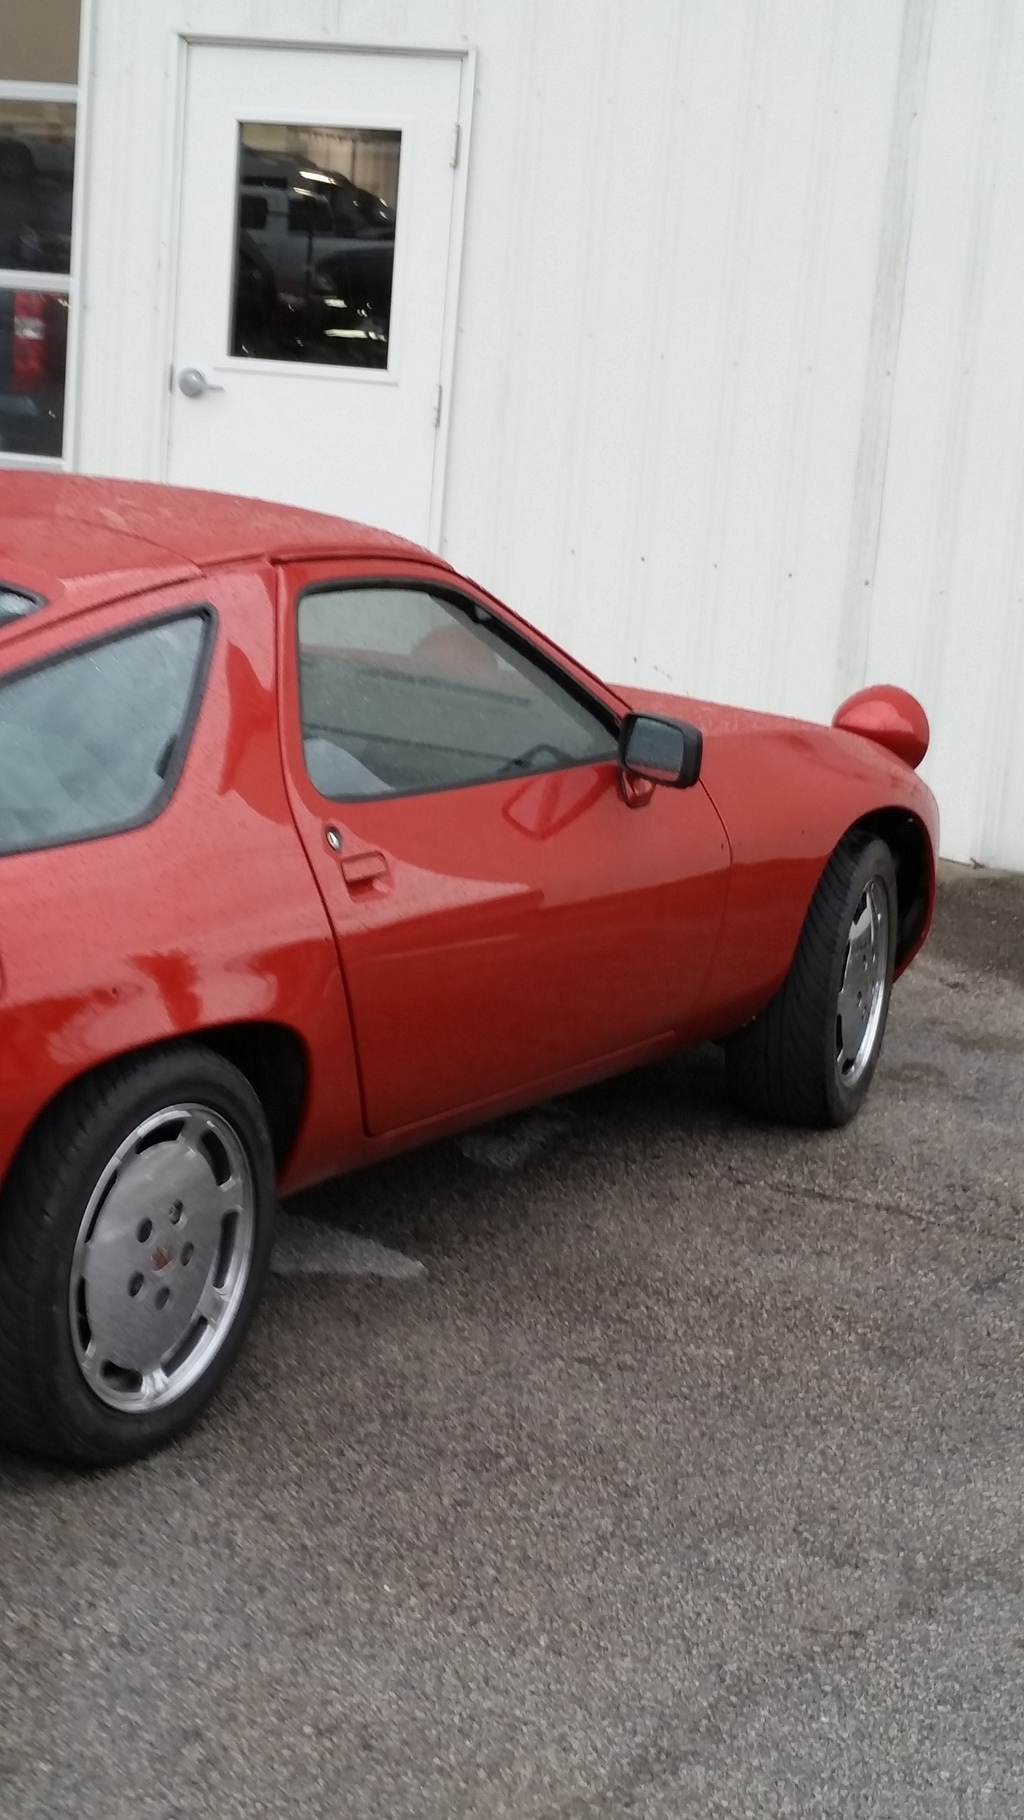
This should have been updated a while back. I've been driving the '84 a little bit for several weeks now. It's been running as well as it looks. I think there is just one other 928 in Bowling Green, KY, so this thing is a real head turner! Most of these Corvette guys don't know what the heck it even is. Here is some pictures of it the day it went home. Rub strips, drip rail trim, radio antenna, and chin spoiler hadn't been installed yet as these parts were at home.
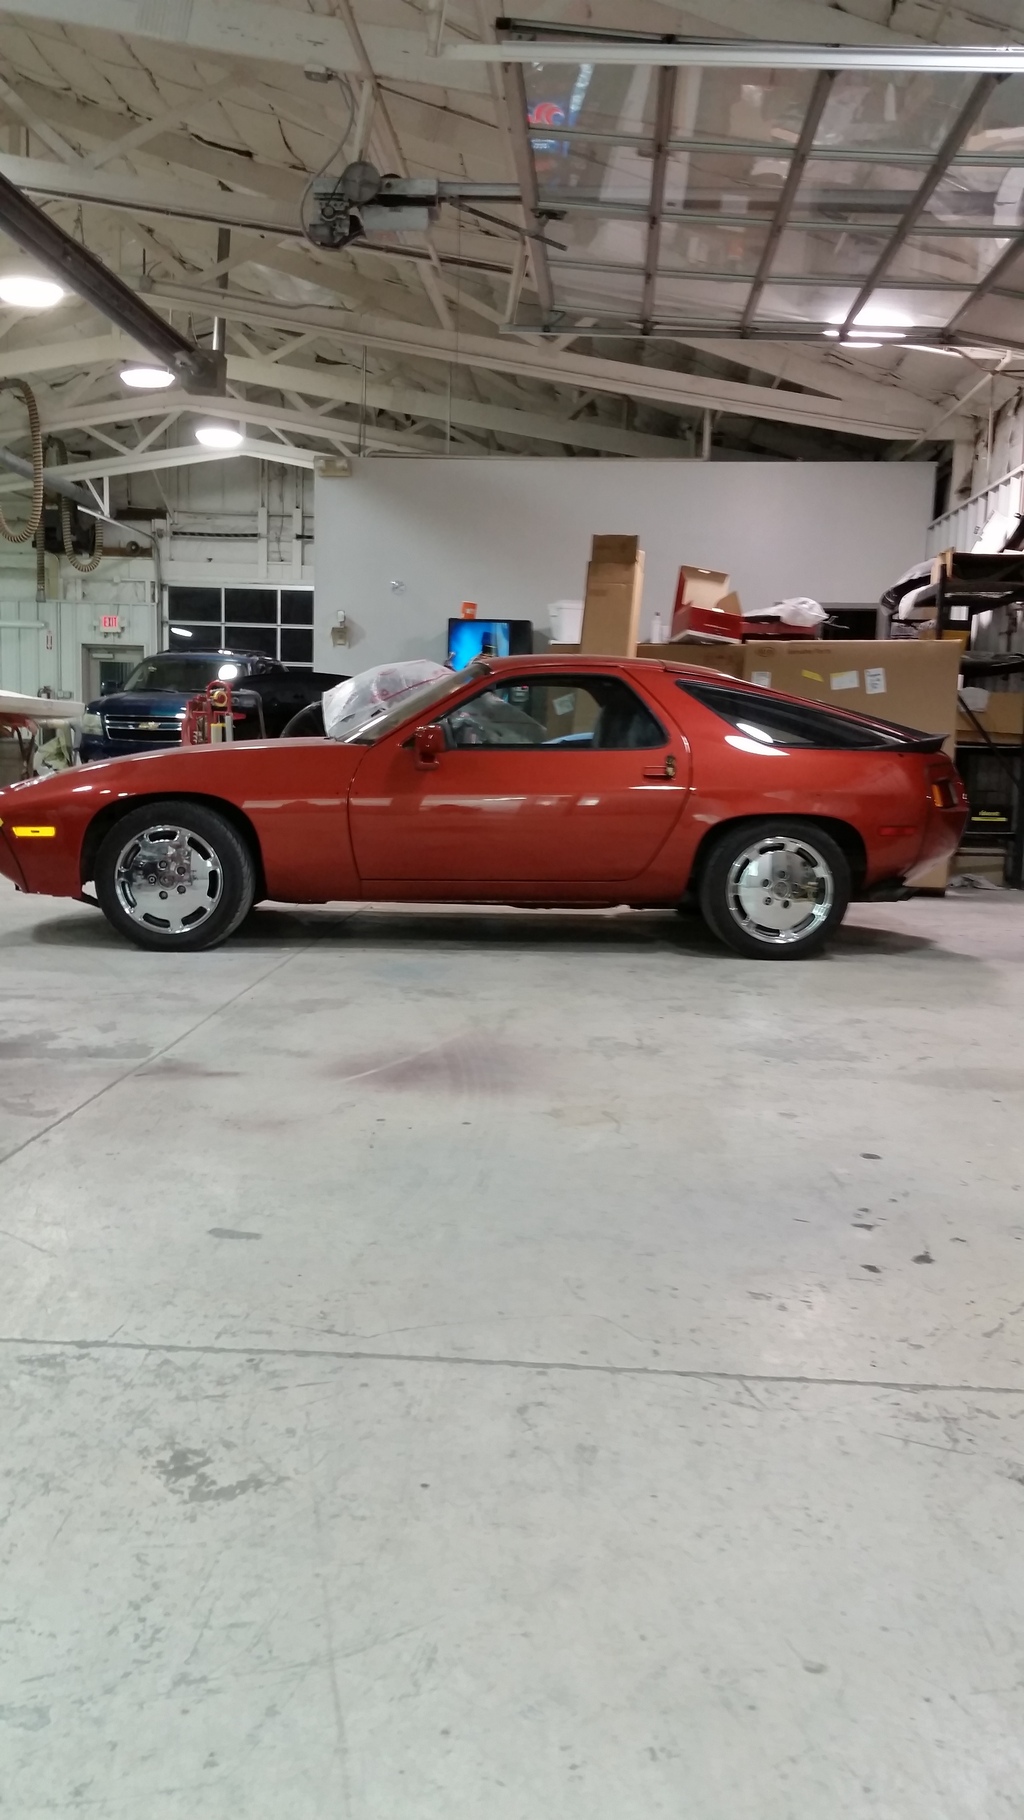
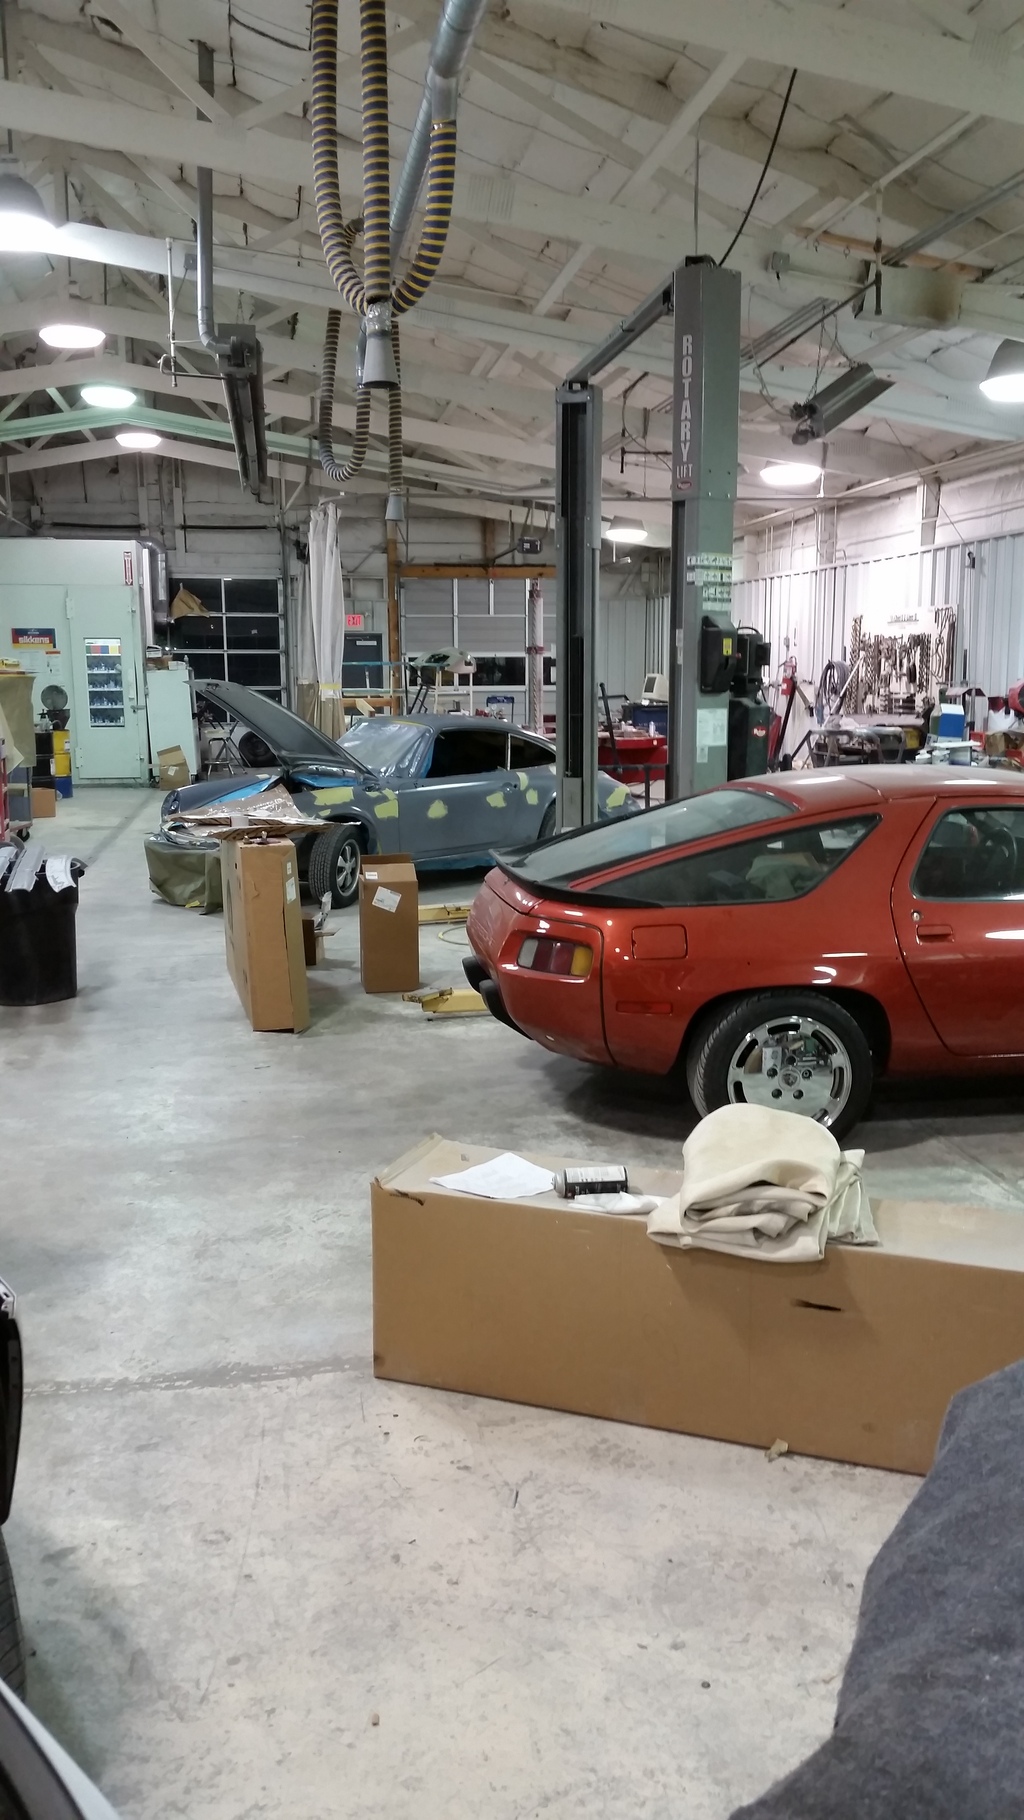
You can see a '77 911 that I'm resurrecting there in the background of the last photo. Thought that made for a cool photo as I had one done while another P car project was just gaining traction. I have a light schedule so far for the winter ahead. Food for thought if it's refinish time for any of you guys.


You can see a '77 911 that I'm resurrecting there in the background of the last photo. Thought that made for a cool photo as I had one done while another P car project was just gaining traction. I have a light schedule so far for the winter ahead. Food for thought if it's refinish time for any of you guys.
10-19-2015, 06:33 AM
#37
Turned out beautiful. I really like the way the rear marker lights blend in with the color of the car. Me, though probably not legal, I'd change the front ones to match, too.
Brian.
Brian.
10-19-2015, 08:15 AM
#38
Rennlist Member
stunning. My favorite color too. Great work.
 10-19-2015, 06:56 PM
#42
WOW! Very nice write up!
I've got an 88 in indisrot that has 8/10 paint now, but the clear coat is getting thin.
Where is your shop? When I need you I want to know!
Thanks
Brian
I've got an 88 in indisrot that has 8/10 paint now, but the clear coat is getting thin.
Where is your shop? When I need you I want to know!
Thanks
Brian
10-23-2015, 12:15 PM
#43
Rennlist Member
Thread Starter
Thank you all for the compliments. The color, Zeigelrot Kiln Red, is what inspired me to save this one to begin with. I didn't realize that the color was as popular with a lot of you as it was with me. It's a pretty rare color. I've never seen another in person and I rarely even see them online.
01-04-2020, 10:50 AM
#44
Rennlist Member
Great thread!!! I have some dear friends in BG so when I am ready for paint on my Euro ( and if you are still taking work ) that will give me a good excuse to visit 
01-04-2020, 03:24 PM
#45
Rennlist Member
Thread Starter
I've been in Bowling Green, KY for the past seven years now. Easily my favorite place I have ever lived. I wish that we could swap state governments with our neighbors to the south, but there's not a lot else to ask.