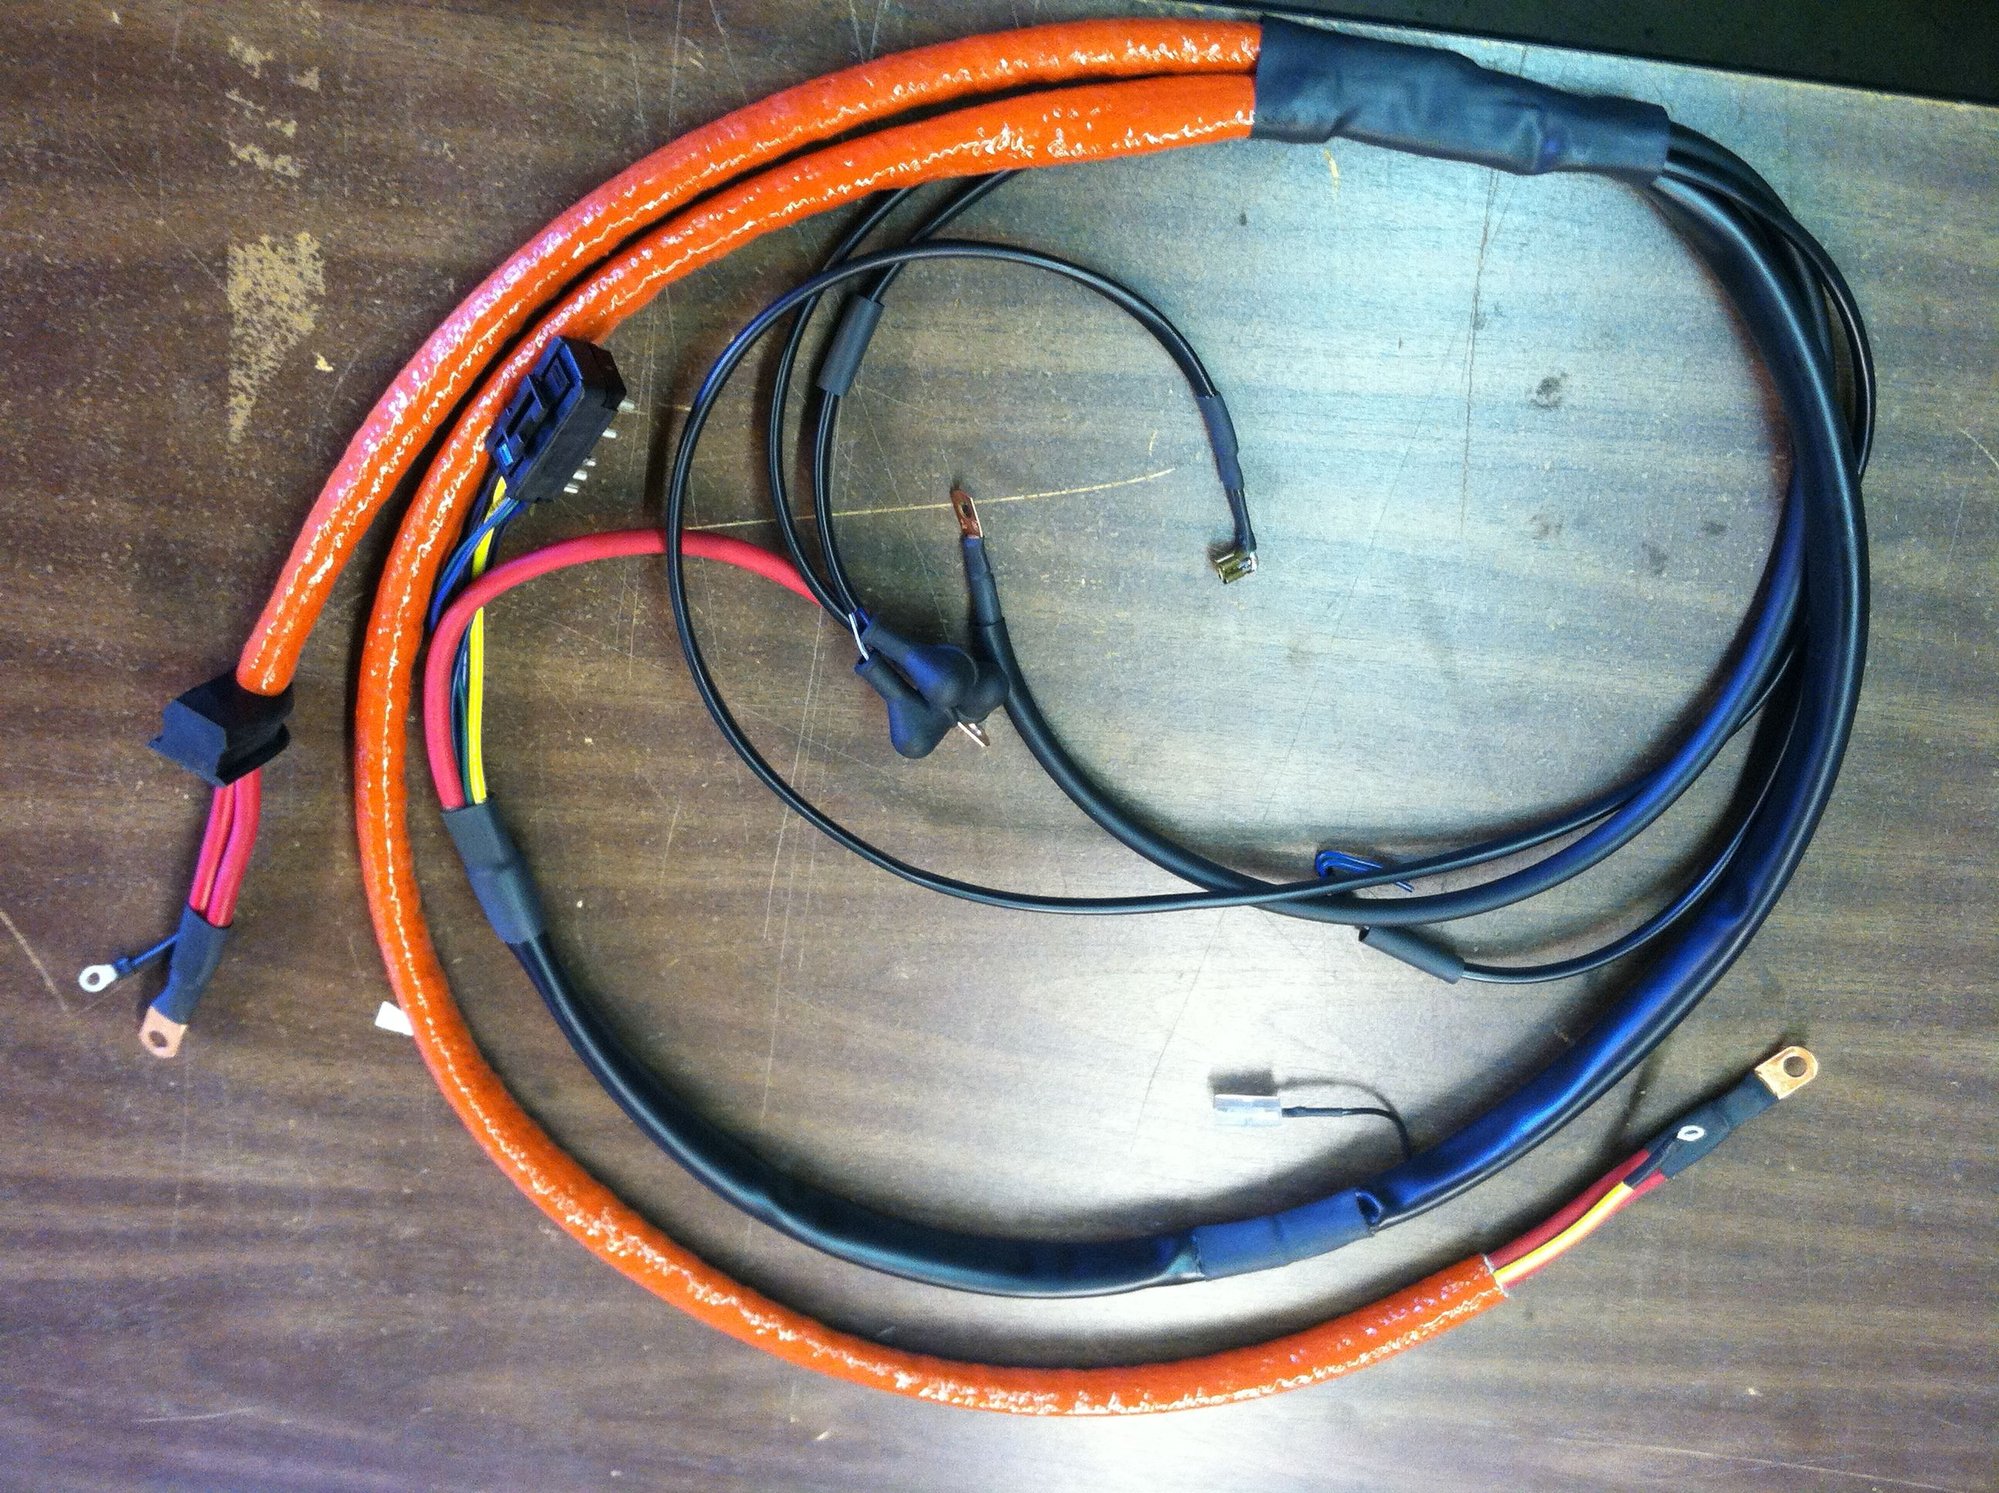
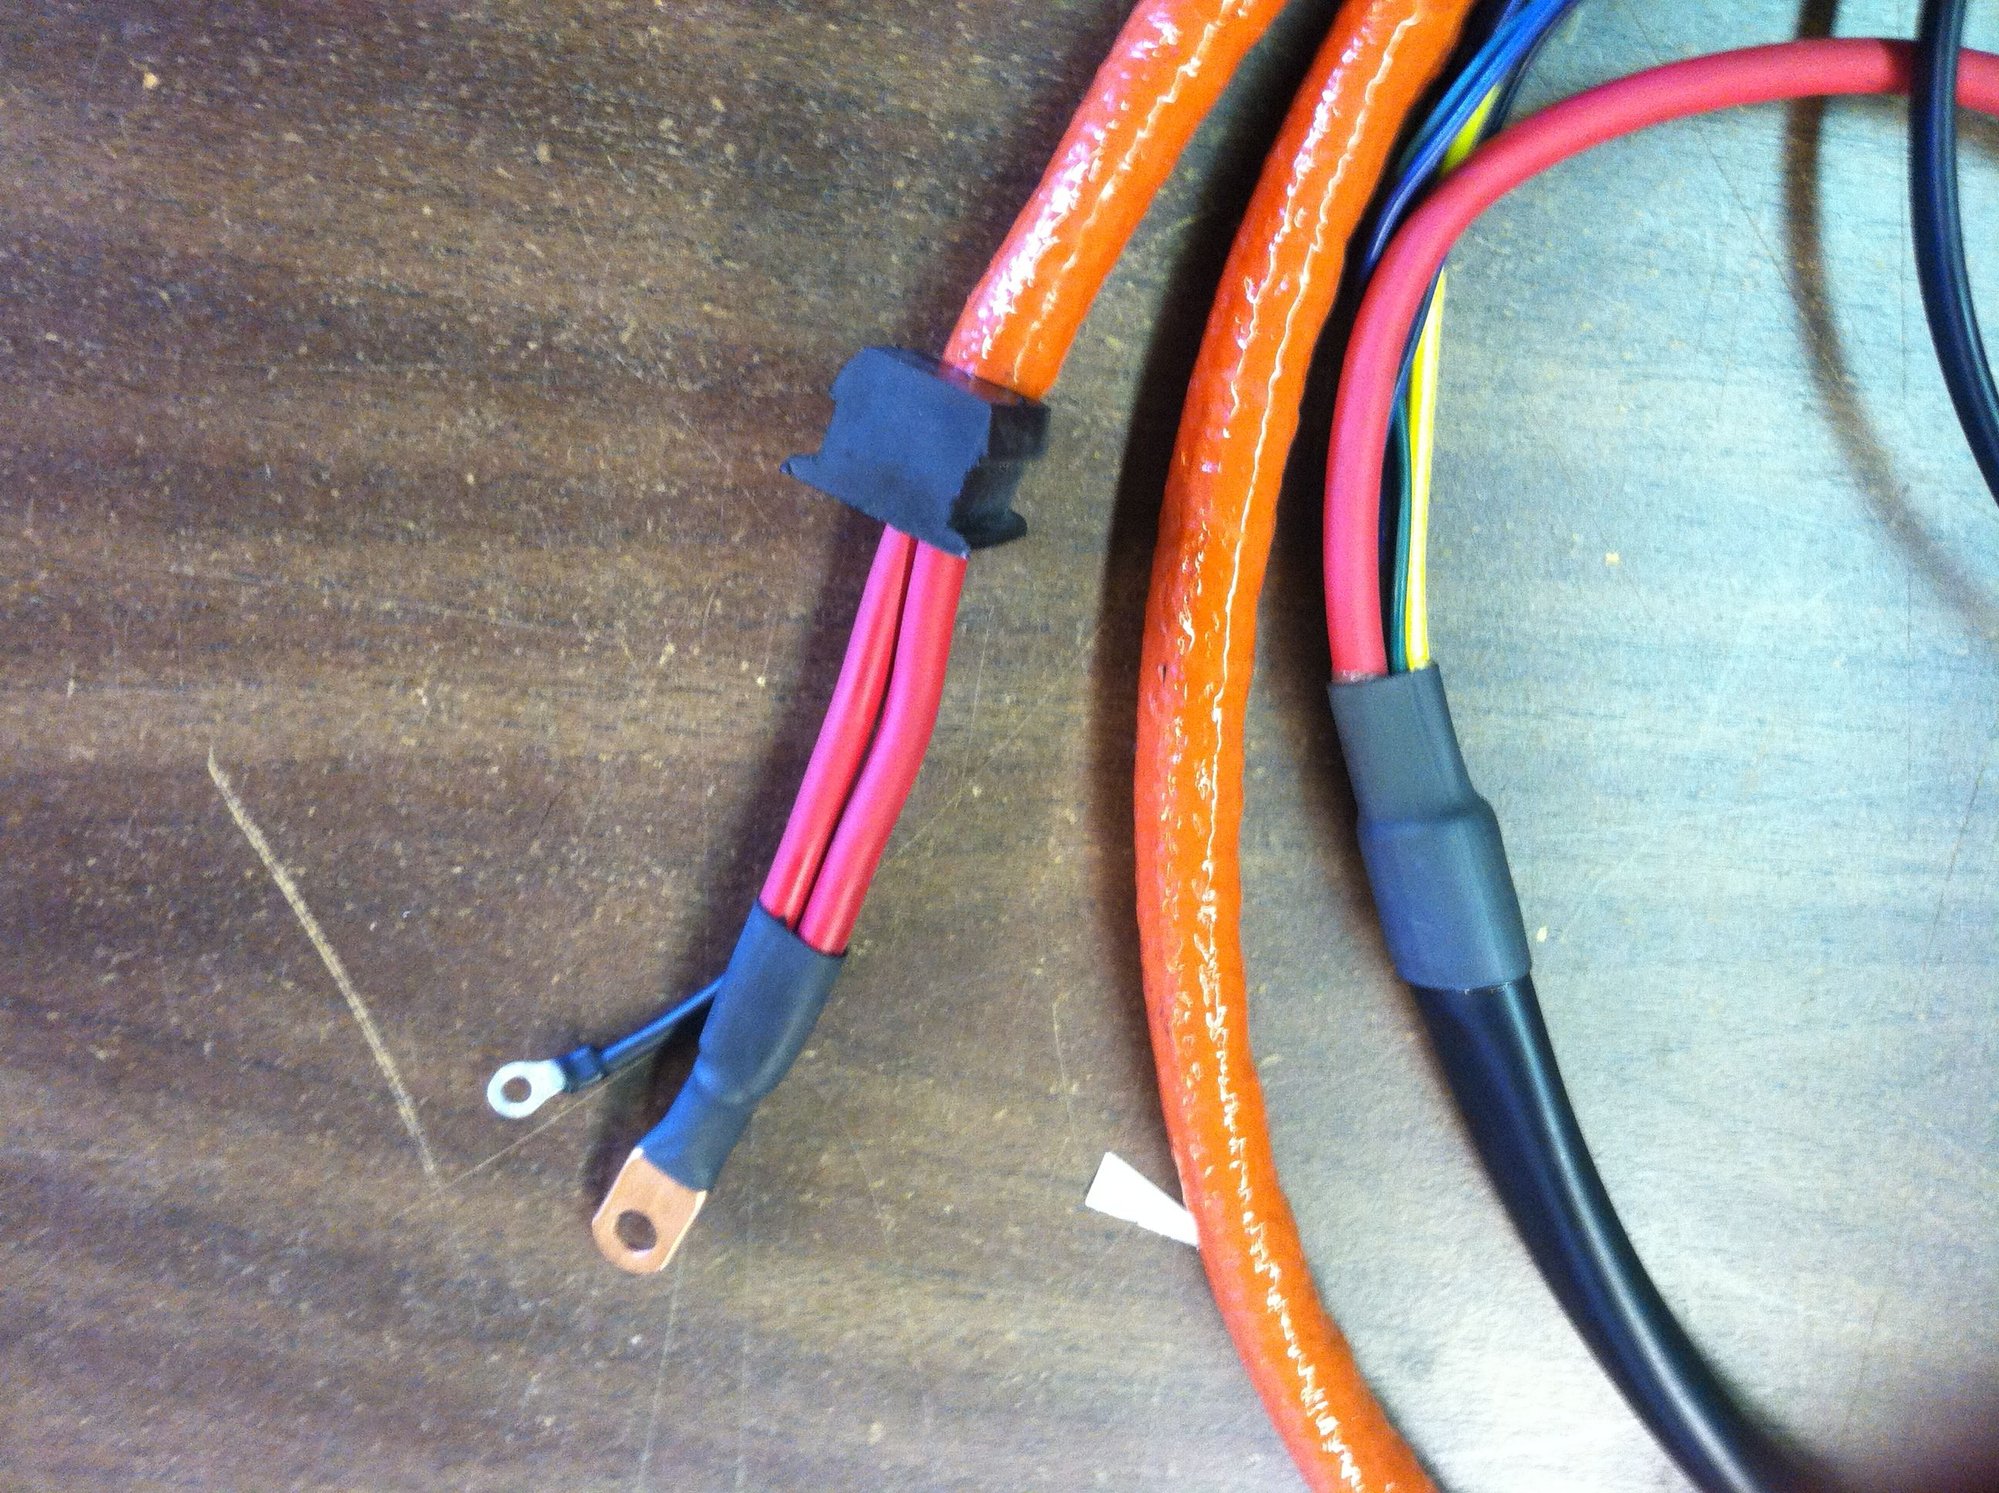
New Custom Made Alternator Harness From 928 International
#16
#21
Chronic Tool Dropper
Lifetime Rennlist
Member
Lifetime Rennlist
Member
Joined: Oct 2001
Posts: 20,506
Likes: 549
From: Bend, Oregon
Most find it easy to "analyze" their harnesses's conditions visually. Take a look at the exposed insulation on the primary power feed at the jump post. Is it bright red, or somewhere closer to maroon/brown? Is it cracked at all, and is the now-exposed copper conductor bundle still a bright yellow or is it oxidized to brown? Now consider that you are inspecting the highest, cleanest, least thermally and mechanically abused section of that harness. The rest gets blasted with radiator exhaust, runs under the exhaust manifold and loops down to the alternator. The original insulation is PVC, which suffers in the presence of petroleum products. Heat causes it to crack over the longer term too. Most of the harness conductors stay hidden inside the plastic sleeve, out of sight and out of mind until something starts to act a little erratic, gauges read off a little, charging isn't what it used to be. Deterioration is slow, so you may not notice all the symptoms early on.
The replacements use fire sleeve, adhesive-lined shrink for joints and connections, better quality larger main wiring, with lots of care put into how the connectors are assembled.
Ordering all the pieces, including the correct wire colors and connectors, and assembling it all properly might be an interesting exercise as Alan shares. Once you have the old harness off your car, go ahead and make a map of each conductor by wire gauge, color and length. Source what you need, along with connectors and sleeve, then set up an assembly diagram on the garage floor using masking-tape labels and magic marker. Start cutting and binding section by section, add sleeve then connectors, crimp then heat-shrink each one, then add shrink cones to support the connectors and the break-outs, and to protect the ends of the firesleeve sections. Double-check your work with a meter, before installation. Remember that just a couple crossed wires can roast a transmitter or switch, so QC of your new project is mandatory.
Or just buy one already assembled and tested.
#22
Takes a good 5-6 hours to make one and that's after you've made a dozen of them and get a system going. The price on color coded wiring is crazy, I buy it in 250' rolls but it does come in cheaper than Eagle Day has it. Hell, that 14 pin connector is $50.00 by its self.
What I find amusing is the early harnesses are harder to make, involve more wires, connectors and at least two hours longer to make than the 87+ harnesses but people are charging less for them. Makes no sense or they have never sold one.
What I find amusing is the early harnesses are harder to make, involve more wires, connectors and at least two hours longer to make than the 87+ harnesses but people are charging less for them. Makes no sense or they have never sold one.
#23
Not a bad price. Looks really nice.
I just did this myself. Mostly because I work in the wire and connector industry and I am a glutton for punishment. Borrowed the pneumatic crimper from work for the 1/0 wire direct from battery to alternator and for the 4 AWG SXL wire I used in this harness. It took me forever to lay out the old, crusty harness and map it over to the new wires. I am pretty sure I spent way over $300 on this but had lots of fun!
Yes, Eagle Day is about the only place I could find with the correct wire in the correct colors.
#24
It will certainly save effort for those with more $ than free time.
I made mine for the S , all up cost incl 14 pin connector ~ $AUD250. It wasn't a terrible job, I just took it carefully over parts of evenings during a winter week and made sure it was at least as good as factory.
The hardest part was reinstalling it; all that twisty upside down stuff with the alternator and starter.
It's a worthwhile "upgrade" , given the perilous state of the old wiring
The $900 price seems very reasonable .
I made mine for the S , all up cost incl 14 pin connector ~ $AUD250. It wasn't a terrible job, I just took it carefully over parts of evenings during a winter week and made sure it was at least as good as factory.
The hardest part was reinstalling it; all that twisty upside down stuff with the alternator and starter.
It's a worthwhile "upgrade" , given the perilous state of the old wiring

The $900 price seems very reasonable .
#27


