When you click on links to various merchants on this site and make a purchase, this can result in this site earning a commission. Affiliate programs and affiliations include, but are not limited to, the eBay Partner Network.
If I understand correctly, then your MY should have the AFC relay at XVI and it should be a simple relay. So no 87a. You don't need a 3-way jumper. Just bridge from terminal 30 to 87 to bypass the AFC relay.
Replace the relay and find plug W on the bottom of your CE board. Turn the key to the RUN position and check for voltage at W2, W3, W4, and W5. No voltage? Now jumper the AFC relay and check again.
Report back.
With the key on I pulled the W plug, got voltage at all locations except W4, which is only getting about 1V.
Since the last post, I have also removed and thoroughly cleaned the ce panel. One slight issue with a fried gray wore for the instrument illumination fuse and leading to the J plug. I'm hoping that short didn't short out other wires deeper inside the main harness.
-- if no, there is a wiring problem between AFC relay pin 87 and L-Jet connector pin 10 and 29.
Then using the above diagnostic tip with the key at the RUN position should show voltage at pin 10, but not 29. This suggests to me that there is a wiring issue between terminal 87 of XVI and W4. You'll have to pull the CE panel to inspect this.
But, be sure first by checking your voltages at the L-jet connector.
I do indeed have 12V at both of those points. I'll go inspect the connection between 87 and w4.
I also tried using a switched jumper on the xiv relay, with the key, I hit the switch and nothing happened, should have started cranking.
Also, per MY, I removed the Z plug and jumped from Z1 to Z6 in case the factory alarm was an issue.
It still won't start, no even a weak light on the noid light.
Sometime today I will try to check resistance at the l-jet pins for ground.
This shark is thoroughly eating my lunch! I'm going to do one last check of the grounds as well.
If you have 12V at pin 10 and 29 then your problem is not the relay or in the flow path between the relay and ECU. Check your grounds again and post your results for every check using the troubleshoot guide provided by the WSM and Rich's pinout.
Also, are you sure that you have the alarm properly bypassed?
I'm pretty sure, double checked '82 being Z1 to Z6 as opposed to Z1 to z4 I believe in later models.
Does any of this make sense that I'm not getting switched voltage at terms 87 or 85 on the afc relay?
To be clear, what year is your car? From your first post, I have assumed it was an '80 as you stated.
That's correct, it's a us 1980 automatic.
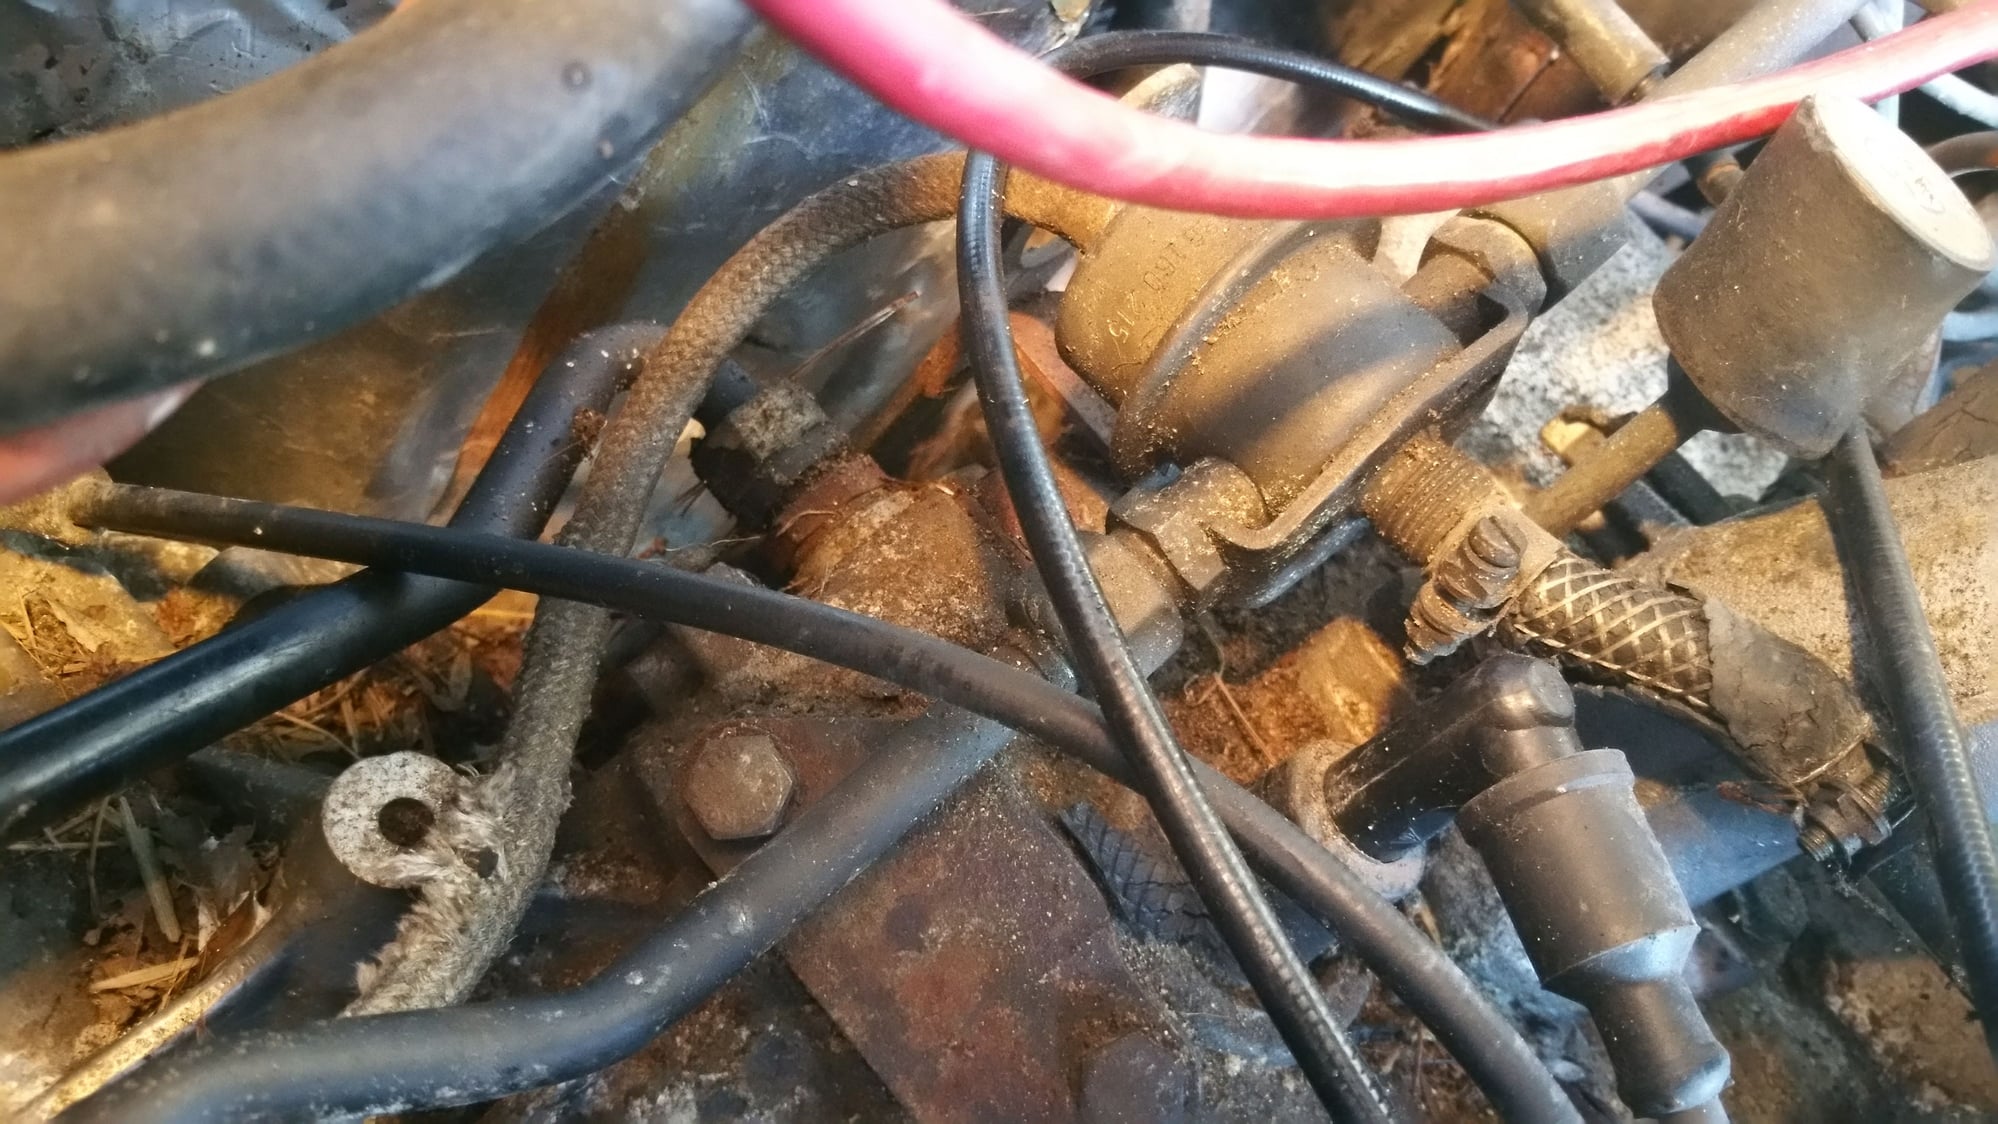
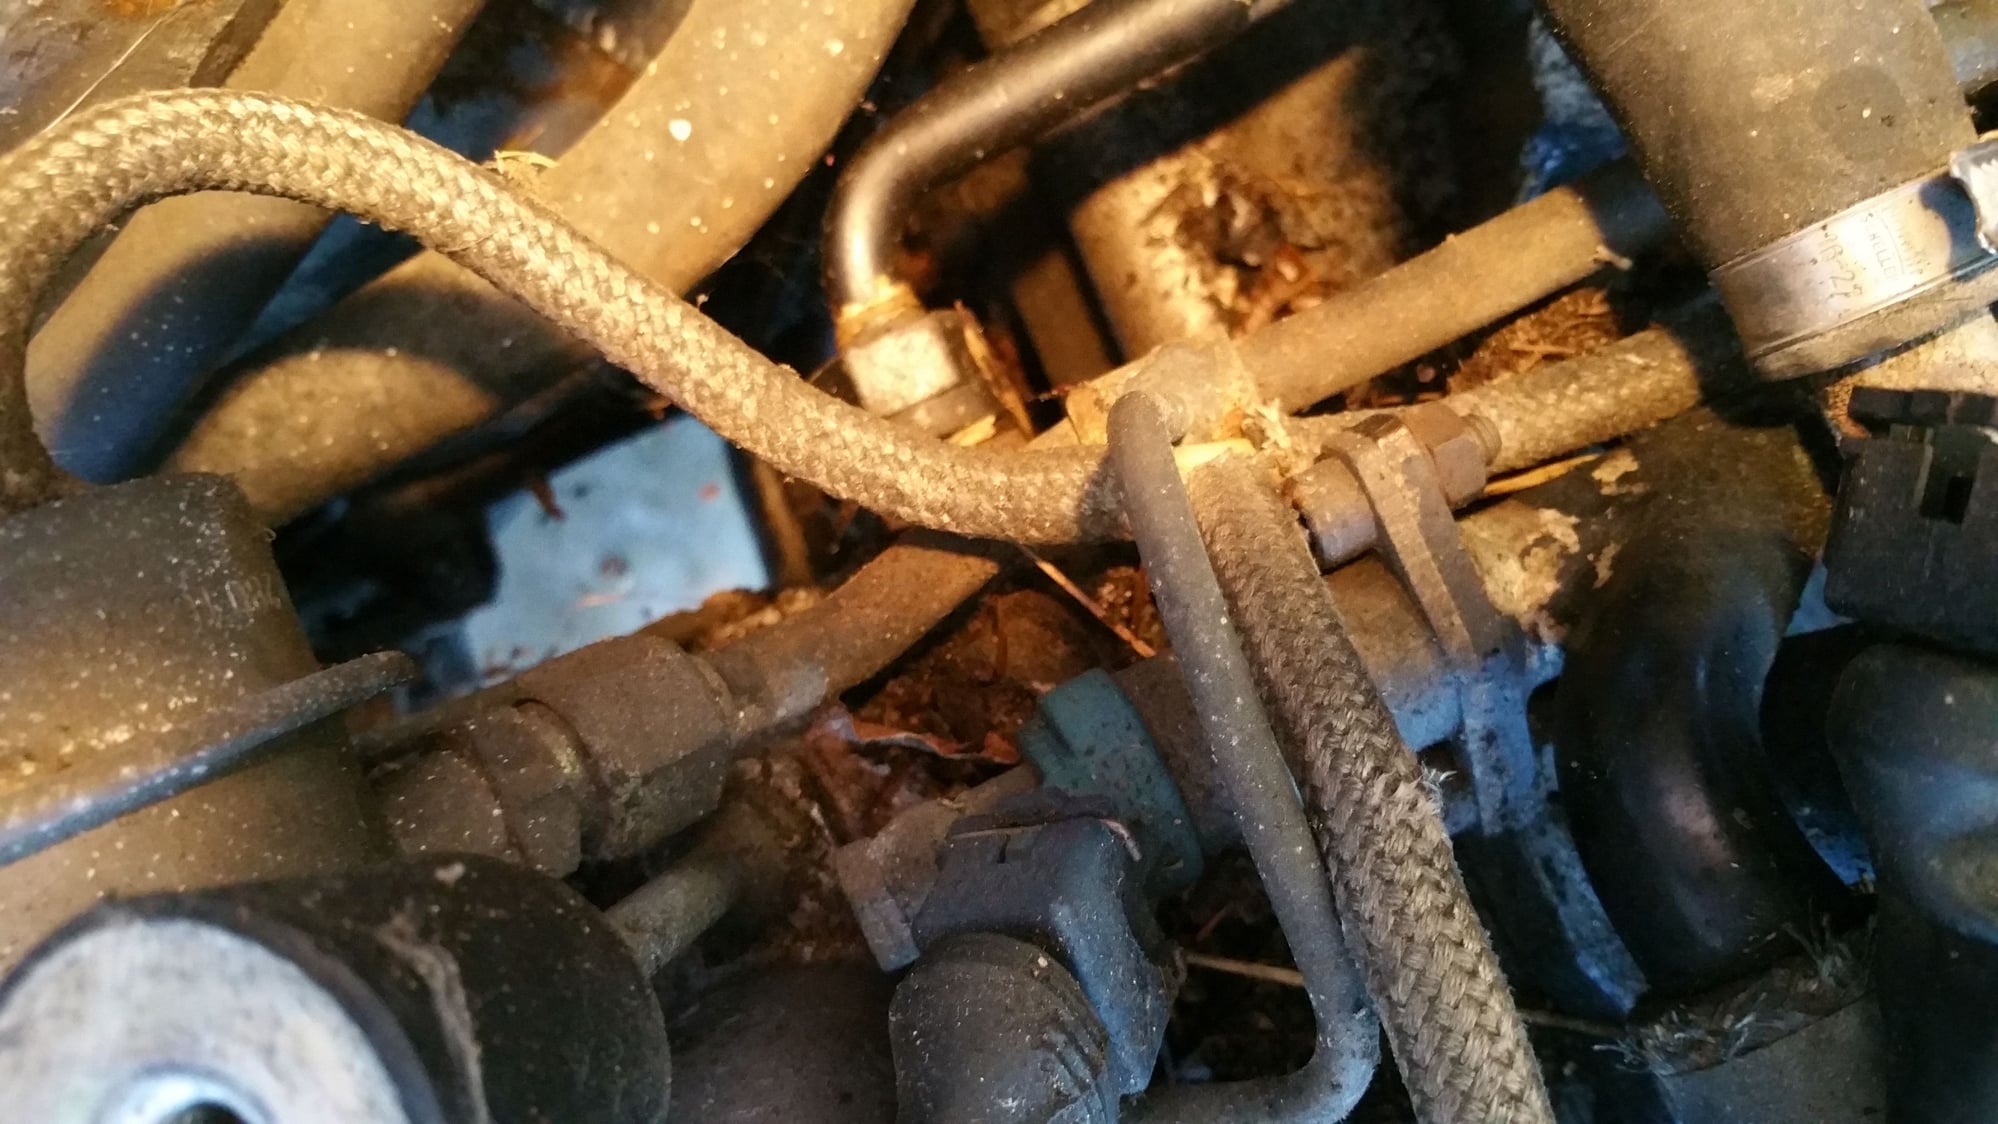
I'm trying to remove the second hex nut from the auxiliary air valve to check the ground point for the l-jet there. I needed to do it anyways - when I pulled the black plug from the valve and looked at the female connectors, there was a noticeable amount of corrosion in the harness. I cleaned that up. Do you know which hex nut has this ground connection? I don't see a ground lead going to it and looks like I mounts flush to the block. But apparently there's a troublesome ground hidden under there.
I've found two grounds on the passenger valve cover which must where the l-jet is ground, because I am finding nothing under the air intake system. I've attached pictures of the right and left side rear of motor, not seeing any grounds there.
I measure resistance at the ground points in the l-jet connector, all ground points measured .3 ohms, some fluctuating a bit before settlon at .3ish. I don't remember, but that's seems pretty low?
Go through all of the diagnostics I have provided above and report your results. Also, clean your grounds regardless of what your multimeter shows you in the way of resistance. This pertains to all of your grounds. Not just those that provide grounds for the L-jet.
Not much about your situation with your car is making sense yet and we need to know more at this point.
Are you aware of the thermo time switch? Is it plugged in?
Sometime soon after you get it going, I would strongly suggest replacing those fuel hoses.


 06-11-2015, 09:18 AM