When you click on links to various merchants on this site and make a purchase, this can result in this site earning a commission. Affiliate programs and affiliations include, but are not limited to, the eBay Partner Network.
The Tutor lessons on the restore (zinc electroplating)
I've not been living up to my end of sharing my experiences, I certainly have enjoyed all of yours and they have been most helpful. Part of the problem was coming up with a name for the car or project. There are some good ones in the tank.
I've settled on The Tutor, this car hasn't yet shown me anything that I hadn't already experienced in a rebuild, but it has thwarted every attempt at good enough, always encouraging even expecting more.
If there is one lesson I've learned is that there is no way one can start this type of project without a loving and understanding wife, mine has tolerated everything from home made zinc application on the kitchen table, to spray dying in the entire rec room using the pool table as a backdrop holder.
Since that post I've learned a lot about the car as I've delved into it.
1) It has been driven in the winter, although the body is rust free fasteners and some of the strangest ancillaries have been a challenge.
2) The car originally had a full leather interior, everything was leather right down to the hinge covers on the rear seats, leather over aluminum. As I received it it had a vinyl pod with a small crack which has since been corrected with one of Roberts covers.
3) The transaxle has been changed, apparently it now has a GT transaxle, which is good news, it has however lost the LSD that it originally came with, which I hope to rectify.
4) It has had a number of partial repaints of differing quality. I can say I wasn't keen on the color of the car, however after spraying a panel with the OEM color I'm impressed and looking forward to a proper paint job.
What I've done in the last year.
Removed the interior and redyed it using the leatherique system, I will do an update with those pictures in the future.
Engine front end. TB with new sprockets, WP, oil pump sprocket, air pump delete (it was seized), front main seal, Porken tensioner and timed with a 32vr.
What I'm working on right now, engine mounts, prep for paint including bump strip removal.
As I'm a long way from the suppliers, and weather can affect what I can do in the garage heater won't handle the -40 we see at times in the winter, somethings may appear to be out of order, bare with me.
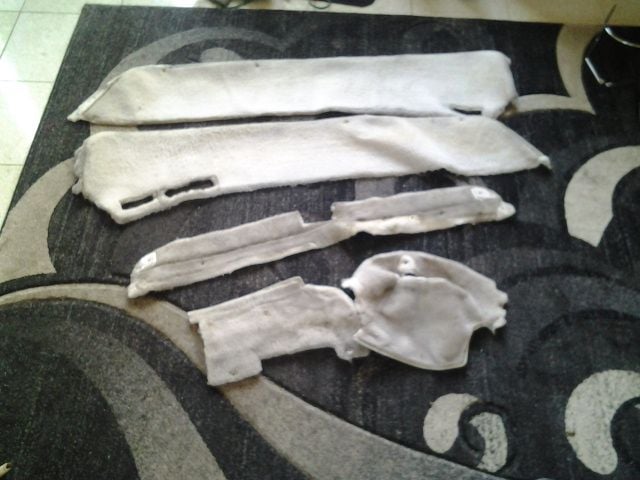
Today, I'm going to share the surprise panels.
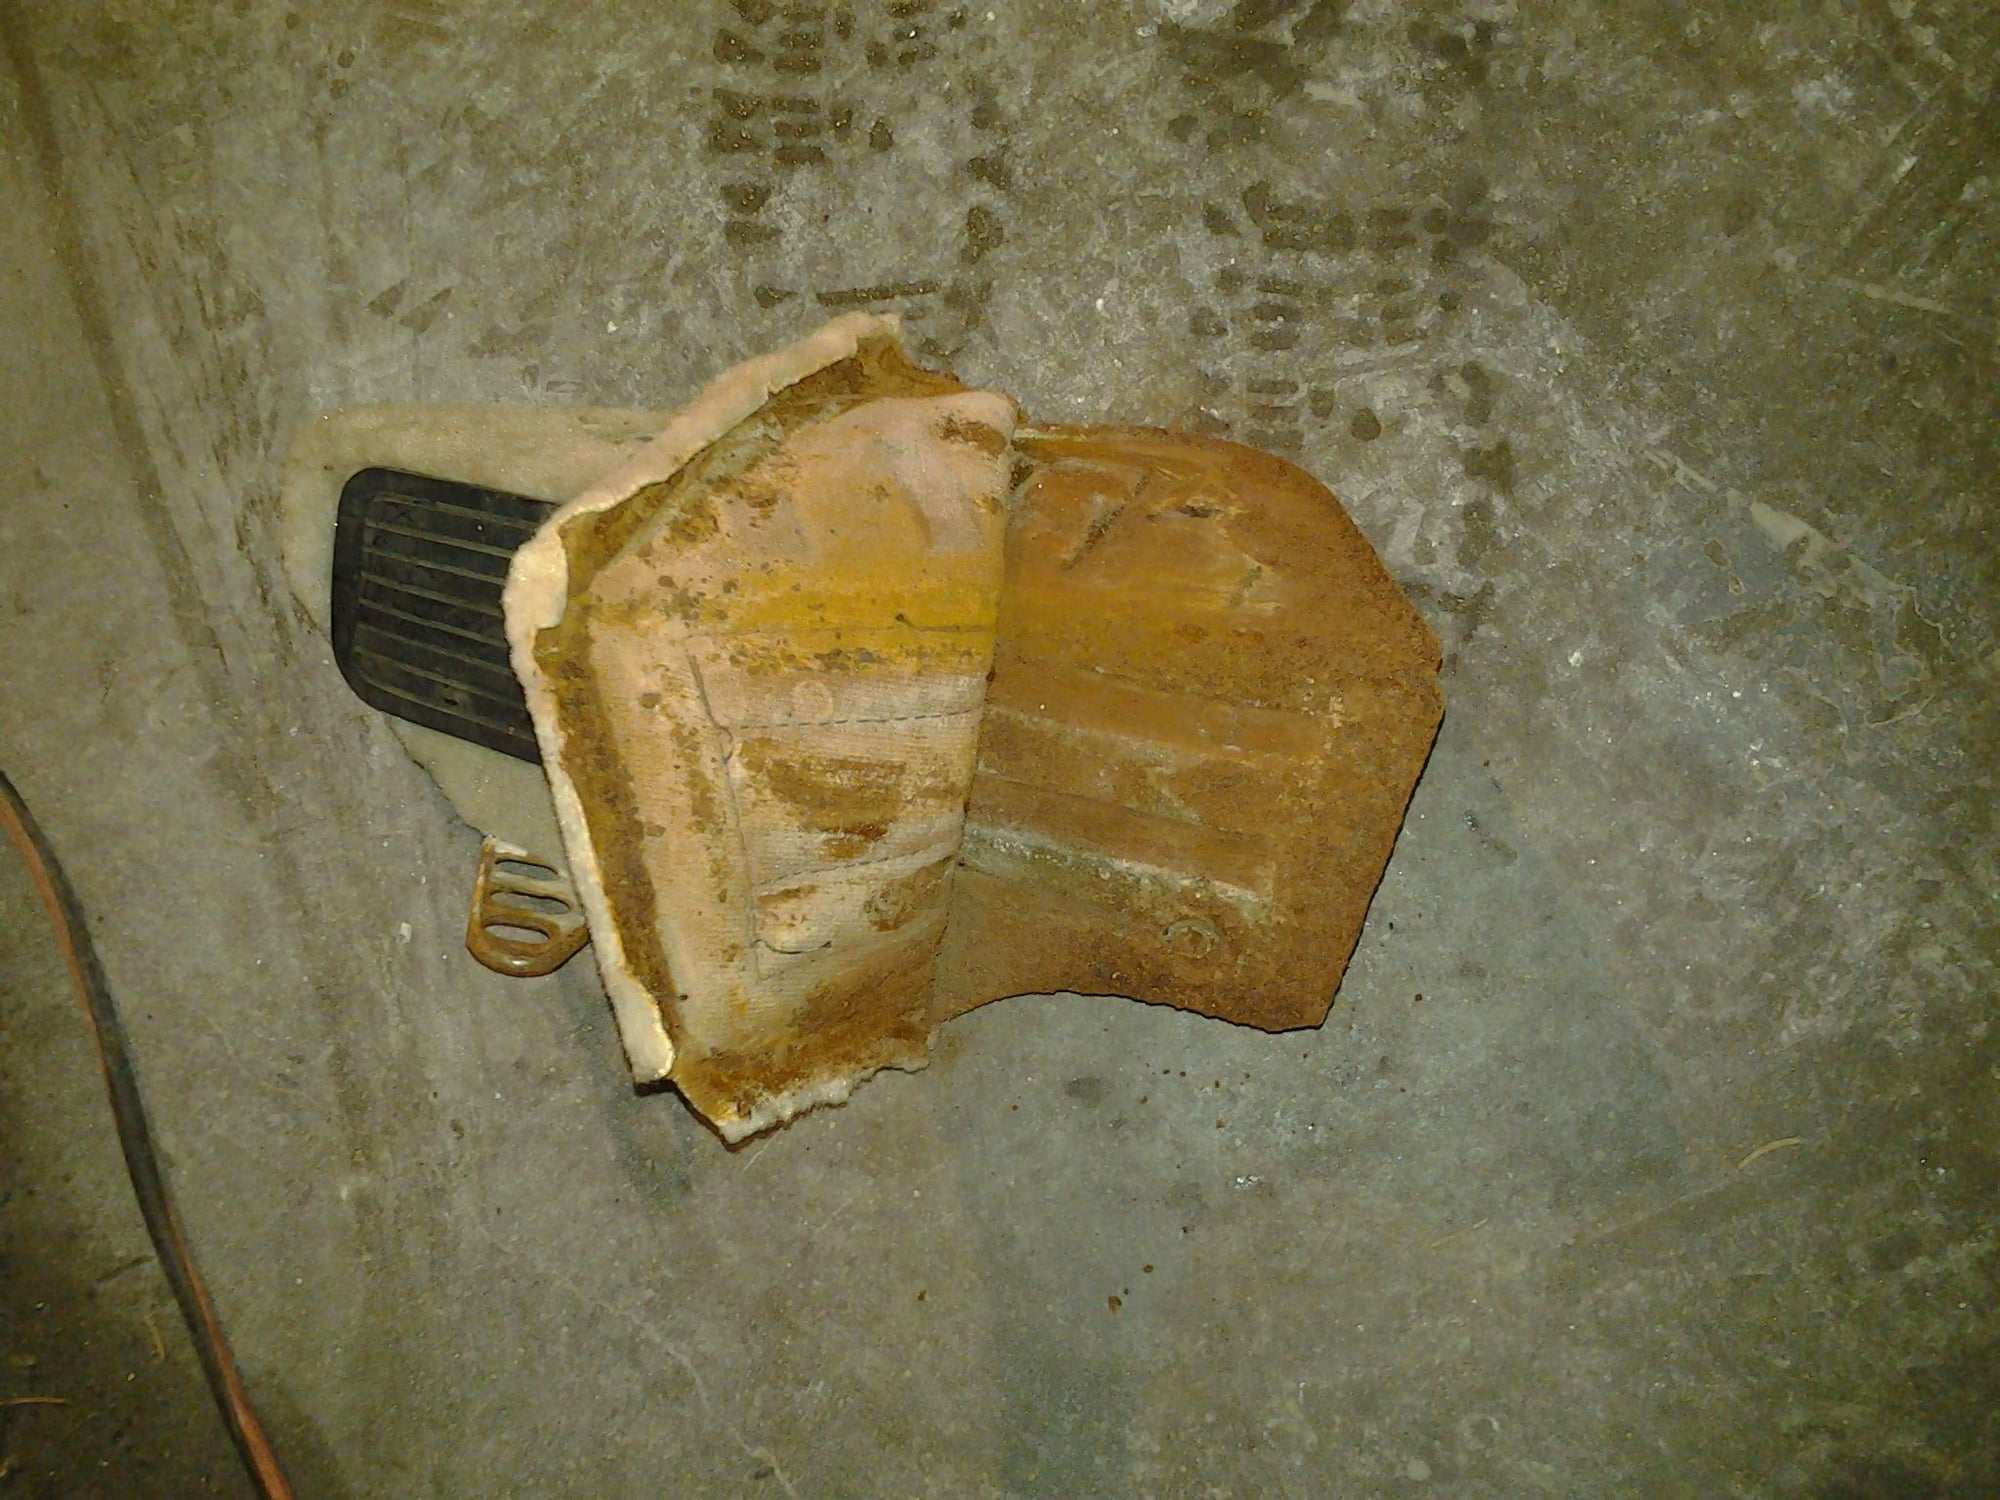
When taking out the interior I was most surprised by the condition of the dead pedal followed by the hand brake cover, part of the problem with a garaged car is that depending on the garage heat the car may never dry out, recently I had to drain out the blower on one of my Volvos as it had filled up with water and was freezing during the day and not working, a combination of a plugged drain and a snow melt in the garage every night, but I digress.
Here is what I found under the carpet on the offending panels.
I personally really, really dislike corrosion, I didn't like my dad's shop on the farm because I could smell the rust. With that in mine here is the process that I used for remediation.
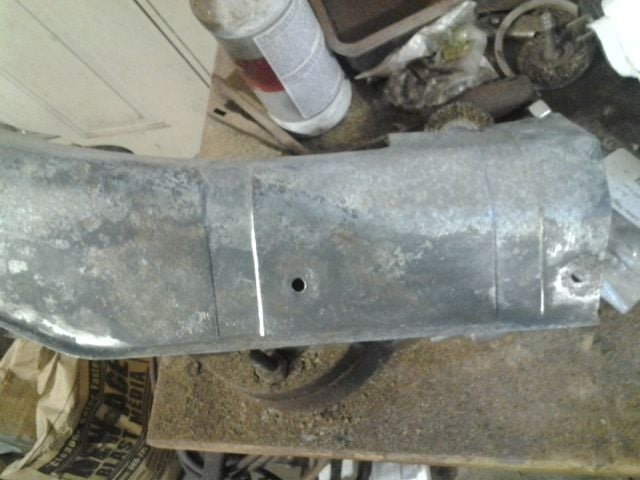
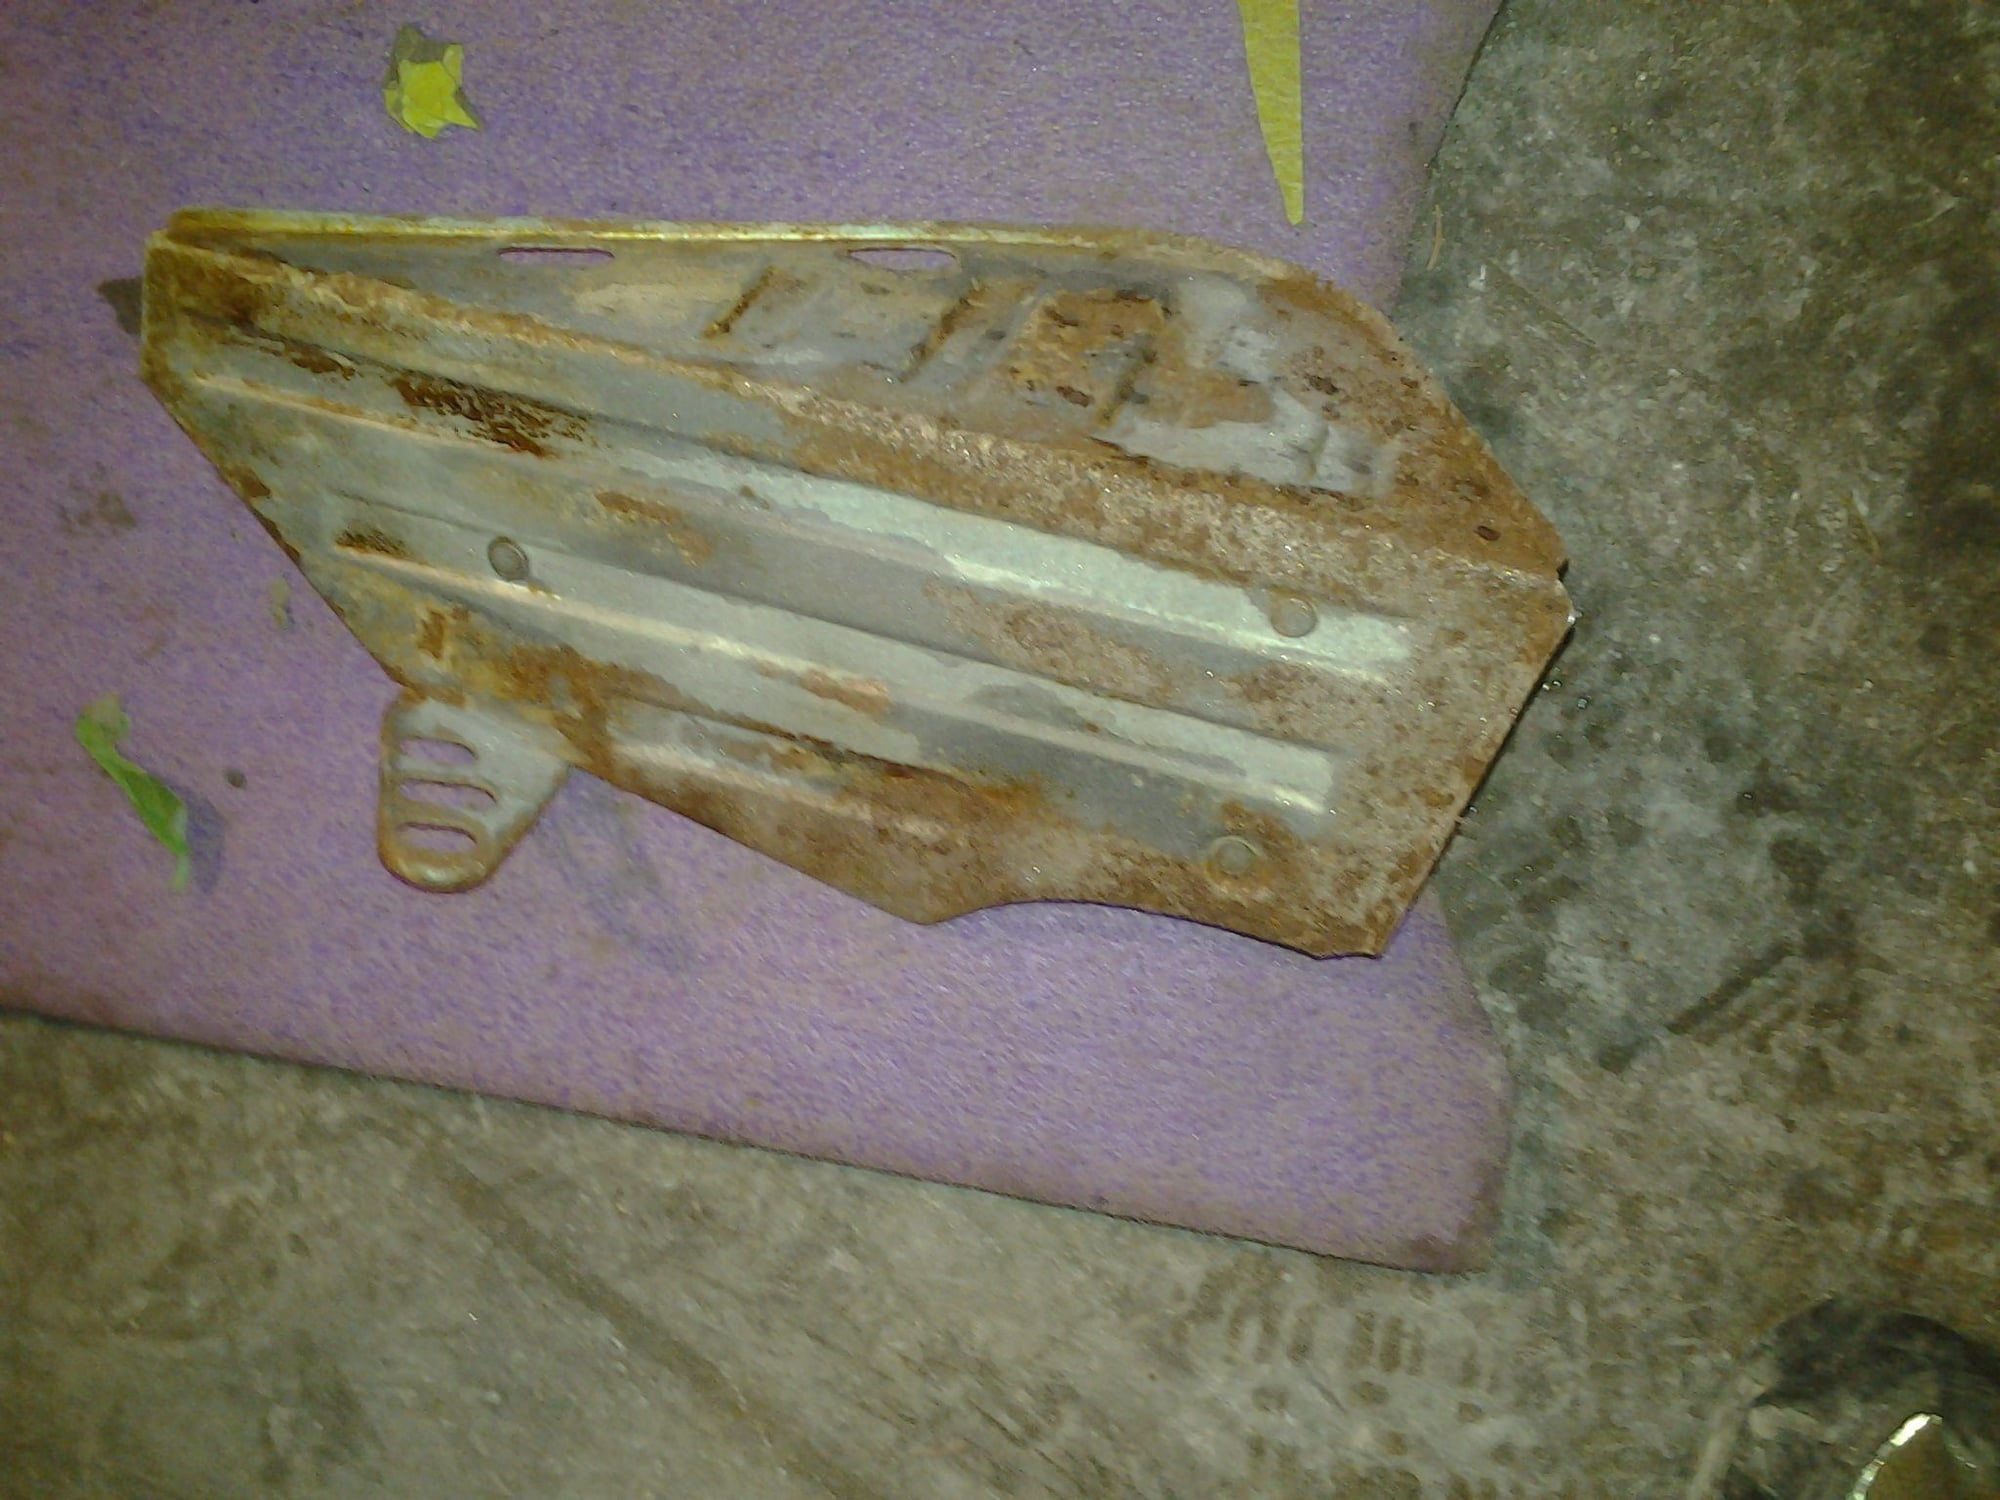
Pictures of the various panels at different stages.
1) Wire brush until every visible sign of rust is gone.
2) Wipe down with acetone.
3) 2 or 3 coats of rust converter: I've used it a lot, although they say you only have to remove rust scale my best results have been with no visible rust. Use thin coats and keep brushing it until it is nearly dry. When I do this I've gotten amazing results. You'll see deep black were the rust was.
4) 2 coats of a good primer, they say it's a primer but what the heck.
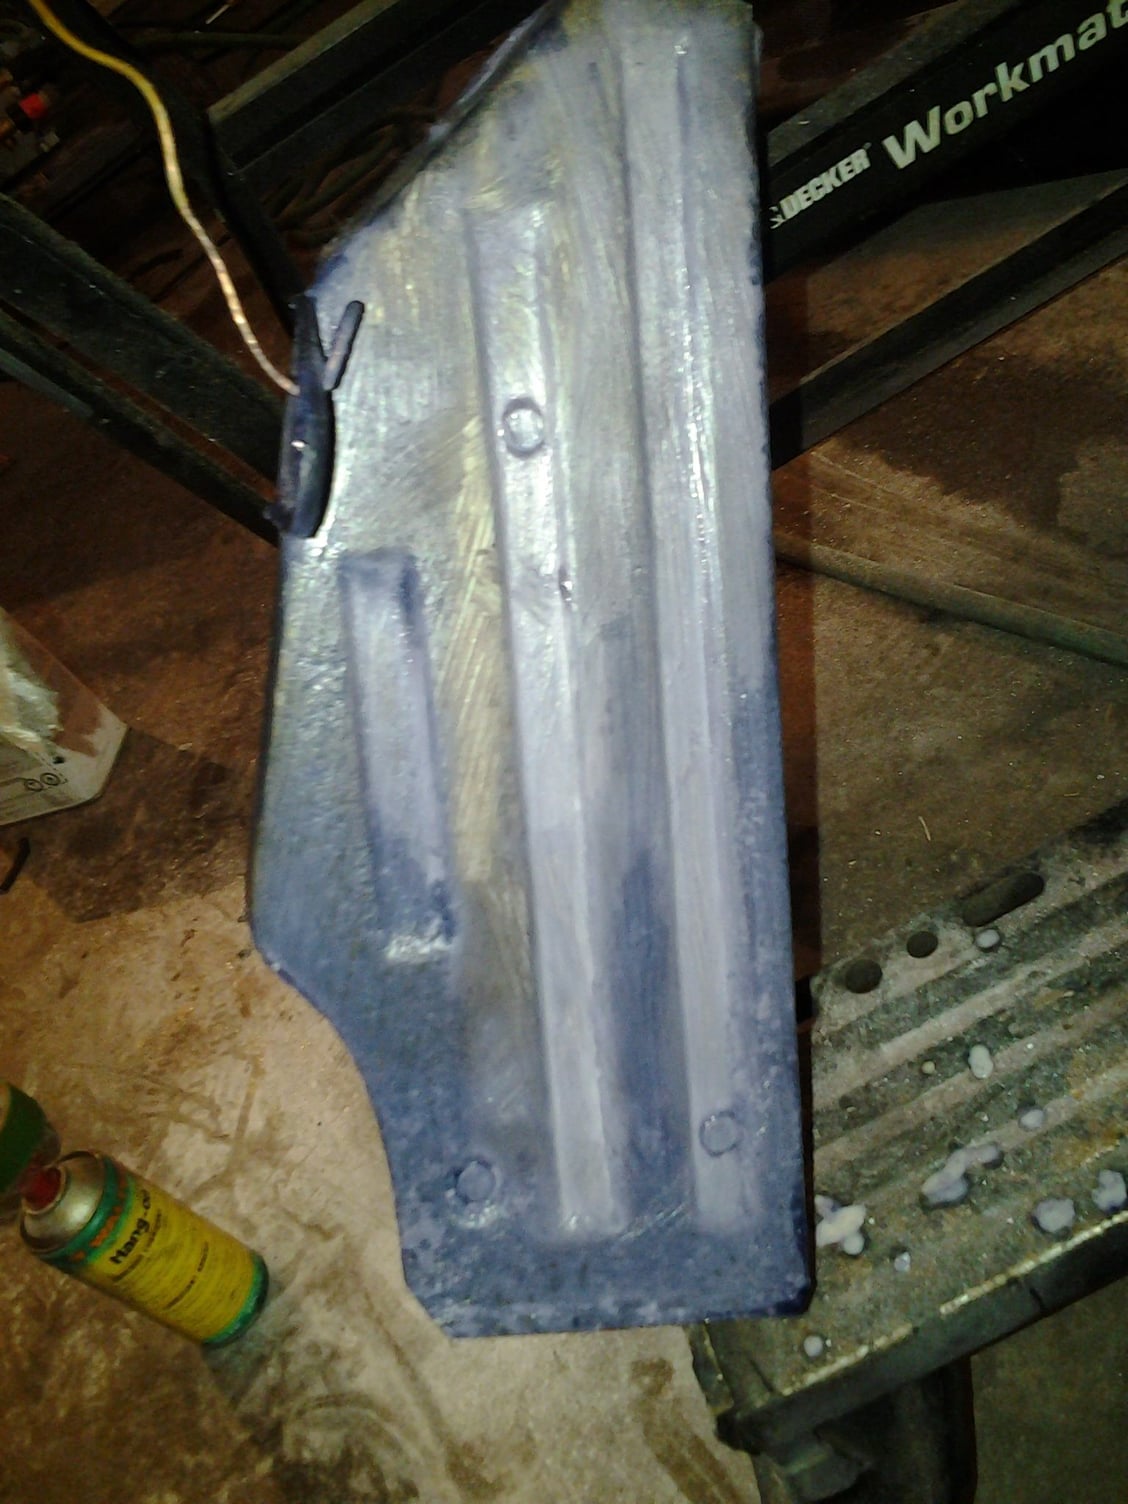
5) Finish coat, and this is when creativity is encourages, on these parts I used a rubberized undercoating, water proof, somewhat healing and flexible.
Enjoy.
I'll try to add the retro projects when there is time as well as adding the new projects as they progress.
Lance
Last edited by wpgshark; 04-22-2015 at 05:06 PM.
Reason: Sub topic added on the restore
I found a lot more corrosion that I would have expected on the dead pedal of the '91 I'm rehabbing- I just bead blasted the surface rust off, but the rust converter is a better long term solution.
Interesting, has your car always been in California?
What color is the interior?
The reason I asked is that there is no corrosion or wear at all on my floor panels, which is inconsistent with my winter theory, although I argued that away with the use of winter mats.
I'll post shortly on the carpet, but if your car has always avoided winter then the most logical cause of the corrosion would be carpet cleaning, the backing on the carpet is a very light woven material.
The reason I ask about color is that I would guess that light color carpet was subject to more aggressive and frequent cleaning, meaning that cars with a Linen carpet like mine would tend to have greater corrosion than say a car with a black carpet.
Nah, the car did 10 years of DD duty in the Chicago area, then sat in a garage for 6 years.
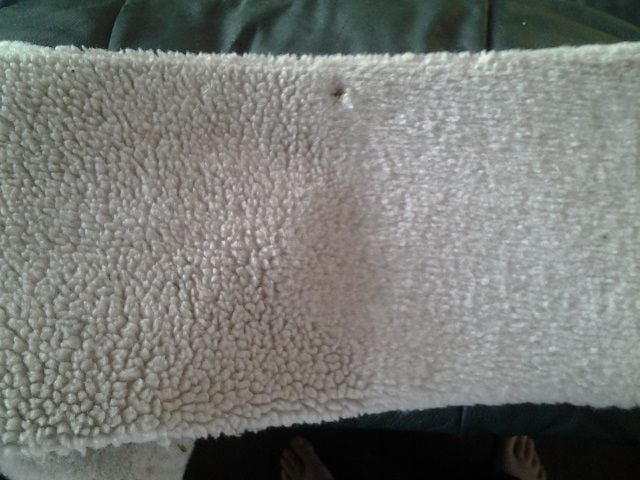
I think it's mostly that a snow/rain/slush-covered boot rested on it for years and the moisture just soaked through the carpet and puddled at the bottom, where the rust is worst:
This was the best I could get the carpet, it's still bad. At some point perhaps I'll re-cover, once I learn to sew....
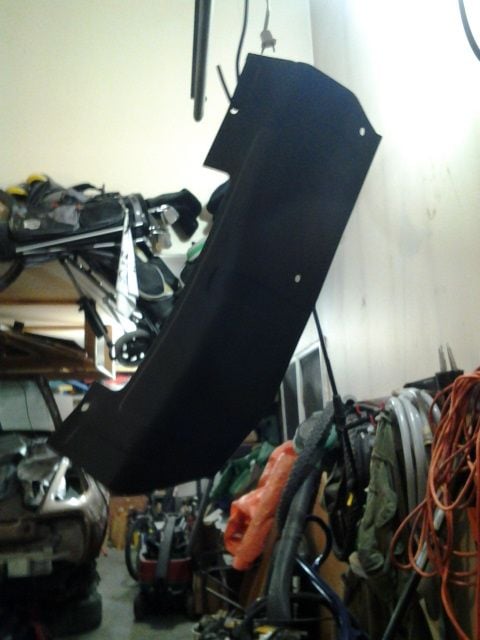
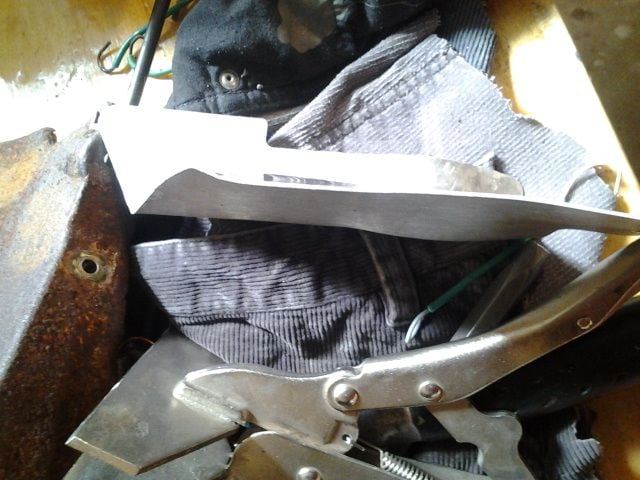
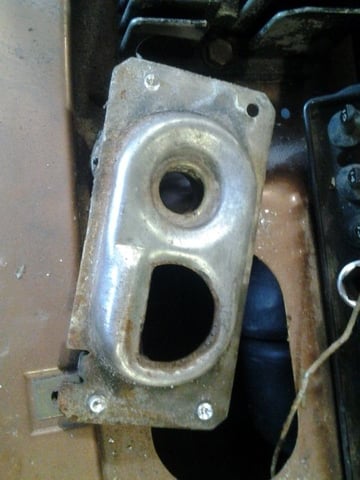
So as part of the engine mount oil pan gasket replacement, I found the engine mount heat shields to be in this condition, this is the best of the 2.
A quick look and it appeared that the parts are NLA, so some fabrication was in order.
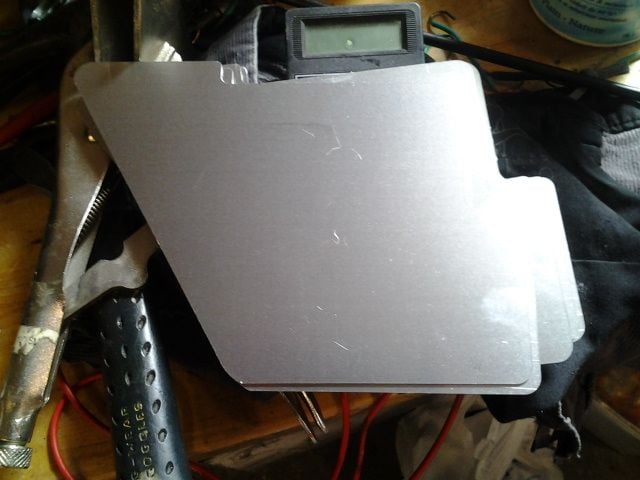
I measured out a near proximity and had 10 blanks cut of .040" 5052 marine aluminum, based on past experiences I hoped that would be enough.
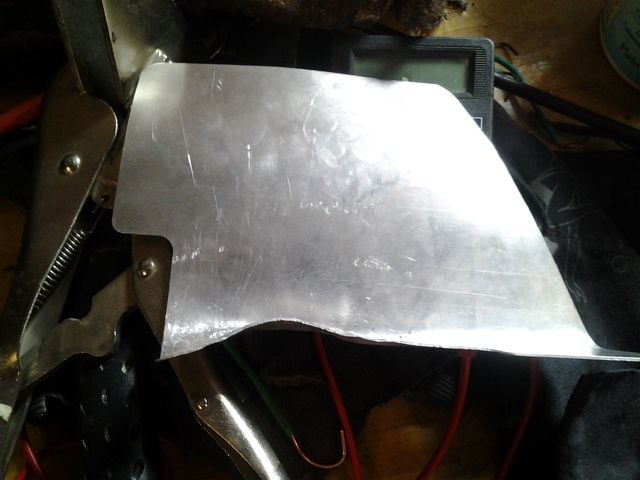
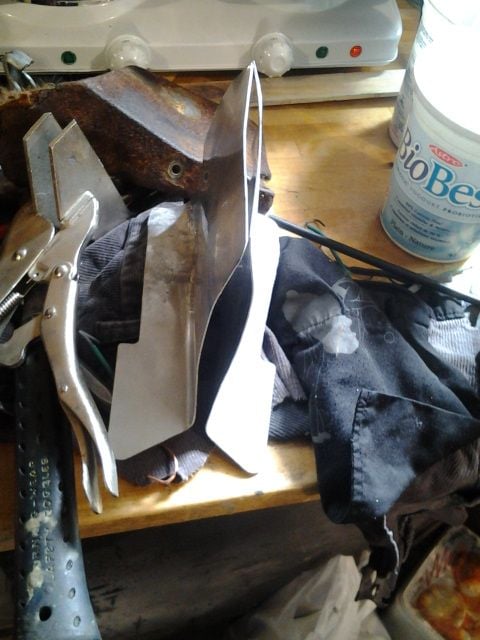
It's always fun to get a new tool so I bought myself an inexpensive English wheel, and went to forming, bent the flanges over with a flange vice grip, a little pounding with a hammer and dolly and not too bad.
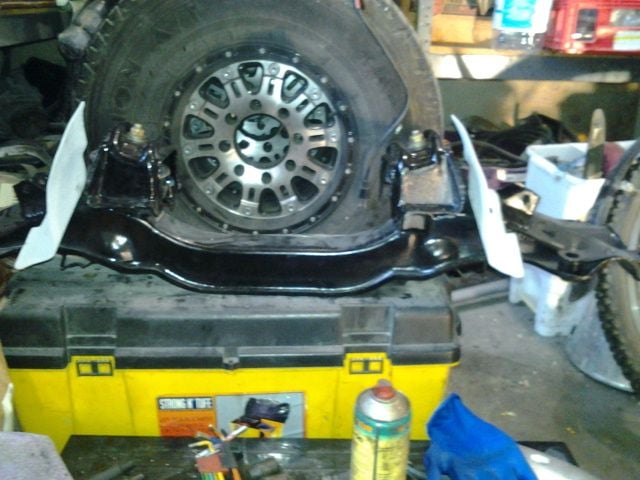
I then sprayed them down with a few coats of a ceramic thermal barrier coating and mounted them on the cross member. I had the AC compressor heat shield out for corrosion remediation and coated it as well.
Installed them in the car and looks pretty good, although it doesn't show up to well, the shield is more than a shield, it has an integrated scoop that channels more air on the outside of the shield I guess creating an air curtain barrier as well. You can just make it out in this picture.
Next episode will be my ongoing adventure of home zinc electroplating.
Part of the pain on working on older cars is the corroded hardware, the 928 body is in good shape, but a lot of the things that attach to it have corroded, especially the bolts. Options are to put up with what you have, finder acceptable used, find new if possible, or refinish. I like saving things so I went with the refinish. There is lots of information on the net and I tried several of the methods, in the end I found the process at this site to be the best starting point. http://www.triumphrat.net/classic-vi...g-at-home.html. I used boat anodes for the zinc, I tried a precision power supply but burnt it out, I ended up using a battery and a PMW control that I got at a local electronics store. For my set up 3.5v worked really well.
I also experimented with some yellow chromate, I'm not yet getting consistent color, I am however happy with the results.
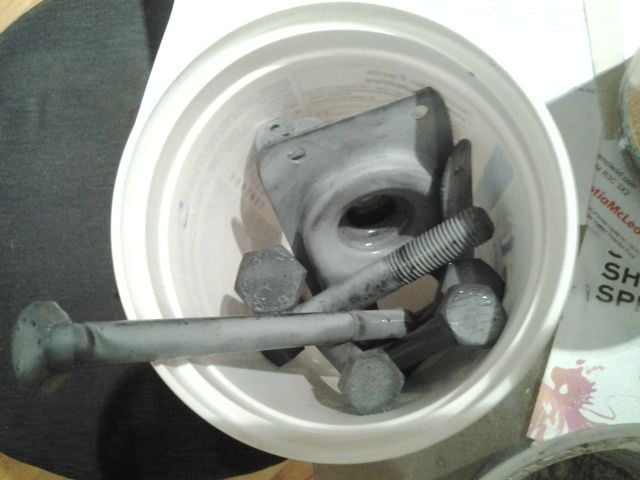
Here are some pictures of the process.
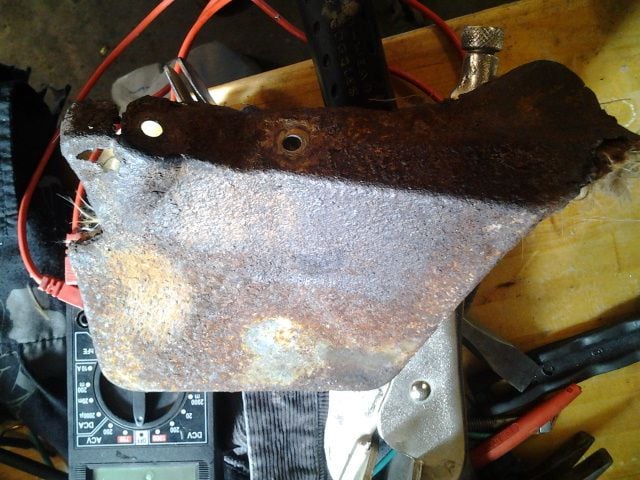
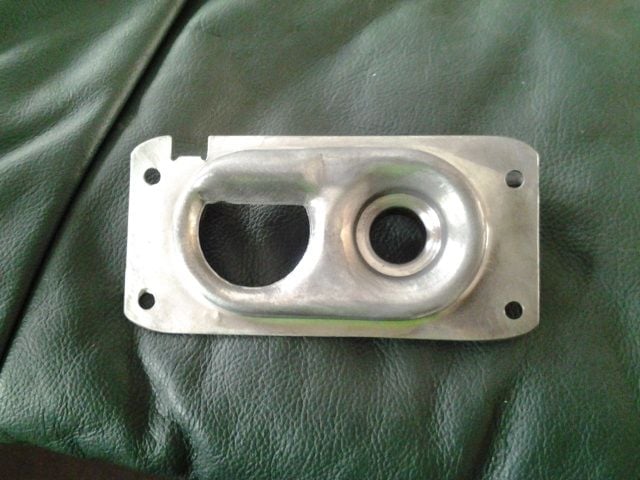
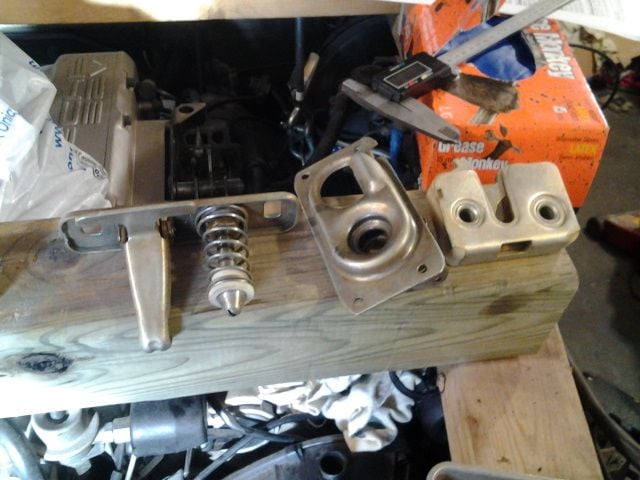
Front of hood strike
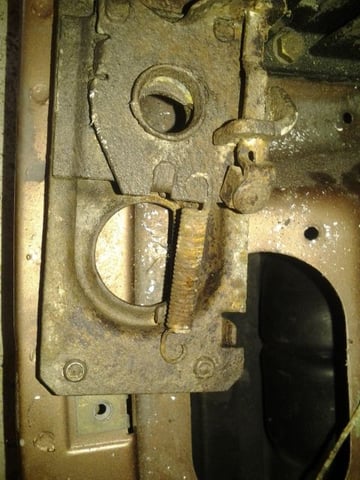
Back of hood strike, I was very surprised with the level of corrosion.
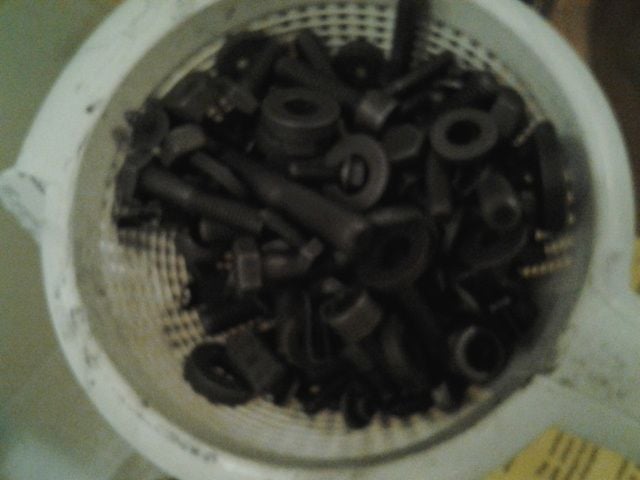
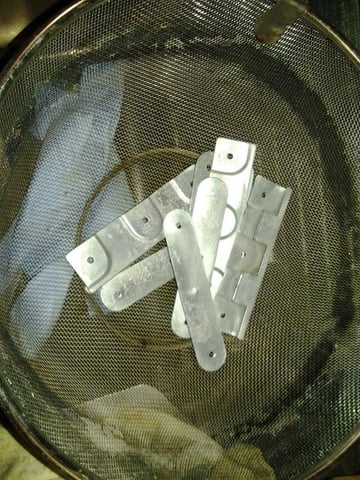
Hardware that has been dipped in diluted sulfuric acid solution to remove rust
Hardware that has gone through the tumbler using copper slag as media, this is after the acid dip.
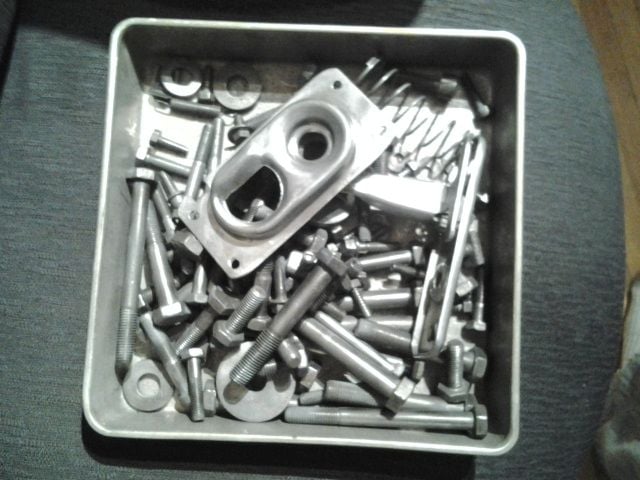
First zinc coat, I did a minimum of 2 on every piece.
That light grey is such a horrible color, I wanna replace my entire color set at this point. What a mess!
Michael
Originally Posted by Rob Edwards
Nah, the car did 10 years of DD duty in the Chicago area, then sat in a garage for 6 years.
I think it's mostly that a snow/rain/slush-covered boot rested on it for years and the moisture just soaked through the carpet and puddled at the bottom, where the rust is worst:
This was the best I could get the carpet, it's still bad. At some point perhaps I'll re-cover, once I learn to sew....
I like your solution to heat shield restoration. I'm in the middle of my MM/OP job, and have been thinking about how to solve that problem myself. I have some aluminum faced insulated material coming, but to repair the corroded shields I think I am going to weld on some new metal if I can (I'm not that great a welder, so we'll see). Very good thread!
It�s hard to tell from the picture of the stuff in the bucket, but it looks like you might be overcooking a little bit and need to throtle back on the electric current. When it�s right, the zinc should be shiny, not dull. And it�s hard to tell in the last photo, but if you�re using a yellow/gold passivate, you might want to soak it a little longer. Although the instructions on my Gateros kit said to only soak parts for a minute or two, I�ve left them in there sometimes five minutes or more. Dunno why � maybe it�s the temperature, but sometimes the passivate seems to stick better the longer it soaks.
FWIW, after you get done and to help protect the parts even more, I�d hit them with a couple thin coats of high temp clear paint.
Can�t wait to see more pictures of your car � that almost all white interior (dash, upper doors, etc) is simply stunning!
The pictures in the bucket were right out of the tank before the residue had been rubbed off, here are some after the residue has been rubbed off.
Getting a consistent color that I like has been a challenge, I'm looking for something a little less than bright brand new looking.
I took another shot at the strike and a latch. This was closer to what I was looking for, I have to stop taking pictures of gold and yellow on a green background, it washes it out.
As much as I like the zinc plating for corrosion protection, as it does its sacrificial job protecting the underlying steel, it tends to fade to a very dull gray color. Even if you can get a good chromate yellow on it, it will still fade to that gray over time. I recommend that you find a good clear paint finish for exposed parts.
For the hood latch, I added a narrow tab of clear packing tape to the stationary part where the latch lever hits. I also used a gasket punch to make a donut of the same tape to put in the bottom of the well where the pin hits. That latch plate is a high-visibility part when you have the hood up for show-off. Having rub-throughs on the pretty parts is avoidable with just a small amount of prep and care.
The clear has been suggested, and I have used a 1k urethane on a lot of the parts.
Your idea on the plastic rub protector is very good, I particularly like the idea of putting the protector for the male pieces, on the female side, less protector needed, less visible and easier to apply.
Would you care to share which adhesive backed product you used?
3M Heavy Duty Packing Tape. Nothing exotic, had some handy. It gets replaced every few years. I use the same stuff on the hatch lid where the factory put a similar tape, on the sides where the lid contacts the rubber wedge supports. Circles are added wherever theres a rubber or plastic bumper contact with painted parts too, like the four-legged 'posts' at the front corners of the apron. Every few years all that front stuff is removed for detailing. so it's easy to replace after the cleaning and polishing but before sealant is applied. It disappears unless you really look for it, at least on my black car.
I have the privelege of getting a low-miles car that was in pretty much perfect unmolested condition. Lots of little things help keep it in good condition as the years and the miles pile on. So far with only a dry-climate history, it hasn't been too difficult keeping it nice. The only obvious victims have been fasteners in the wheelwell liners from rain- and rock-blasting while driving. I avoid rain but sometimes get caught out on a trip. Fortunately replacement liner bolts and screws are available in original cad plating for replacement, thanks to the 944 popularity.


 03-23-2015 | 04:16 PM