When you click on links to various merchants on this site and make a purchase, this can result in this site earning a commission. Affiliate programs and affiliations include, but are not limited to, the eBay Partner Network.
In the above post the pics got out of sync, my apologies but I�m on an iPad and I might fix it when I get on the desktop. The mods needed are pretty extensive, the driven cam needs a mod on the left head. This hasn�t been attempted as yet.
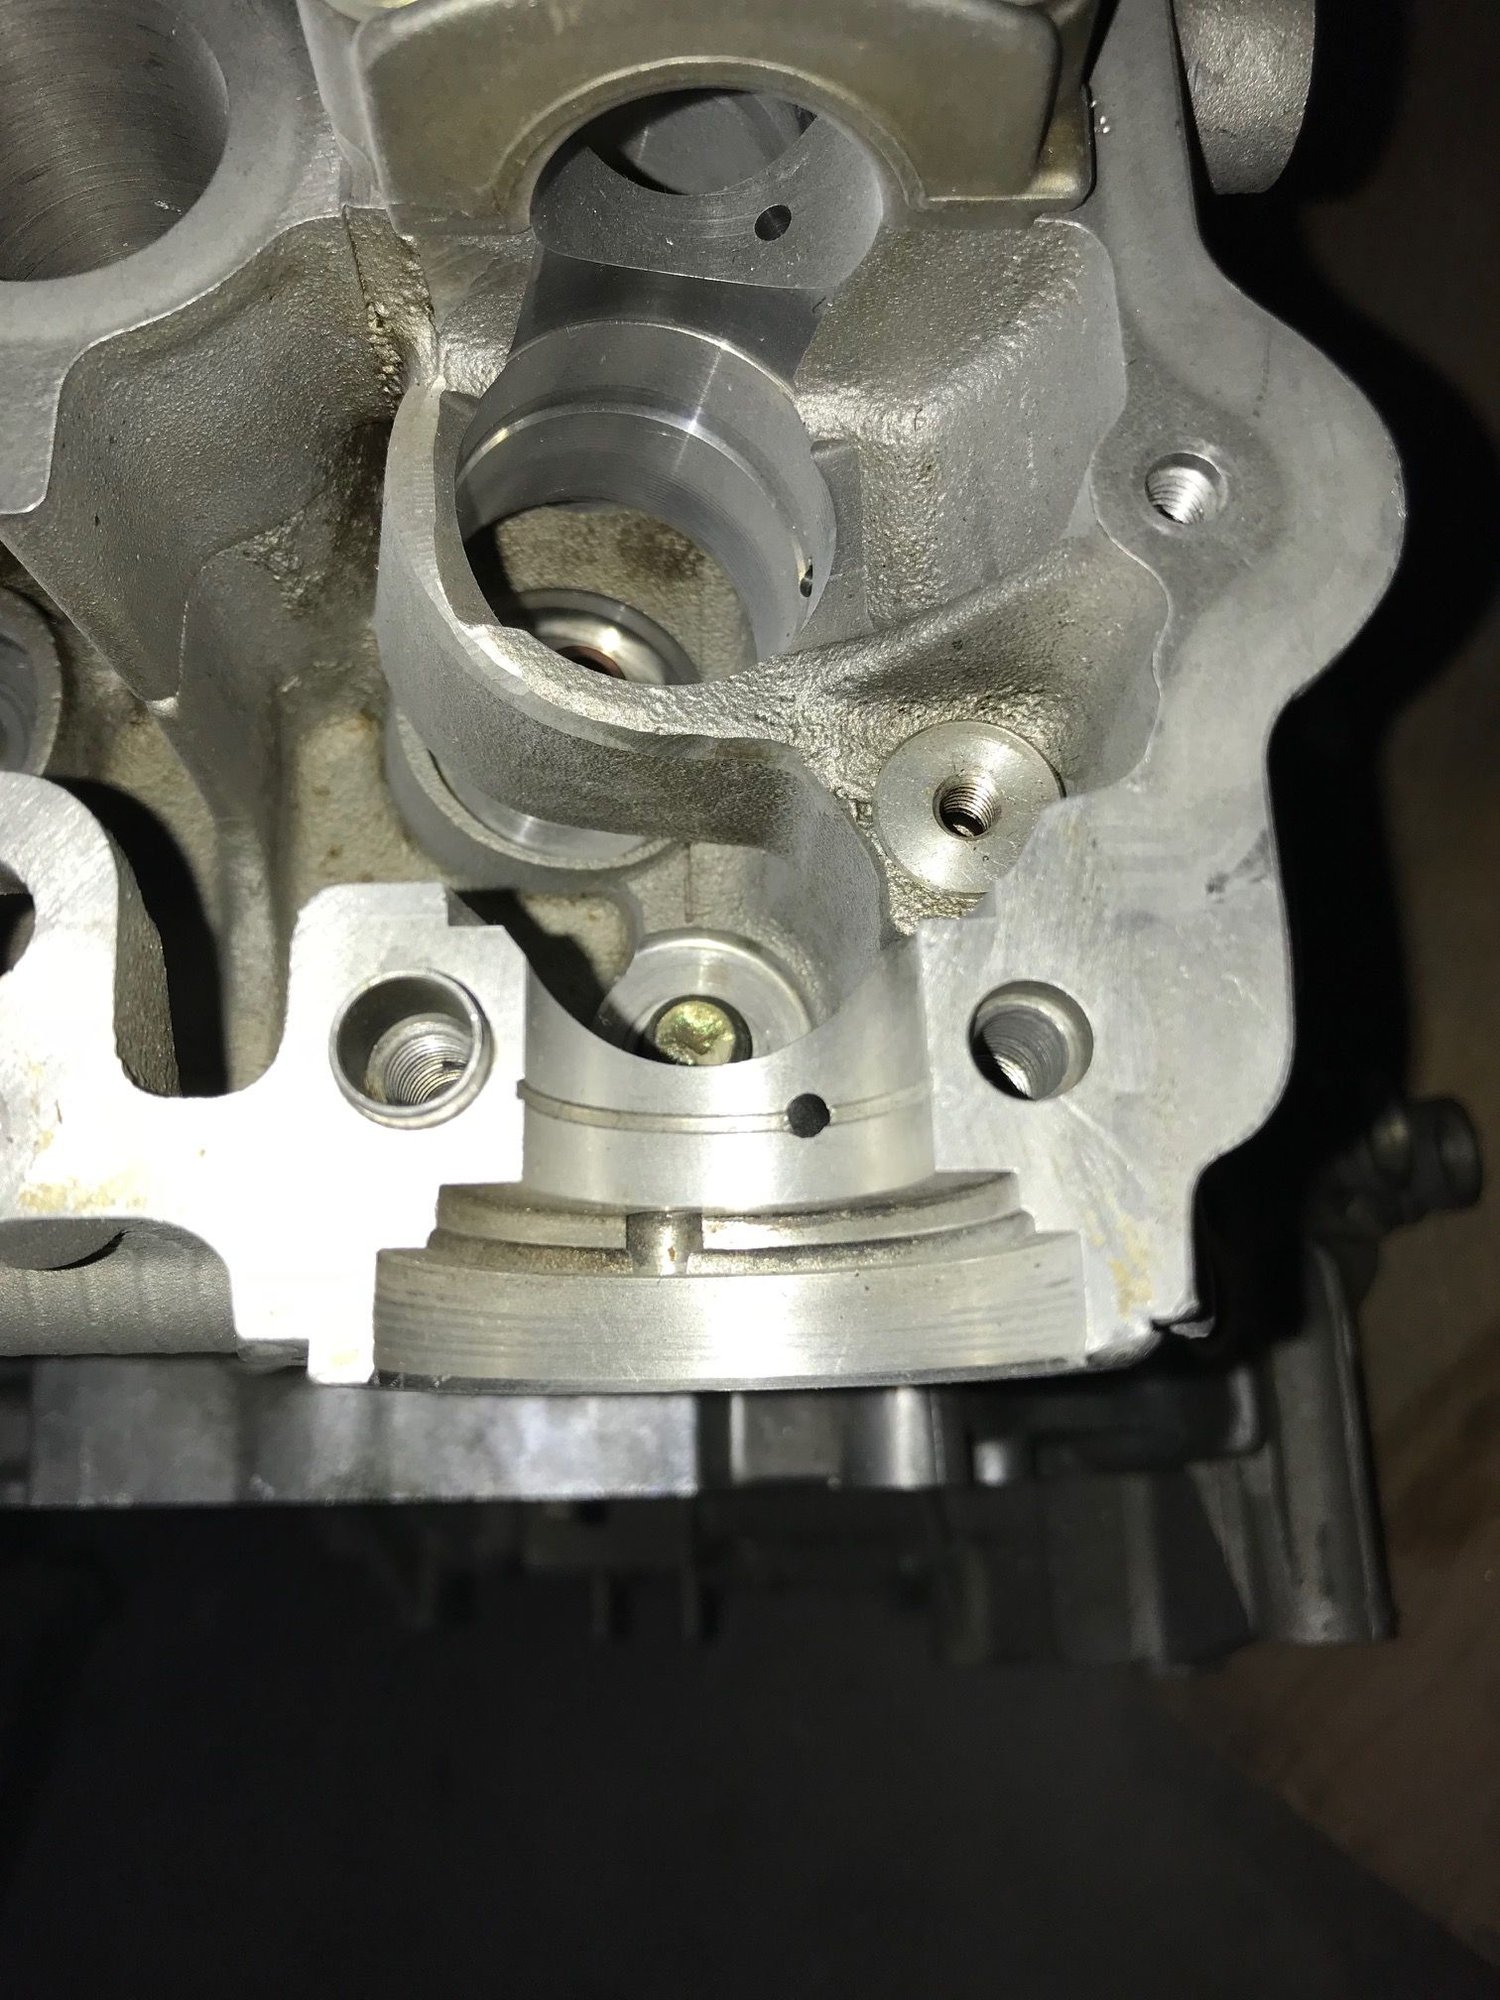
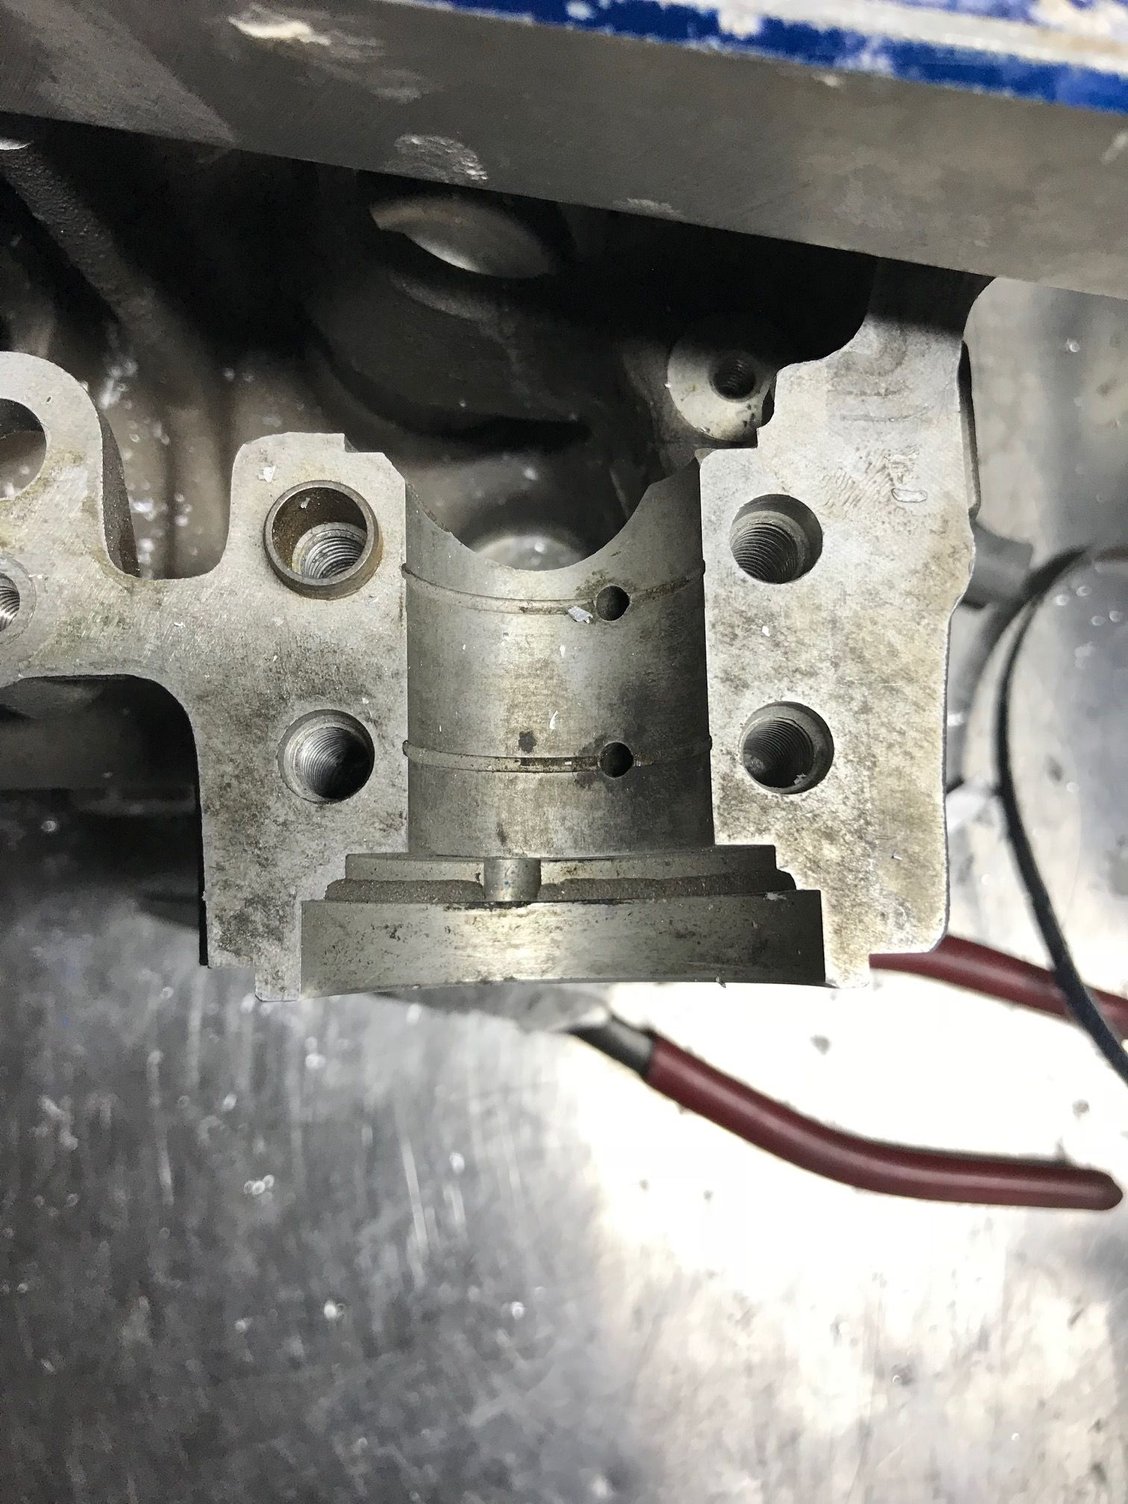
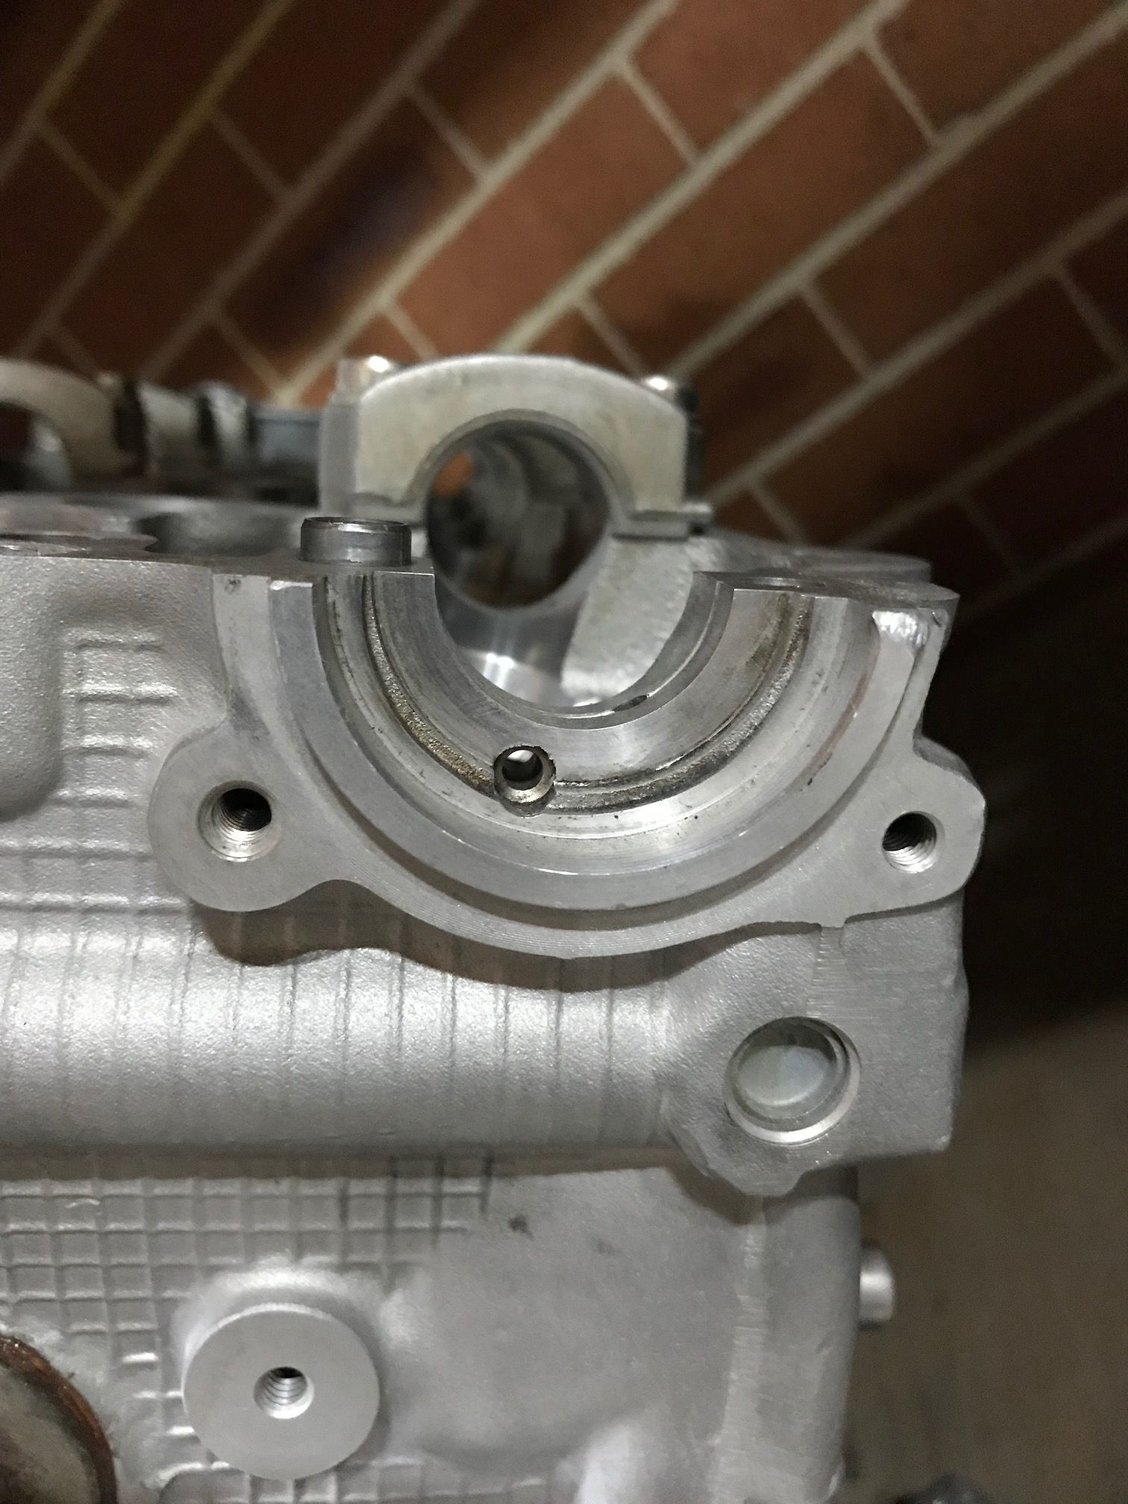
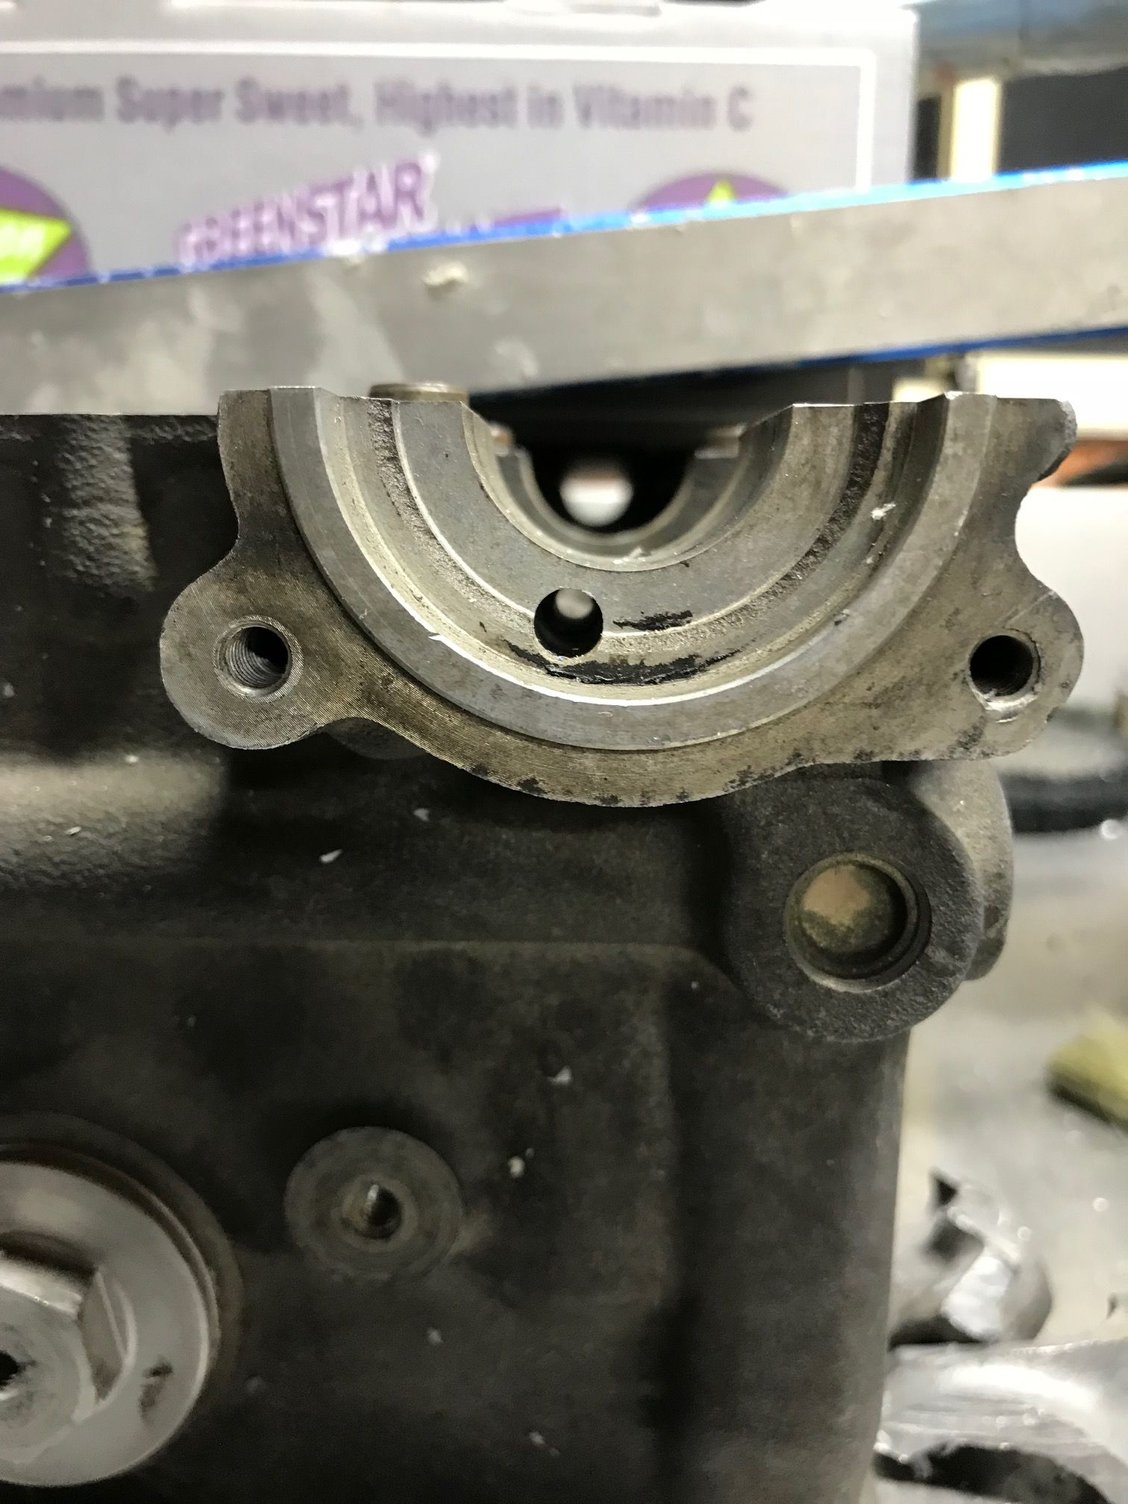
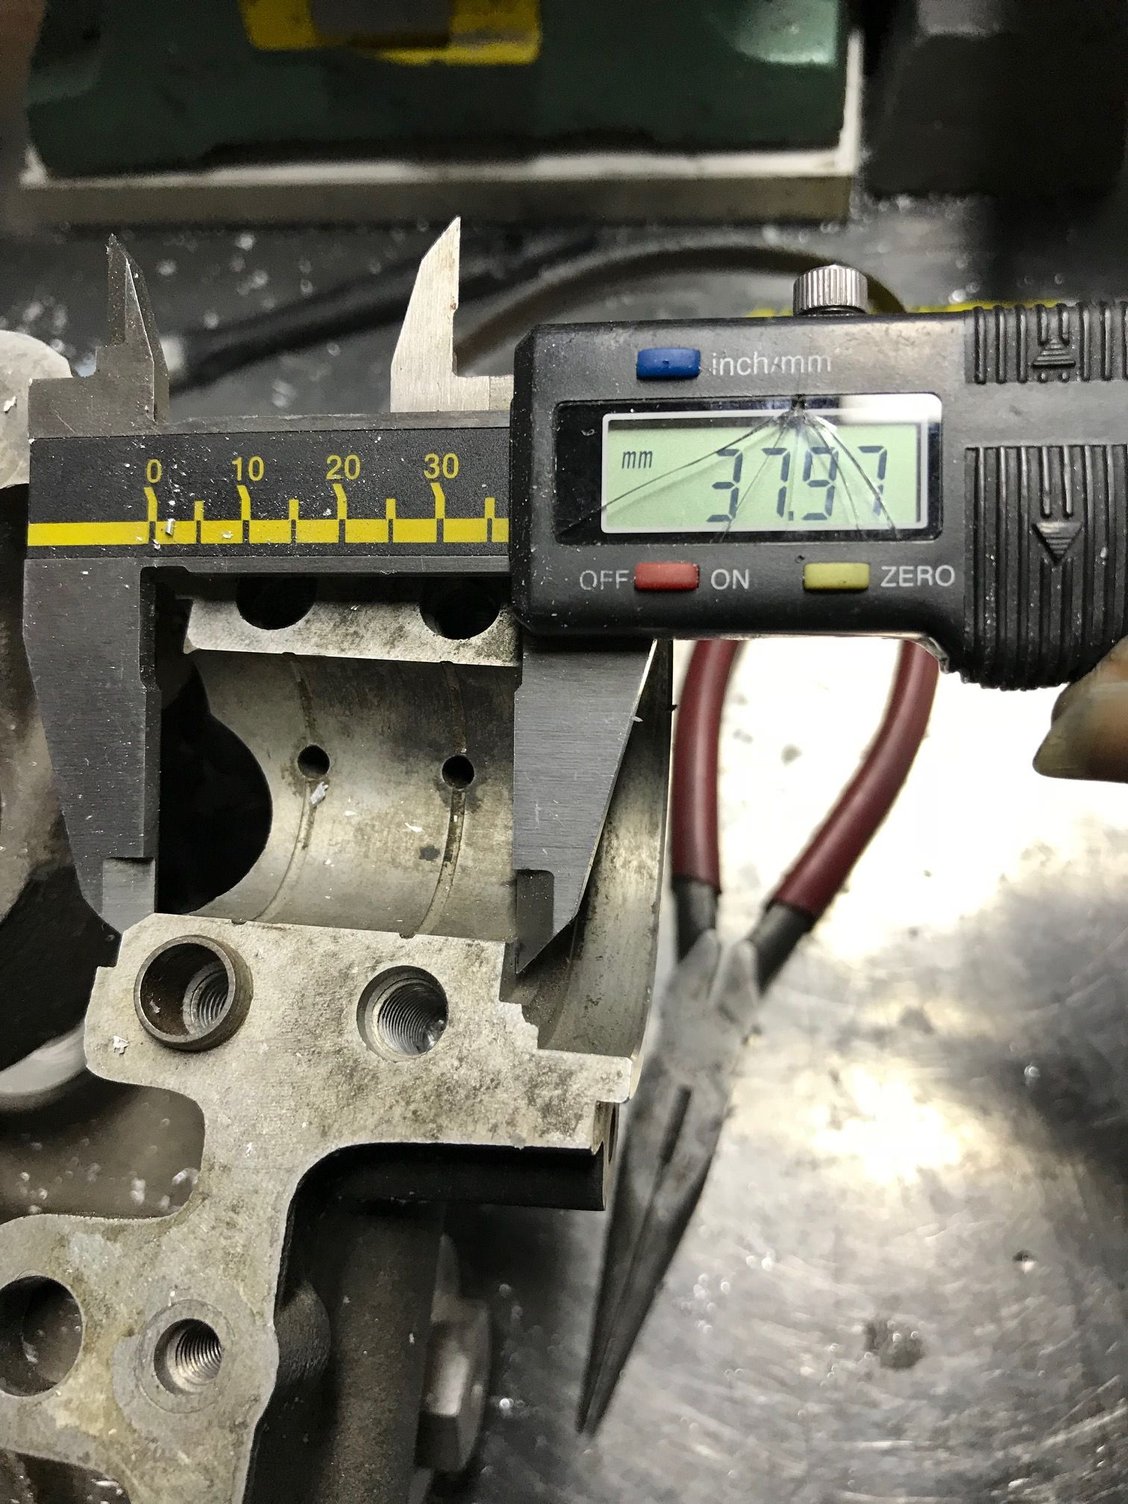
968 head
928 head
968 head
928 head
968 head
928 head
So there is a 20 mm difference in the cam area. This is not easy to address if it was to be welded. I�m thinking about another form of attachment.
The last must solve issue is the variocam tensioner, I have not made the piece but it is simple and reverses the tensioner so that it is appropriate for the other side of the engine.
I still plan to move the angle of the valves but this is an option for anybody taking on such a conversion. It also involves lots of custom parts.......
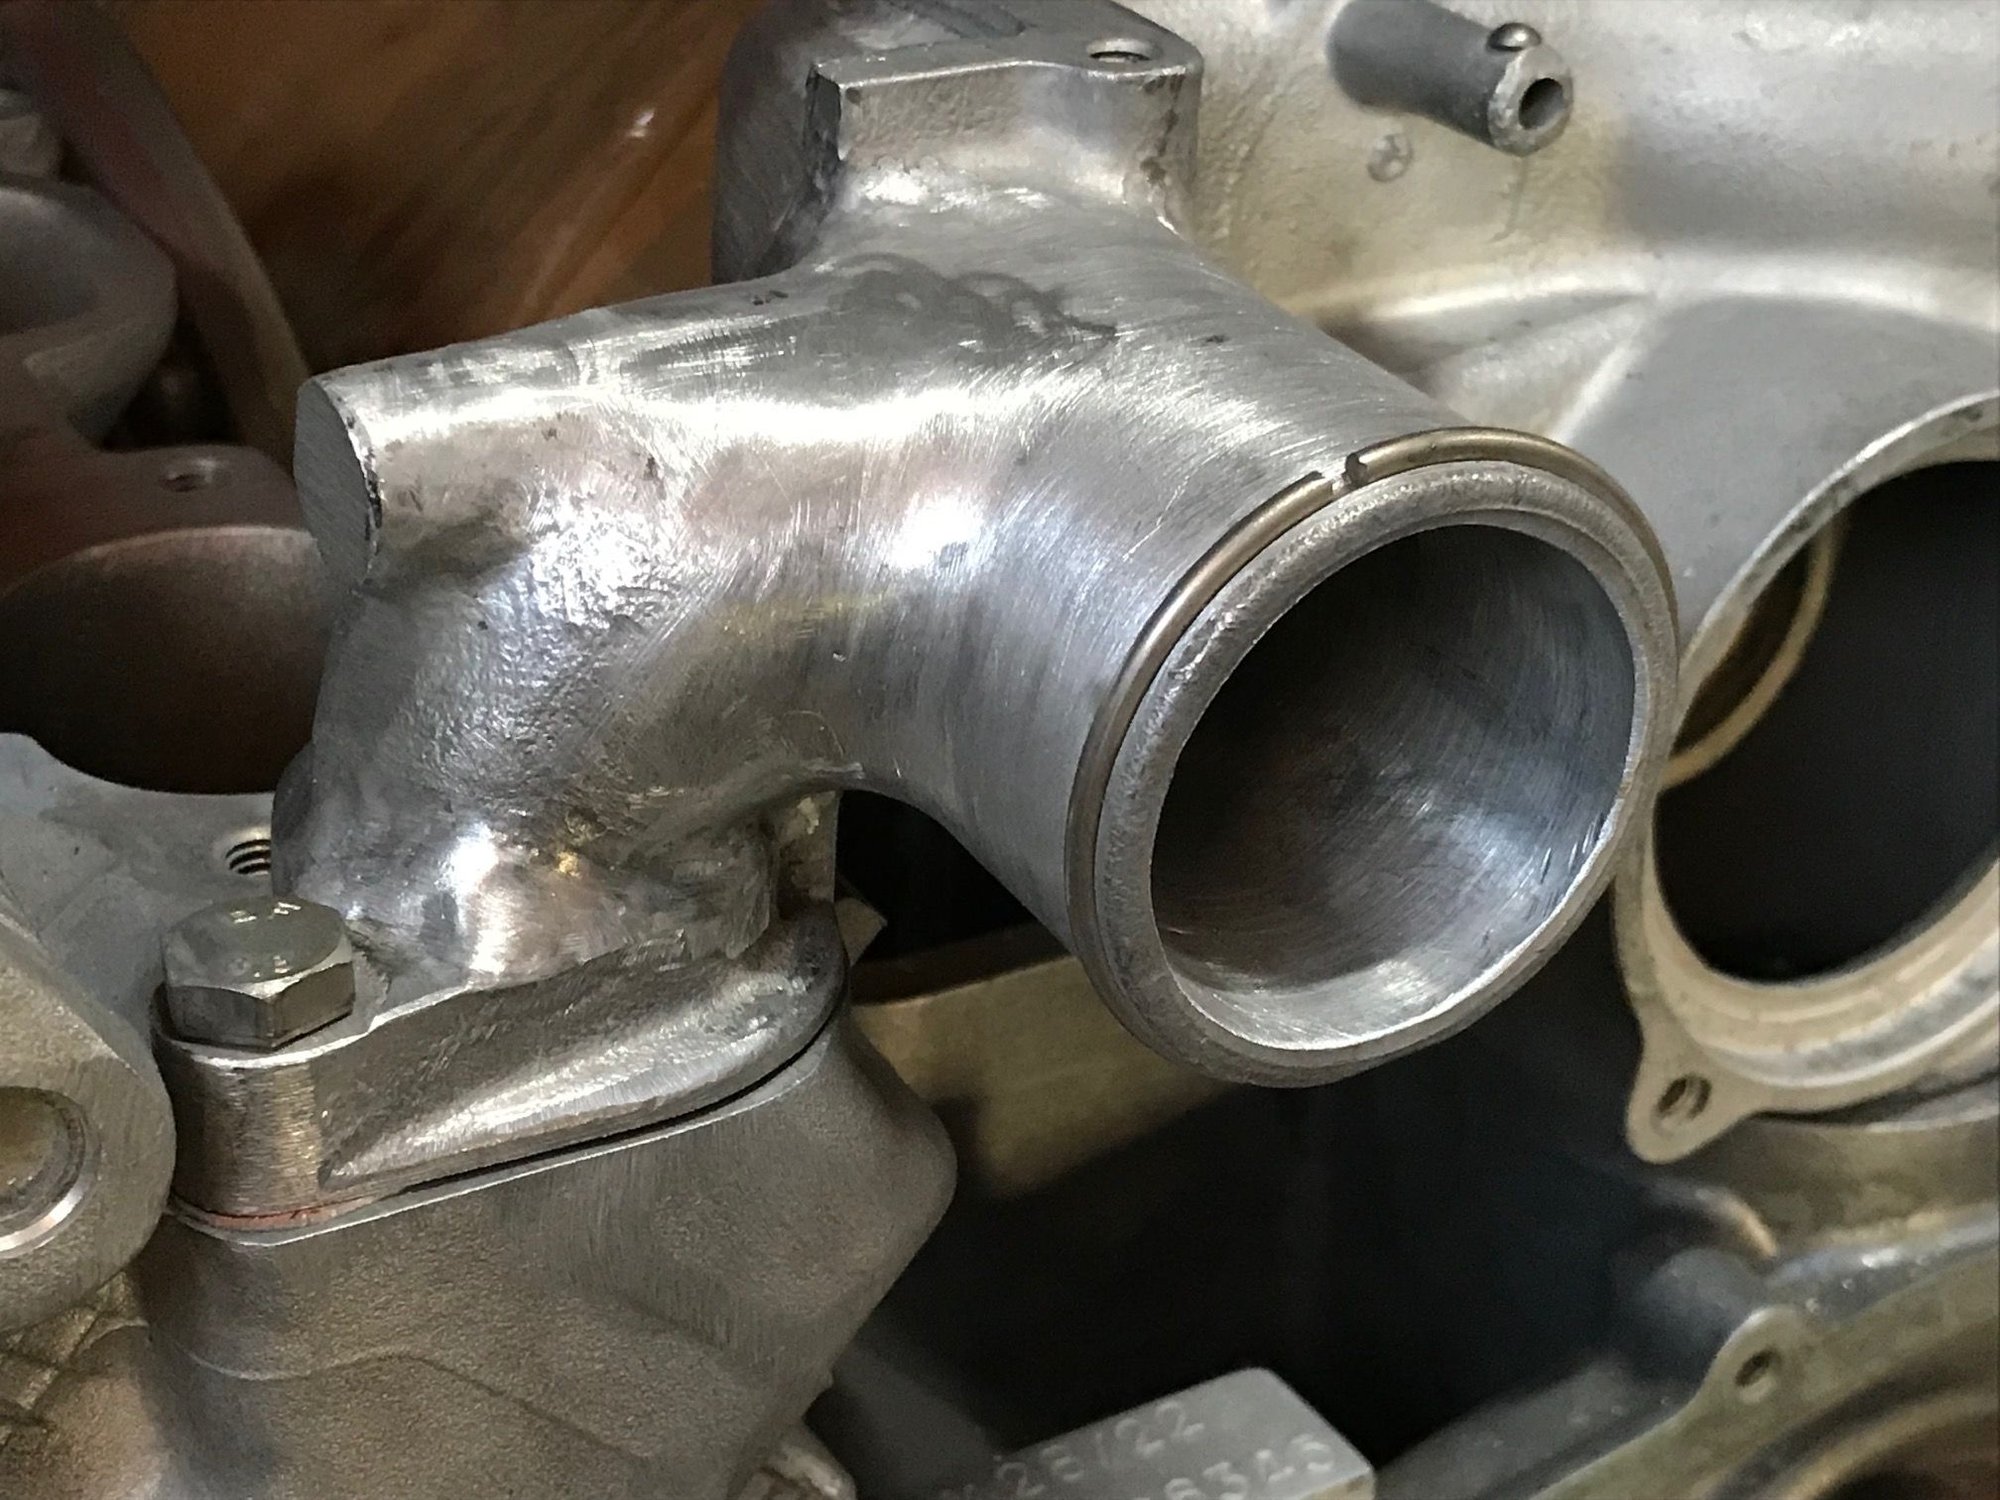
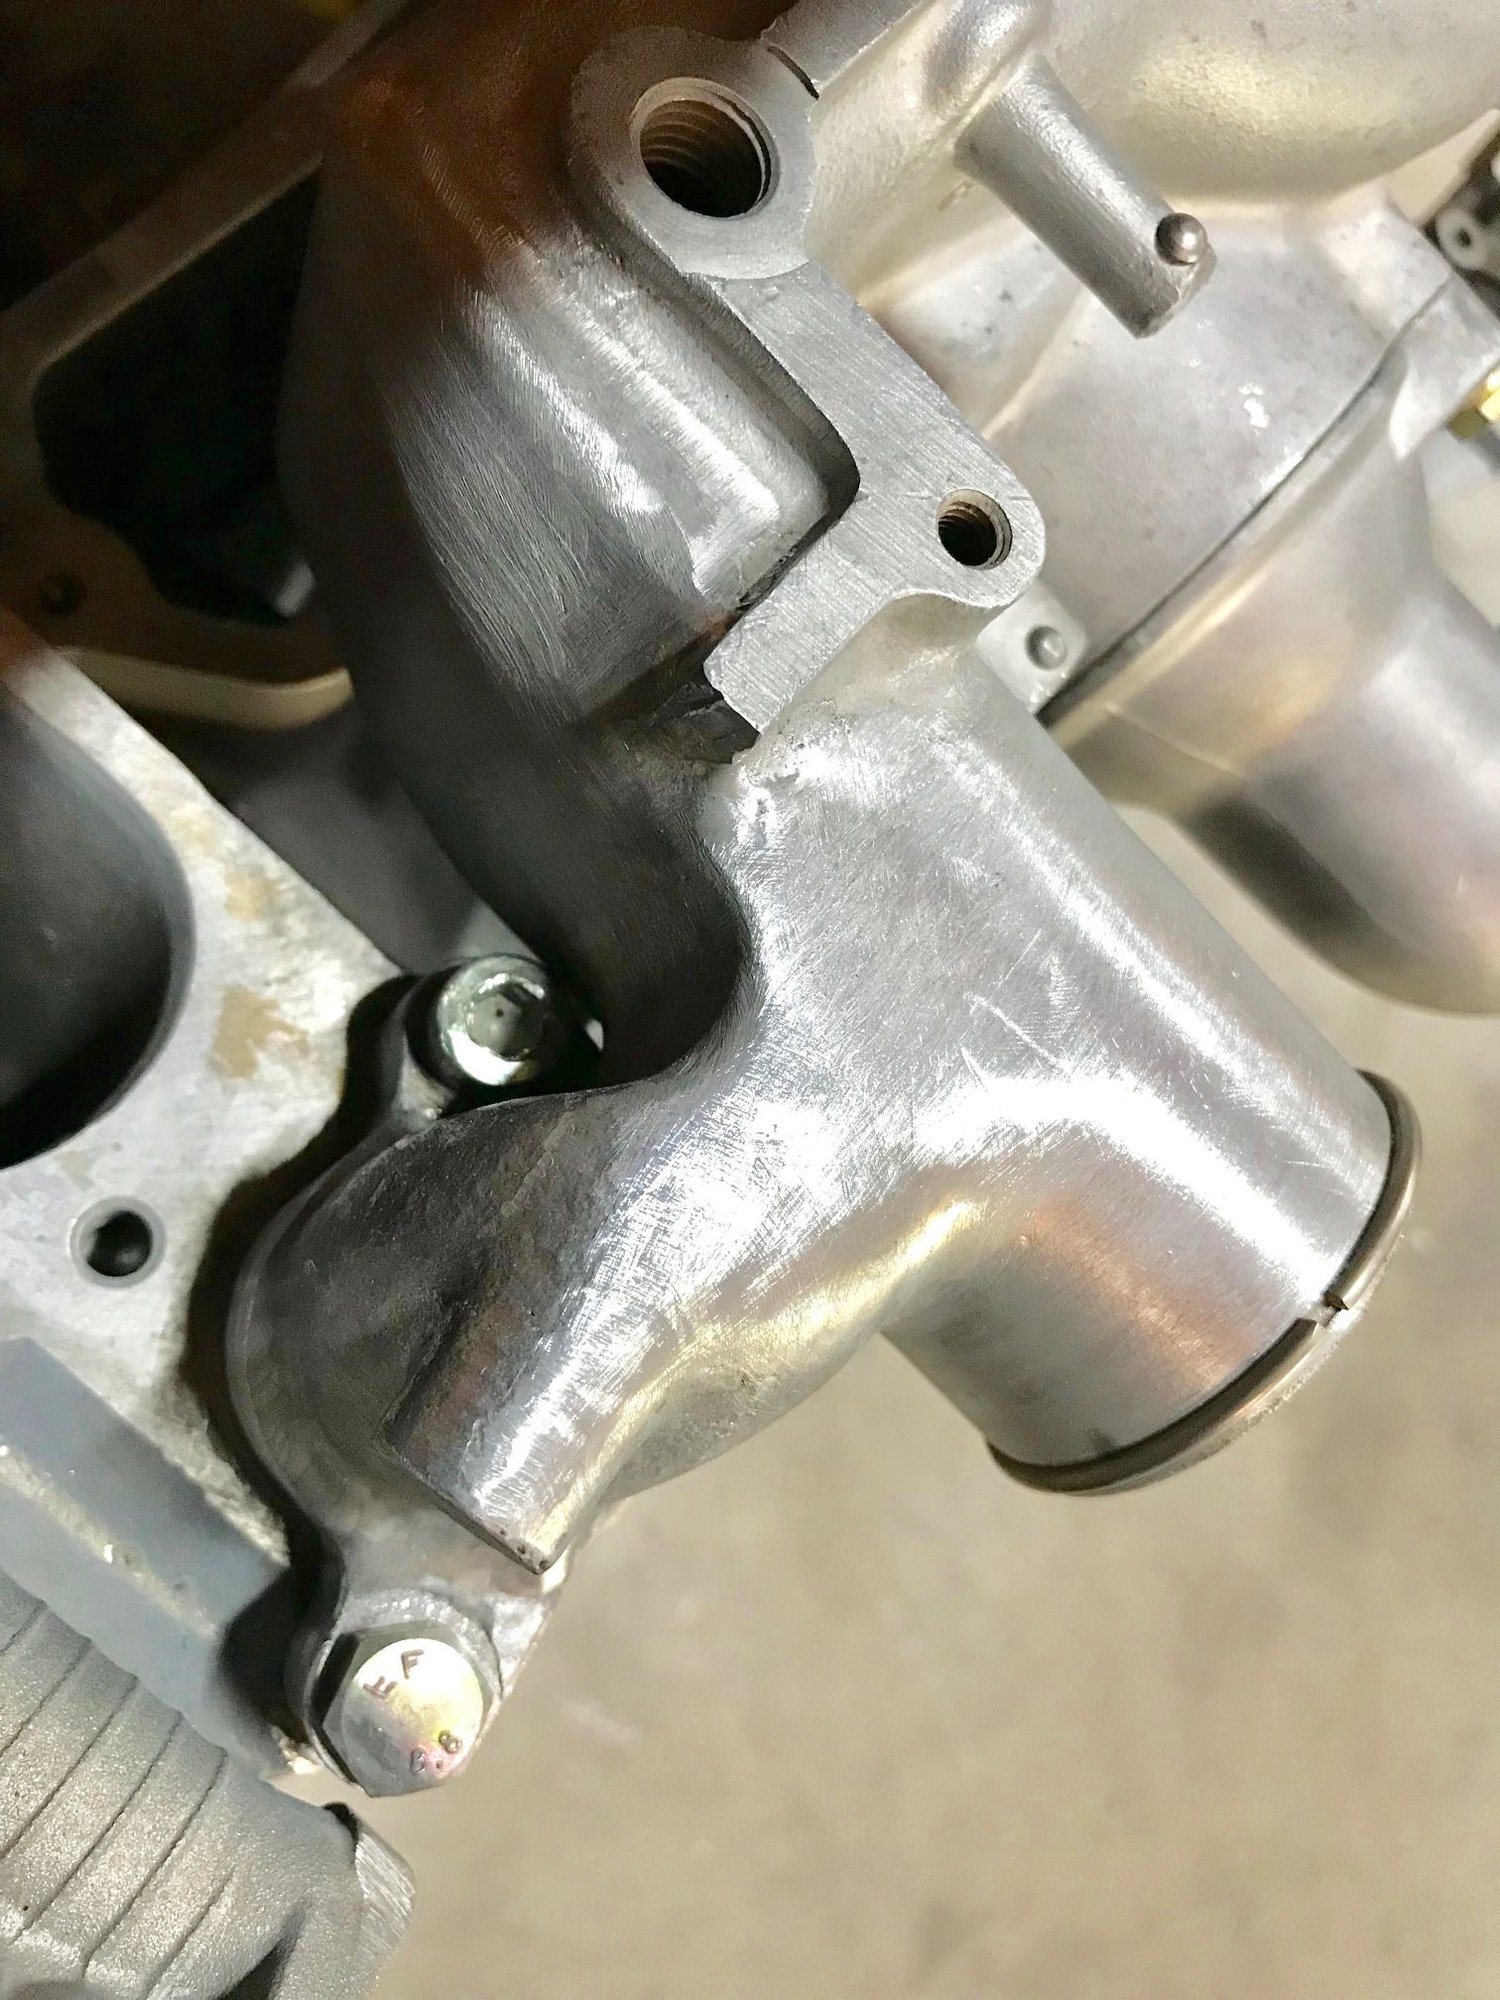
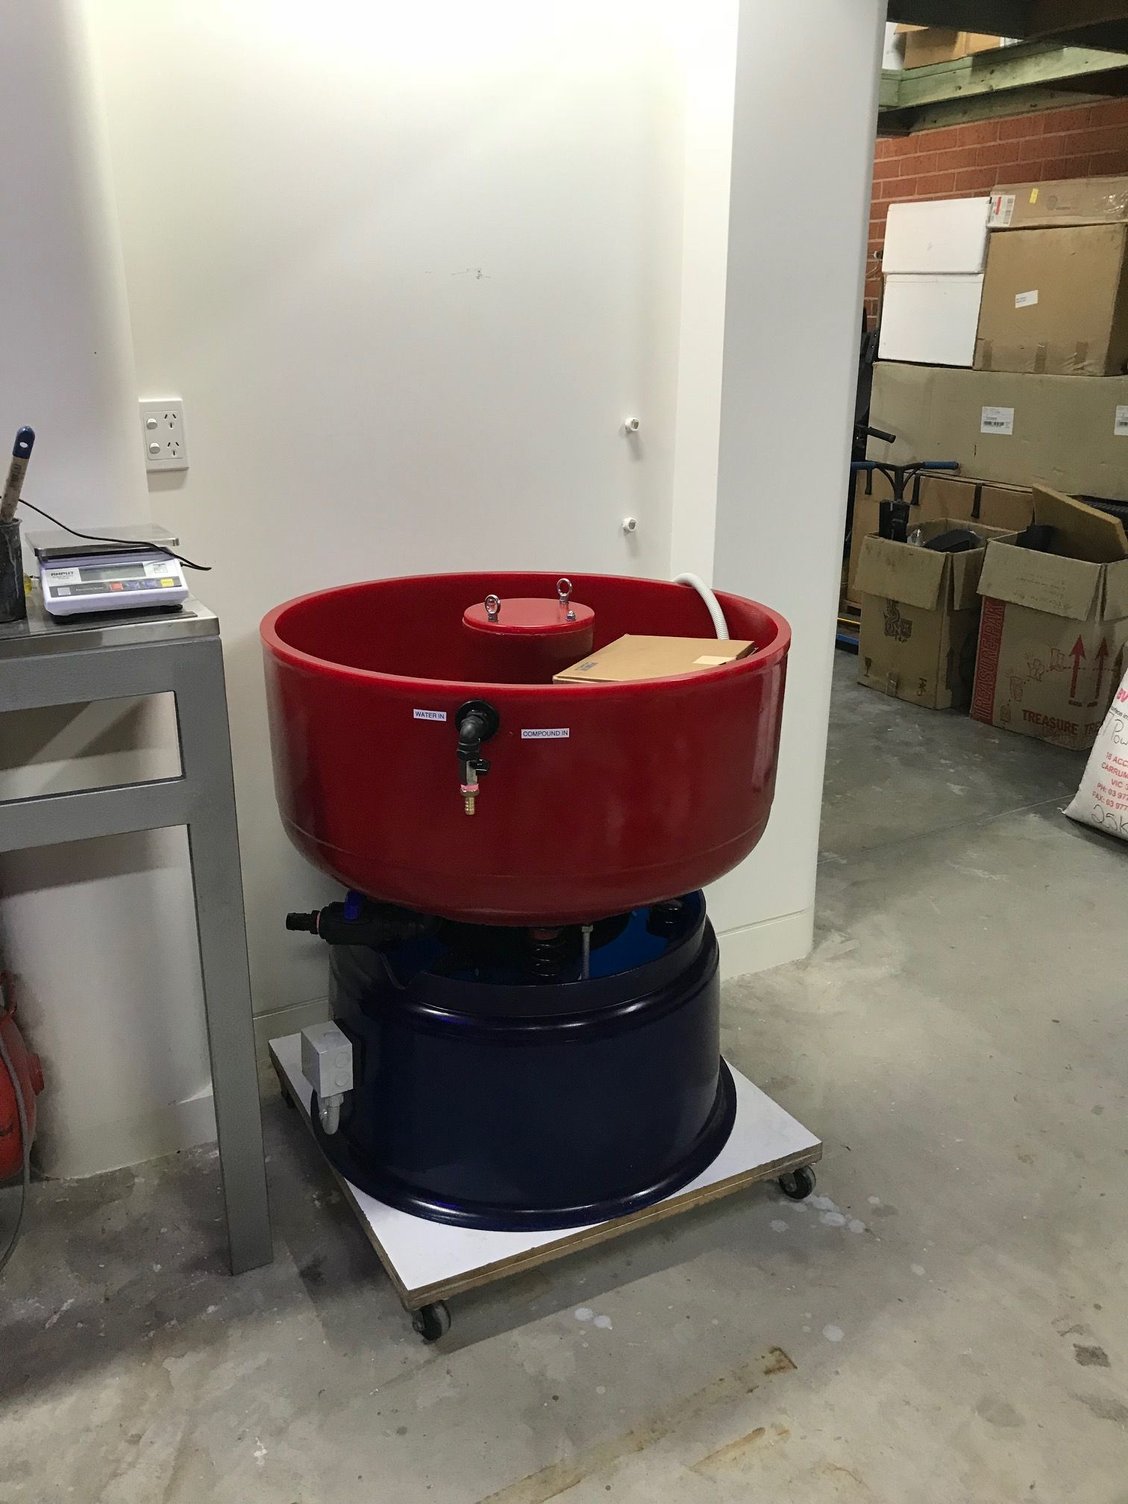
Ok some new progress pics, the water bridge is basically done except for final detailing and polishing. To make that bridge it�s basically 3 days work, it�s just a lot of welding and grinding, I�m confident I have nice internal contours for good flow and no dags or incomplete penetration.
I have now internally hand finished this part part and as such it�s better than what�s in this picture. Also once it goes into the polisher the edges will be further smoothed.
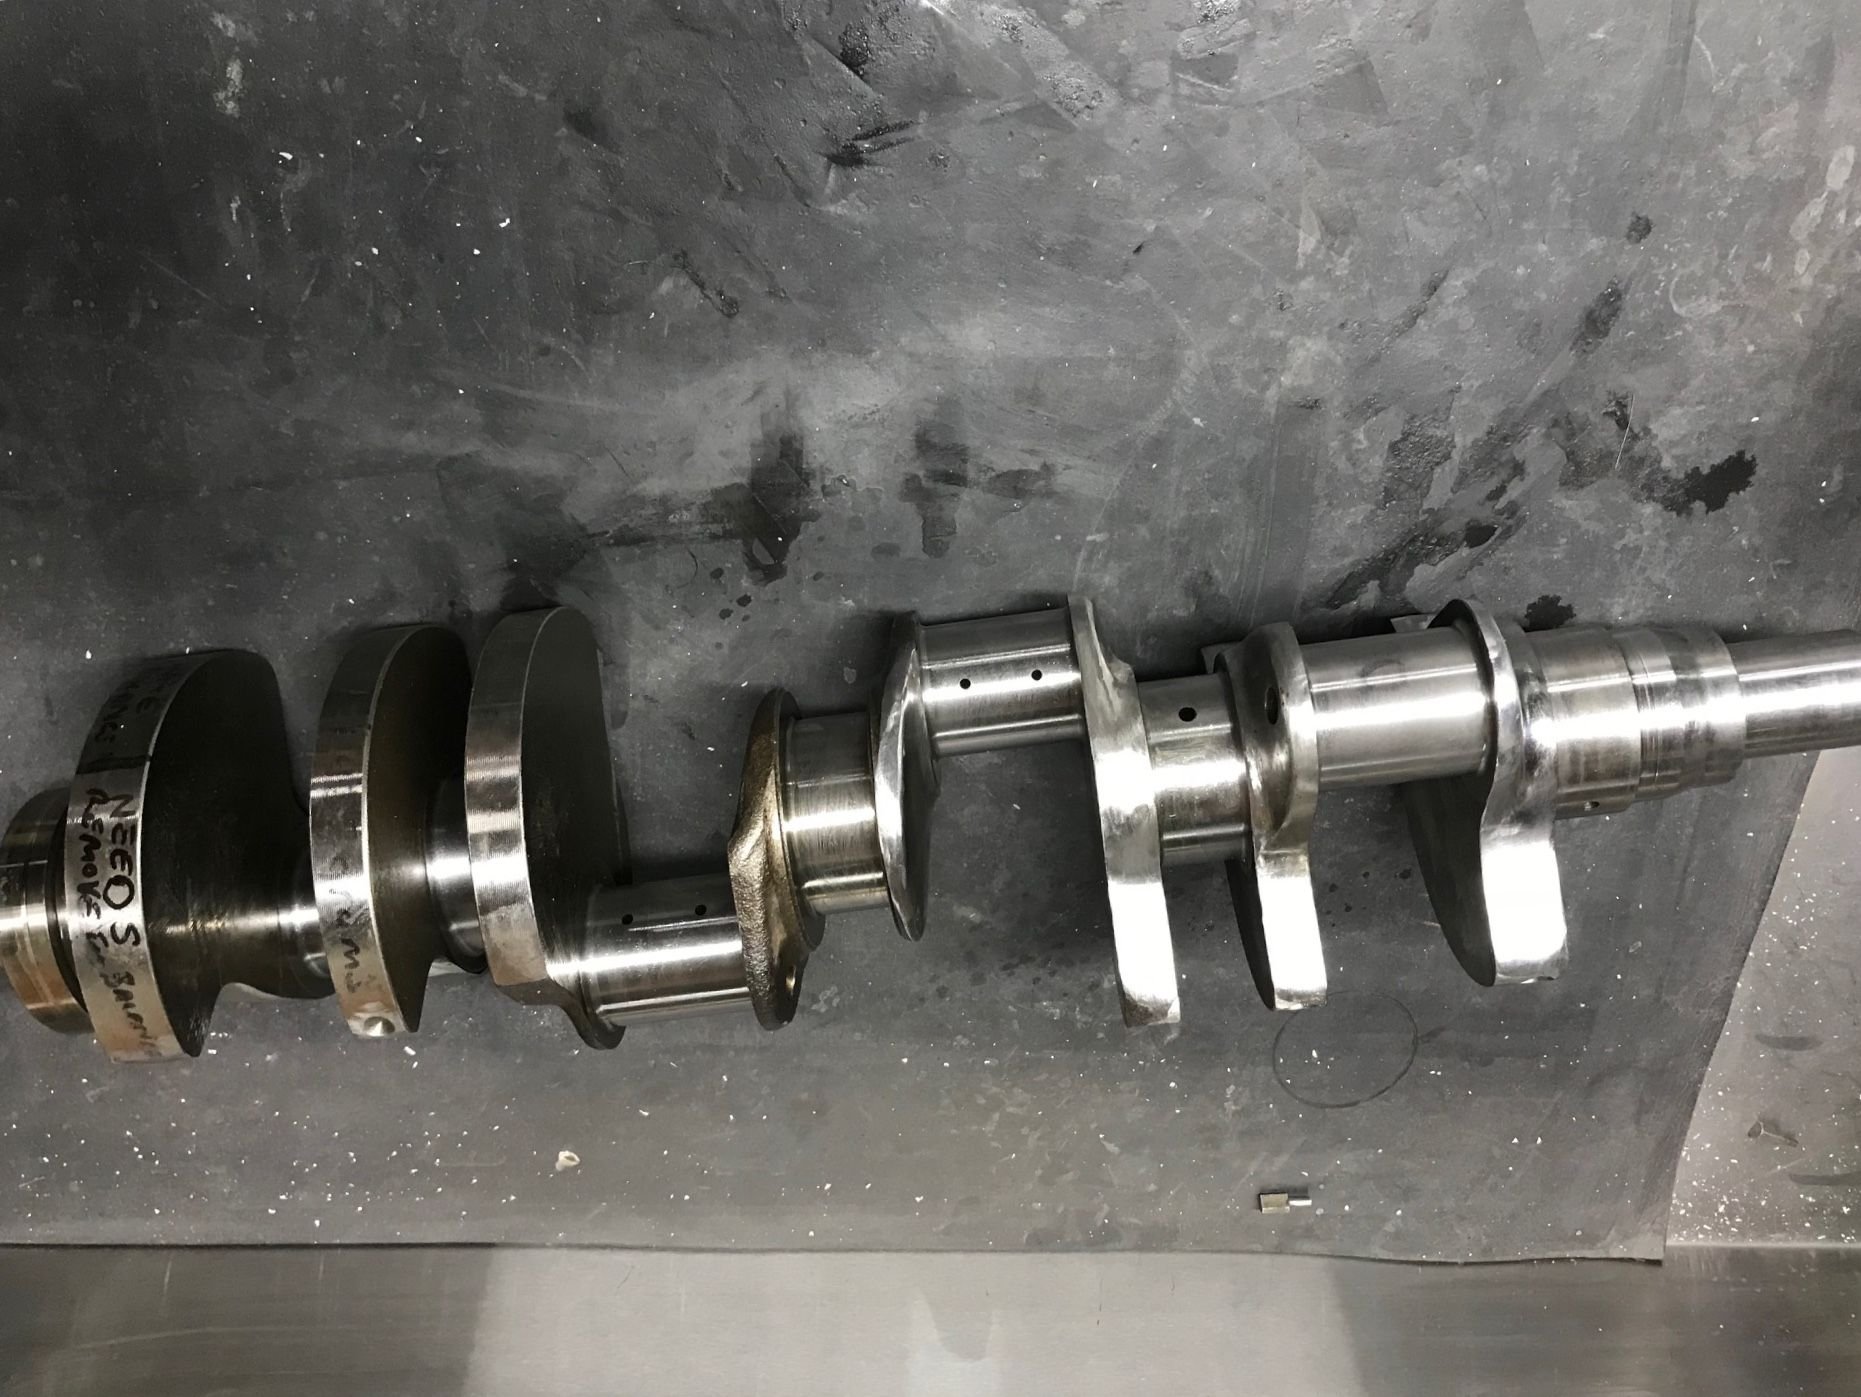
Ok, the other thing that is happening is that my �mini stroker� crank has come back and I need to remove more that 1 kg of metal. We are going to do this a number of ways, first I will bull nose and knife edge the counterweights. Then I will reduce the two most inner counterweights to better adjust these weights to their purpose. The crank will then be polished and sent back to the machine shop with the block to get the sleeves and have the tunnel checked for the reduced size main bearings.
I plan to leave some material for the machinist to remove, this is first down by cutting down the counterweight diameter. Then holes are drilled. Currently the weight stands at 23 kgs on the nose. So the end weight will be likely in the 21.75 kgs range. So the crank will be roughly 5 kgs lighter and the rotating/reciprocating assembly is about 5 kgs lighter also for a total saving close to 10 kgs.
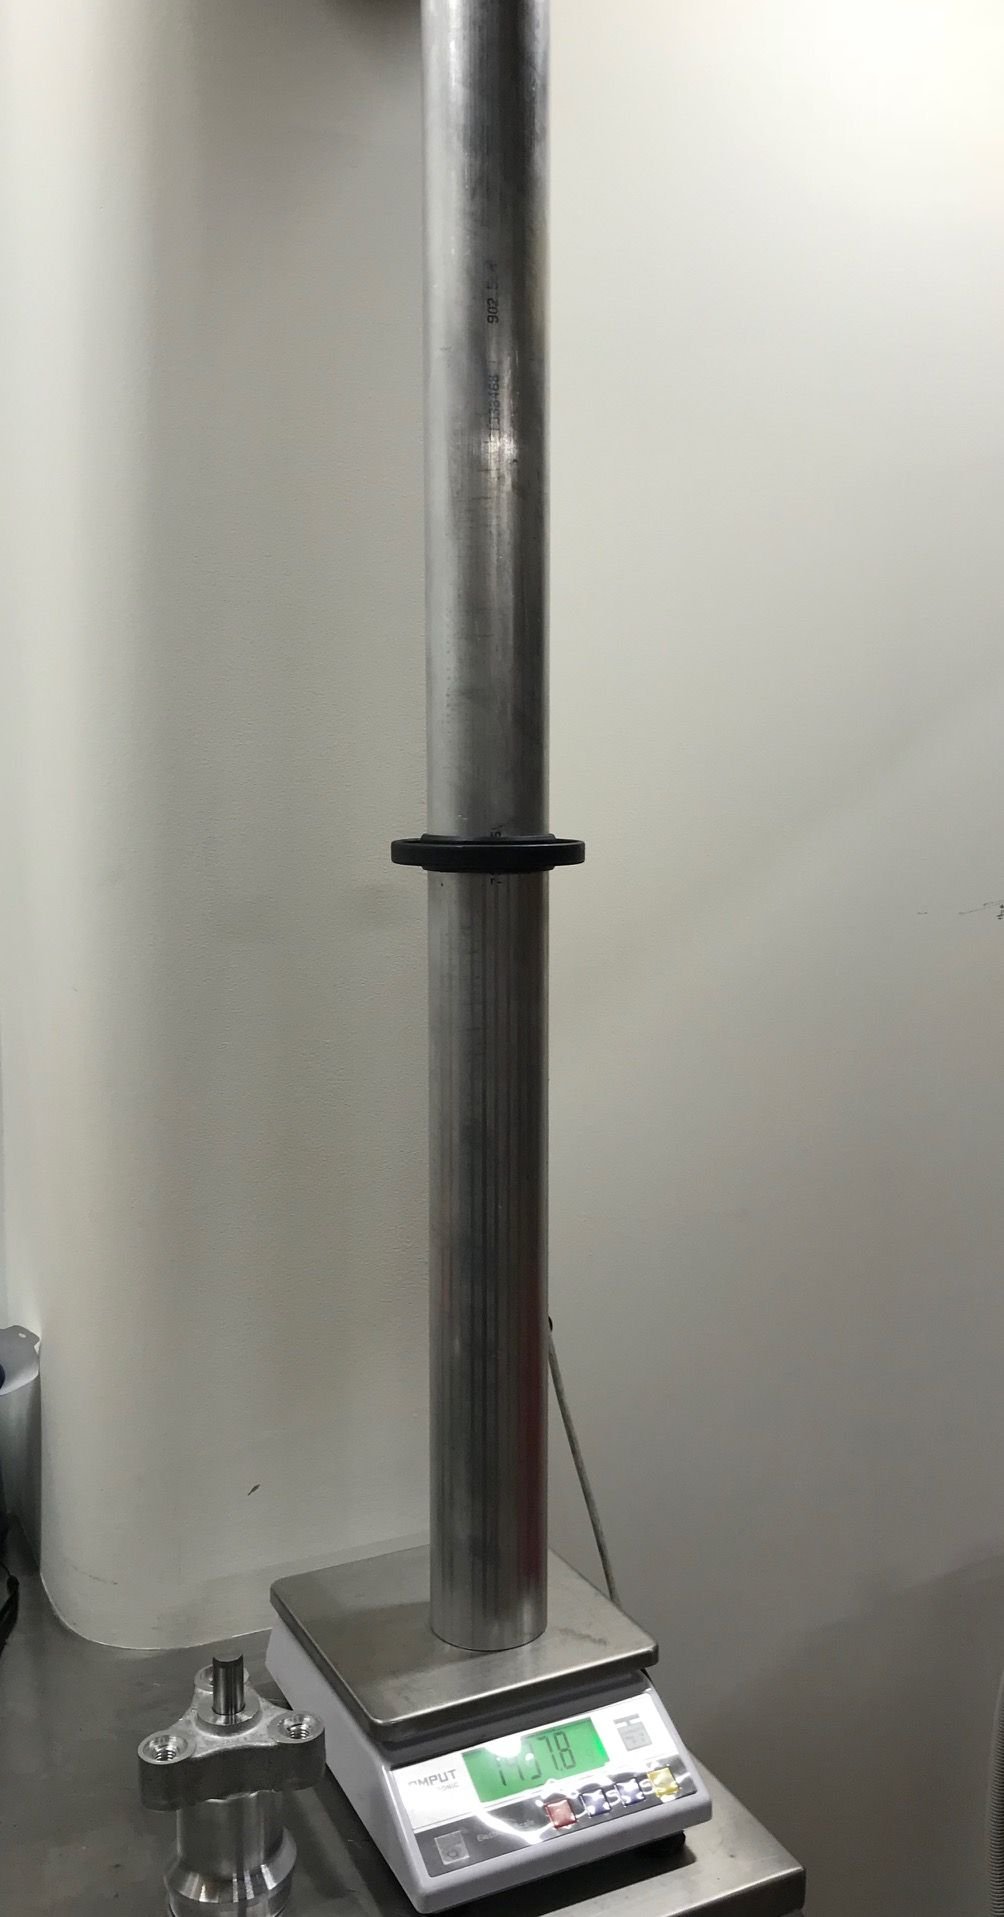
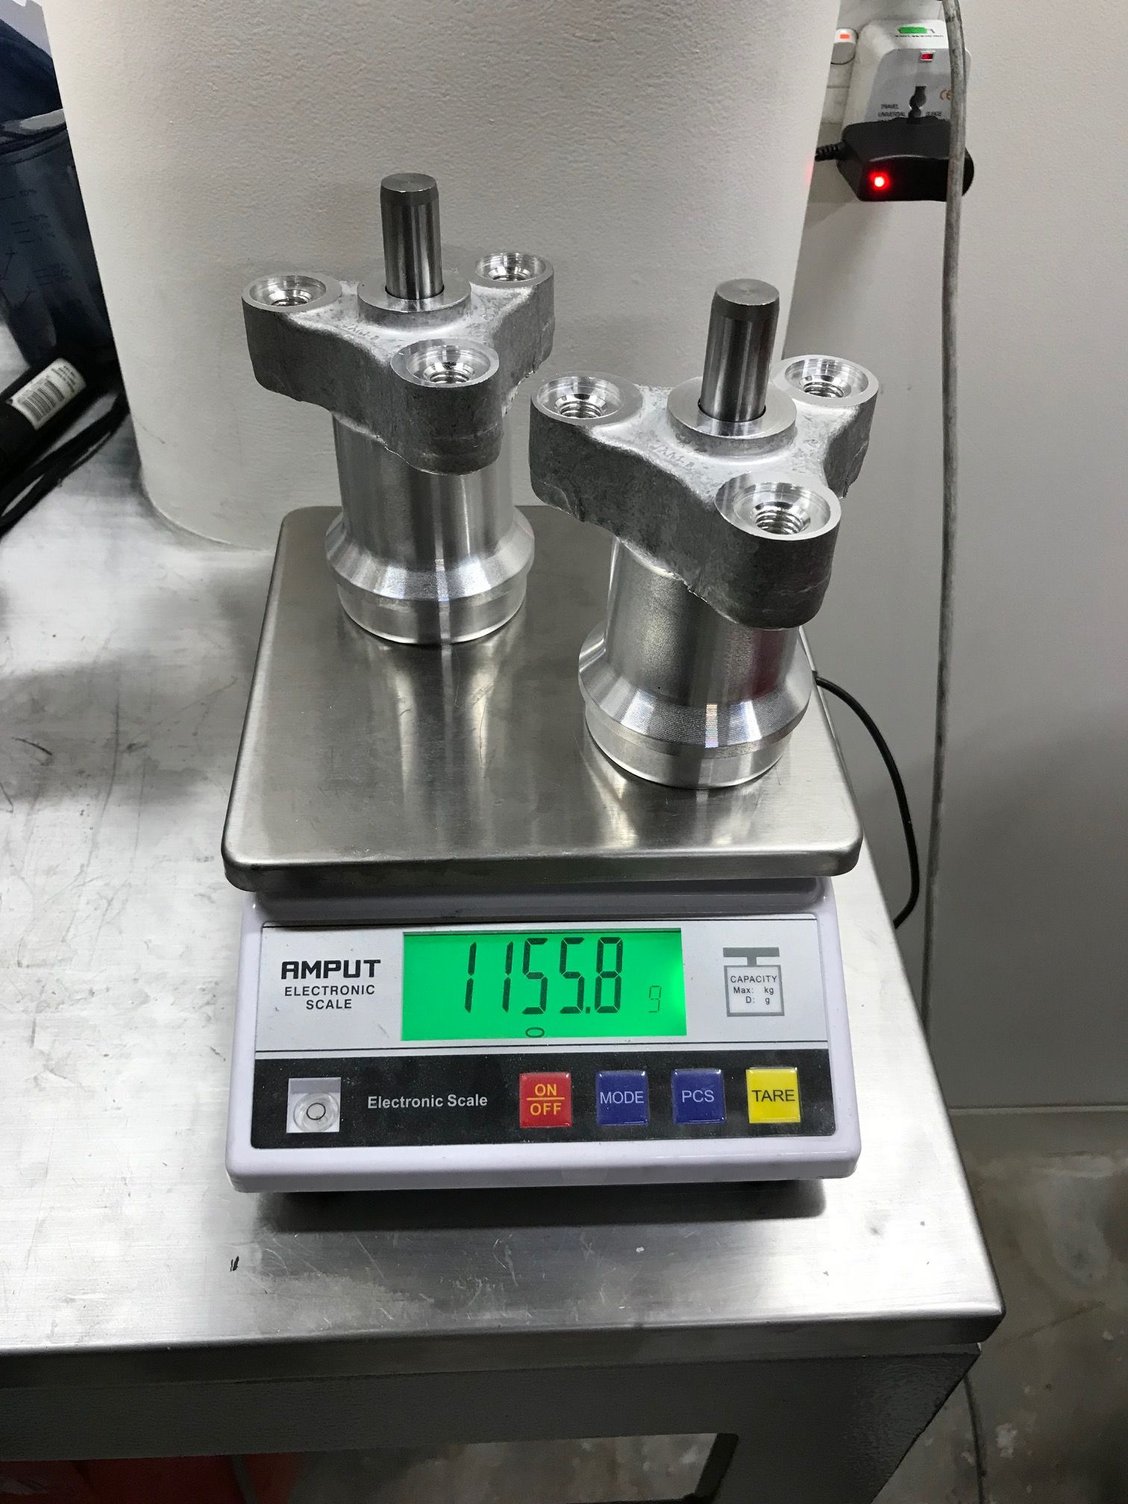
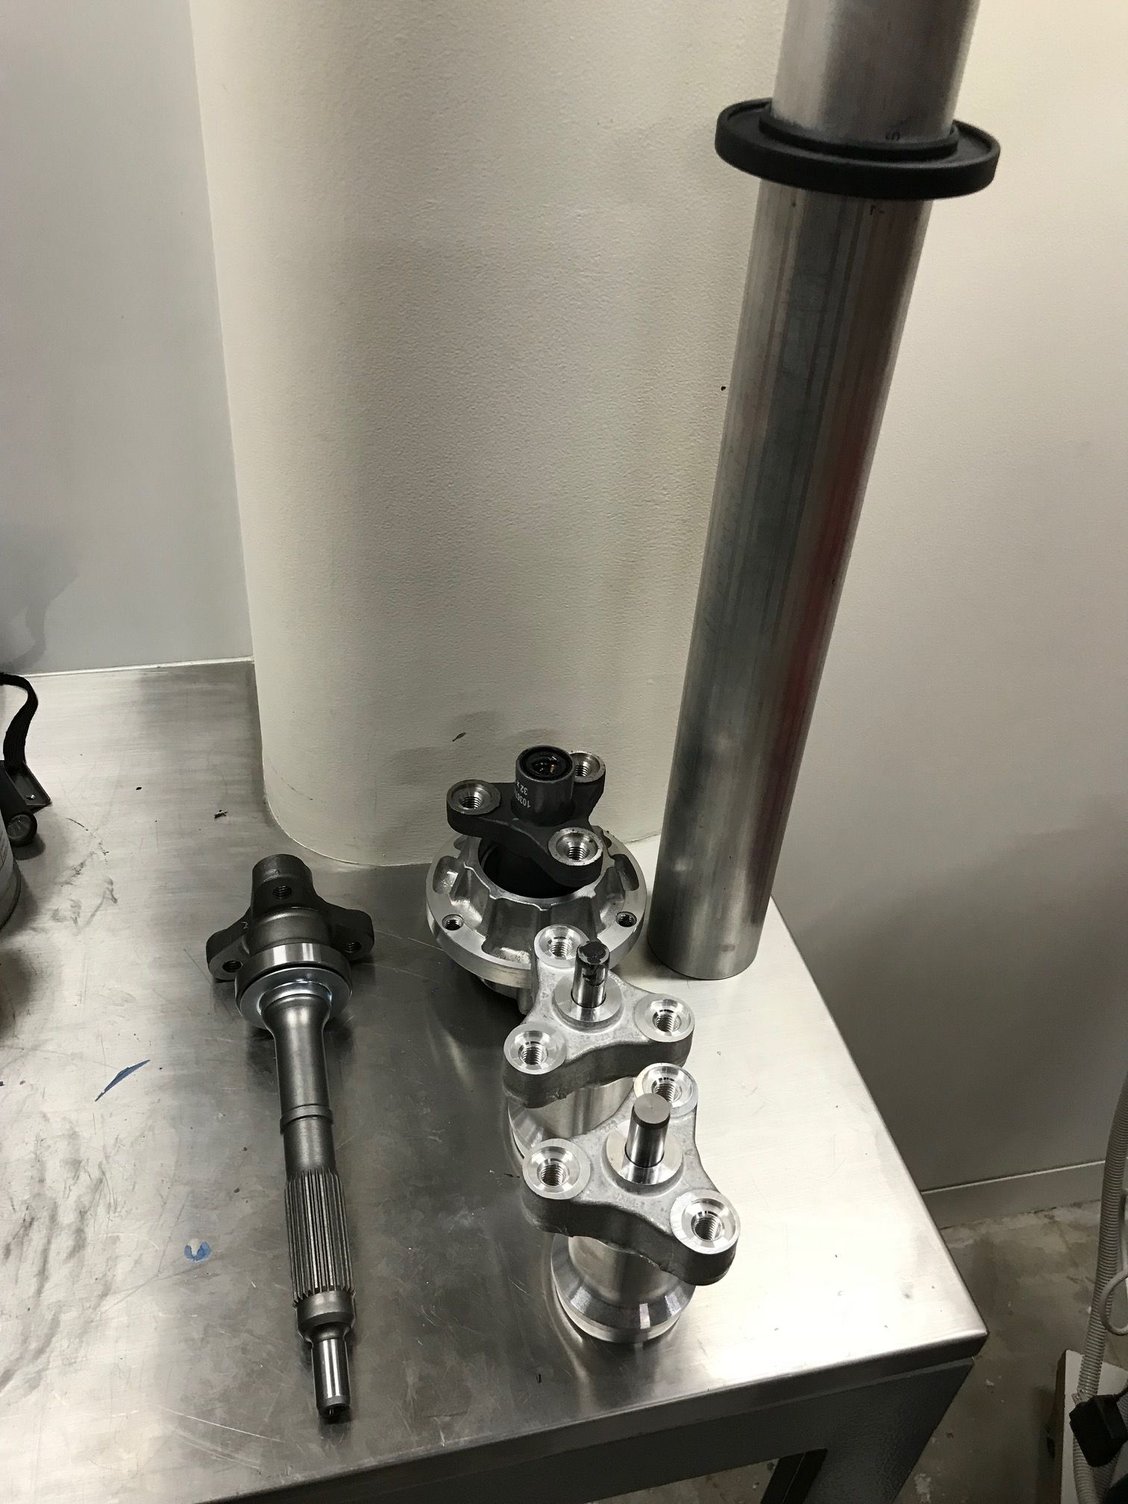
Last bit of news is the new torque tube assembly, there wouldn�t be much weight saving going to a carbon driveshaft, as seen here what the tube weighs, it�s more the ends and rubber isolators and bolts is where the weight is. The front bellhousing for the torque tube is not seen but I have it and it is from a C7 Vette like the carbon tube I have and as such this will mean I only need one design for the bellhousing. I didn�t in the end want to try and adapt a custom made front housing onto the Porsche bellhousing given I�m using the Vette clutch. This save me from making the front bellhousing for the torque tube. The Vette parts are very heavy duty!
The crankshaft still needs to be polished and super finished for its final processes. We're getting there, quite a lot of weight has been cut away but I did make a mathematical error regarding final weight, the crankshaft weight will be in the 22 kgs range not 21 kg. Sorry about that indiscretion just added some numbers wrong....However it will be interesting to see how at least 8 kgs removed from this assembly in total responds when being driven. Still some way off. Need to prep the block now for its liners. Getting the Belzona into Australia is proving difficult and its highway robbery to buy it here.
Sparks were flying!
No need for yoga with all this bending.
Crank still needs final grind and balance. Still needs around 1 kg to be removed.
Counterweights will be turned down and then holes drilled to get to final weight.
Before
After
Last edited by slate blue; 05-10-2018 at 04:57 AM.


 04-27-2018, 07:24 AM