
Belly Pan / Rivnut Question.
 09-22-2013, 06:01 PM
#16
Rennlist Member
Thanks to the OP/Craig and all those that replied into this thread  , as this gave me the inspiration today to solve this problem in a likewise way!
Thus far the PO and myself had made use of a few cm of thick electrical copper wire, so to wedge the wing-screws into the slightly too larges hole. This works, but is not really a good permanent solution, and rather "fiddly" every time when taking the belly pans off and on.
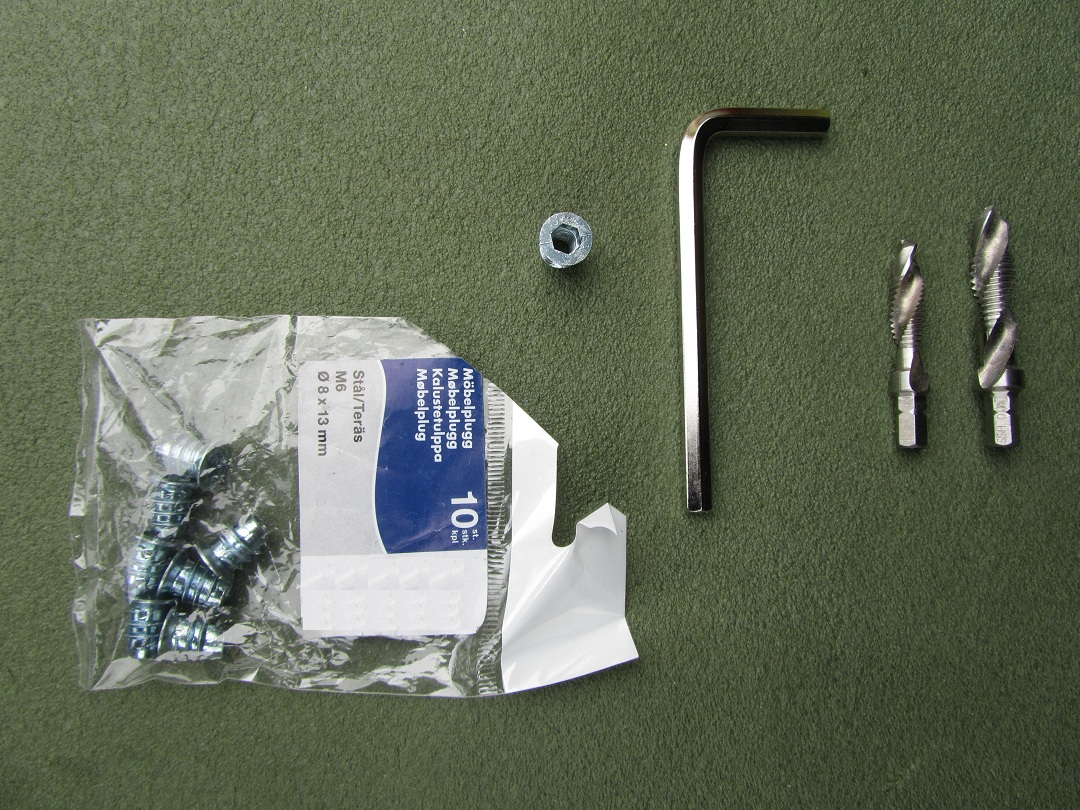
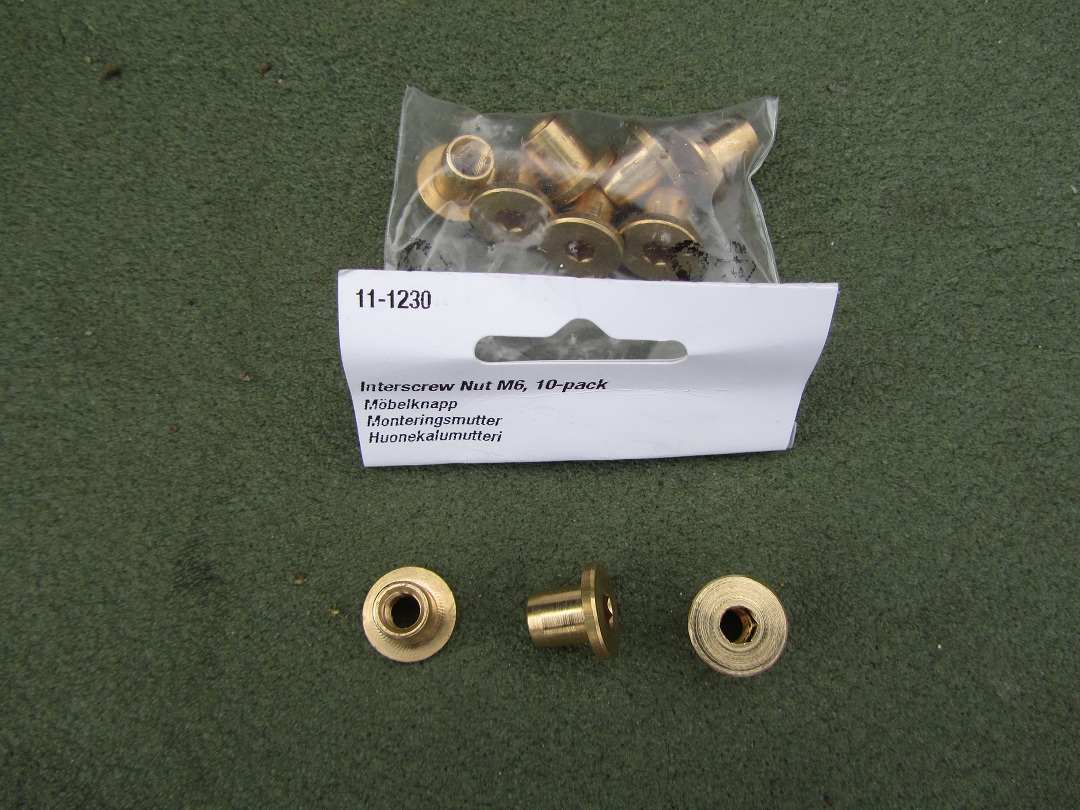
What I used, rather than rivnuts, are M6 (relatively soft) steel metal screw insert as is used in the furniture making industry. Here showing, together with the used 6 mm Allen key and M8 & M10 drill+tab+countersink all-in-one- bits:
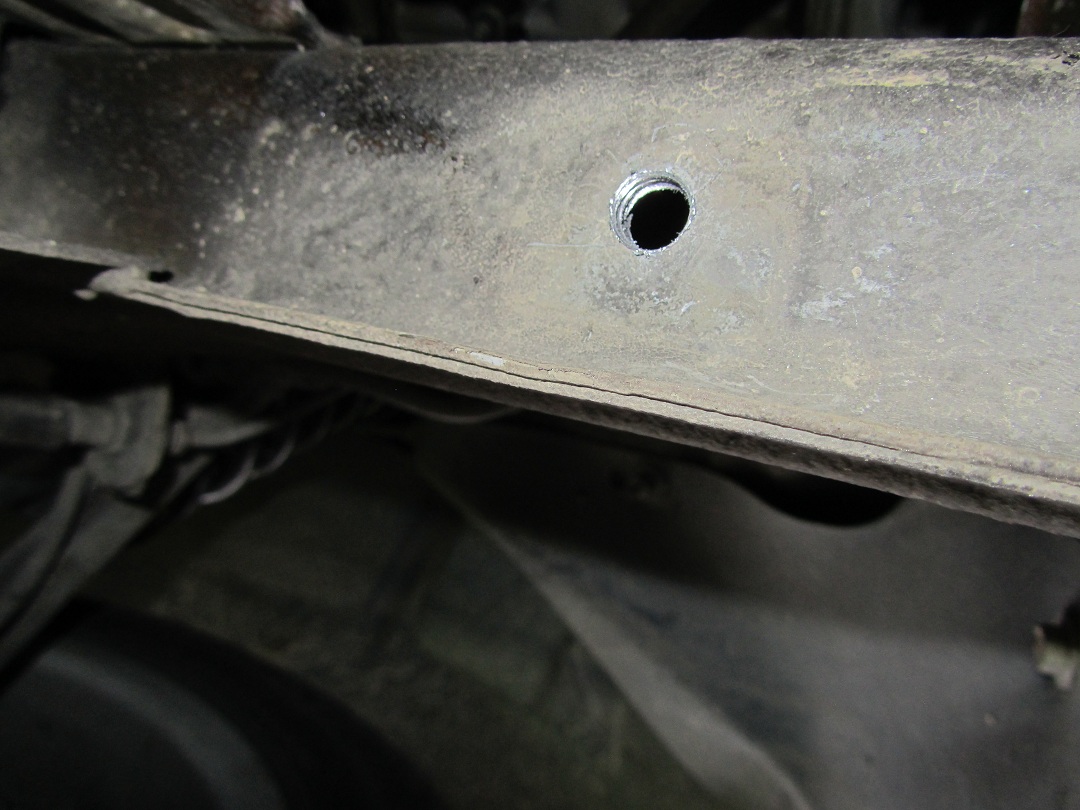
Finished tabbing the hole (first with M8 and then careful with M10. Before doing this into the actual car body, I had practiced on a thin piece of wood so to find and see on the tightness of the steel metal screw insert):
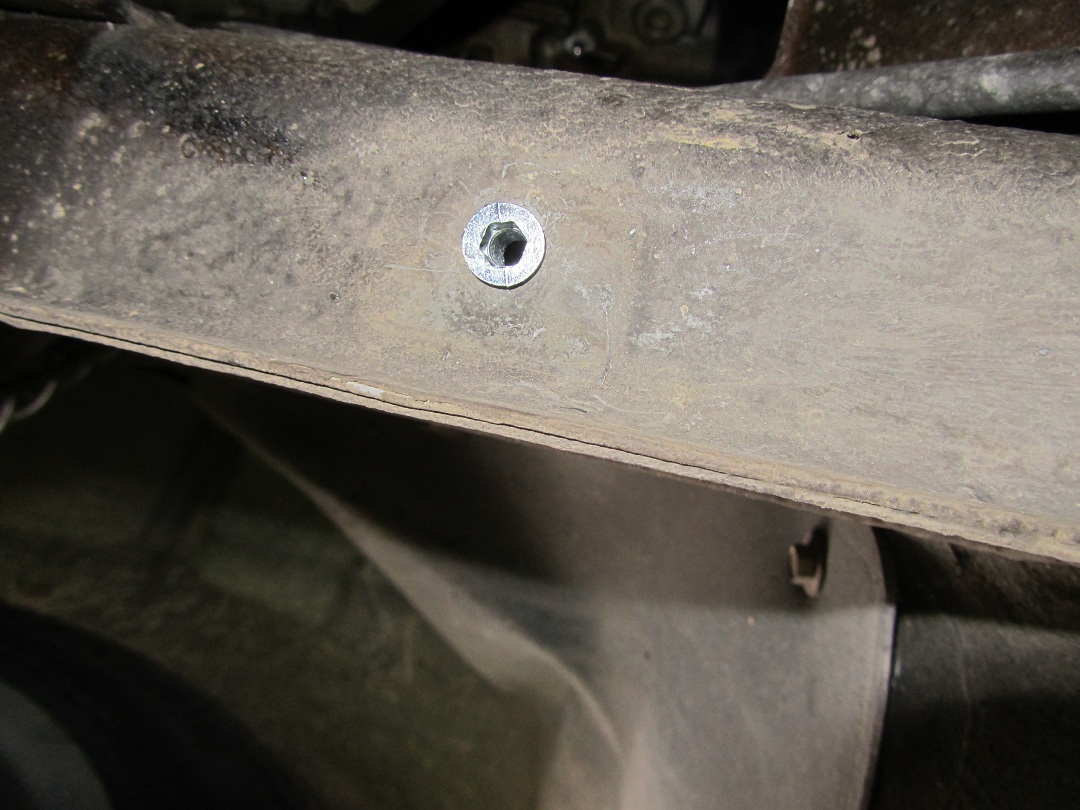
Steel metal screw insert in place (and very tight fitted into the car body):
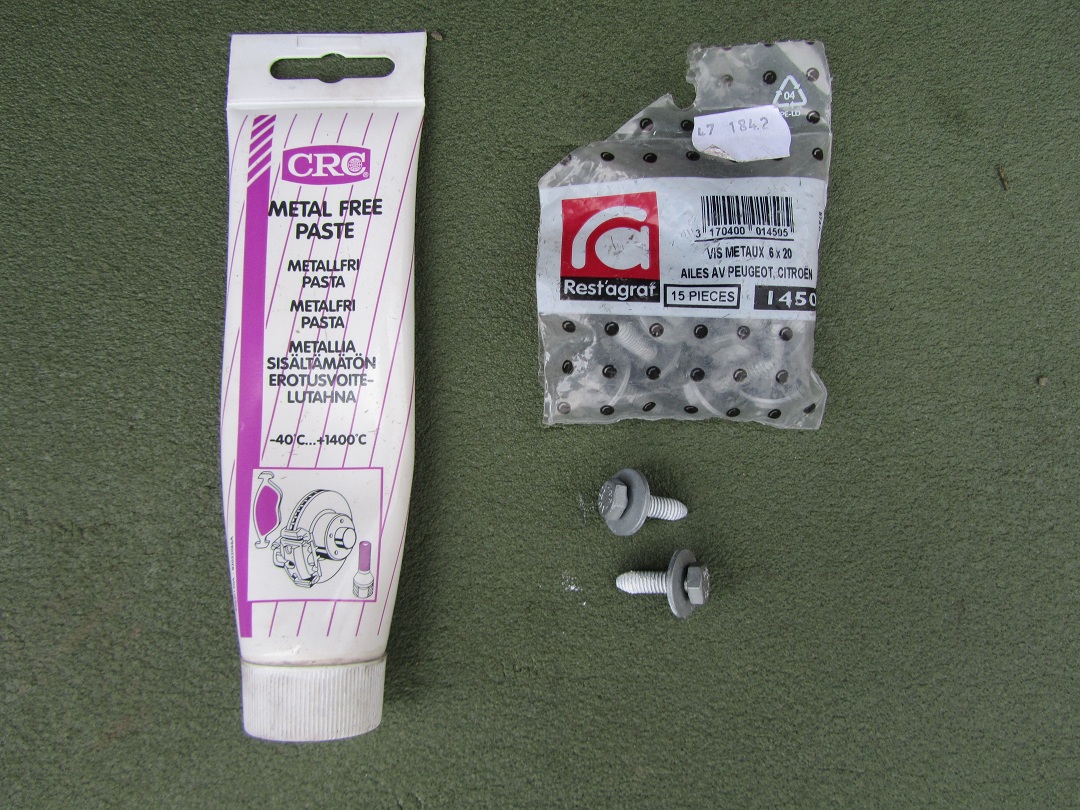
As I want to make sure that the actual metal M6 * 1.5 mm thread bolt will always come free very easy and nothing can seize together, I put a liberal amount of metal free paste on it. The M6 thread bolt in question is a totally standard item, these happen to be made for Peugeot and Citroen cars.
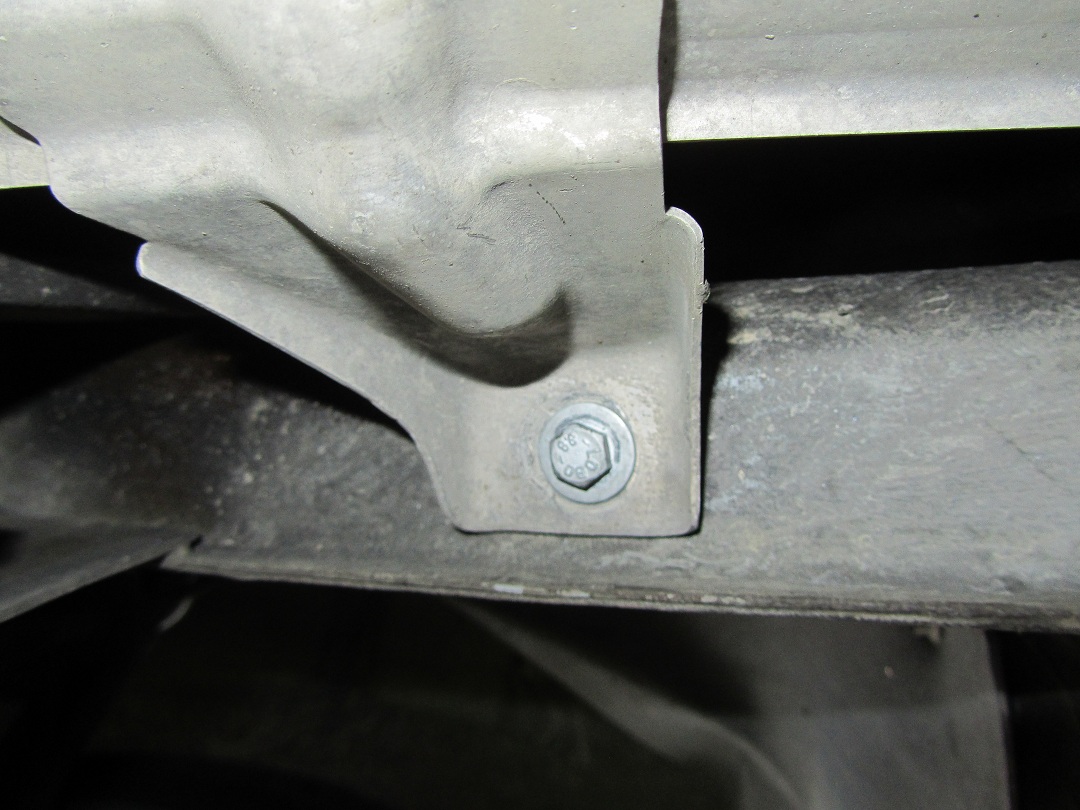
Final result with the rear-belly pan in place, and the front wing being held in place in a proper way from now onwards:
And then I was already thinking about backup plan B: redo these and use strong epoxy glue, and backup plan C: use these slightly larger copper ones & strong epoxy glue. I hope however never to have to use backup plan B or C!
, as this gave me the inspiration today to solve this problem in a likewise way!Thus far the PO and myself had made use of a few cm of thick electrical copper wire, so to wedge the wing-screws into the slightly too larges hole. This works, but is not really a good permanent solution, and rather "fiddly" every time when taking the belly pans off and on.
What I used, rather than rivnuts, are M6 (relatively soft) steel metal screw insert as is used in the furniture making industry. Here showing, together with the used 6 mm Allen key and M8 & M10 drill+tab+countersink all-in-one- bits:
Finished tabbing the hole (first with M8 and then careful with M10. Before doing this into the actual car body, I had practiced on a thin piece of wood so to find and see on the tightness of the steel metal screw insert):
Steel metal screw insert in place (and very tight fitted into the car body):
As I want to make sure that the actual metal M6 * 1.5 mm thread bolt will always come free very easy and nothing can seize together, I put a liberal amount of metal free paste on it. The M6 thread bolt in question is a totally standard item, these happen to be made for Peugeot and Citroen cars.
Final result with the rear-belly pan in place, and the front wing being held in place in a proper way from now onwards:
And then I was already thinking about backup plan B: redo these and use strong epoxy glue, and backup plan C: use these slightly larger copper ones & strong epoxy glue. I hope however never to have to use backup plan B or C!
 09-22-2013, 06:23 PM
#17
Chronic Tool Dropper
Lifetime Rennlist
Member
Lifetime Rennlist
Member

For those considering this, take a look at the insert in Rob's post 10 picture above. The NutSert goes in and expands radially while pinching axially, as the threaded 'wedge' is drawn into the back of a knurled sleeve by the setting tool. There is just the tiniest amount of flange lip on the front face, allowing whatever you are bolting on to have good contact with the surface the NutSert is installed in. Contrast that with the threaded sleeve style of insert, that leaves a raised face and may not expand behind the mounting surface.
There are plenty of supposed work-arounds to the correct tool for NutSerts and the RivNuts, but those don't have the same ability to set and swell the knurled sleeve at the top correctly. Looking again at Rob's picture, you can see where the threaded part is still recessed a bit from the front face. Tension while tightening the fastener pulls on that wedged threaded pat, expanding the sleeve and strengthening the support.
The only place I didn't install these is on the brackets that accept the screws just forward of those little motor-mount cooling ducts. The NutSerts are less forgiving of misalignment while starting the screws, so the original Tinnerman 'speed' nuts are still there.