
My 928 Adventure (What did I get myself into?)
 06-30-2013, 12:57 AM
#1
AutoX
Thread Starter

Join Date: Mar 2013
Location: IA, USA
Posts: 11
Likes: 0
Received 0 Likes
on
0 Posts
So this thread will serve as the record of my attempt to restore my grandfather's 84 928s. I picked up this car from my father in march, this car has sat since 03 or 05 so I knew it would be a chore. After today I realize that I had no idea what I have gotten myself into.
After many boxes of parts and way too much money I started the rebuild yesterday. 1st problem: EVERY bolt on this thing is seized or stuck, I have hit some of them with everything and they still wont move. WD-40 and deep creep have worked with some though. (Any tips?). Dropped the gas tank fairly quickly and removed the fuel pump and filter. The ground wire broke so I attached a new lead and moved on. The in tank filter had been in there so long that the threads had completely rusted over I had to have a strong friend pull it with a pair of vice grips. It eventually came free though.
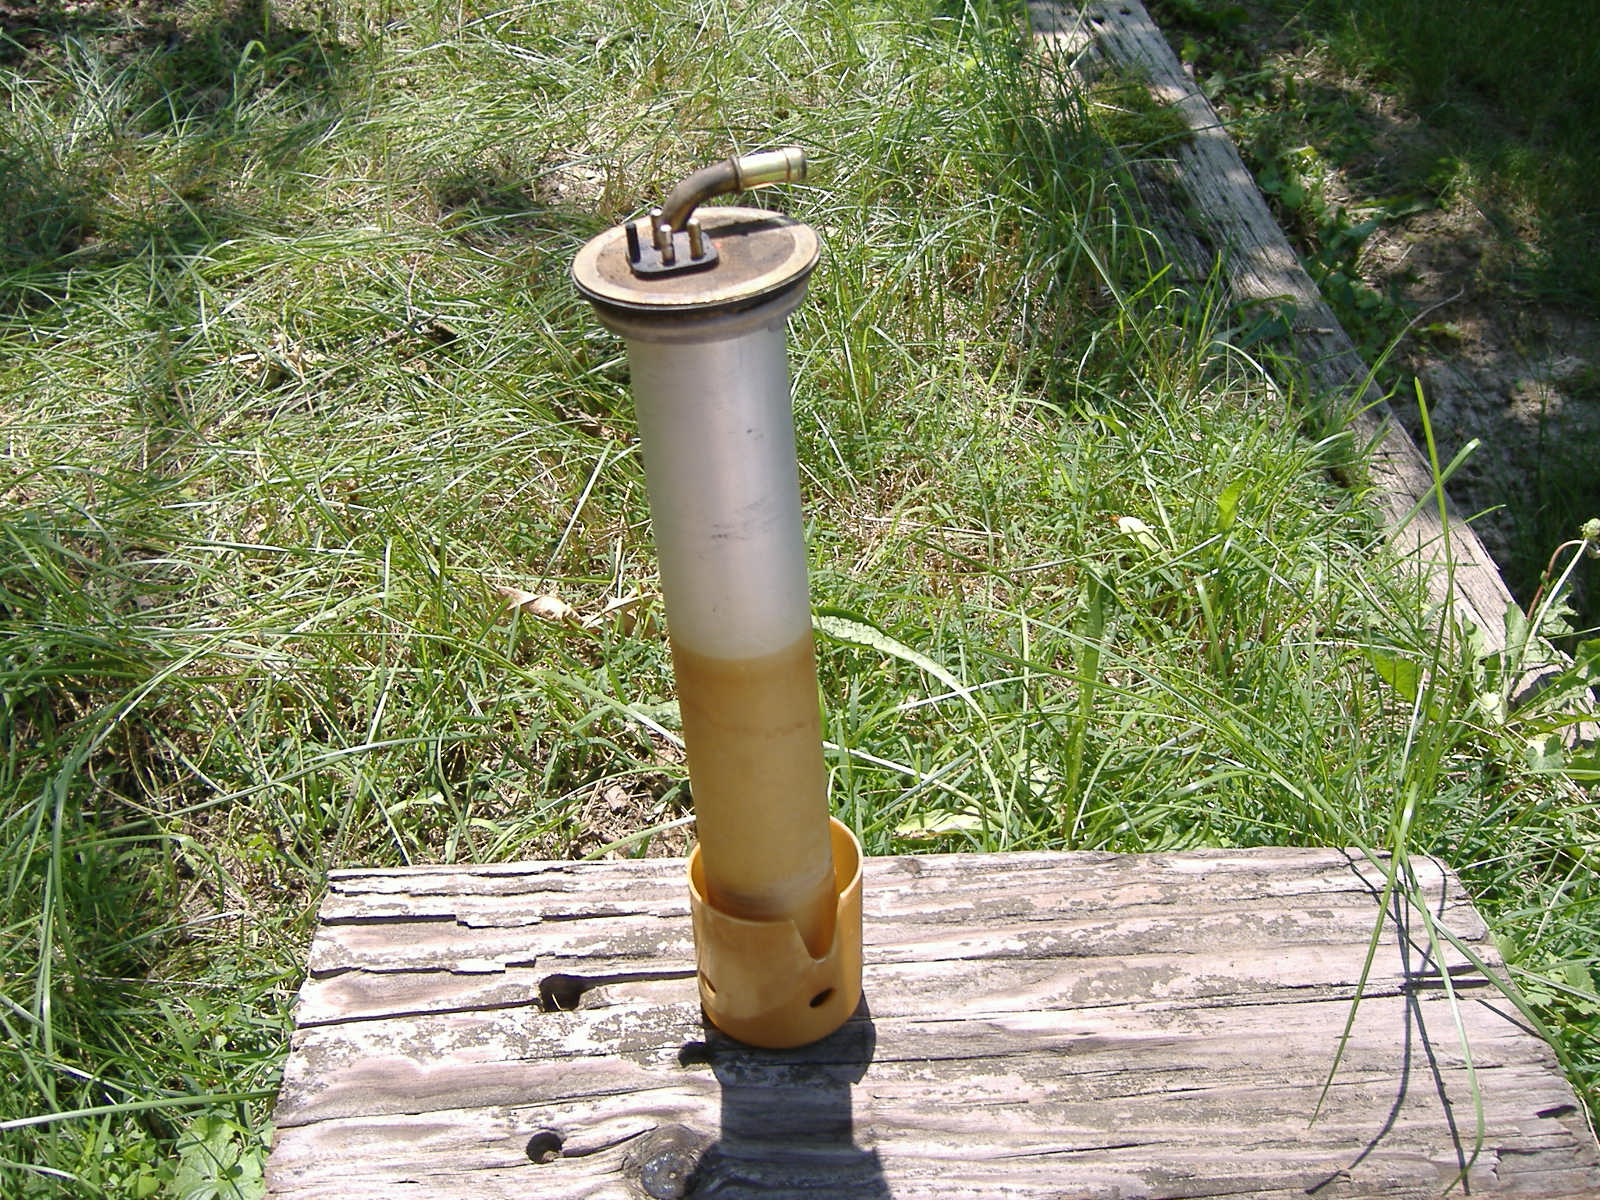
Next up was the fuel sender unit. This was fairly easy to remove but I need your advice on how to clean it or whether to just buy a new one. More pics will come tomorrow morning when I locate my camera cable. After all this I power washed the tank and left it to dry.
Next up I pulled the fuel rails, this was a real PITA the PO before my grandfather had replaced all of the hoses but done a really cheap job. All of the hose clamps were different sizes All of the hoses were completely shot. If I had started this thing it would have blown up in my face. After I got them out I pulled the injectors and most of them were broken so that is another huge expense (any alternatives to Porsche originals?) Also, As soon as I pulled the first injector the wire broke so that is more money.
Next up I drained the differential which was the easiest of all of the jobs for the day. Apart from coating my hand in 20+ year old diff fluid and smelling the worst thing I have ever smelled off a car it went pretty well.
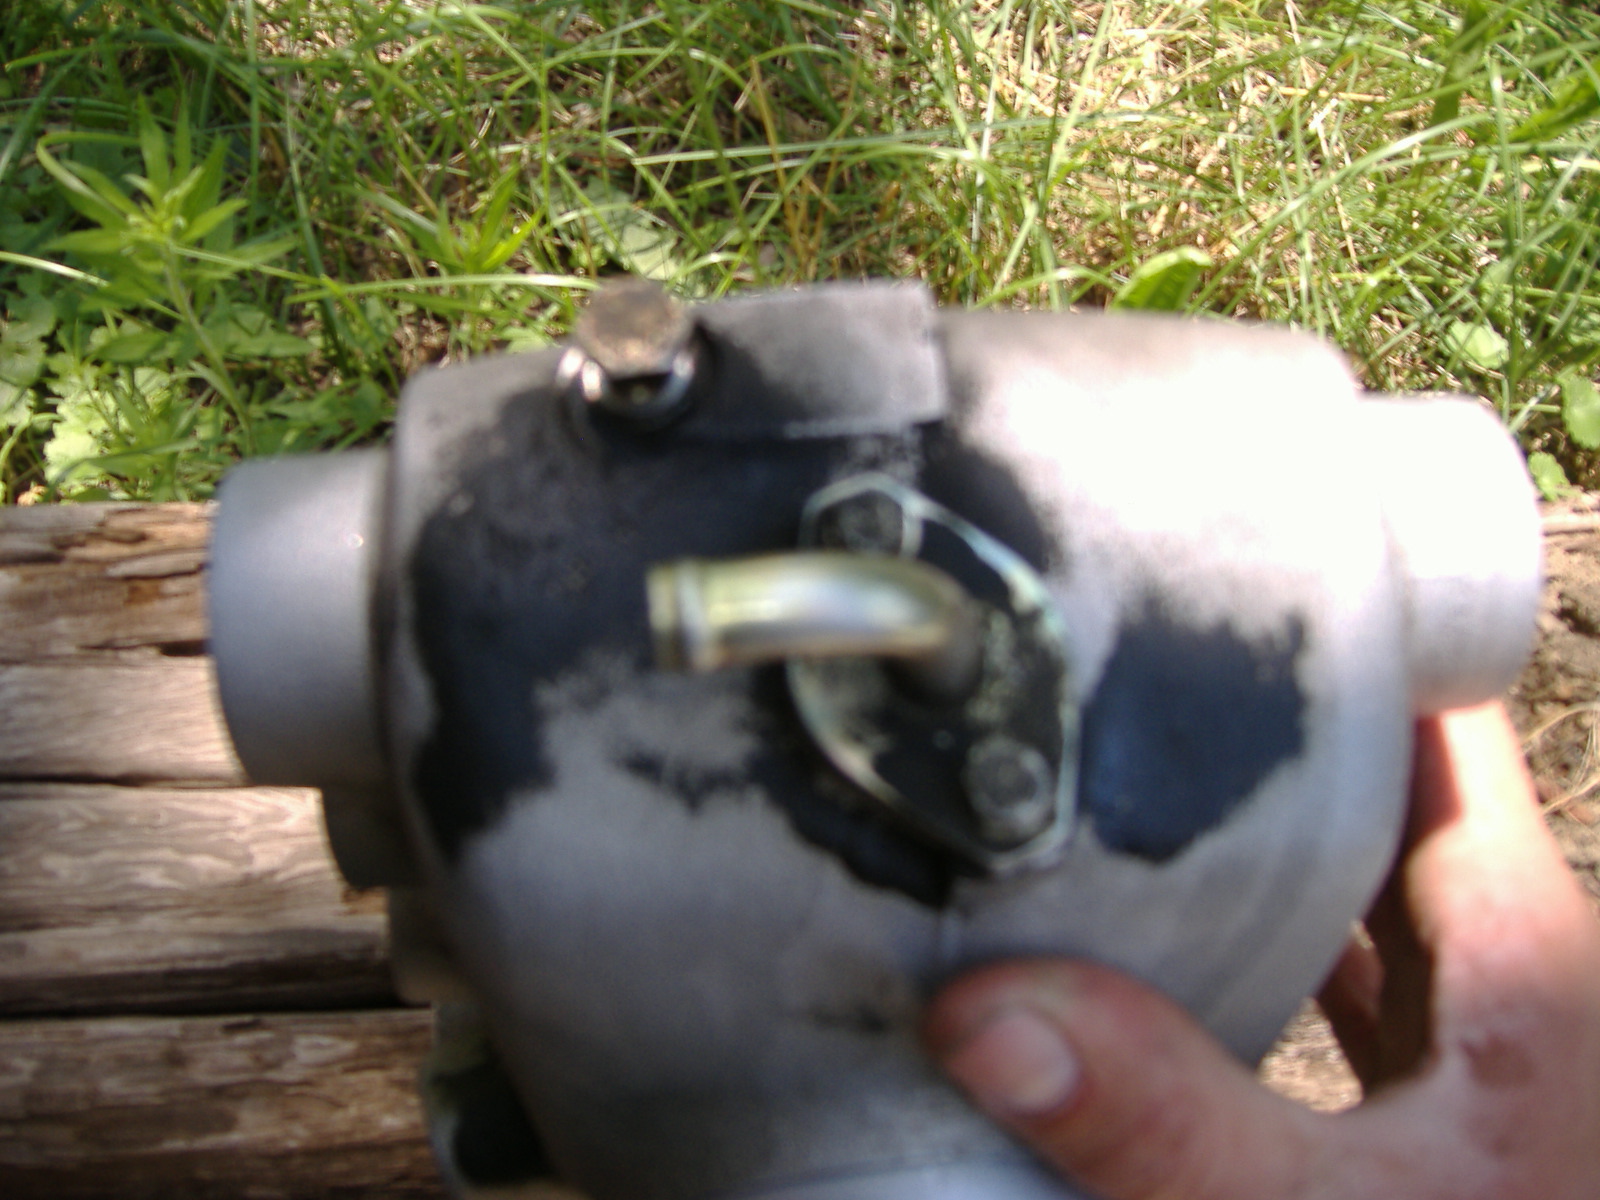
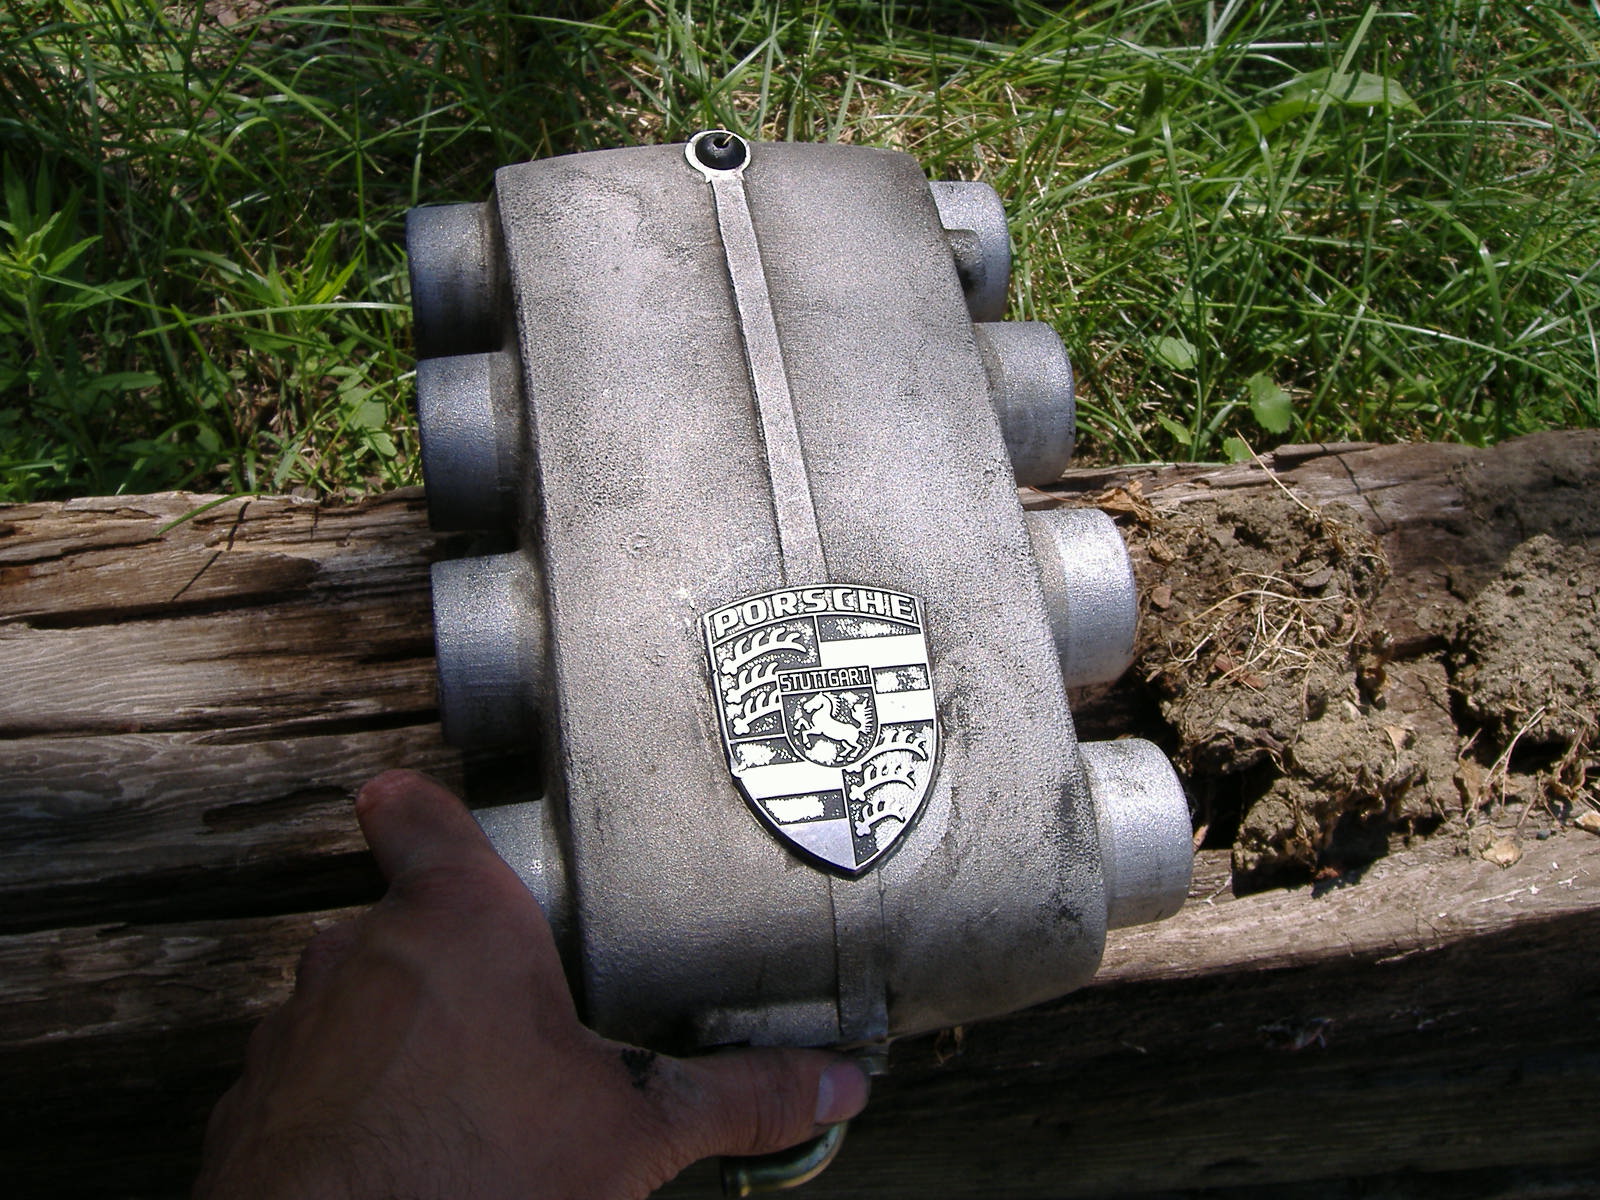
Last but not least I pulled the spider. The injector boots were shot and the intake gaskets were crumbling. This was beyond a PITA, any tips for making this job easier? I only got halfway through it. I pulled the right side of the spider and the central unit and power washed them. The amount of grime I got off this thing was unreal.
TLDR: 84 928s, sitting since 03 or 05. Started restore friday, EVERY bolt is seized or stuck, any tips? Dropped the gas tank, Changed the diff fluid, pulled fuel rails and injectors, Need new injectors Suggestions? Pulled half the spider, power washed years of grime (suggestions to make spider easier to pull off?)
All in all; a tough but good day
What have I done?
After many boxes of parts and way too much money I started the rebuild yesterday. 1st problem: EVERY bolt on this thing is seized or stuck, I have hit some of them with everything and they still wont move. WD-40 and deep creep have worked with some though. (Any tips?). Dropped the gas tank fairly quickly and removed the fuel pump and filter. The ground wire broke so I attached a new lead and moved on. The in tank filter had been in there so long that the threads had completely rusted over I had to have a strong friend pull it with a pair of vice grips. It eventually came free though.
Next up was the fuel sender unit. This was fairly easy to remove but I need your advice on how to clean it or whether to just buy a new one. More pics will come tomorrow morning when I locate my camera cable. After all this I power washed the tank and left it to dry.
Next up I pulled the fuel rails, this was a real PITA the PO before my grandfather had replaced all of the hoses but done a really cheap job. All of the hose clamps were different sizes
All of the hoses were completely shot. If I had started this thing it would have blown up in my face. After I got them out I pulled the injectors and most of them were broken so that is another huge expense (any alternatives to Porsche originals?) Also, As soon as I pulled the first injector the wire broke so that is more money. Next up I drained the differential which was the easiest of all of the jobs for the day. Apart from coating my hand in 20+ year old diff fluid and smelling the worst thing I have ever smelled off a car it went pretty well.
Last but not least I pulled the spider. The injector boots were shot and the intake gaskets were crumbling. This was beyond a PITA, any tips for making this job easier? I only got halfway through it. I pulled the right side of the spider and the central unit and power washed them. The amount of grime I got off this thing was unreal.
TLDR: 84 928s, sitting since 03 or 05. Started restore friday, EVERY bolt is seized or stuck, any tips? Dropped the gas tank, Changed the diff fluid, pulled fuel rails and injectors, Need new injectors
Suggestions? Pulled half the spider, power washed years of grime (suggestions to make spider easier to pull off?) All in all; a tough but good day
What have I done?
 06-30-2013, 01:12 AM
#2
Team Owner
that there is what you call potential,...
its how you fit all the new parts that makes it run perfectly.
Goodluck with your project
its how you fit all the new parts that makes it run perfectly.
Goodluck with your project
06-30-2013, 01:17 AM
#3
Nordschleife Master
06-30-2013, 01:51 AM
#4
Rennlist Member
Body looks straight, engine compartment very complete and fairly clean. This is exactly the type of car I look for on the market.
Chances are that you will only need to perform refresh of the rubber, sensors and various wear parts -- not internal engine or internal auto trans.
You got lucky on the in tank filter if you applied great force and didn't break the threaded tank part.
Be patient, that car will be worth it, very fun to drive and a real head turner.
Where was car used? Did it see winter service? Looks damn good to me. Interior?
06-30-2013, 09:27 AM
#6
Rennlist Member
Great looking car....in way better shape than mine is! Keep us posted. Not sure on the injectors, if you have cis (k-jet) check out my restoration thread....I used Mercedes injectors, got them cheap too! If you have electronic FI, I have no clue...
06-30-2013, 11:27 AM
#7
Rennlist Member
Rennlist Site Sponsor

First strong recommendation - if you don't have the Factory Workshop Manual, buy Jim's CD set and spend a lot of time reading.
The 50/50 acetone/ATF mix is an excellent penetrant.
A combination of the mix, time (the longer the better), and impact is the best approach to breaking fasteners loose. Don't wait until you start to remove the fasteners to apply the mix. Go out there and apply the mix to any fastener that you even think that you might want to get loose. Repeat every time that you work on the car. When you get around to removing that fastener, it will be much easier.
Rust is fragile. Whacking a bolt head with repeated moderate hammer blows will help. Using vise-grips to squeeze the sides of a nut will help break the corrosion.
Buy a hand impact tool. This is a steel cylinder about the size of a flashlight, with a 3/8" or 1/2" socket drive on one end. You put the tool on the fastener, turn it CCW (loosen) and hit the end hard with a hammer. The combination of the turning impact and the downward shock will help break the fastener loose.
You can't take too many photographs before and during disassembly. Different angles, different distances.
Buy zip-lok freezer bags and a felt-tip. Put the fasteners and small parts from a specific part or assembly in a clearly-labeled bag.
If you are taking off a part held on by 10mm fasteners, and you run into an 11mm fastener - STOP. Don't take that one out. The Porsche engineers were pretty good about that - an odd fastener usually does not need to be removed.
Everything fits if you are doing it right, If it doesn't fit, you probably aren't doing it right.
Cover every opening in the engine ASAP. The holes are magnetic - they will attract every dropped nut, washer and bolt, which will disappear deep into the bowels of the engine. Blue masking tape, paper towels, shop rags - anything that will cover the hole is better than nothing. But be warned - it is really, really easy to leave towels and rags in the openings when you are reassembling...
Ask a lot of questions - most of the folks on this forum are really helpful.
Trending Topics
06-30-2013, 01:34 PM
#9
Race Car
^^ Nice stable- I hope to see that T-37 rolling around sometime!
O/P car looks like garnet red-- that'll be quite pretty once it's squared~ Don't get too perturbed!
O/P car looks like garnet red-- that'll be quite pretty once it's squared~ Don't get too perturbed!
06-30-2013, 04:13 PM
#10
AutoX
Thread Starter
Join Date: Mar 2013
Location: IA, USA
Posts: 11
Likes: 0
Received 0 Likes
on
0 Posts
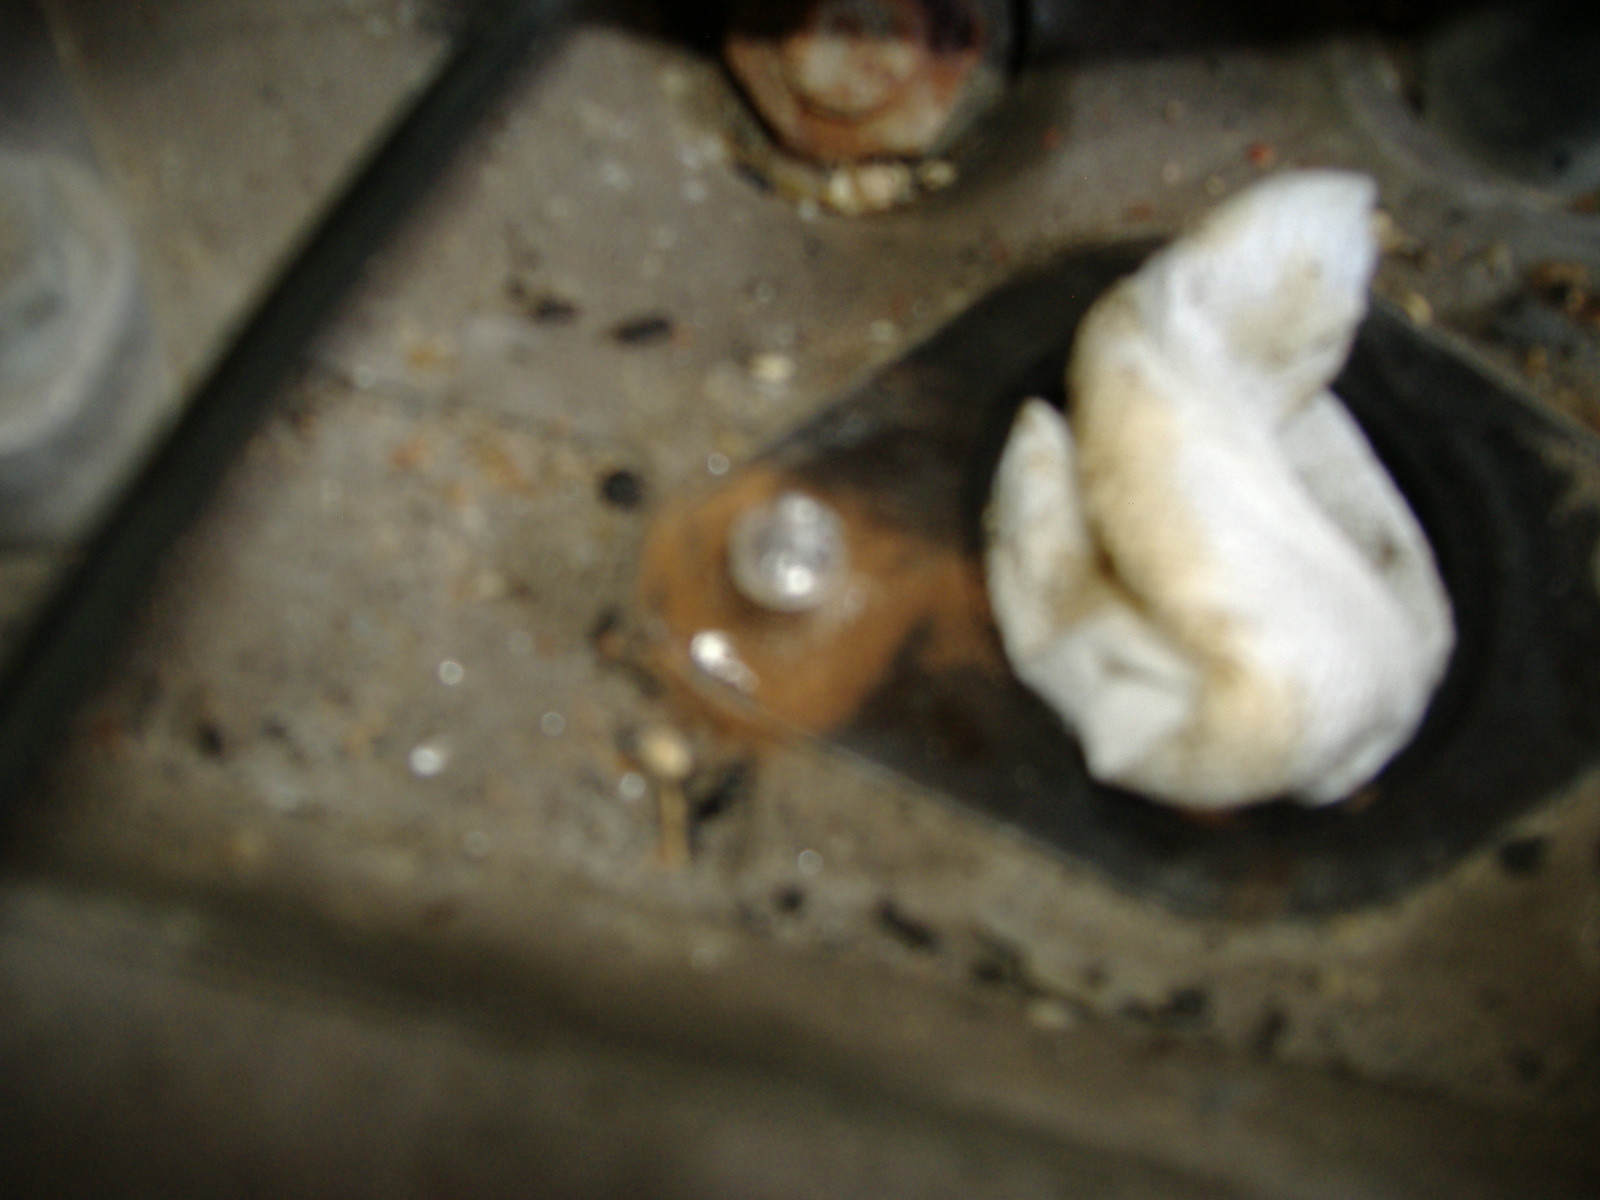
Day 3 and my first major problem. I was working to get the spider off again and I had a bolt break in the block I have seen that there are many ways to take care of this but I personally don't trust myself enough to remove it. Would I be able to call someone (auto shop or machine shop maybe?) to come out and take care of it? see attached photo #1 (Sorry for potato quality)
The next thing on the list was the the fuel sending unit, I was hoping to get it acid washed and coated and be able to re use it
the other attached pictures are the spider before and after power wash
and interior shots
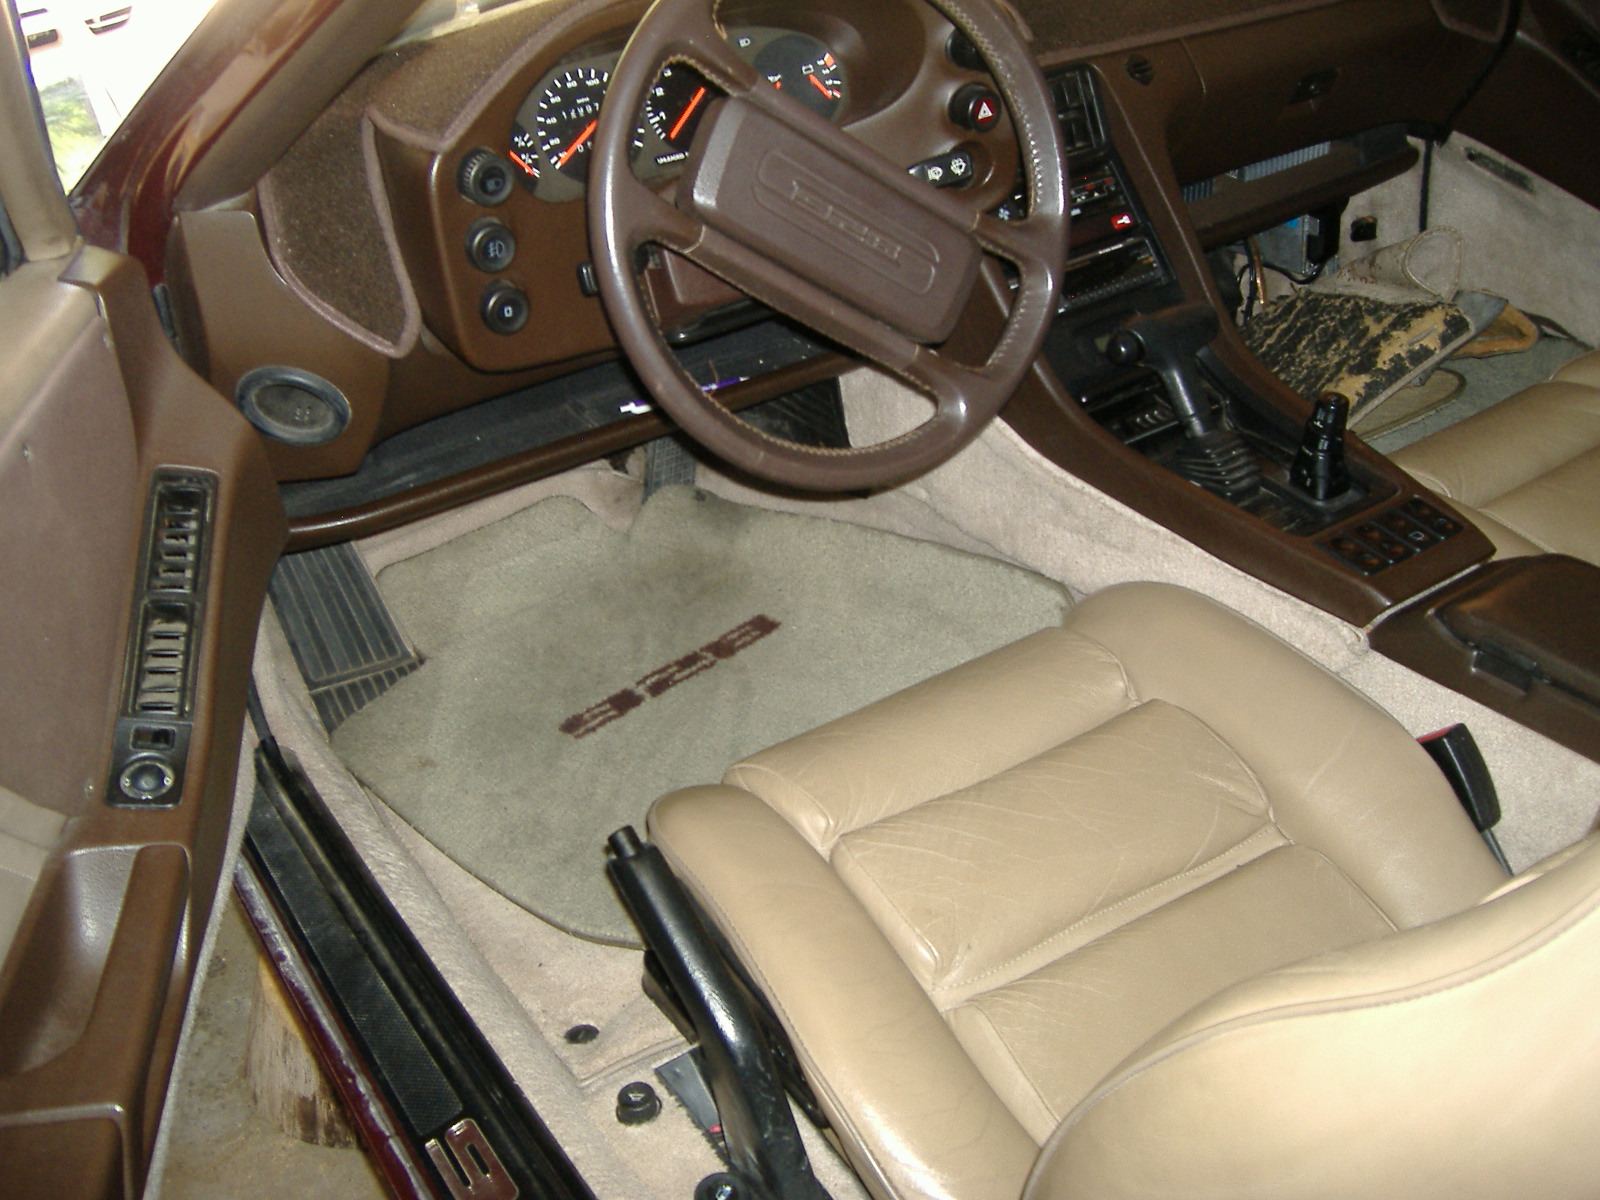
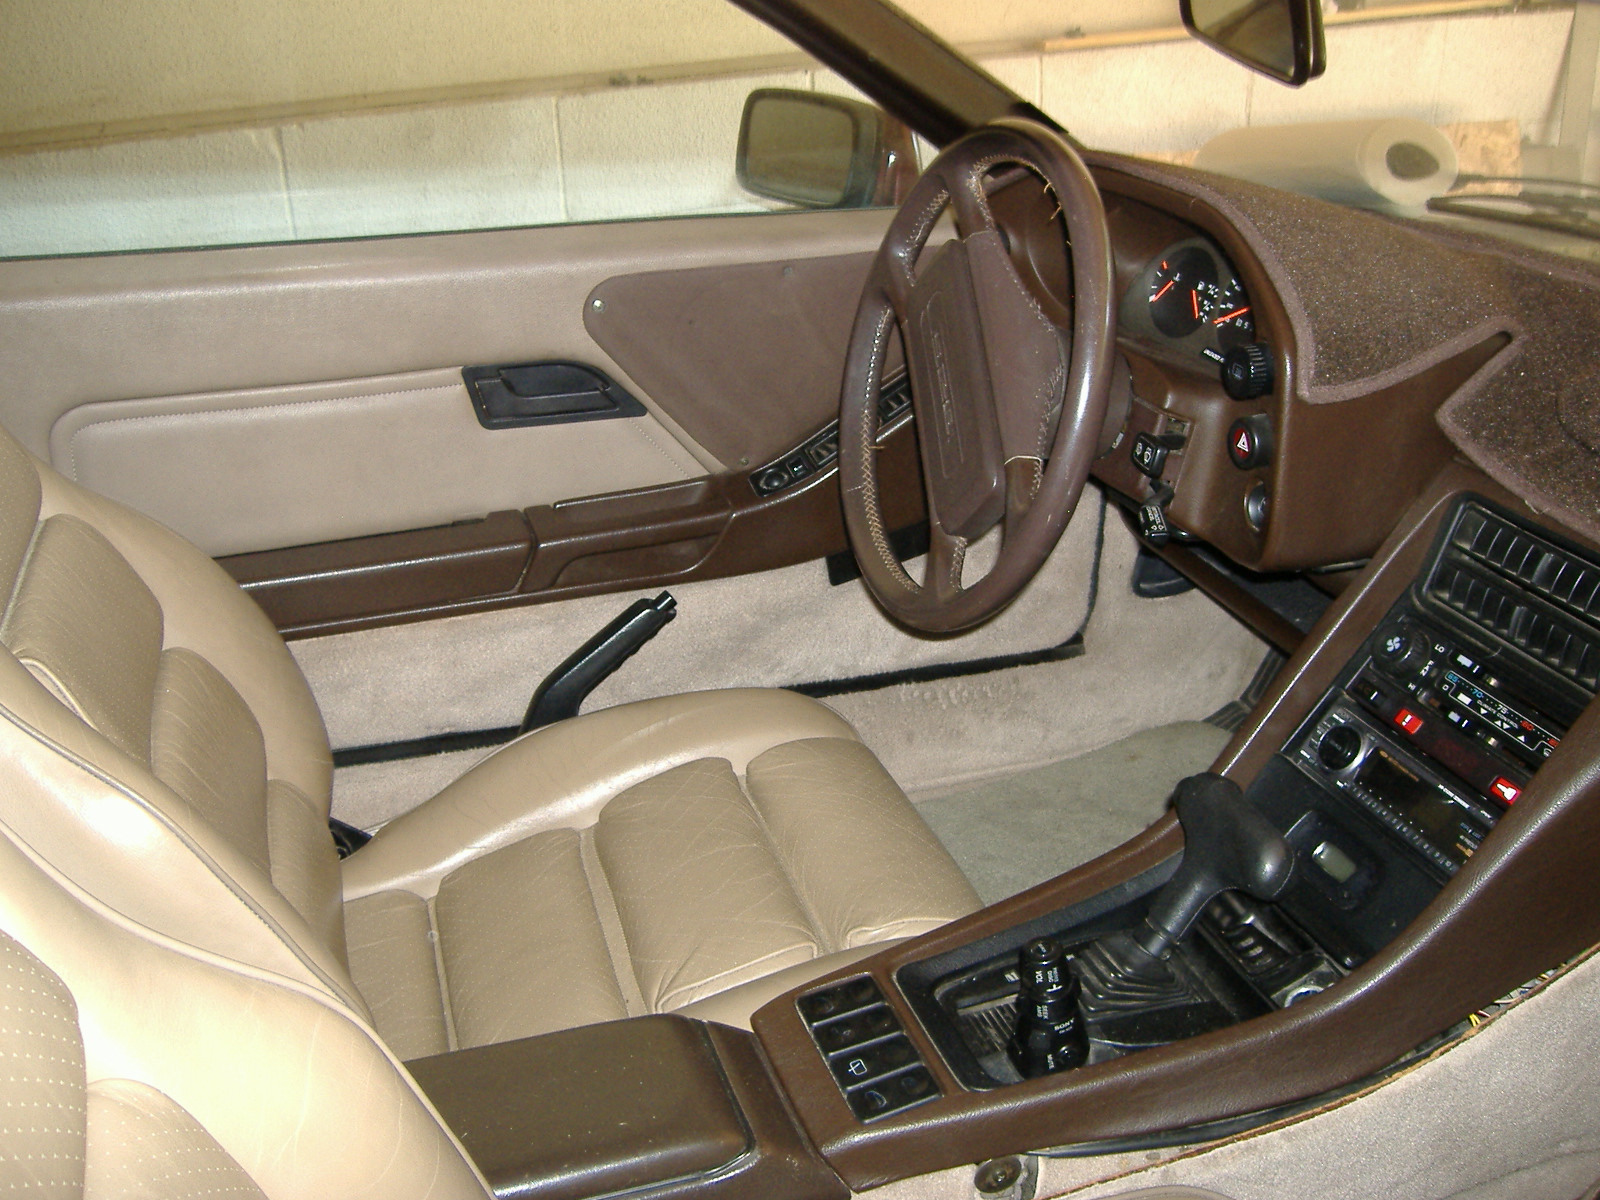
It was stored in a garage in Las Vegas for over a decade and it saw no winter driving before that.
Also the paint code is L-810 Ruby red metallic according to 928 gt guides
I do have all of the factory manuals along with quite a few PET diagrams and I used Dwayne's write ups for bleeding the breaks and dropping the gas tank.
Also I have a male to male brass fitting that goes into the fuel filter and I cannot break it loose. I have looked online and I cannot find any place that sells this particular fitting anyone have an idea what it is specifically and where I could get one?
I have seen that there are many ways to take care of this but I personally don't trust myself enough to remove it. Would I be able to call someone (auto shop or machine shop maybe?) to come out and take care of it? see attached photo #1 (Sorry for potato quality)The next thing on the list was the the fuel sending unit, I was hoping to get it acid washed and coated and be able to re use it
the other attached pictures are the spider before and after power wash
and interior shots
It was stored in a garage in Las Vegas for over a decade and it saw no winter driving before that.
Also the paint code is L-810 Ruby red metallic according to 928 gt guides
I do have all of the factory manuals along with quite a few PET diagrams and I used Dwayne's write ups for bleeding the breaks and dropping the gas tank.
Also I have a male to male brass fitting that goes into the fuel filter and I cannot break it loose. I have looked online and I cannot find any place that sells this particular fitting anyone have an idea what it is specifically and where I could get one?
06-30-2013, 04:17 PM
#11
06-30-2013, 04:20 PM
#12
Rennlist Member
the ford injectors are a far less expensive alternative to the originals. Also mercedes. Check with Roger.
06-30-2013, 05:05 PM
#13
Captain Obvious
Super User
Super User
06-30-2013, 09:48 PM
#14
Rennlist Member
06-30-2013, 10:20 PM
#15
Team Owner
when you get the rear wheels off then you can adjust the E brake adjusters through the rotors,
this should then make the handle go down so it sets the brakes at 3 clicks.
to adjust the stars turn them till the wheel locks,
then undo 3 star clicks,
set the brakes a few times,
spin the hubs to confirn the brakes are off,
if they are dragging increase the star to 4 clicks off tight
this should then make the handle go down so it sets the brakes at 3 clicks.
to adjust the stars turn them till the wheel locks,
then undo 3 star clicks,
set the brakes a few times,
spin the hubs to confirn the brakes are off,
if they are dragging increase the star to 4 clicks off tight