
Got something done this weekend
 03-03-2013, 08:06 PM
#1
Rennlist Member
Thread Starter
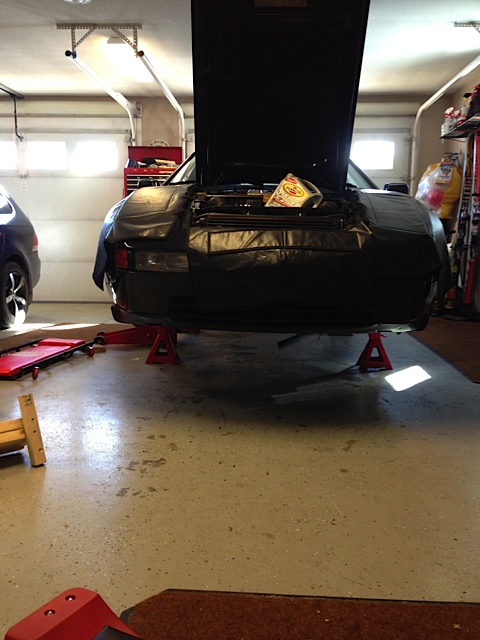
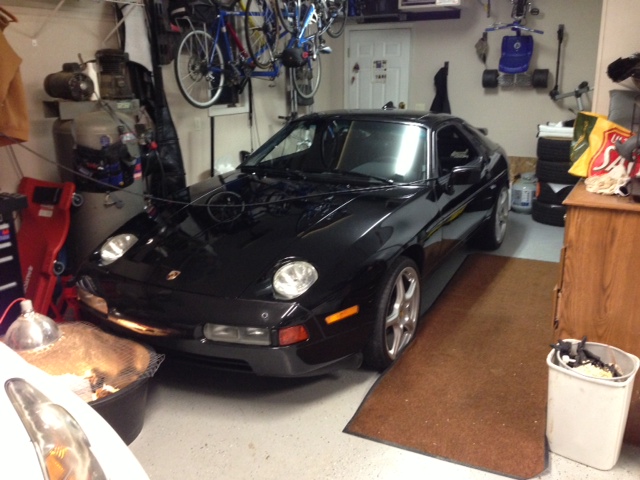
I got bored this weekend and decided to show a local 928'r the underside of the engine. He didn't have much experience under the car (but he sure knows the dash, vac pods etc).
We first converted it to a hover car
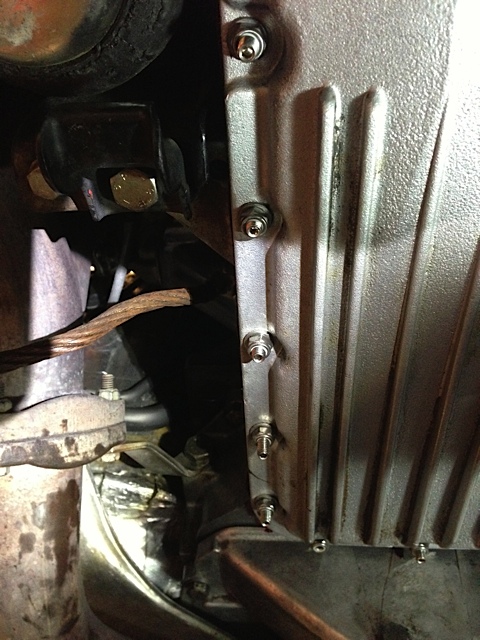
Then we pulled the oil pan and put a stud kit in
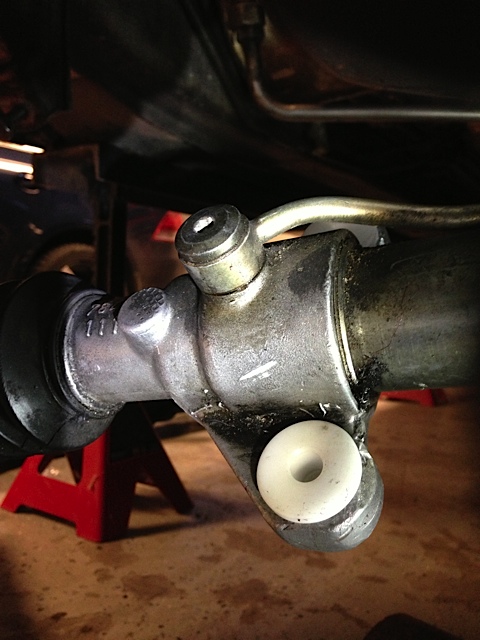
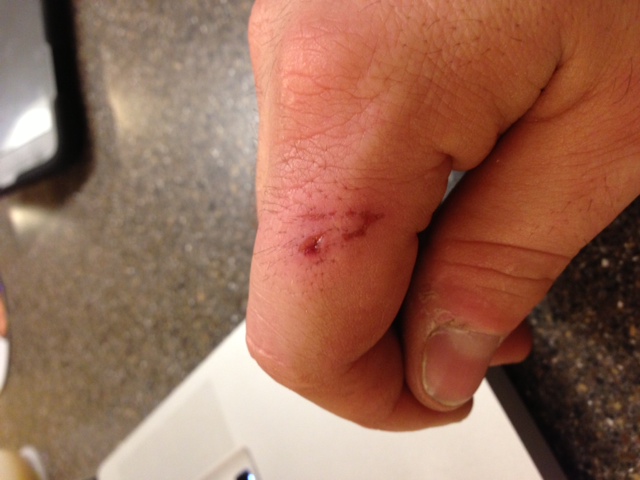
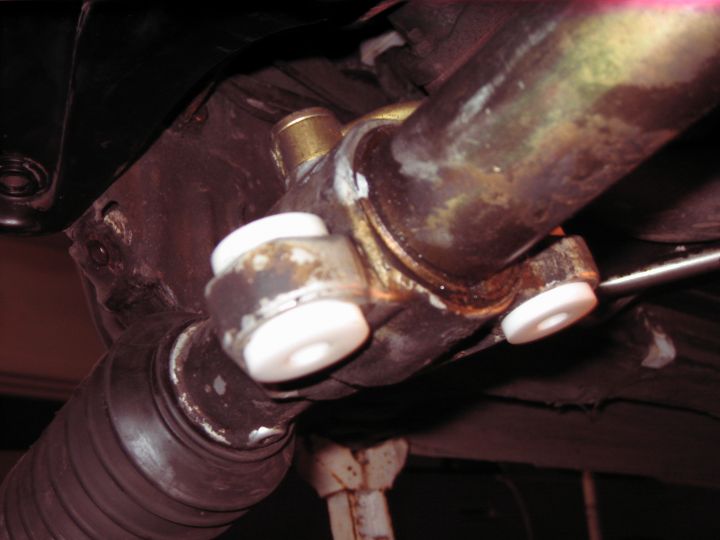
After Bill left I decided to put in a set of derlin rack bushings just because. I also learned that you don't want to have the air hammer hit your finger.
So far no leaks.
Thanks Bill for your help.
We first converted it to a hover car
Then we pulled the oil pan and put a stud kit in
After Bill left I decided to put in a set of derlin rack bushings just because. I also learned that you don't want to have the air hammer hit your finger.
So far no leaks.
Thanks Bill for your help.
 03-03-2013, 08:10 PM
#2

Job well done Jeff.
I'm guessing you had the safety spring on the air hammer right?
I'm guessing you had the safety spring on the air hammer right?
03-03-2013, 08:22 PM
#3
Rennlist Member
Thread Starter
Oh yeah, I had the safety spring. I just had my finger a bit too close when I was holding the rack in place and the thing slipped and hit my finger. It goes down to the bone. Bled real nice like. Hit it with the pointy part of the air chisel. Vodka fixed it.
03-03-2013, 08:25 PM
#4
Rennlist Member
Thread Starter
Now it is sleeping again until I do the window guides next weekend.
03-03-2013, 08:30 PM
#5
Addict
Rennlist Member
Rennlist Member
First this:
But then, this:
So it really did leak, right?
(Oh, and nice work, BTW, � on the things you didn't puncture.)

So it really did leak, right?
(Oh, and nice work, BTW,
� on the things you didn't puncture.)
03-03-2013, 08:56 PM
#7
Rennlist Member
Thread Starter
Well. Technically there was a leak but it wasn't a car leak.
Trending Topics
 03-03-2013, 09:47 PM
#9
Rennlist Member
No alignment required when you repalce the rack bushings.
03-03-2013, 09:56 PM
#10
Chronic Tool Dropper
Lifetime Rennlist
Member
Lifetime Rennlist
Member

Both.
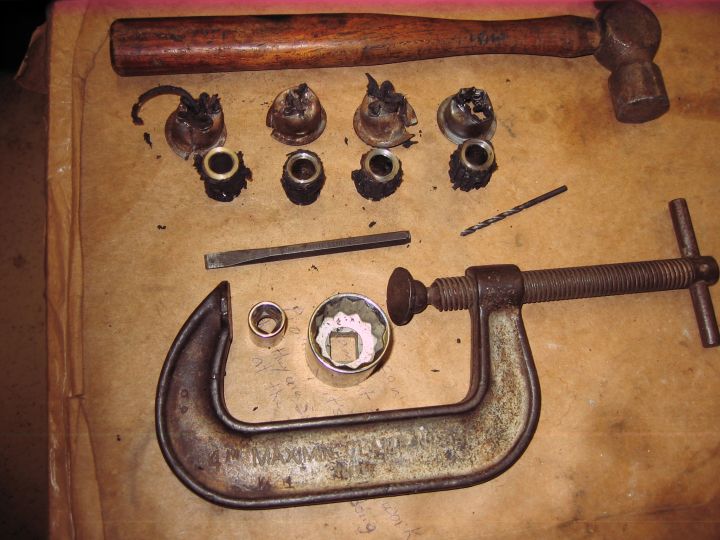
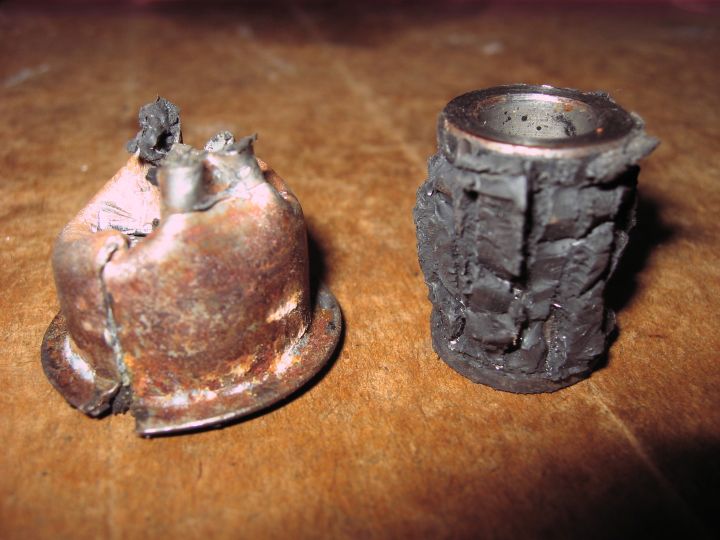
The original bushings come out with some persuasion. The air chisel makes it a faster job, but you can also do it with a small chisel, a couple sockets and a c-clamp to use as a DIY bushing press. The new parts are a snug friction fit.
The new bushings will more accurately position the rack vertically compared to what the originals did. In a perfect world with perfect static ride height, the tie rods are horizontal. Moving the rack up or down a fraction of an inch won't affect toe much. If your car has sagged or is lower on purpose, the toe will probably need a touch-up. On some cars, there's a bit of centering needed too with the new bushings, part of the toe adjustment.
03-03-2013, 11:25 PM
#12
Rennlist Member
How do we know if the bushings need to be replaced?
I heard here that this job is close to the top in terms of ride improvement.
Any special tooling? Write up?
Thanks
I heard here that this job is close to the top in terms of ride improvement.
Any special tooling? Write up?
Thanks
03-03-2013, 11:42 PM
#13
Rennlist Member
Jeff's rack is a lot cleaner than mine.
 03-04-2013, 02:45 PM
#15
Racer
Join Date: Mar 2009
Location: Iowa
Posts: 277
Likes: 0
Received 0 Likes
on
0 Posts
Gotta keep those fingers clear Jeff! It must have been a good weekend to work on the Shark in Iowa. I installed a new radio and new ignition switch, then cleaned up a bunch of the wiring in the center console.