

Repaint 1990 S4
 02-26-2013, 11:35 AM
#1
Intermediate
Thread Starter
Join Date: Jan 2010
Location: Vernon, BC Canada
Posts: 47
Likes: 0
Received 0 Likes
on
0 Posts
I am about to repaint my 1990 S4, original color is Slate Grey Metallic/Q9.
Are there any other numbers/codes I would need to order the paint?
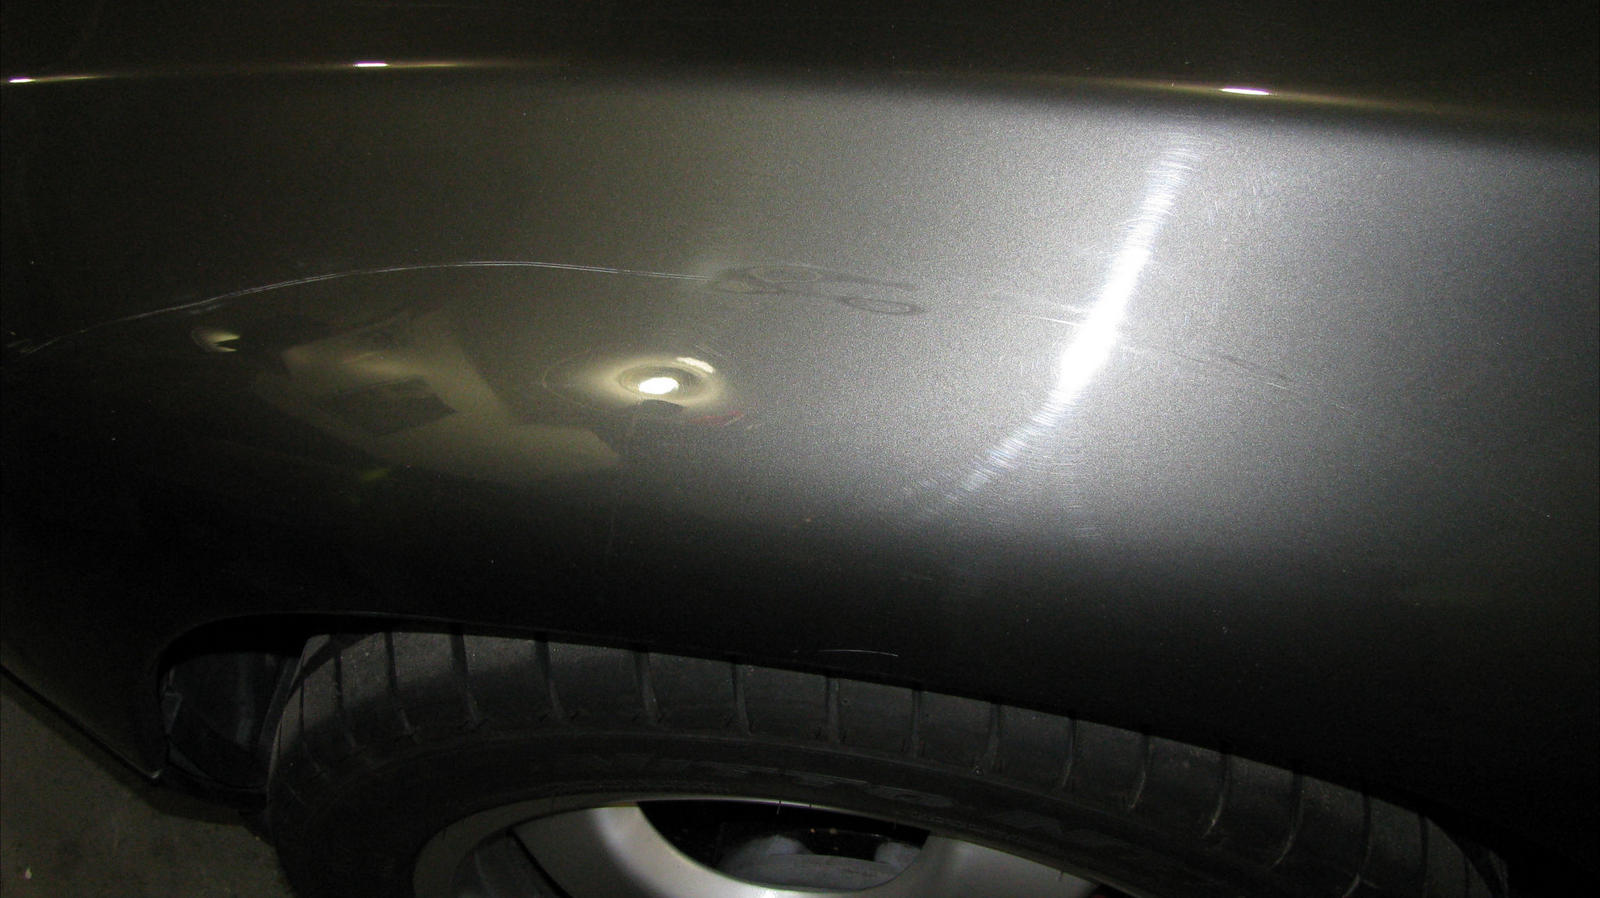
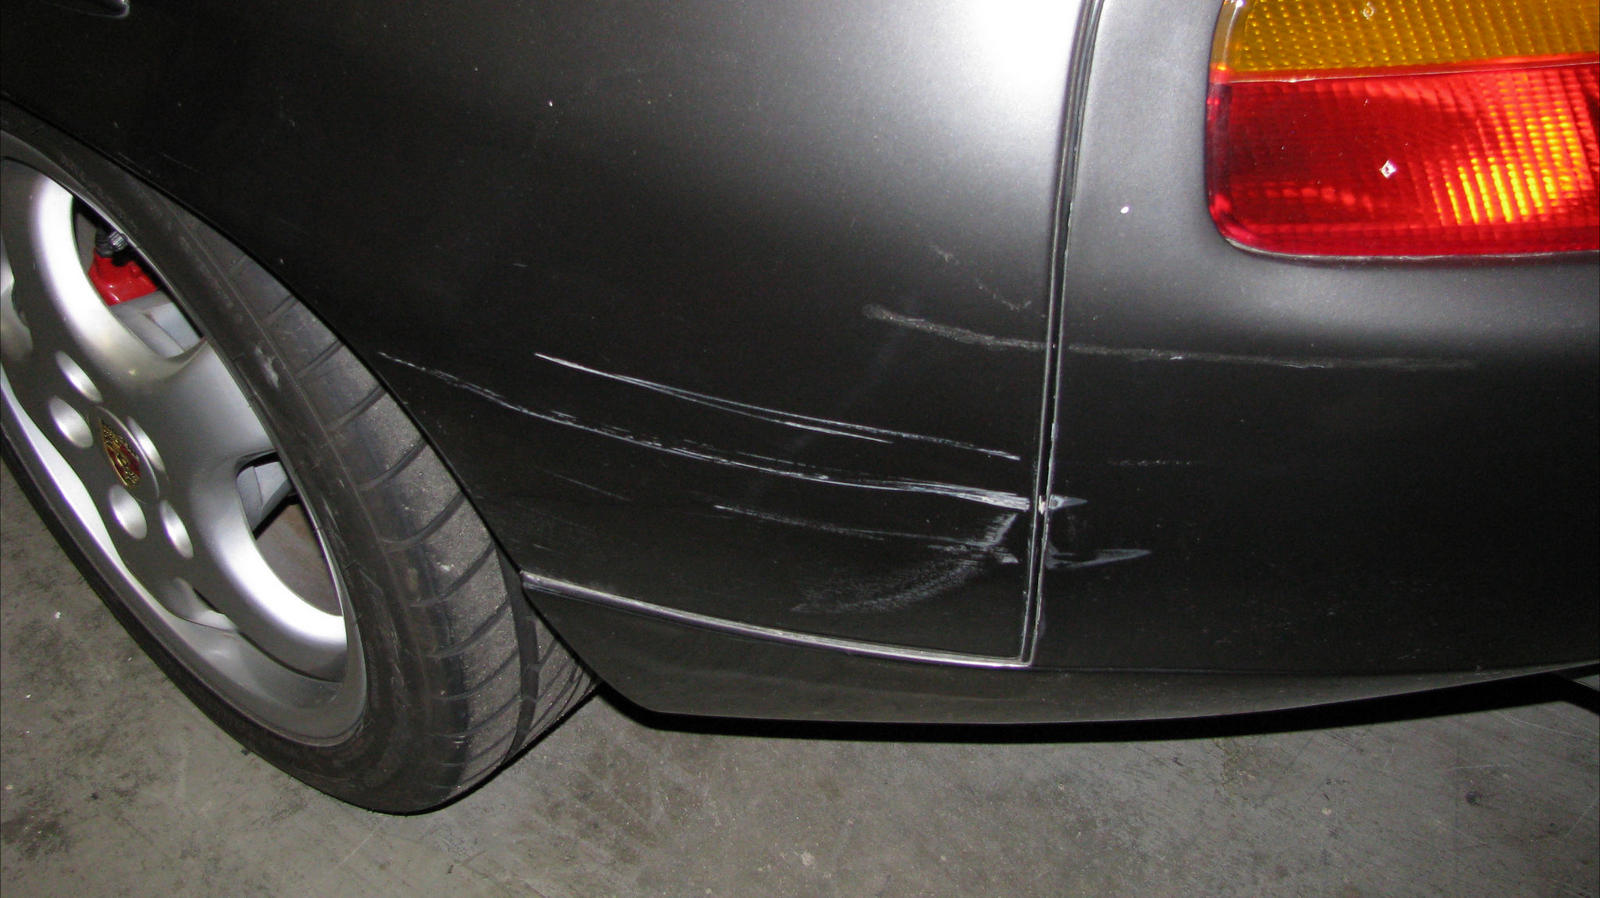
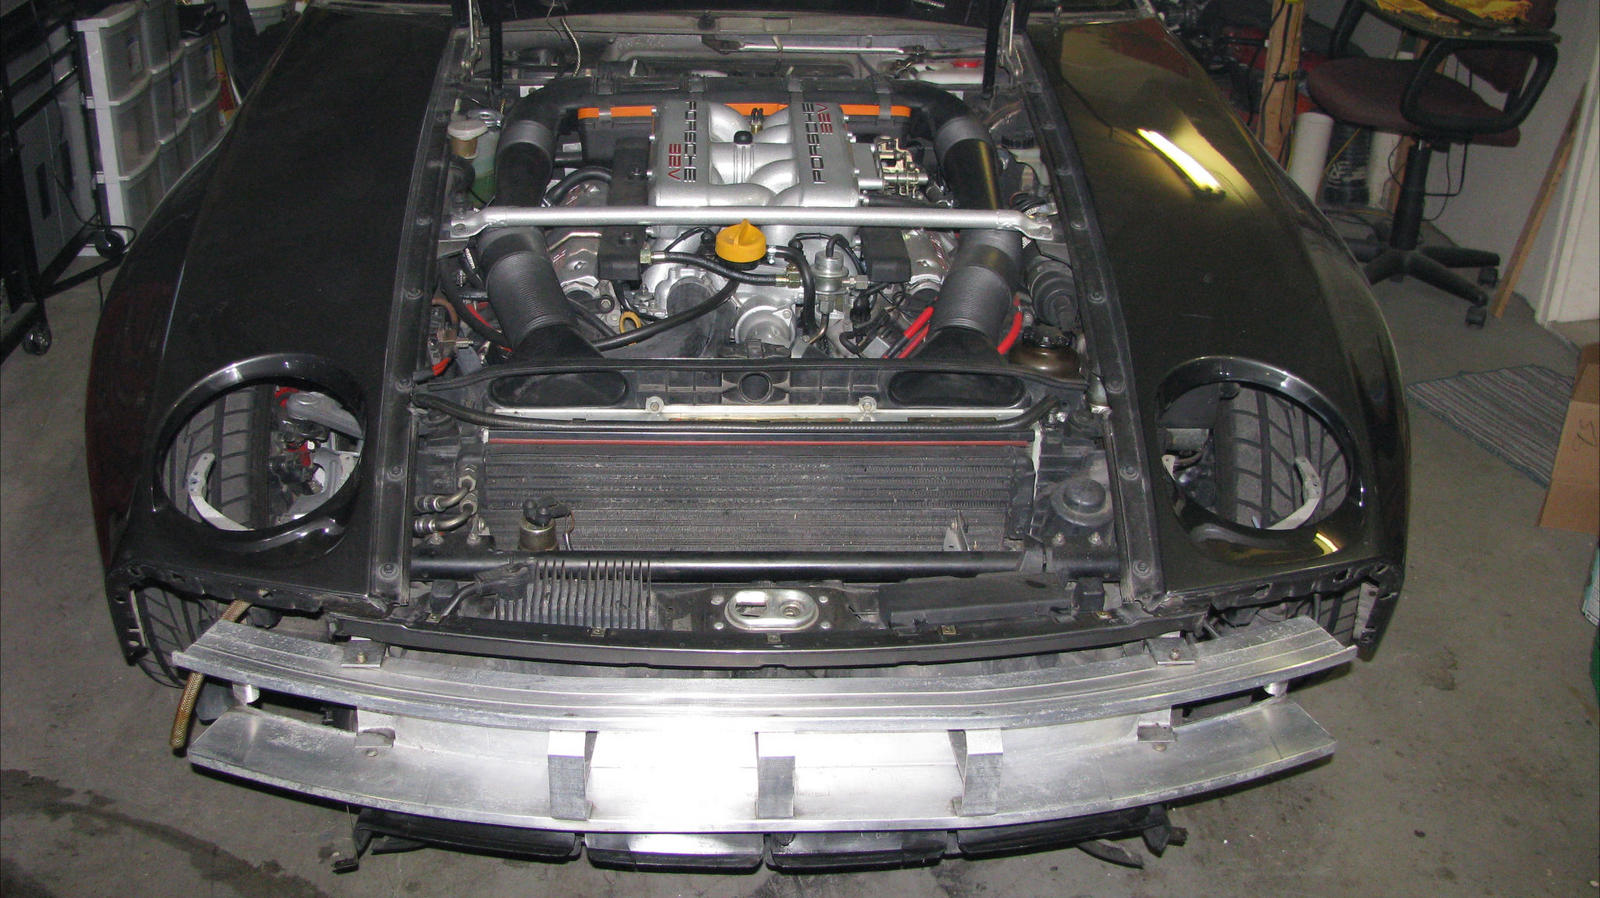
Here are some pics of the work so far:
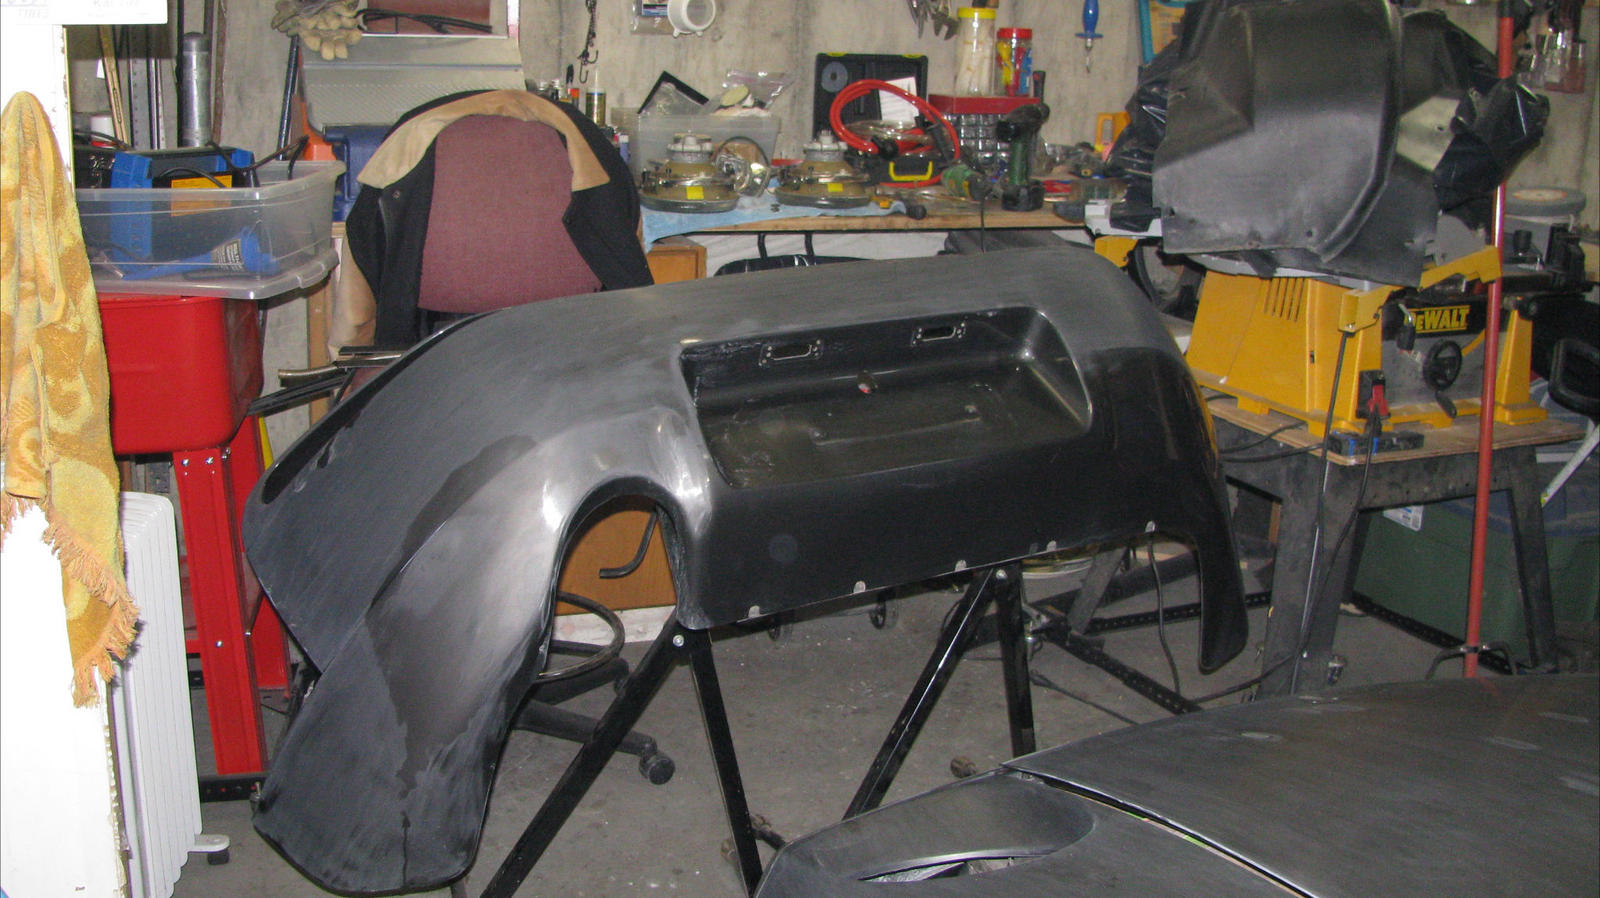
Are there any other numbers/codes I would need to order the paint?
Here are some pics of the work so far:
 02-26-2013, 11:46 AM
#2
Rennlist Member
When I ordered touch up paint all they wanted was the code off the B pillar; you do know that you need flex agent for the bumper covers? Search is your friend. There are threads by people who know lots more about paint and painting than me.
02-26-2013, 12:24 PM
#4
Rennlist Member
Also... make certain they will re-align the body panels as many times as it will take to get it right. Seals will be damaged if doors/hatch/etc. are not properly aligned. Most paint shops employ minimum wage hacks for the grunt work... if you are not satisfied with the fit & finish -keep at them to do it right.
If you are not changing from the original color, it may be better to paint the car with the panels on (if everything still opens/closes correctly)... AND do not tell them you plan to redo the engine compartment and the interior -or they may not cover/protect anything... leaving you with tons of sanding dust everywhere.
Ask me how I know...
02-26-2013, 12:36 PM
#5
Rennlist Member
Looks like you are doing a great job disassembling it correctly. Not an easy, quick task usually. The paint code is in the drivers door jamb. Should be 3 numbers or 2 numbers and a letter usually. The color name is also located there. What paint system will you be using?
02-26-2013, 01:05 PM
#6
Intermediate
Thread Starter
Join Date: Jan 2010
Location: Vernon, BC Canada
Posts: 47
Likes: 0
Received 0 Likes
on
0 Posts
Also... make certain they will re-align the body panels as many times as it will take to get it right. Seals will be damaged if doors/hatch/etc. are not properly aligned. Most paint shops employ minimum wage hacks for the grunt work... if you are not satisfied with the fit & finish -keep at them to do it right.
If you are not changing from the original color, it may be better to paint the car with the panels on (if everything still opens/closes correctly)... AND do not tell them you plan to redo the engine compartment and the interior -or they may not cover/protect anything... leaving you with tons of sanding dust everywhere.
Ask me how I know...
If you are not changing from the original color, it may be better to paint the car with the panels on (if everything still opens/closes correctly)... AND do not tell them you plan to redo the engine compartment and the interior -or they may not cover/protect anything... leaving you with tons of sanding dust everywhere.
Ask me how I know...
 02-26-2013, 01:08 PM
#7
Intermediate
Thread Starter
Join Date: Jan 2010
Location: Vernon, BC Canada
Posts: 47
Likes: 0
Received 0 Likes
on
0 Posts
Looks like you are doing a great job disassembling it correctly. Not an easy, quick task usually. The paint code is in the drivers door jamb. Should be 3 numbers or 2 numbers and a letter usually. The color name is also located there. What paint system will you be using?
Trending Topics
02-26-2013, 01:15 PM
#8
Team Owner
This looks like a really thorough job your doing, It will be worth it when its finished,
for the PU covers if there was any damage to the paint IE spider cracks then the PU cover should be fully stripped I suggest to use walnut media.
If this isnt done then the cracks will show up in a few months after the paint has had time to cure, use a flex agent in the PU cover paint and clear.
You might also consider tossing some pearl into the clearcoat, it comes in many different colors , but note it will be hard to match unless you know exactly how much was used.
BTW I did a repaint on a 79 and we used Galsurit base and a medium build clear,
the finish was spectacular once the paint was sanded and buffed (this took 3 times to get perfect)
Sand with 1200, then 2000 then buff,
yes its a lotta work but you will be rewarded with an awesome finish.
If there is any bare aluminum it should be zinc chromated then epoxy primered so the top coats will stick
02-26-2013, 01:23 PM
#9
Intermediate
Thread Starter
Join Date: Jan 2010
Location: Vernon, BC Canada
Posts: 47
Likes: 0
Received 0 Likes
on
0 Posts
This looks like a really thorough job your doing, It will be worth it when its finished,
for the PU covers if there was any damage to the paint IE spider cracks then the PU cover should be fully stripped I suggest to use walnut media.
If this isnt done then the cracks will show up in a few months after the paint has had time to cure, use a flex agent in the PU cover paint and clear.
You might also consider tossing some pearl into the clearcoat, it comes in many different colors , but note it will be hard to match unless you know exactly how much was used.
BTW I did a repaint on a 79 and we used Galsurit base and a medium build clear,
the finish was spectacular once the paint was sanded and buffed (this took 3 times to get perfect)
Sand with 1200, then 2000 then buff,
yes its a lotta work but you will be rewarded with an awesome finish.
If there is any bare aluminum it should be zinc chromated then epoxy primered so the top coats will stick
for the PU covers if there was any damage to the paint IE spider cracks then the PU cover should be fully stripped I suggest to use walnut media.
If this isnt done then the cracks will show up in a few months after the paint has had time to cure, use a flex agent in the PU cover paint and clear.
You might also consider tossing some pearl into the clearcoat, it comes in many different colors , but note it will be hard to match unless you know exactly how much was used.
BTW I did a repaint on a 79 and we used Galsurit base and a medium build clear,
the finish was spectacular once the paint was sanded and buffed (this took 3 times to get perfect)
Sand with 1200, then 2000 then buff,
yes its a lotta work but you will be rewarded with an awesome finish.
If there is any bare aluminum it should be zinc chromated then epoxy primered so the top coats will stick
02-26-2013, 01:23 PM
#10
Rennlist Member
Manufacturer and paint line..
I recommend Glasurit 55 line or R-M Diamont for your basecoat. Both are polyester basecoats that most resemble the original Glasurit 54 line that was on your car originally. Use Glasurit 923-450 clear for the best "straight out of the gun" finish.
Here is your color info.
I recommend Glasurit 55 line or R-M Diamont for your basecoat. Both are polyester basecoats that most resemble the original Glasurit 54 line that was on your car originally. Use Glasurit 923-450 clear for the best "straight out of the gun" finish.
Here is your color info.
02-26-2013, 01:33 PM
#11
Rennlist Member
Epoxy primers contain zinc chromates, so it is one step. Make sure to prime any exposed aluminum within 15 minutes as raw aluminum oxidizes immediately.
I'm not aware of any flex additives that Glasurit makes that is compatible with either the 923-255 or 923-450 clear. If they have it, that is great. If they don't, that is no loss either. 928 covers fit tight and secure. Get the correct film build on it and spider cracking won't be an issue. I agree with the advice to strip the bumpers if there is spider cracking or evidence of a prior respray, though it can just be machine sanded. Walnut blasting is safe but not necessary.
02-26-2013, 01:58 PM
#12
Intermediate
Thread Starter
Join Date: Jan 2010
Location: Vernon, BC Canada
Posts: 47
Likes: 0
Received 0 Likes
on
0 Posts
Good advice.
Epoxy primers contain zinc chromates, so it is one step. Make sure to prime any exposed aluminum within 15 minutes as raw aluminum oxidizes immediately.
I'm not aware of any flex additives that Glasurit makes that is compatible with either the 923-255 or 923-450 clear. If they have it, that is great. If they don't, that is no loss either. 928 covers fit tight and secure. Get the correct film build on it and spider cracking won't be an issue. I agree with the advice to strip the bumpers if there is spider cracking or evidence of a prior respray, though it can just be machine sanded. Walnut blasting is safe but not necessary.
02-26-2013, 02:41 PM
#14
Drifting
Porsche used some kind of anti-sandpaper kryptonite **** in the paint they used on the bumpers. It makes the factory bumper paint tough as nails. A complete strip down on them is a nightmare. I normally agree with Stan on most things paint related, but as far as the bumper covers go (and the rest of the car as well) the important thing is to get rid of ANY paint that was put on after it left the factory. The factory finish overall is of incredibly high quality, and a complete strip down isn't necessary. On my '85 I stripped the front cover completely. On the rear, the cover was a replacement that had been repainted previously. On that, I simply sanded off the "repaint" finish, and then heavily sanded the factory paint that was underneath. You MUST treat any cut through (when the sander breaks all the way through to raw plastic) with adhesion promoter or paint will absolutely not stick to them. Flex additive in the primer and clear is also mandatory IMO. The flex additive argument on paint forums is like the synthetic oil versus conventional oil argument on Rennlist, or cut versus uncut on venues frequented by adolescents and other insecure males. Paint the plastic panels on the lower doors, fenders, etc the same as the bumper covers. I painted my '85 6 years and 70K miles ago. I used flex additive on the bumpers. The rear is still pristine, and there are maybe one or two tiny chips on the front. The hood OTOH has numerous chips. I used the maximum amount of flex additive that Glasurit recommended on the bumper covers. And although it can make color sanding a bitch, I noticed that the bumper covers required minimal color sanding afterward. This is because the clear I used didn't normally call for reducer, but with flex additive, it did require a small amount. So the clear had a lower viscosity from the reducer, plus a longer cure time which allowed the clear to level/flow out better than it normally would. The plastic, lower body trim on your car replaced the anti-chip coating they used on pre-S4 cars. If you want maximum chip protection on those lower panels, you need maximum flex additive IMO. If I were painting my car again, I'd use 5-10% flex additive on the metal surfaces in addition to the max amount on the plastic.
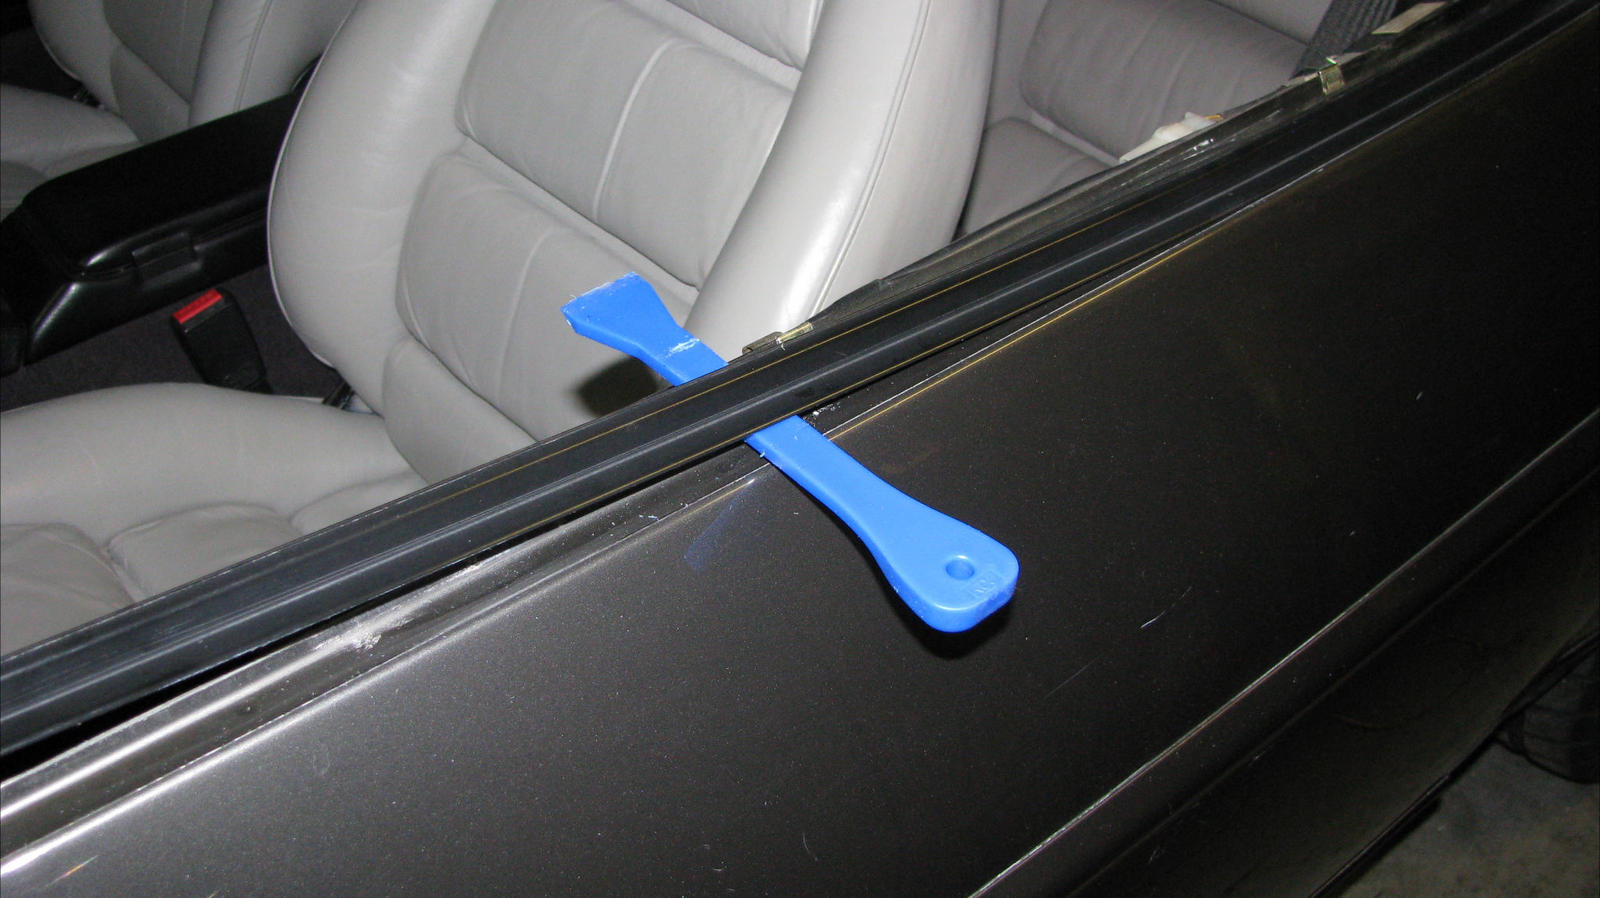
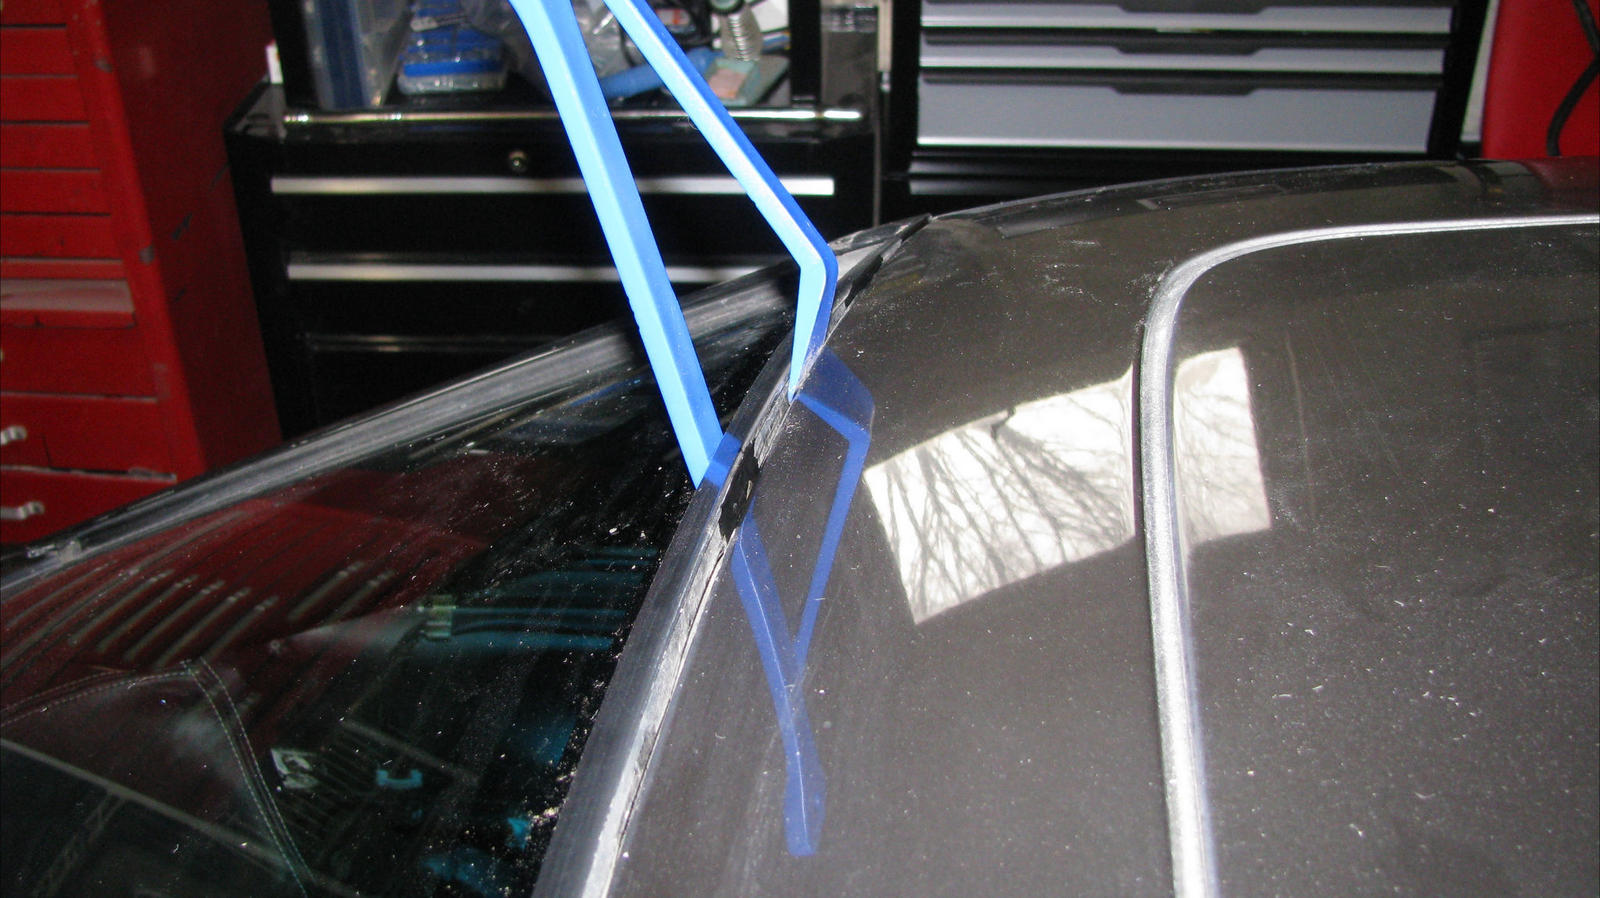
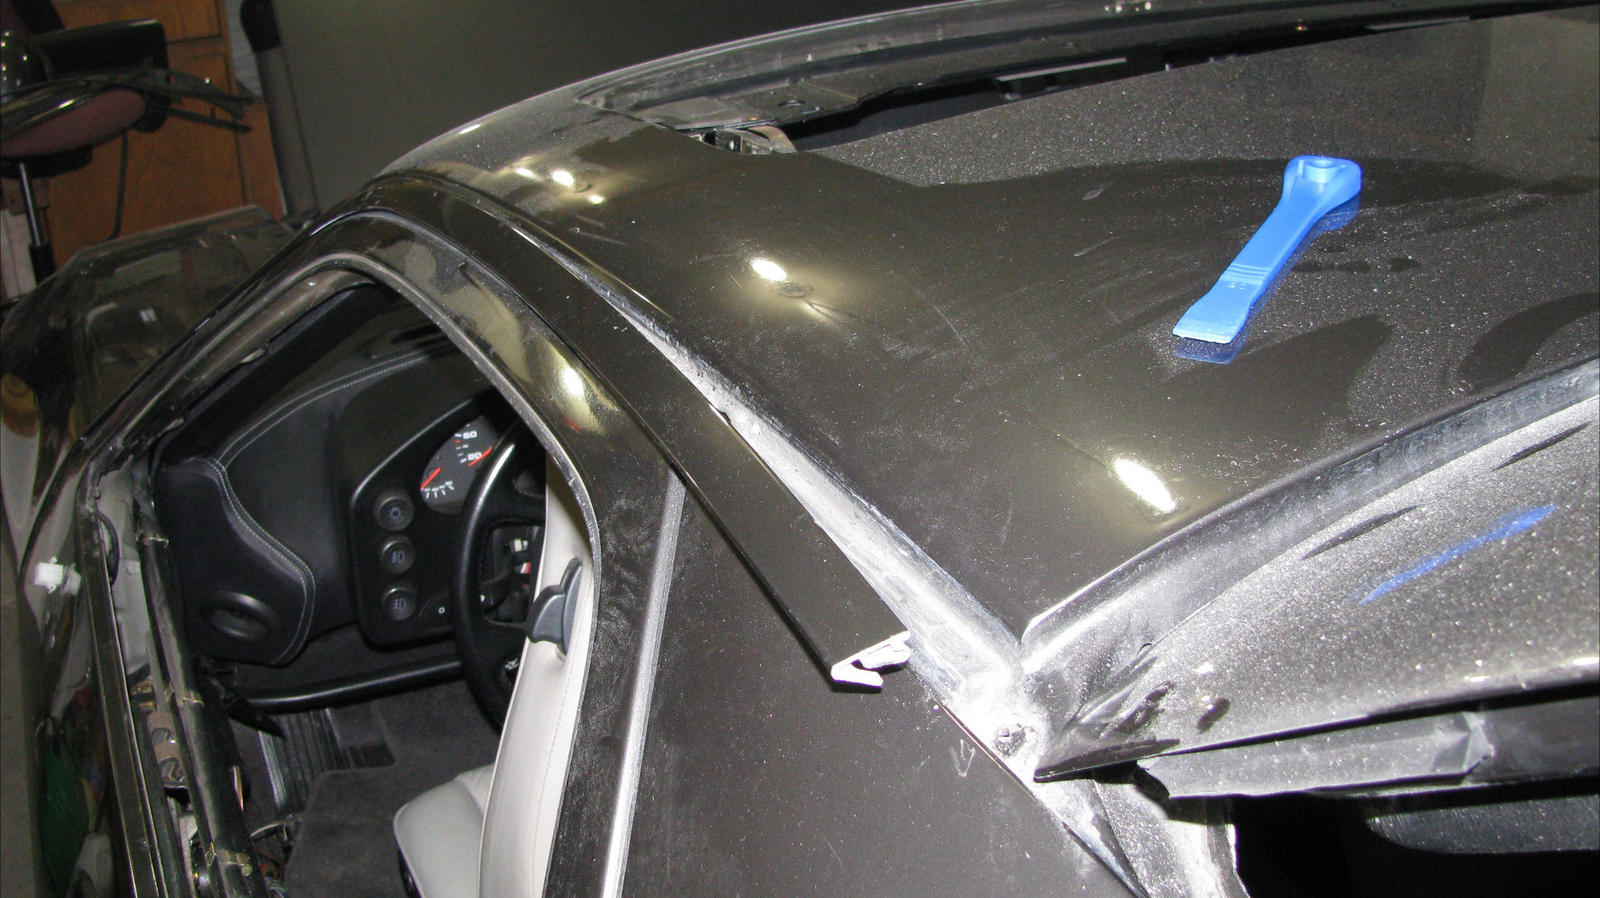
Here's why I mentioned the need to eliminate all traces of paint and primer not applied at the factory.

This is my truck I painted last year. (Yes I used Glasurit 55-line on a '95 Chevy full size with 250K miles.) The seam the tape runs along is where the side of the extended cab meets the roof. What you're seeing is a lot of new paint, then an area that appears to have had some of that new paint chipped off, and in the chipped area you see old well sanded paint. What happened is I got lazy and didn't pay attention. That panel had been repainted previously as part of some body work before I got the truck. That area that's chipped was the one spot on that entire panel where I didn't remove ALL of the non-factory paint. I was taping off the panel so I could start to paint the roof, and I put the tape down and pulled it off to move it. When I pulled it off, it took off the new paint I had applied a few days before. On closer inspection, it also removed the layer of non-factory paint underneath. A few lessons to be learned here.
1. Remove ALL paint not applied by the factory. This is the reason the paint makers all say a suitable substrate is cured, well-sanded, and cleaned FACTORY PAINT. None of them give a green light to apply their product over a prior respray, and this is why. The point of failure wasn't the paint I applied (technically, it was my poor prep). The bond of the Glasurit was rock solid. The weak spot was the bond between the factory finish and that little bit of prior respray material I didn't completely remove.
2. Not all paints are created equal. Some stick better than others.
3. Always inspect the panel thoroughly before applying a new layer of material.
4. Screw ups happen even in the best body shops. There's one difference. The body shop buys paint material and uses it rapidly. The shade tree car painter doesn't. Here's why this is important. Glasurit clear is only sold in one gallon cans. Many of their primers are sold in the same quantity. So if you run out when you've only got one panel to go, guess what? You're buying another gallon of material, most of which will sit on your shelf until the local landfill has an amnesty day, or you do another paint project which may be a few years down the road. So while the cost of repairing that mistake may only be $50 in materials, if you're running low on supplies when the mistake happens, it may actually cost you close to $300 depending on what you use.
A "paint system" is a range of products by a paint manufacturer that are meant to be used together. A system will list applicable products for all stages in the process. You can cheat the system somewhat.
Here's why I mentioned the need to eliminate all traces of paint and primer not applied at the factory.
This is my truck I painted last year. (Yes I used Glasurit 55-line on a '95 Chevy full size with 250K miles.) The seam the tape runs along is where the side of the extended cab meets the roof. What you're seeing is a lot of new paint, then an area that appears to have had some of that new paint chipped off, and in the chipped area you see old well sanded paint. What happened is I got lazy and didn't pay attention. That panel had been repainted previously as part of some body work before I got the truck. That area that's chipped was the one spot on that entire panel where I didn't remove ALL of the non-factory paint. I was taping off the panel so I could start to paint the roof, and I put the tape down and pulled it off to move it. When I pulled it off, it took off the new paint I had applied a few days before. On closer inspection, it also removed the layer of non-factory paint underneath. A few lessons to be learned here.
1. Remove ALL paint not applied by the factory. This is the reason the paint makers all say a suitable substrate is cured, well-sanded, and cleaned FACTORY PAINT. None of them give a green light to apply their product over a prior respray, and this is why. The point of failure wasn't the paint I applied (technically, it was my poor prep). The bond of the Glasurit was rock solid. The weak spot was the bond between the factory finish and that little bit of prior respray material I didn't completely remove.
2. Not all paints are created equal. Some stick better than others.
3. Always inspect the panel thoroughly before applying a new layer of material.
4. Screw ups happen even in the best body shops. There's one difference. The body shop buys paint material and uses it rapidly. The shade tree car painter doesn't. Here's why this is important. Glasurit clear is only sold in one gallon cans. Many of their primers are sold in the same quantity. So if you run out when you've only got one panel to go, guess what? You're buying another gallon of material, most of which will sit on your shelf until the local landfill has an amnesty day, or you do another paint project which may be a few years down the road. So while the cost of repairing that mistake may only be $50 in materials, if you're running low on supplies when the mistake happens, it may actually cost you close to $300 depending on what you use.
A "paint system" is a range of products by a paint manufacturer that are meant to be used together. A system will list applicable products for all stages in the process. You can cheat the system somewhat.
02-26-2013, 03:19 PM
#15
Rennlist Member
We didn't even stock a flex additive at the last shop I worked at using Glasurit. Flex additive is advertised to protect against spider cracking on flimsy plastic parts with prior resprays. I've never known anyone to put it down on body panels. I've certainly never had a BASF paint rep or any other paint rep ever advertise that it protects against rock chips.
In short, I look at flex additive like I do sealer. Good for trying to hide poor prep work. I use neither unless applying sealer over new sheet metal. Mil thickness determines durability. Too much material = rock chips.
I say save your money. If you'd like, I can put you in contact with a Glasurit rep from Alabama. Ray is a good friend and has been using the products since it came over from Germany in the old yellow cans.