Flush center console conversion design input
 10-03-2014, 03:25 PM
#76
Archive Gatekeeper
Rennlist Member
Rennlist Member
OK, question for the WSM geeks: What does the little lever at the RH side of the top/center louver control? And what does the microswitch it activates do?

 10-06-2014, 06:13 PM
#78
Thread Starter
Does anyone have pics with dimensions of the Rear AC control *****, the switches they are attached to, and specific hole sizes and spacing of these *****? Trying to see how many possible combinations of knockouts can be designed into the lower panel on my bracket.
10-06-2014, 07:27 PM
#79
Archive Gatekeeper
Rennlist Member
Rennlist Member
Not with measurements, but you might be able to 'calibrate' in photoshop against something measurable in the pic (like the diameter of the rear A/C *****?)
I have a spare clock surround at home that I can measure for holes, but it's a later unit for vinyl dashes (85 to 95, 928 552 047 10), not sure whether the holes differ in ID vs. the surround for use with a leather dash (928 552 047 09), though I tend to doubt it since the A/C switches themselves are all the same, 85 to 95


I have a spare clock surround at home that I can measure for holes, but it's a later unit for vinyl dashes (85 to 95, 928 552 047 10), not sure whether the holes differ in ID vs. the surround for use with a leather dash (928 552 047 09), though I tend to doubt it since the A/C switches themselves are all the same, 85 to 95
10-06-2014, 07:32 PM
#80
Rennlist Member
The holes through the panel are one inch in diameter. As you can see, the bezels for the switches are a cup that will require about a half inch of spacing material on the back to take up for the panel thickness and the clock frame/base thickness.
Too, the underside of the bezel face is not flat and is curved, heavy on the top, I think, to compensate for the curvature of the lower shifter surround. It will not mate very well with the face of your flat panel at the bottom of your insert. This is not very obvious in the great pictures from Rob E.
Too, the underside of the bezel face is not flat and is curved, heavy on the top, I think, to compensate for the curvature of the lower shifter surround. It will not mate very well with the face of your flat panel at the bottom of your insert. This is not very obvious in the great pictures from Rob E.
 10-06-2014, 07:59 PM
#81
Thread Starter
Thanks for the pics and info guys. Rob - Is this an exploded view in order of assembly? I'm going to need a set of these switches, *****, cups, and washers to do this right.
10-06-2014, 08:40 PM
#82
Archive Gatekeeper
Rennlist Member
Rennlist Member
Yep, exploded view. I was afraid I wouldn't remember how to put it back together, given the German predilection for 6 parts when 3 would have sufficed.
10-07-2014, 12:36 PM
#83
Electron Wrangler
Lifetime Rennlist
Member
Lifetime Rennlist
Member
If I were doing a total console rework I'd be looking to eliminate those controls. This also likely implies some rework to the HVAC head - so a bigger project for sure...
Biggest reason: the stock HVAC head looks like a 70's cable slider design, I can only guess they did that for user familiarity reasons at the time(?). Today it looks archaic - and has some major control limitations that the underlying HVAC system doesn't have.
For a more contemporary look you need at least rotary not slider controls (rotary had displaced sliders on the vast majority of cars decades ago). Having the main AC switch & rear AC controls completely independant from the front controls also makes no sense (and adds to space grabbing clutter).
IMO a totally new console with these relics in it can't ever really look like a fully updated version.
Alan
10-07-2014, 04:28 PM
#84
Thread Starter
I hear you Alan. If someone else came up with a control module that could replace the stock HVAC with minimal mods required, and it could fit in the available space, I could probably design this bracket to fit it. I know about Steve in Australia using the VW control, and I really like that look, but it seems like some of that work is outside my expertise (such as it is!) One of my goals for this kit is to be easily installed by the end user in just a few hours, other than the covering material application.
 10-14-2014, 11:57 PM
#86
Thread Starter
With some time on the 928 center console project recently, I found a round louver that can fit into my design, and replace the stock rectangular louver - something I was not satisfied with on the first field trial kits. Also incorporated several suggestions by others to improve the bracket and make trimming with vinyl or leather a cleaner operation.
So to list the changes;
Upper louver now replaced with 2 round louvers, fully directional. Initial supply of louvers are matte black center with chrome trim ring.
Added 3rd gauge knockout in lower face.
Added 2 rocker switch cutouts in lower face - these will fit Waytek #44122 (4P DPST On/Off 20A @14VDC).
Changed the cutout area for HVAC/warning strip to have a breakout edge, allowing a larger opening for wrapping vinyl or leather into the cutout. Leave the edges if using 3M vinyl film or ? to trim with.
Have a solution to the mixing switch lever that trips the microswitch. This will be a fabricated lever, located between the louvers.
Small holes in the upper louver area for LEDs or ? - I was thinking of alarm system blinkers.
So, any other ideas that should be considered? I'm trying to make this as option friendly as possible, and limit the number of bracket style to make - common parts are good! If I can incorporate an idea that will be used, and still fit the available space - I will. I'm hoping this version will be a first production run.
 10-16-2014, 04:33 PM
#90
Rennlist Member
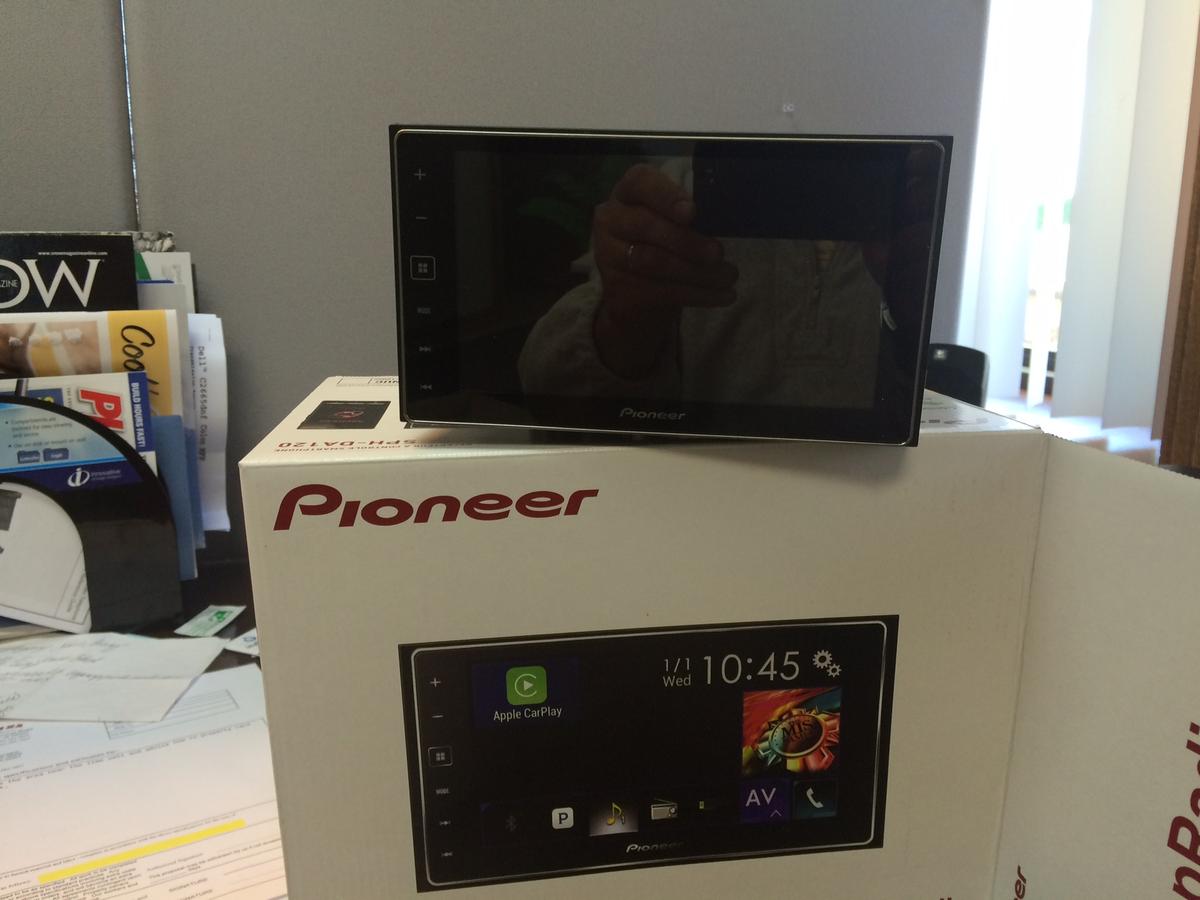
In anticipation of Al's kit arriving I have procured my Double Din unit.