Notices
928 Forum 1978-1995
Sponsored by:
Sponsored by: 928 Specialists

Lizard Shifter Installation Tips?

Old 04-18-2013, 04:30 PM
  #46  
KenRudd
Drifting
 
KenRudd's Avatar
 
Join Date: Jun 2008
Location: Apex, NC
Posts: 2,080
Received 2 Likes on 2 Posts
Default

Originally Posted by Ad0911
Is there anything that can be done as a preparation to the installation, with the TT and gearbox out of the car?
Almost everything except the final adjustment, and it will be a lot easier!

Drilling instructions here:
http://s287999742.e-shop.info/online...er+install.pdf

But really, you use the new crosspiece as a guide:
"Position the bar so that the center of the pivot point is in line vertically with the lower shift rods pin. This isn’t 100% critical and can be adjusted at the back a little. Also have the positioning so that the raised ring of foam in the tunnel opening should just fit between the shifter bar and tunnel."
Old 04-18-2013, 04:47 PM
  #47  
Maybach_Man
Pro
 
Maybach_Man's Avatar
 
Join Date: Jan 2005
Location: Near London U.K.
Posts: 537
Likes: 0
Received 0 Likes on 0 Posts
Default

Hi Ken;

Saw that....but useless with no TT in place!

Geoff
Old 04-18-2013, 06:20 PM
  #48  
KenRudd
Drifting
 
KenRudd's Avatar
 
Join Date: Jun 2008
Location: Apex, NC
Posts: 2,080
Received 2 Likes on 2 Posts
Default

Originally Posted by Maybach_Man
Hi Ken;

Saw that....but useless with no TT in place!

Geoff
You may be over thinking it. Center it fore/aft in the tunnel hole. You can't go too far fore or aft or you run out of bolt/hole space. The make it about 1/3" from the passenger side and parallel. Use a hammer and the bolts he provide to make the spots and drill the holes. I think you don't need micrometer precision here, as you will be adjusting the connection at the shift coupler anyhow.
Old 04-18-2013, 06:23 PM
  #49  
KenRudd
Drifting
 
KenRudd's Avatar
 
Join Date: Jun 2008
Location: Apex, NC
Posts: 2,080
Received 2 Likes on 2 Posts
Default

Trying again using the Photobucket Ploy:
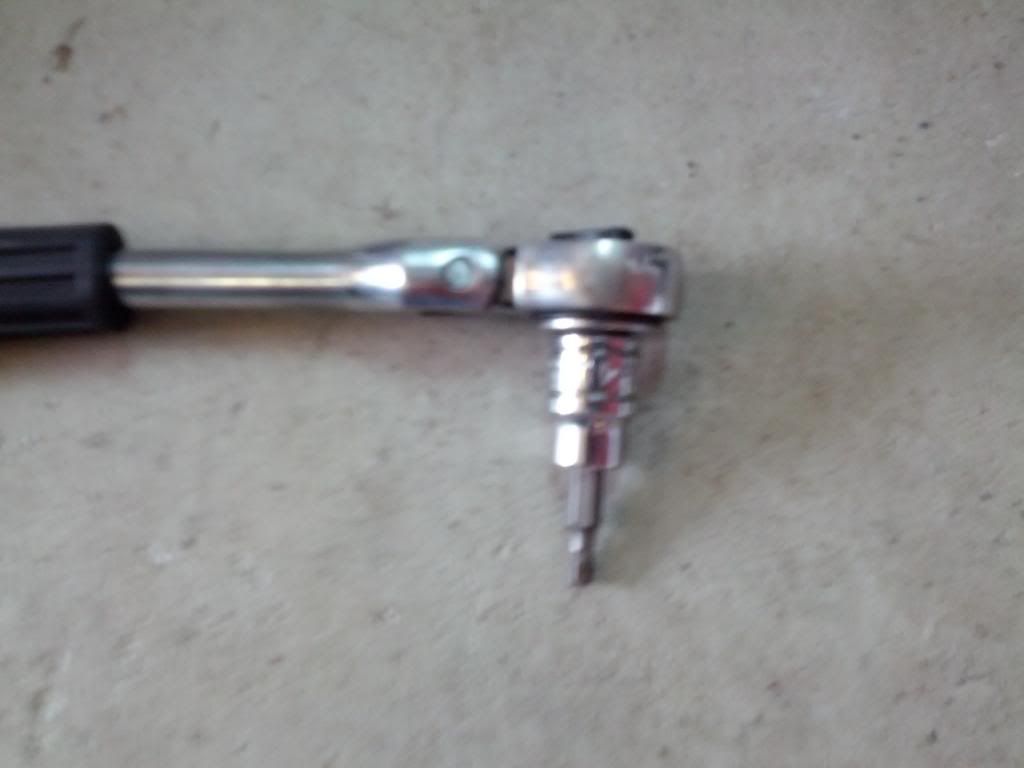
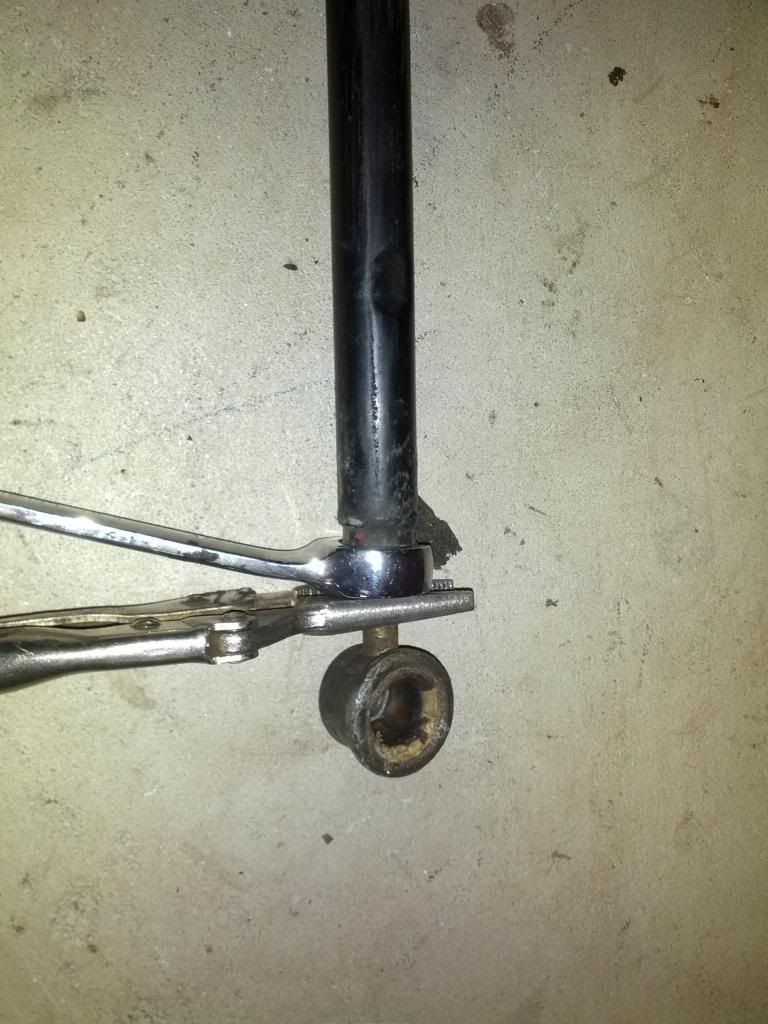
Here is how I got the end of the front shift rod loose/off. Obviously this picture is after the fact, but shows the vice grips and the flare wrench in place ( and the ragged ball cup)
Old 04-18-2013, 06:24 PM
  #50  
KenRudd
Drifting
 
KenRudd's Avatar
 
Join Date: Jun 2008
Location: Apex, NC
Posts: 2,080
Received 2 Likes on 2 Posts
Default

Here is where the rubber boot should have been:
Old 04-18-2013, 06:27 PM
  #51  
KenRudd
Drifting
 
KenRudd's Avatar
 
Join Date: Jun 2008
Location: Apex, NC
Posts: 2,080
Received 2 Likes on 2 Posts
Default

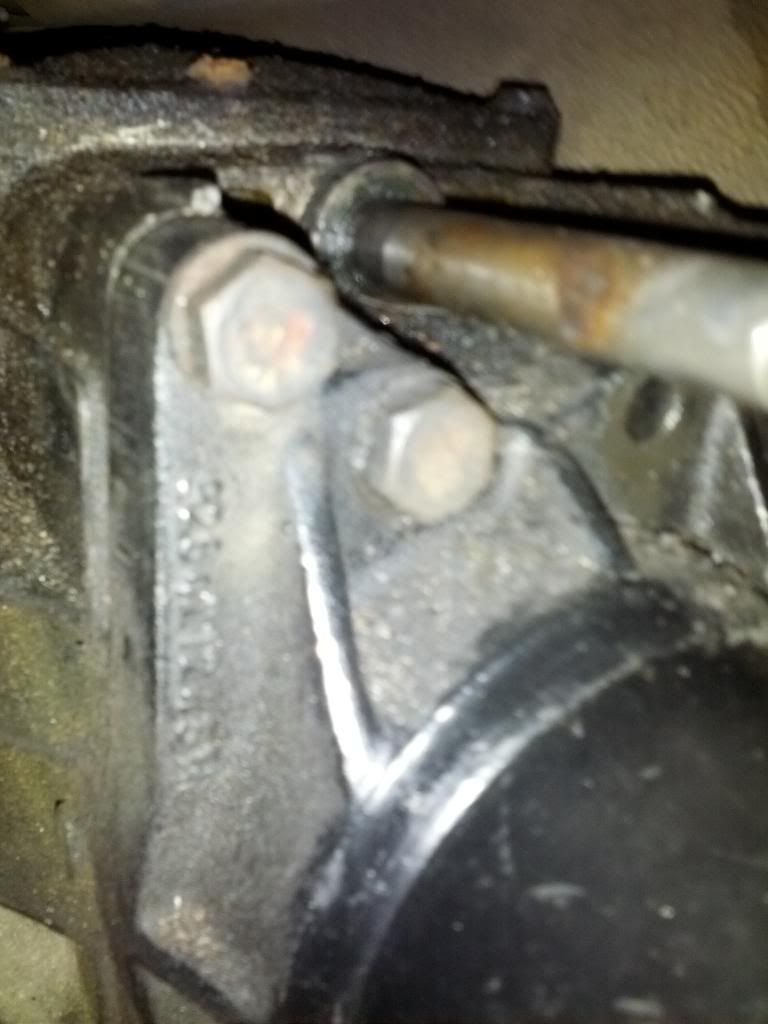
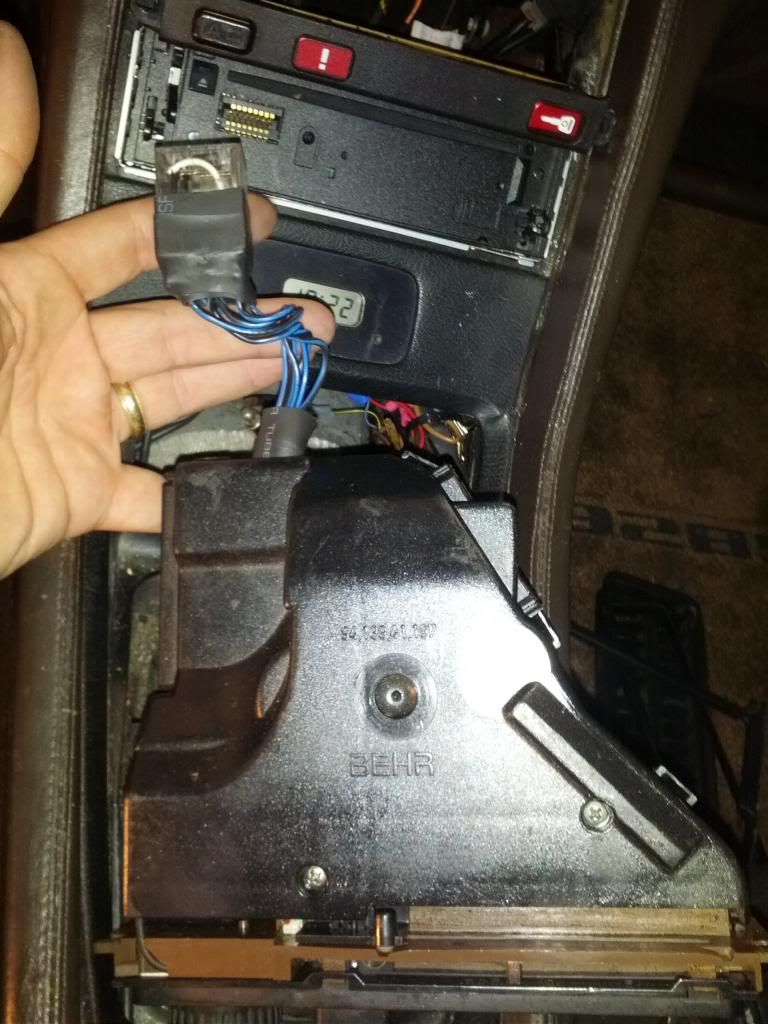
Shift Coupler almost off. For some reason, it got hung up at the very end and required some hammer induced persuasion to come all the way off. Some type of burr or grit I suppose.
Old 04-18-2013, 06:33 PM
  #52  
KenRudd
Drifting
 
KenRudd's Avatar
 
Join Date: Jun 2008
Location: Apex, NC
Posts: 2,080
Received 2 Likes on 2 Posts
Default

This is a great tool for heating screws in tight spots, like the set screw. Check the grilling area of your Target or Lowes:
Old 04-18-2013, 06:34 PM
  #53  
KenRudd
Drifting
 
KenRudd's Avatar
 
Join Date: Jun 2008
Location: Apex, NC
Posts: 2,080
Received 2 Likes on 2 Posts
Default

This is the correct tool for removing the set screw ( in H-4). Make sure it is fully seated:
Old 04-18-2013, 06:36 PM
  #54  
KenRudd
Drifting
 
KenRudd's Avatar
 
Join Date: Jun 2008
Location: Apex, NC
Posts: 2,080
Received 2 Likes on 2 Posts
Default

In place. Note I am probably too far away from the left side, but it worked out okay anyhow.
Old 04-18-2013, 06:37 PM
  #55  
KenRudd
Drifting
 
KenRudd's Avatar
 
Join Date: Jun 2008
Location: Apex, NC
Posts: 2,080
Received 2 Likes on 2 Posts
Default

Unrelated, but it looks like Stan already replaced the troublesome relay in the AC controller!
Old 04-19-2013, 01:59 AM
  #56  
Ad0911
Rennlist Member
 
Ad0911's Avatar
 
Join Date: Jan 2003
Location: Netherlands
Posts: 1,954
Received 61 Likes on 28 Posts
Default

Originally Posted by Maybach_Man
Hi Ken;

Saw that....but useless with no TT in place!

Geoff
Correct, without a template I won't be drilling any holes now with the TT out. It would have been nice to do the drilling now but I can't afford any mistakes here.
Old 04-19-2013, 07:58 AM
  #57  
hb253
Pro
 
hb253's Avatar
 
Join Date: Dec 2011
Location: Northern NJ
Posts: 504
Likes: 0
Received 3 Likes on 3 Posts
Default

Wow, now I'm wondering if I installed mine correctly. I located the bracket such that the right edge is around 1/8-inch away from the right edge of the opening.


Hugo
Old 04-19-2013, 11:53 AM
  #58  
Lizard928
Nordschleife Master
 
Lizard928's Avatar
 
Join Date: Apr 2003
Location: Abbotsford B.C.
Posts: 9,600
Received 34 Likes on 25 Posts
Default

The side to side mounting of the bracket is not uber critical.
Old 04-19-2013, 02:50 PM
  #59  
KenRudd
Drifting
 
KenRudd's Avatar
 
Join Date: Jun 2008
Location: Apex, NC
Posts: 2,080
Received 2 Likes on 2 Posts
Default

Video of shifting after install:
Old 04-19-2013, 04:25 PM
  #60  
Ad0911
Rennlist Member
 
Ad0911's Avatar
 
Join Date: Jan 2003
Location: Netherlands
Posts: 1,954
Received 61 Likes on 28 Posts
Default

Originally Posted by Lizard928
The side to side mounting of the bracket is not uber critical.
If that is the case than only the distance from hole to hole is the important dimension to take into account when drilling. If this dimension is given (mm) together with an approximation of the gap between bracket and side of the tunnel opening (from xx mm to yy mm) than the car can be prepared for lizard shifter installation later on.

Thread Tools
Search this Thread
Quick Reply: Lizard Shifter Installation Tips?


All times are GMT -3. The time now is 09:54 PM.