
Stop light burning out after carwash
 06-13-2012, 12:31 AM
#1
Pro
Thread Starter
Join Date: Jan 2005
Location: Centennial, WY
Posts: 612
Likes: 0
Received 0 Likes
on
0 Posts
It isn't often that I am able to offer something of use to you guys; you mostly know far more than I do.
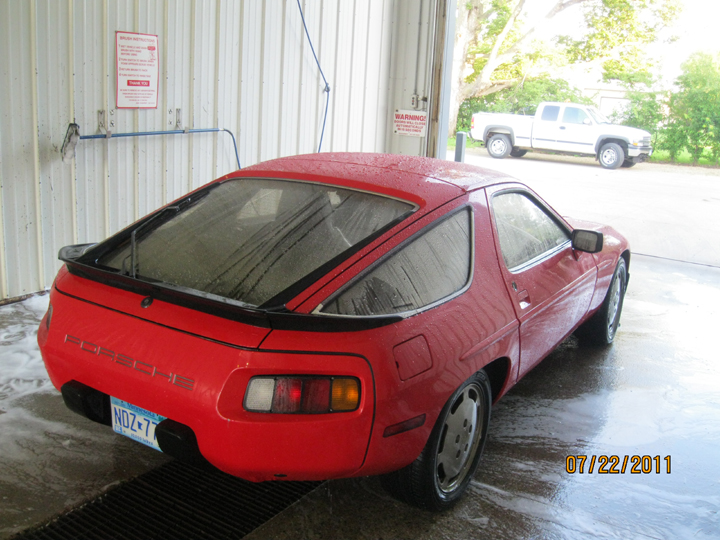
Having got my S4 back on the road for the summer I ran it through the car wash and just like times past, water sneeked into the tail light housing and the stop light blew; happened before and others offered ways to defeat this problem; none of which seemed to work on my car.
Here's my solution and it did work. The housing has a small vent that stands proud about 1/2" off the housing. I took a soda straw, about one inch long and glued it over the vent, thus moving the vent opening somewhat deeper into the recess. Been through the car wash a couple of times since and the brake light has survived.
Just a little "fix" that I'm sharing with all of you that have been so helpful to my many questions.
 06-13-2012, 01:09 AM
#2
Three Wheelin'
Join Date: Feb 2004
Location: Jacksonville and sometimes St. Aug Beach, FL
Posts: 1,727
Received 341 Likes
on
171 Posts
Cool idea. Here was my fix....
1. Taillight housing is typically cracked above stoplight. Mine was. Used JB Weld on the crack.
2. Drilled holes in bumper cover under taillight to expedite the removal of pooling water
3. Wash car by hand (Car washes are a bad thing... think 14 pin connector issues OR more generically High Pressure water in places it shouldn't go) and remove the taillights when washing the car.
Cheers!
06-13-2012, 01:24 AM
#3
Rennlist Member
Cool idea. Here was my fix....
1. Taillight housing is typically cracked above stoplight. Mine was. Used JB Weld on the crack.
2. Drilled holes in bumper cover under taillight to expedite the removal of pooling water
3. Wash car by hand (Car washes are a bad thing... think 14 pin connector issues OR more generically High Pressure water in places it shouldn't go) and remove the taillights when washing the car.
Cheers!
1. Taillight housing is typically cracked above stoplight. Mine was. Used JB Weld on the crack.
2. Drilled holes in bumper cover under taillight to expedite the removal of pooling water
3. Wash car by hand (Car washes are a bad thing... think 14 pin connector issues OR more generically High Pressure water in places it shouldn't go) and remove the taillights when washing the car.
Cheers!
06-13-2012, 01:40 AM
#4
Three Wheelin'
Join Date: Feb 2004
Location: Jacksonville and sometimes St. Aug Beach, FL
Posts: 1,727
Received 341 Likes
on
171 Posts
Yep. Seriously 
It was suggested at SITM to me this year and it is now part of my regimen.
It takes about 27 seconds (give or take) to take off the tool cover and unscrew/disconnect the taillights.
You'd be surprised how much crap gets caught behind the taillights... or maybe you wouldn't if you've ever dried off your car and then driven down the road to find debris has "washed out over your rear bumper"
06-13-2012, 09:38 AM
#5
Rennlist Member
Yep. Seriously
It was suggested at SITM to me this year and it is now part of my regimen.
It takes about 27 seconds (give or take) to take off the tool cover and unscrew/disconnect the taillights.
You'd be surprised how much crap gets caught behind the taillights... or maybe you wouldn't if you've ever dried off your car and then driven down the road to find debris has "washed out over your rear bumper"
06-13-2012, 09:46 AM
#6
Rennlist Member
Yep. Seriously
It was suggested at SITM to me this year and it is now part of my regimen.
It takes about 27 seconds (give or take) to take off the tool cover and unscrew/disconnect the taillights.
You'd be surprised how much crap gets caught behind the taillights... or maybe you wouldn't if you've ever dried off your car and then driven down the road to find debris has "washed out over your rear bumper"
It was suggested at SITM to me this year and it is now part of my regimen.
It takes about 27 seconds (give or take) to take off the tool cover and unscrew/disconnect the taillights.
You'd be surprised how much crap gets caught behind the taillights... or maybe you wouldn't if you've ever dried off your car and then driven down the road to find debris has "washed out over your rear bumper"
But then I rarely wash mine so it doesn't really matter.

 06-13-2012, 09:53 AM
#7
Racer
Join Date: Oct 2010
Location: Stoney Creek, Ont
Posts: 371
Likes: 0
Received 0 Likes
on
0 Posts
Yep. I remove the tail lights when I dry my S4 after washing. It really doesn't take long and a lot of water seems to pool in the recess. i can only assume that my drain holes are not in the correct location.
Trending Topics
06-13-2012, 12:53 PM
#8
Chronic Tool Dropper
Lifetime Rennlist
Member
Lifetime Rennlist
Member

I posted pics a long while back of the combination of drain holes in the bumper shell and a ring of thin foam weatherstrip around the outer edge of the lamp housing where it fits in the bumper shell recess. Locating the holes was easy -- look where the water has pooled and "stained" the recess, and drill a small hole in the plastic shell there. The weatherstrip I used is about 1/2" wide by 1/8" thick, and is attached to the lamp housing just barely out of sight around the whole housing. So it keeps as much water out as possible, and anything that does get in is allowed to drain rather than accumulate. The original purpose was to eliminate the dirty dribbles of water that would sneak out after washing the car. Prior to adding the weatherstrip, I was blowing the water out with compressed air after washing the car, but would still get a dribble now and then.
06-13-2012, 02:30 PM
#9
Rennlist Member
06-13-2012, 04:02 PM
#10
Burning Brakes
Denny:
The taillight assembly is entirely different on the S4 - one quick disconnect nut and the whole self-enclosed assembly is out.
With earlier cars, such as yours, the problem is with water & schmutz collecting under the rear spoiler and dribbling out over the bumper cover.
James
The taillight assembly is entirely different on the S4 - one quick disconnect nut and the whole self-enclosed assembly is out.
With earlier cars, such as yours, the problem is with water & schmutz collecting under the rear spoiler and dribbling out over the bumper cover.
James
06-13-2012, 05:40 PM
#11
Chronic Tool Dropper
Lifetime Rennlist
Member
Lifetime Rennlist
Member
I used a 3/16" drill bit in the S4 shell, and it works fine. In a 'perfect' installation, there would be a little accordion gaiter there with a drain tube, mostly to avoid junk getting thrown up into the cavity from underneath. I didn't go that far, just drilled the holes. IIRC there are three or four holes per side. I can dig out the pictures if that would help anybody. And, from feeble memory, it takes three feet of gasket per S4+ tail lamp housing.