
HVAC COMPRESSOR RELAY REPAIR PROCEDURE w/PICS
 08-12-2011, 06:09 PM
#46
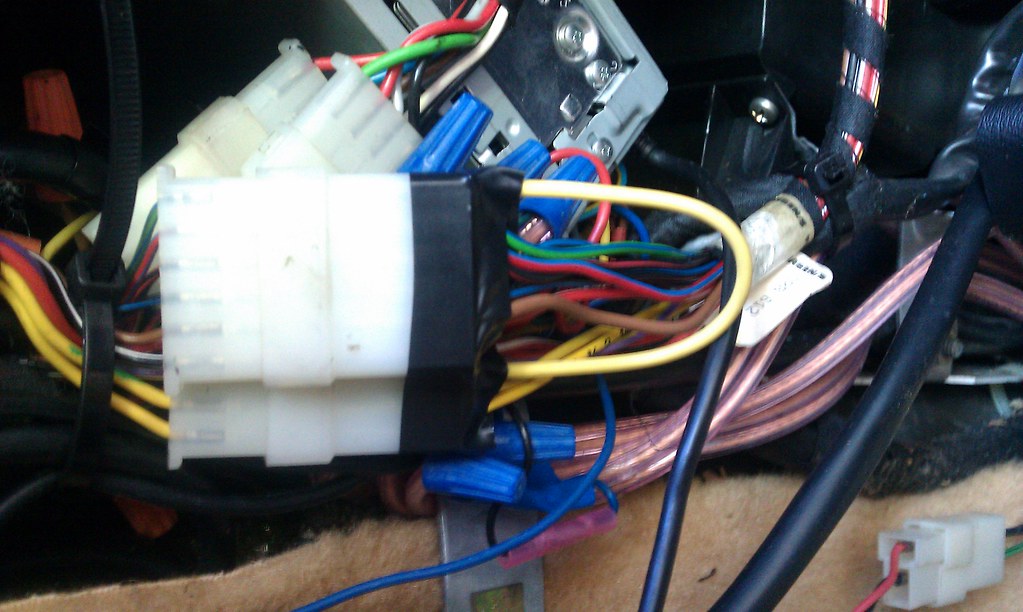
More strange behavior today. Had a consistent 12v all the way to the compressor, just would not click it on.
Then, randomly all the test points dropped to 3v.
This was testing and jumping the freeze and low pressure switches. Connecting the compressor straight to 12v+ clicks it on just fine.
Sound like the internal relay now?
Then, randomly all the test points dropped to 3v.
This was testing and jumping the freeze and low pressure switches. Connecting the compressor straight to 12v+ clicks it on just fine.
Sound like the internal relay now?
 08-12-2011, 07:33 PM
#47
Quick question, what exactly does the climate control unit do when controlling the AC compressor?
Does it just turn it on and off based on the inside temperature? Or doe it get some sort of on/off cycling from the control unit itself?
Seem like the high pressure switch is what would cycle the compressor when the system based on the pressure in the system ?
Does it just turn it on and off based on the inside temperature? Or doe it get some sort of on/off cycling from the control unit itself?
Seem like the high pressure switch is what would cycle the compressor when the system based on the pressure in the system ?
08-12-2011, 07:47 PM
#48
Electron Wrangler
Lifetime Rennlist
Member
Lifetime Rennlist
Member
Its simpler than you think - if the AC is on its just on - it isn't intended to cycle and rarely does - only if the freeze switch cuts out which is extremely rare - the pressure switch only cuts out of you have insufficient refrigerant.
Temp control is still via heater flap adjustment - so using AC in cool weather is very inefficient - you chill all the air coming in then heat it back up again.
Alan
Temp control is still via heater flap adjustment - so using AC in cool weather is very inefficient - you chill all the air coming in then heat it back up again.
Alan
08-12-2011, 08:43 PM
#49
The reason I ask is because I noticed in the OP comments that the AC switch basically has two outputs, one that runs the fans and one that runs the compressor from the relay.
I cheated just to check the rest of the system and jumpered these two leads together. So now when you push the AC switch my compressor comes on. All the other safety checks are still in line with the system, the power is just not running through the relay.
So what is the purpose of the relay in the control unit?
Seems like if you wanted a relay you could also just use the fan output from the AC switch to trigger a relay. (which would seem even simpler to wire in)
Last edited by Cole; 08-13-2011 at 04:27 AM.
08-12-2011, 08:52 PM
#50
Electron Wrangler
Lifetime Rennlist
Member
Lifetime Rennlist
Member
The reason - (apart from protecting the switch which is probably not designed for that much current - a warning to flip it back) it that the AC compressor doesn't only come on due to the AC switch being on - it is also triggered (depending on year) by the DEF mode and also by recirculate mode - so regardless of the posistion of the AC switch.
Using just the switch would eliminate those modes - the relay is also dual pole and feeds the main HVAC control unit a compensation signal of some kind when the AC is on (not sure what for)
Alan
Using just the switch would eliminate those modes - the relay is also dual pole and feeds the main HVAC control unit a compensation signal of some kind when the AC is on (not sure what for)
Alan
 08-12-2011, 11:18 PM
#52
Rennlist Member
Rennlist Site Sponsor

Voltage is not power. It is entirely possible to have a full 12 volts and not have enough power to pull the clutch in. For an illustration, suppose that the wire to the compressor clutch was almost broken, with only one tiny strand making contact. It would show a full 12 volts with no load, but would not pull the clutch in. It is not uncommon for the relay to make contact and show some voltage, but to not pass enough power to operate the clutch.
08-13-2011, 09:55 AM
#53
Drifting
Voltage is not power. It is entirely possible to have a full 12 volts and not have enough power to pull the clutch in. For an illustration, suppose that the wire to the compressor clutch was almost broken, with only one tiny strand making contact. It would show a full 12 volts with no load, but would not pull the clutch in. It is not uncommon for the relay to make contact and show some voltage, but to not pass enough power to operate the clutch.
08-13-2011, 01:08 PM
#54
"It is not uncommon for the relay to make contact and show some voltage, but to not pass enough power to operate the clutch."
Actually, very common when the relay contacts oxidize over time and/or
from currents which exceed the relay's rating, as is the case for the
original (non-updated relay) CCU.
Read here under 'Generic': http://www.systemsc.com/problems.htm
Actually, very common when the relay contacts oxidize over time and/or
from currents which exceed the relay's rating, as is the case for the
original (non-updated relay) CCU.
Read here under 'Generic': http://www.systemsc.com/problems.htm
 08-23-2011, 09:07 AM
#57
Drifting
Has anybody had any experience in repairing the 1,2,3 in the window when you twist the ****? Mine is stuck between 2 & 3 irrespective of where the **** is. The blower works fine and changes speed.
Thanks
Bilal
Thanks
Bilal
08-23-2011, 07:08 PM
#58

Just a few comments...
1) Dwayne, I think you have the numbering of the original relay reversed in the photo where you show the oem relay with the numbers overlayed on it. The schematic should be oriented as though looking straight down through the relay from the top. So what you have labeled as Pin1 is actually Pin 4, the same is true for the bottom row. Since this is a DPDT relay, and due to the nature of the pin-out, and due to the way traces on the original circuit board run, it turns out that in this case reversing the pin-outs as you have produces the same result. But for accuracy's sake I think you have the pin-out labeling reversed.
2) There is a socket for the relay that has screw terminals, but it is fairly bulky. Using female blade ends on the wires going to the new relay would be more space efficient and still accomplish the (presumably) desired result of making swapping relays easier.
3) I would recommend reversing the direction that you insert and solder the wires into the board. If you look at the traces and other wires and pins soldered on the board, you can see that they are all setup to be inserted and soldered from a specific direction. You'll get a more reliable connection doing it from the same direction as the original pins on the original relay were mounted. There is plenty of room to run them out the same open port on the case without interfering with anything on the other side of the board from where you ran yours.
4) There is no need to drill the board. You can trim two or three strands from the stranded 18 gauge wire at the very end where it passes through the board. The rest of the strands will just barely fit through and that very short distance from the board to the full set of strands will be more than sufficient for the current load. Remember, the amount of resistance in a conductor is a function of cross section (gauge when talking about wires) and distance as well as material type. And voltage drop is a function of resistance and current. What we're most concerned about in this case is resistance building up heat (frying the board) and reducing the final voltage (insufficient voltage to engage the clutch). Not things you need to worry about over such a short distance from the board traces to the full 18 gauge wire when your equivalent gauge through the board is roughly 20 (the distance will be approximately the width of the board if you push the wire right up to the board from the correct direction). Not drilling will make this easier and less risky for many.
5) I noticed that Dwayne (and presumably others) is using a pretty nice multi-meter capable of measuring up to 15amps of current. If you place your multi-meter in line with the A/C clutch circuit it will tell you how much current is being delivered to the clutch. You can jumper that connection from the battery post, through your multi-meter, to the clutch and see what it should be. Then insert the multi-meter at various points in the circuit between the HVAC control unit and the clutch to see where the break down is. So if you have a frayed wire, bad connection, failed relay, it will help you very quickly isolate the problem. So when you were testing voltage at the freeze sensor, if you had switched your multi-meter to amp mode you could have confirmed that the control unit is not allowing enough current to pass through it to activate the clutch. So for future trouble shooting purposes, make sure you use the amp mode on your multi-meter to confirm that the problem is current delivery.
6) I've seen mention of the risk of enabling too much current to pass through the control board with a bigger relay. While I believe that the 3amp fuse installed by the freeze sensor is adequate, if you were really concerned about it, just insert an inline fuse at the new relay. It would be harder to get to if it blew, but would be closer to the board.
All that being said, I am extremely grateful for those that have taken the time to dismantle the control unit and identify the culprit in this common failure scenario so that the rest of us can benefit. Untold thousands have been saved in labor and parts thanks to this information and the great write-ups like Dwayne's. Thank you!
Last edited by Bulvot; 08-23-2011 at 07:33 PM.
08-23-2011, 07:58 PM
#59
Electron Wrangler
Lifetime Rennlist
Member
Lifetime Rennlist
Member
... I noticed that Dwayne (and presumably others) is using a pretty nice multi-meter capable of measuring up to 15amps of current. If you place your multi-meter in line with the A/C clutch circuit it will tell you how much current is being delivered to the clutch. You can jumper that connection from the battery post, through your multi-meter, to the clutch and see what it should be. Then insert the multi-meter at various points in the circuit between the HVAC control unit and the clutch to see where the break down is.
Yes you can use this method to figure out how much current the clutch takes. However to do this you have to break the circuit and insert the ammeter in series... somewhere... as you note you can do a total bypass direct measurement as a reference (however "normal" may be lower than this due to resitive actual wiring etc etc).
You then propose inserting the meter at multiple points in the curcuit - this is actually quite a lot more difficult to do practically. Also whatever current you measure in a circuit will be the same everywhere in that same circuit - it matters not where you measure it - if there is a poor connection the current will just be lower everywhere.
So a realistic reference measurement of your (or a typical) clutch alone would be useful to compare against the total actual circuit measurement - but that is about all.
Voltage measurements are actually typically easier to do and usually more useful - as long as the measurement is made when the curcuit is in operation (e.g. under load - in this case the load of the clutch).
When the measurements are confusing & not consistent - often the measurement method is suspect OR there are actually constantly changing conditions (but this is rare).
Make sure the reference ground is known to be good & solid - also try measuring directly across the load terminals to eliminate possible connection issues in the ground side of the load connections.
Alan
08-23-2011, 08:18 PM
#60
Sorry to disagree, but that is inaccurate information. I know because, aside from my own knowledge and experience, I just did this, end-to-end, on a 928, and it's very quick and easy.
An easy starting point is at the pressure switch in front of the radiator. If you measure low current draw at that point, you can then begin isolating segments of the circuit and jumping power from the jump post under the hood to check current draws on each segment. If you're getting clutch engagement and proper current draw, you know that segment is good. Again, very quick and easy, and definitive. If you're pulling connections to check voltage, it's a simple matter to switch to ammeter mode.
Checking it at the freeze sensor will rule out the entire post HVAC control unit circuit including the CE interconnect, 14 pin connector, pressure sensor and ground. Takes a minute to remove the splash shield under the hood, hook up the multi-meter and turn on the A/C. Measure current from the HVAC control unit power lead, and measure it as jumped from the jump post. If current draw is "normal" from the jump post and clutch engages, but low current from the control unit power lead and no clutch engagement, you've saved yourself a huge amount of troubleshooting and headaches.
If you don't do that, what you're doing is just guessing at causes and inferring low current passing capability of components. That's what multi-meters are for, to get quantitative hard data, not guesses.
So, once again, if you want to be sure, get your ammeter into the circuit and jump from the jump post and be sure of where the break down is.
As others have pointed out, the relay on the control board can often deliver the right voltage but be unable to delivery enough current. So can corroded connectors and worn wires. If you don't check current loads along the circuit path, you're not truly isolating the fault. Voltage measurements are useful and should be taken (usually first), but they are not a complete picture. Similar to using an oscilloscope for troubleshooting the CPS and RPM signal adapters.
Again, this is not arm chair quarterbacking, this is real world application of solid engineering and theory. I just did it on a failed A/C control unit relay on a 928. It's effective and definitive. And it could save someone a lot of time and frustration.