When you click on links to various merchants on this site and make a purchase, this can result in this site earning a commission. Affiliate programs and affiliations include, but are not limited to, the eBay Partner Network.
I just removed my windshield unsuccessfully. I have an 80 928. The goop that holds the window in is terribly sticky... Its a messy project. However the trim on the top of the windshield is clipped in and with gentle persuasion comes off reasonably easy.
Use a durable plastic tool to push the trim upward away from the car straight... I believe there are 8 or so clips riveted to the front of the window frame upper. If you push the trim up on each clip a little at a time you can pull it off the car with very minimal effort.
Separating the window from the car was much more complicated... The sealant was incredibly sticky. I read the link you sent and using some spacers will help the window not set back down into the glue... which is where I kept running into problems (it kept sticking to the sealant when lifting and I cracked the top corner as I was lifting..) As well removing the a-pillar inside trim pieces will help quite a bit, and having 4 arms instead of two!!
I also removed the hatch glass, and it's glued in the same way. I used a long zip tie, and went all the way around the window, and it lifted out very easily. I will use a zip tie next time, if the harbor freight tool isn't around. The zip tie allowed me to cut the sealant, but was soft enough to break before cracking the glass and small enough to easily push through the seal and flexible enough to flex/stretch around contours. Very handy.
Thats just the info I needed, thank you. I'm hoping to paint the roof without complete removal of the windshield. If the upper trim comes off easily we might be in business. Much appreciated.
Be careful taking the top trim off. I broke my windshield and still destroyed my top piece trying to get it off so I could center it better. Rather expensive lesson...
If you fashion a piece of flat steel into a L then grind an angle on it put a piece of tape on the short portion to prevent damage to the glass then it can be used as a small prybar to pull the trim out it also helps if you have a spring steel hook to pull the clips forward ever so slightly this will assist in the trim coming off and not being ripped by the clips
I also put some Kroil on it to loosen it up a bit, the day before I started. I now use ATF and acetone as a penetrating oil, works a lot better than anything else, but anything to lubricate the connectors helps. Mine have all removed fairly easily, but you do have to be careful not to bend them.
To remove the trim, I use 2 plastic putty tools. One is a wide (4") and the other is about 1.5" wide. Slip the wide tool under the trim on the front and then use the other tool to lightly pry and rock the trim up and down to release it from the clip. Once the trim is out of the first clip it seems to go easier - in my experience.
On windshield removal, the first two I tried cracked while being removed. Recently, I removed the windshield from an 81 successfully. I used the HF windshield removal kit and let the front of the car sit in the direct sun for about 2-3 hours before beginning. Once the windshield and the sticky adhesive (urethane or whatever) are heated up you can insert the wire and pull it through the adhesive very easily. When you pull on the wire make sure only pull in the same direction as the glass and DO NOT use a sawing motion - you should be able to just pull with the glass and it should cut right through. That is what cracked the first one I tried. I was sawing back and forth and I pulled the glass enough to crack it. When you get to the rubber support blocks that are at the bottom and side edges, use a sharp tool to pry the blocks out instead of trying to force the wire past the block. Once the adhesive is cut, get a helper and push the glass from the top and then lift it out keeping it vertical. One guy got the adhesive cut without damage, but they lifted the glass at an angle and it cracked.
Using this method I had the windshield out in about 30 minutes - intact!
I recommend you remove the a-pillars because the wire can catch the edge and cut into the pillar. Also the adhesive can get on the pillars from the wire and just creates more work to remove it.
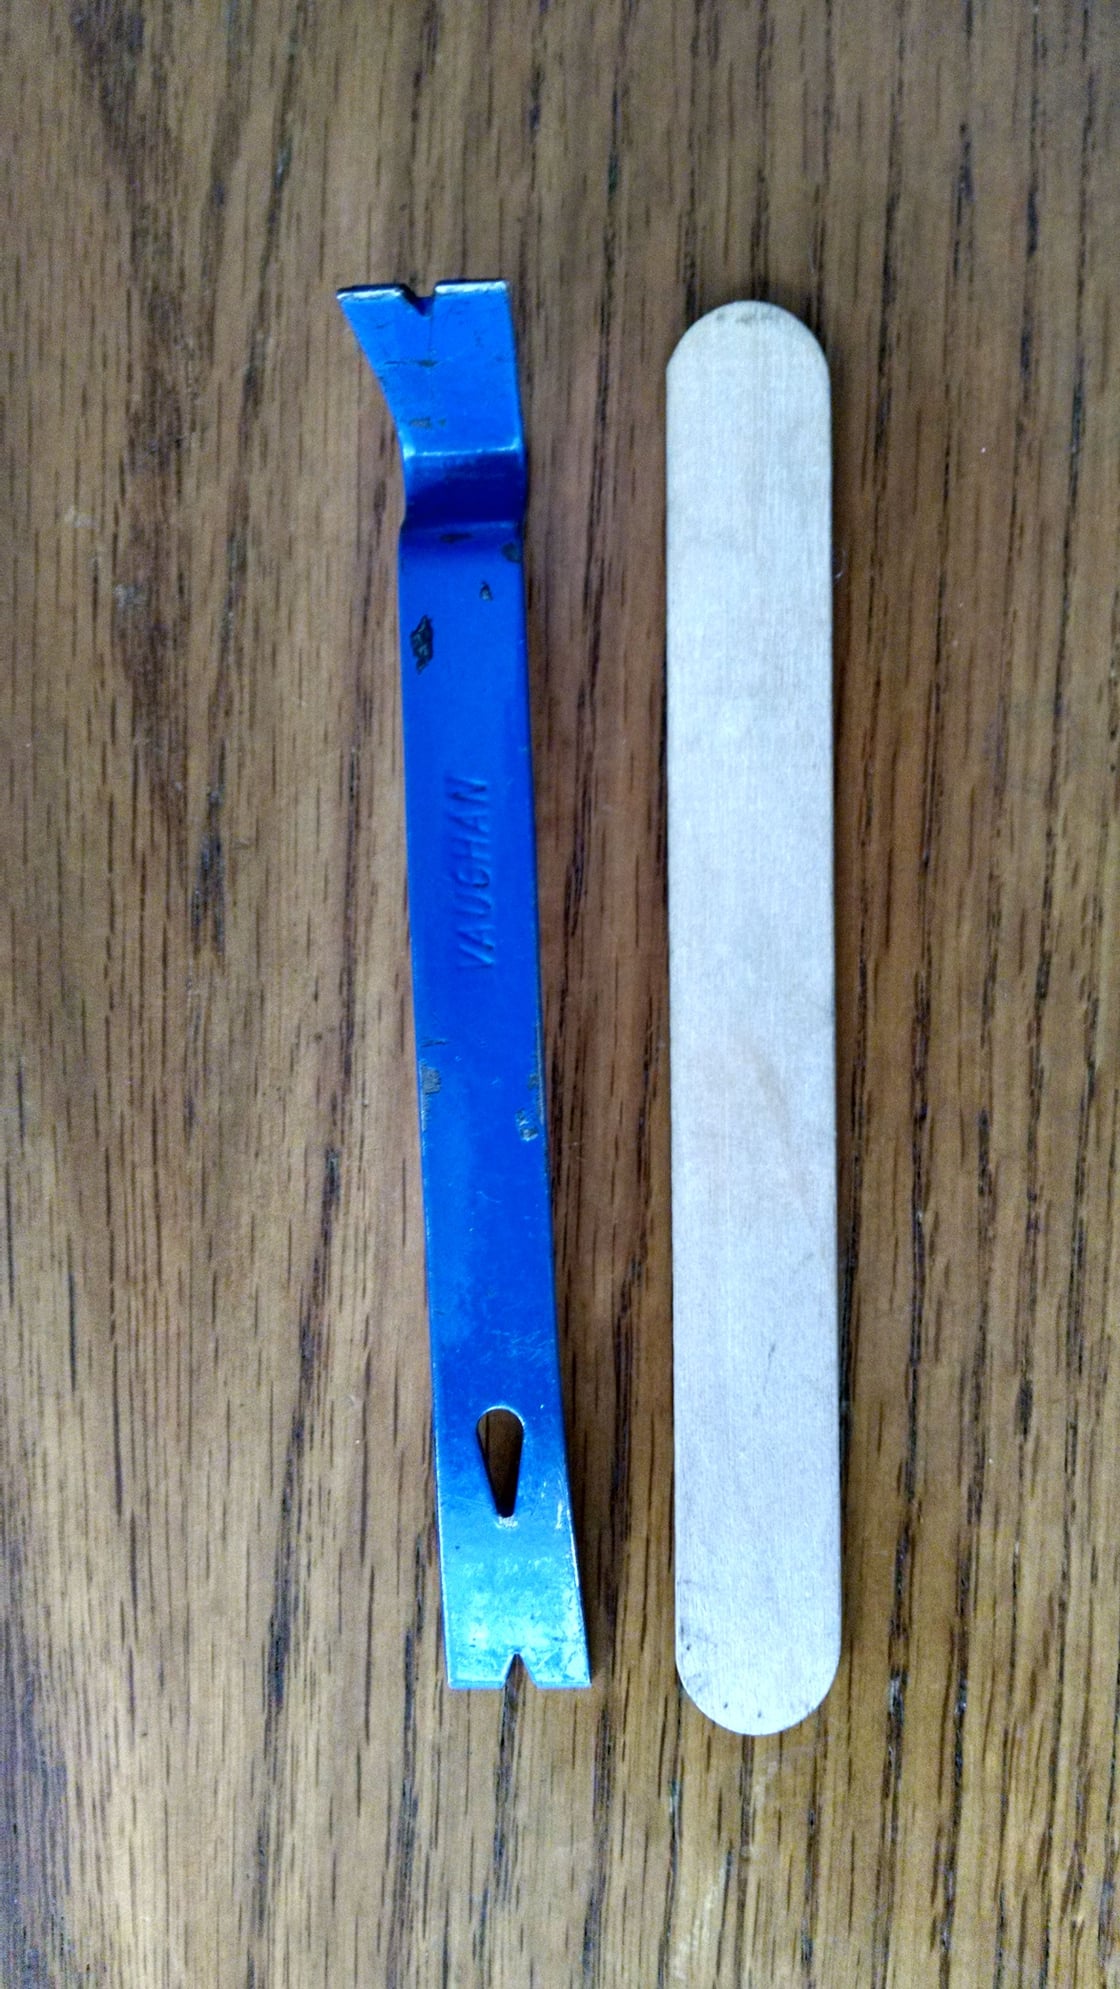
Documenting my upper windshield removal and install. I used a mini pry bar against a tongue suppressor to protect the glass.
The key is extreme patience. Go too fast and miss the clip locations and you are more likely to tweak the trim. Knowing the clip locations makes install easier. Although I did not do it way I think leaving the side trim in place and clipped to the upper trim, working the upper trim off starting in the middle might prevent the ends from bending up.
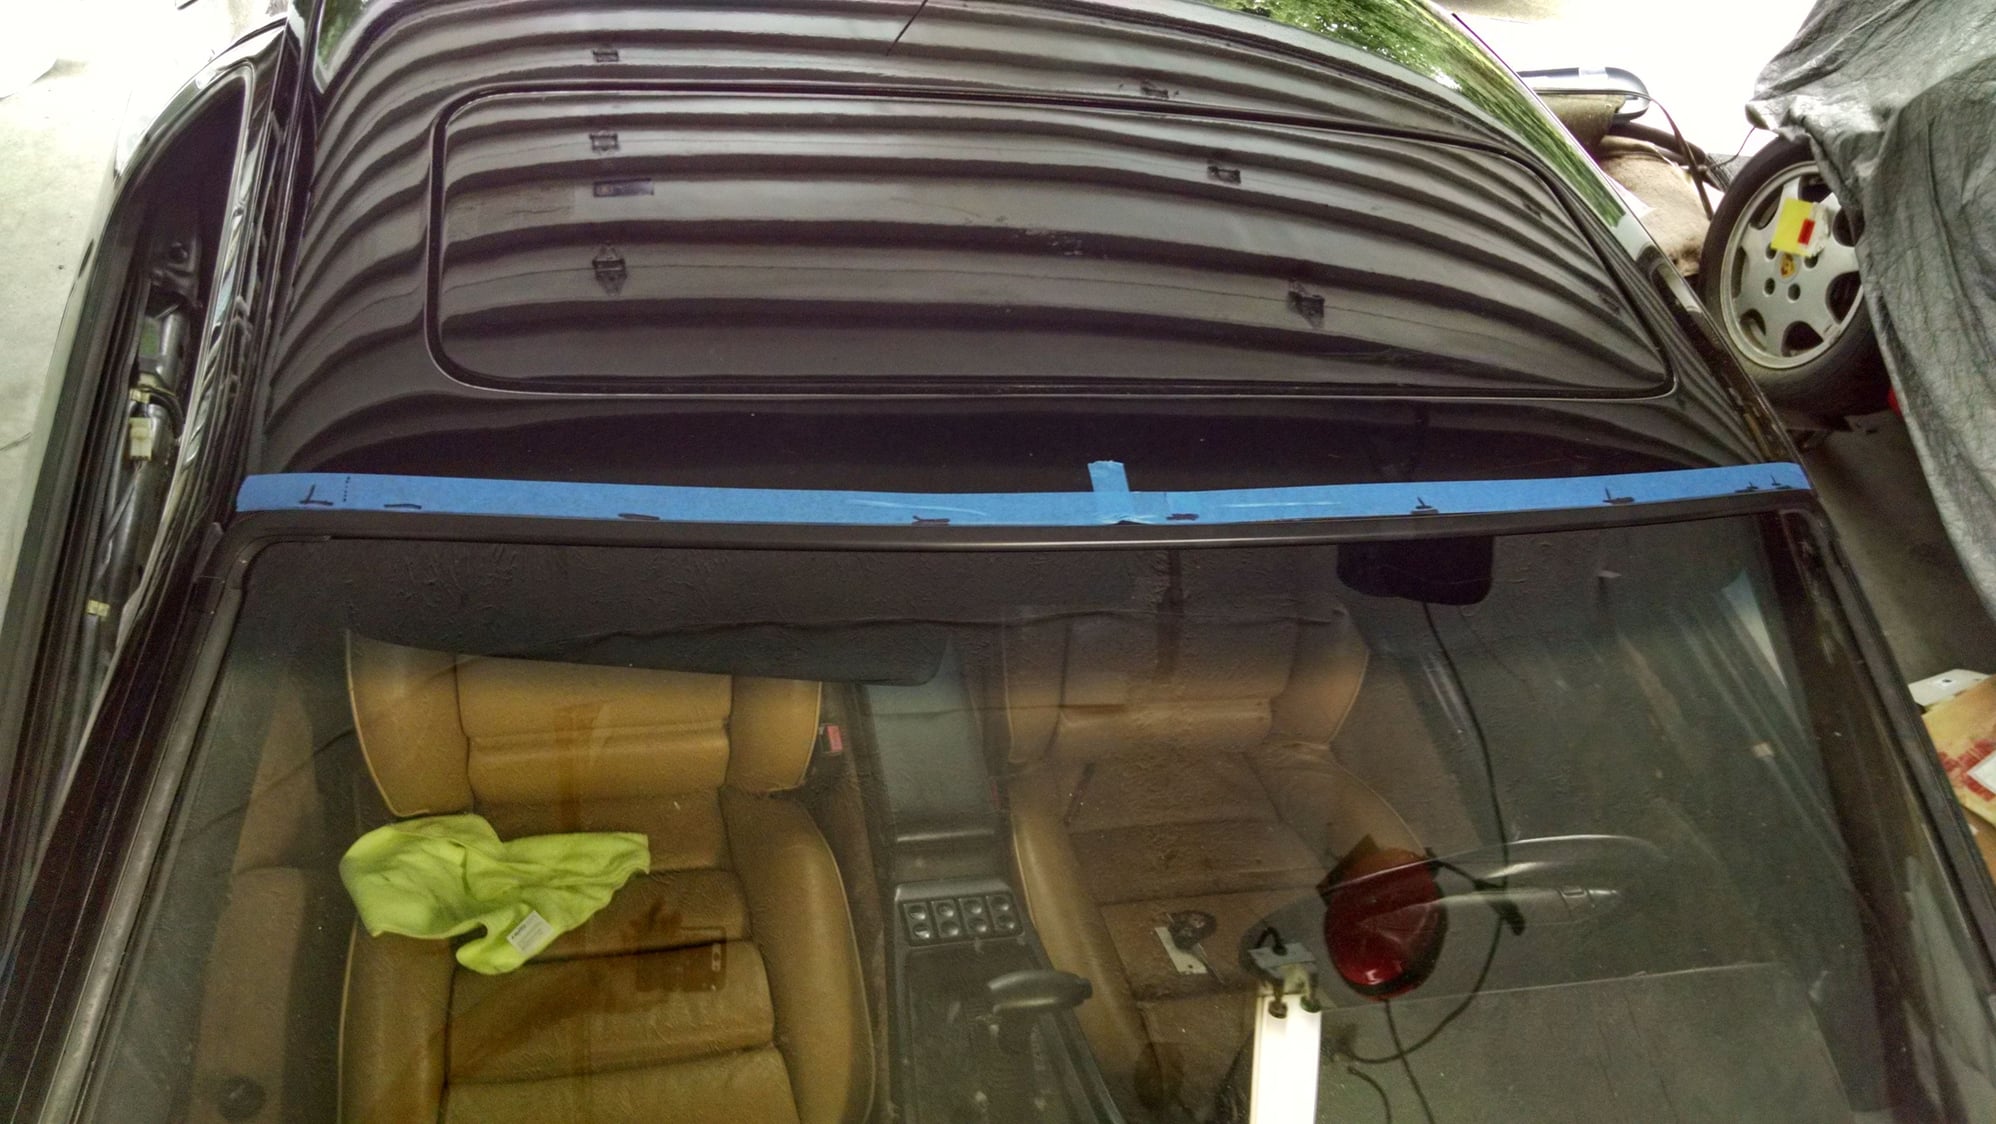
I had to root around to locate the trim clips and then documented their location post removal. Seen here:
The horizontal black marks indicate upper windshield trim locations
Be careful taking the top trim off. I broke my windshield and still destroyed my top piece trying to get it off so I could center it better. Rather expensive lesson...
Tried to get the trim off of the '93 GTS myself. Didn't want to budge. I let the Safelite technician tackle it. Bent the trim and cracked the windscreen. Ordered new trim. Took three shipments before I got one that was not damaged in shipping. When i installed the new trim it was tough to get it installed without doing some damage. If you are just painting the trim, leave it in place and mask it off. Not worth the other trouble. Good idea Kevin marking exact locations of the riveted clips!

 08-26-2009, 02:23 PM