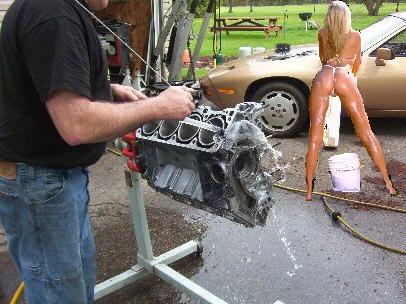
Preparing an engine for assembly
#17
Developer
Thread Starter
Take a look at what we got out of our crankshaft!
This was a clean tray when we started - now it is covered in metal shavings and filings. Bearings will not last long like that!
This was a clean tray when we started - now it is covered in metal shavings and filings. Bearings will not last long like that!
#18
Developer
Thread Starter
The clean crank is dry-fitted in the block at this time - no oil or prelube on the bearings just yet.
You cut up your plastigauge and lay it on each main journal.
You cut up your plastigauge and lay it on each main journal.
#20
Developer
Thread Starter
...then the bottom of the motor is laid in place, and torqued down per Porsche 3-step process. Be careful not to rotate the crank at this time. You remove the bottom of the crankcase and examine the Plast-gauge.... it will indicate the amount of room available over the bearings for oil.
Too little.... metal-to-metal contact between the crank and the bearings is likely.
Too much.... low oil pressure will result - and that allows metal-to-metal contact too. We want the crank to "float" on a pressurized film of oil.
Too little.... metal-to-metal contact between the crank and the bearings is likely.
Too much.... low oil pressure will result - and that allows metal-to-metal contact too. We want the crank to "float" on a pressurized film of oil.
#21
Developer
Thread Starter
When all the bearings clearances check out - the Plastigauge is cleaned off, and a film of engine assembly greese is applied to both halves of the main bearings.
#23
Developer
Thread Starter
...and the case goes together for the last time. Final torque is applied to all the fasteners involved.
The process of Plasti-gauging is also used on each of the 8 connecting rod bearings in the same manner.
Hope you found this informative!
The process of Plasti-gauging is also used on each of the 8 connecting rod bearings in the same manner.
Hope you found this informative!
#26
Addict
Lifetime Rennlist
Member
Lifetime Rennlist
Member
Originally Posted by Quick Carl
...Hope you found this informative!
Boring as all he!! Carl

Wheres the entertainment value in a post like that...geezz!
With a guy who has an engine on a stand waiting to go together, not having done anything like this before, i cant say enough how much i and Im sure others value info like that...keep it coming

That goes for Dave in DTW as well


Last edited by Tony; 05-19-2005 at 01:18 PM.
#27
Three Wheelin'
Join Date: Jun 2001
Location: Omaha, NE
Posts: 1,319
Likes: 0
Received 0 Likes
on
0 Posts
Originally Posted by Tony
Boring as all he!! Carl 
Wheres the entertainment value in a post like that...geezz!


Wheres the entertainment value in a post like that...geezz!
#29
Range Master
Pepsie Lite
Lifetime Rennlist
Member
Pepsie Lite
Lifetime Rennlist
Member
Yeah.....I would rather be the car than the engine block. looks like the "bad 928" wants more punishment.......


