When you click on links to various merchants on this site and make a purchase, this can result in this site earning a commission. Affiliate programs and affiliations include, but are not limited to, the eBay Partner Network.
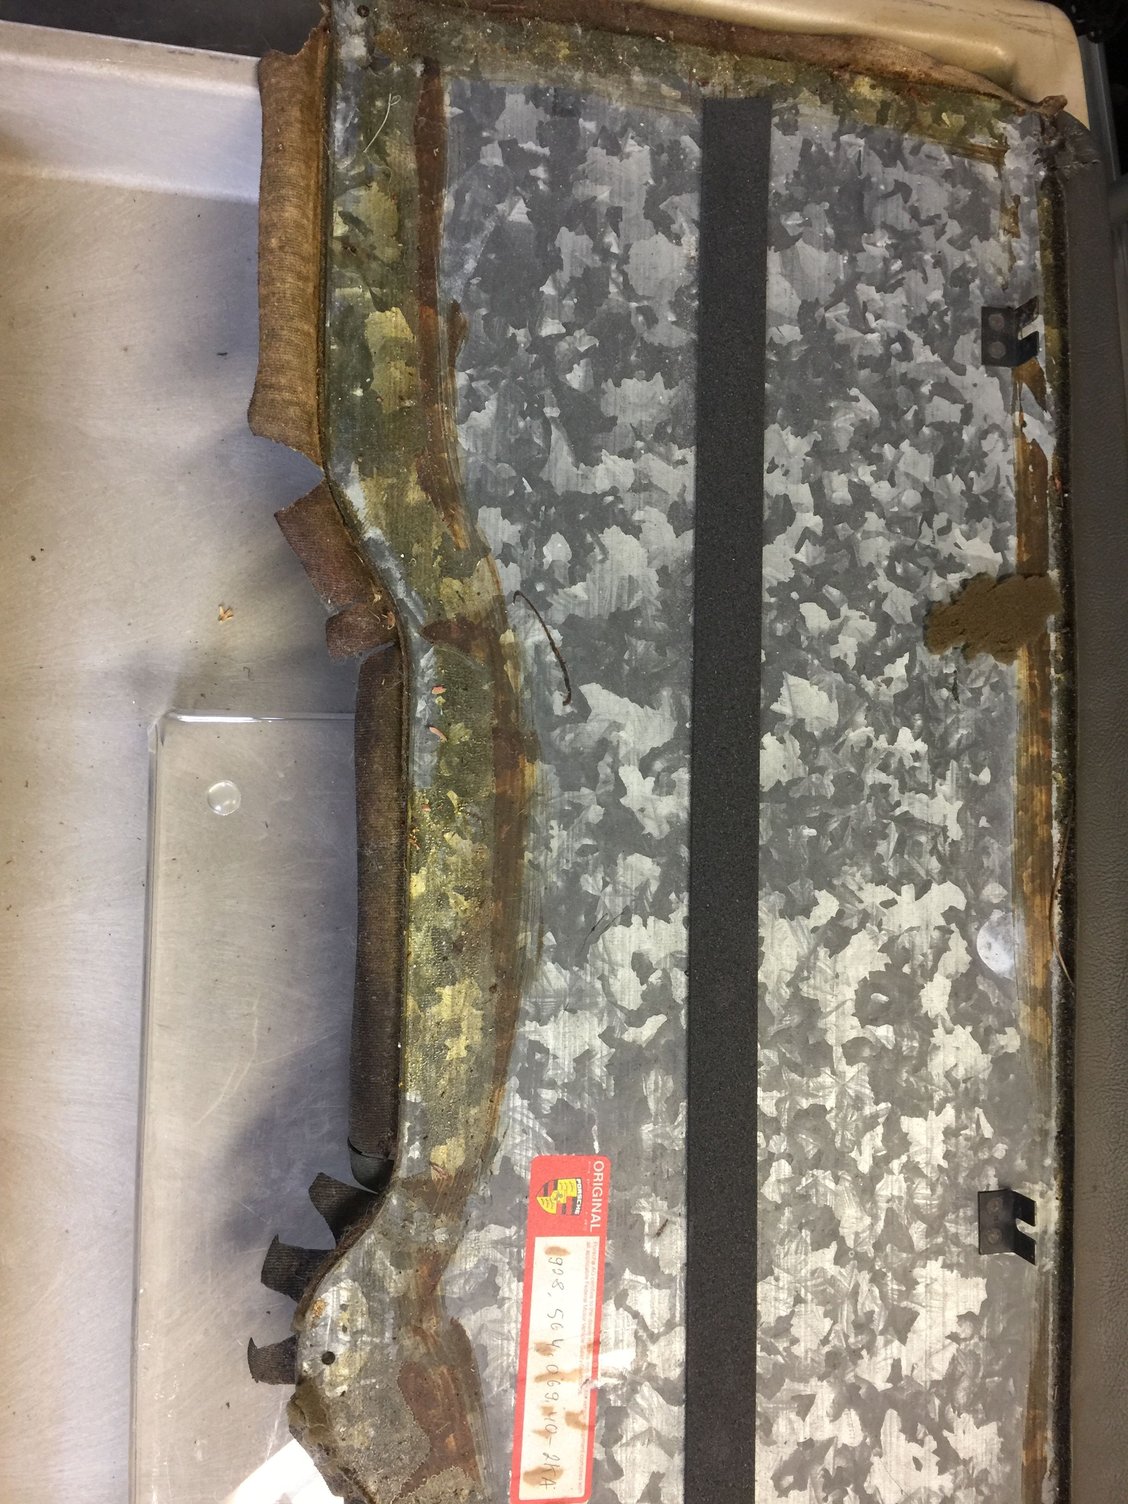
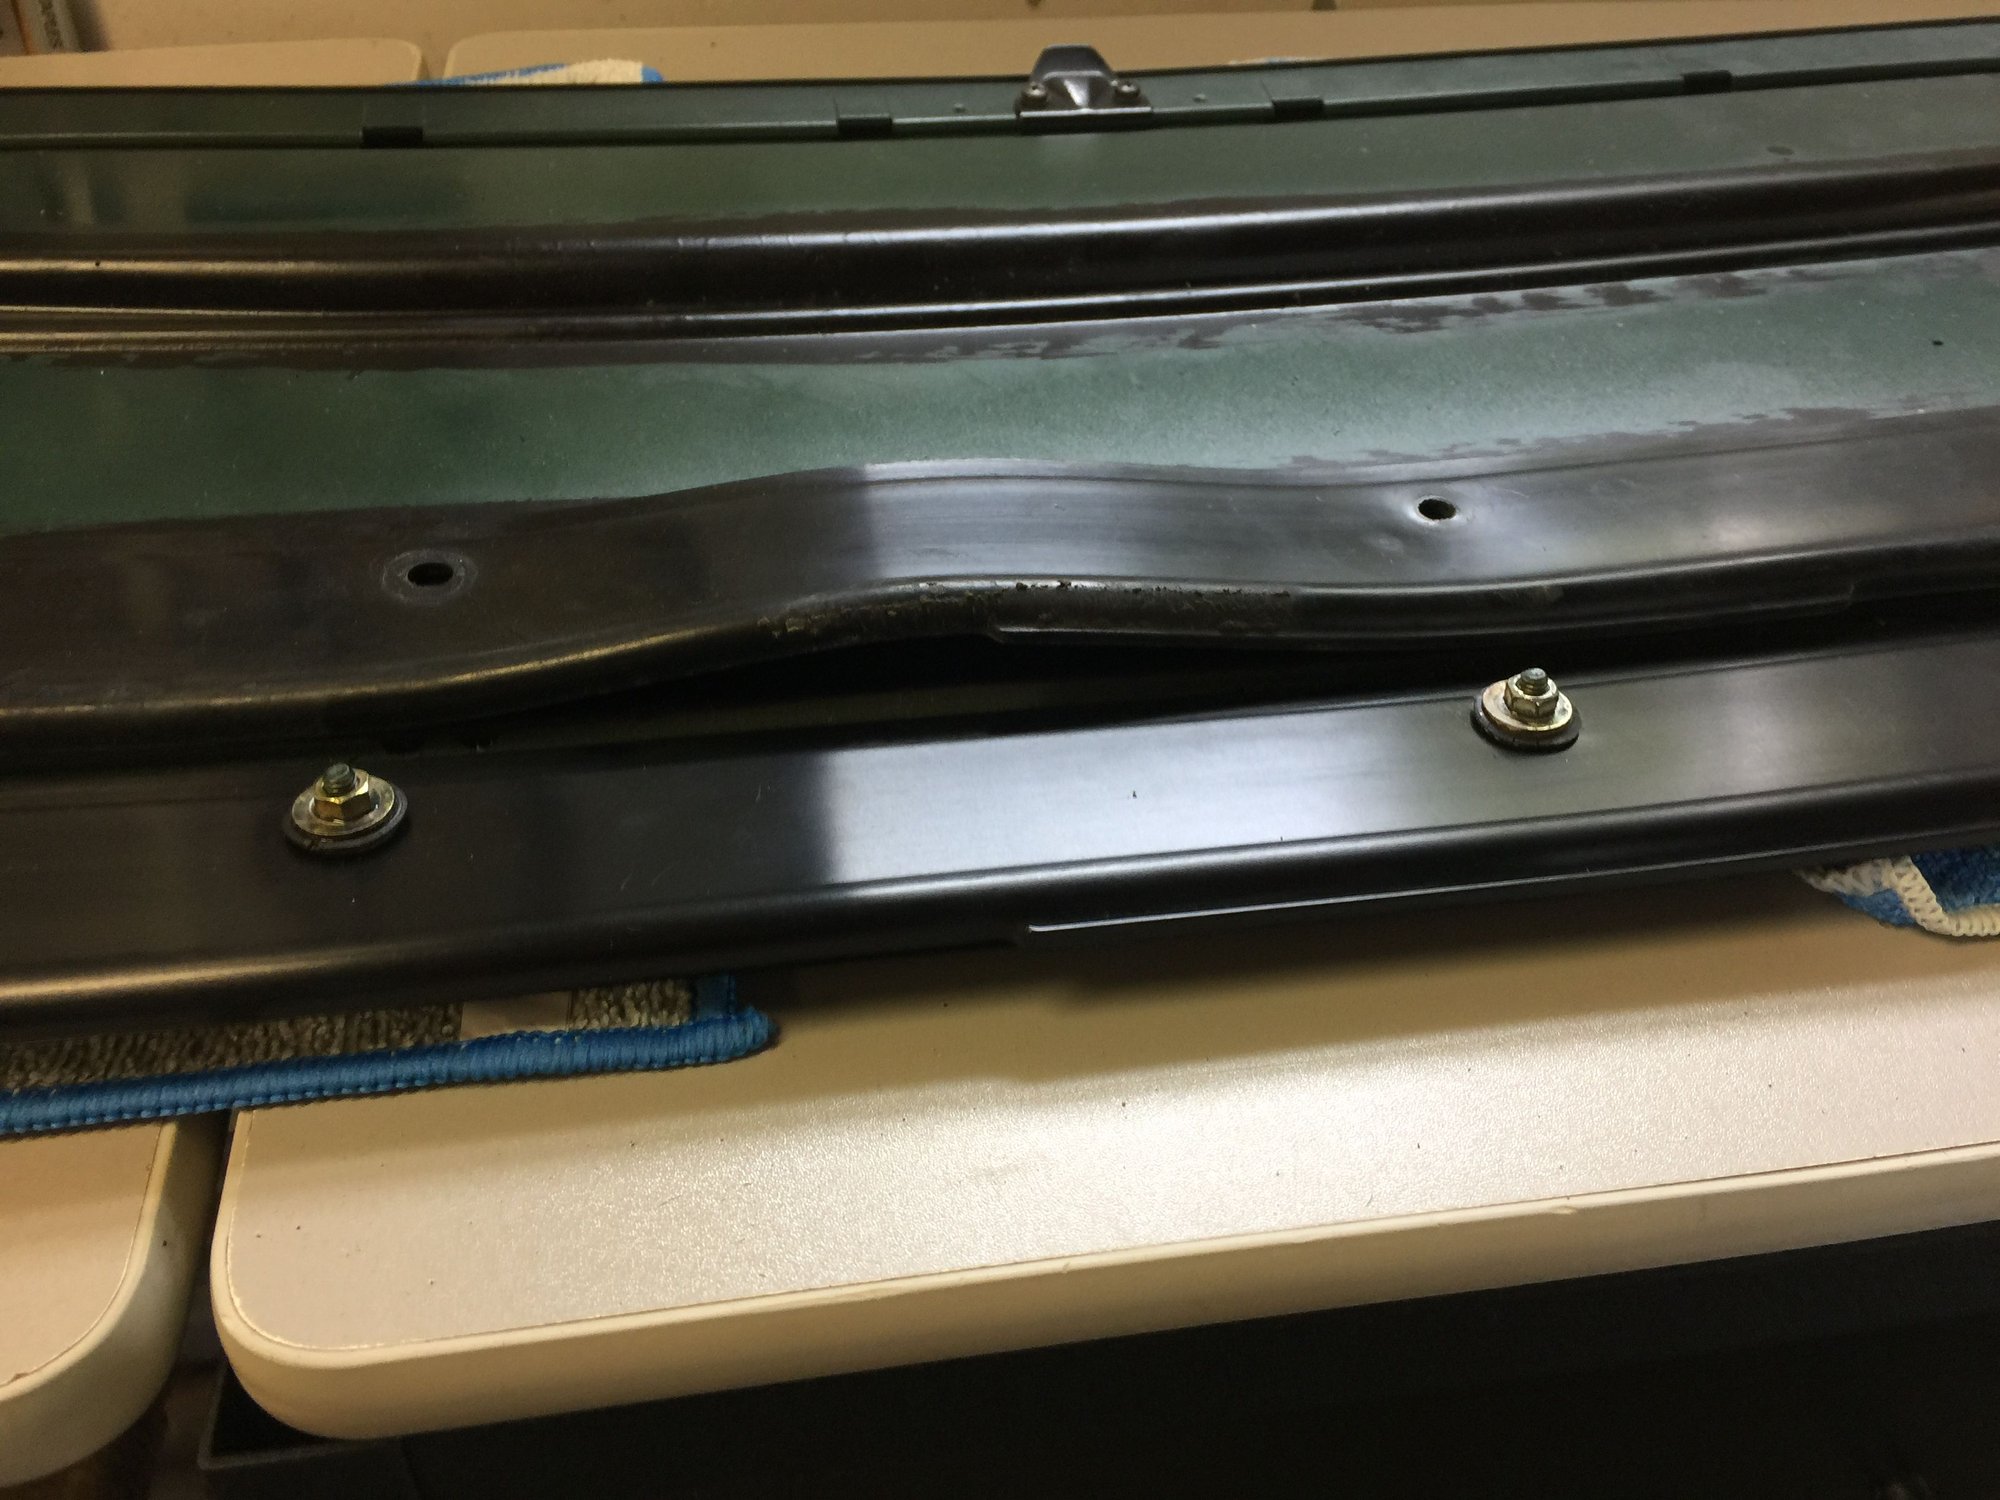
This was on the list of things to do, so here we go. The rear seal on the sunroof was about an inch short and the back was not fully up. So, I ordered both seals from 928srus a month ago and finally started the project. I followed previous directions from others and was able to remove it, in about :30 min. It's pretty straightforward. When I removed the inner panel and noticed the adjustment screw was missing on the passenger side and driver side was barely tightened. Roof tilt issue solved. Removal of the drip tray(not cracked....but warped in the middle), so debating on replacing it. I don't drive in the rain very often(unless caught in it) and it's $200, but likely will get a new one for piece of mind. Does it actually do very much? The seal in the back is pretty wide and has it's own channel on it.
Cleaned all the rails, so they are smooth, wd-40'd the drive chains for the motor. The roof runs very well, so didn't feel it's needs very much cleaning. Will hit Lowe's tomorrow to find a new adjustment screw. If I don't replace the drip tray, then hopefully I'l get it back together tomorrow. If not, it'll have to wait until next week. If you take your time, it's not overly difficult. Now, when I re-assemble, that is noted as more difficult.
Reinstalled!....for now
Drip tray was badly warped so I ordered a new one from Roger(928sRus). It has to come from Germany, so three weeks. Can�t go without driving my shark for that long. Reinstalling wasn�t too difficult. Again, followed above noted instructions. This whole procedure took a couple hours start to finish. Take your time
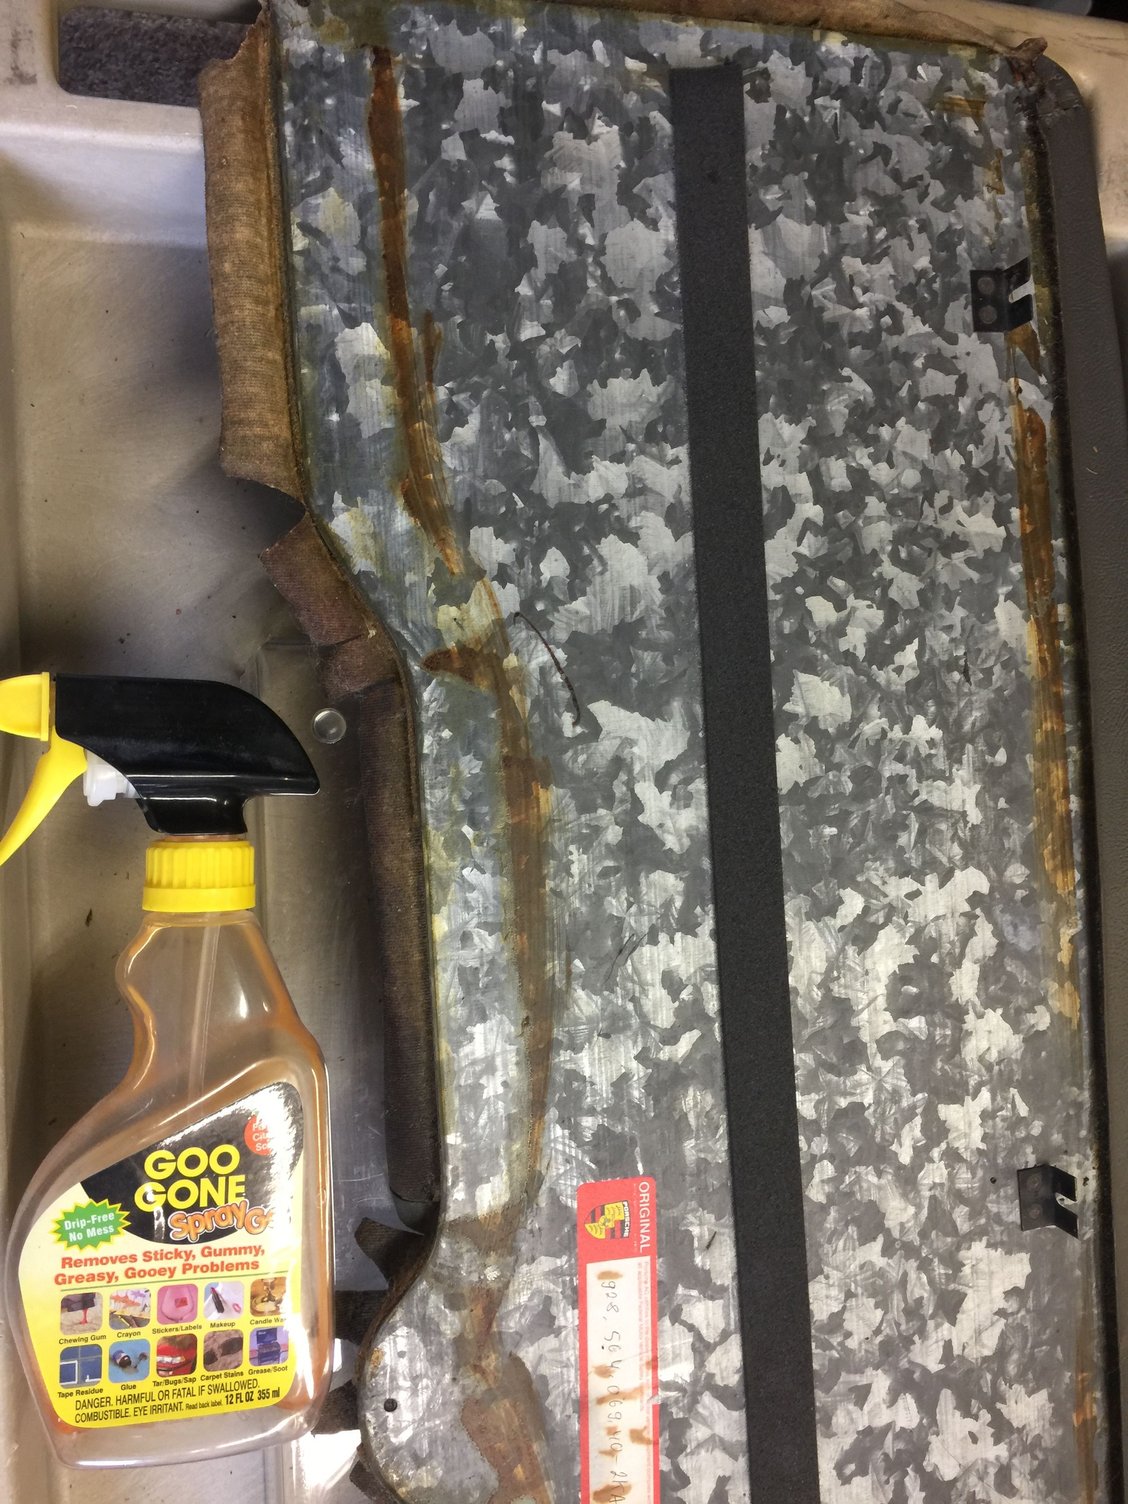
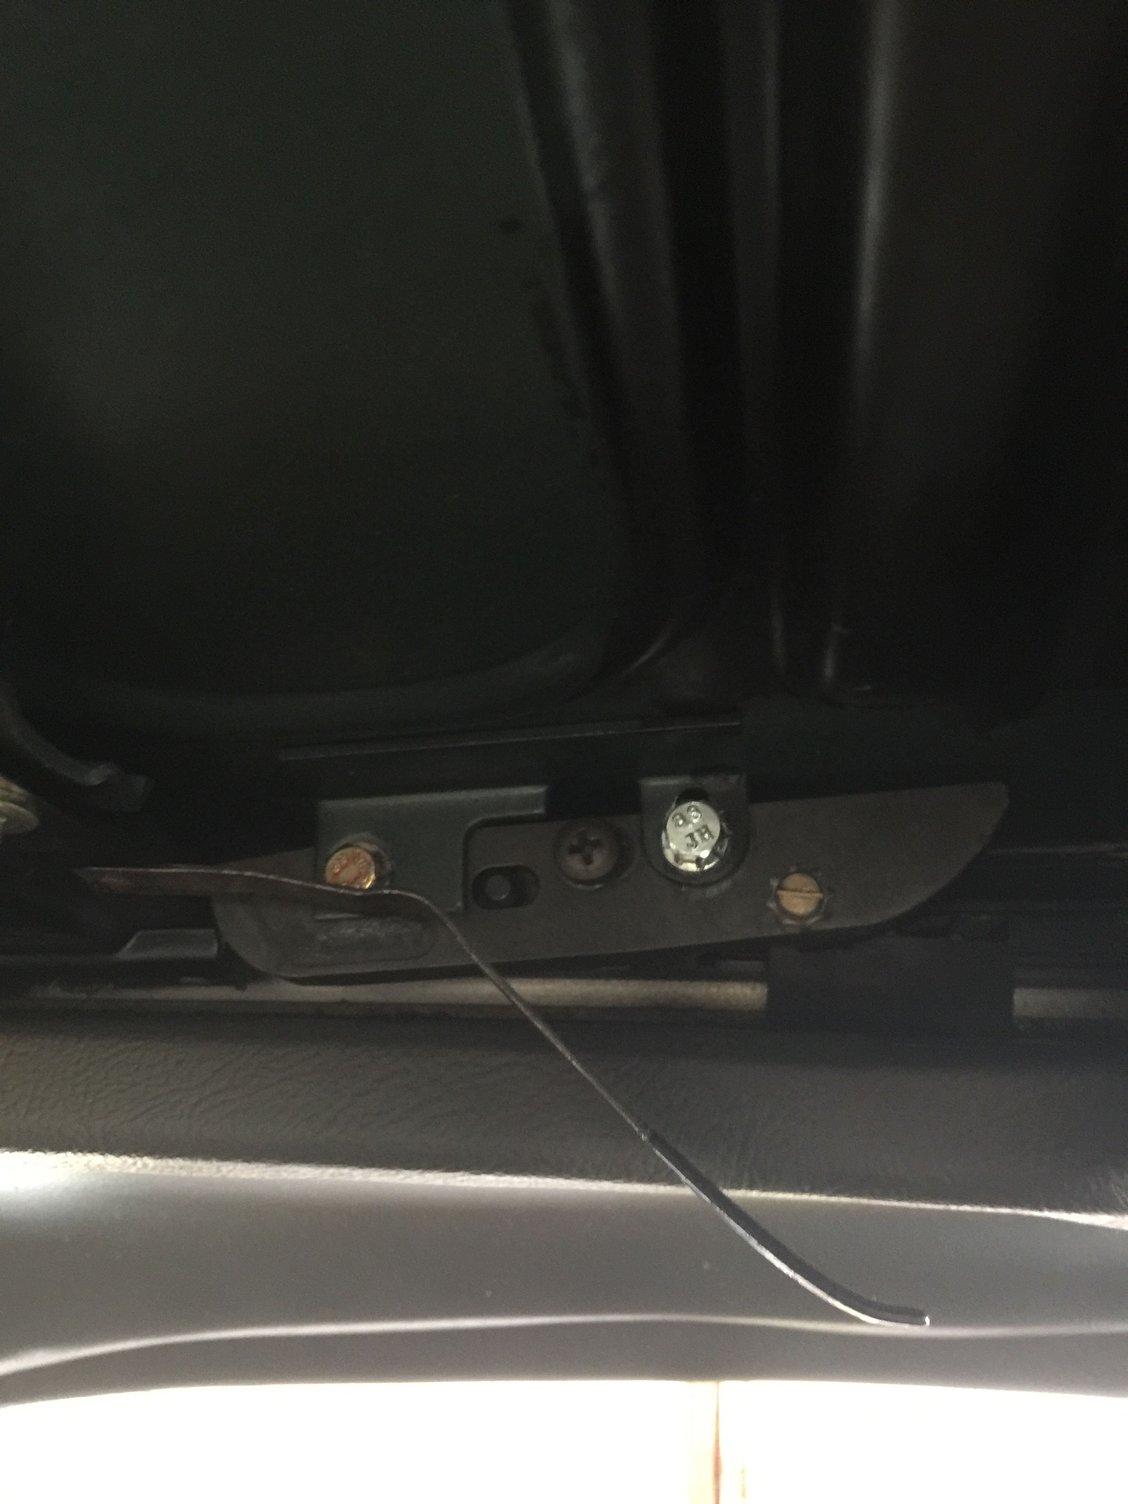
Also, my headliner was came unglued on the edges, so I Goo Goned it, and loctite(vinyl, fabric, plastic, metal adhesive it. Before After Adjustment screw, previously, was set low. Note, the screw is at the bottom of the loop(silver screw). I test ran the roof, all worked well. The back is slightly below the roof line, but better a hair low. Not sure how I�d be able to adjust it up more anyway, screw adjustment is maxed, plus the new rear seal is thicker. It might move up a little more once it softens up in the sun. But, that�s why there�s a drip tray
The slider that mounts to the track(black retangular piece in my pic above) has a pin that goes into the shuttle(boat like piece) that has the adjustment screws you can see. In the shuttle, there is a channel/slope that goes from the bottom to the top. As the slider moves forward/backward, that pin moves and it causes the rear to go up/down. In the picture above, the place phillips head screw, can be loosened and moves the entire shuttle a little forward and backward. Depending on where it is(it moves a little bit), I believe it adjusts how much the front goes up before the rear does. The operation of my sunroof(except the rear, due to a screw missing) was good before I did all of this, so I didn't do anything with that screw when re-installing. All I've read, says don't try to make it perfect, you won't. Plus, if you fiddle too much, the rear could come up early and scratch.
In the beginning of this video, you can see it explained :
When I take it apart next, i'll take a couple pictures. Hope that helps. It is snug and has no gaps. Also, checked my drains with weed wacker wire, just incase. Thankfully, no blockages
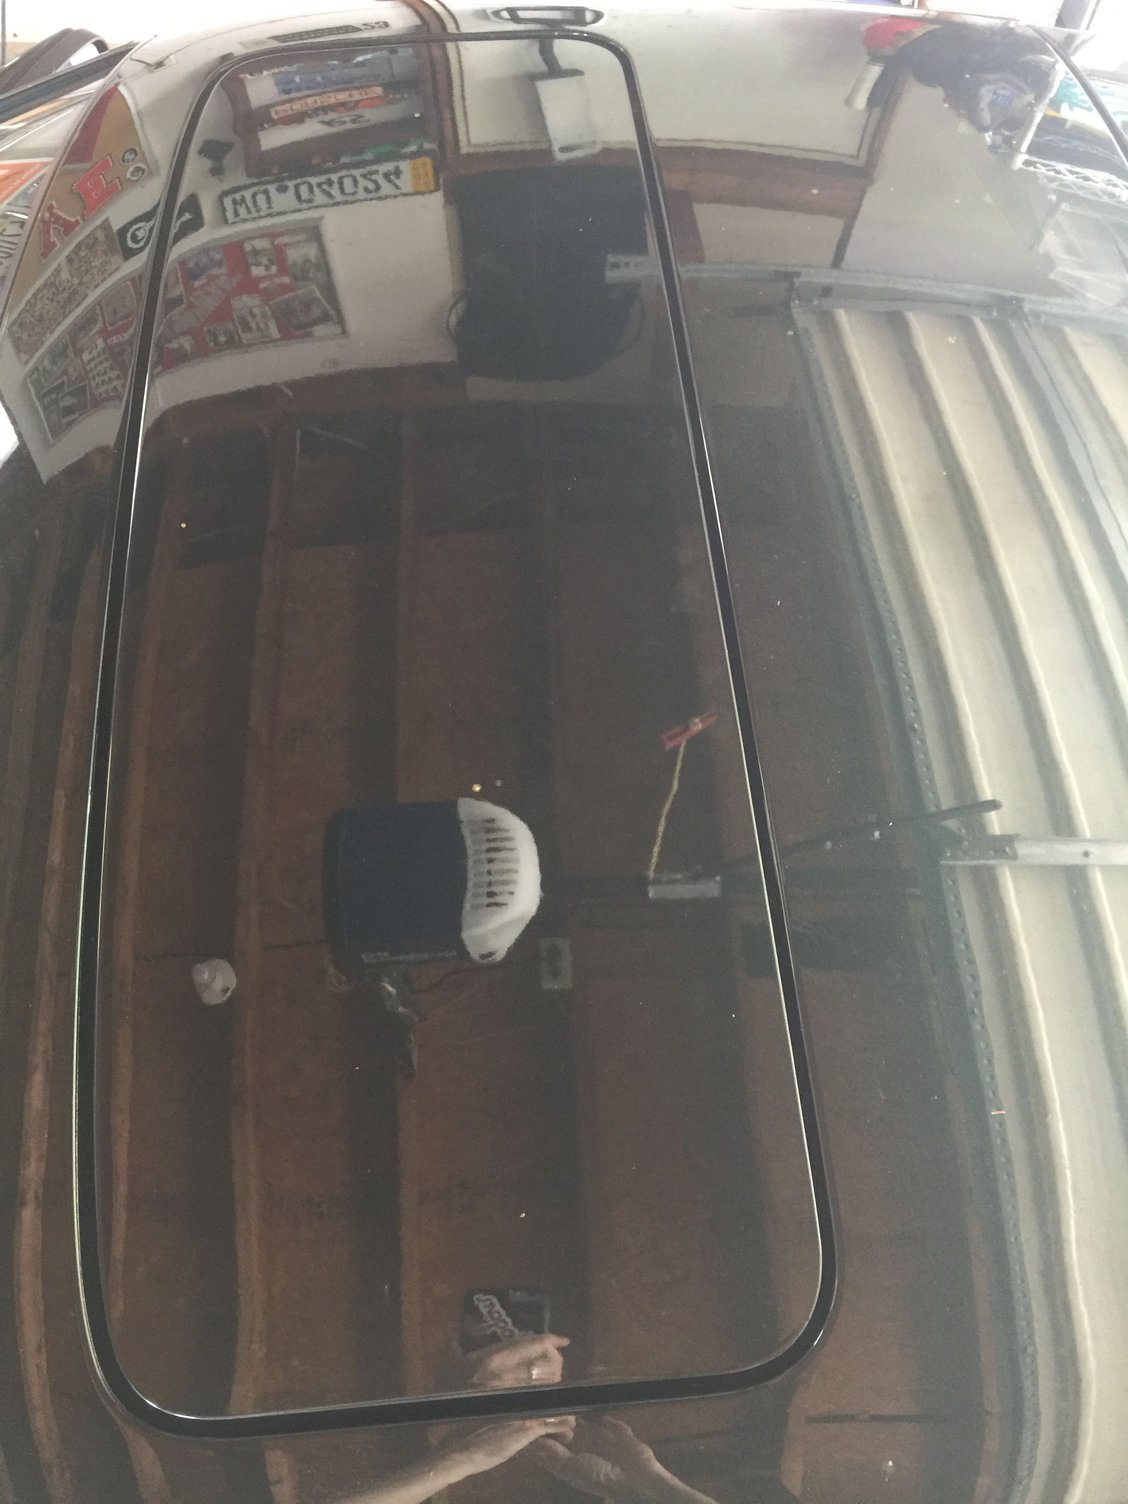
Finally replaced the drip tray. Need to adjust the sunroof, as it isn't closing as well as before. It was good, I took it out again to do the drip tray and now it's not as good.
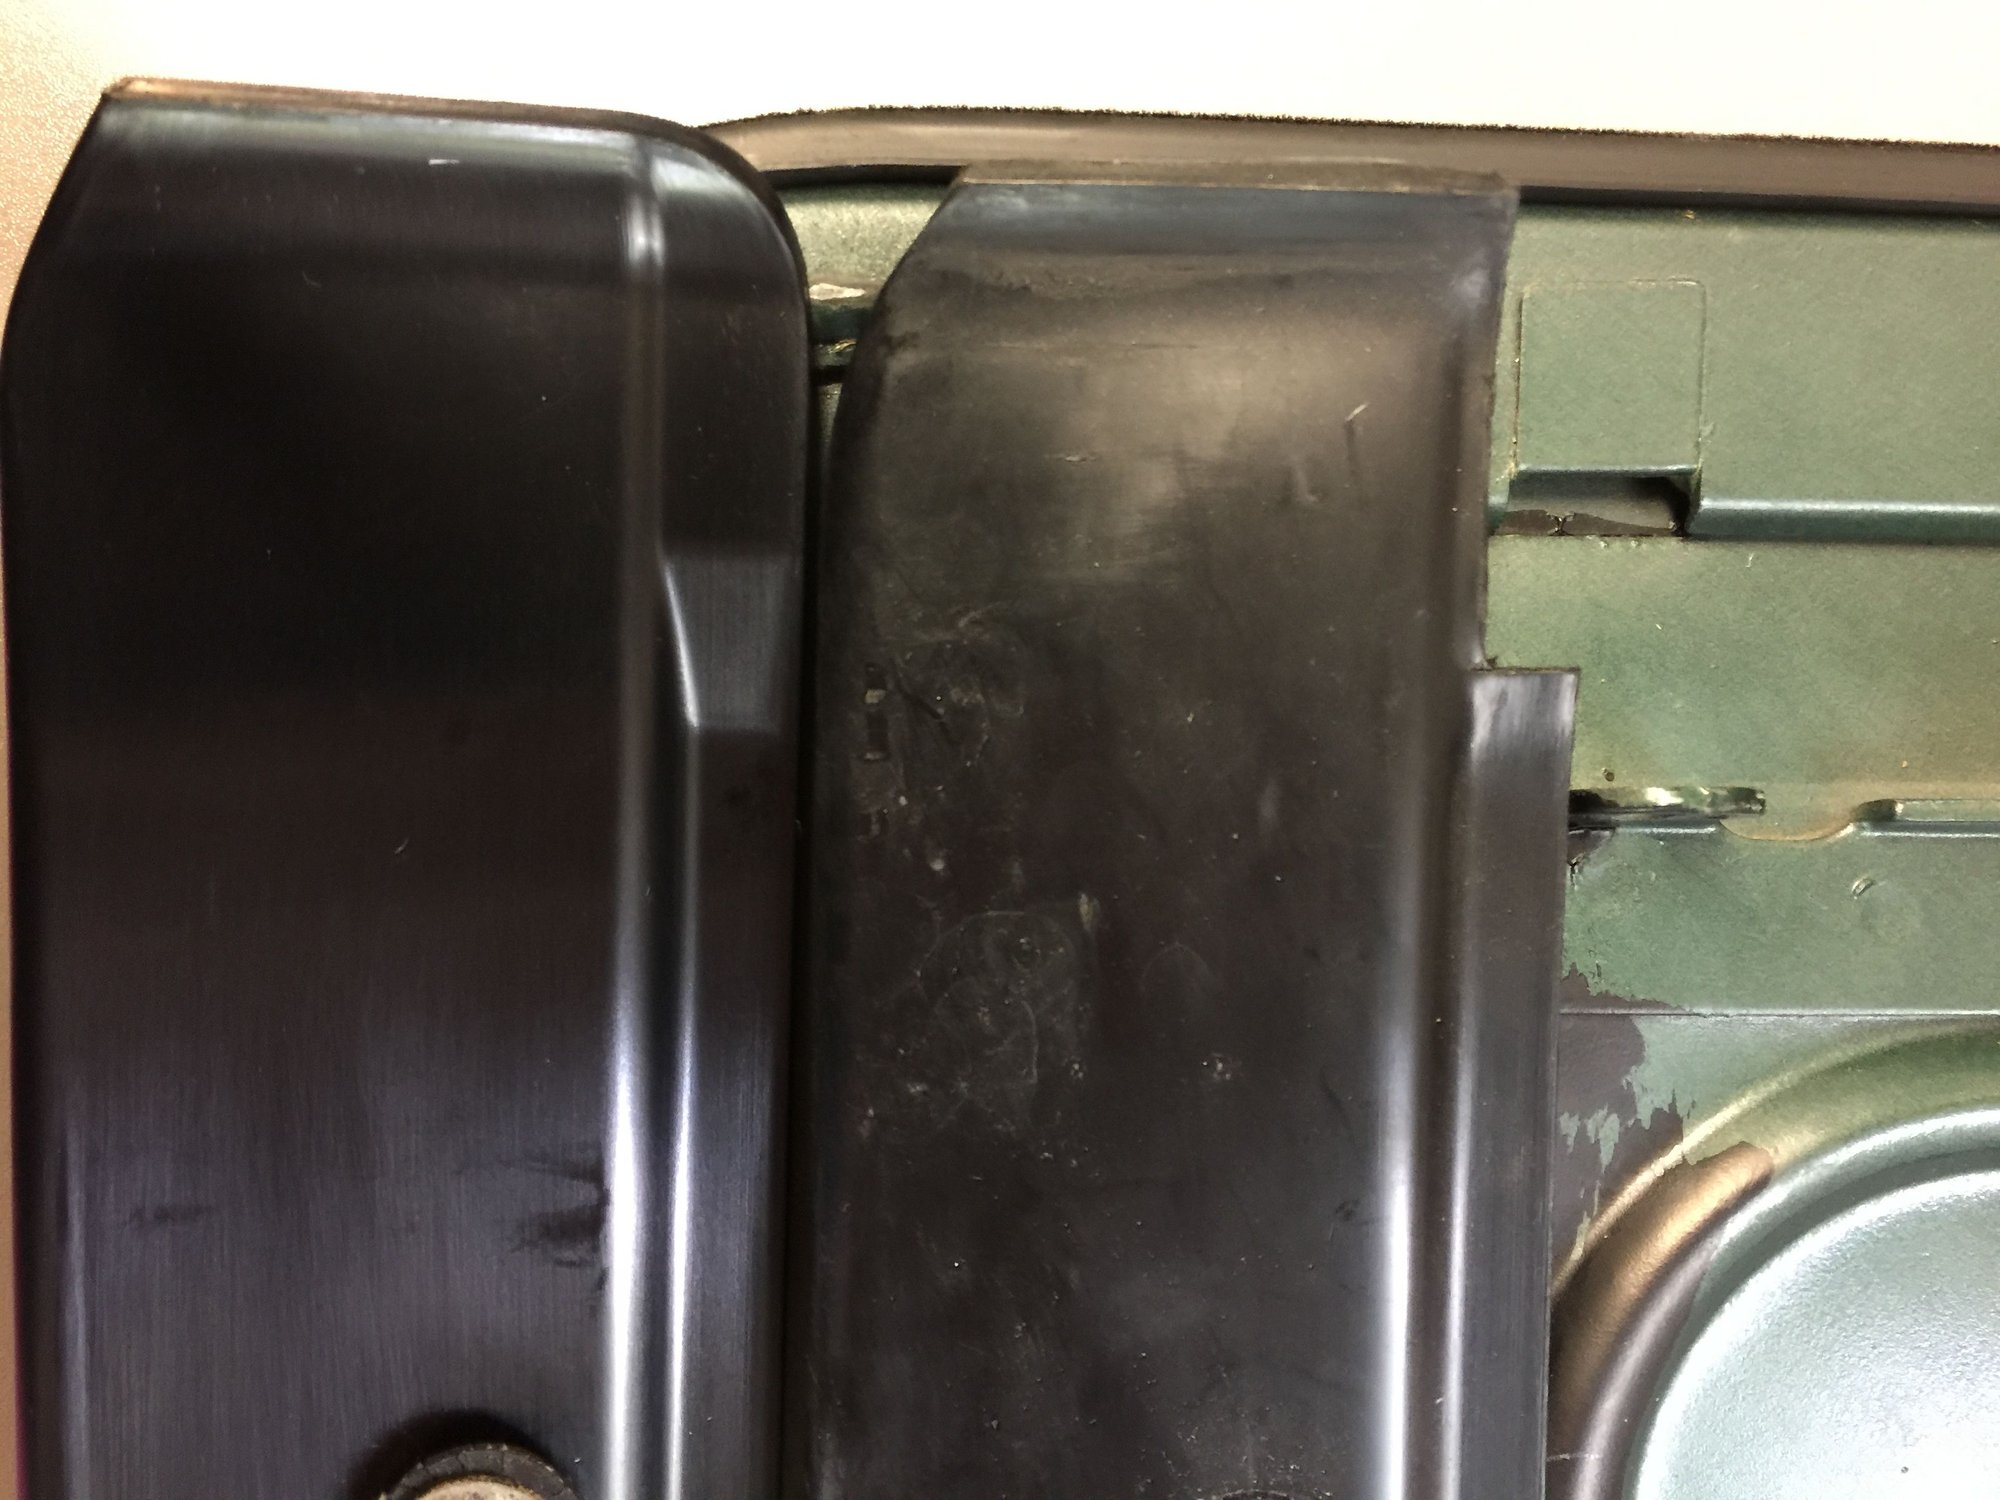
Think it was warped Interesting, previous owner must have cut the upper right corner for some reason. Both were cut like this?
Reinstalled!....for now
Drip tray was badly warped so I ordered a new one from Roger(928sRus). It has to come from Germany, so three weeks. Can�t go without driving my shark for that long. Reinstalling wasn�t too difficult. Again, followed above noted instructions. This whole procedure took a couple hours start to finish. Take your time
Also, my headliner was came unglued on the edges, so I Goo Goned it, and loctite(vinyl, fabric, plastic, metal adhesive it. Before After Adjustment screw, previously, was set low. Note, the screw is at the bottom of the loop(silver screw). I test ran the roof, all worked well. The back is slightly below the roof line, but better a hair low. Not sure how I�d be able to adjust it up more anyway, screw adjustment is maxed, plus the new rear seal is thicker. It might move up a little more once it softens up in the sun. But, that�s why there�s a drip tray
Im replying to this post, not the next one...
What keeps the rear from going up a lot of the time, is that the new "seal" is thicker, and it takes very little resistance to stop it from going farther FORWARD to allow the rear to go up. You could be "too thick" on the "seal" in the front corners or sides, and it is holding up the progress of the closure.

 08-07-2021, 07:27 PM