When you click on links to various merchants on this site and make a purchase, this can result in this site earning a commission. Affiliate programs and affiliations include, but are not limited to, the eBay Partner Network.
Ok so new information on the progress of this project. Was waiting for some GB oil cooler lines to move forward so I could start this old girl up.
Got those in and they are much better than the ones I was trying to install. They were those cheep URO ones for the lower one would stay kinked no matter how I adjusted them.
Also ran into some "Crank and no Start" problem. It never ends. Had some help from Rich at "Electronik Repair, Inc." I ended up finding the ground wire broke in the engine bay for the EZF computer. So I wired a solid ground from behind the CE panel to PIN 12 and bang off it goes.
I haven't heard this sound in quite a while! YEA
Ran it for about an 1/2 an hour as per instructions from builder. Trying to get the rings set.
No problem. I have got one leak I have to look into other than that it was wonderful.
Following are some new PIC's up to this point
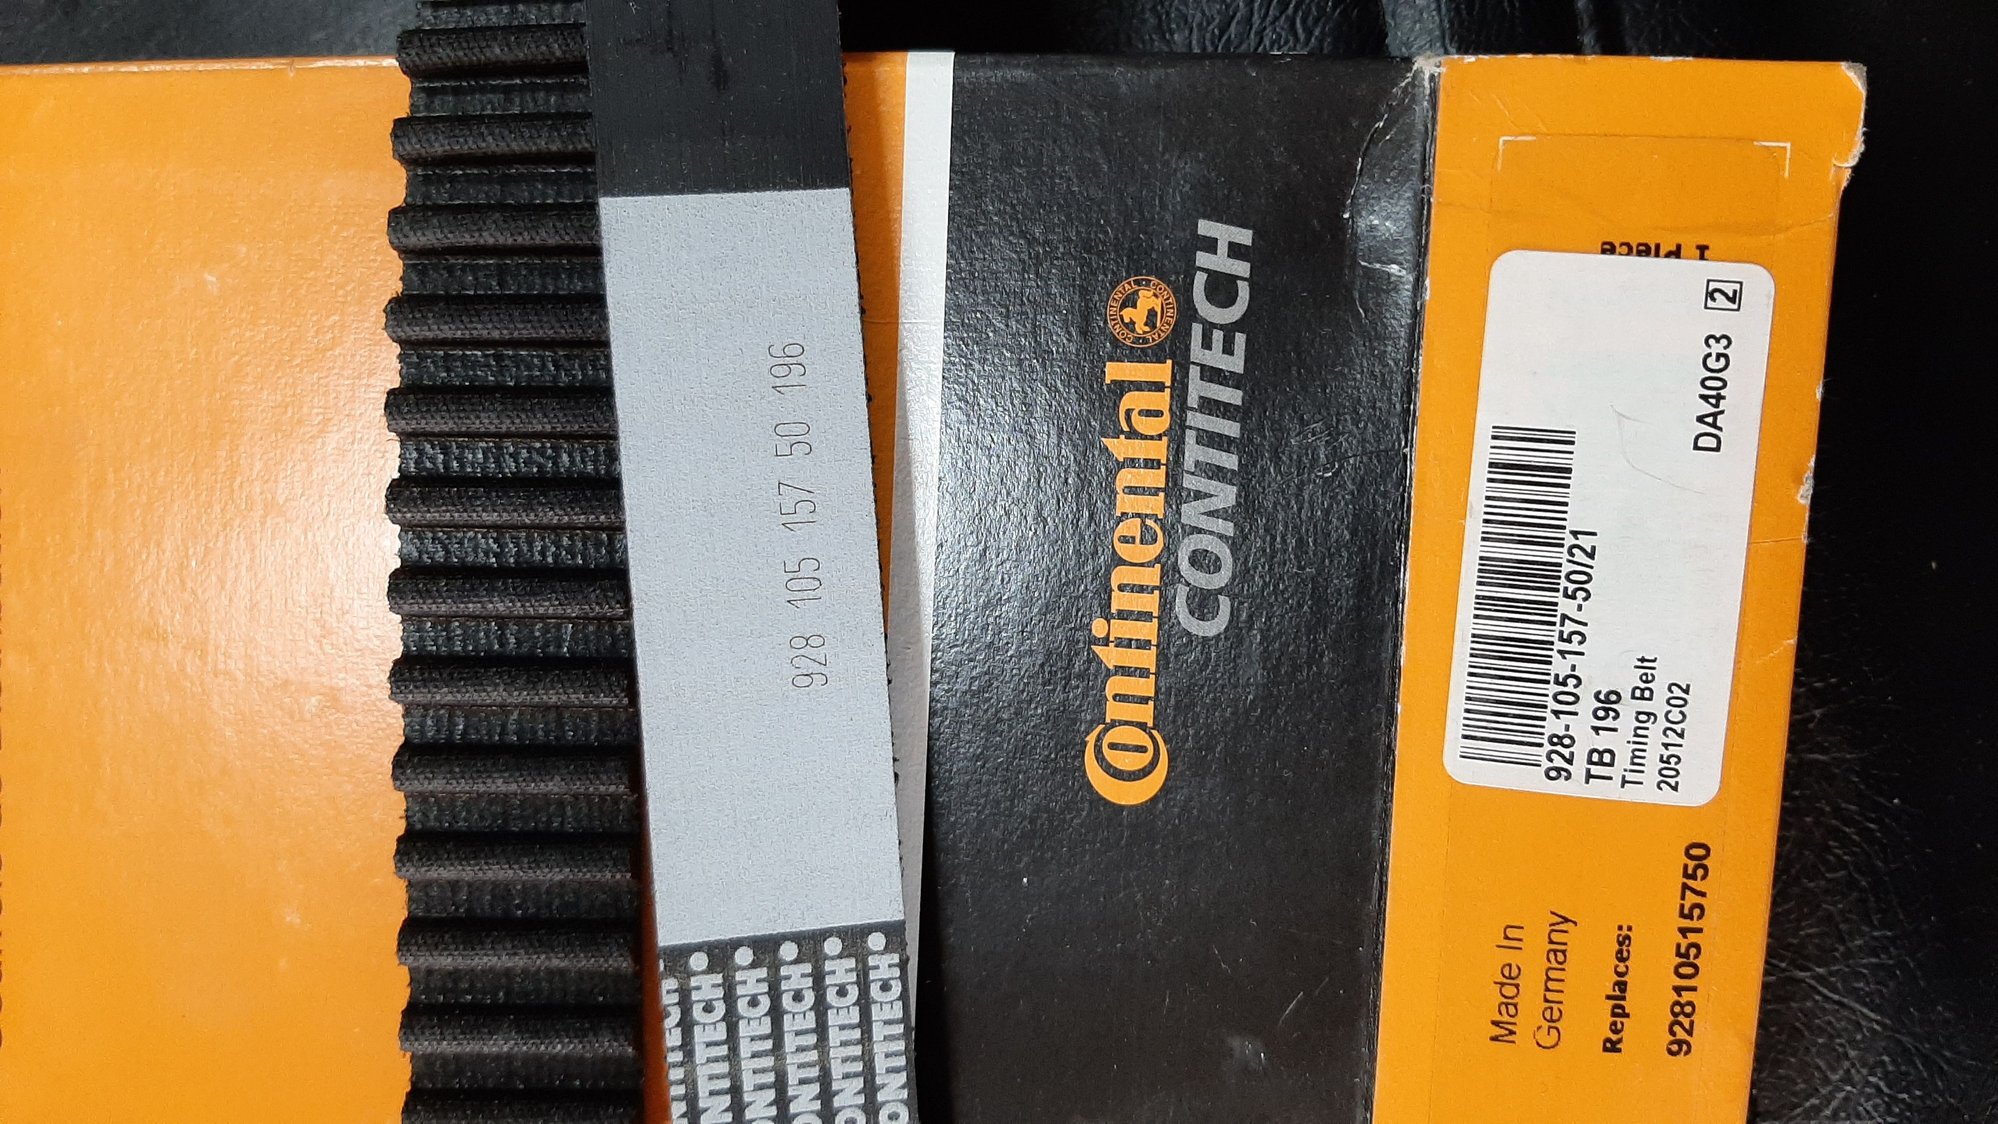
Stan and some others noticed the square tooth belt so I replaced with this one and tightened to end of window.
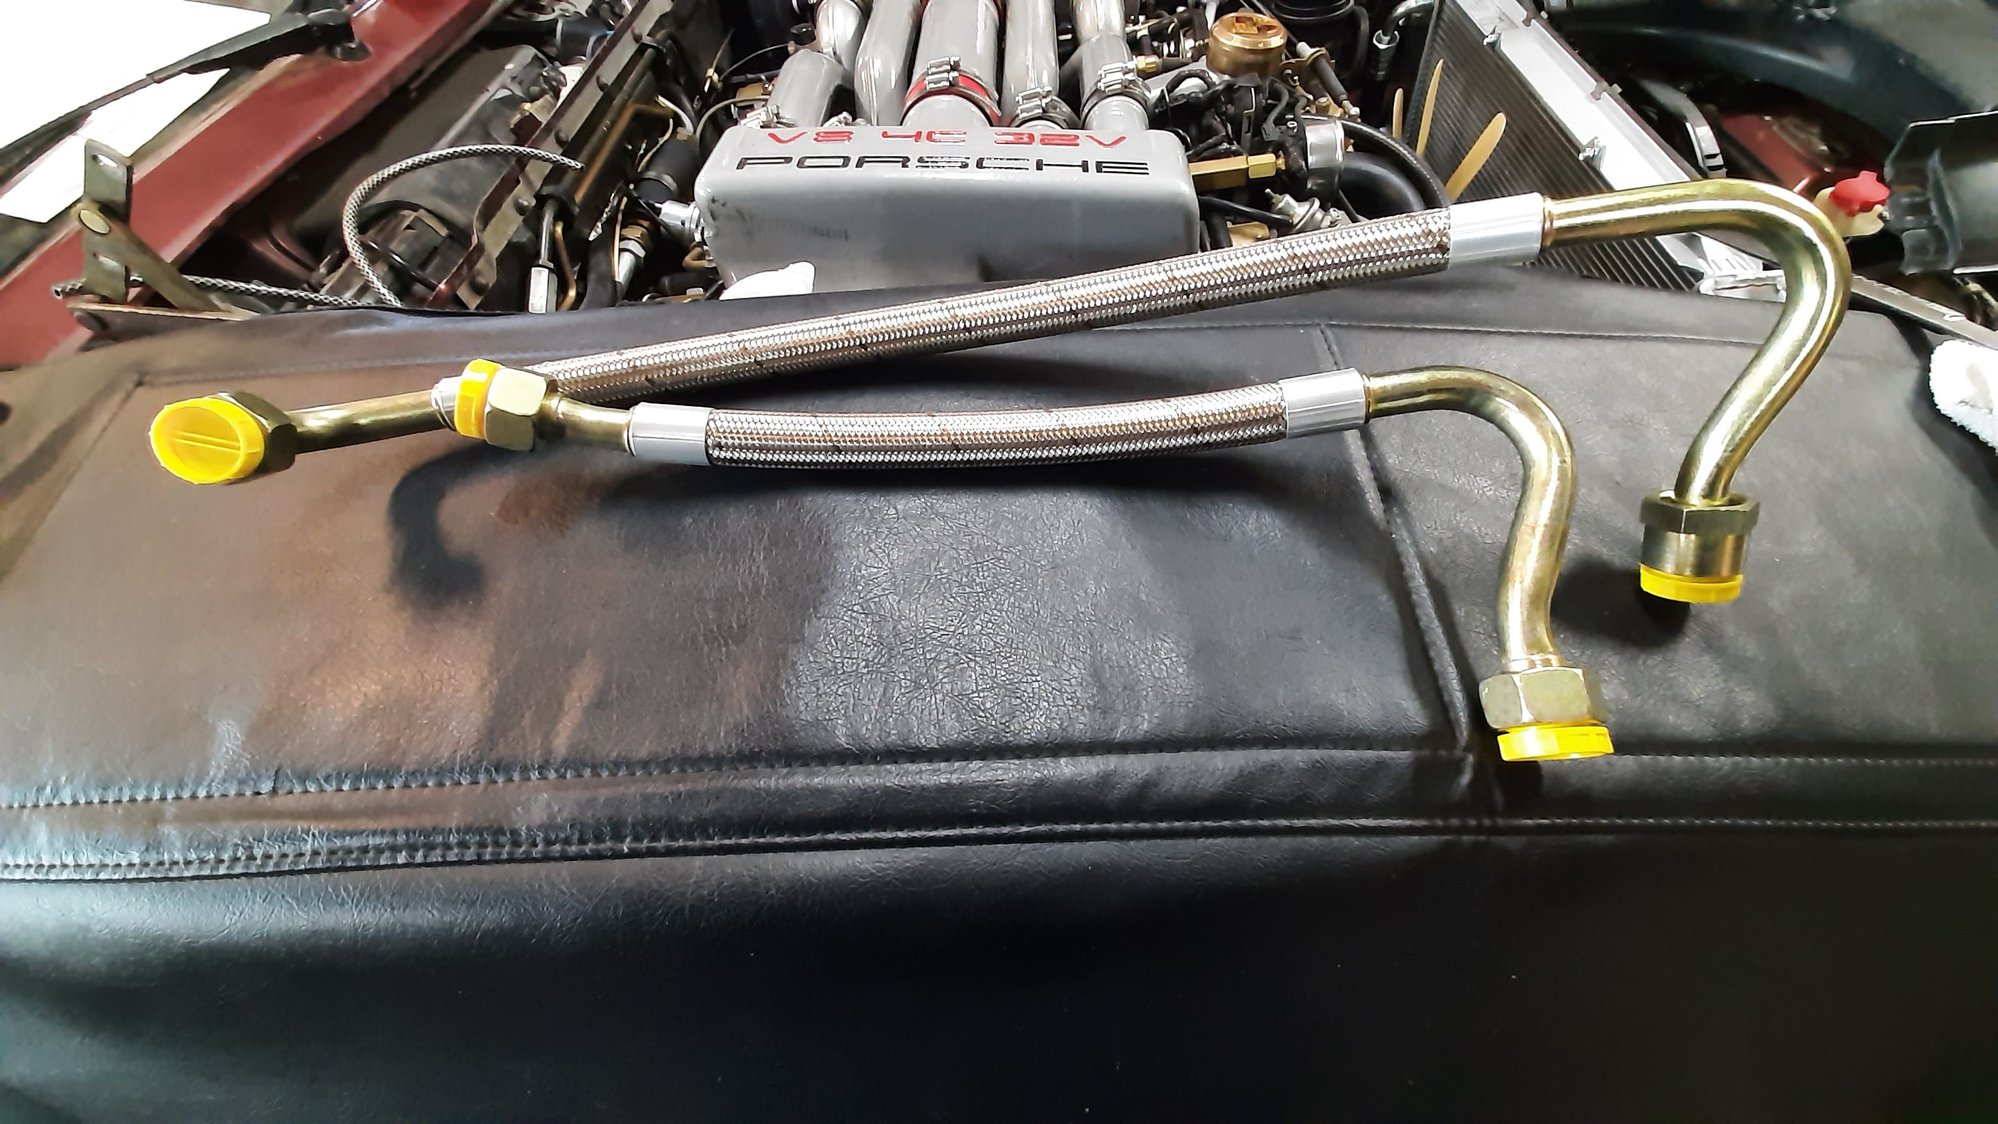
GB oil cooler lines
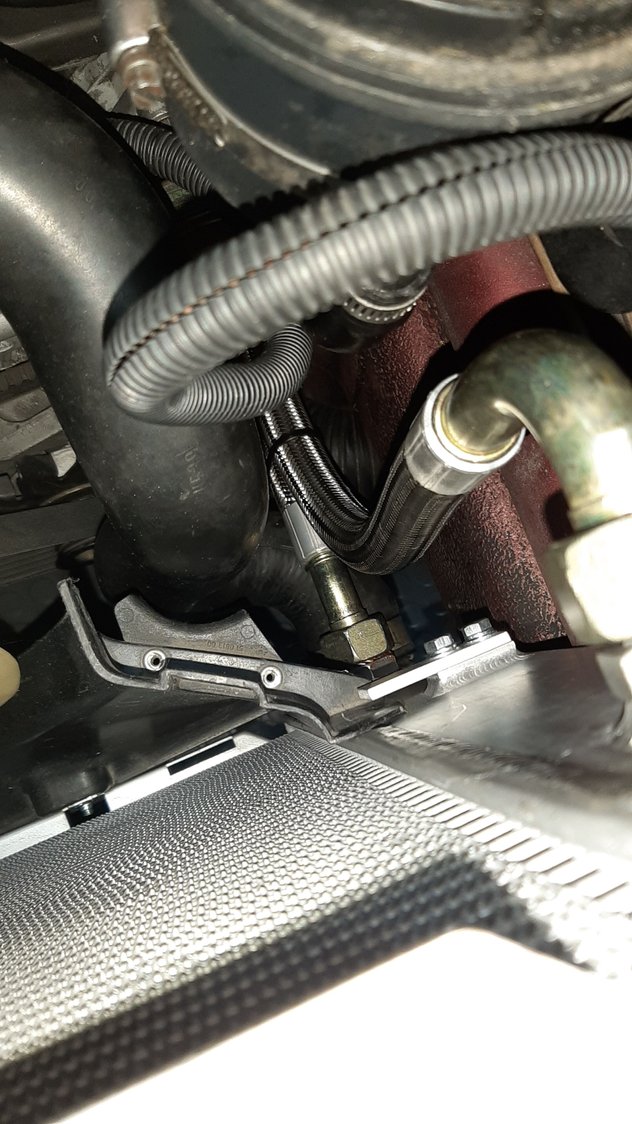
Oil lines installed
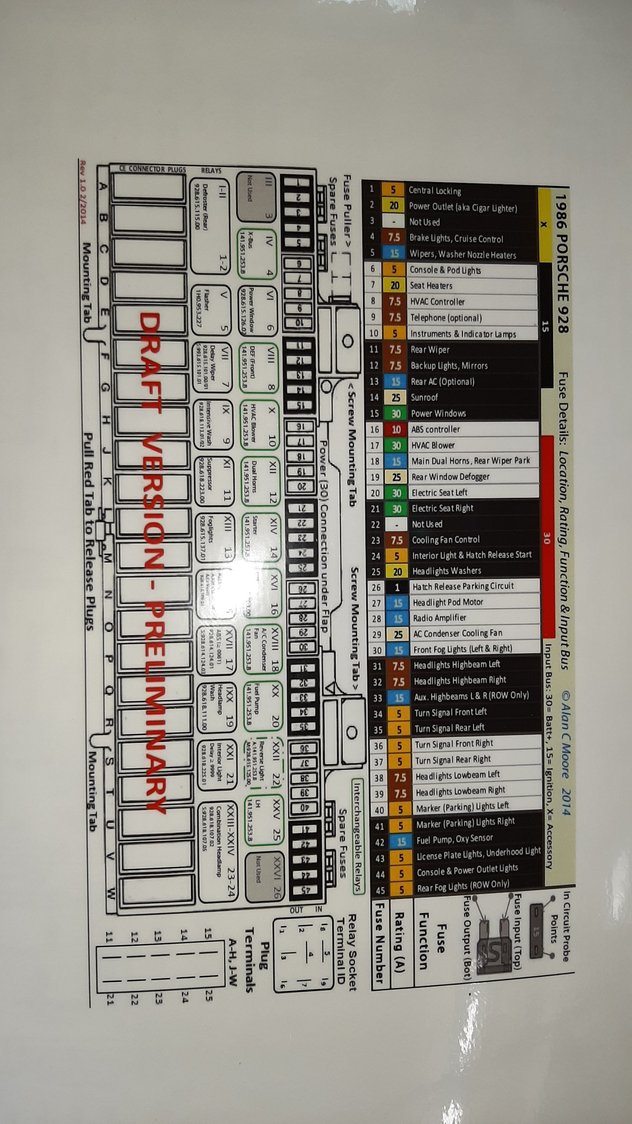
Had my wiring diagrams blown up and laminated so I could read them Same
Troubleshooting "Crank no Start" Found ground missing on EZF PIN 12
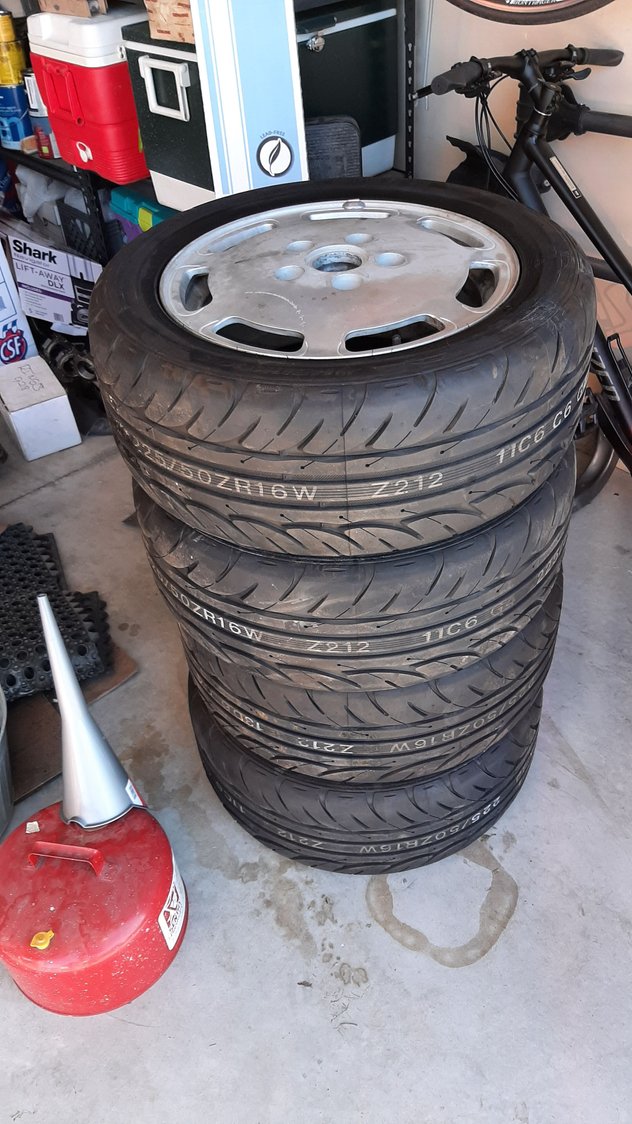
New paws to be installed
Attached a short clip of it running. Had to convert to an AVI file type to upload so not sure how good it is.
Next is clean up and then I have a few more items to do such as:
Bleed brakes and install new stainless lines
Trans service
Also need to get it out on the road and do more of the engine builder recommendations.
Still aways to go on this project but feeling better about the progress.
Ok finally getting back to an update on this project.
From last time I have done the following and will have pics following:
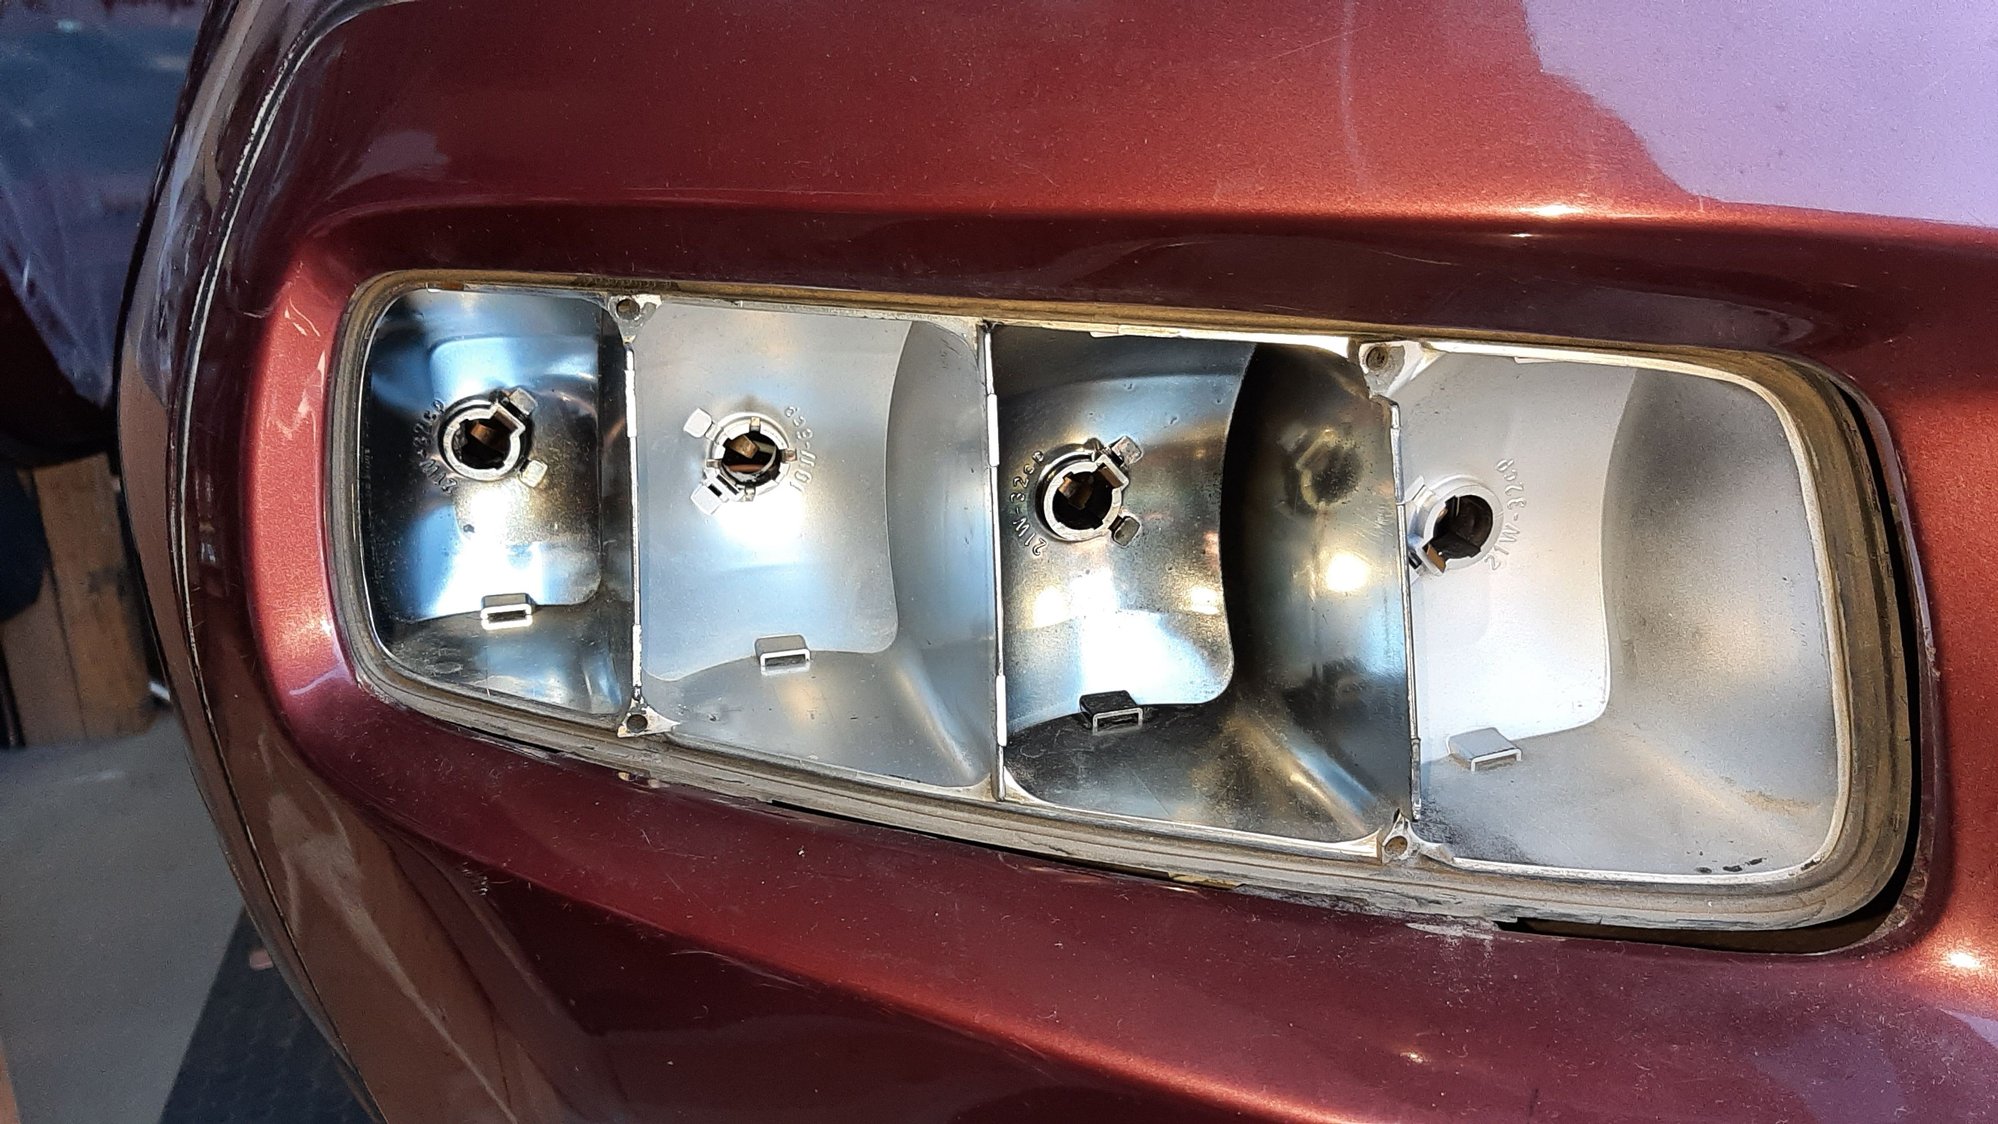
Had a tail light warning and the left blinker bulb was bad while in there cleaned and painted with new reflective paint.
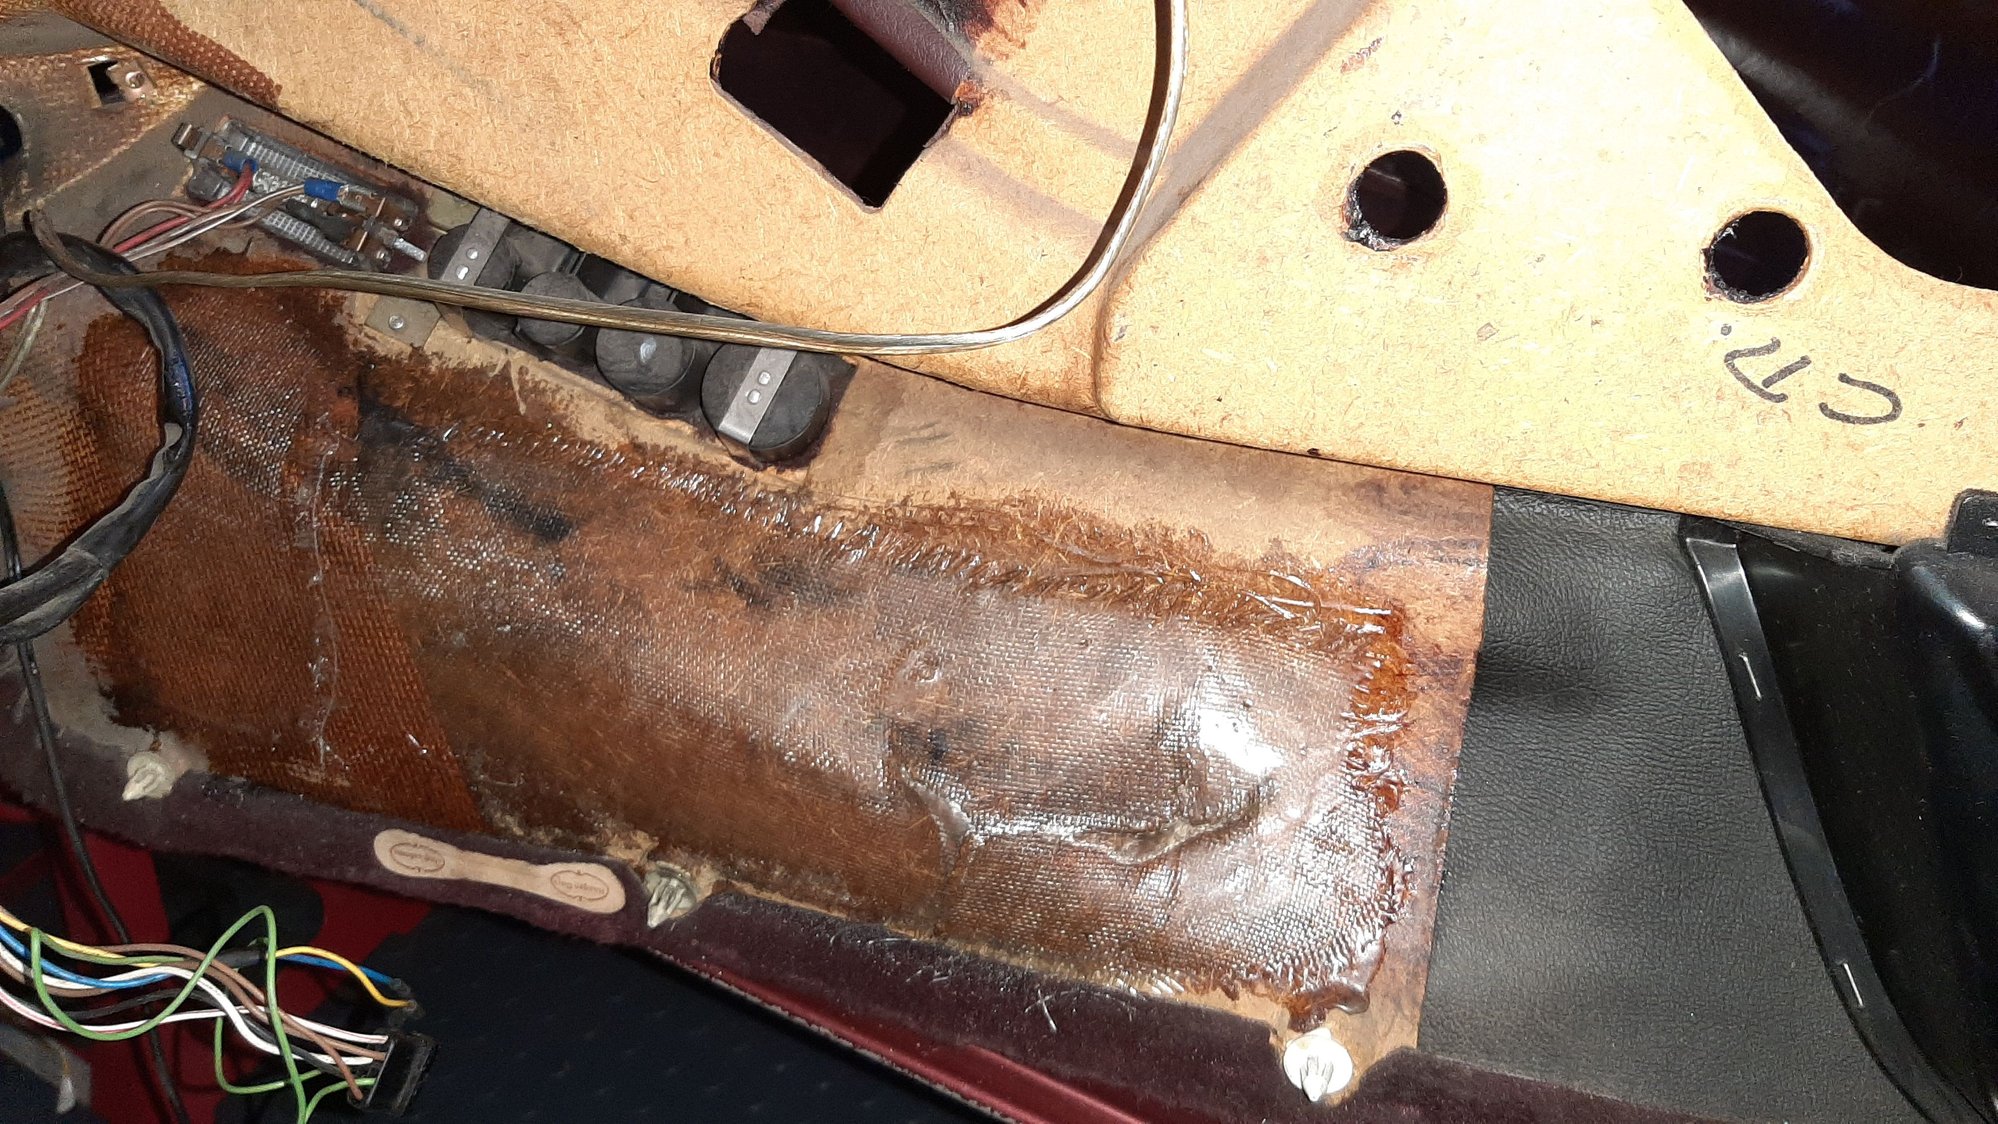
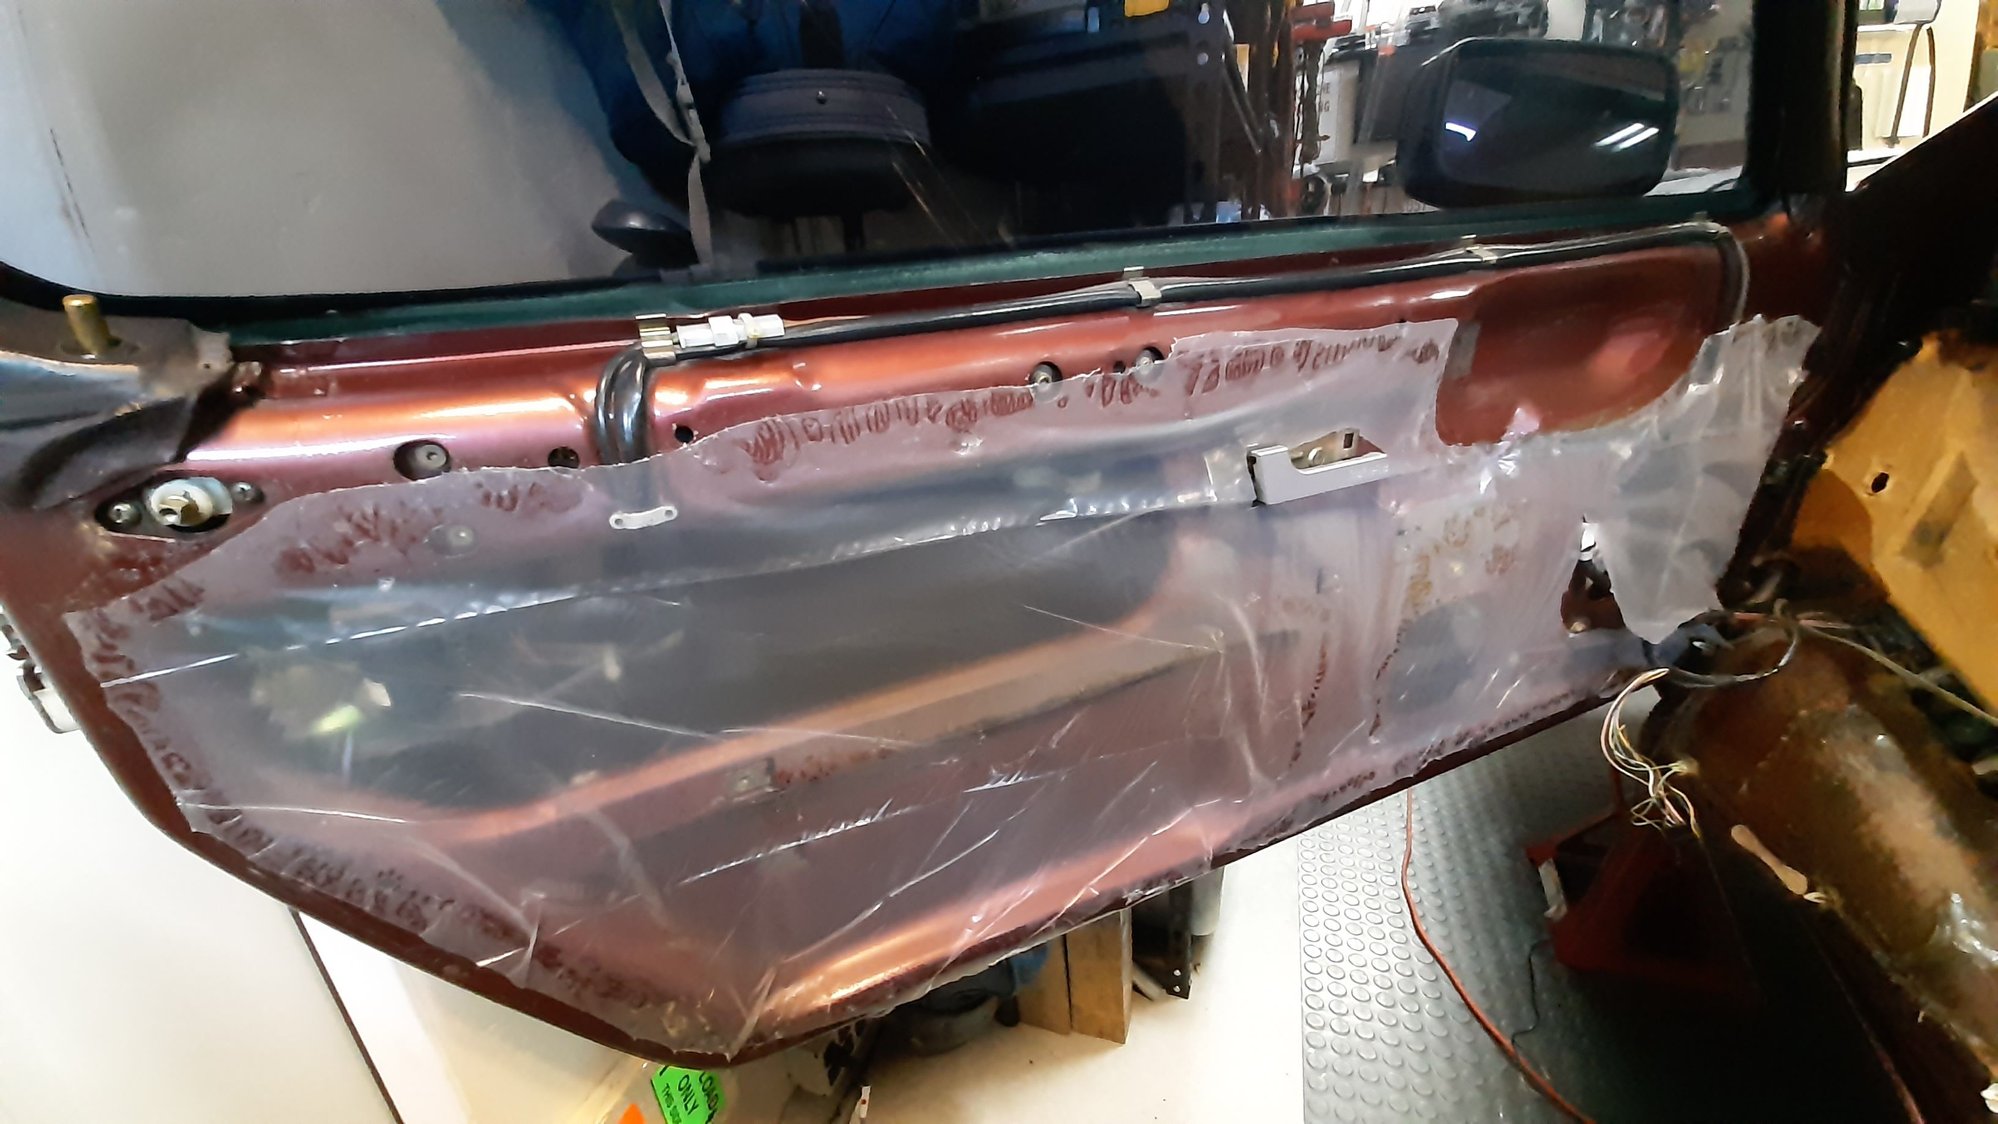
Passenger door had a loose handle so dug into found a loose bolt. While in there did clean and lube of both doors. Fixed carpet pieces that were coming lose and stiffened up the back of the panel on the driver side with some fiber glass. Covered both doors with new 3mil sheeting for moisture protection.
Replaced all brake rotors, pads and installed SS lines. Bleed brakes.
Did a sunroof clean, lube and install new seal.
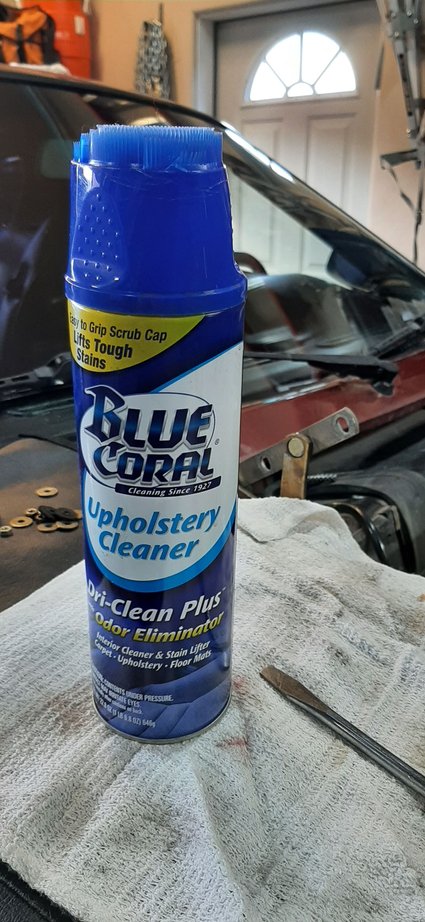
Cleaned all carpets with Blue Carol upholstery cleaner. Looks a lot better. When it warms up around here I will install Second Skin on metal surfaces to deaden the noise. Wife bought me a new Alpine head unit that I installed. Have front carpets coming in from Classic 9.
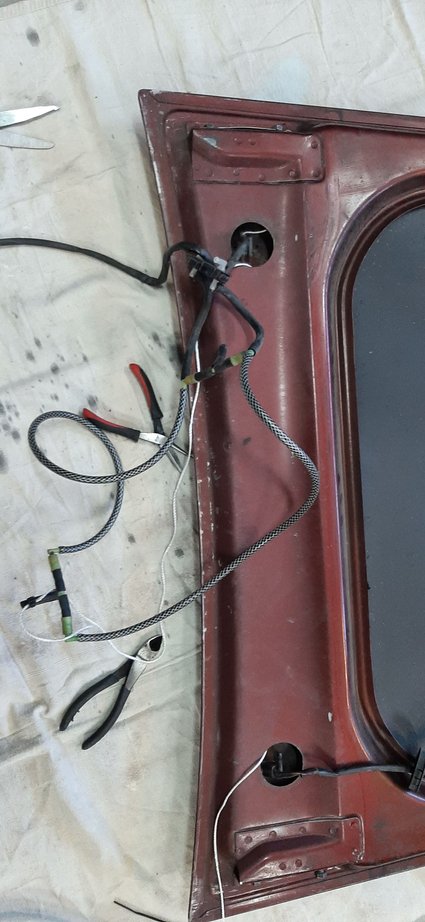
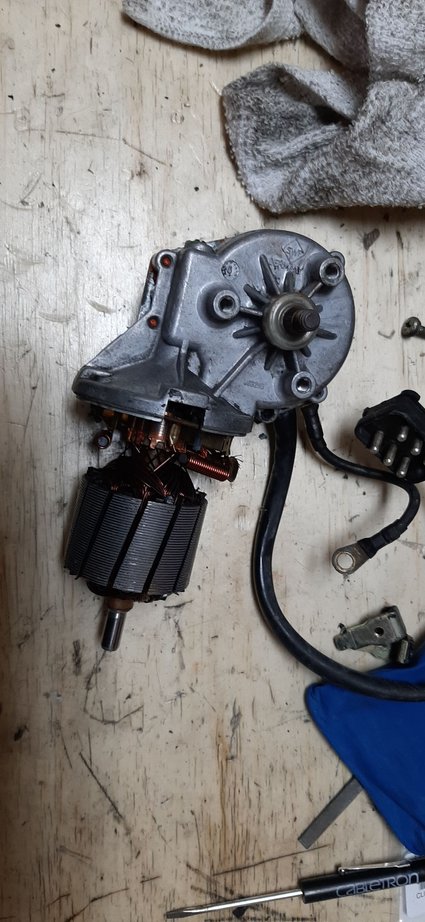
Before I put the hood back in will be replacing the lines, nozzles and check valves for the washer system. I also took out the motor for the wipers and cleaned the rust and electrical contacts.
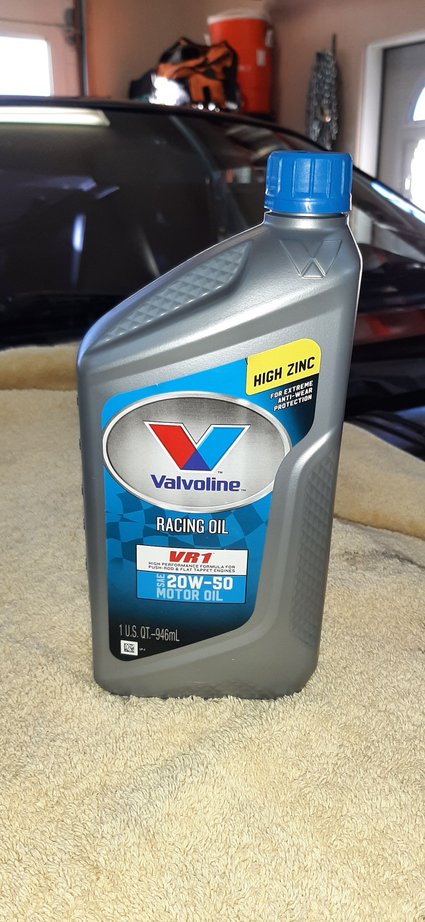
I ran the car as the engine builder suggested and changed the break-in oil out for 20w - 50 ZDDP oil.
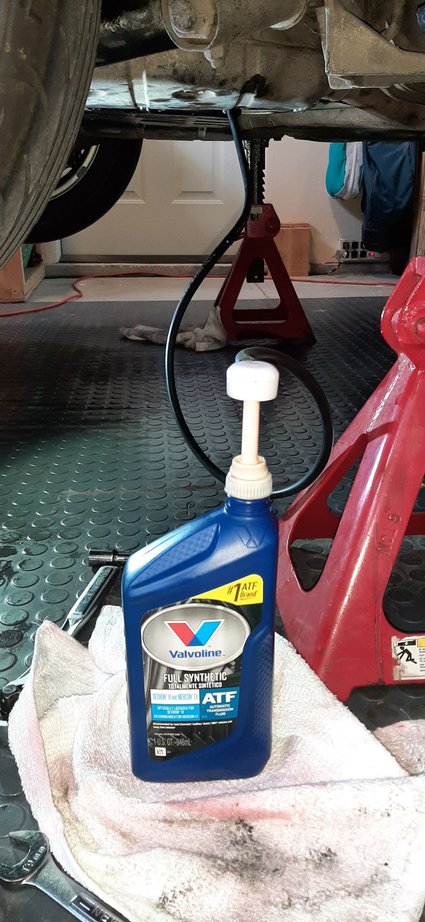
Changed the ATF and the Diff oil.
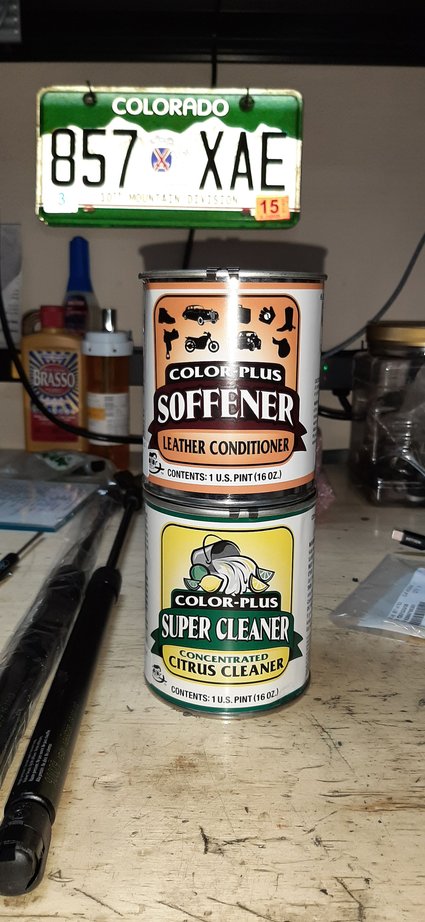
Now need to do the leather clean and moisture.
This will do it for this phase 1 of restore.
Phase 2 I will be looking for an excellent painter to have this resprayed. Want to keep the same color.
During the summer I will be getting parts in to do front end suspension next winter. Do the rear end the following winter.
Following are PIC's up to this point:
Tail light before clean and paint
Afterwards
Fix on the door panel Vapor barrier using 3mil
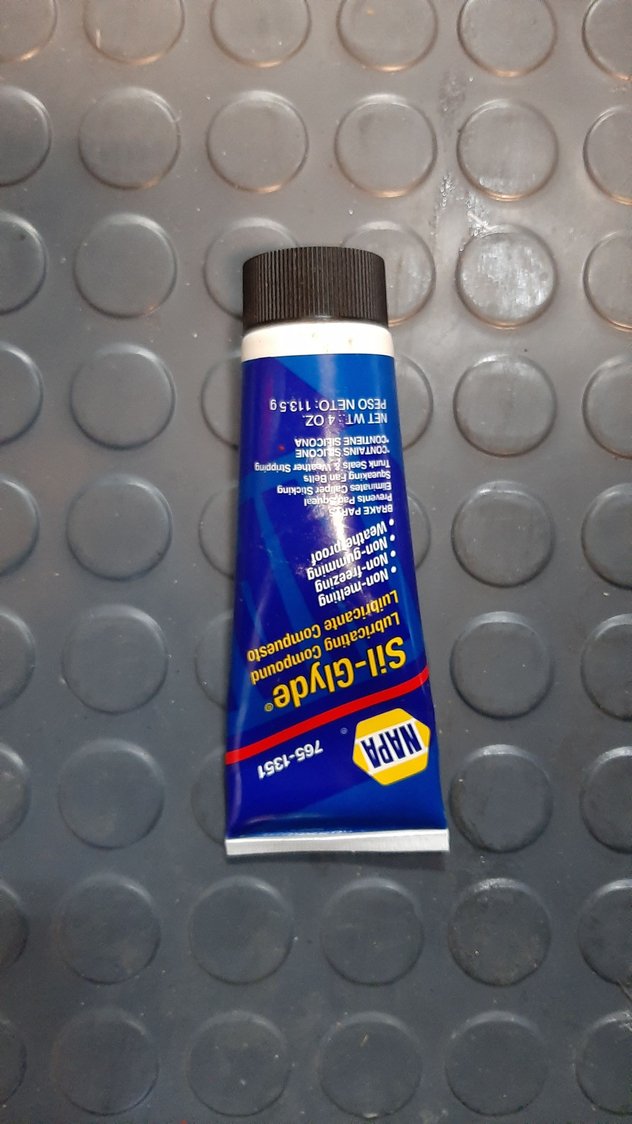
Grease I used for the rod, guides and sprockets
Rear before new parts
Front before
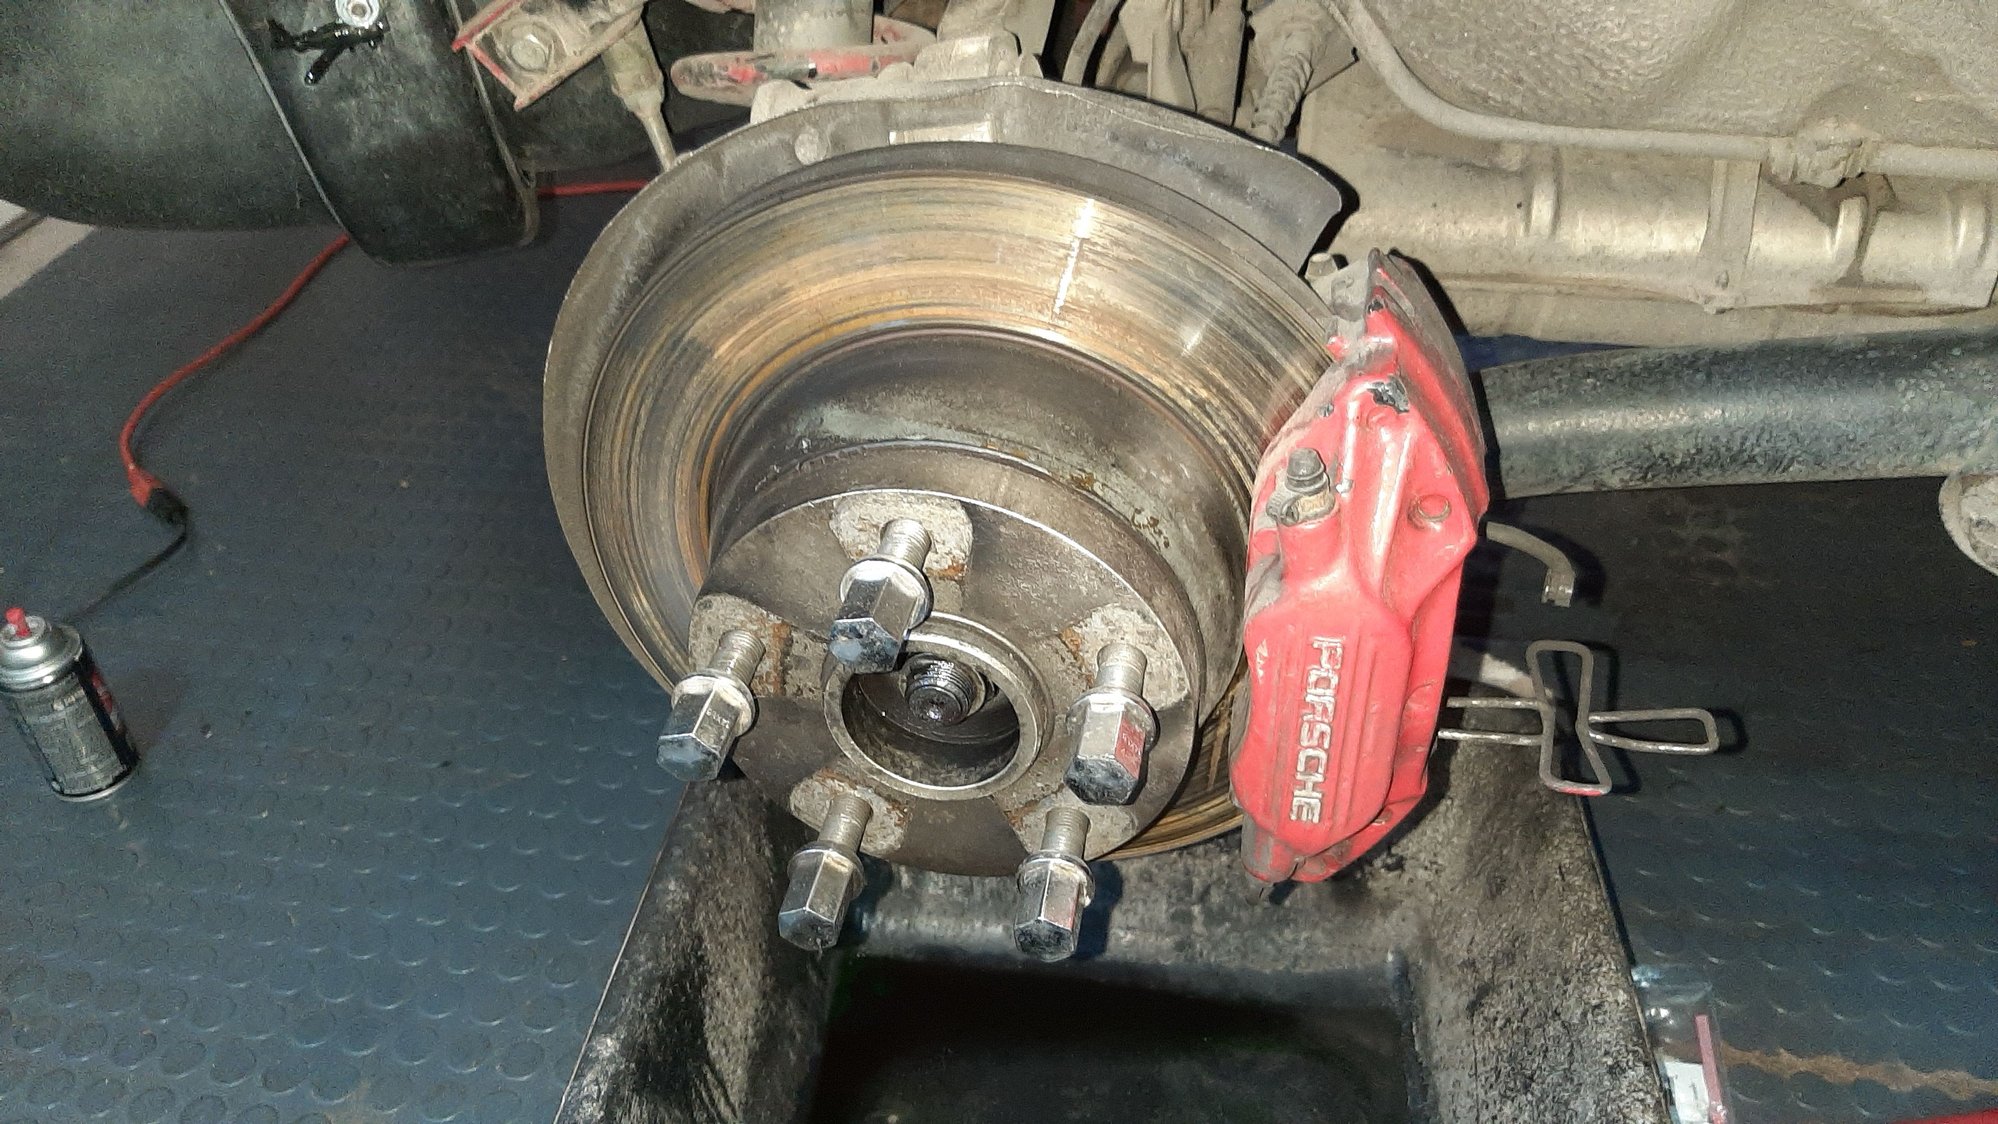
Front after new gear and SS lines
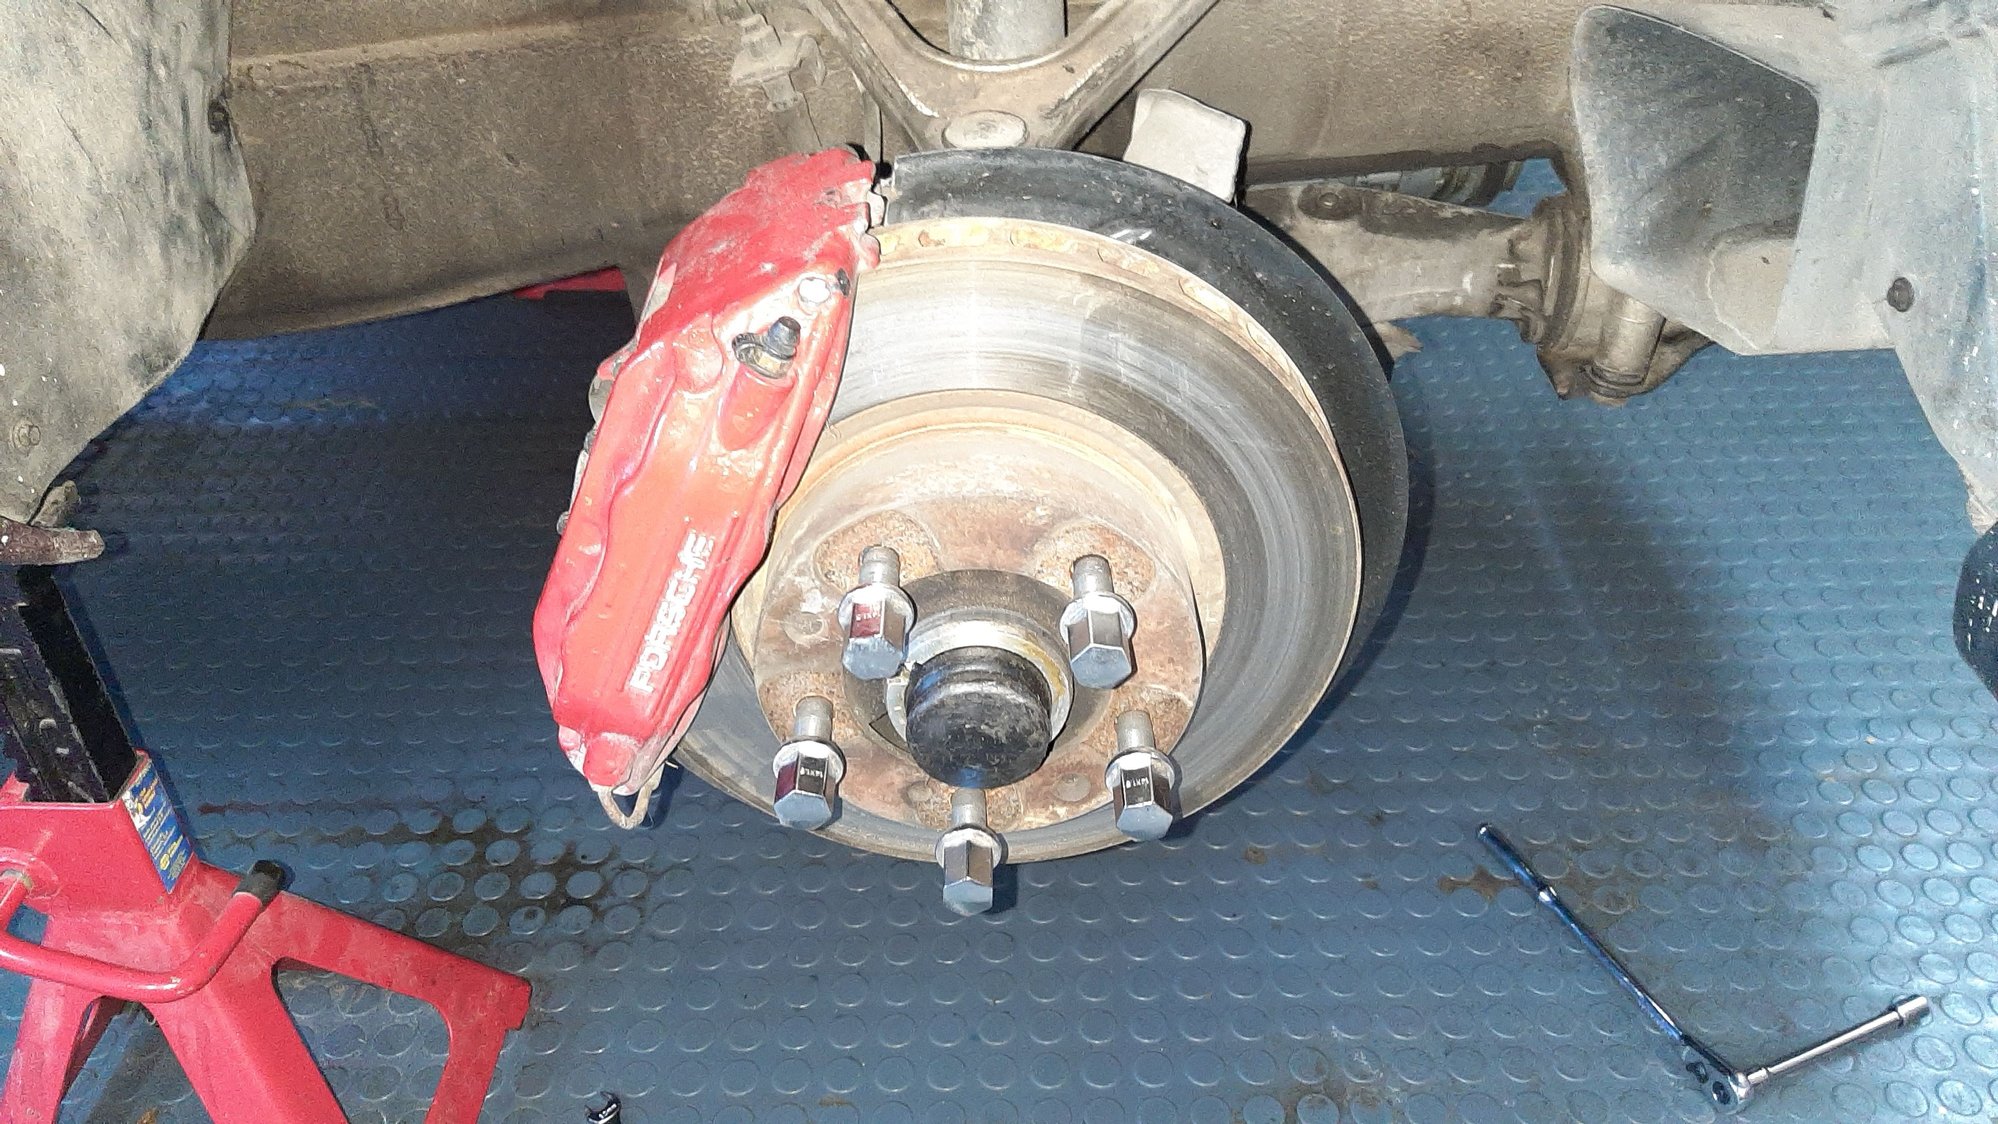
Rear with new gear and SS lines
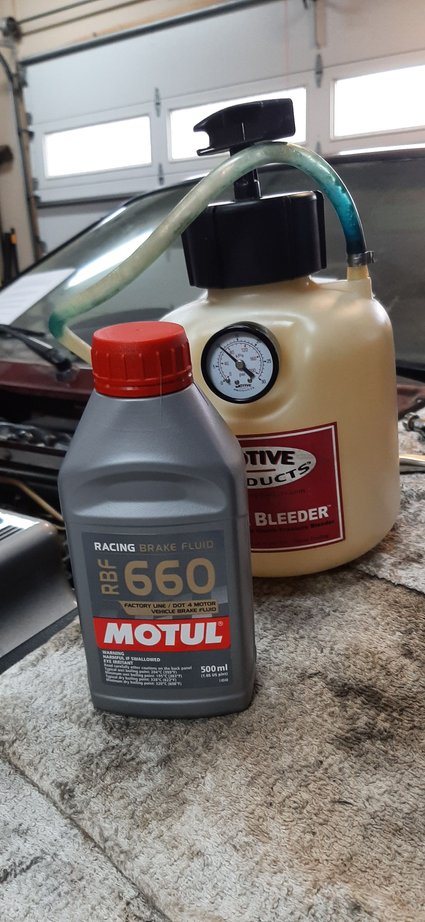
Brake bleed fluid.
Sunroof out and ready for new seal
Grease I used to help get in the seal
Seal in ready to install
Upholstery cleaner
Some of the pieces of carpet
Working on the hood wiper runs.
Motor for wiper system. Cleaned up
Inside motor housing
Oil installed after break-in oil
Trans service
Diff service Using this product to clean and moisture the leather
Wife's gift!
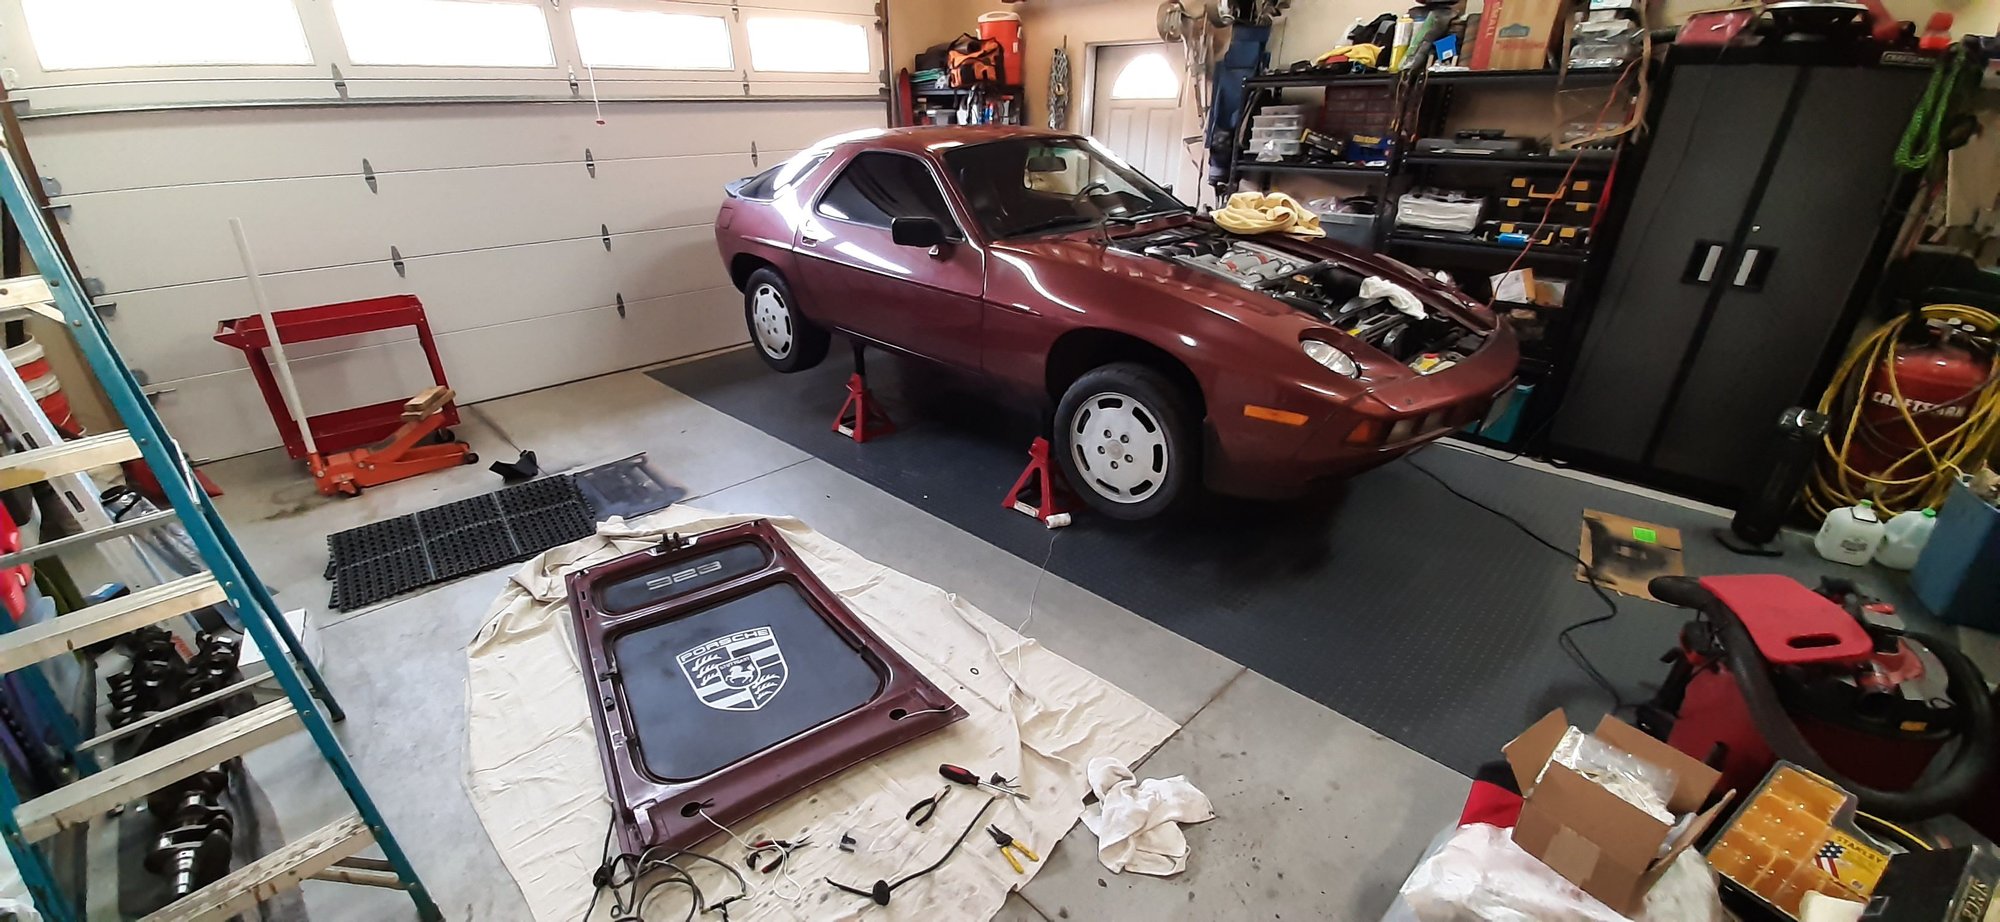
How the project sits now. Have my neighbor coming over on Thursday to help install hood.
Now time to drive it and get some satisfaction for all the work so far!
Will post pics when paint is done.
Thanks everyone on this list you have been a great help.
The vapor barrier on the door makes a huge difference in the sound the door closing makes.
With it, it's seriously 'bank vault' sounding. Without it, it's a bit 'tinny'.
Keep in mind that the sunroof 'seal' isn't really a seal. It keeps out some of the water, but the drains are very important.
You seem to have done your research well, but make sure the sunroof corner drains are all clear.
It does not appear that the door vapor barrier has the outer transfer panels installed. These work like a building flashing to return moisture that would otherwise collect at the base of the interior panel and direct it back into the wet cavity where it can drain to the outside.
Gage not sure what the "outer transfer panels" are. I don't see them on the PET. Do you have a picture of that so I can research it?
Thanks for looking at the project and your comments.
They are smaller pieces that get attached to the tops of the two rectangular holes in the door. They get pushed into the hole and draped down.
As noted, anything that drips through the top of the door is directed away from the door card (interior panel).
I've found that hood install is easier, one person or two, with this trick.
Put a medium sized cardboard box, erected, just behind middle of intake, right on top. Set hood on it. This makes rough hood orientation for hinge attachment a whole lot easier.


 11-06-2020, 03:28 PM