When you click on links to various merchants on this site and make a purchase, this can result in this site earning a commission. Affiliate programs and affiliations include, but are not limited to, the eBay Partner Network.
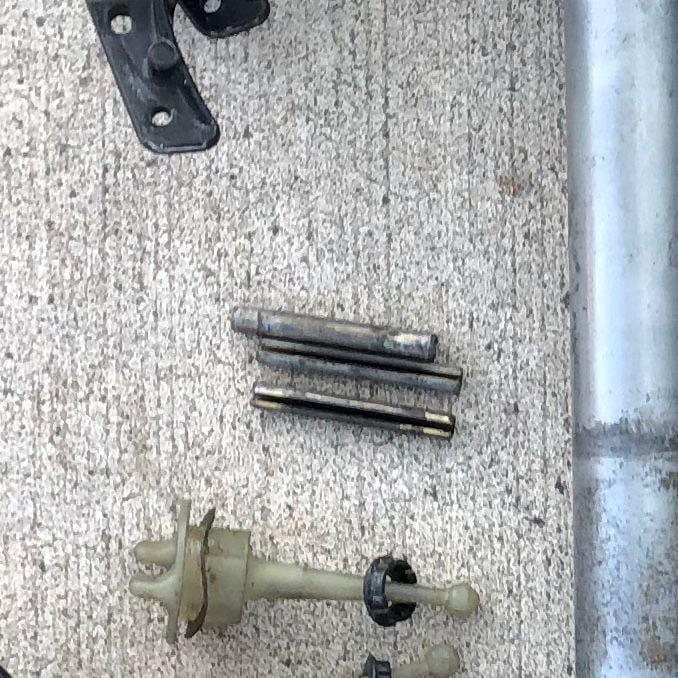
I recently did the same repair. You drive the pin out with a punch and a hammer. Or, you can use a long M6 Hex bolt. Those are roll pins, which is nothing more than a flat piece of metal rolled into a circle with a open seam to create spring tension. Here is a photo of the pins.
When you replace your plastic bushing make sure you inspect the arm assembly for bends or kinks. LMK if you need parts, I have a bunch.
Make sure to mark the assembly as these holes were hand drilled thus if the opposite side is installed the holes could be way off
if your swapping in a different bucket holder you could run into the same issue
meaning don�t drive the pins into the arm until it has been fitted in the down position
since each assembly is different
I'll mark the assembly. But, the holes are specific to the orientation of the rod. Note the left end of the arm in relationship to the pins. Just don't want to be our 90 degrees.
I am just trying to refurb my headlight assemblies and got totally confused as to which is Left and which is Right as I didn't realise the tubes were handed when I took them apart. I got it wrong on reassembly but I've got to take it all apart again as I forgot to fit the plastic bearing