When you click on links to various merchants on this site and make a purchase, this can result in this site earning a commission. Affiliate programs and affiliations include, but are not limited to, the eBay Partner Network.
The other day I felt a little something funny when pushing in the clutch. Soon after, I started to get a little chatter and light grinding in R and 1st. Might be more but I don't know.
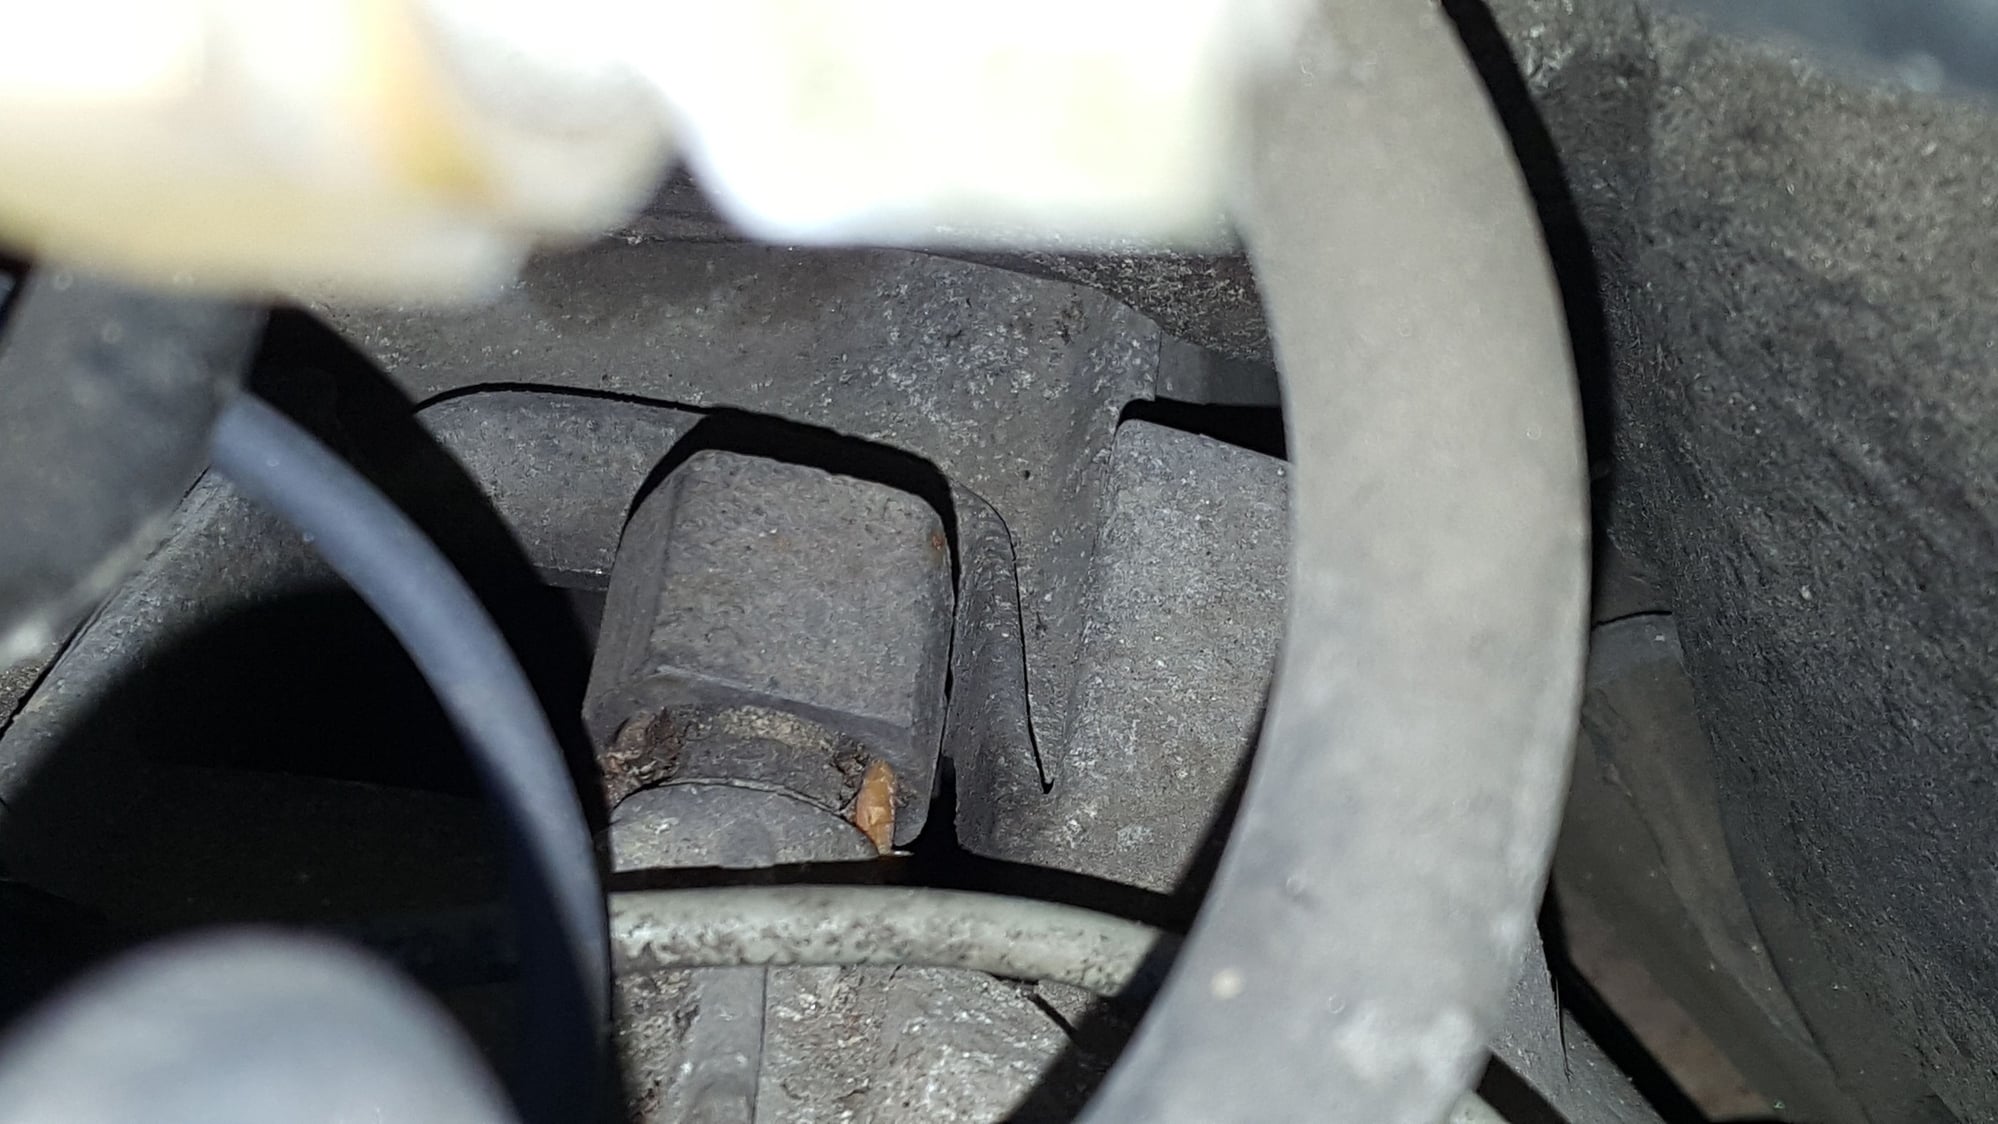
I stopped driving her. Did some reading thanks to all you amazings. Today took out the air filter and MAF to take a look at the cup at the top of the release arm and sure enough... Toast... What's the easiest way to back the arm off, slide in a new cup, and remount. Is there an easy way?
Please say I don't have to drop the lower bell housing, and... I have to replace the shifter ball at the front of the TT so,,, maybe all of this is in the cards...?
You can do it without touching the clutch or bell housing but you will have to remove the slave cylinder. If you still have the hard line to the slave you must either disconnect it and have to bleed the system or you must remove the starter because it holds the hard line captive, which means dropping anti sway bar from the chassis, because it holds the starter captive. If you already have Greg Brown's replacement hose that eliminates the hard line and reroutes in front of the starter this is much easier - and worth considering for future maintenance.
Thanks Majestic!
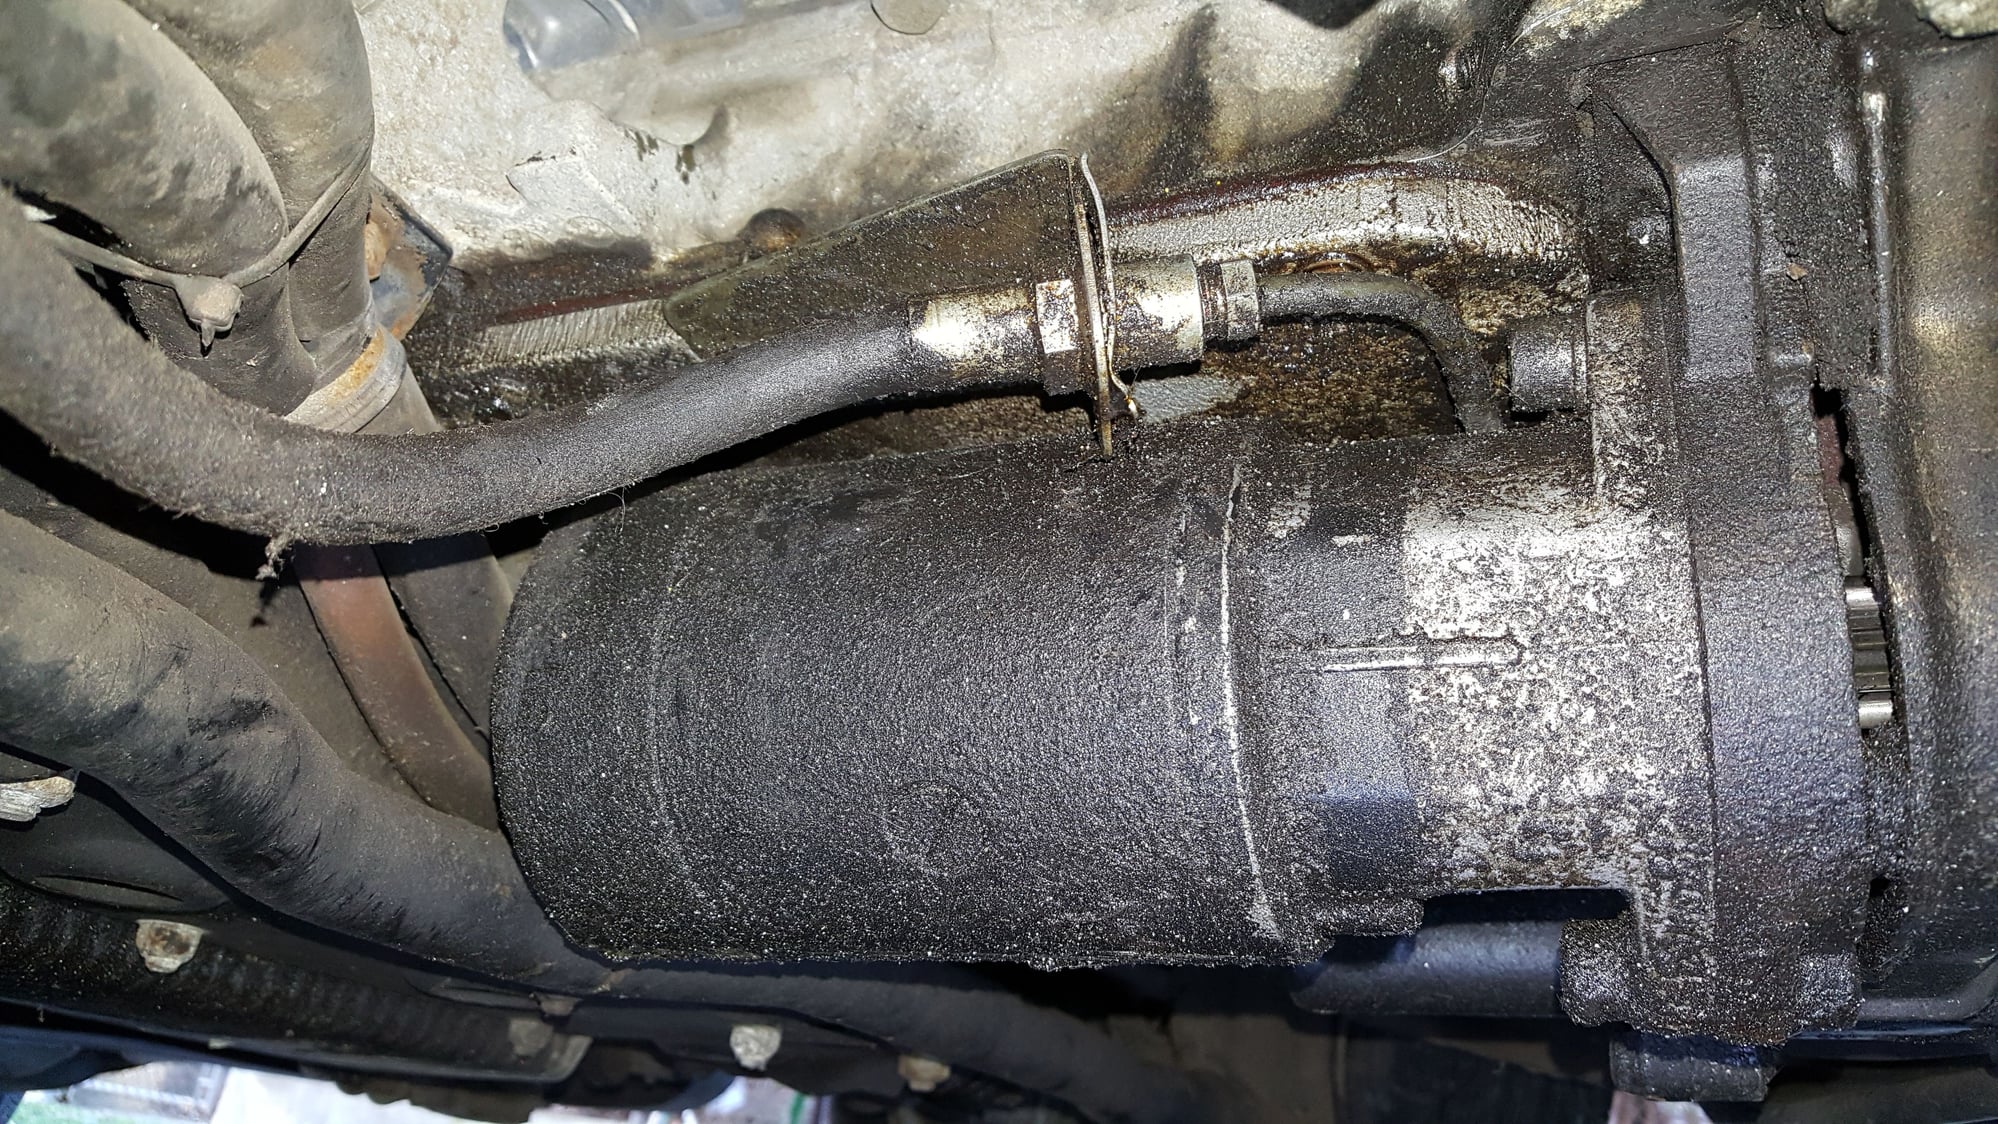
Looks like I have the soft line. It's an 86. I must get further under, it won't be today, but it looks like the sway bar is kinda free of the starter...? Hmm,,, what does that mean for me?
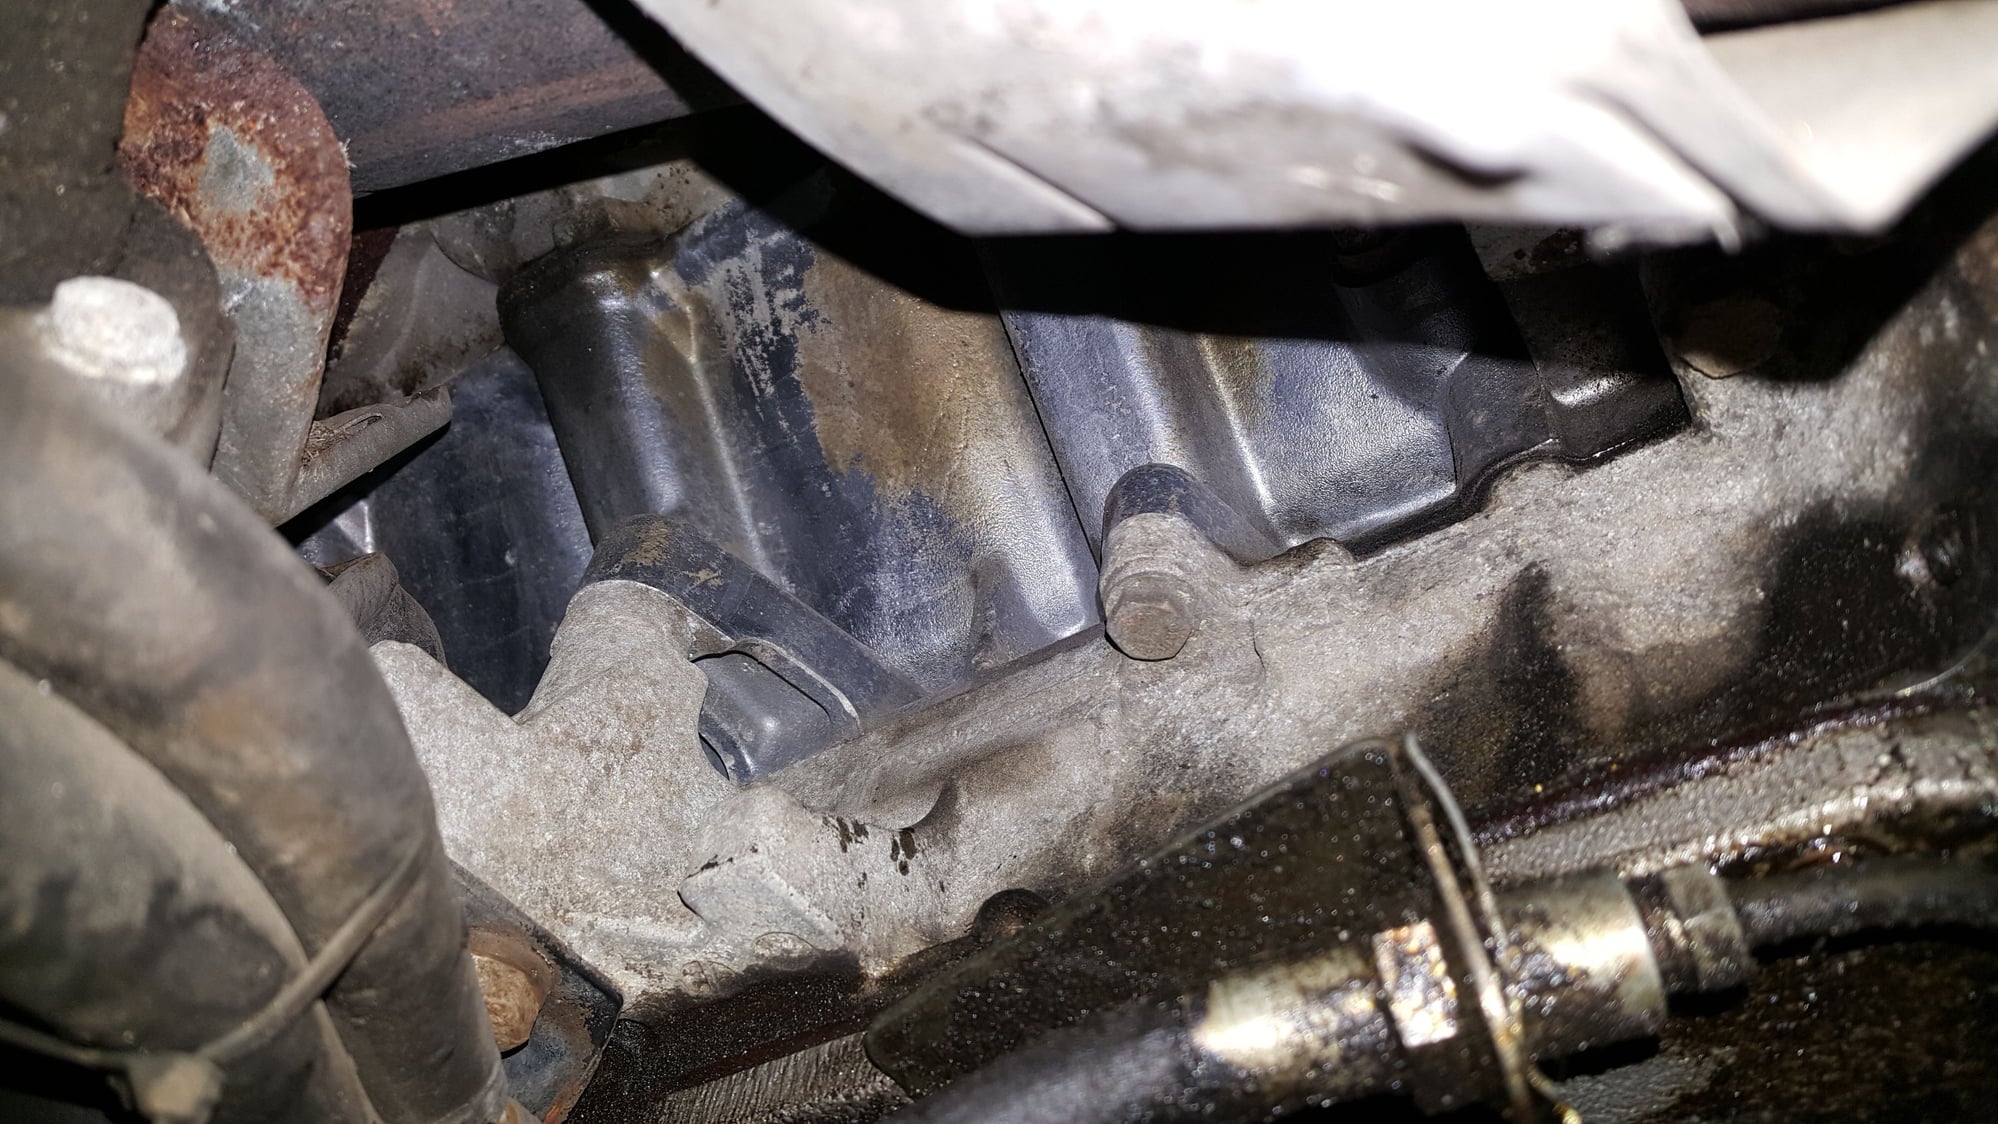
I hate pictures, lol... Disregard all that oil. Looks like I might have a gasket to replace in my immediate future... This is really my first time underneath... Won't be my last
Not that slave cyl R&R shouldn't be done at this convenient time, but I recall doing this in a pinch with a block of wood to push back the clutch arm on my 83.
Not that slave cyl R&R shouldn't be done at this convenient time, but I recall doing this in a pinch with a block of wood to push back the clutch arm on my 83.
Push back the clutch arm...? Do you mean from inside of the cabin? Please, say more. I would imagine pushing in the clutch would increase pressures up there... I've ordered the cup,,, would love to get this done without killing myself, just yet. I have a long ways to go, work to do, but didn't see this coming exactly...
Is it just a matter of dropping the starter and backing out the poker of the clutch slave cylinder by loosening the bolts at the back? Then pushing the release arm away from the ball up top? Popping in the new cup after clearing out the old? I think in can do that easy enough...
I have replaced it twice in my 79 and can't imagine getting enough clearance between the arm and the ball to wedge the new cup into place and then snap it over the ball. First time I did it I dropped the bell housing and put thick gauge U shaped 1/2 chain link under the pressure plate spring mounts to relax the arm to allow me to force the new ball insert into place and then use a pry bar to force the arm and new cup over the ball.
I realized during the second replacement when I had the TT out that the insert when correctly installed sits under the outer lip of the arm socket (see lip in photo above) which when snapped over the ball allows a pinch type fitand reatin ball in place versus allow the insert to slide in and out of the arm.
I don't see how it can be properly installed without the arm our of the car. That said my first replacement lasted for the few years until I could do the job properly.
There are allot of more talented wrencher's than I that said they have done it. Even without getting the insert under the lip a new insert is better than no insert at all from a play and shift efficiency perspective.
My 79 had a non -factory exhaust which allowed me to drop the bell housing with dropping the starter or exhaust so I can drop my clutch in less than an hour making it a cleaner option for me.
I spent less time just biting the bullet and dropping the bell housing than I did the first go around trying to wedge a new insert between the ball and the arm.
Push back the clutch arm...? Do you mean from inside of the cabin? Please, say more. I would imagine pushing in the clutch would increase pressures up there... I've ordered the cup,,, would love to get this done without killing myself, just yet. I have a long ways to go, work to do, but didn't see this coming exactly...
From inside the engine bay. It's hazy what I did, but I do recall that.
Is it just a matter of dropping the starter and backing out the poker of the clutch slave cylinder by loosening the bolts at the back? Then pushing the release arm away from the ball up top? Popping in the new cup after clearing out the old? I think in can do that easy enough...
You still have the hard line. It is in your photo above the starter. You might get away with unbolting the slave and just disengaging the rod from the release arm. I did not know that the release arm insert should be recessed but for what it's worth, mine has been fine for about 9k miles.
I will offer some tips to make this bushing replacement easier to do.
Remove the air cleaner base.
First a few things as Alex has already pointed out you should update the slave cylinder flex line to the new Greg Brown version.
this makes it easier to service the slave and the bell housing and the clutch.
To replace the bushing first your going to have to clean out the old bushing you can make a tool out of a fatter piece of coat hanger wire with a L bent in the end.
you will need a prybar and block of 2x4 and you need to remove the slave cylinder.
NOTE you may have to put 3 U shaped spacers into the Pressure plate this to give you the extra room to remove the arm from the ball.
Take your new bushing and get a dremel with a small sanding drum open up the hole a bit so the bushing will slide over the ball easier.
Use the L tool you made and scrape out the old pieces of bushing .
Put the new bushing into a cup of very hot water for a few mins.
then put a dab of DC111 in the bushing ,
Then place it on the ball and use the block of wood against the fire wall and prybar to press the bushing onto the ball.
Once the bushing is on the ball then move the arm to the bushing and press the arm onto the bushing.
Refit the slave,
I thought (hoped) that what I was seeing was the soft hose. Part of that hope was it might of implied that the P.O. (who I don't know anything about) might have been paying attention to this vehicle as closely. WHERE DO I get more information about the soft/flex hose btw?
Merlin, in order to place the spacers,,, does that mean the lower bell will have to come off, spinningthe engine to access, and all that? If so, that will really change the level of this dive... I felt pretty confident pulling the starter, accessing the slave and loosening it up, pulling the rod from the bottom of the arm and working up top to give myself the space I needed. Maybe even attempting to back out the ball and pressing on the cup, then refitting then pushing the arm over it after cleaning it out, if the arm can be rocked back enough in that direction... Is that a foolish direction to go at this? The ball looked wrenchable and threaded into the upper BH...
Not looking forward to the lower BH job working on the street... One of the troubling parts of owning cars that needlots of work in NYC.
As long as it's pinned and really in there,,, seems like an un-recessed cup might give ya an extra mm or 1.5 - which might not be the worst thing? As long as it's not half or 2/3s in with the rest hanging out or sumpthin... Would I survive with that?
Adding to what Stan wrote:
If the clutch friction discs are pretty new, you won't need the U-spacers for the pressure plate.
If they are worn it will be tough to get enough movement of the release arm to R&R the bushing without the spacers.
If you don't know how new the discs are then assume you will need to make U-spacers for the PP.
And yeah, working on the street sucks.
But, one of the old timers on here, rebuilt his engine after a timing belt system failure, working in a parking lot, during a snowy winter.

 04-03-2019, 05:20 PM