When you click on links to various merchants on this site and make a purchase, this can result in this site earning a commission. Affiliate programs and affiliations include, but are not limited to, the eBay Partner Network.
Getting ready to do full Tie Rods, rack bushings and motor mounts on the ‘83.
After studying the write ups (as always thanks guys!), my initial thought is to remove the old Tie Rods first and then proceed with Dwayne/John’s procedure for motor mounts. I have Seth’s engine support structure in hand (thank you sir)!
plan to leave the PS lines connected. Would loosen rack to move out of the way, and just replace the bushings (I have delrin replacements) at the point of reassembly following the motor mount procedure.
The removal, drain, and refill of power steering is pretty simple. Rack removal too. Get it out of there, out of the way, and remove/replace inners and outers on the benchtop, checkout the aluminum u joint. Replace the boots, I assume you planned that.
There are situations where short cuts are ok, and I get the concept of scope creep, but this is a situation where shortcut isn't really smart. In my opinion it slows it and as mentioned in other thread puts rack seals at risk. I get that others are confident doing it in situ, too, but one slip and the rack sees bad force. Plus delrins are easy to install but originals are always a pita to remove.
Suggestion, replace pan gasket and rear cam cover gaskets with Roger's silicon ones while doing ths work. You are on right track with build or borrowing a pair of supports to lay across engine compartment to suspend the engine during the job, if that's what you mean referencing Seth.
Since you are already pulling the tie rods, removing the P/S hoses and pulling the rack completely is probably your best bet.
I've done my MMs & Pan gasket (twice on the pan gasket) and left the rack in place. Did the rack bushings with it hanging too. So it's not that big of a deal either way, but it will be easier with the rack safely out of the way.
And now (of course), down the WYAIT rabbit hole...
If you have the P/S drained, think about replacing the reservoir. It has a built in (non-replaceable) filter. It should be changed out every so often. Roger has it. Not an expensive part.
If your P/S hoses are original, think about replacing them too, especially the high pressure one. ATF (used as P/S fluid in the 928) is quite flammable. If the hose lets go and the P/S fluid sprays onto the hot exhaust manifold...
Car -B-Cue.
Since you will have the rack & crossmember off to do the MMs, think about the pan gasket too. No better time to do it.
Huge amount of discussion about cork vs silicone and stud kit vs bolts. I won't go into that, but I went with silicone & stud kit. I would suggest doing your own research and making your own (informed) choice.
There's a variety of ways to support the motor when the cross member is out. I built something like the ones in Dwayne's write up. 4x4s with 2x4 'feet' at the ends, ring bolts through the 4x4 to the lift points. Sturdy and easy to adjust. Make sure what ever you use is safe. Dropping the motor on your head is a 'bad' thing. Both for the motor and for your head.
Any thoughts on changing the oil pressure sending unit at this time?
The oil pressure sender is not a normal wear or deterioration item. There are some oil-related hoses in the galleys immediately above the sender and the bypass above the sender that might deserve a look if they are leaking. The big caveat with the oil hoses is that the fittings are tight in the block, and tend to tear the block metal if they aren't removed correctly. As far as the sender itself, no need to replace unless it's leaking or giving bad readings.
Thanks dr bob - I was just noticing that a lot of 928s for sale these days are showing 5 bar O/P at idle (mine does) and figured the senders end up failing over time - so while you are in there doing MMs....
Generally it's a problem with the wiring at or near the sender. Folks strain the harness by dropping alternator before disconnecting the oil sender some times. Can break the wires inside front engine harness. Those harnesses are more likely to need work or replacement than the sender. Also, bad connection inside 14 pin connector on pass fender will do it. Lots of these harnesses on early cars have corrosion of the copper strands inside each wire as they approach 14 pin connector.
Pan gasket is the thing you need to consider replacing. Stud kit is unnecessary, btw.
On 83, if wet with oil on side of block, dripping onto sender, it is usually leaking seals behind cam gear backing plates, but that's for the campaign in the front of engine, not the one you'e embarked upon underneath.
You are wise for thinking about patterns of failures with idea of preventive measures.
I was just noticing that a lot of 928s for sale these days are showing 5 bar O/P at idle (mine does) and figured the senders end up failing over time - so while you are in there doing MMs....
*EVERY* 928 oil pressure sender should show 5 BAR at idle... while the oil is cold. Idle oil pressure should drop-off to 1.5-2.0 BAR as the oil heats to operating temperature. Once at temperature, oil pressure is then proportional to RPM and shouldmbe 5 BAR by the time you get to ~2800 RPM.
Originally Posted by dr bob
The oil pressure sender is not a normal wear or deterioration item. There are some oil-related hoses in the galleys immediately above the sender and the bypass above the sender that might deserve a look if they are leaking. The big caveat with the oil hoses is that the fittings are tight in the block, and tend to tear the block metal if they aren't removed correctly. As far as the sender itself, no need to replace unless it's leaking or giving bad readings.
This-^
Unless the motor is torn-down on an engine stand it is difficult to get both get proper tools to the hose or sender ends AND effectively counter-hold the block fittings. It is possible, but you need to spend some quality time with a grinder, various big wrenches, and big crow-foot wrenches.
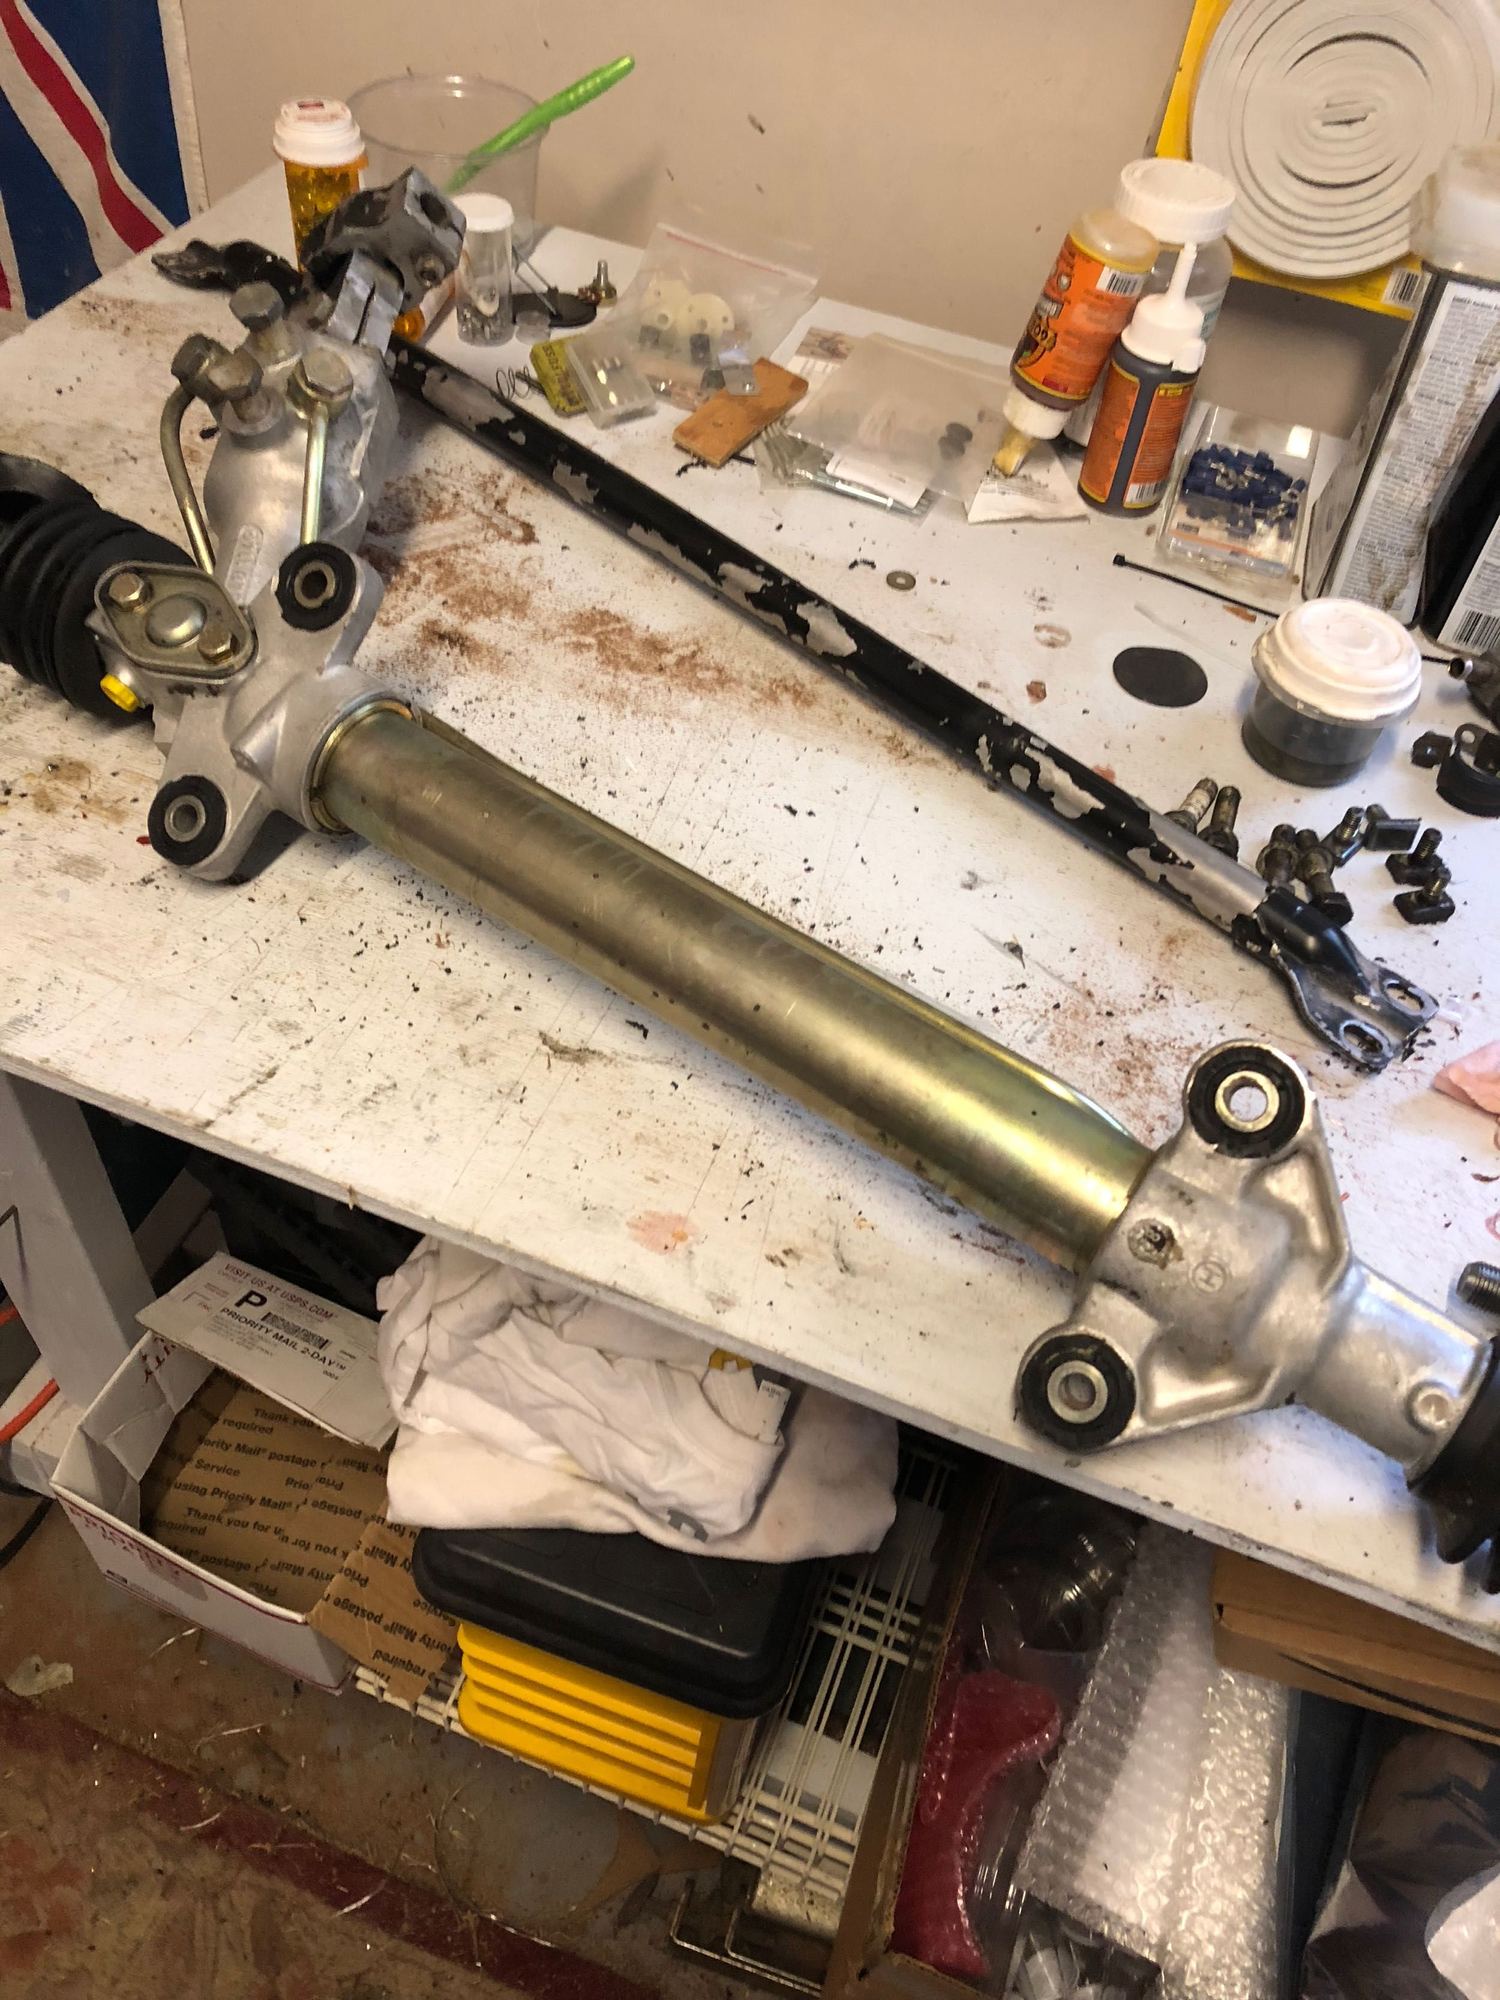
Been at work getting things torn down. Some pics attached. Great time with Mason as well - he likes to get dirty!
So steering rack came out very nice (once I was told that the clamping bolt had to come completely out - glad I did not destroy it tapping it!).
May need a couple of reference pics as I did not take as many on disassembly as I should have.
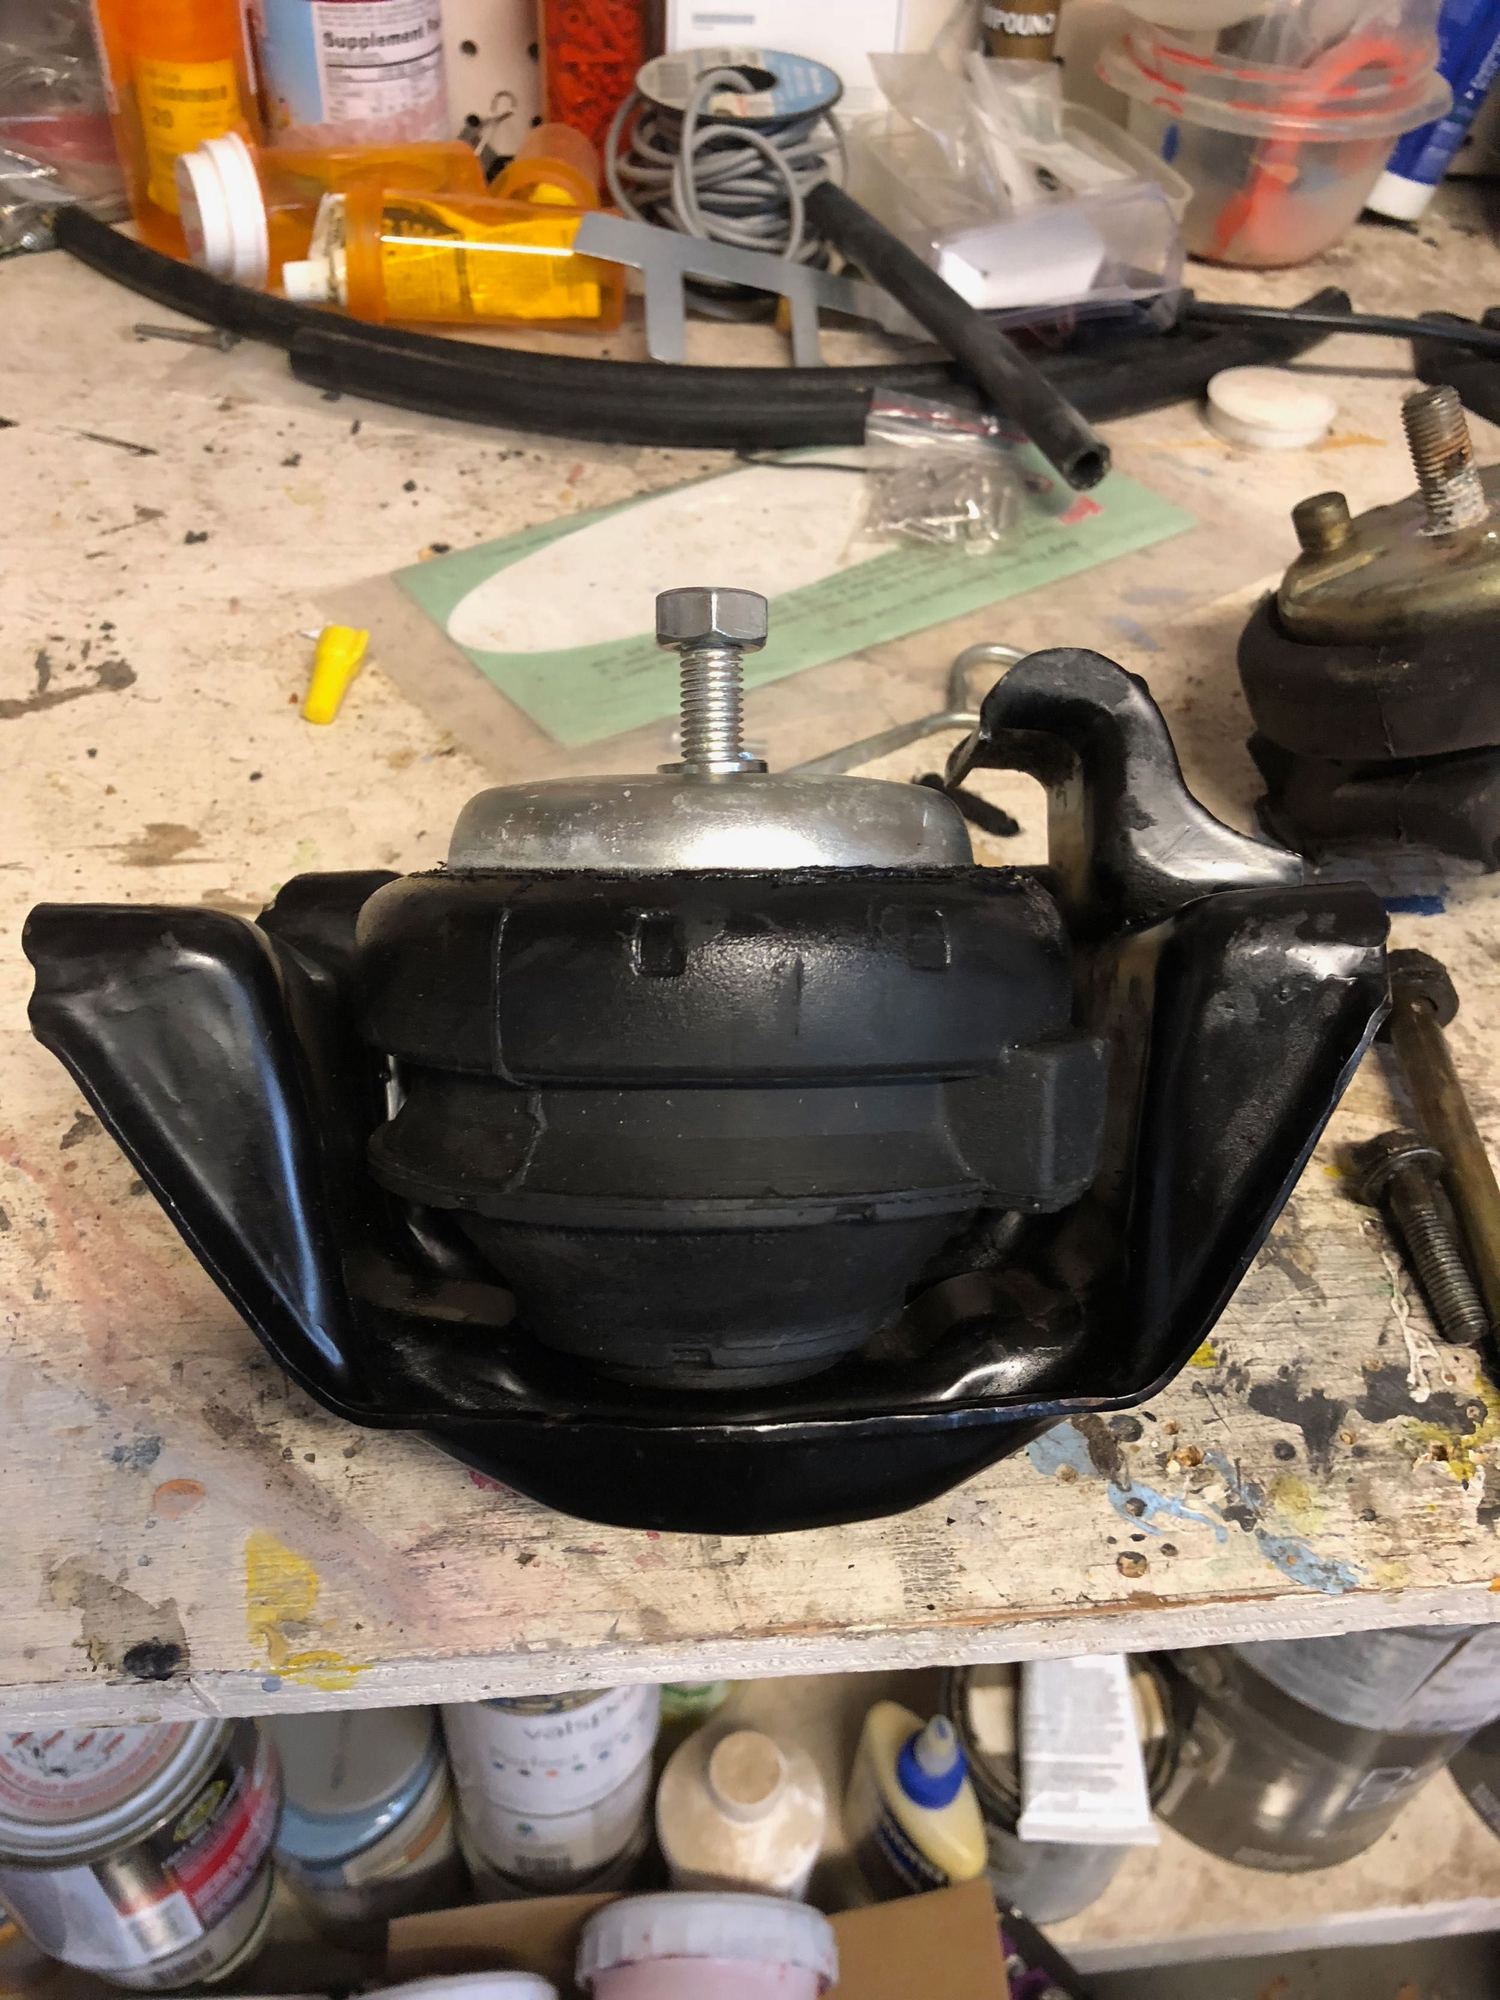
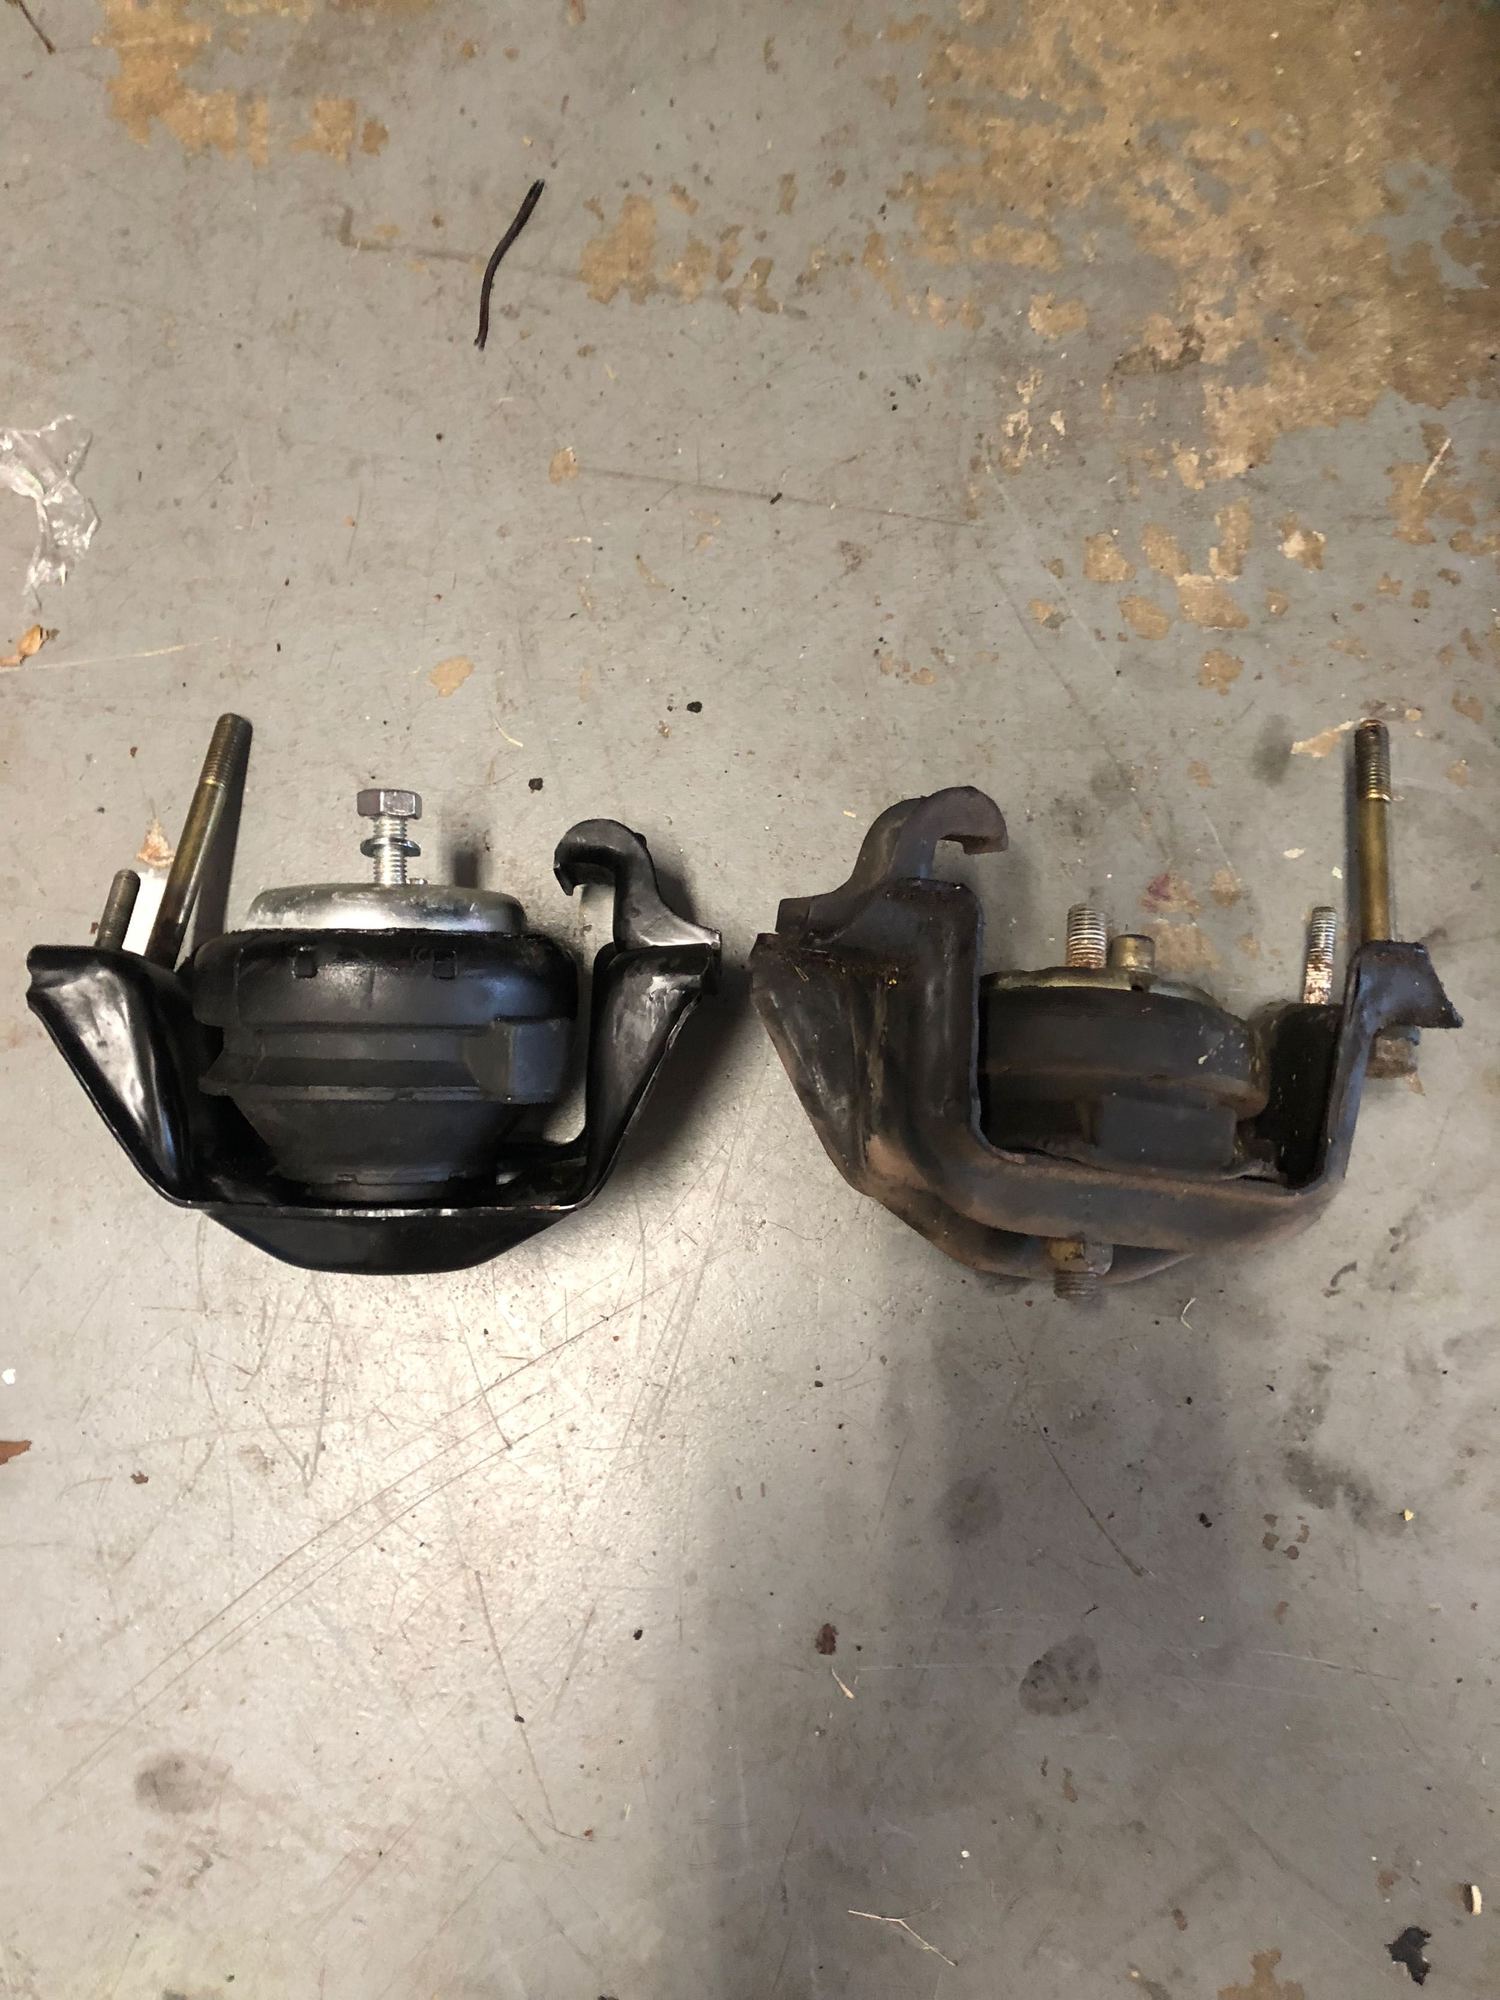
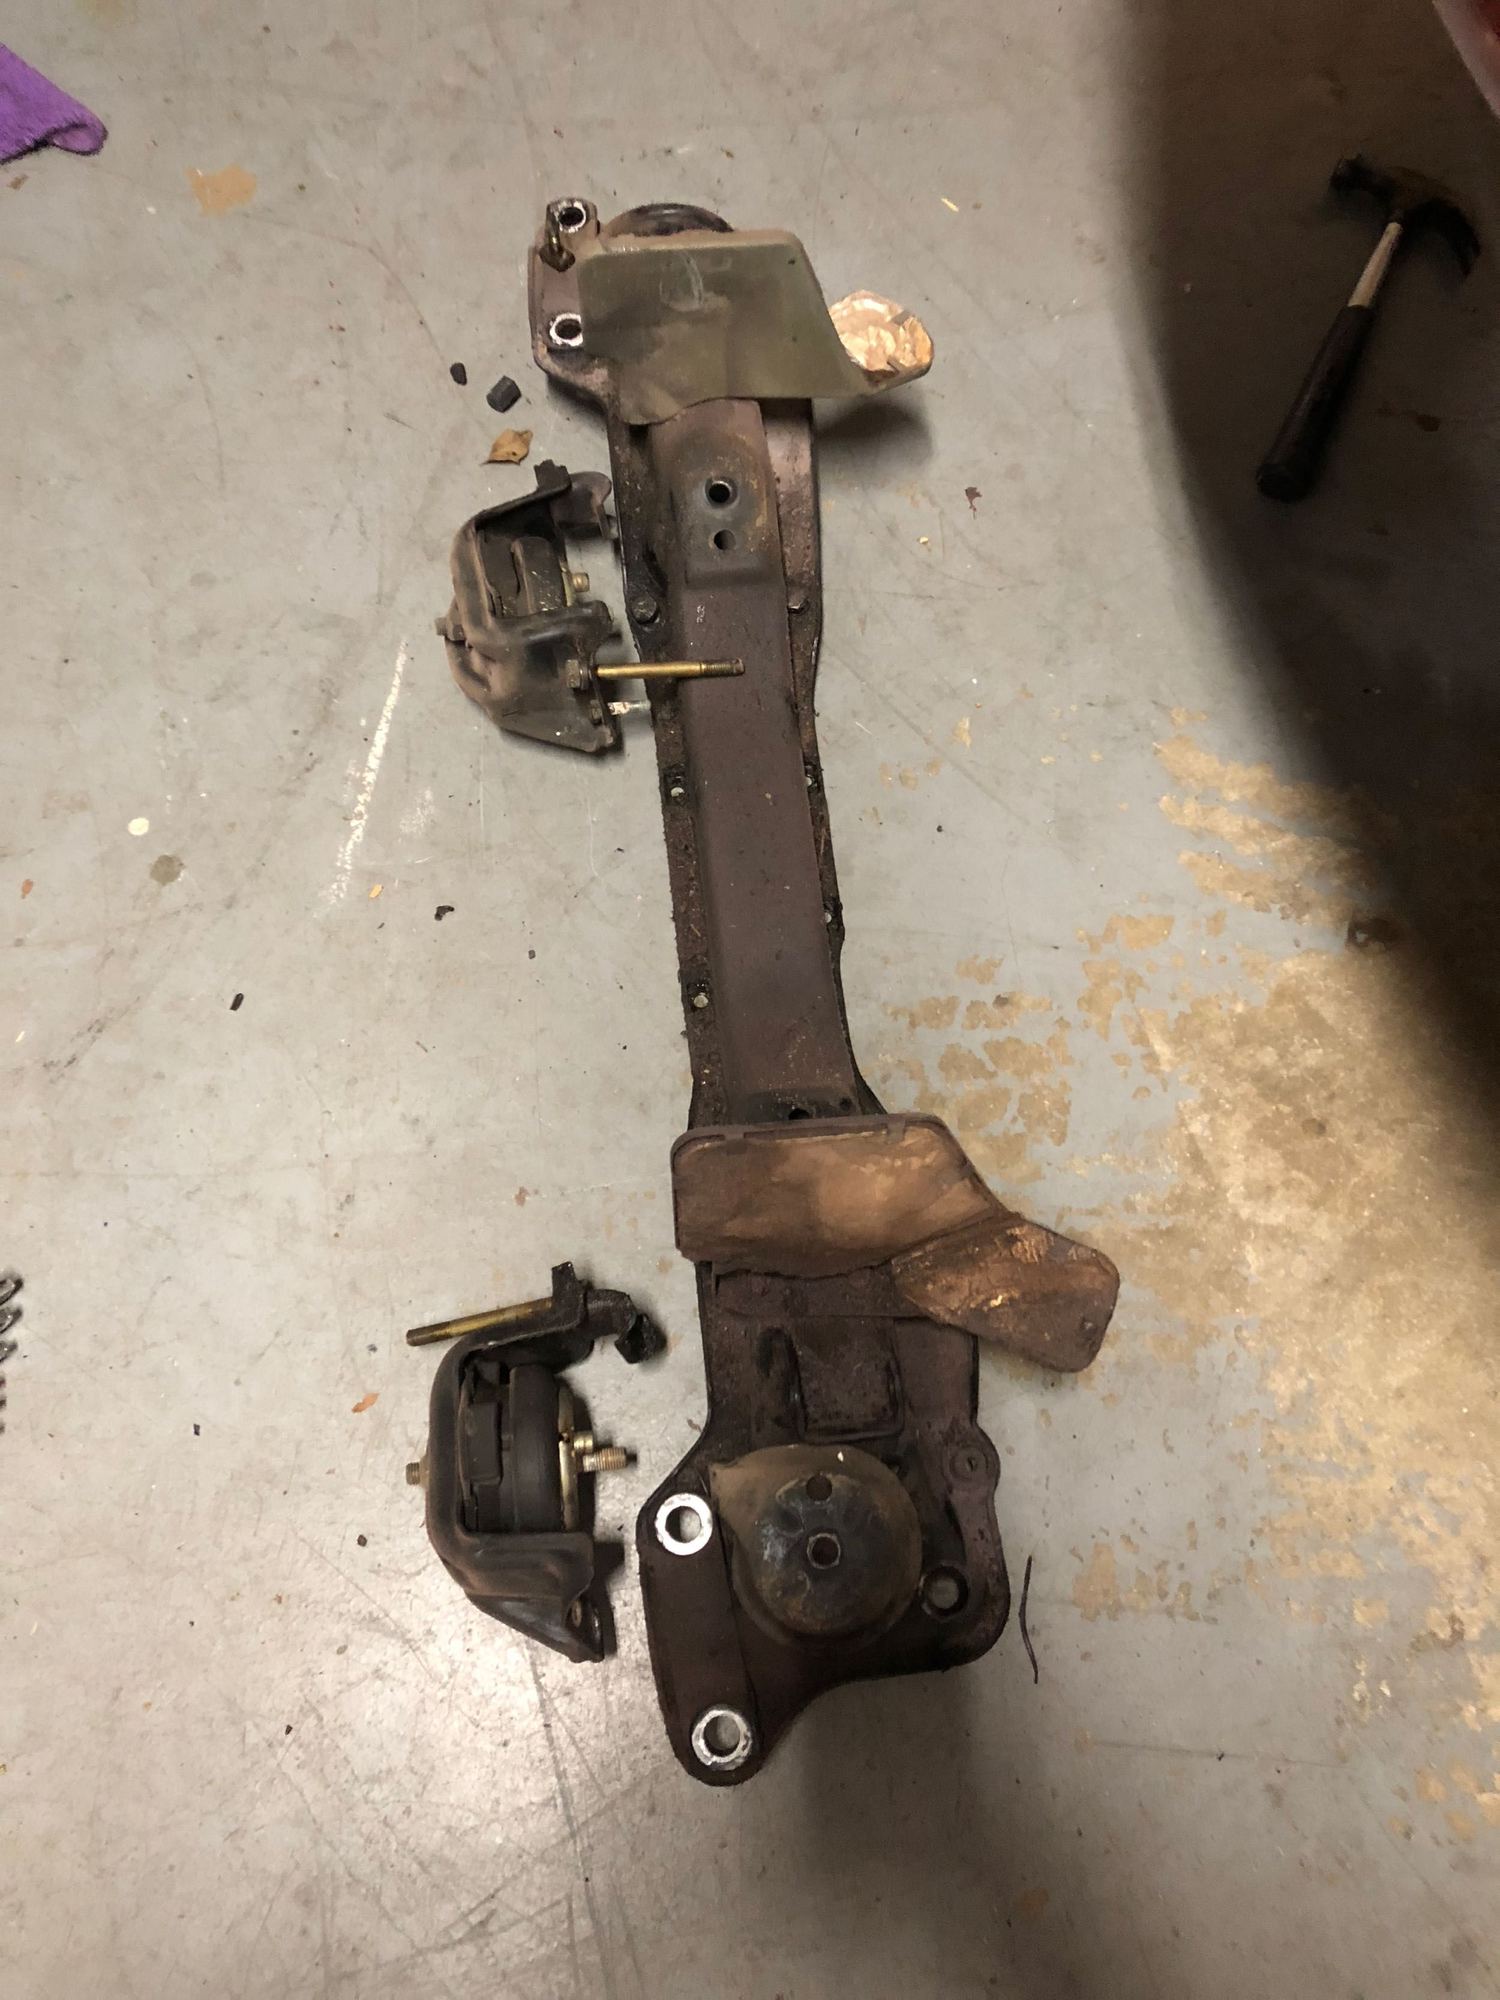
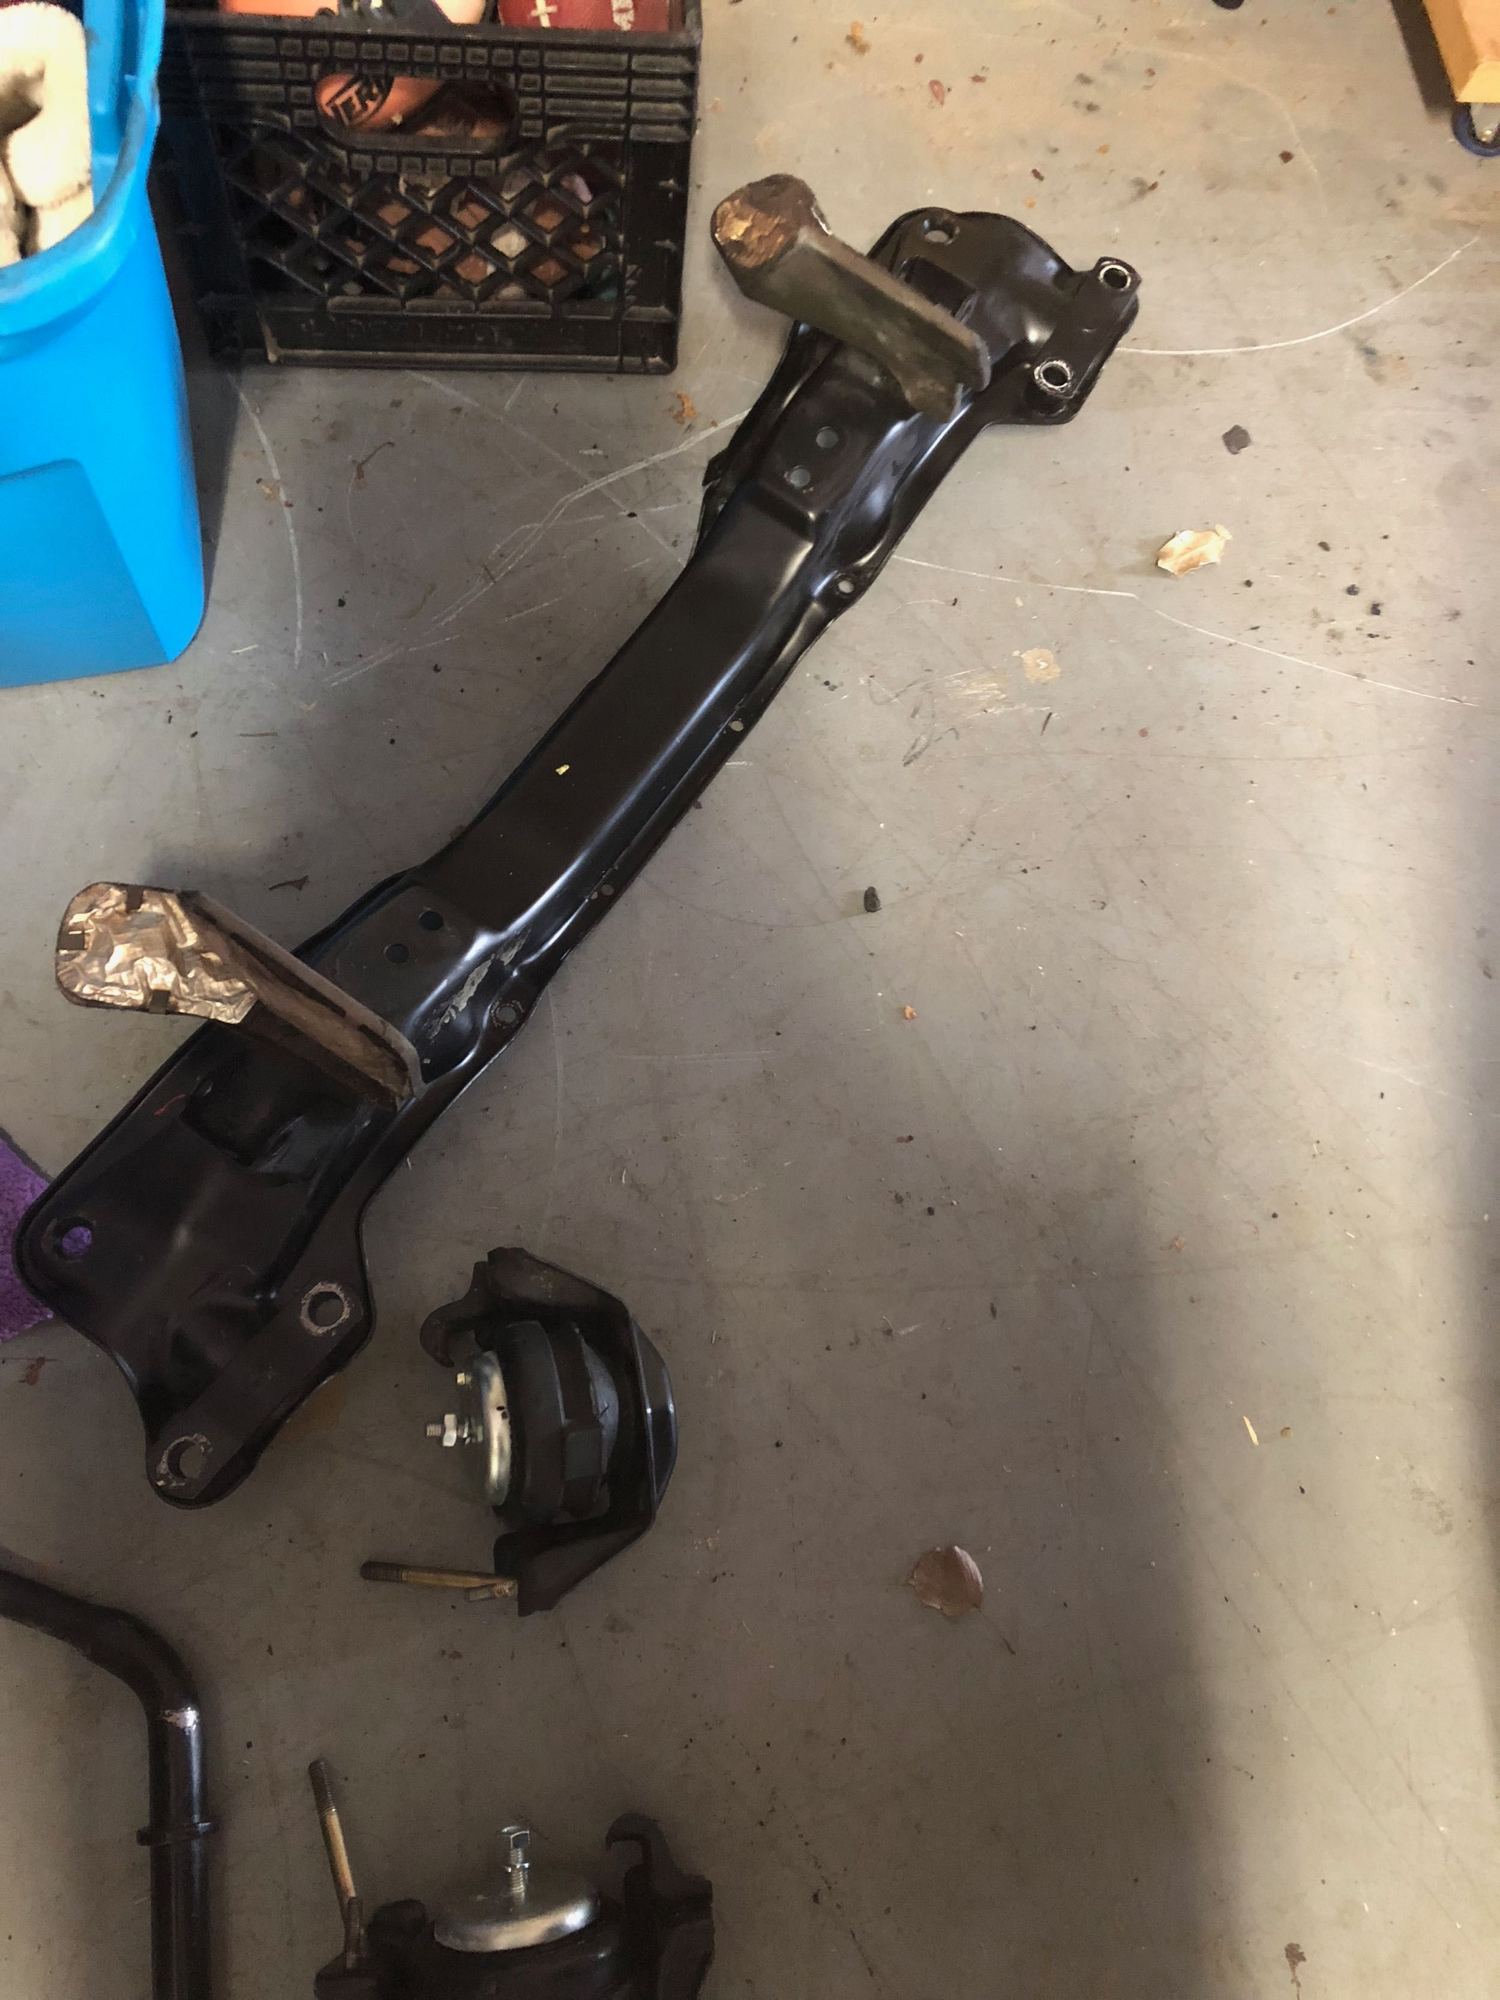
Glad he likes getting dirty! Replacing the bolts on the drop links so we don't mix them. Removing rack cover nuts. Drop link to stabilizer bolts on pass side. De rigueur photo of old and new mount...I would say that's about 36 years of sag... New mount in bracket. New mount in bracket beside old mount before removal. Crossmember out of the car - came out a bit easier than I expected. Cleaned up. Rack cleaned up prior to replacing tie rods. Stabilizer and rack cover cleaned up.
Tonight I hope to get everything underneath cleaned up. Also replaced the OXS sensor while everything was out. Inspected the front shift coupling ball and everything is tight down and intact, so I left it alone and snugged a panduit strap (thanks Ron!) around it to keep it in place.
Finished the project up last night. Did not take many more pics since this job has been documented before.
All parts cleaned up nicely. Glad I went back and ordered rack boots - mine were shot.
I was was able to remove and replace the rack bushing bolts with a standard 17mm open wrench. No special tools needed although thanks Seth for lending the little gizmo for the ratchet adaptor as well as the engine hoist rig.
I may have worked a little backwards but it worked. I did not realize the mount to engine brackets had 2 pair of bolts per side (one 13 and on 17mm). I only pulled the rear pair and ended up surprised when I pulled the crossmember free and the old mounts and brackets stayed in place. Then I removed the other pair of bolts. I reassembled in the same way - bolted the forward pair of bolts to the assembled mount and bracket to the engine, then slipped the crossmember in between the lower control arm mounts and body. Worked pretty well.
i did not need to replace the stabilizer bushings, but had them so I did. The links were fine as well - thank you to those who offered them.
man what a difference in ride smoothness. Will drive a bit to let things settle then retorque and have everything aligned.
Those are some of the most crushed mounts I have ever seen ,
you should also check the trans mounts , if the fronts are that crushed then so are the trans mounts.
While your in there I would suggest to swap in a Greg Brown flex line to the slave ,
it will make life much easier in the future


 09-15-2018, 11:16 PM