When you click on links to various merchants on this site and make a purchase, this can result in this site earning a commission. Affiliate programs and affiliations include, but are not limited to, the eBay Partner Network.
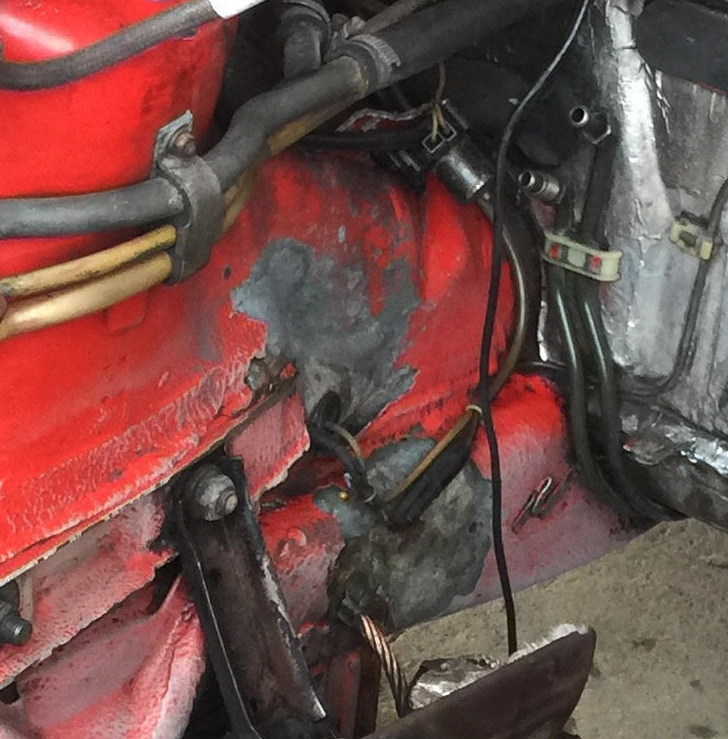
Yesterday I worked on getting the engine bay clean. I found 1 spot in perticalure that seems to have no paint on it. I ordered a spray can of primer and guards red paint already. I got two questions I hope somebody can answer:
1. Does anybody have an idea why the paint has gone in that particular area? I thought maybe the location under the cooling filler (might have been leaking?) Or heat?
2. I noticed the paint is quite thick an bubble gum like. Is it ok to just repaint with plain old paint? Or should I put on some sort of anti rust paint first?
prime it and paint it ,
I would suggest to replace the coolant tank now ,
install a new short hose and HCV,
and remove the metal collars in the washer tank and the fill tube
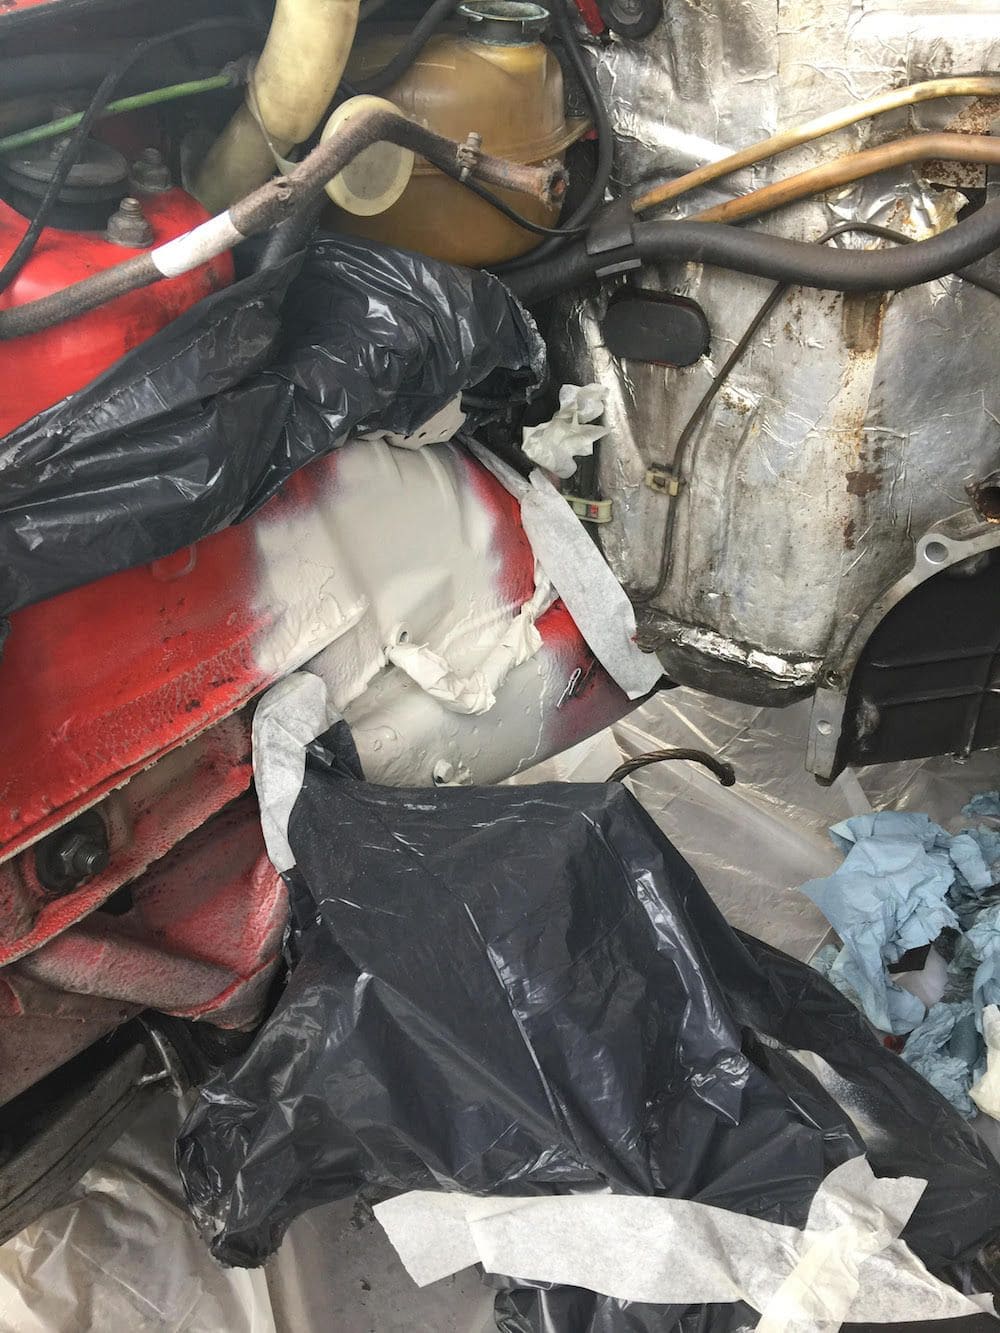
Ordered a good anti-rock undercoating and i will check the tank and all it surroundings really thoroughly. Did not realise that is was such a problem to replace when the engine is in...Will report back when done.
I would suggest to replace the coolant tank now ,
install a new short hose and HCV,
and remove the metal collars in the washer tank and the fill tube
I would also recommend inspecting the hoses under the coolant tank, with an eye to replacement. No time to replace these like while the engine is out and the coolant tank is being replaced.
Update: Checked everything, the coolant tank is good and replaced the coolant tank hose. Spray painted first layer with anti-rock and gorundlayer next week guards red to finish it up.
Nice paint work.
OK lets try this,
I would suggest that you need a new coolant tank,
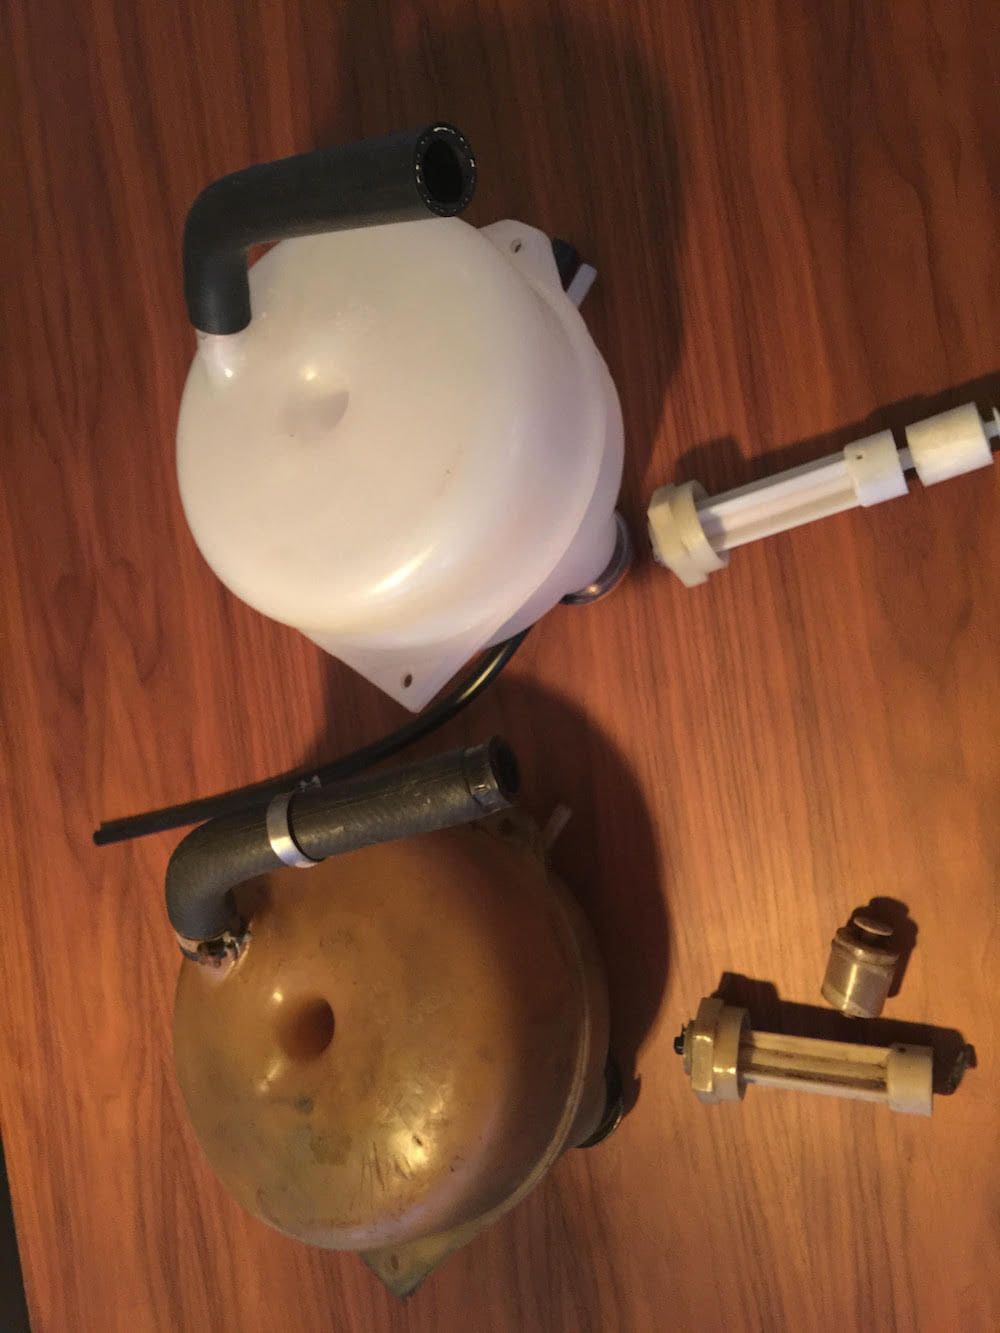
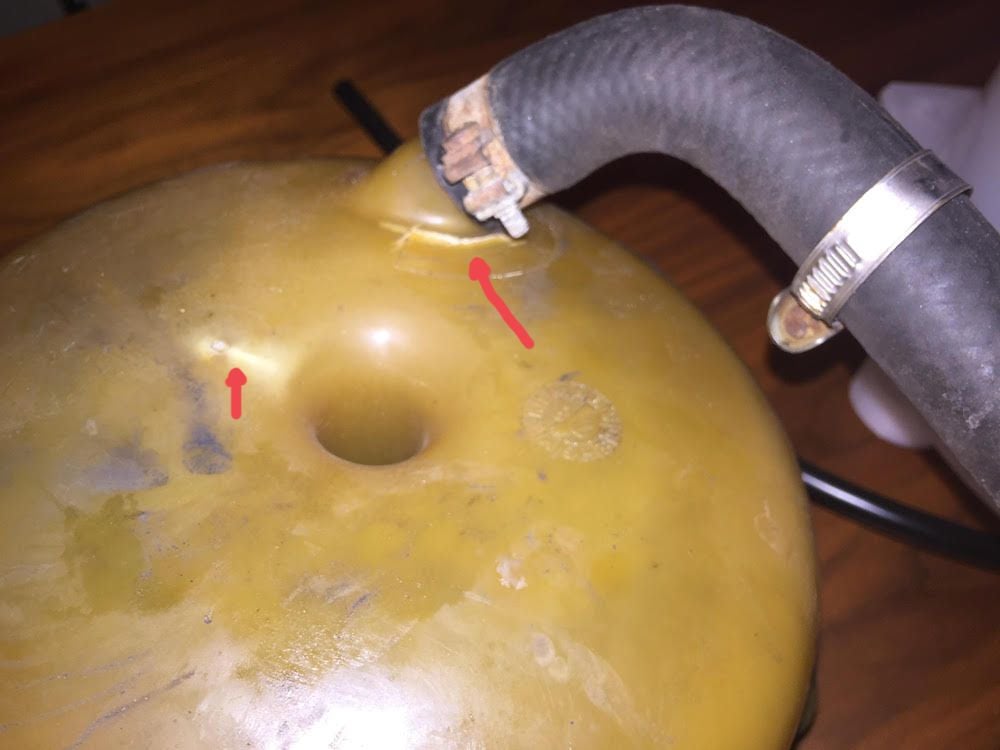
the one you have is leaking at the metal collar, and the tank is turning brown .
And the engine is out of the way to facilitate repair
NOTE if your coolant tank is tan or brown and showing a white crust where the the coolant cap mount meets the tank,
it indicates the joint is leaking.
The color change is a good indicator of the tank condition,
the next thing to happen is that the plastic will crack as the tank has gotten brittle.
You can buy new 12mm ID cloth covered hose by the meter its made by Continetal do a search.
Ok Mrmerlin thanks for your suggestion (twice
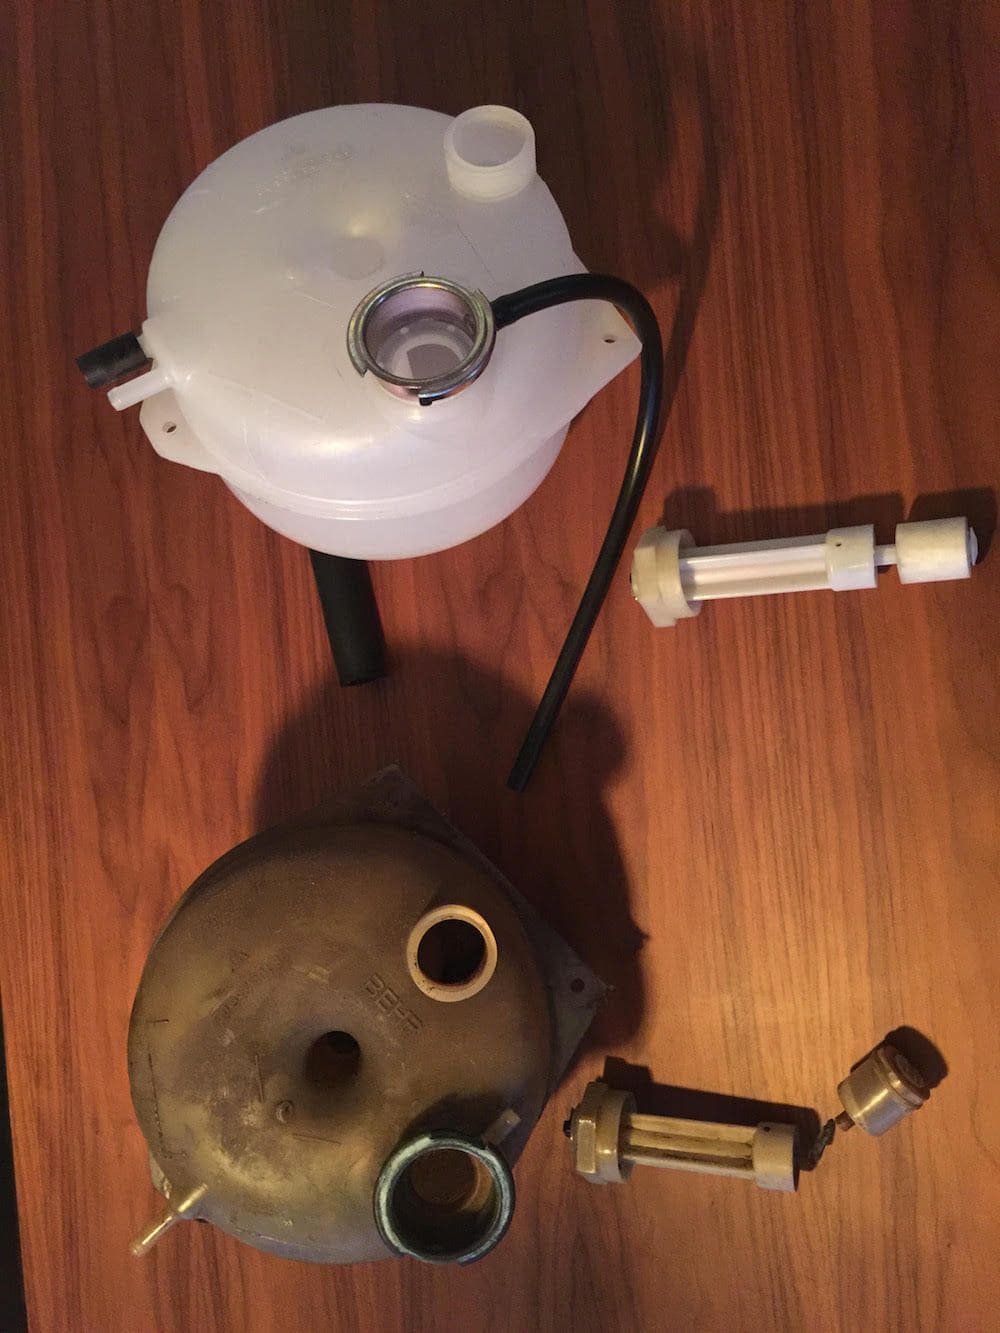
Its the most expensive tupperware i will ever buy but happy that i bought it. Here some pictures of old vs new. I thought i checked it correctly but the old one already had 2 leaks underneath. Basically it was slowly falling apart, as you where predicting. The same with the level sender, i tried cleaning it very carefully, but it just broke in 2 pieces...
Thanks man!
I had good luck cleaning mine. I ran it through the dishwasher a few times. Came out pretty nice. As for the tank, I filled 1/4" gravel (about 3 cups) and and few tablespoons of powdered dishwasher and shook it for about 15min. Worked fantastic. All rust and stains removed.

 03-04-2018, 12:33 PM