When you click on links to various merchants on this site and make a purchase, this can result in this site earning a commission. Affiliate programs and affiliations include, but are not limited to, the eBay Partner Network.
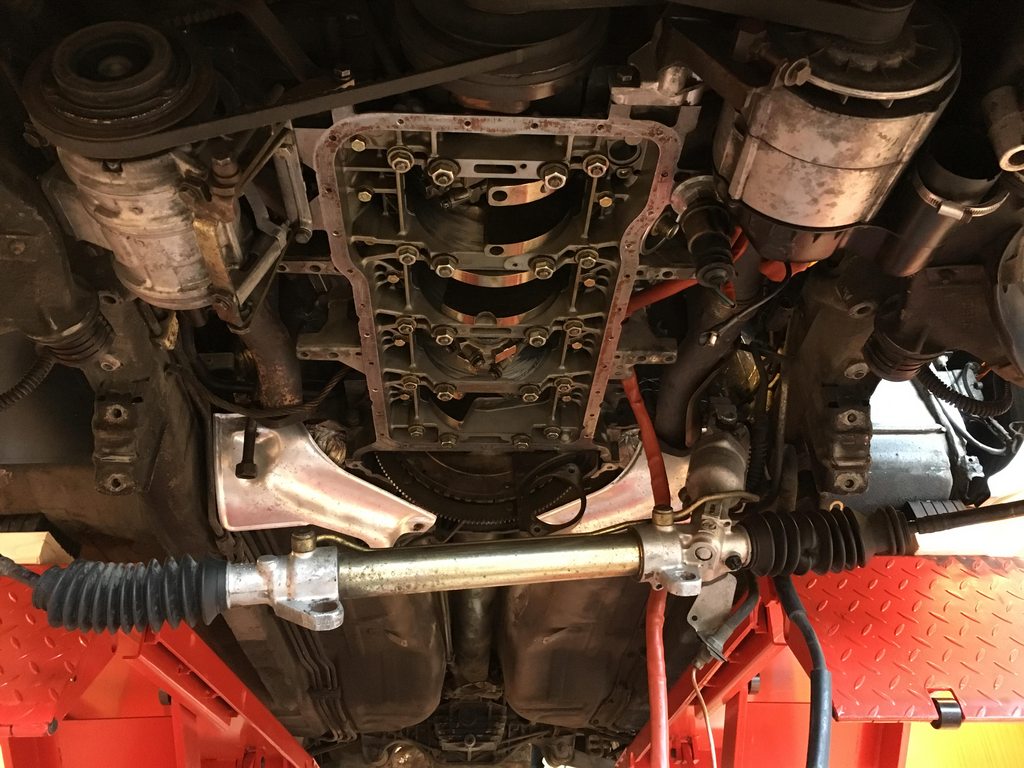
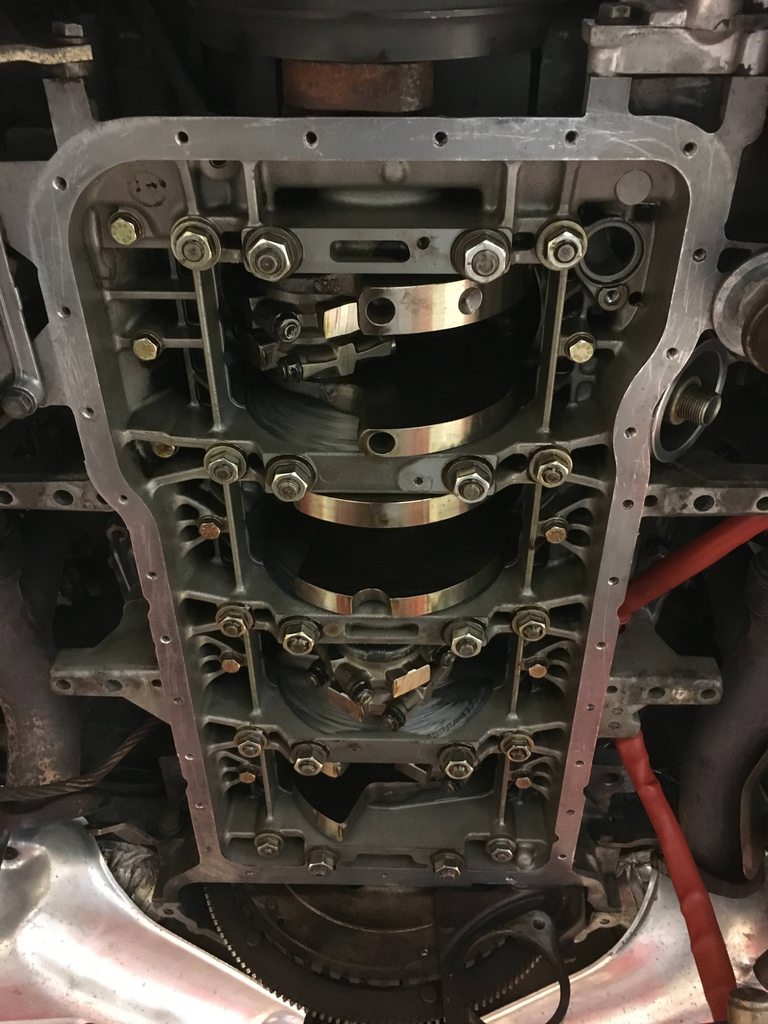
I am having a hard time cleaning the block surface at the bellhousing end. Can I remove the bellhousing cover to free up some space? Does it come off just with the 6 visible bolts removed? Nothing supporting other things or anything like that?
I am having a hard time cleaning the block surface at the bellhousing end. Can I remove the bellhousing cover to free up some space? Does it come off just with the 6 visible bolts removed? Nothing supporting other things or anything like that?
Yes, the six bolts will allow the cover to drop. Do you have the exhaust/cats removed? I seem to remember it being difficult (if not impossible) to remove 2 of the six bolts if the exhaust was still in place.
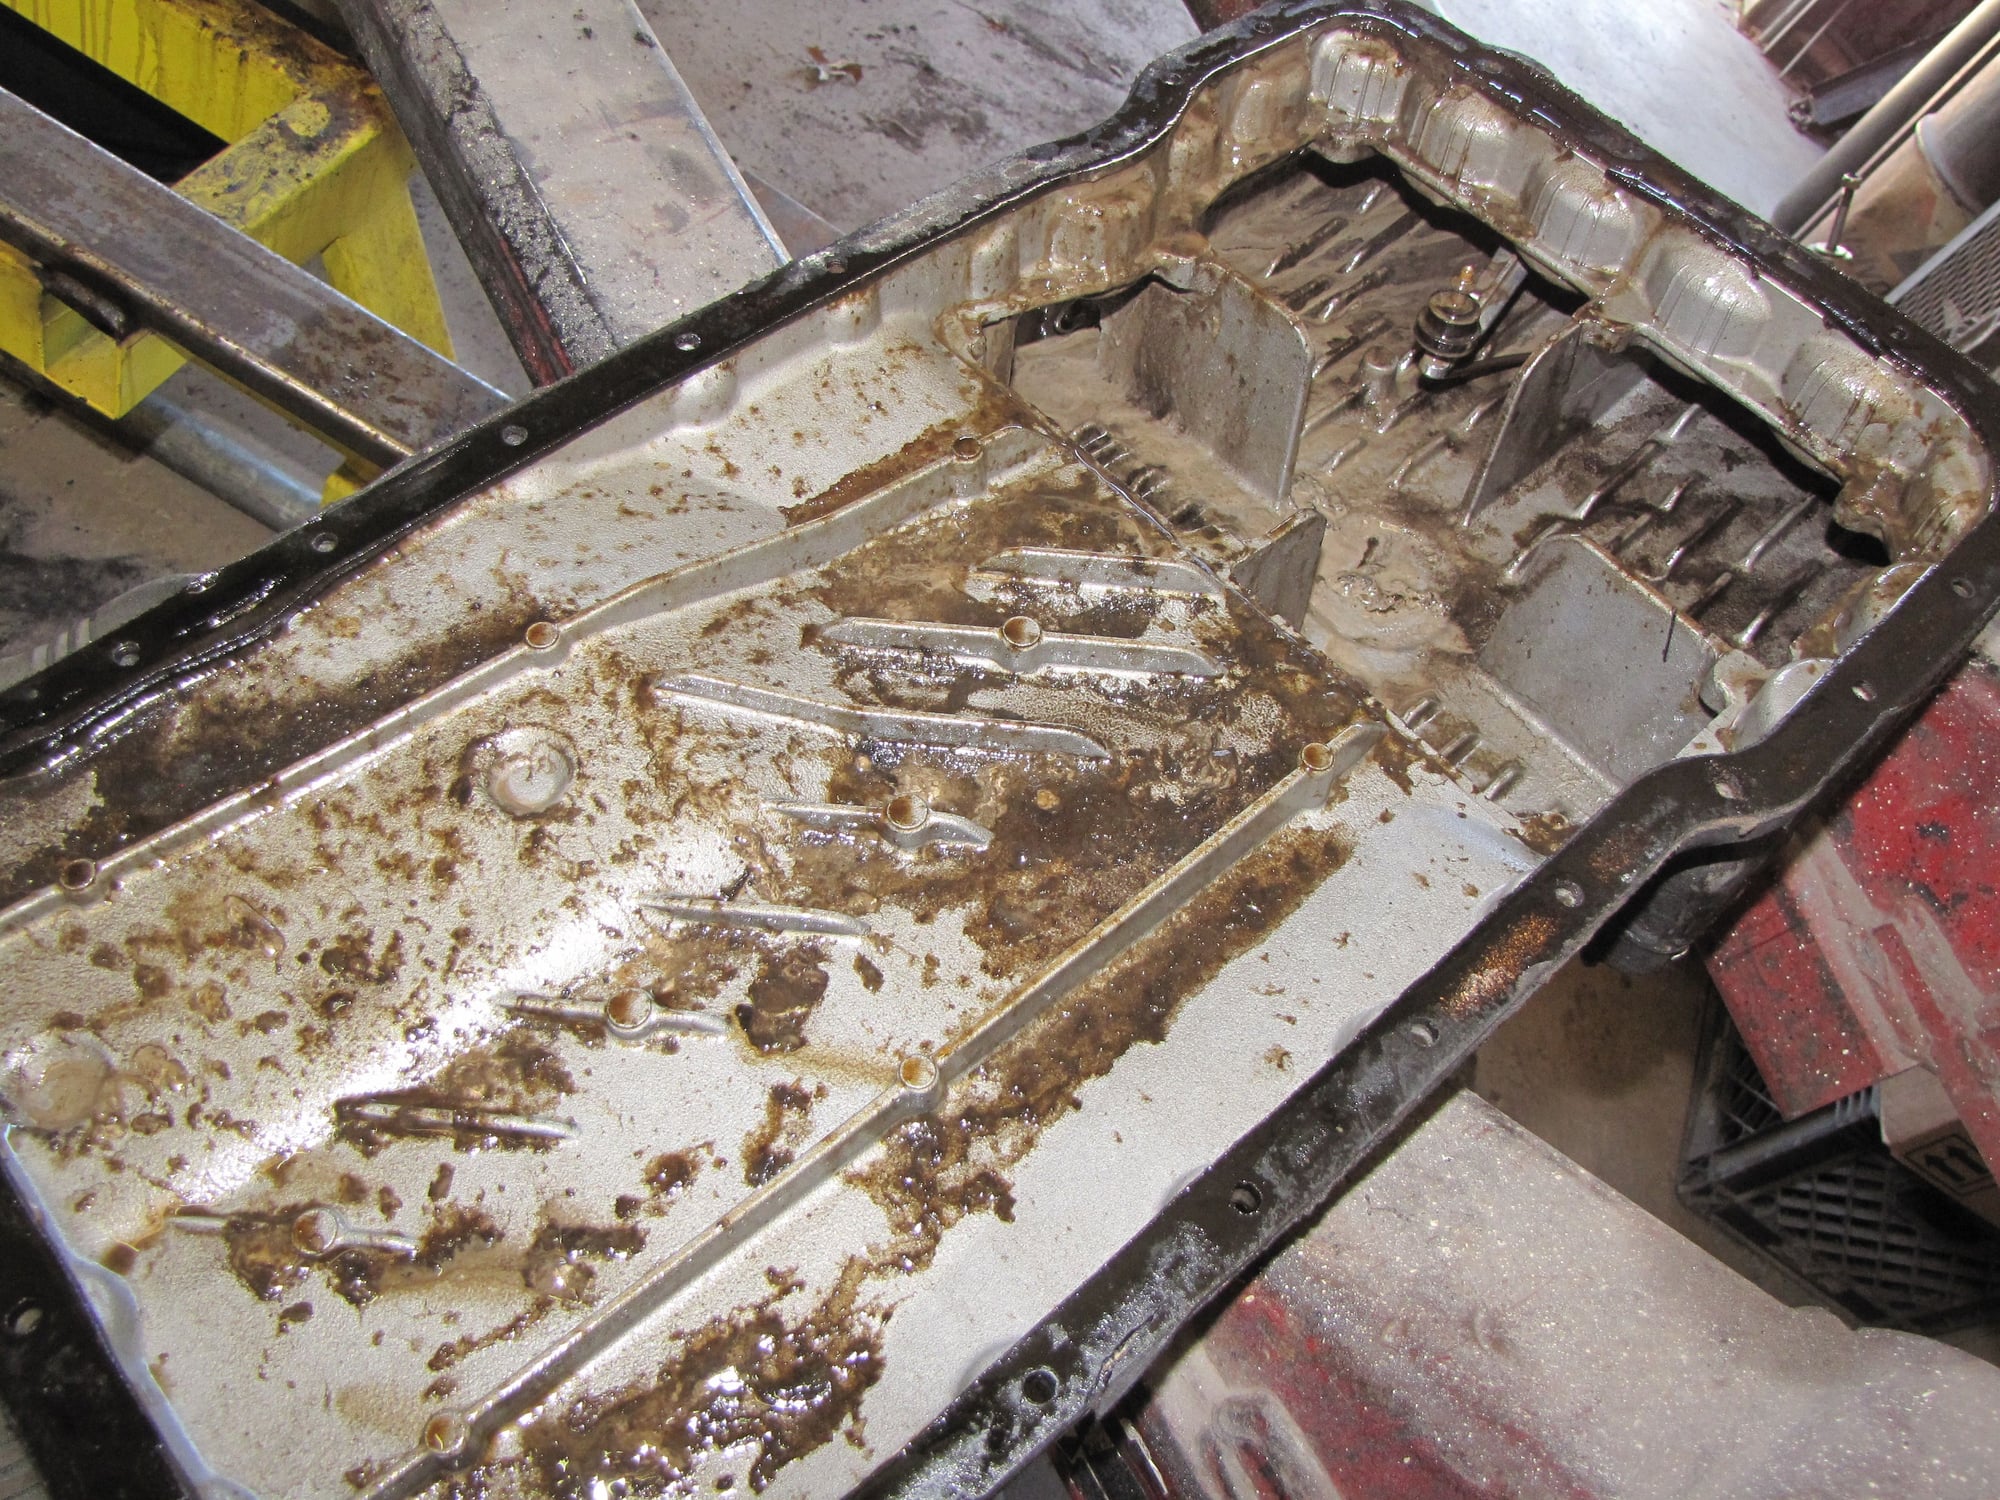
Definitely a good time to change the o-ring seal on the oil pick-up tube.
I removed the tube. There are 3 bolts. Is it supposed to be some kind of locktite or something on the threads when reinstalling? The bolts kind of broke loose with a "bang" when i removed them, if you understand what I mean...
I removed the tube. There are 3 bolts. Is it supposed to be some kind of locktite or something on the threads when reinstalling? The bolts kind of broke loose with a "bang" when i removed them, if you understand what I mean...
Yes...know what you mean...did you see any remnants of thread lock on the bolts when you removed them?
I don't recall anything specific in the manual, but Loctite Thread Locker would be the product of choice. I don't know what you have available in your area, but make sure it is a "removable" type of thread locker. Clean all of the threads & threaded holes really well with Loctite primer or some other product to thoroughly de-grease before applying the thread locker.
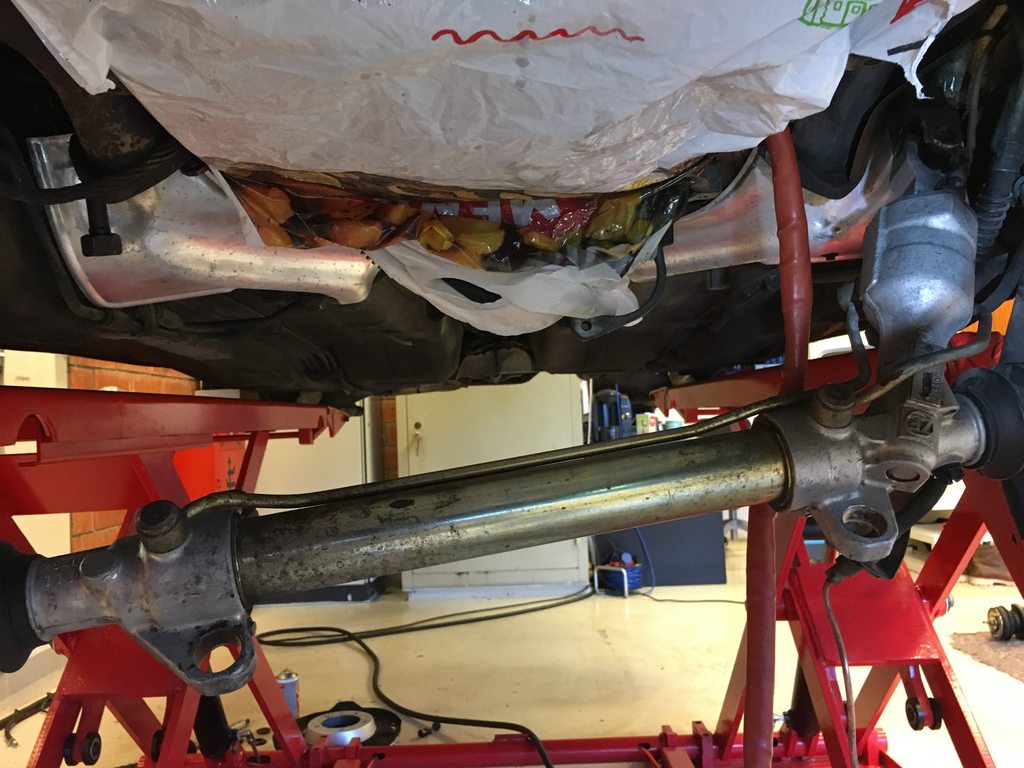
Slow, but some progress. Got the steering rack bushings out. It wasn't that hard, I drilled the rubber, removed the inner steel, then it was just to crush them together and easily tap them out. Easier that I feared, I seem to have read some horror stories..
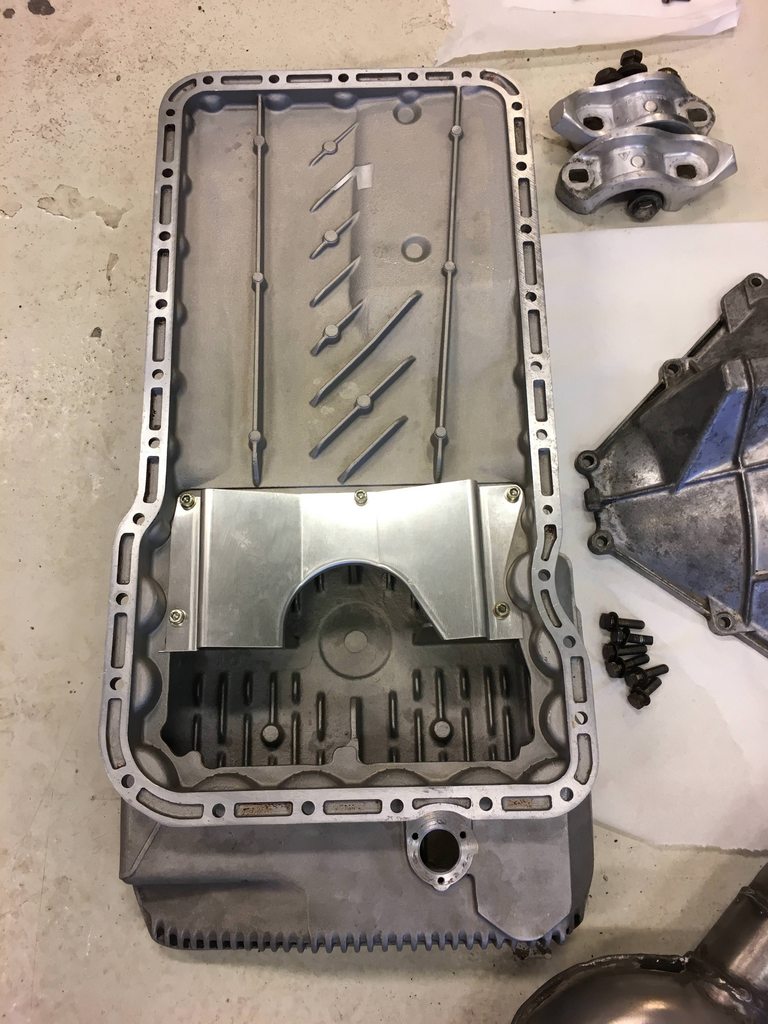
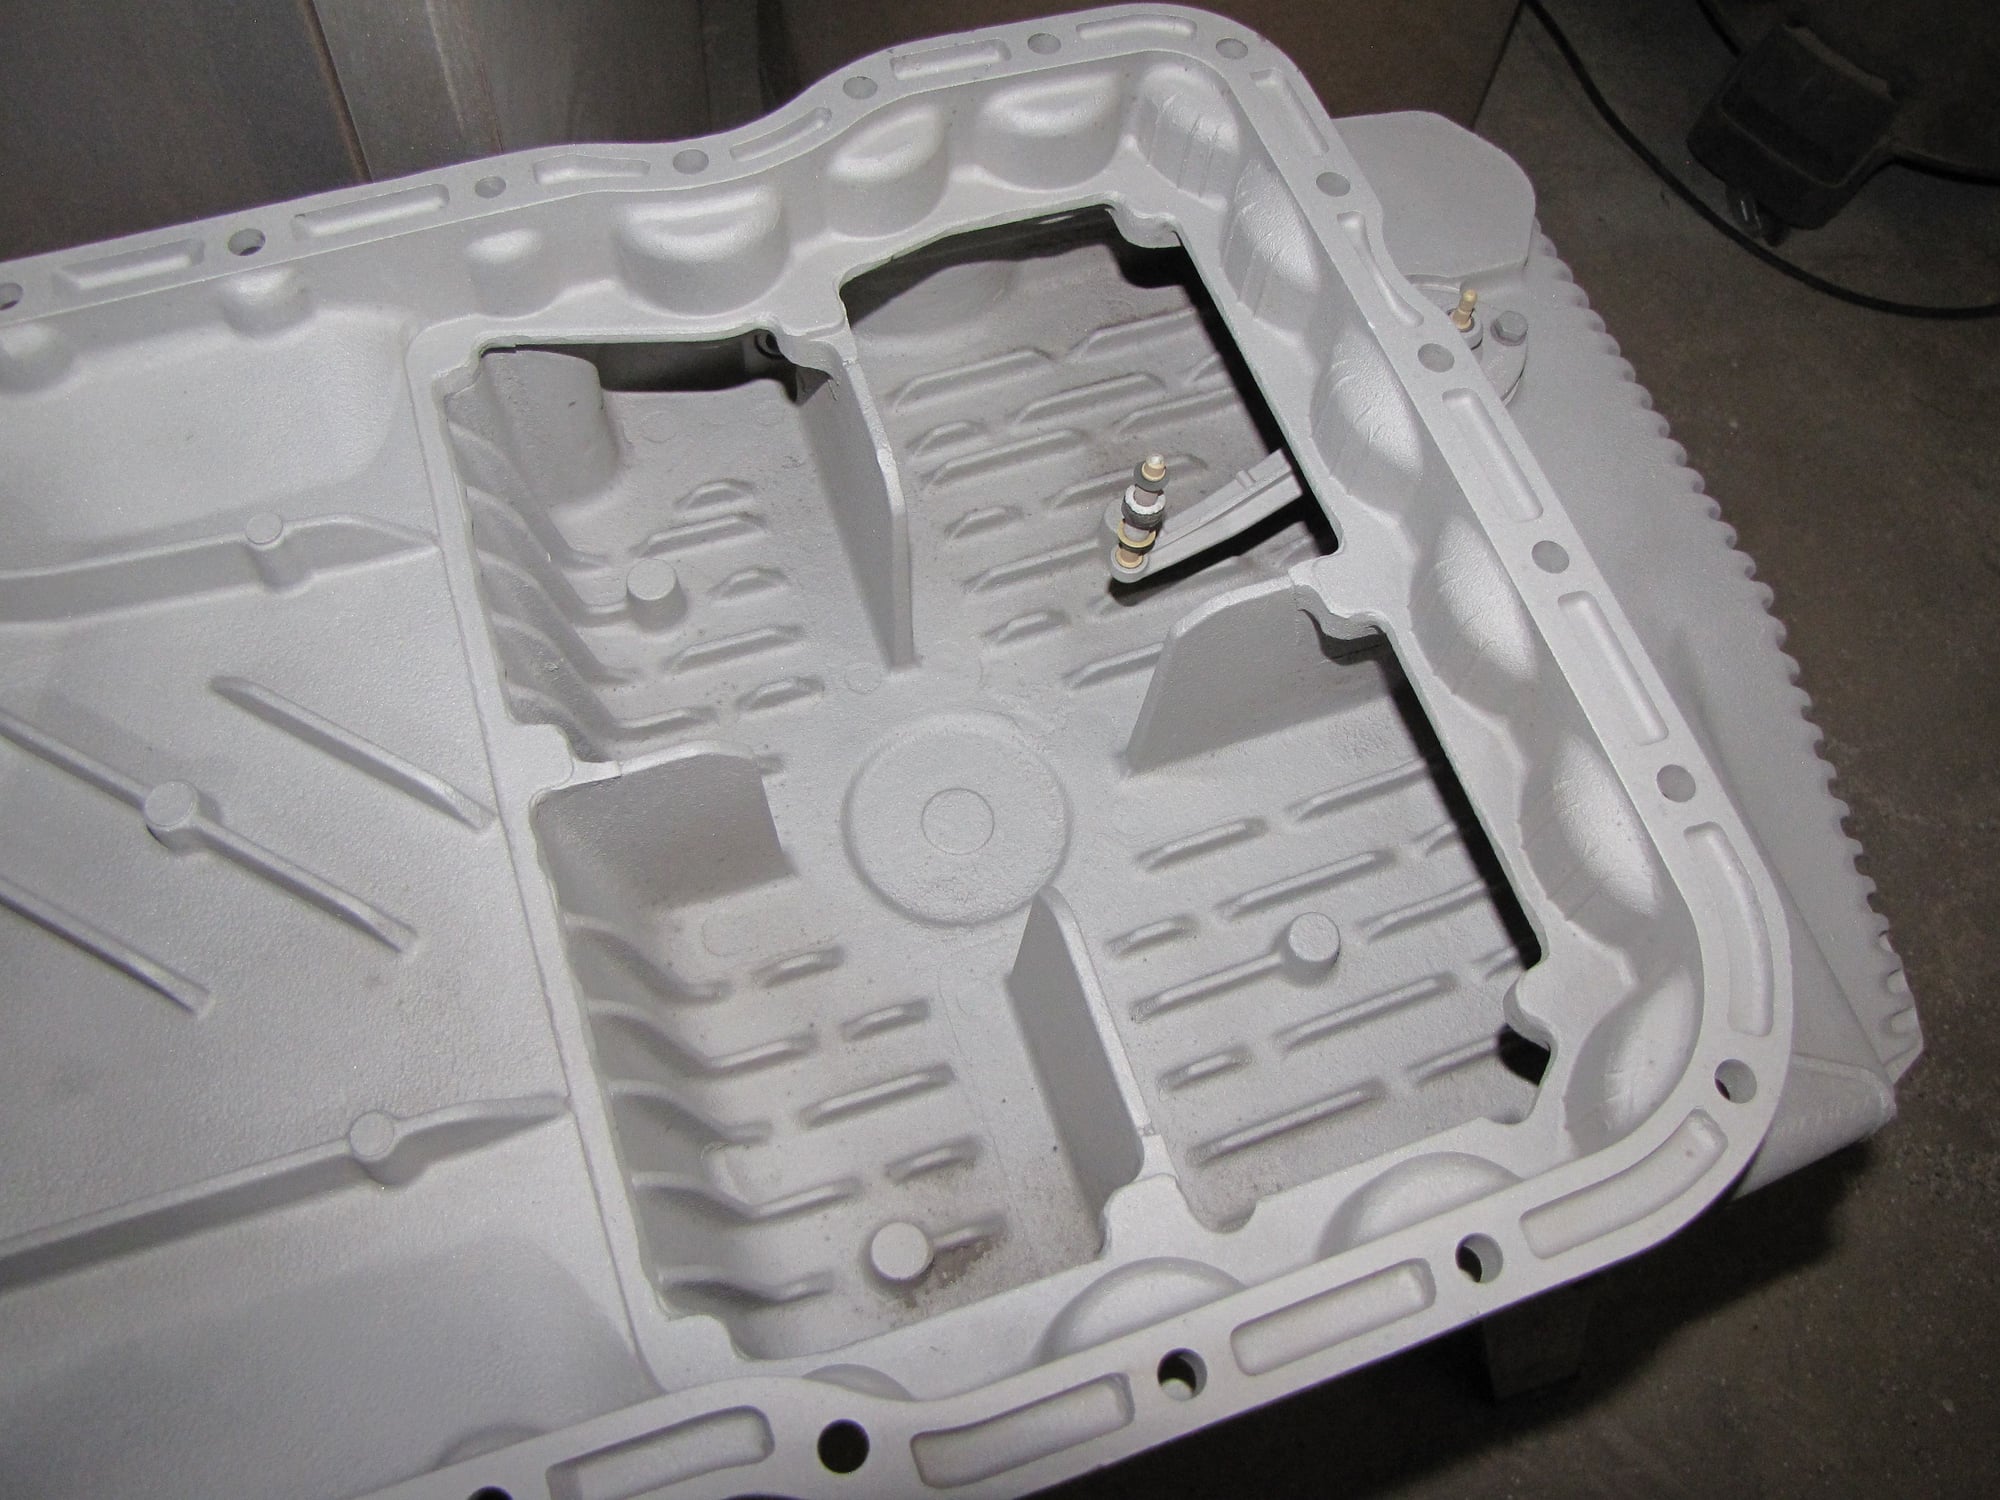
Oil pan cleaned and ready to go back on, just waiting for the sensor gasket.
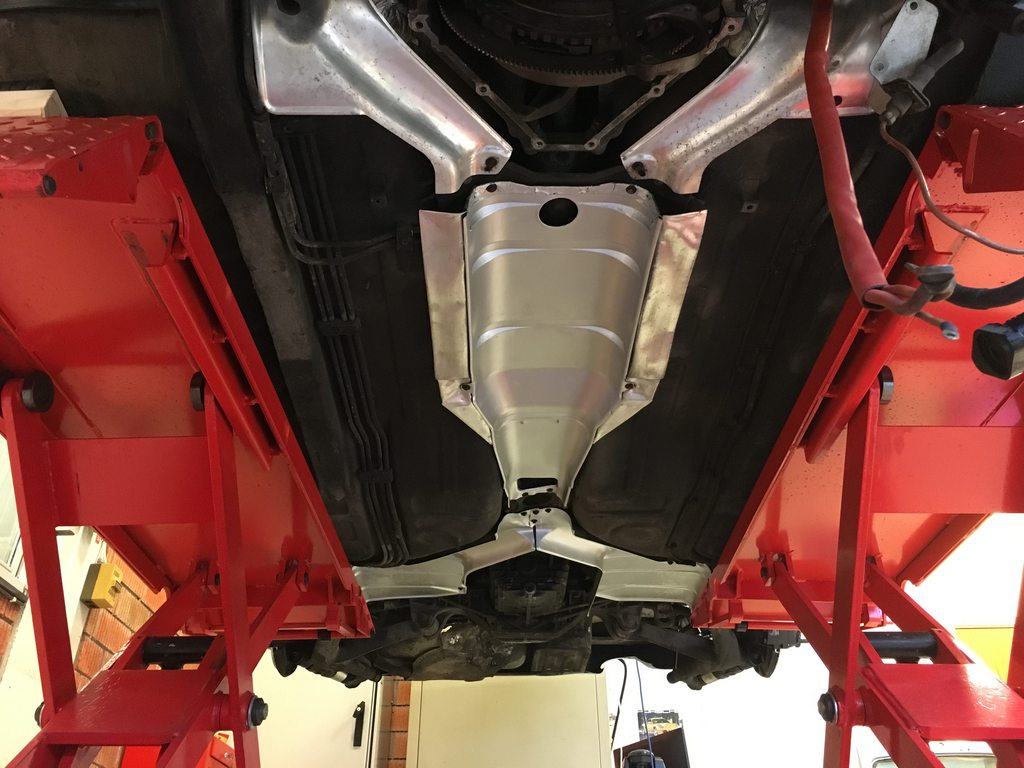
Surrounding area under engine cleaned and block surface almost clean and ready. That is time consuming work, to get the surface clean.
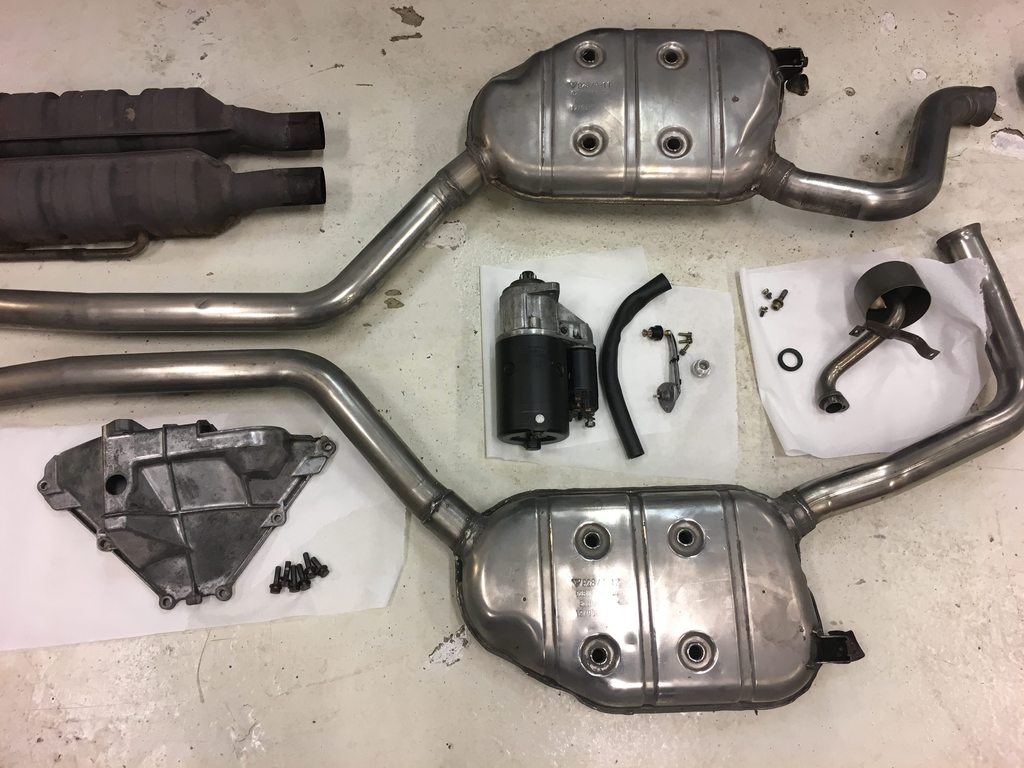
I also removed the heat shields over the exhaust and gave it a good clean. Will give some of it a new coat of silver paint too.
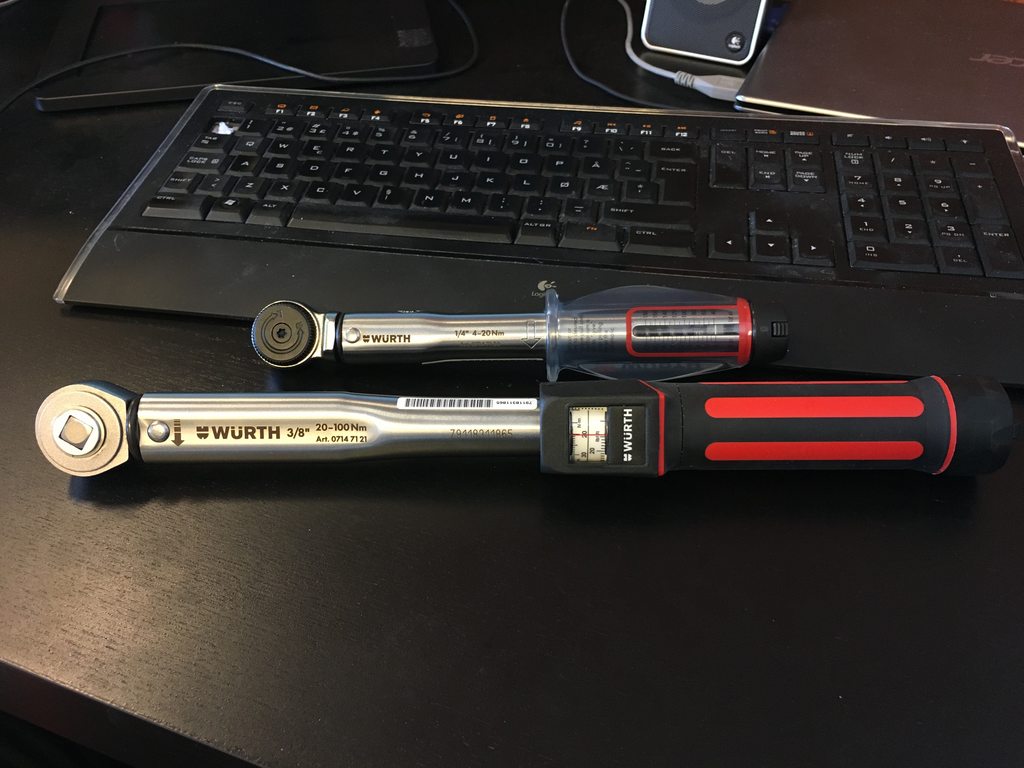
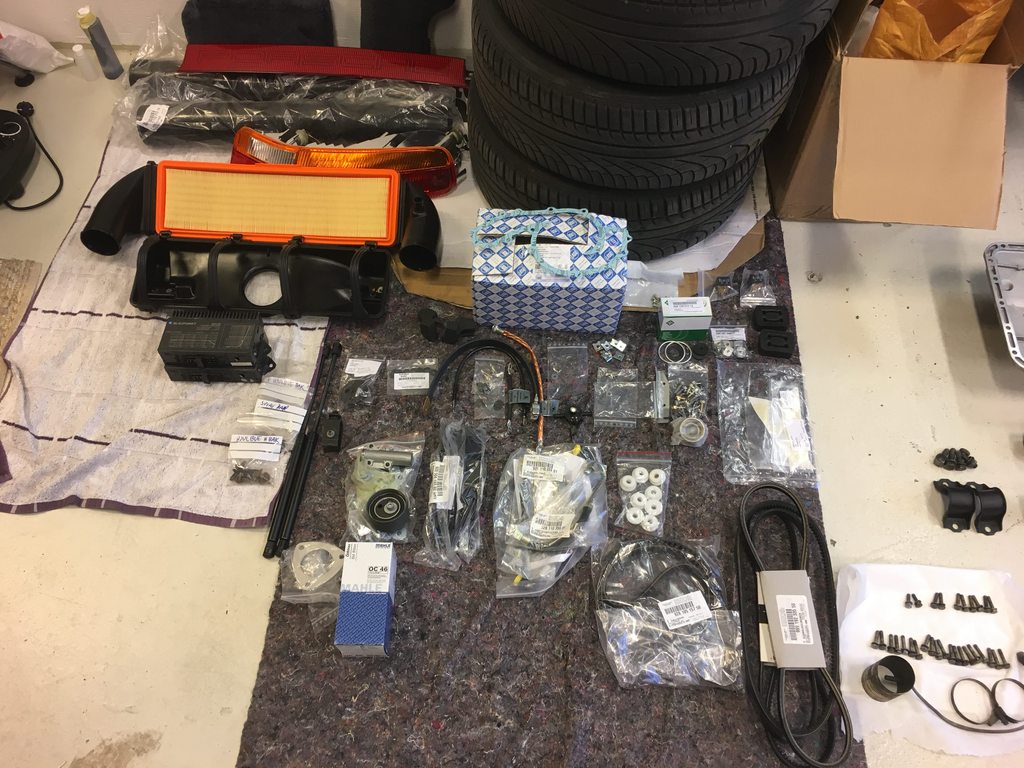
Last but not least, I had to spoil myself with some new tools, to get the job done right. Always fun with new tools!
Great job. I am doing this job along with you, but not as elegantly. I just reinstalled my oil pan with OEM gasket. I used blue locktiight and repeatedly torqued the bolts to 7 lb-ft. It took several times around while the cork squeezed and the torque stabilized.
Good luck and keep up the great work.
Thanks,
Dave
Also, one thing to check before the oil pan goes back on: if you have a fill tube or block-off plate at the front of the oil pan, make sure the threaded holes will accept a torqued bolt. I found one of mine was stripped only after the OP was in. I was able to Threadsert it in place, but would have been much easier and safer before OP install.
Good luck again,
Dave
Good looking Torque Wrenches! My Front K Member was pretty rusty and I think ALL of them when removed would benefit from a good media blasting. What is that baffle in the Oil Pan? Mine didn't come that way from my memory...let me reference my pics, your engine lower end looks nice and clean and well tended to!
Also, one thing to check before the oil pan goes back on: if you have a fill tube or block-off plate at the front of the oil pan, make sure the threaded holes will accept a torqued bolt. I found one of mine was stripped only after the OP was in. I was able to Threadsert it in place, but would have been much easier and safer before OP install.
Good luck again,
Dave
Thanks. I only have the hole for the oil level switch. Checked it, and threads are ok
Originally Posted by DonaldBuswell
Good looking Torque Wrenches! My Front K Member was pretty rusty and I think ALL of them when removed would benefit from a good media blasting. What is that baffle in the Oil Pan? Mine didn't come that way from my memory...let me reference my pics, your engine lower end looks nice and clean and well tended to!
My crossmember wasn't bad, only the heat shields were rusty. I have cleaned it up and it looks ok.
Don't know what that baffle is. Probably something they added at one point, for some reason.
A little progress tonight. Cleaned up the block surface and thread holes so they are ready. Cleaned the exhaust heat shields, gave the mid and rears a coat of high temp paint. It looks nice, the drawback is that now the rear suspension and gearbox looks so dirty, if I know myself right I probably will have to clean that up too. Bahh..
Also lined up the parts I have left that will go in so I'll have a nice overview of what is about to happen and I don't forget anything on the way.


 01-15-2018, 08:28 AM