When you click on links to various merchants on this site and make a purchase, this can result in this site earning a commission. Affiliate programs and affiliations include, but are not limited to, the eBay Partner Network.
Ammonman, thanks for the suggestion. I tried ordering from 928sRUS, but couldn't because I can't use PayPal (my name is too similar to a made up terrorist's name, so they blocked me... racists). However, I emailed 928sRUS, and will order directly over the phone in the future. Yay!
I swapped in my new coil last night and it made an ENORMOUS difference! The engine revs out much better, runs more smoothly, has consistent power, and the exhaust is cleaner. It still has a few problems though. If it idles for long, then it gets really lumpy like it's loading up with too much gas, so I'll tackle the idle and mixture controls next. I think there's an HVAC vacuum leak too, which I'll address before too long.
The updated list:
Here's my updated list now.
I'm planning to buy:
~Tires (Continental Extreme Contact Sport)
~Replacement rim for one that has curb rash
~Spare tire air pump
~Speakers
~HVAC vac line repair
~AC recharge parts/kit
~Intake plenum sealing ring - en route
~Spare tire cover - en route ~Fuel distributor rebuild - bought and installed but probably not needed
~Vac lines under hood - bought and installed with a very noticeable difference
~Headlight solenoid - bought and installed and headlights work correctly now (tried rebuilding the original but an actual solenoid had fried)
~Coil - done
I'm planning to clean/rejuvenate:
~Wash, clay bar, wax the entire car
~Clean sunroof guides, tracks, and cables
~Clean window actuators and get passenger window back on track
~Repair the front air dam
~Get stereo working since it seems wires are unhooked
~Pull seat leather and sew/glue it back together correctly so the cushions look correct
~Soften the dash leather and glue it back in place in the few locations it has pulled
~Brake fluid ~Leatherique on interior leather made a huge difference. Will continue to hit with lexol to keep softening
Inspect/repair/adjust/fix:
~Central Warning System solder reflow
~Inspect wires behind dash for poor connections
~Thrust bearing
~Suspension bushings - maybe
~Engine mounts - maybe
~Timing
~Idle settings
~Fuel tank leak
~Hood insulation - in hand
~Hook up hot start solenoid - or find out what the temp sensor goes to
~Connect AC compressor solenoid
Central warning system rebuild 1982 porsche 928s euro
I pulled the CWS module today to figure out why it’s acting strangely. After pulling it, I turned on the car and found the gauges reported as expected instead of really low, or variable, readings. I think that means I narrowed down the culprit. I’m digging into it now, but haven’t seen anything obvious yet. I’ll trouble shoot as best possible, but might have to just replace all the capacitors and try it out. They’re definitely old.
Here are the parts I'm planning to replace. All of the electrolytic capacitors, as well as the transistors. Well, I ordered the transistors, but will check operation of the unit before replacing them.
I ordered from Newark since I couldn't find the BC 140-10 transistor anywhere else. I bought the following for $32 shipped ($12 for parts and $20 for shipping):
Before you start replacing caps and transistors do a really good cleaning/deoxit treatment of the terminals on the module and the plug. Then pull your CE panel and service it with a good cleaning of all the fuse, plug and relay connections. If that doean't make things right, re-flow the solder on the boards in the central warning module. The joints can degrade and crack with age.
Thanks, that's a good idea. I'll reassemble the system and do as you said. I already ordered the parts, so at least I'll have them if needed. Hopefully this document will help out anyone else who gets stuck in this situation with bad components they can't read.
I get massive Janes Bond-style smoke clouds from the exhaust at full throttle and high RPM. Any thoughts on what it could be? I’m thinking head gasket or cracked head, and will pull plugs next weekend to check for “clean” tips.
The cloud of smoke that comes out the tail pipe really looks like suspended particles and not water vapor. It will completely fill four lanes of interstate for a good 100 meters, and it hangs out much longer than steam would. Also, since the head gaskets were supposedly replaced, I'd like to exhaust other possibilities before diving into the a top end job.
Any thoughts on what could cause this kind of smoke cloud? It really doesn't look like water vapor. It's more of a white or grey cloud, and it hangs out for much longer than steam would.
That sounds like oil. You can expect some occasional smoke since there is no separator, which can result in oil seeping back into the cylinders, but you should not get as much smoke as you are seeing.
That sounds like oil. You can expect some occasional smoke since there is no separator, which can result in oil seeping back into the cylinders, but you should not get as much smoke as you are seeing.
Thanks for the feedback. I have a temporary breather hose (fashioned from straight hose) running from the oil separator to the intake that is kinked badly where it has to bend 90 degrees. If that kink reduces airflow, then there might not be enough centrifugal effect in the separator to throw the oil out of the mist. Am I thinking about this right? I have a replacement breather hose on order so that I won't have the kink in the line anymore. Hopefully get that on in a week or so.
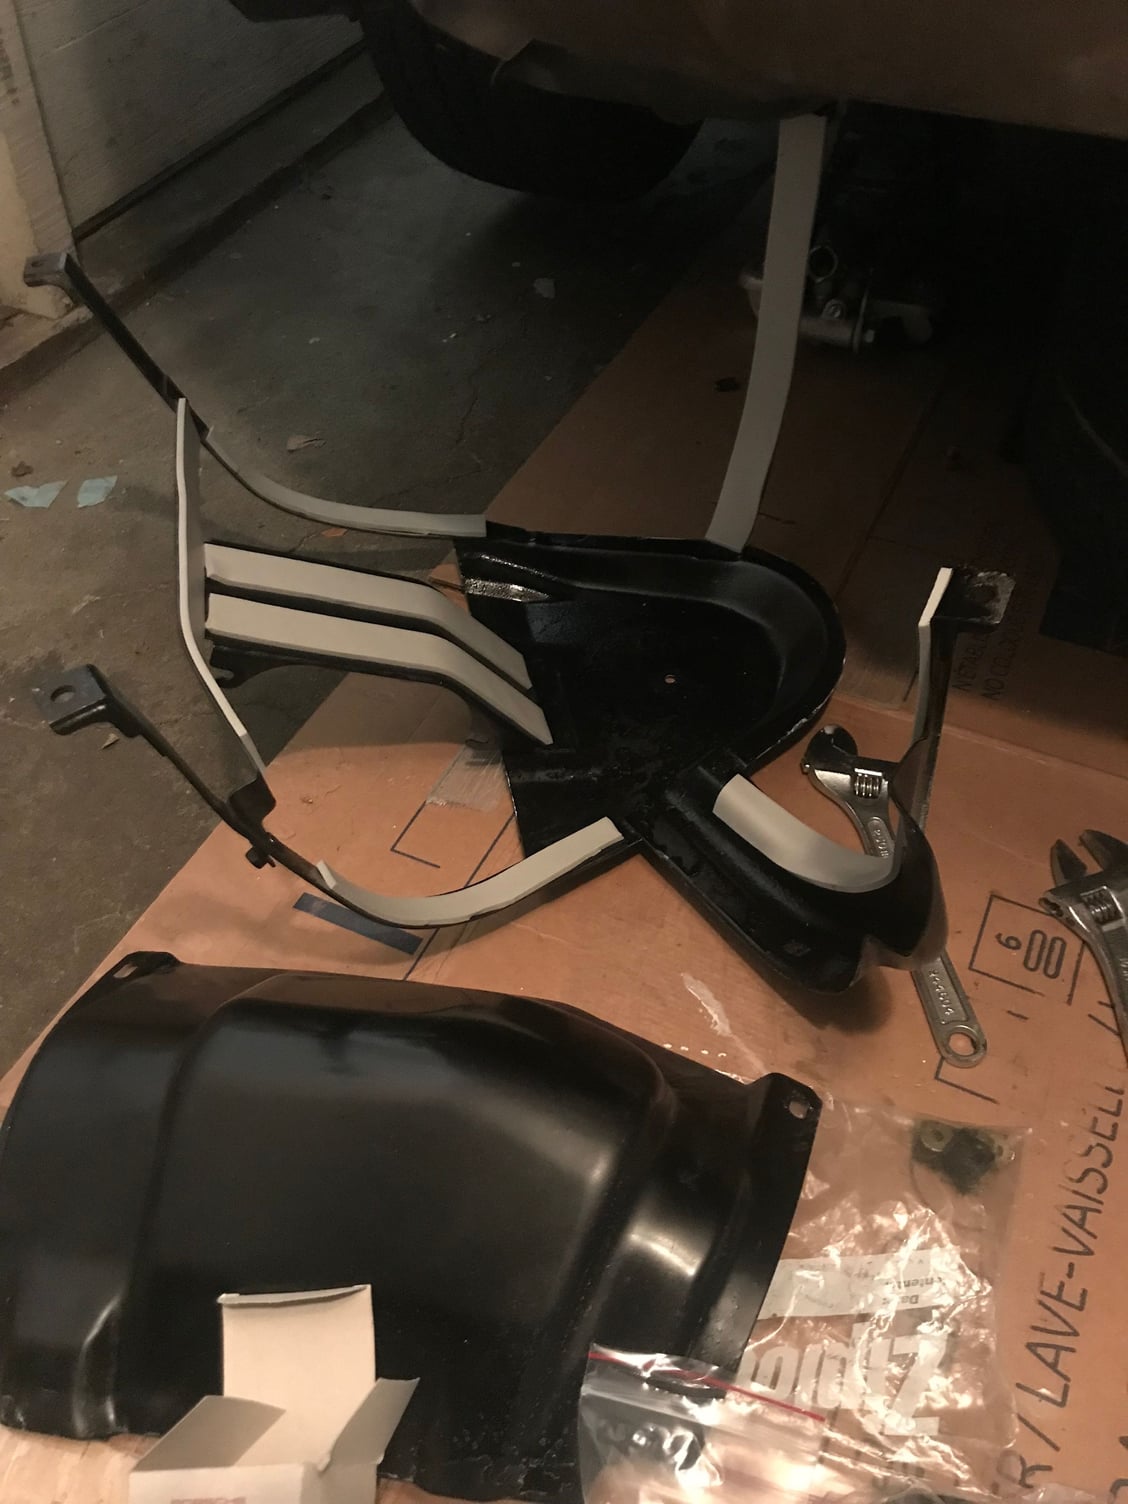
I pulled the fuel tank to find the source of my fuel leak and discovered it was just a bad gasket on the fuel strainer. I ordered a new unit and gasket since the plastic strainer was breaking apart. While under the car, I cleaned it up a bit, replaced the foam strips, repainted the fuel tank cradle and skid plate, and bought a new fuel neck gasket. I'll get new hoses this weekend and reassemble it too. I've attached a couple pics of the progress.
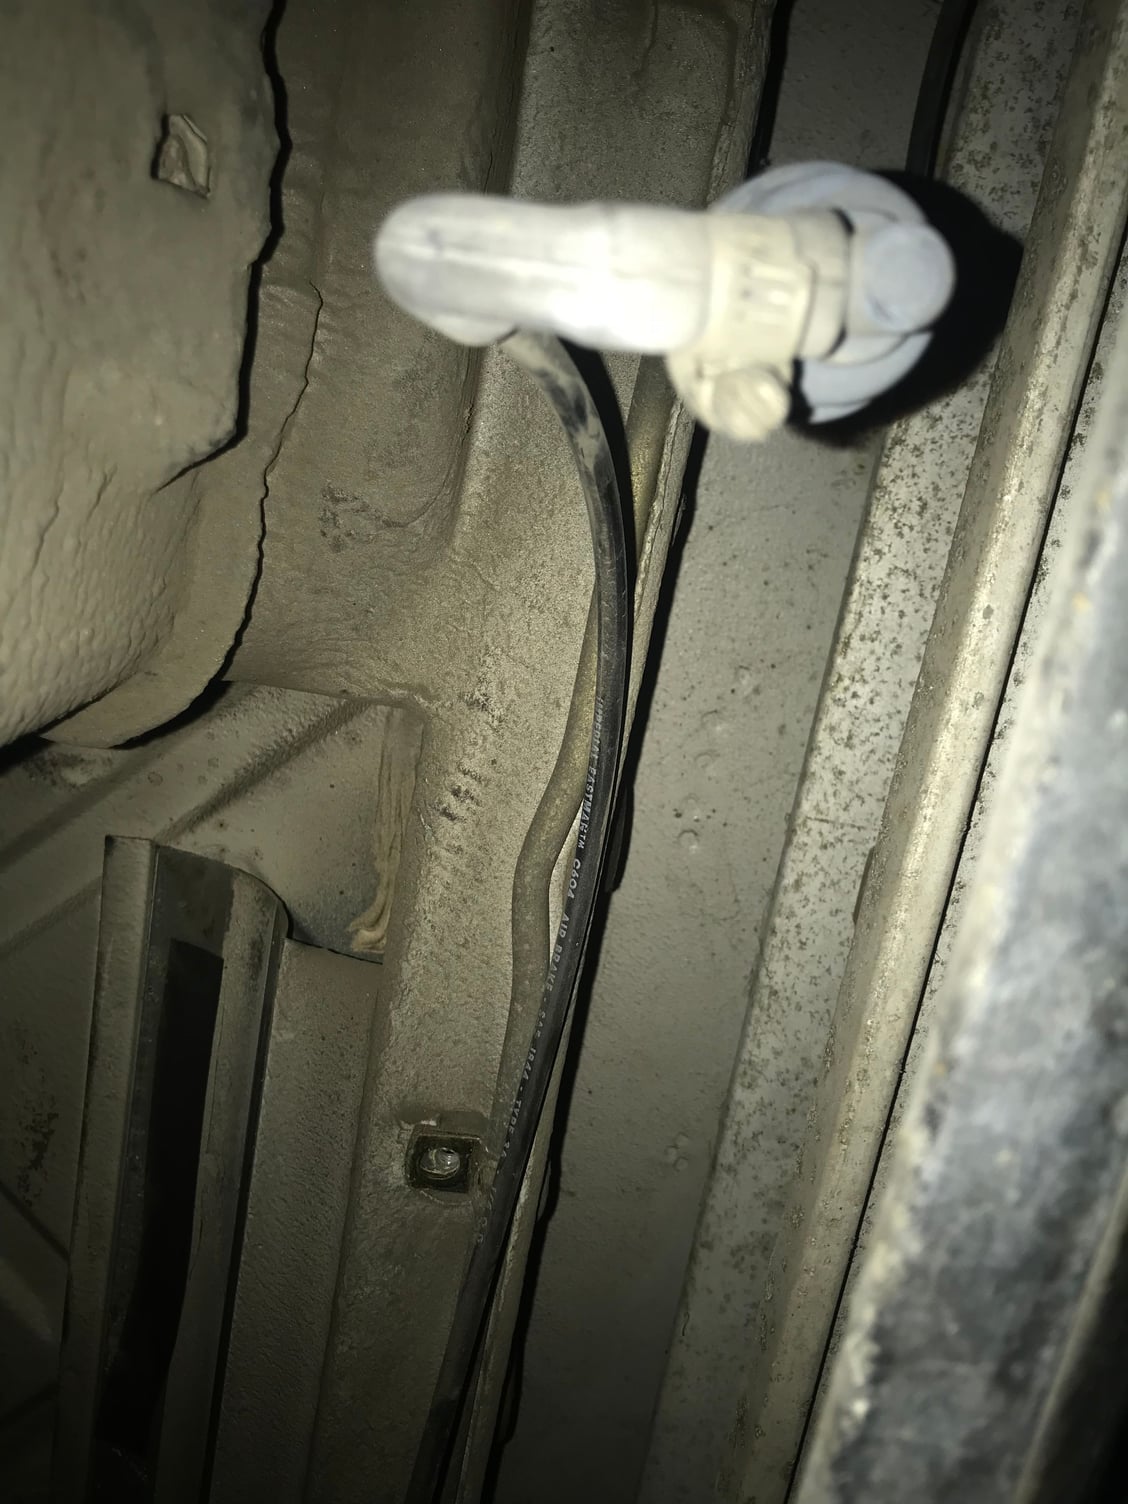
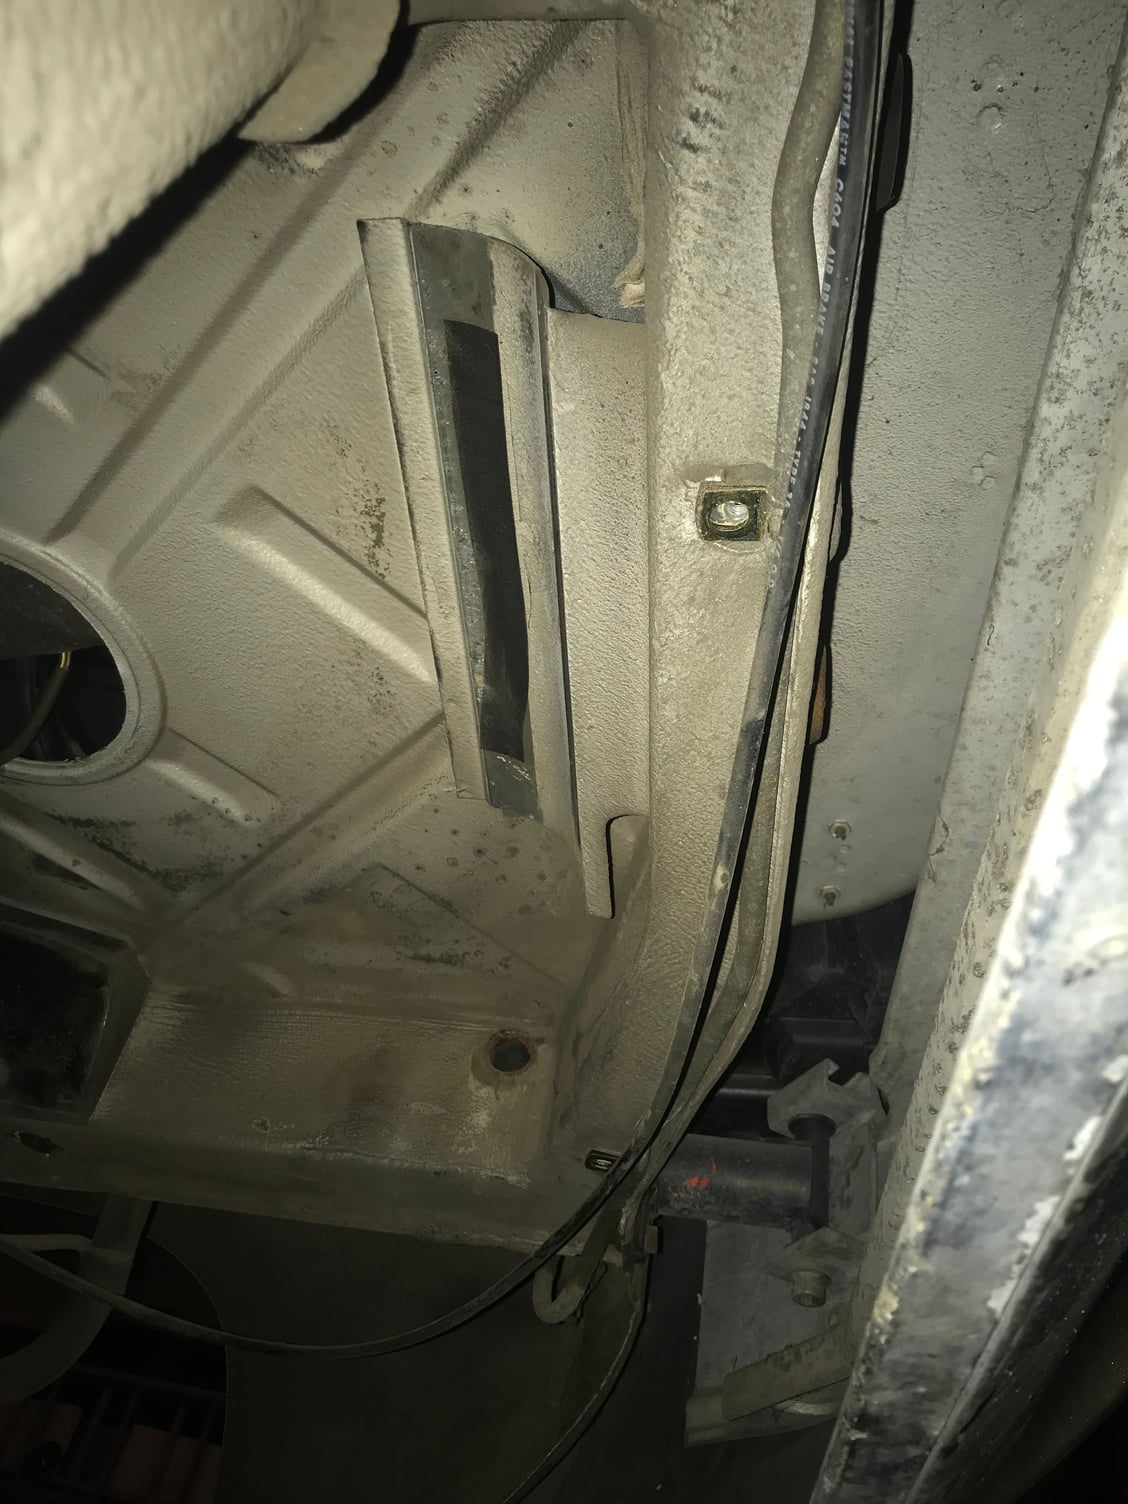
With the fuel tank out, I found what I believe is an aftermarket hose. It's routed around the passenger side of the fuel tank and ends inboard of the rear bumper assembly in the middle of the car. The hose looks relatively new compared to everything else under the car, and is labeled "Imperial Eastman C604 Air Brake - SAE 1844 - TYPE 36..." or something like that. It terminates in a strange plug that I don't know the use for. Anyone have any ideas what this is about?
Thanks,
Camelman
New foam pads and repaint on the cradle
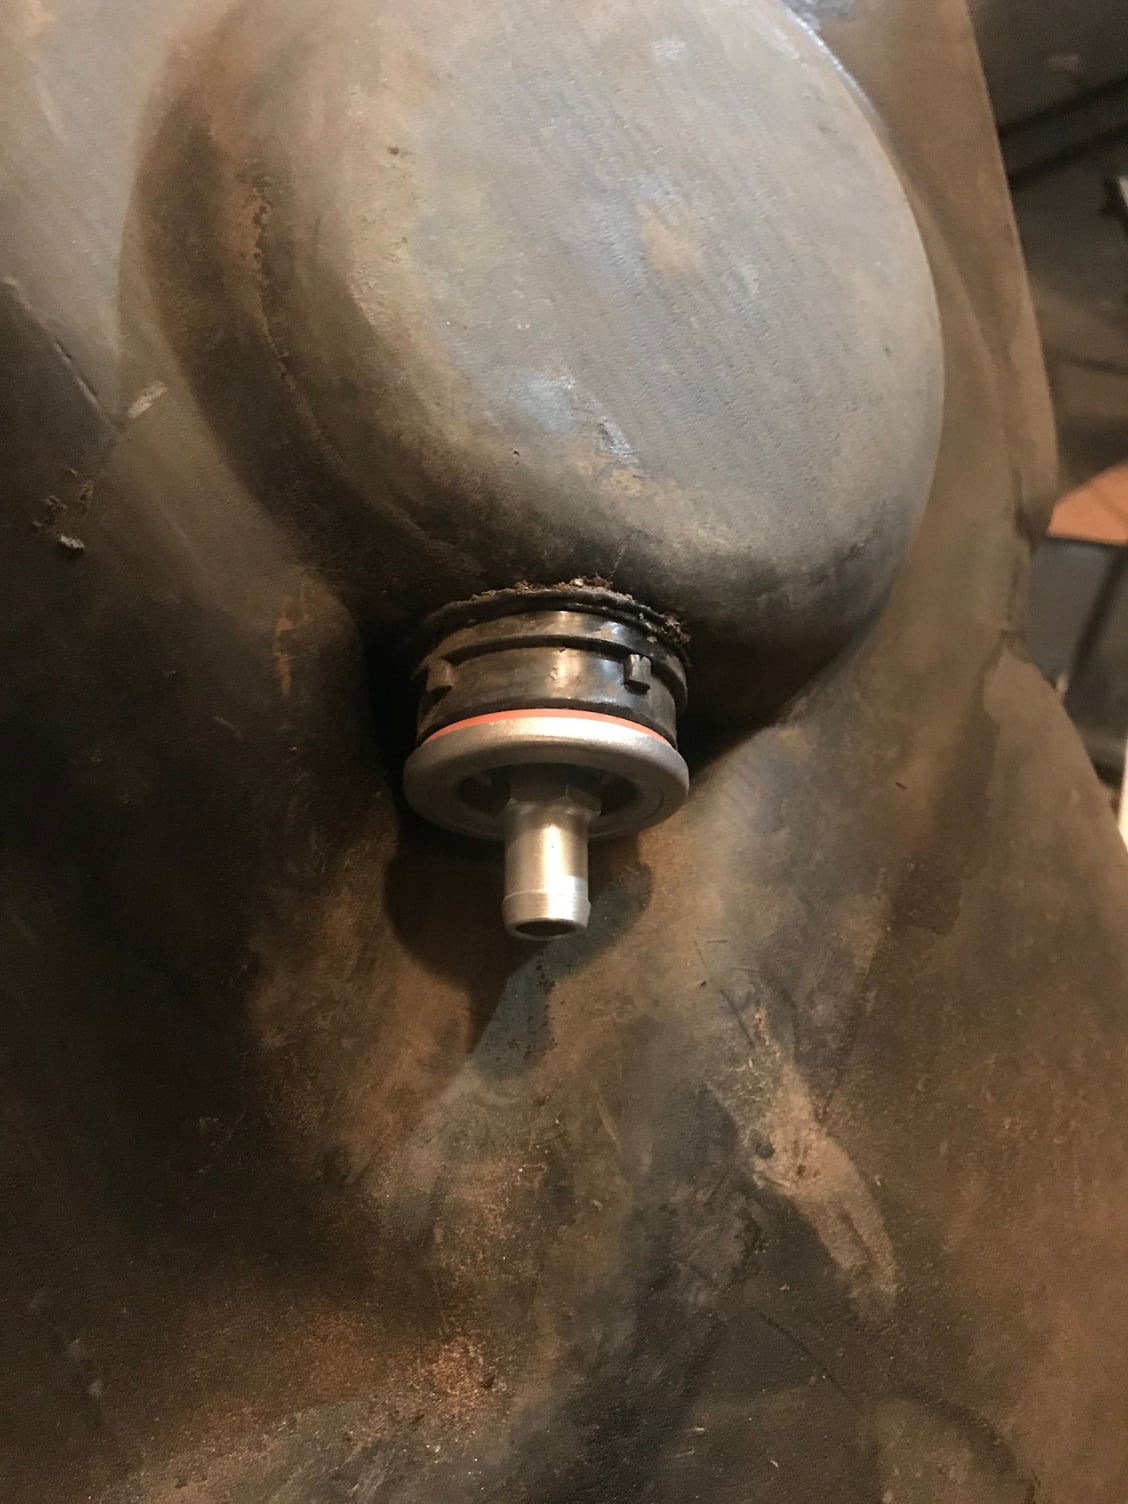
New fuel strainer and gasket. The old unit unscrewed easily while I squeezed the plastic around the insert with channel locks. The entire bung felt unstable if I didn't use the channel locks.
Sorry for the kinda useless pics of the hose, but the images are being automatically cropped. Probably just too big to upload, so I'll see about compressing them later and uploading again.
1982 928s on left. US version on right, year unknown.
US version has a smaller intake hole. The rubber coupler for my 928s is the wrong size for either plenum. I tried boiling it, but it wouldn’t shrink.
Made a lot of progress yesterday after a few months off. Sunroof operates like new, passenger window is remounted correctly, sent the intake plenum off for a thread repair, and started cleaning the engine. I’ve been unsuccessfully looking for a fuel line, but eventually just had it checked by a local hose shop that said it looked fine. It’s a flexible line running from the fuel distribution to the WUR. Anyway, I tried to reassemble the intake yesterday and found the coupler between the throttle and intake plenum is the wrong size. See pics. Will order a replacement this week.
Been getting a wild hair to do a manual conversion. Looking for a donor car...

 11-08-2017, 01:03 PM

")