When you click on links to various merchants on this site and make a purchase, this can result in this site earning a commission. Affiliate programs and affiliations include, but are not limited to, the eBay Partner Network.
Everything dr bob said is totally correct.
Gorilla Glue works awesome !
I tried and tried to put on the Vinyl over the top myself and failed everytime.
Buy 4Way Stretch Vinyl and take the whole piece to your local upholstery shop and have them put it on.
After you smooth out the foam top of course.
The money you pay there will save you countless hours of madness. Remember one slip or one tear or one little mishap stretching and the top is ruined and you'll have to start over.
Believe me I tried HARD and I don't like to fail -lol !!!
Great job on the dash! The dash appears to be a 1978 model due to the defroster vent design. I am looking at the same application. How did you manage to get the material to conform to the vents? That is my biggest concern. Bob Budd recommended that I use my spare 1979 dash with the plastic defroster vent trim for an easier and possibly more successful long term life.
The dash appears to be a 1978 model due to the defroster vent design.
I removed this dash is from a 1987 and has the same defroster vents as my 1988. I am not sure which models used the vent inserts.
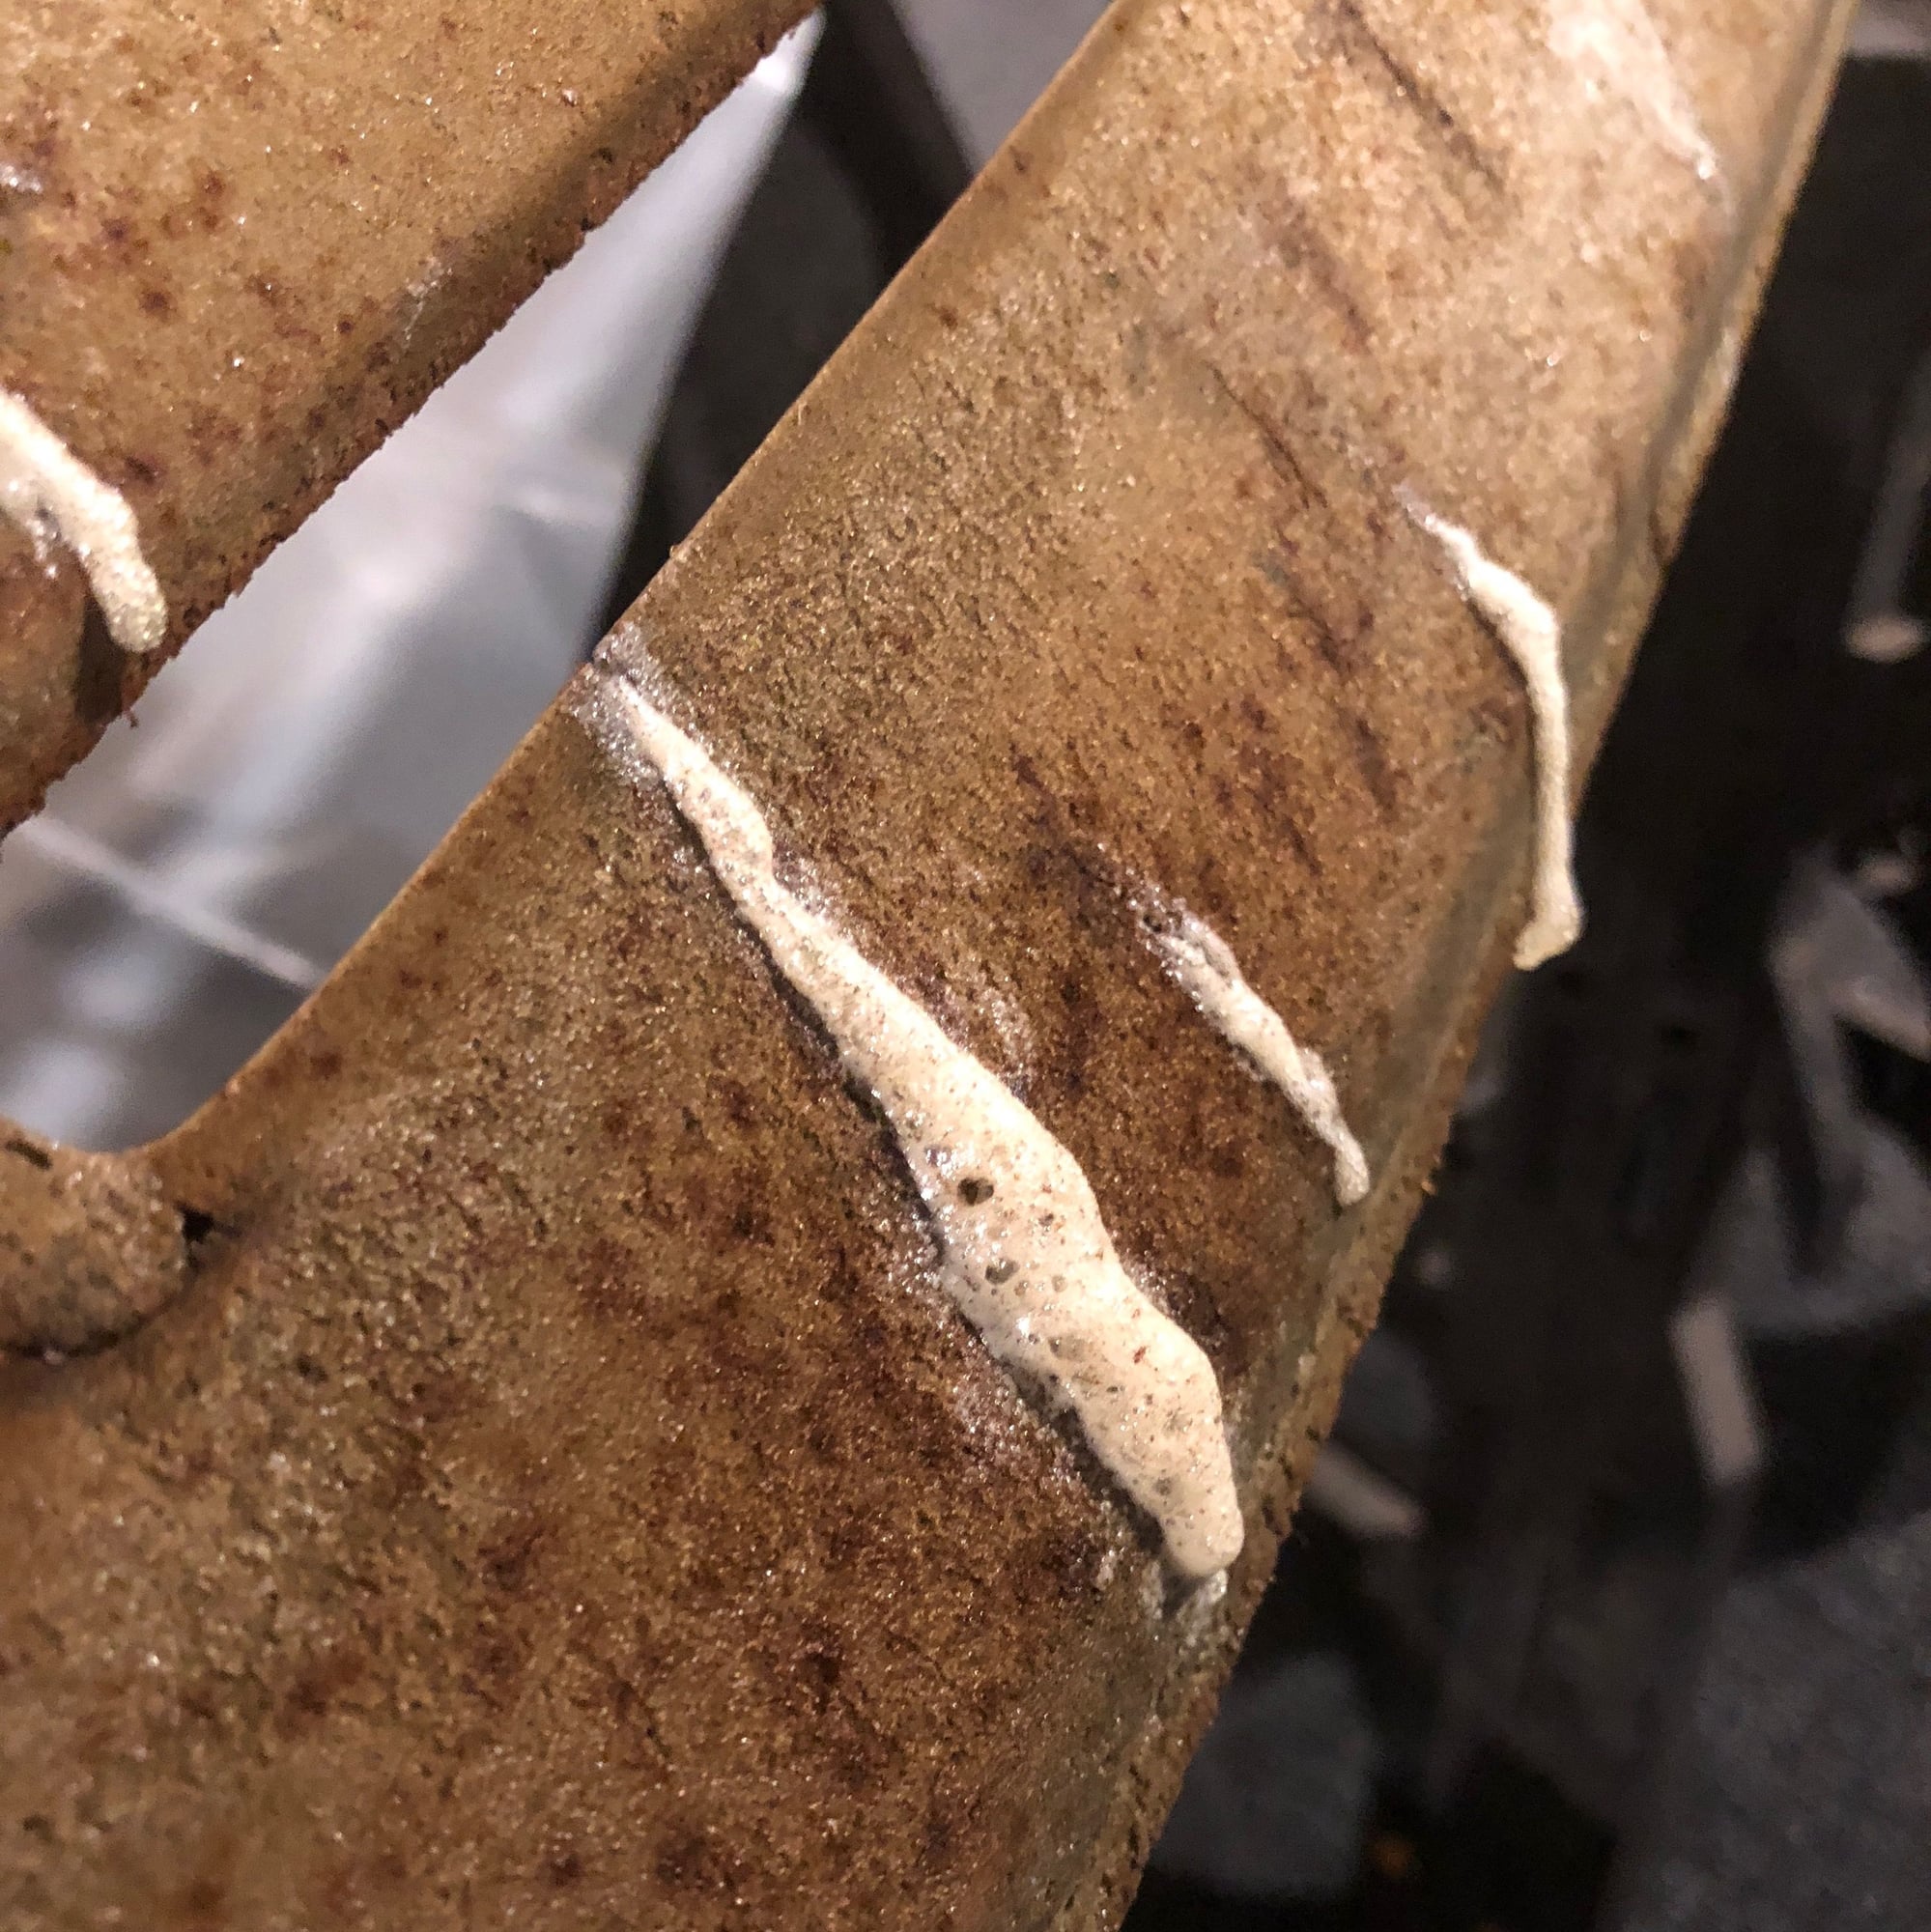
@DrBob and @superrock, thanks for the tips on the Gorilla Glue. I used that technique with good success. I do recommend sanding rather than cutting off the excess. Sometimes the cutting can pull and gouge the dash foam.
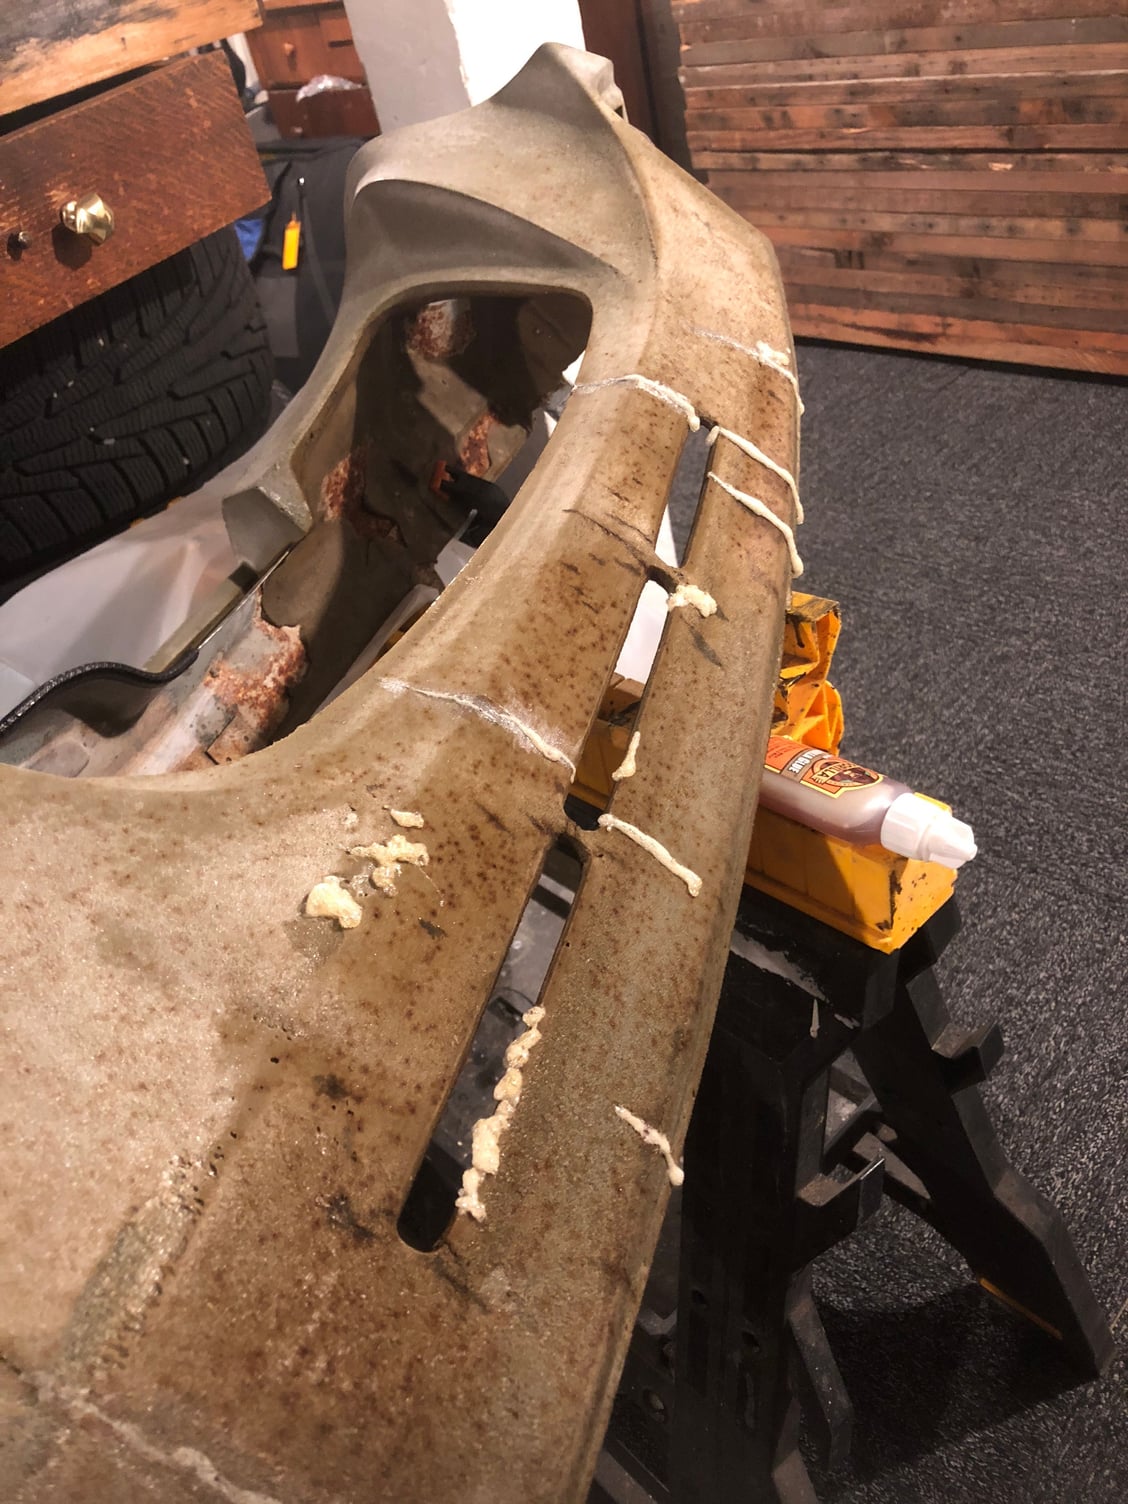
Here is the glue after it has dried. I used a safety pin to poke it into the cracks and then massaged the surface to get it to pull the glue into the crevasse. Please note Gorilla glue suggests the surface being damp.
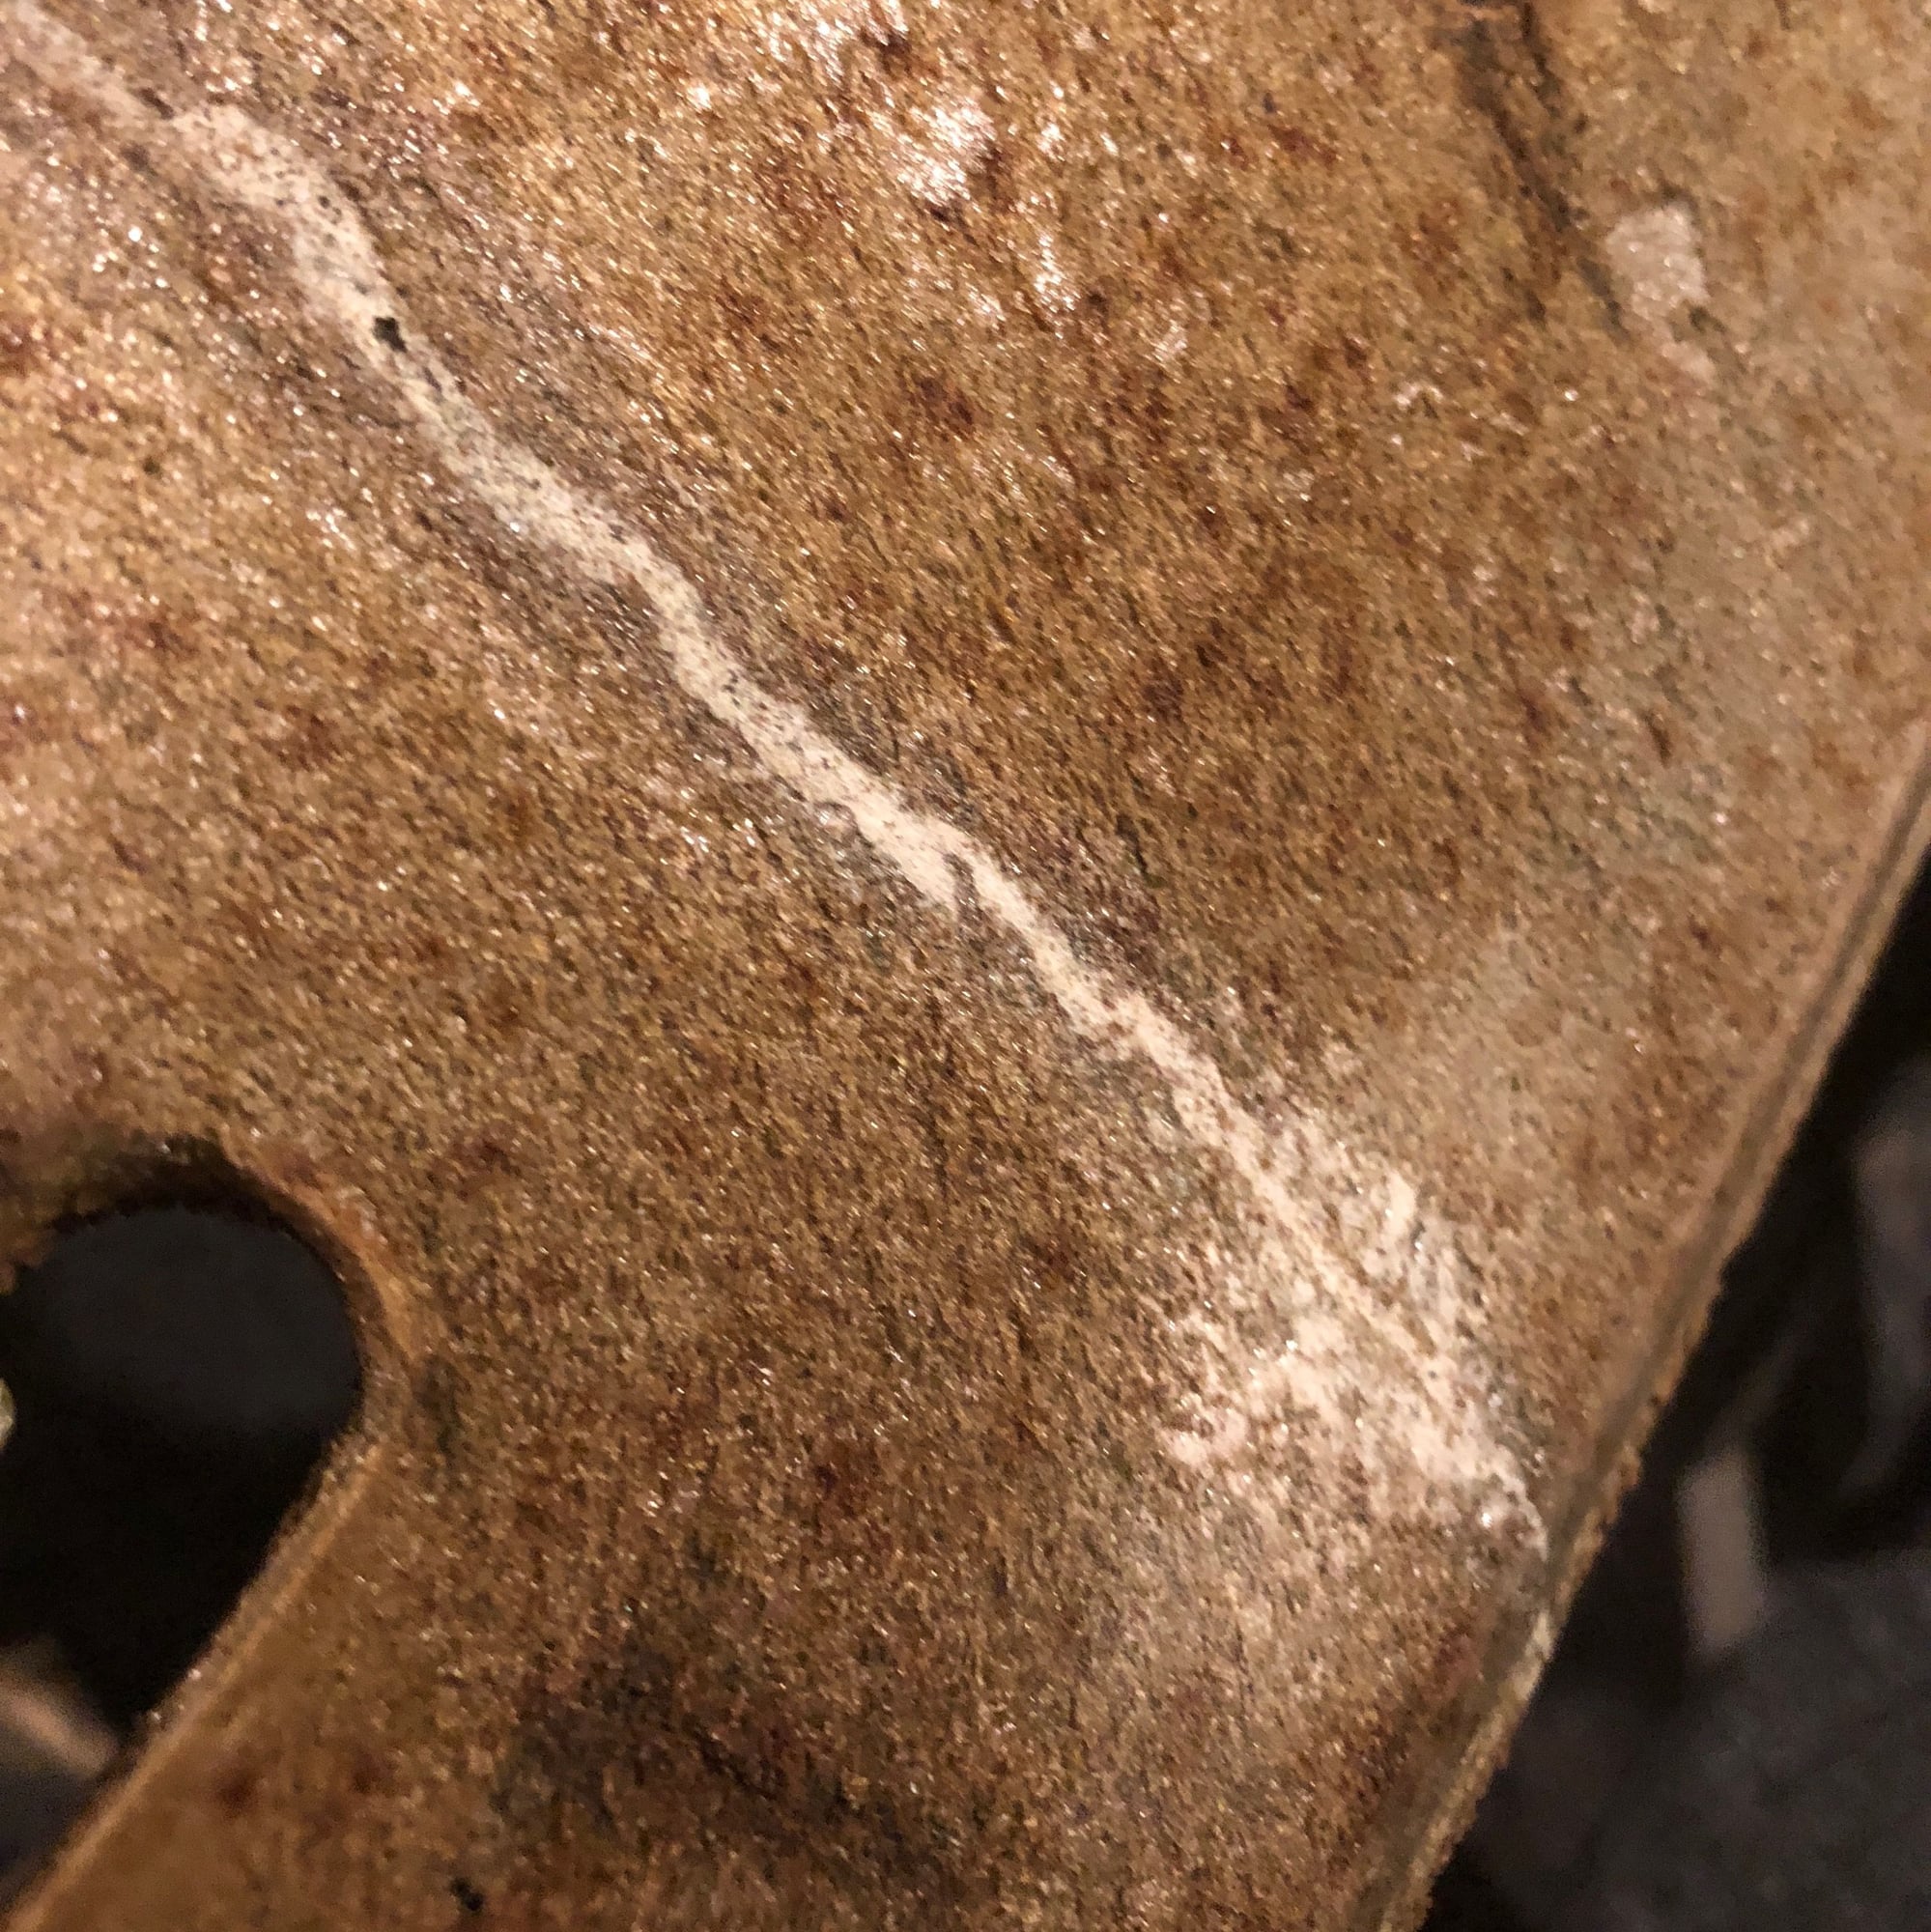
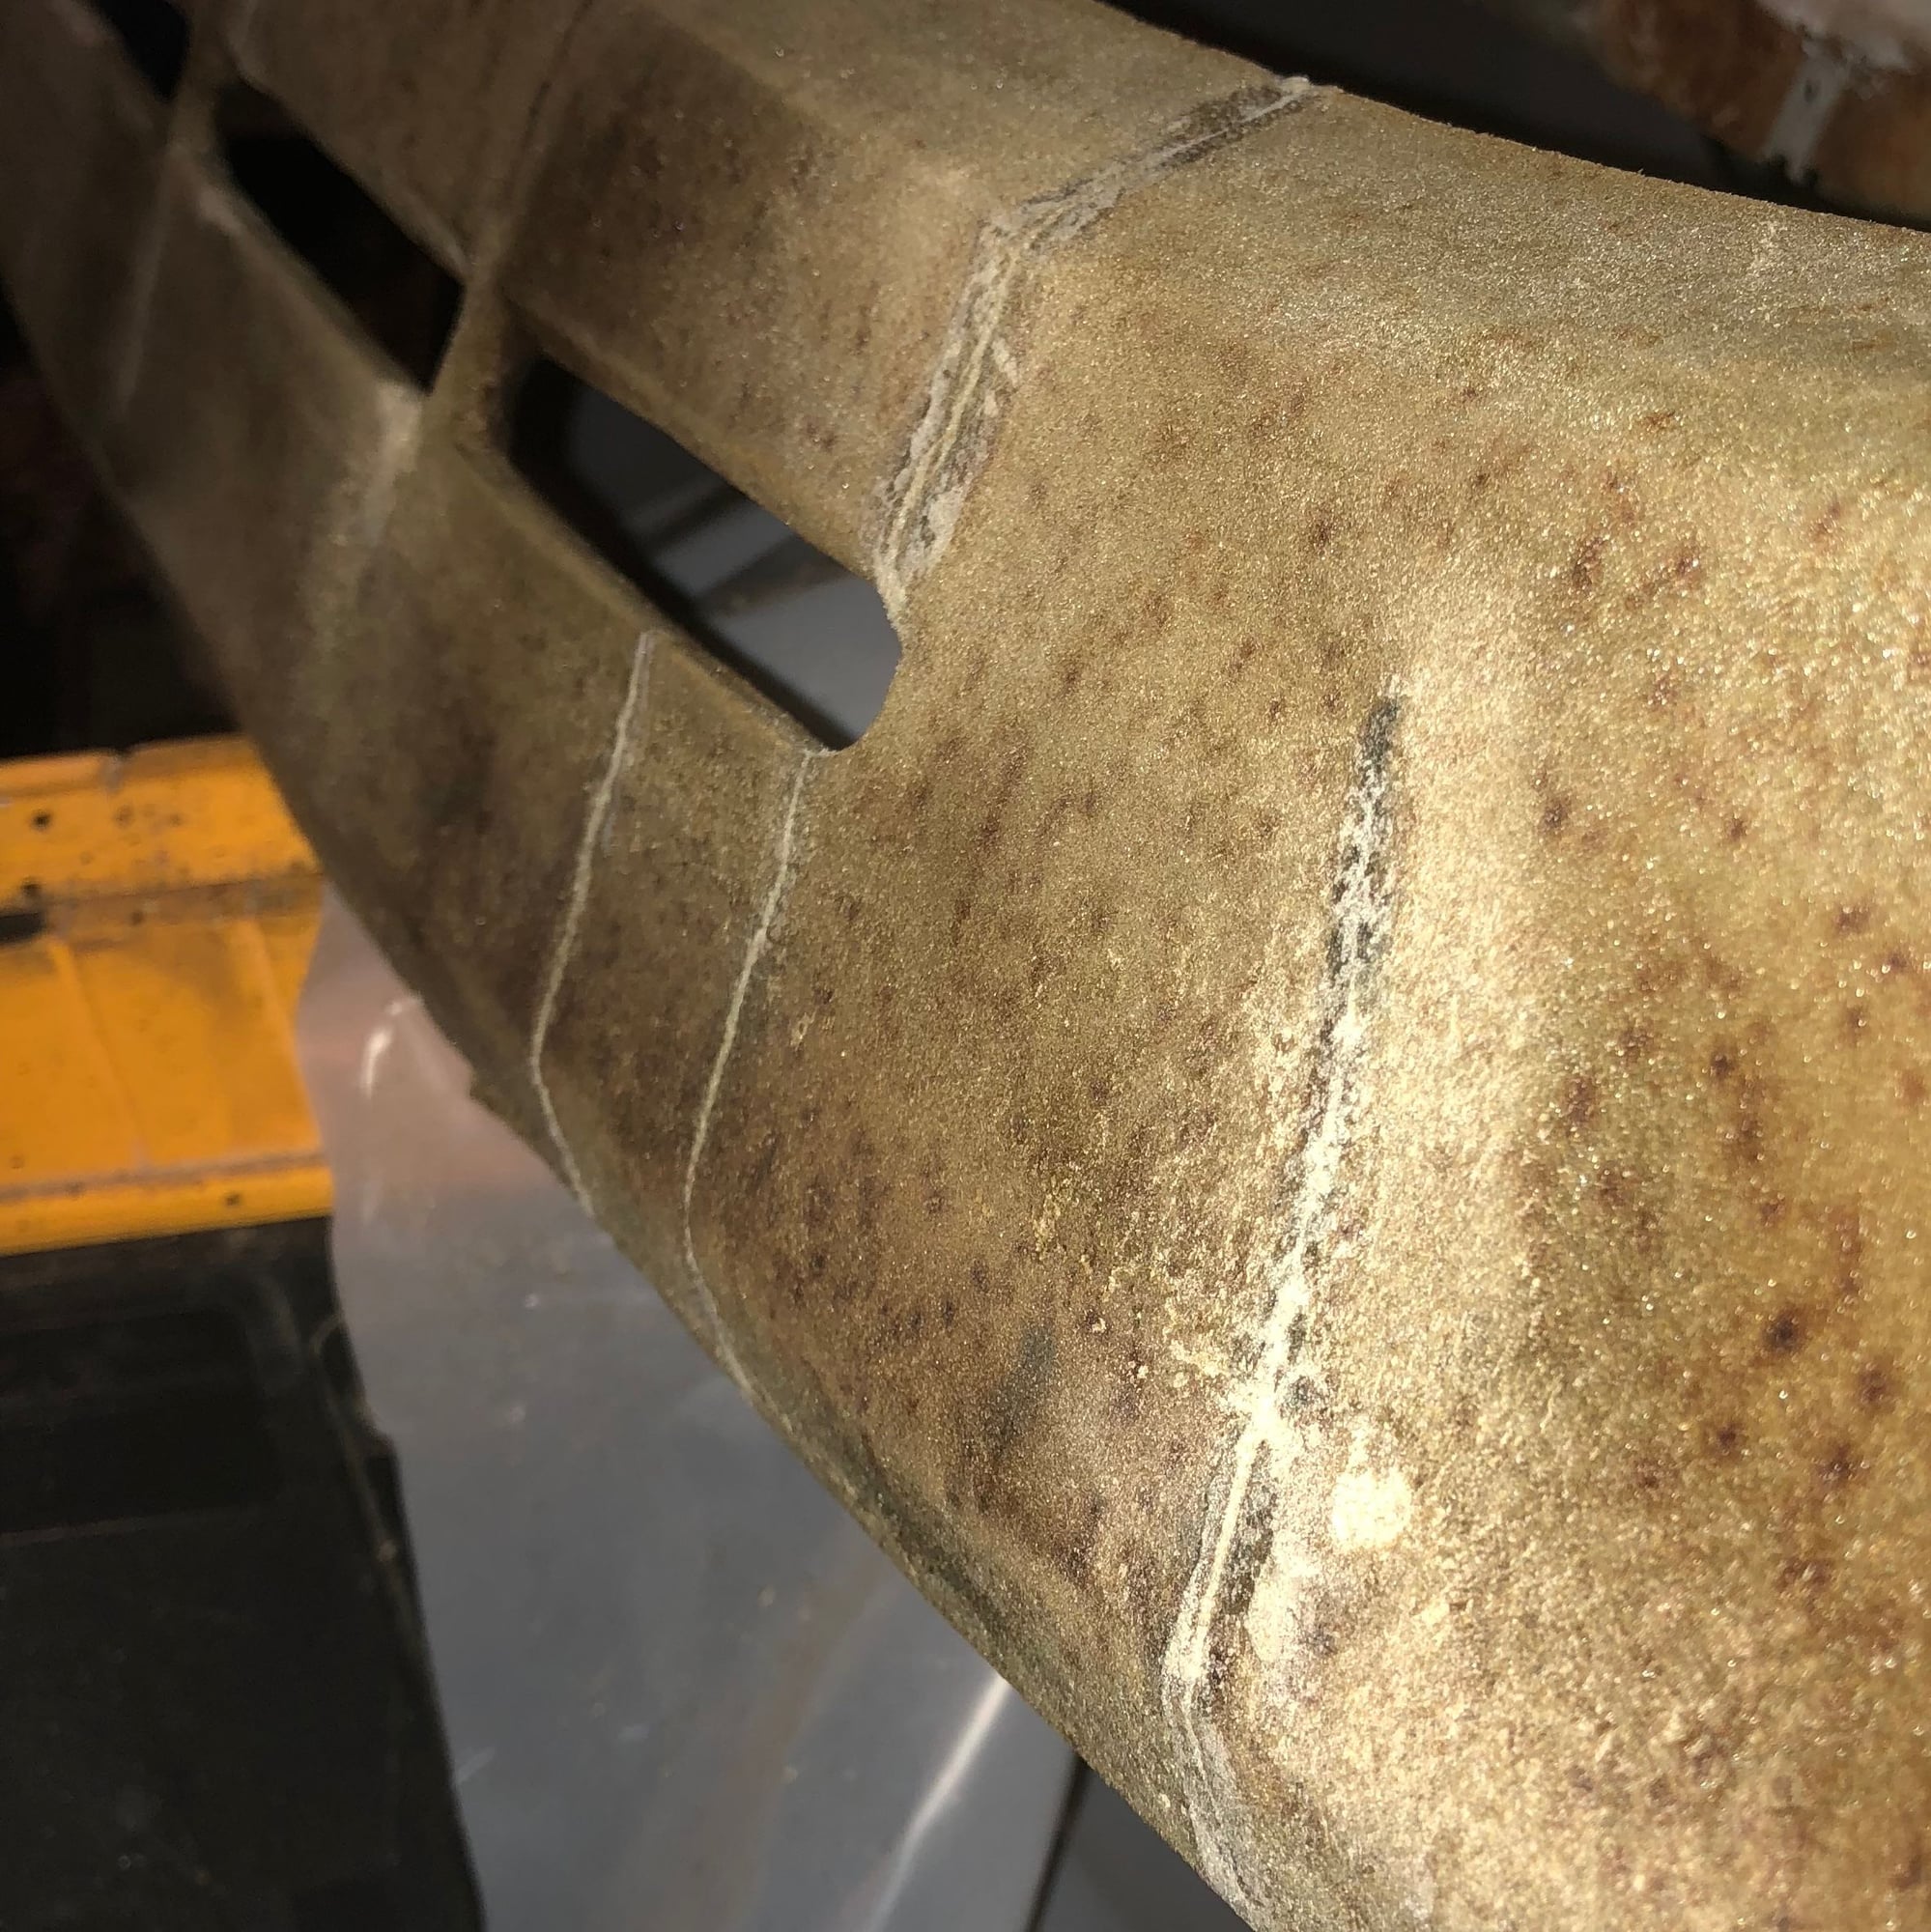
Here hs the sanded crack. I used 100 grit and it looks find. Be sure to not use too much pressure while sanding. It will create heat and cause to abrasion on the dash foam.
Last edited by Michael Benno; 10-19-2017 at 05:55 PM.
Reason: more pictures
for a possible source. The term "4 way stretch" is deceiving -- it really just stretches in "both directions". Would take 4 hands to concurrently stretch it in 2 directions I guess.
I might also start somewhere cheap and easy and local like Joann's Fabrics. That way you can verify the surface texture and graining is what you have in mind.
If you are going to let your local auto upholstery guy do the actual steam-stretching and glue-up, buy the materials from him. That way he can warranty the project for you. He'll have the right glue too. That common 3M 77 or 90 spray adhesive is probably not quite up to the task if the car will sit out in the sun. At all. Ever.
After watching a bunch of videos from these guys, I got a good sense of how to fit all the shapes and contours. I thought about doing some experimenting over the weekend.
I went to JoAnne Fabrics today. They didn't have anything would match or would be something to experiment with. I think the key is getting the correct material, having the correct tools, and probably a bunch of skill in working the material in different ways. I feel pretty confident in doing something simple like the glove box or the pod. The dash poses some interesting challenges/
At this point I am going pause and wait until after I bring it by my upholstery Guy, as in Guy's Interior Restorations here in Portland. Based on what he advises, I my just leave it with him. Stay tuned for more info next week!
After all that prep, couldn’t you buy the already sewn and formed “skins” ? Not the plastic ones, but vinyl or leather. I have seen them on eBay for a couple of bills, and I believe a couple of our resident upholstery gurus sell them also?
After all that prep, couldn�t you buy the already sewn and formed �skins� ? Not the plastic ones, but vinyl or leather. I have seen them on eBay for a couple of bills, and I believe a couple of our resident upholstery gurus sell them also?
Thanks for the suggestions and links. My goal is to have a dash without seams. All the covers I have seen have seems in them.
Interesting option! Of course, the car is on the wrong side of the steering wheel for the AU market. Easy enough to flip it to get it right-side-up, but the pod fits in the wrong side.
Guessing they could do it for LHD cars. I'd be looking for the matching pod cover too.
I realize the eBay listing says "leather" but at what quality is it for that kind of price? Id much prefer a black vinyl that looks like leather which will last longer, or for $100 more a much higher quality leather from Rob.
Replacement kit covers will have seams. Even Robb Budd's cover kit has seams in a few places, almost undoubtedly so that DIY'ers can get it to fit. Without seams, we end up doing what is shown in those yeau-toob demo's. Steam or a hot air gun will be needed and some pretty careful stretching and fitting. As I mentioned earlier, I see the biggest challenge at the end panel transitions. I'm not sure how that would work without seams -- there would be a LOT of stretching and a few wrinkles. I don't have the luxury of a spare dash or pod to play with, so can't speak to real 928 pieces.


 10-19-2017, 01:16 AM