When you click on links to various merchants on this site and make a purchase, this can result in this site earning a commission. Affiliate programs and affiliations include, but are not limited to, the eBay Partner Network.
Did manage to get the motor in as planned. Everything worked as expected with the exception of one item.
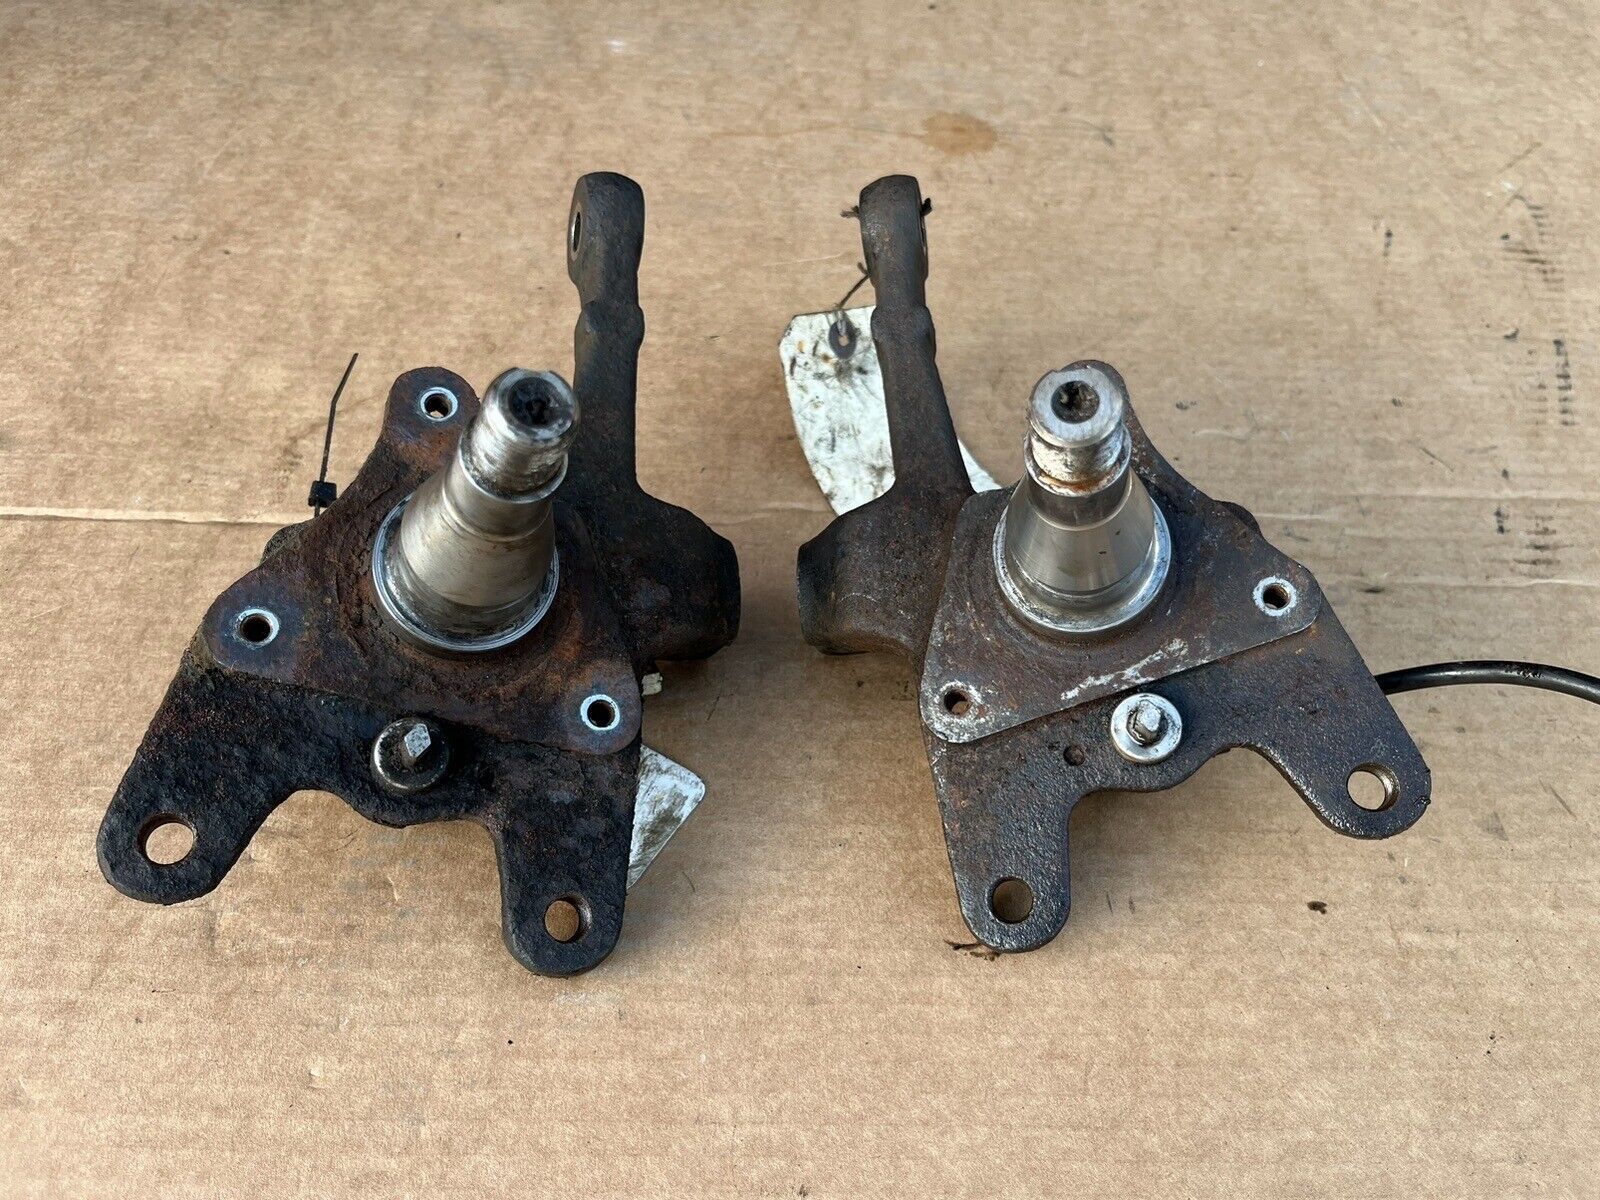
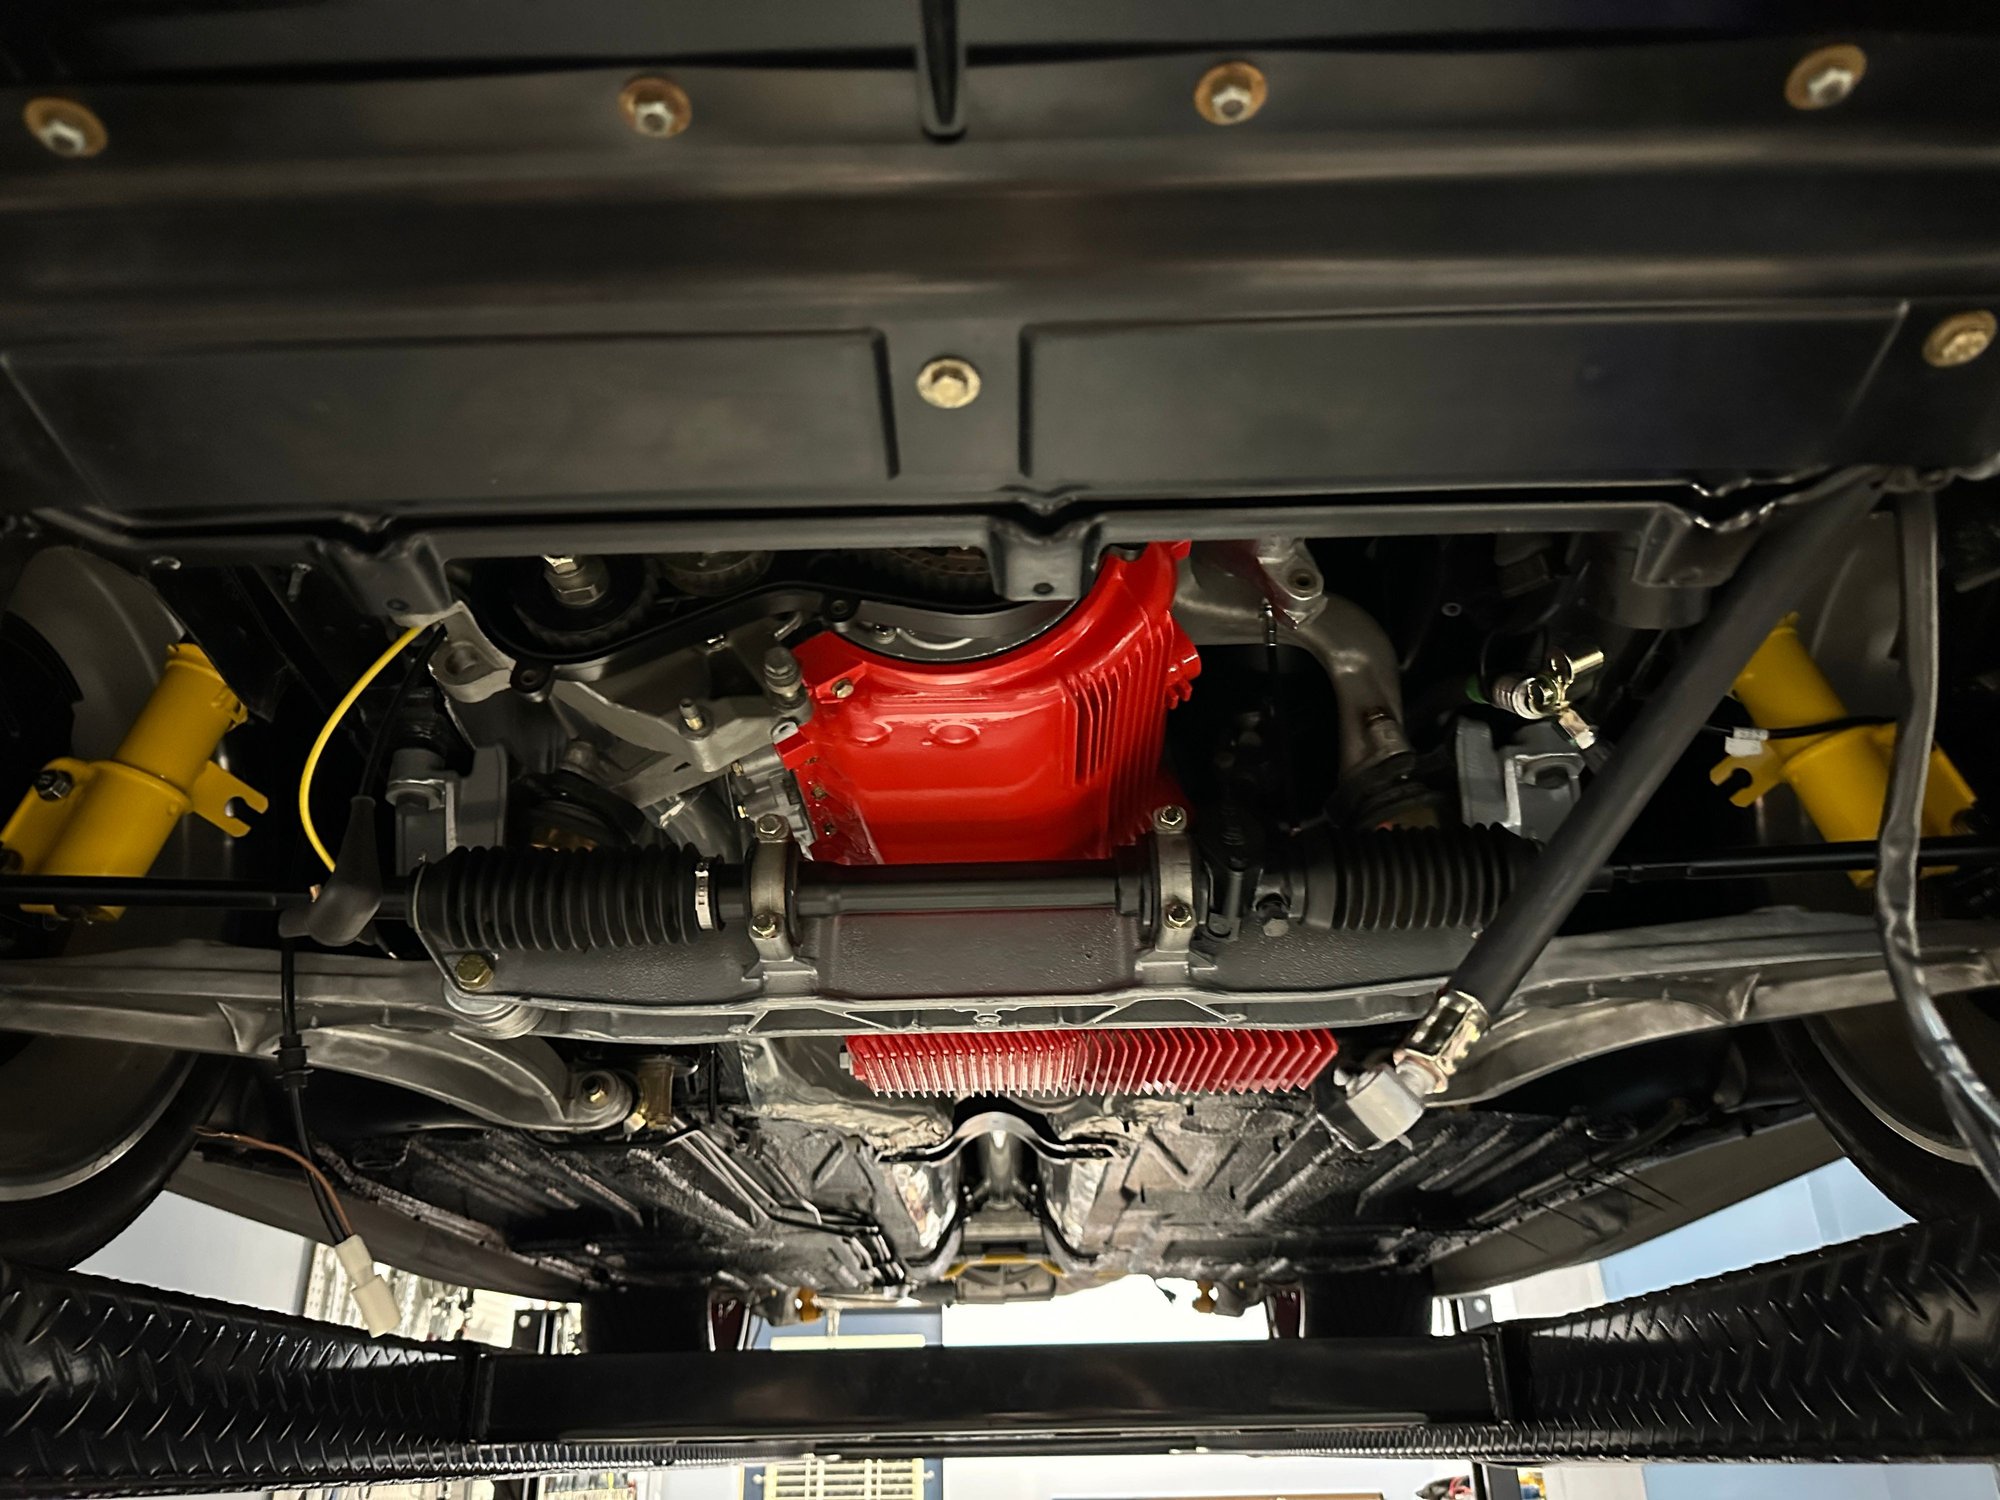
Right near the end, after putting the struts and control arms back on, I went to attach the front brake calipers for the first time, and they did not fit. It turns out the "944 Turbo front spindles" i purchased off eBay years ago (and carefully restored) are in fact just late-offset spindles for an N/A. I suppose I should have measured them when I received them at the time (I had already found a home for the car's original spindles, so they were not available to compare to). So I have to find a set of real turbo/S2 spindles and re-do that.
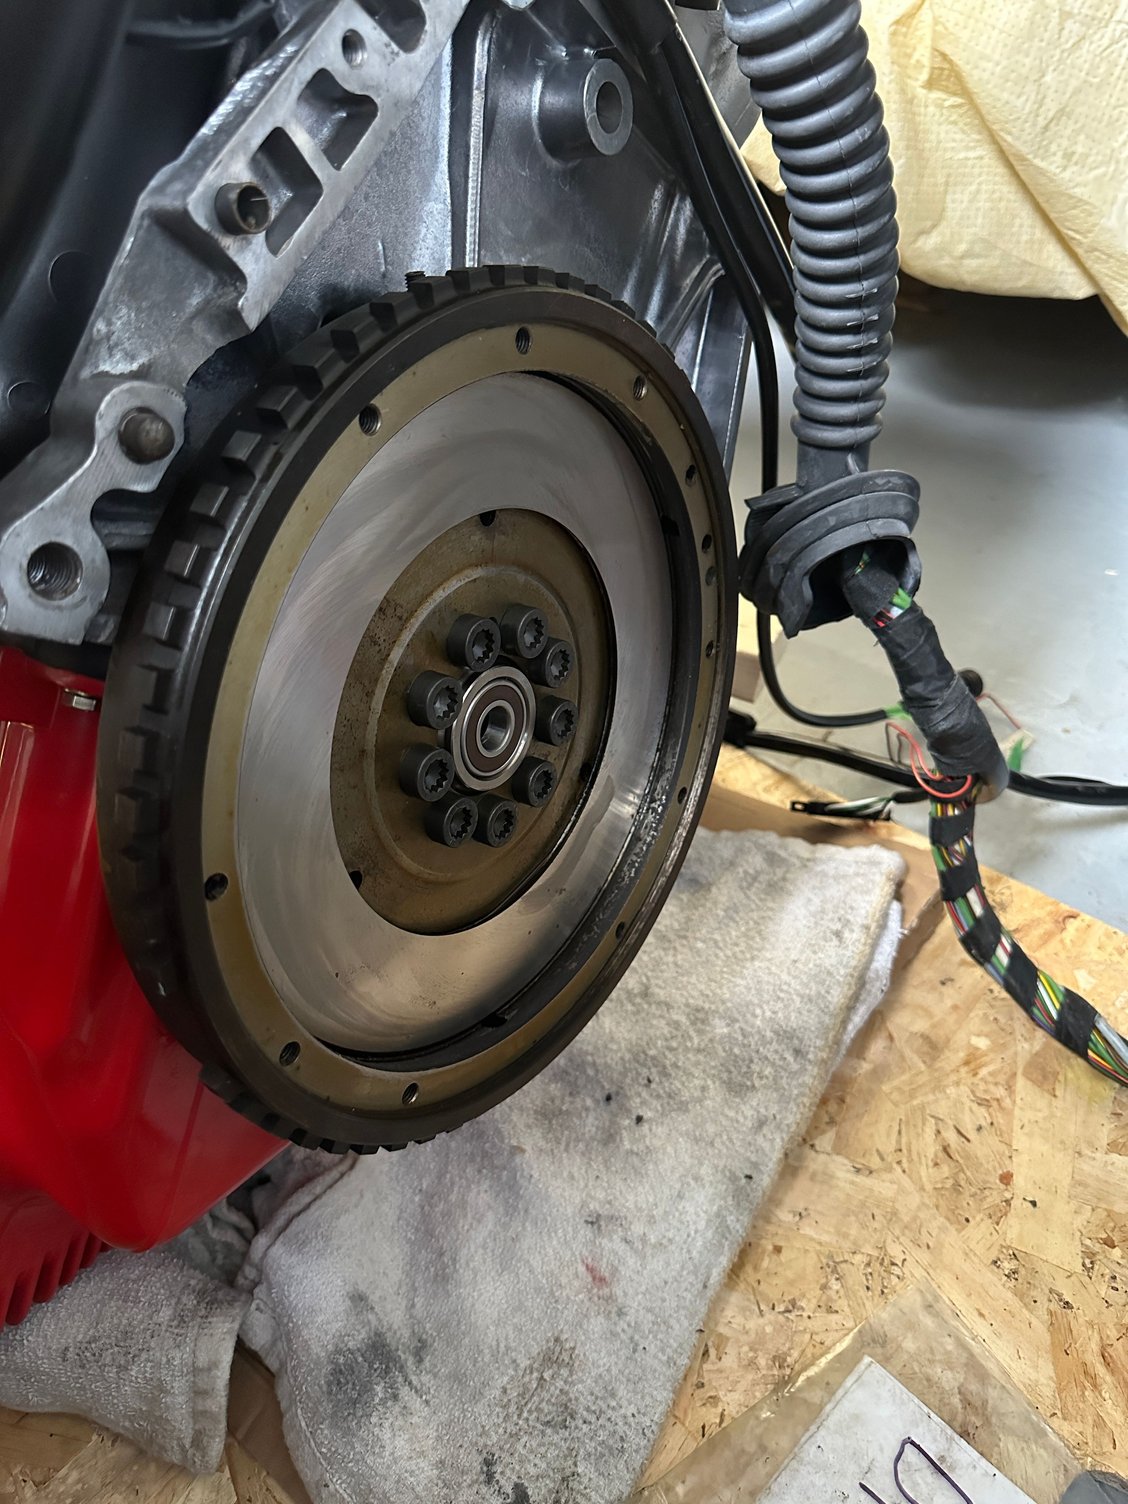
As far the as actual work went, first was installing the rear main seal, pilot bearing and flywheel after taking the engine off the stand:
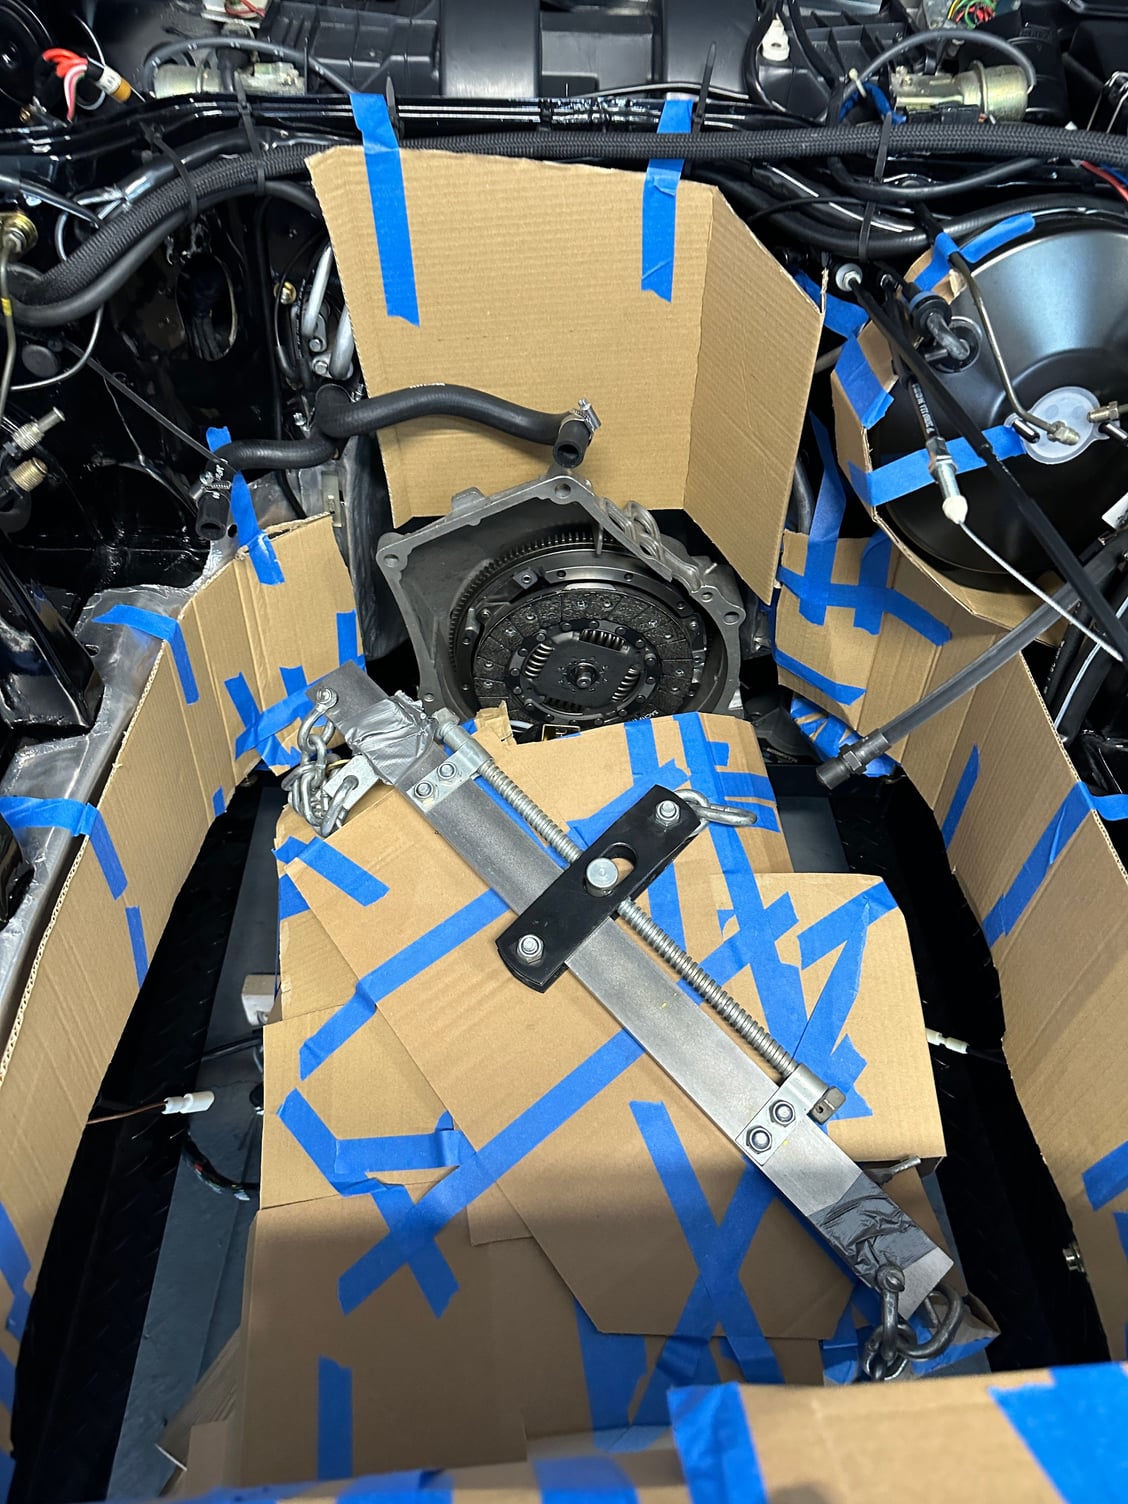
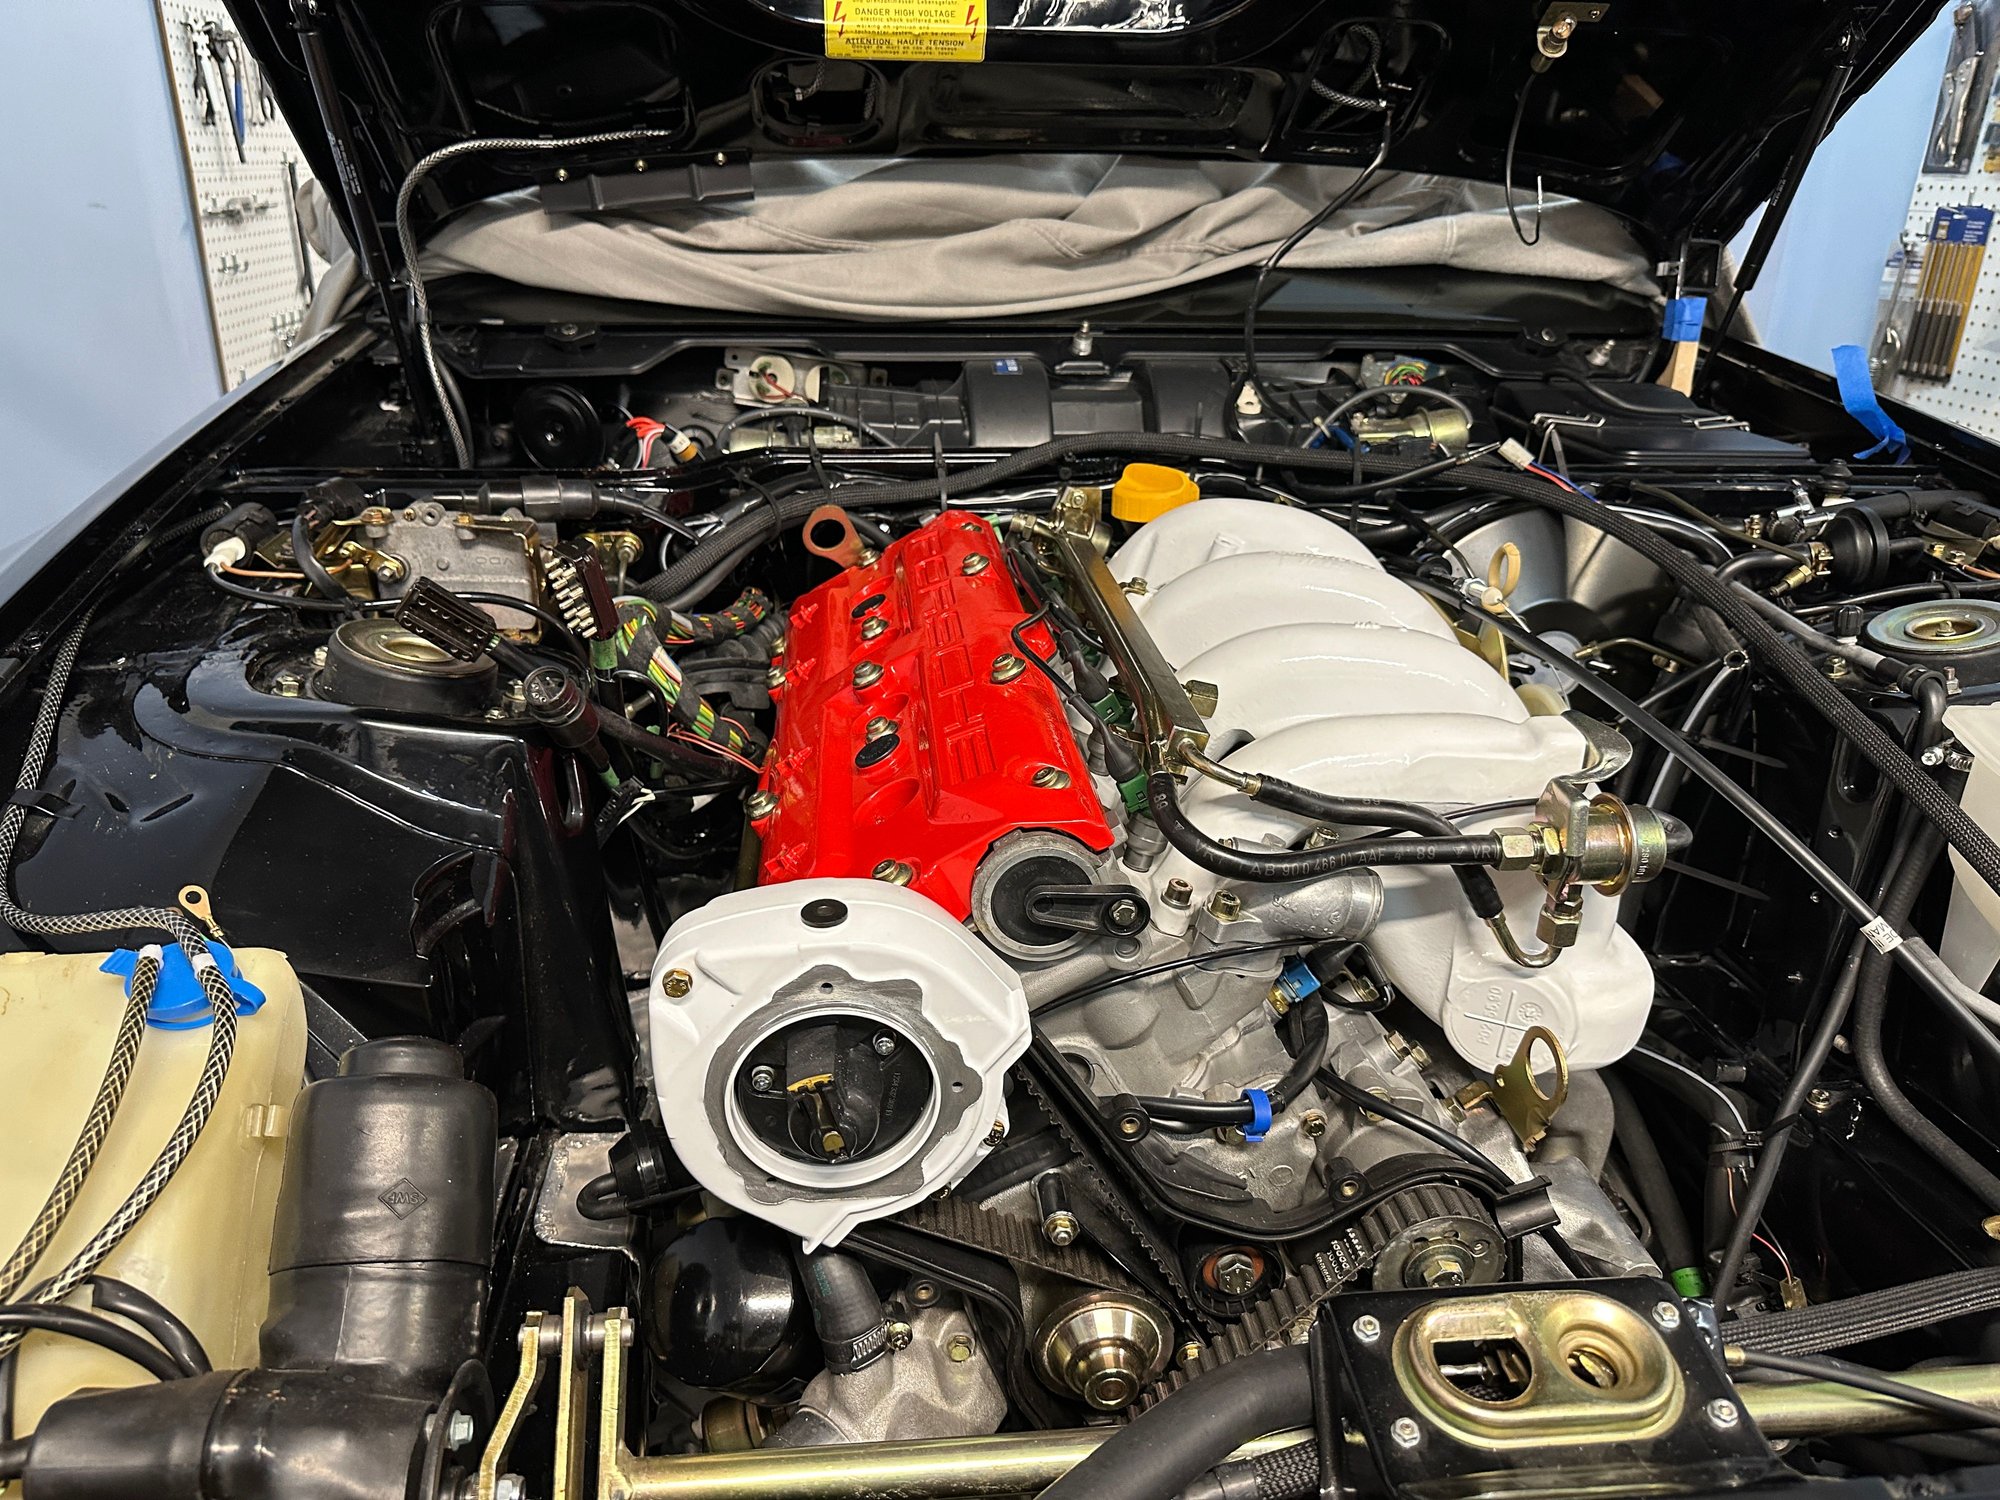
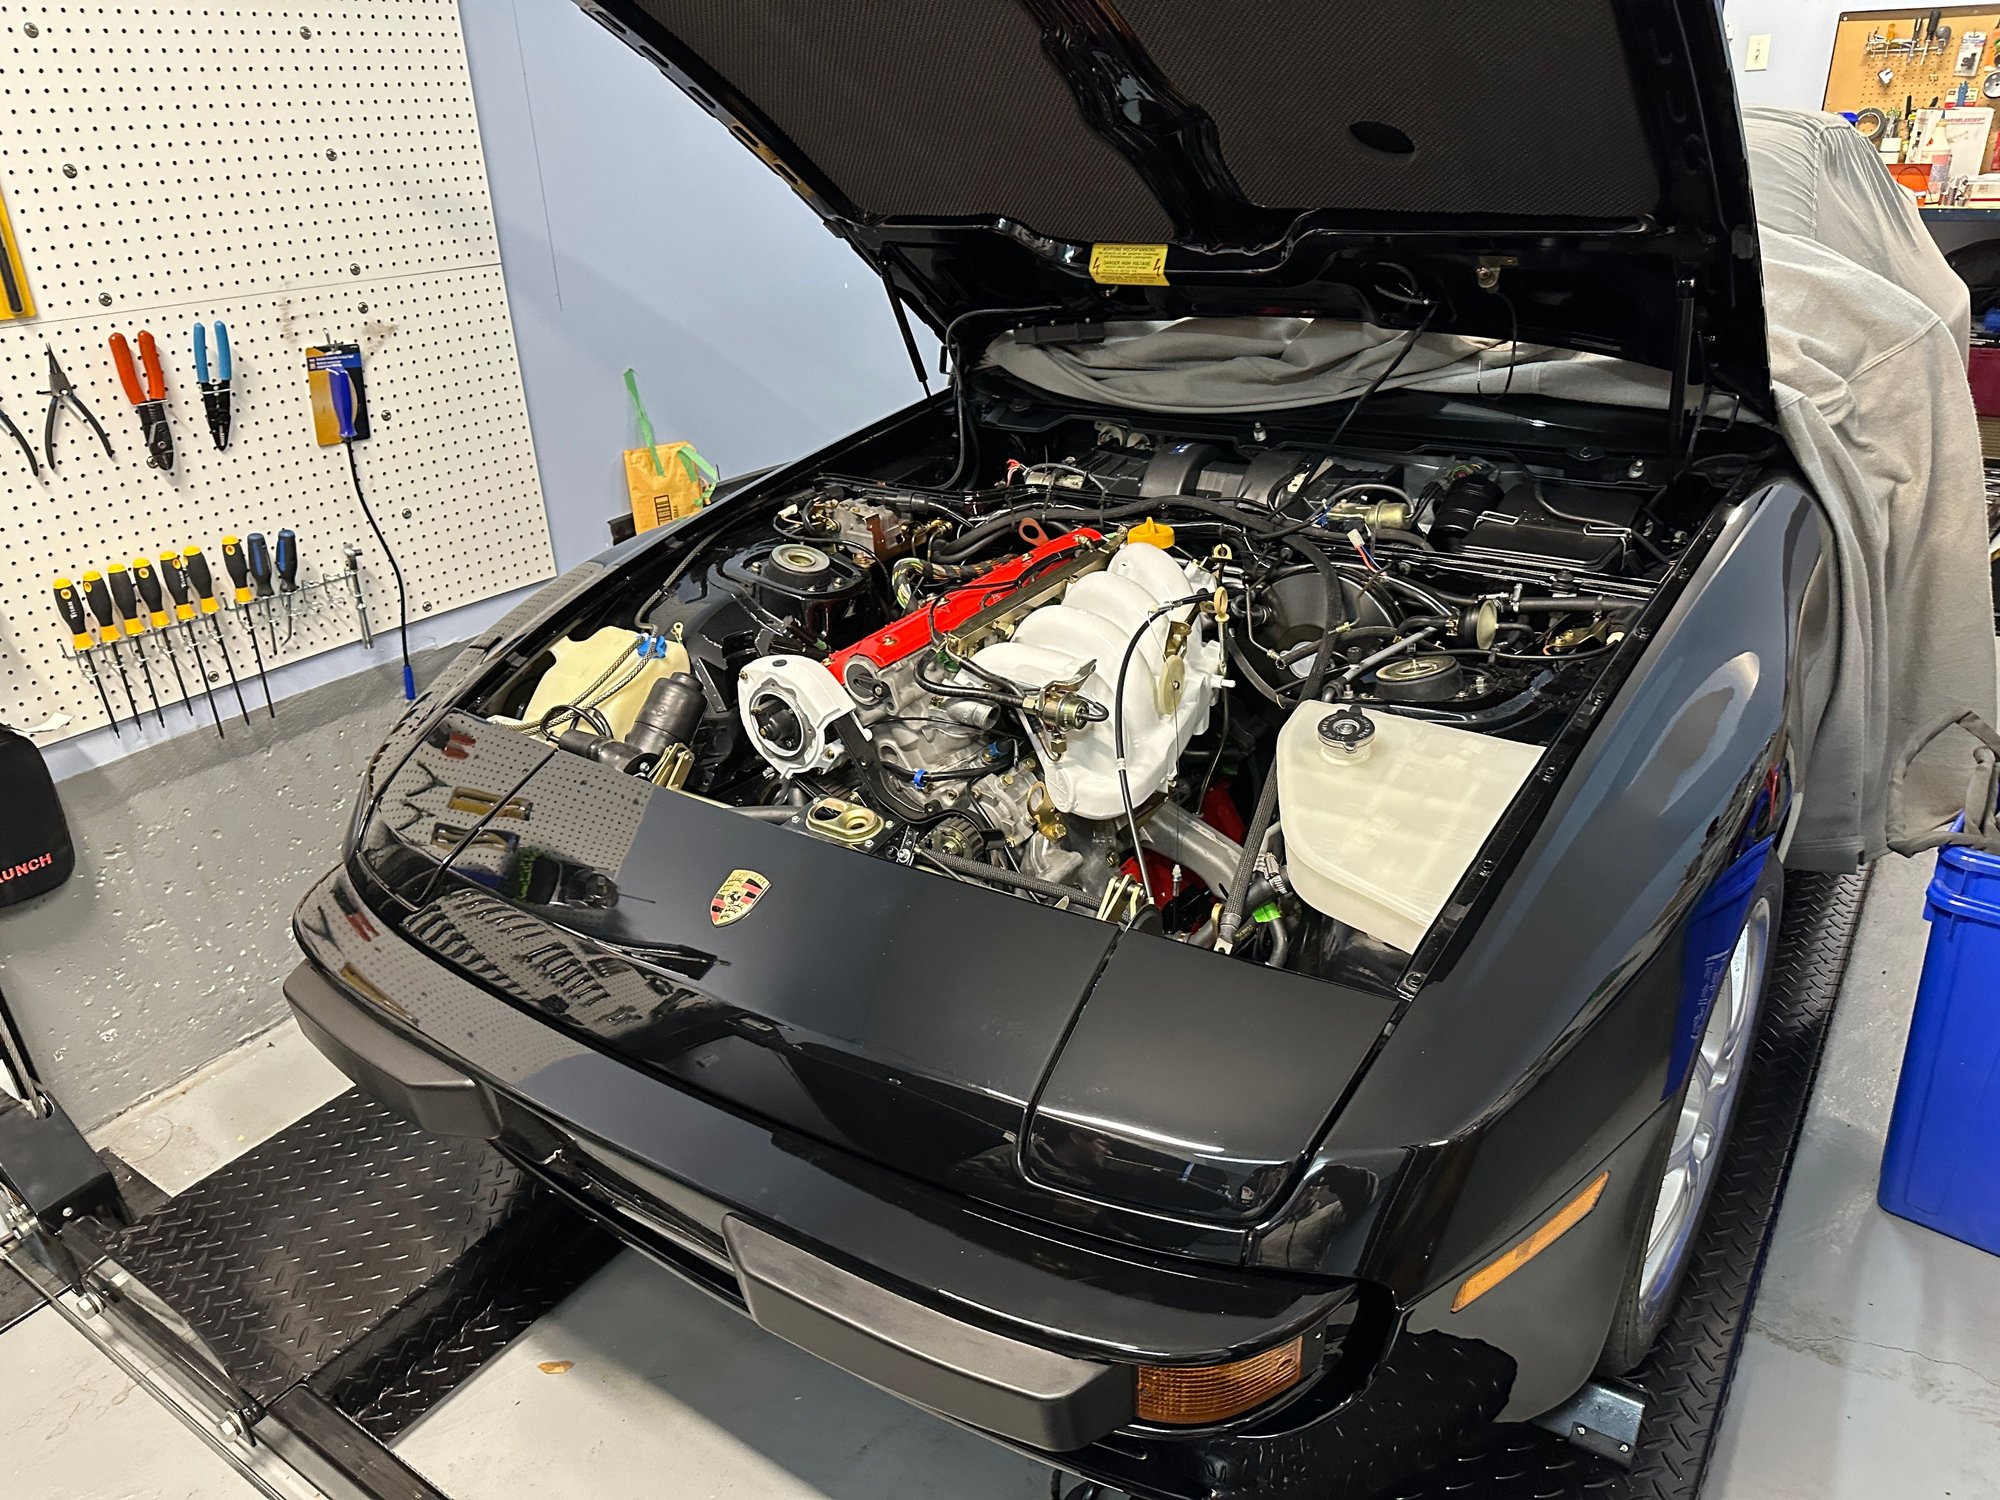
Here is the motor positioned under the car:
The clutch fork, pressure plate and disc were installed in the bell housing ahead, so it was "just" a matter of raising the engine and mating it to the bell housing:
It actually worked pretty easy, and it did not take long to get the four main bolts connected. After that, it was the motor mounts and crossmember, and then the pressure plate was connected to the flywheel, using the starter motor hole for access. Prior to installation, I numbered all the holes (1-9) in a crisscross pattern on the starter ring, so I could keep track of the tightening sequences. My son rotated the engine what seemed like a million times as we gradually got the pressure plate torqued to spec.
After that it was the steering rack and front suspension. Last thing was to mount the front calipers, at which point the issue with the spindles was discovered, which was a let down. Oh, did throw the front bumper on too.
The engine is in there, but nothing has been hooked up yet.
I actually feel pretty flat for some reason.
I need to spend a bit of time on the Subaru to finish it up, so I likely won't do too much on the 944 for a couple of weeks.
It is true that the N/A versus Turbo/S2 spindles look a lot alike, but it still was typically dumb of me to not verify!
I had actually spent quite a bit of effort prepping and powder coating them!
Ah well, even though N/A ones are worth a lot less, maybe someone will be looking for a nice set.
It will all get sorted.
As I mentioned, the Subaru needs a bit of attention to get finished, and I will switch to that for a couple of weeks. I had been waiting on updated strut bottoms for the front coilovers which arrived last week, so I will get that done and then switch back to the 944.
I am starting to feel generally better about things... I guess all the planning and organization and then the very long day to do it all took more mental energy then I realized, and in that state, the issue with the spindles felt bigger than it really is.
The whole saga with the steering knuckles has been a bit of a cluster on my end. I had started to make inquiries on available items, but then had looked closely at the photos of the ones I had, and compared them to photos of turbo/S2 knuckles online, and went so far as to try to scale measurements off of the screen and ended up thinking that the knuckles I had were in fact fine, but I had just been too tired when putting the brake calipers on. It was sort of hard to quickly check, as the car was up on a hoist with another car under it.
Once I was able to re-check it, I was able to confirm that 100% for sure, the knuckles I had did not work with the 300 mm rotors and turbo brake brakes.
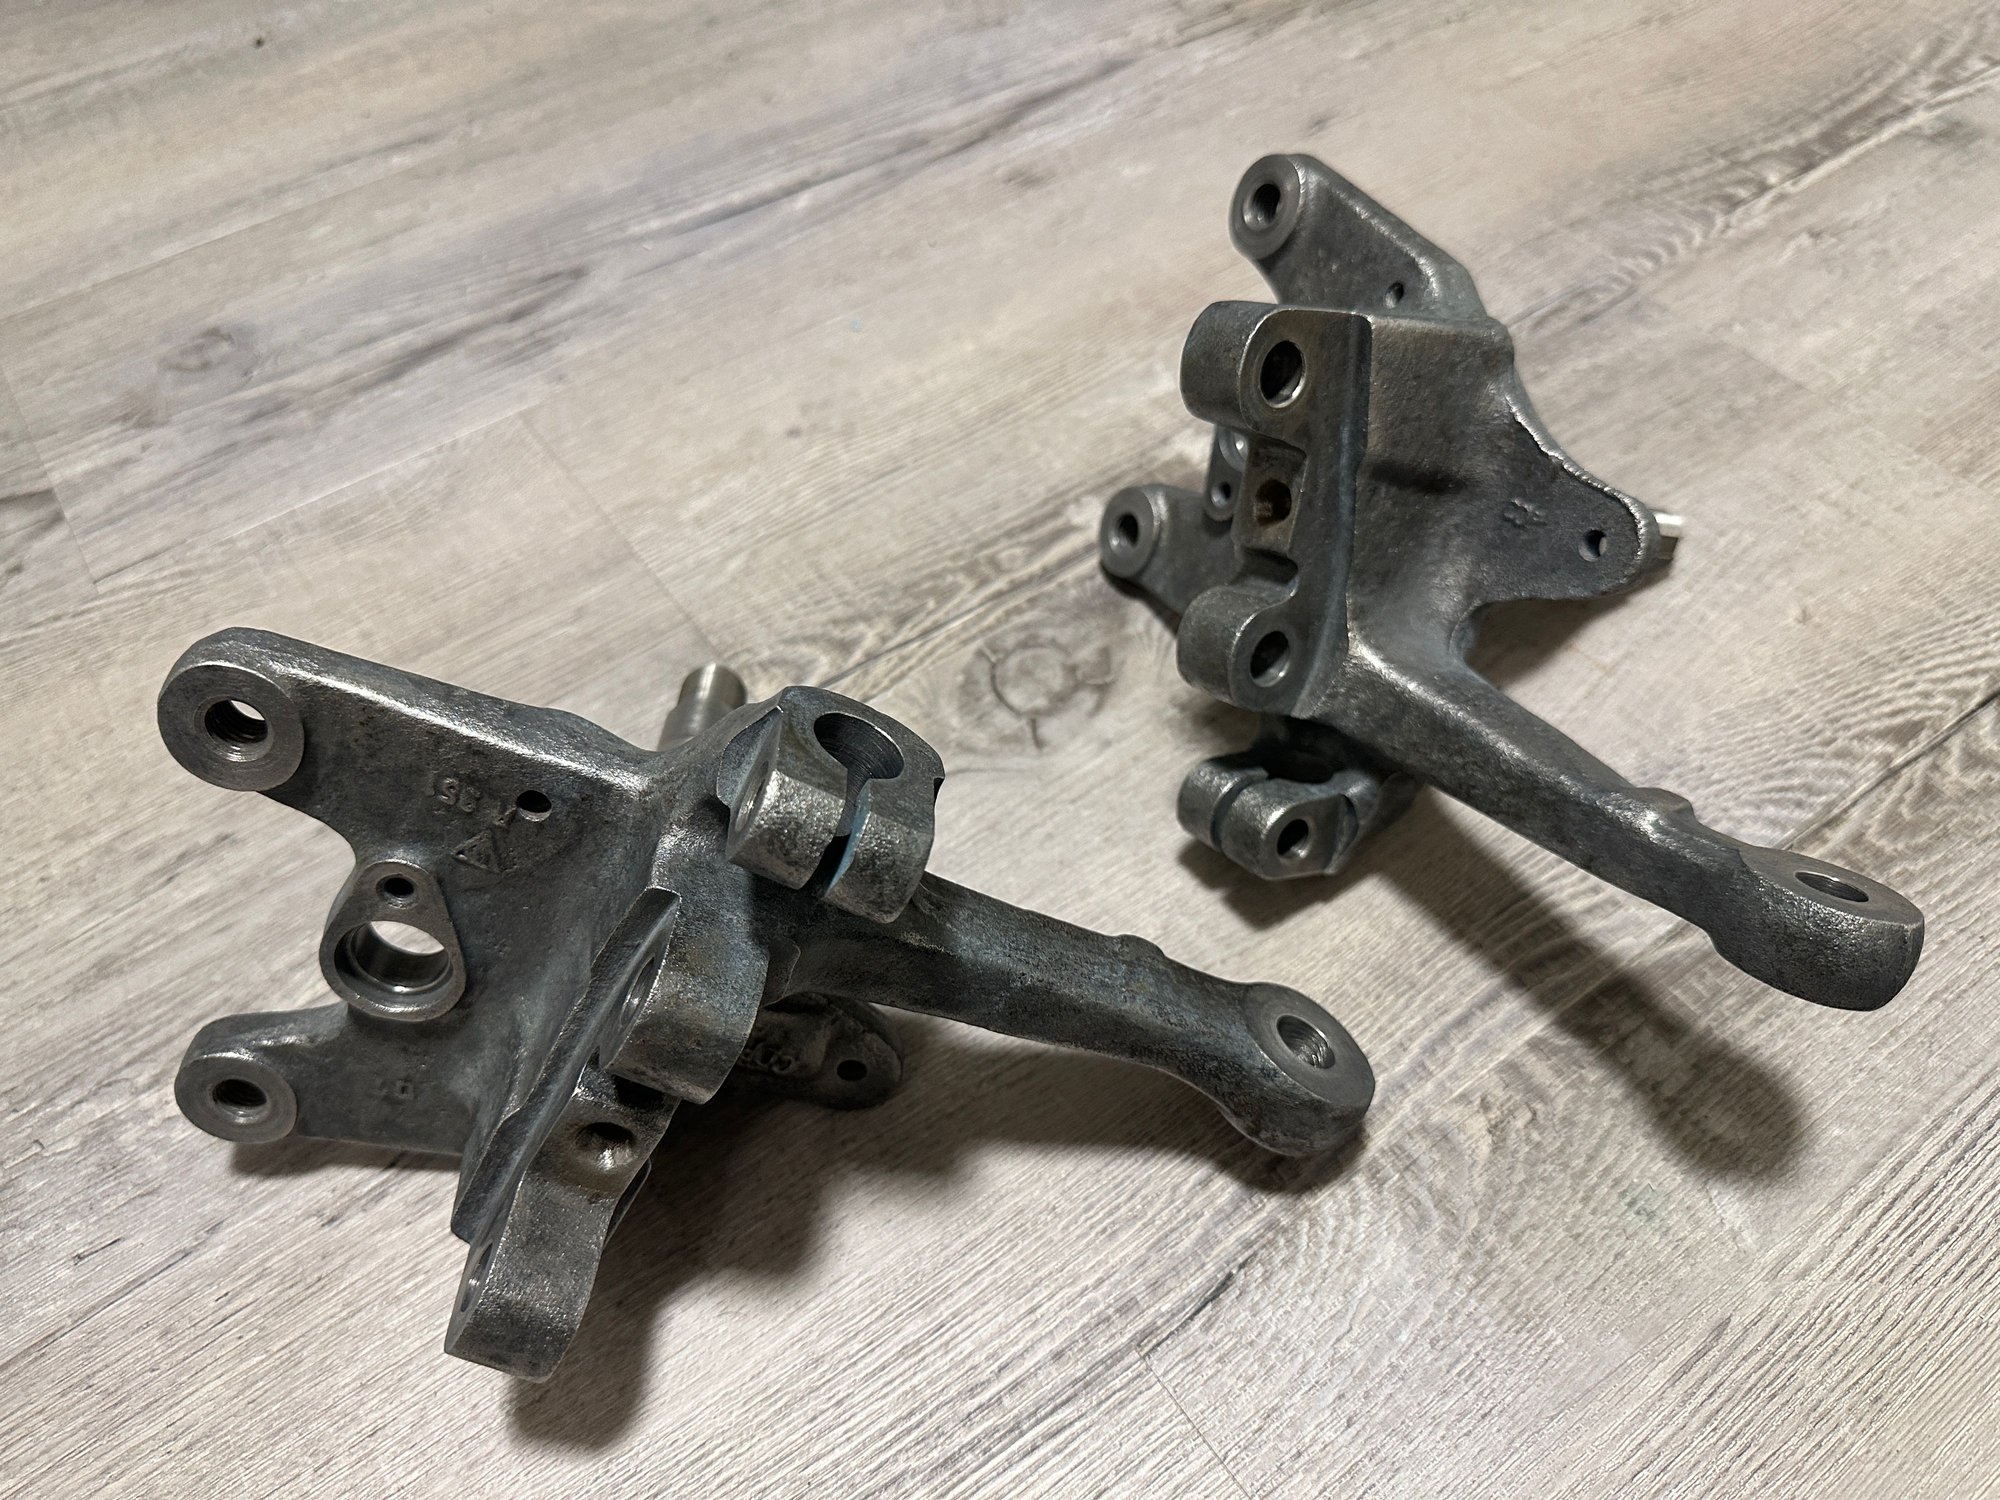
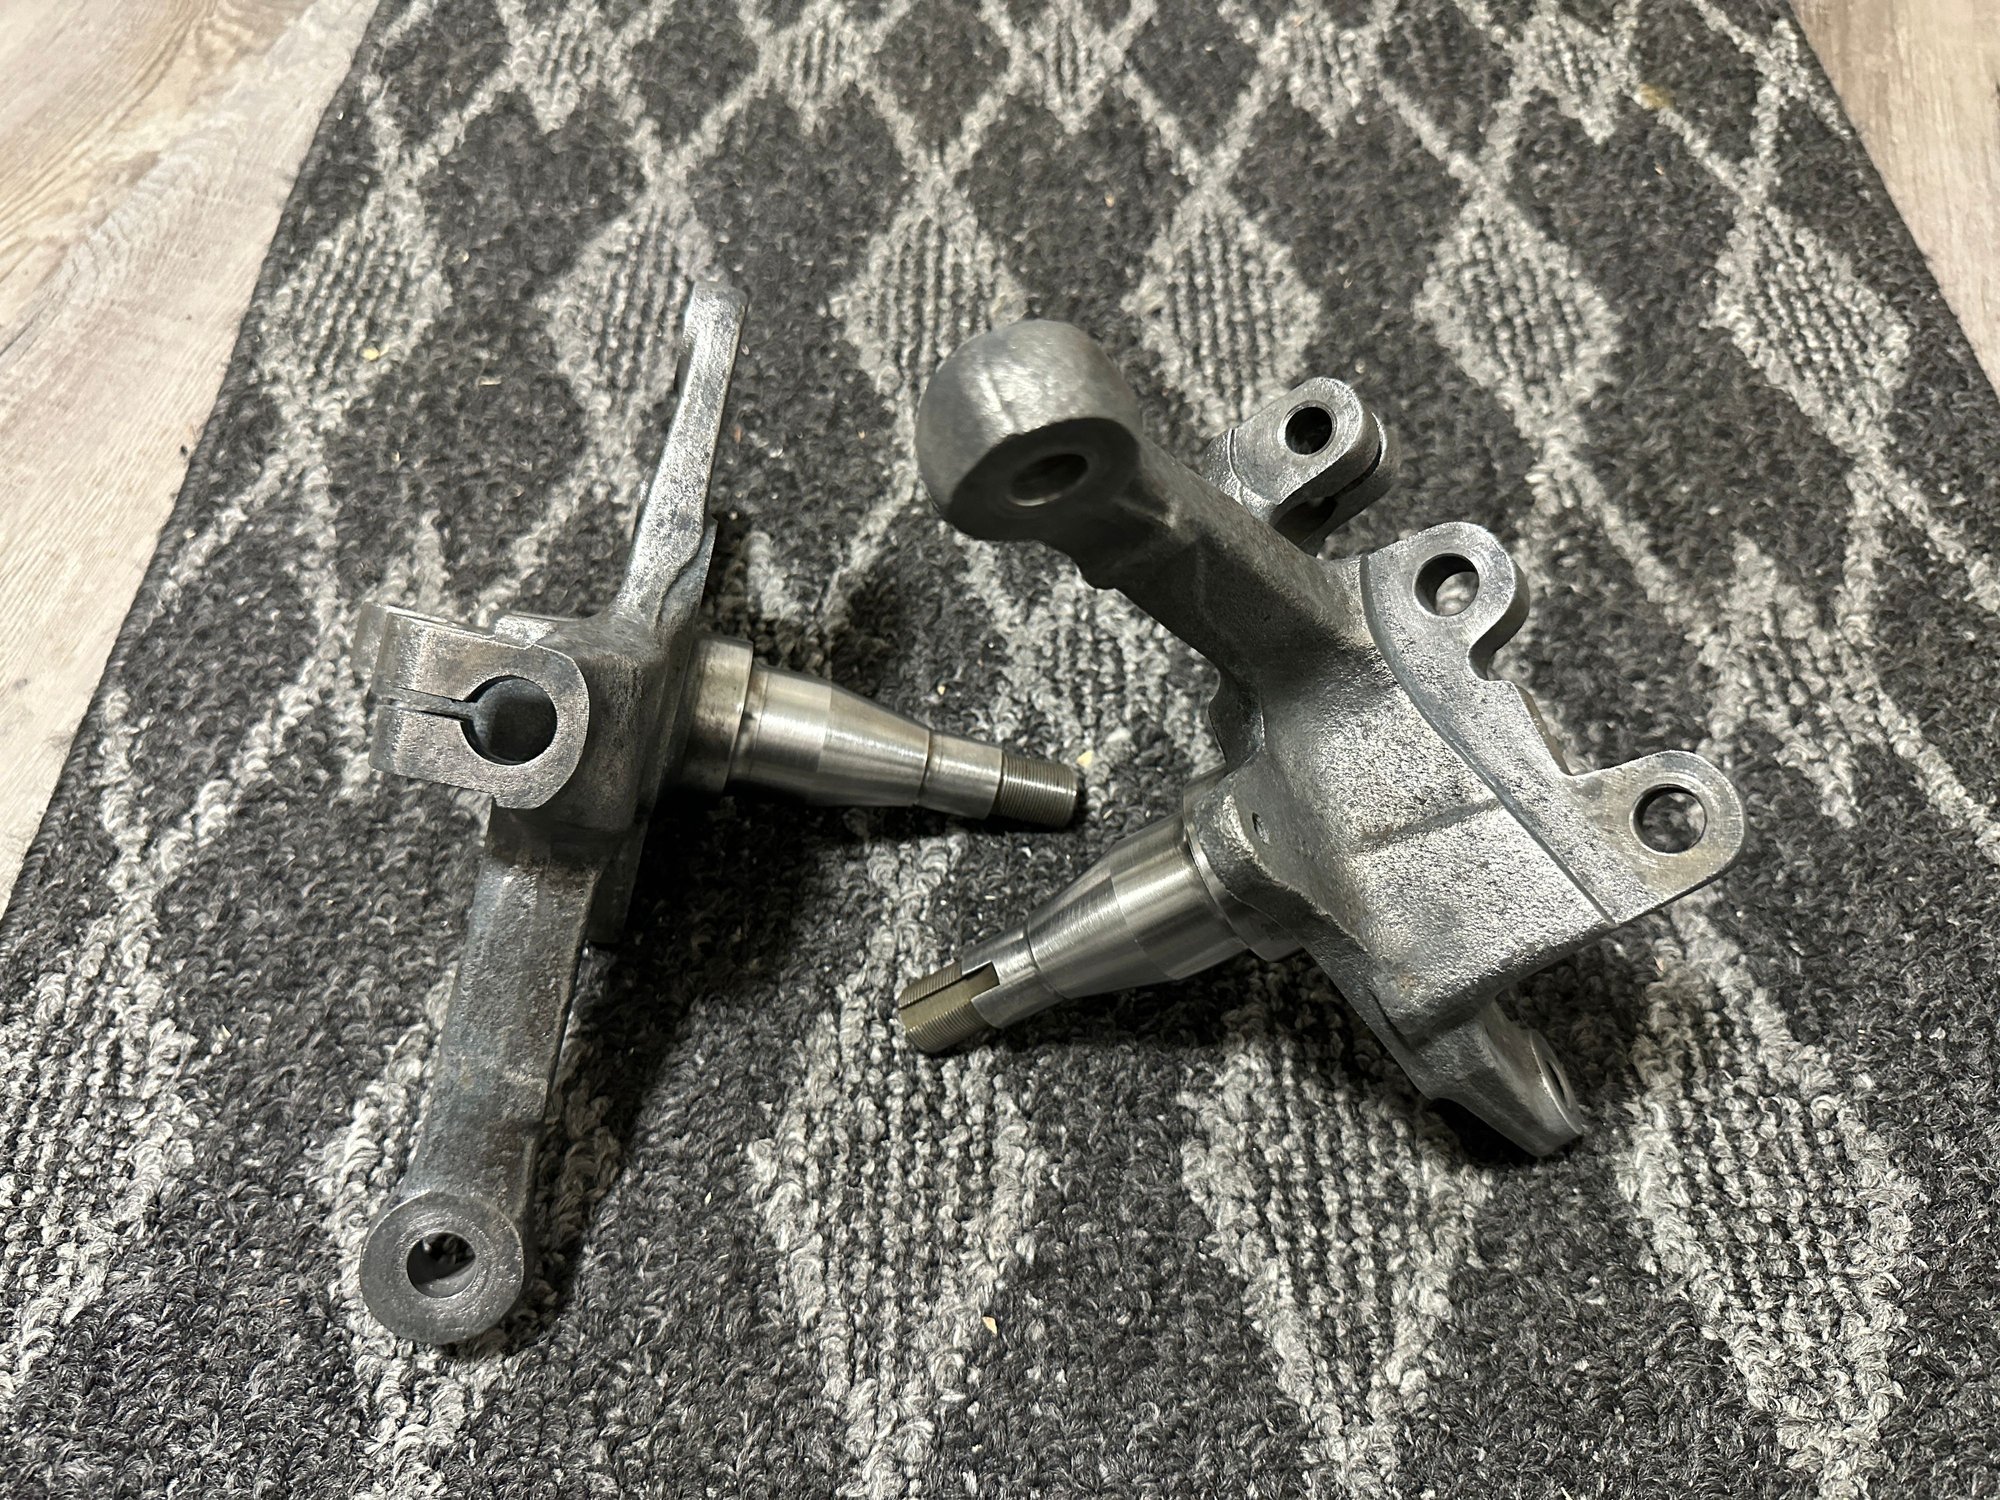
Back to trying to source them, but in the meantime a set of S2 knuckles had popped up online at a fair price. The seller provided a lot of photos where I could see there were no ridges or damage on the spindle portions, so I went ahead and picked them up.
Once I had them in hand, the first thing I did was bolt a caliper in to see if the necessary room for the rotor is available, and it looked fine. Even though, the new knuckles look the same as the other ones.
Now I have removed the corrosion from the outer bodies in preparation for painting (2K epoxy prime plus 2K satin black). I plan to do the painting this weekend in conjunction with a few other odds and ends, including the wiper arms, which I hope to restore to a decent finish.
Most of the time lately has been dedicated to the Subaru, which is getting close to done.
Been mostly working on finishing up the Subaru, and am almost finally done with that.
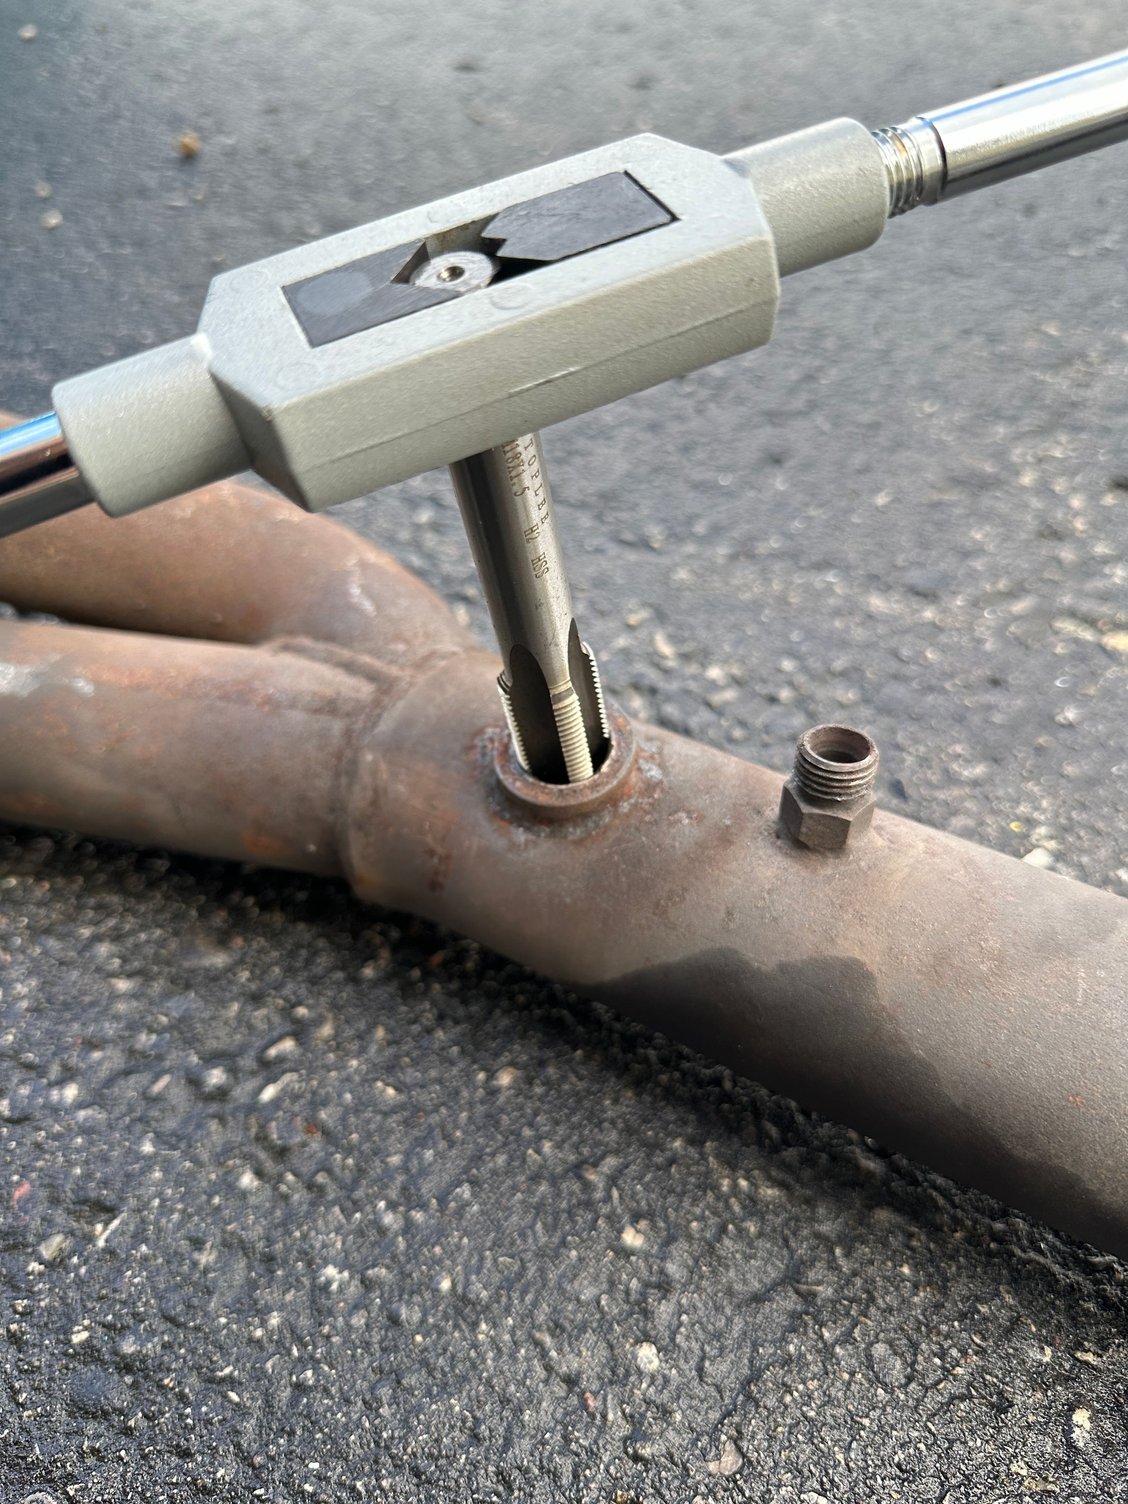
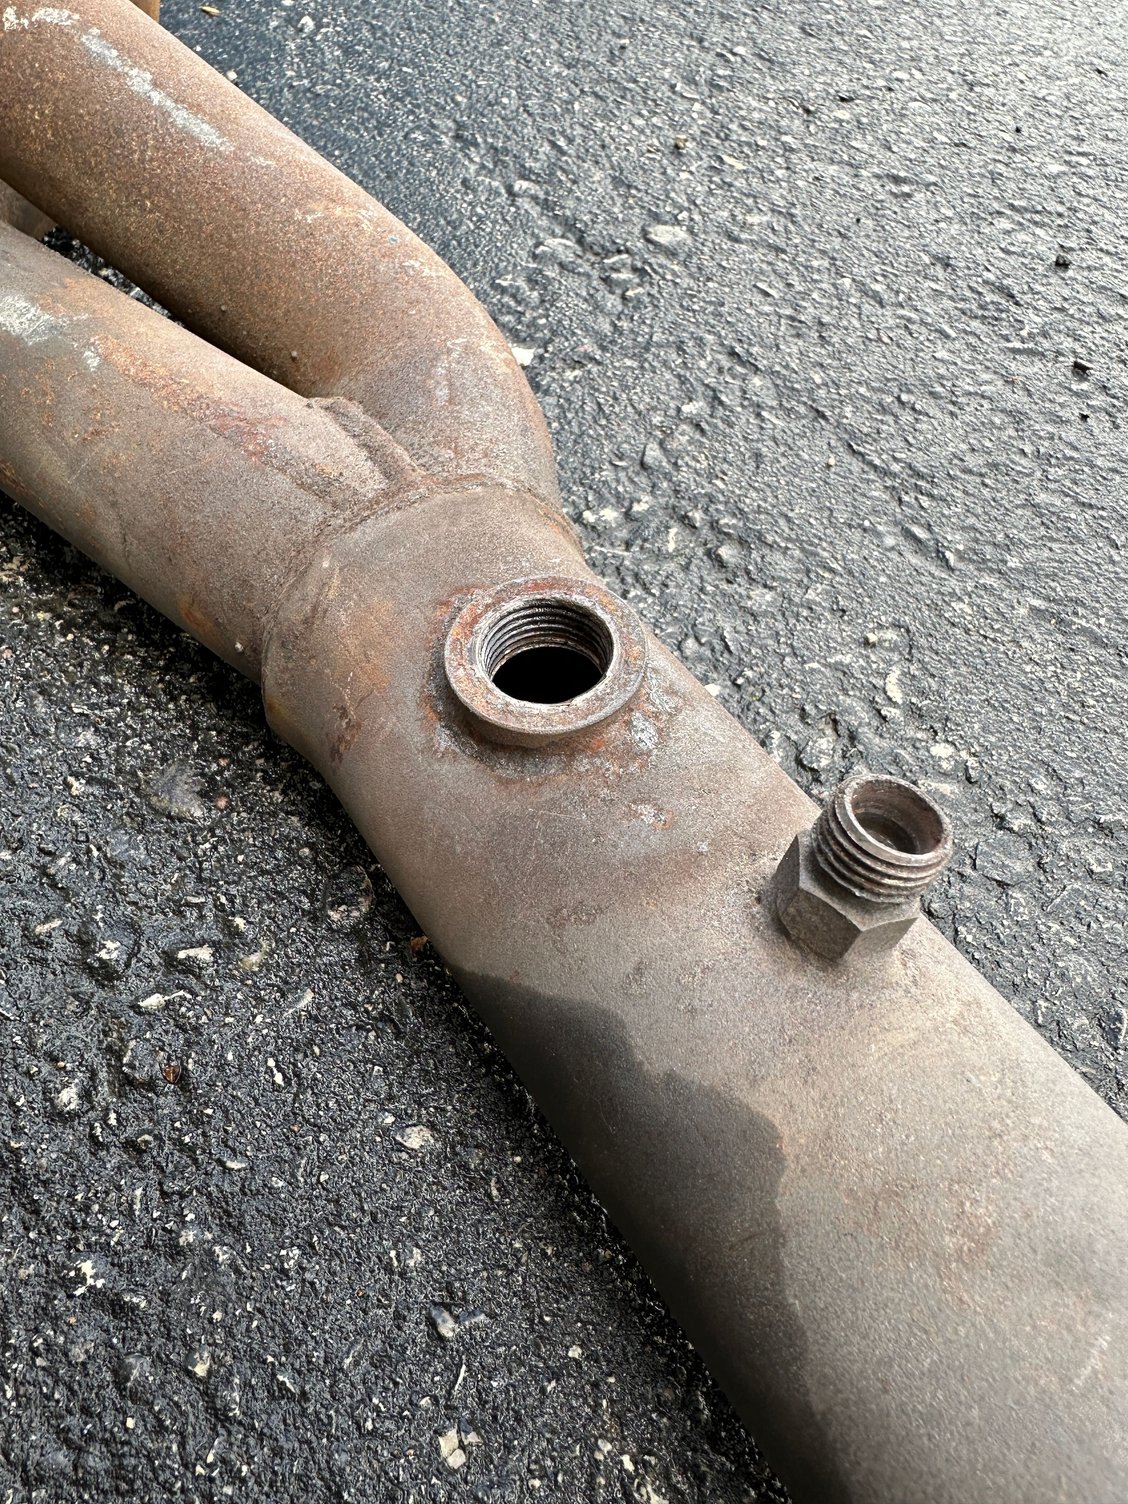
A few bits of progress on the 944 though. After I had been educated about how the midpipe that was on the car was not OEM, and visually very simplified in terms of design (tube length ahead of the collector), I started hunting for a decent OEM replacement. New items are very expensive, but I found one which I think is pretty decent.
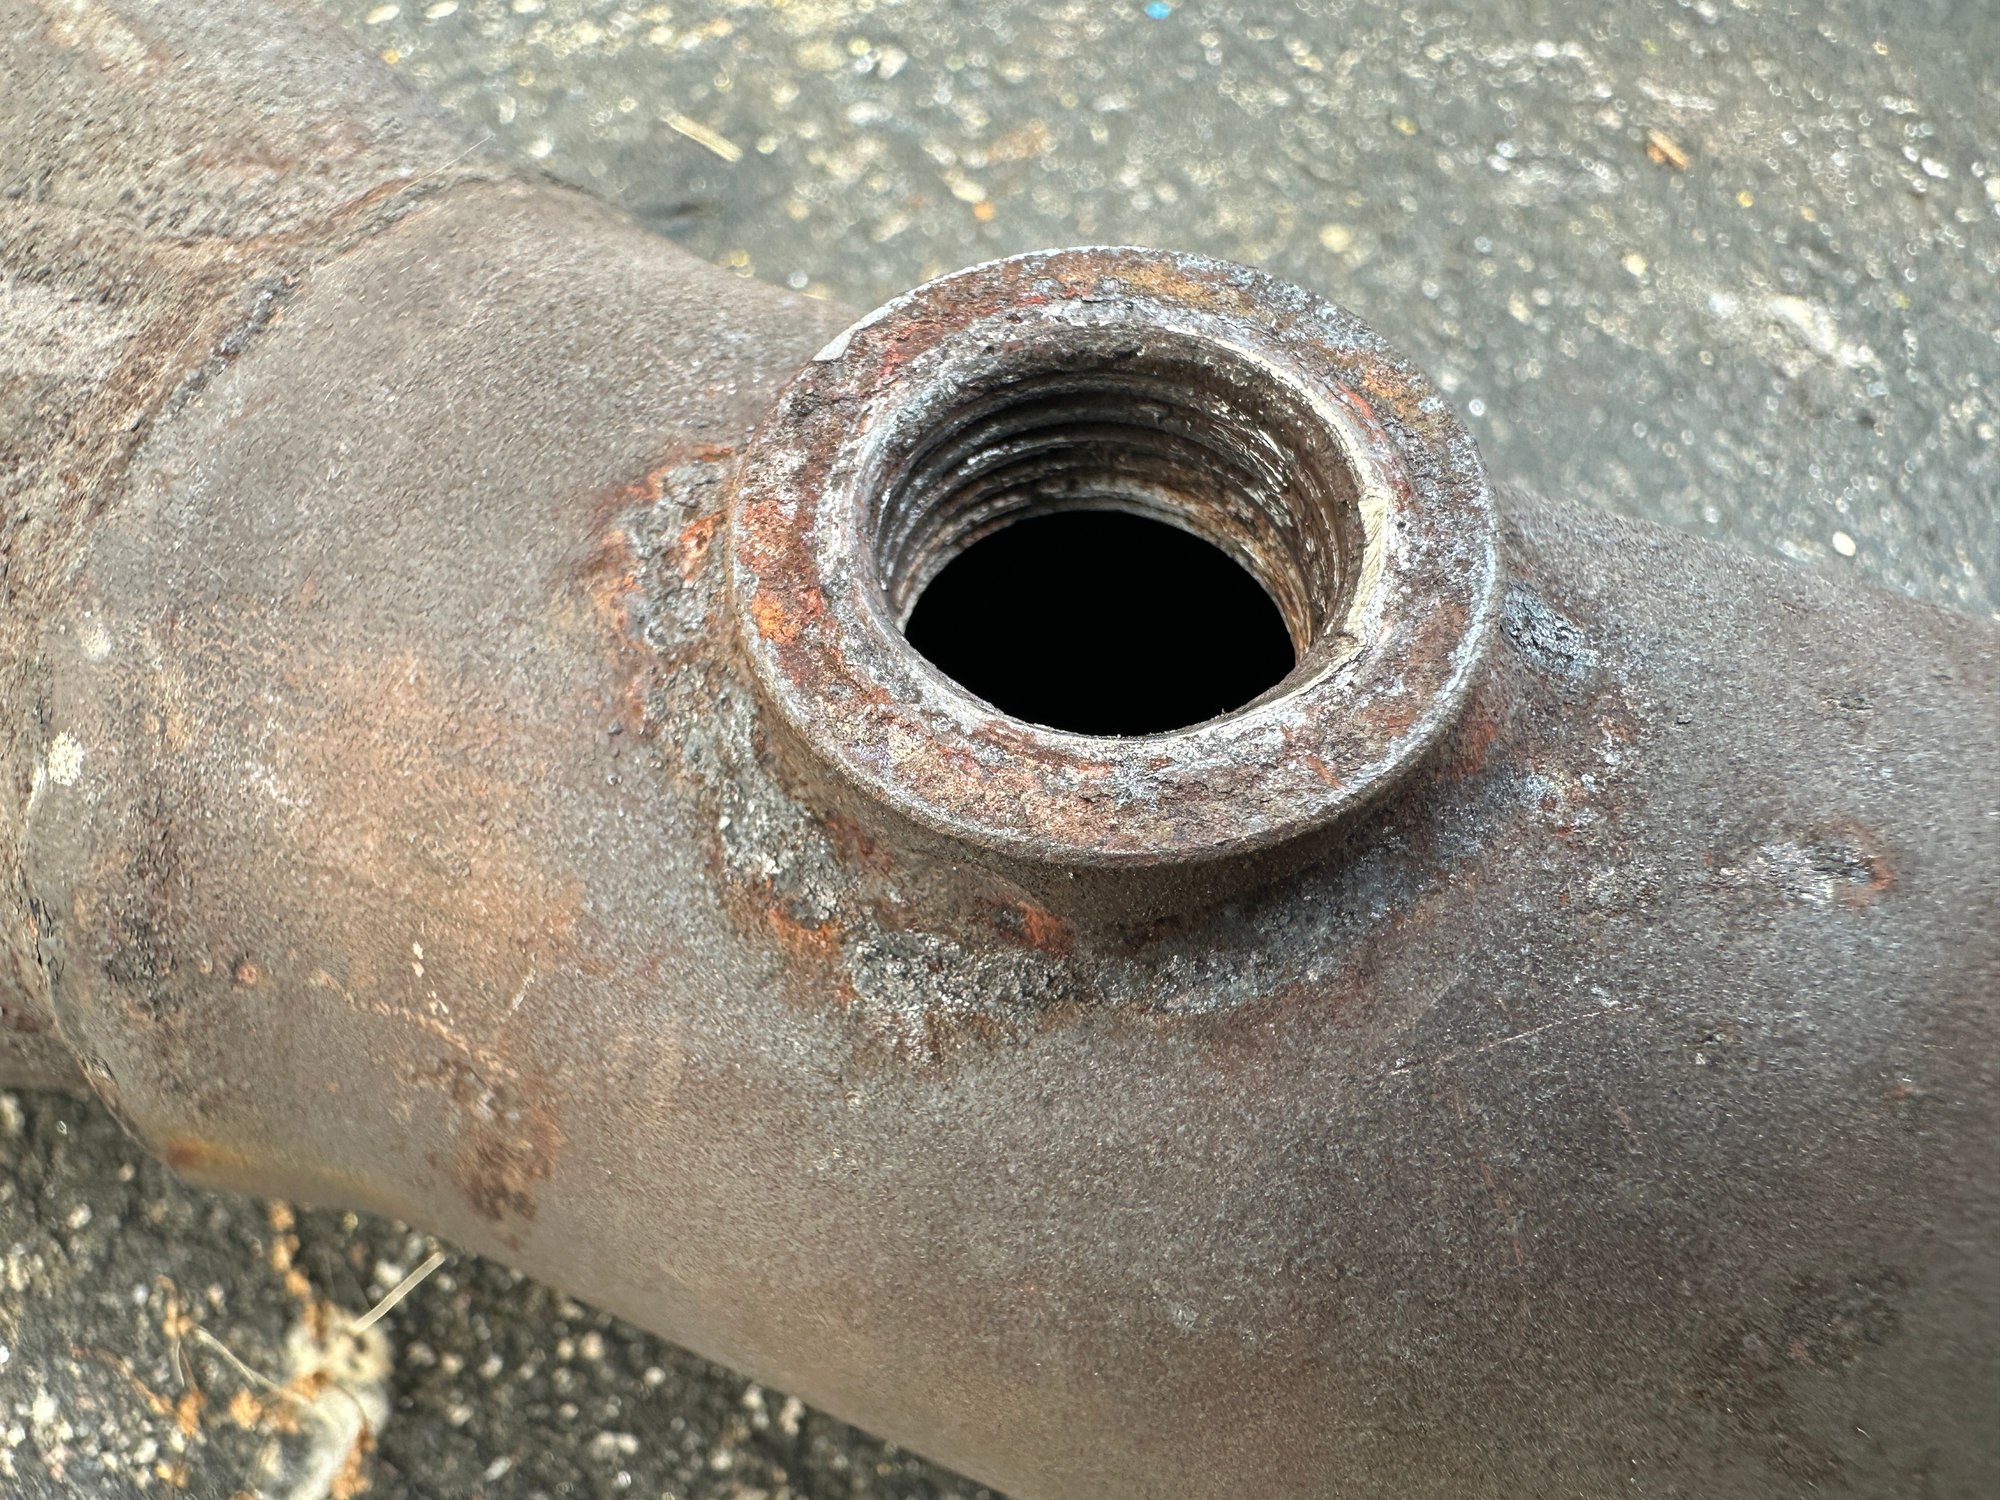
It came with the old O2 sensor still in place. Despite soaking it in penetrant for a few days, using the proper tool and heat, the sensor came out in pieces.
After removing the segments that had galled onto the threads, it looked so-so.
Sourced a M18 - 1.5 tap and happily the threads were recoverable.
The next step is to get both the mid-pipe and tail pipe blasted and coated, probably with Cerakote as that is what I chose with the 911 project and it has held up perfectly.
 04-22-2024, 10:16 AM


 But very understandable how it may happen, as those spindles are very simmilar.