When you click on links to various merchants on this site and make a purchase, this can result in this site earning a commission. Affiliate programs and affiliations include, but are not limited to, the eBay Partner Network.
Bought a car that suffered an engine fire for cheap. Thought to myself, "how hard could it be?" Turns out, not terribly. But it aint cheap, that's for damn sure.
This isn't my daily driver, and I don't have to have it done by X date, or else. It's just a project that I'd like to finish in under 12 months, with the spare income I have to donate to it, and every free weekend I have to throw at it. Currently I'm on month 11, so it's getting down to the wire!
The full story (mostly) is in the descriptions for each photo on my imgur album. Instead of making a forever scrolling post, here's a link!
If you have any questions about a particular part/picture, just reference the photo ID (title), or, link it along with the reply and I'll do my best to facilitate.
This car has been an incredible journey for me personally. I am working on it with my father, and that has given me a lot of extra quality time working with him and learning just a fraction of his mechanical wisdom. We have had the engine down to it's bare components, and it's been rebuilt from the ground up. I really can't say enough about how much he's influenced me, and taught me during this rebuild. I've already decided he's getting the first drive.
I'd really like to hear what you guys think, and see if there are any tips or tricks I've yet to discover on my own, or could save me some time in the future.
I just love seeing these kind of process photos - well played sir. envious about all the skills you probably developed during this
Thanks, and yeah, it's been a lot of learning.
Update time. Day 1 of 3 day weekend has commenced. On my list of things to tackle today:
Asses the air handler box. Mask off the PS Rack. Start installing the reference sensor. Rebuild the Cam Tensioner assembly. Start sanding 15" phones for paint.
Only got one wheel done, but it's 70% humidity and 90F today. Woof.
Picture time:
Time to pull the air handler apart and see what's what. I'm not too hopeful at this point.
Caps off, and it's toast.
Insides look okay? There is some significant grooving on the track. After I use clarks garages instructions for using a 9V battery and some leads, and seeing if the circuits still work, then I'll adjust the wiper arm to some fresh track.
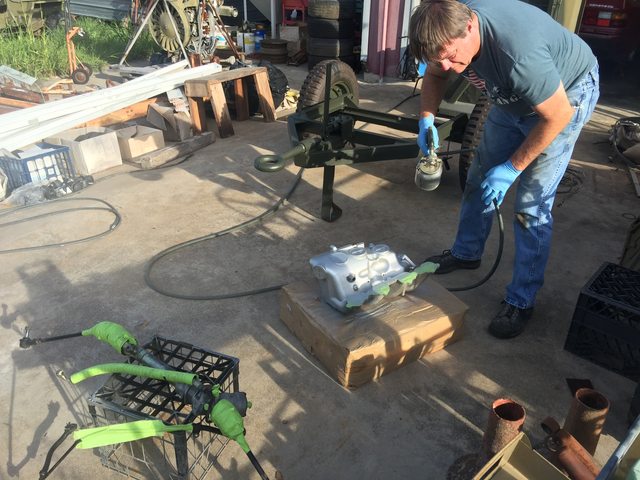
Next is the power steering rack getting prepped for paint.
And then theres this guy. Not gonna take a chance after $2500 in engine parts. Nope.
That's all for today. Hopefully I can knock out the other three wheels tomorrow. Dad is back in town tomorrow and will be assisting me with other, more complex jobs. Imgur album updated as well.
If you're on Facebook come join Texas 944 enthusiasts...I see you're in San Antonio. Trying to develop a good "local" network for easy and quick parts sourcing, help, drives, etc...
If you're on Facebook come join Texas 944 enthusiasts...I see you're in San Antonio. Trying to develop a good "local" network for easy and quick parts sourcing, help, drives, etc...
Thanks! And I signed up for that group. I didn't realize it existed, but figured once my car was complete I'd start looking for something similar. Do any of you guys in that group attend any of the local Cars and Coffee?
Onwards to more progress. Only a few pictures, but a ton of work got done today. I also found a spare air handler in the garage. So the plan is to pull the cover off, replicate it in Solidworks (since I am a hardware engineer during the week) and have a 3D printed replacement fabbed up as a test. If that doesn't work, I'll just rob the other air handler for it's cap and find a replacement as I have time.
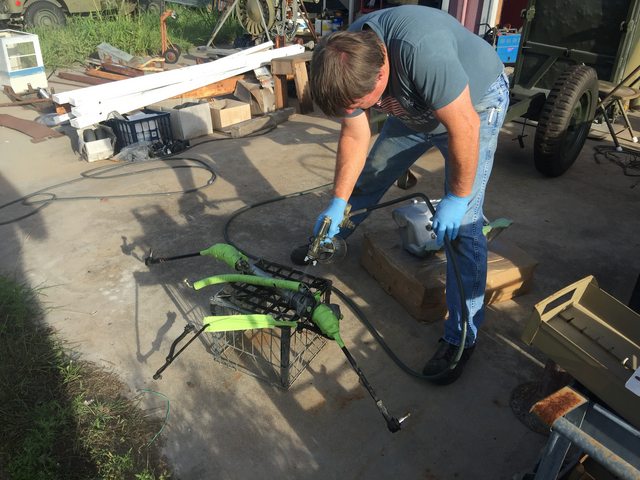
New racing cam shaft timing chain. The old one wasn't bad, but since the cams were out, why not get something a little better. Kept the old one as a backup on the shelf. Installation of the cam tensioner assembly happened today as well. Basically a ton of head work happened most of the 8 hours I spent in the garage.
Also got the A arms cleaned up and ready to be masked off for painting this week as its nothing but thunderstorms all weekend...
More progress tomorrow. I'd optimistically aiming to get the exhaust headers installed onto the head, and then install the head onto the block. That would be a big morale boost for me. I'm big on visual progress, while dad is big on making sure everything is done correctly first. So I'm trying to balance the two.
I just started it and it's still in early stages of meeting and such. I'm good friends with a couple guys on there and we meet up often. I'll venture down to Austin cnc every once in a while. We'd like to start throwing big meetups.
Well, two weekends ago I got the last batch of parts prepped for painting, and dad shot them late in the evening. Not shown are the painted A arms.
Intake Manifold
Steering Rack
A Arms and Strut Brace (pre paint)
This last weekend I felt like total crap and didn't make the drive out there, but dad ended up getting started on cleaning/paint the steering linkage, and installing the power steering rack.
Steering Rack Install
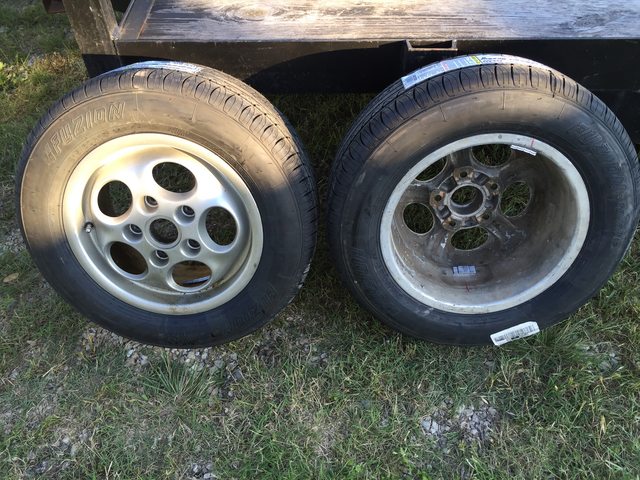
New rubber is also mounted (only two wheels shown)
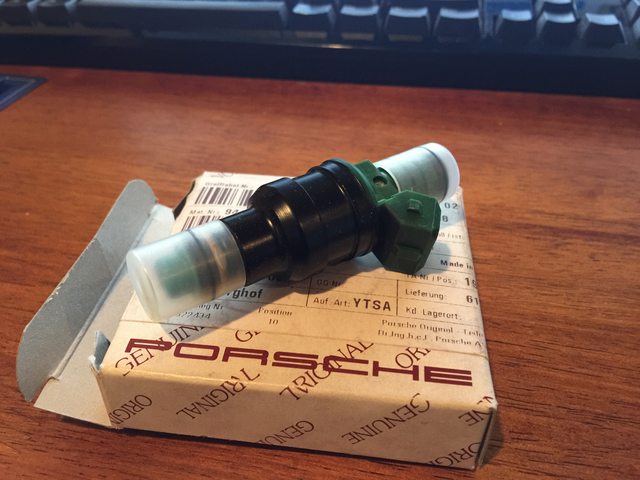
Injector all the way from Germany to replace my leaky one found by WitchHunter Performance.
Finally seeing the light at the end of the tunnel. This weekend is all about suspension and brakes. I'd like to get the exhaust manifolds bead blasted and the head installed too, but we'll see if that happens.
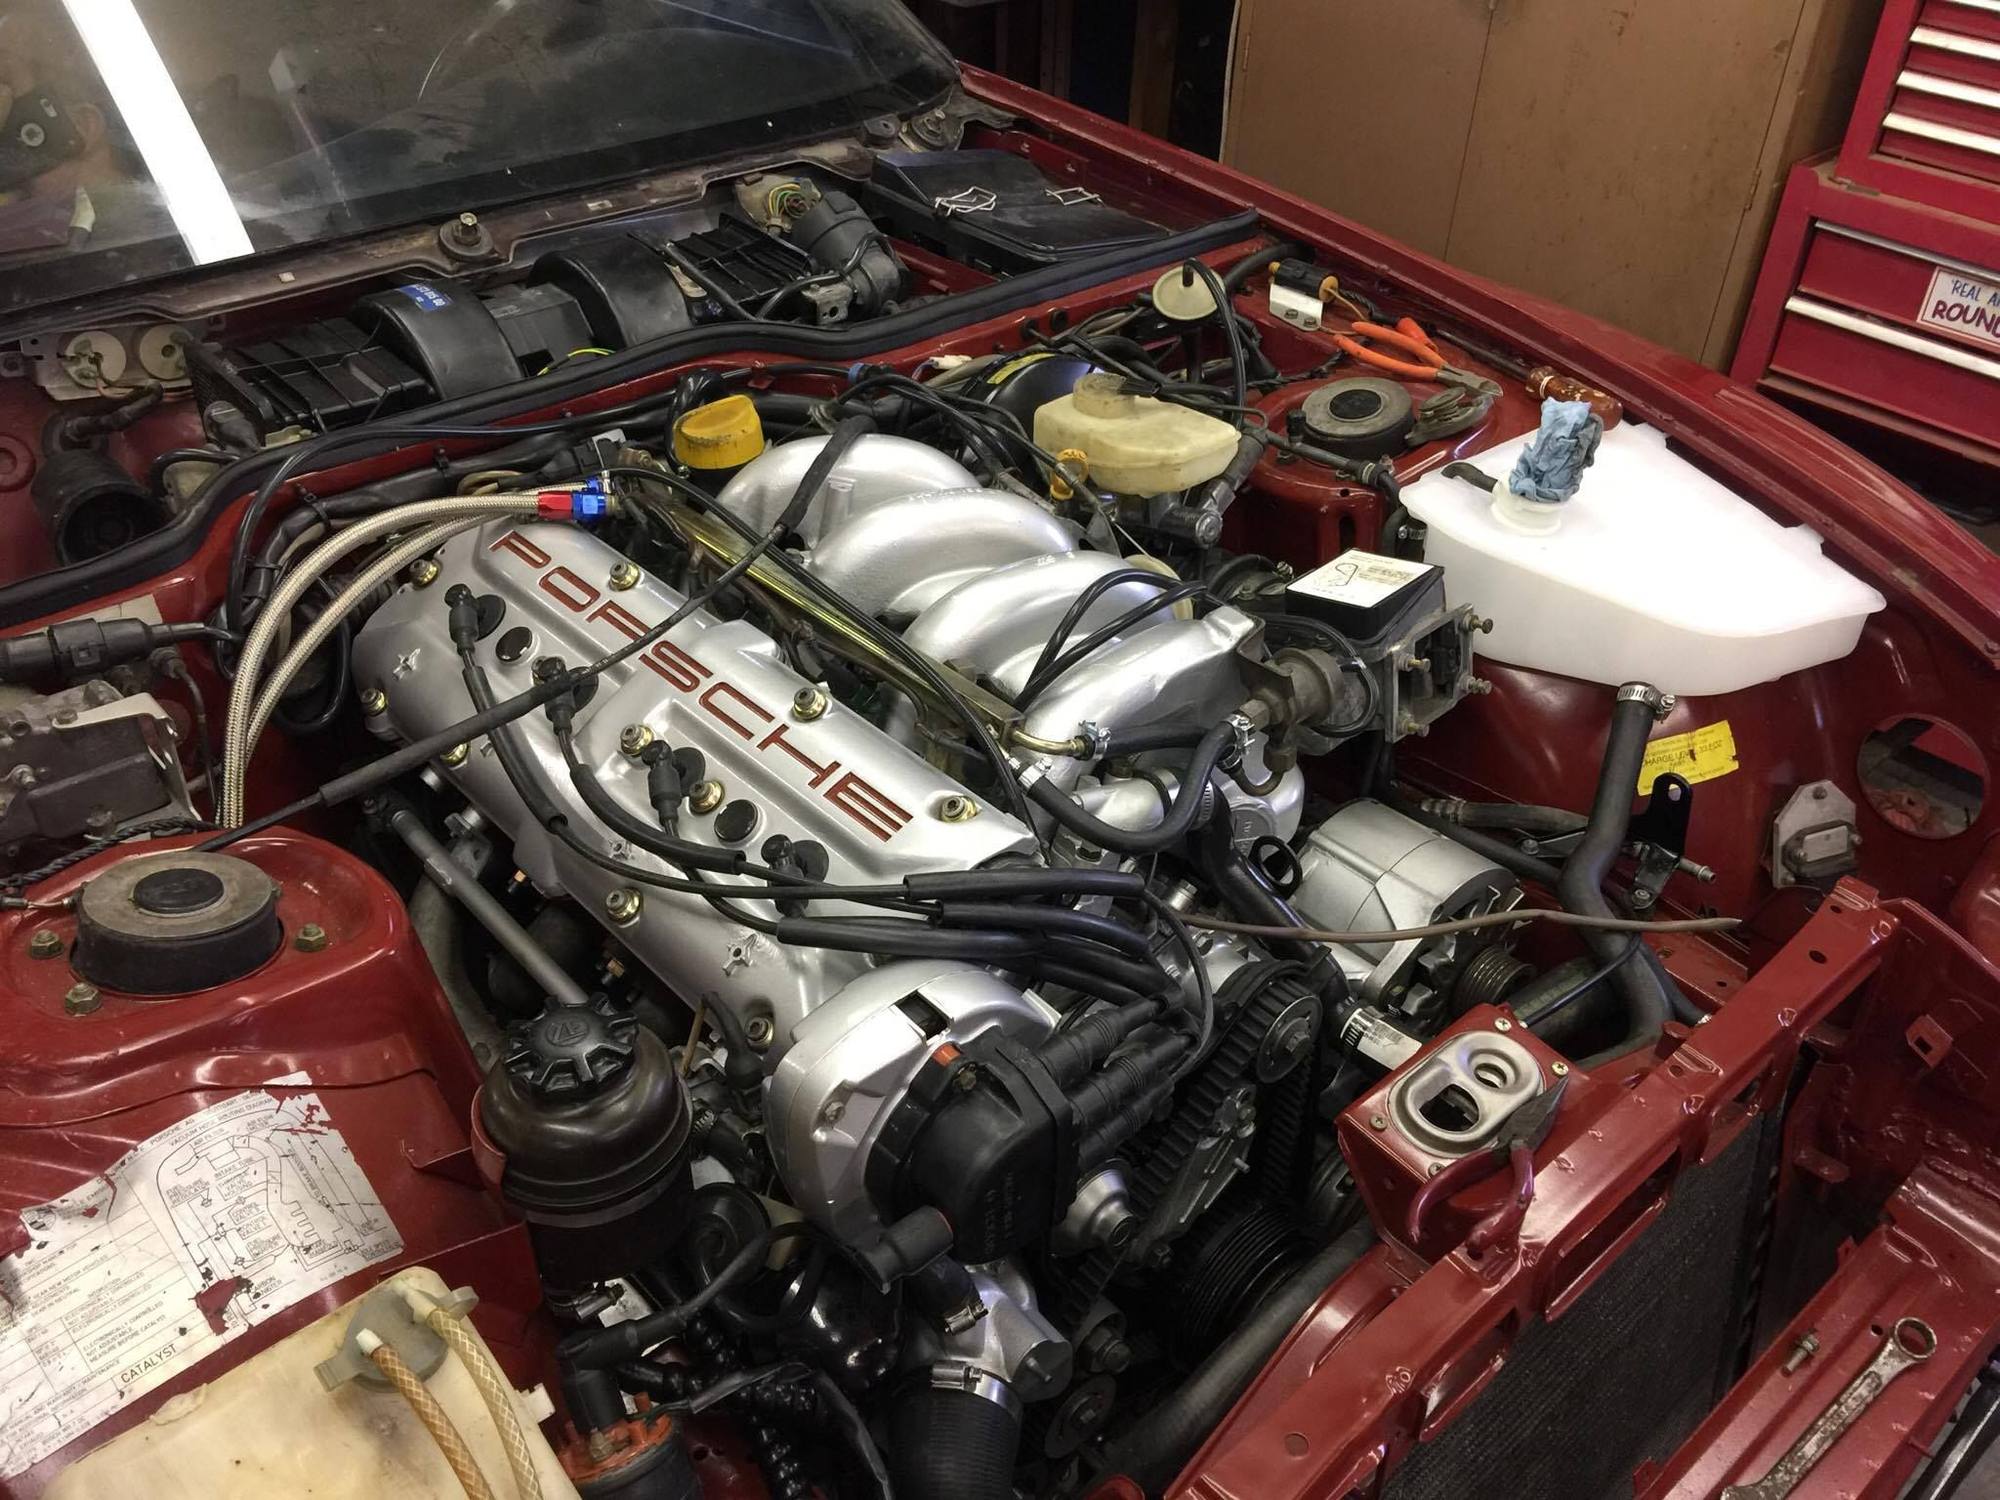
Been awhile since the last update. Here is where I sit before I can officially turn over the motor for the first time ever. TL;DR backstory. Engine fire and spun rod bearing from P.O. Replaced crankshaft and completely rebuilt motor, new gaskets, new wiring looms, new vac lines, you name it, it's new or rebuilt from the ground up. Things left to do before starting:
3. Pull spark plugs to A, check for spark and B, build up oil pressure without combustion load. Also going to get a baseline of the cylinder compressions. Assuming A is 4/4, sparks get reinstalled.
To the best of my ability, I believe so. Reading through: http://www.9ss1.dk/porsche944/garage/vol1a/vol1a.html in chapter 15, verse 110, I followed that to the letter. I just saw your video this weekend on timing and that verified my thoughts/process. So, I hope so!

 05-24-2016, 06:45 PM


 Basically a ton of head work happened most of the 8 hours I spent in the garage.