When you click on links to various merchants on this site and make a purchase, this can result in this site earning a commission. Affiliate programs and affiliations include, but are not limited to, the eBay Partner Network.
Well, I finally begun the project of resurrecting my 944. Not an original project name, but since it is our only 944 (85.5 NA), it works. Some background, this was my first car out of college, and it has been sitting for approximately 10 years, while we built up our farm and raised kids. Now that the youngest is 11, and starting to spend more time with friends than his parents, I have some time.
In all of the years that I have had the car (bought back in '91), I didn't do any of the work myself, so this should be a good learning experience!
First, I removed the flaking insulation on the hood. Easy enough to do, since it was falling off anyway. Any ideas on what to use to remove the adhesive that is still on the hood in the engine compartment?
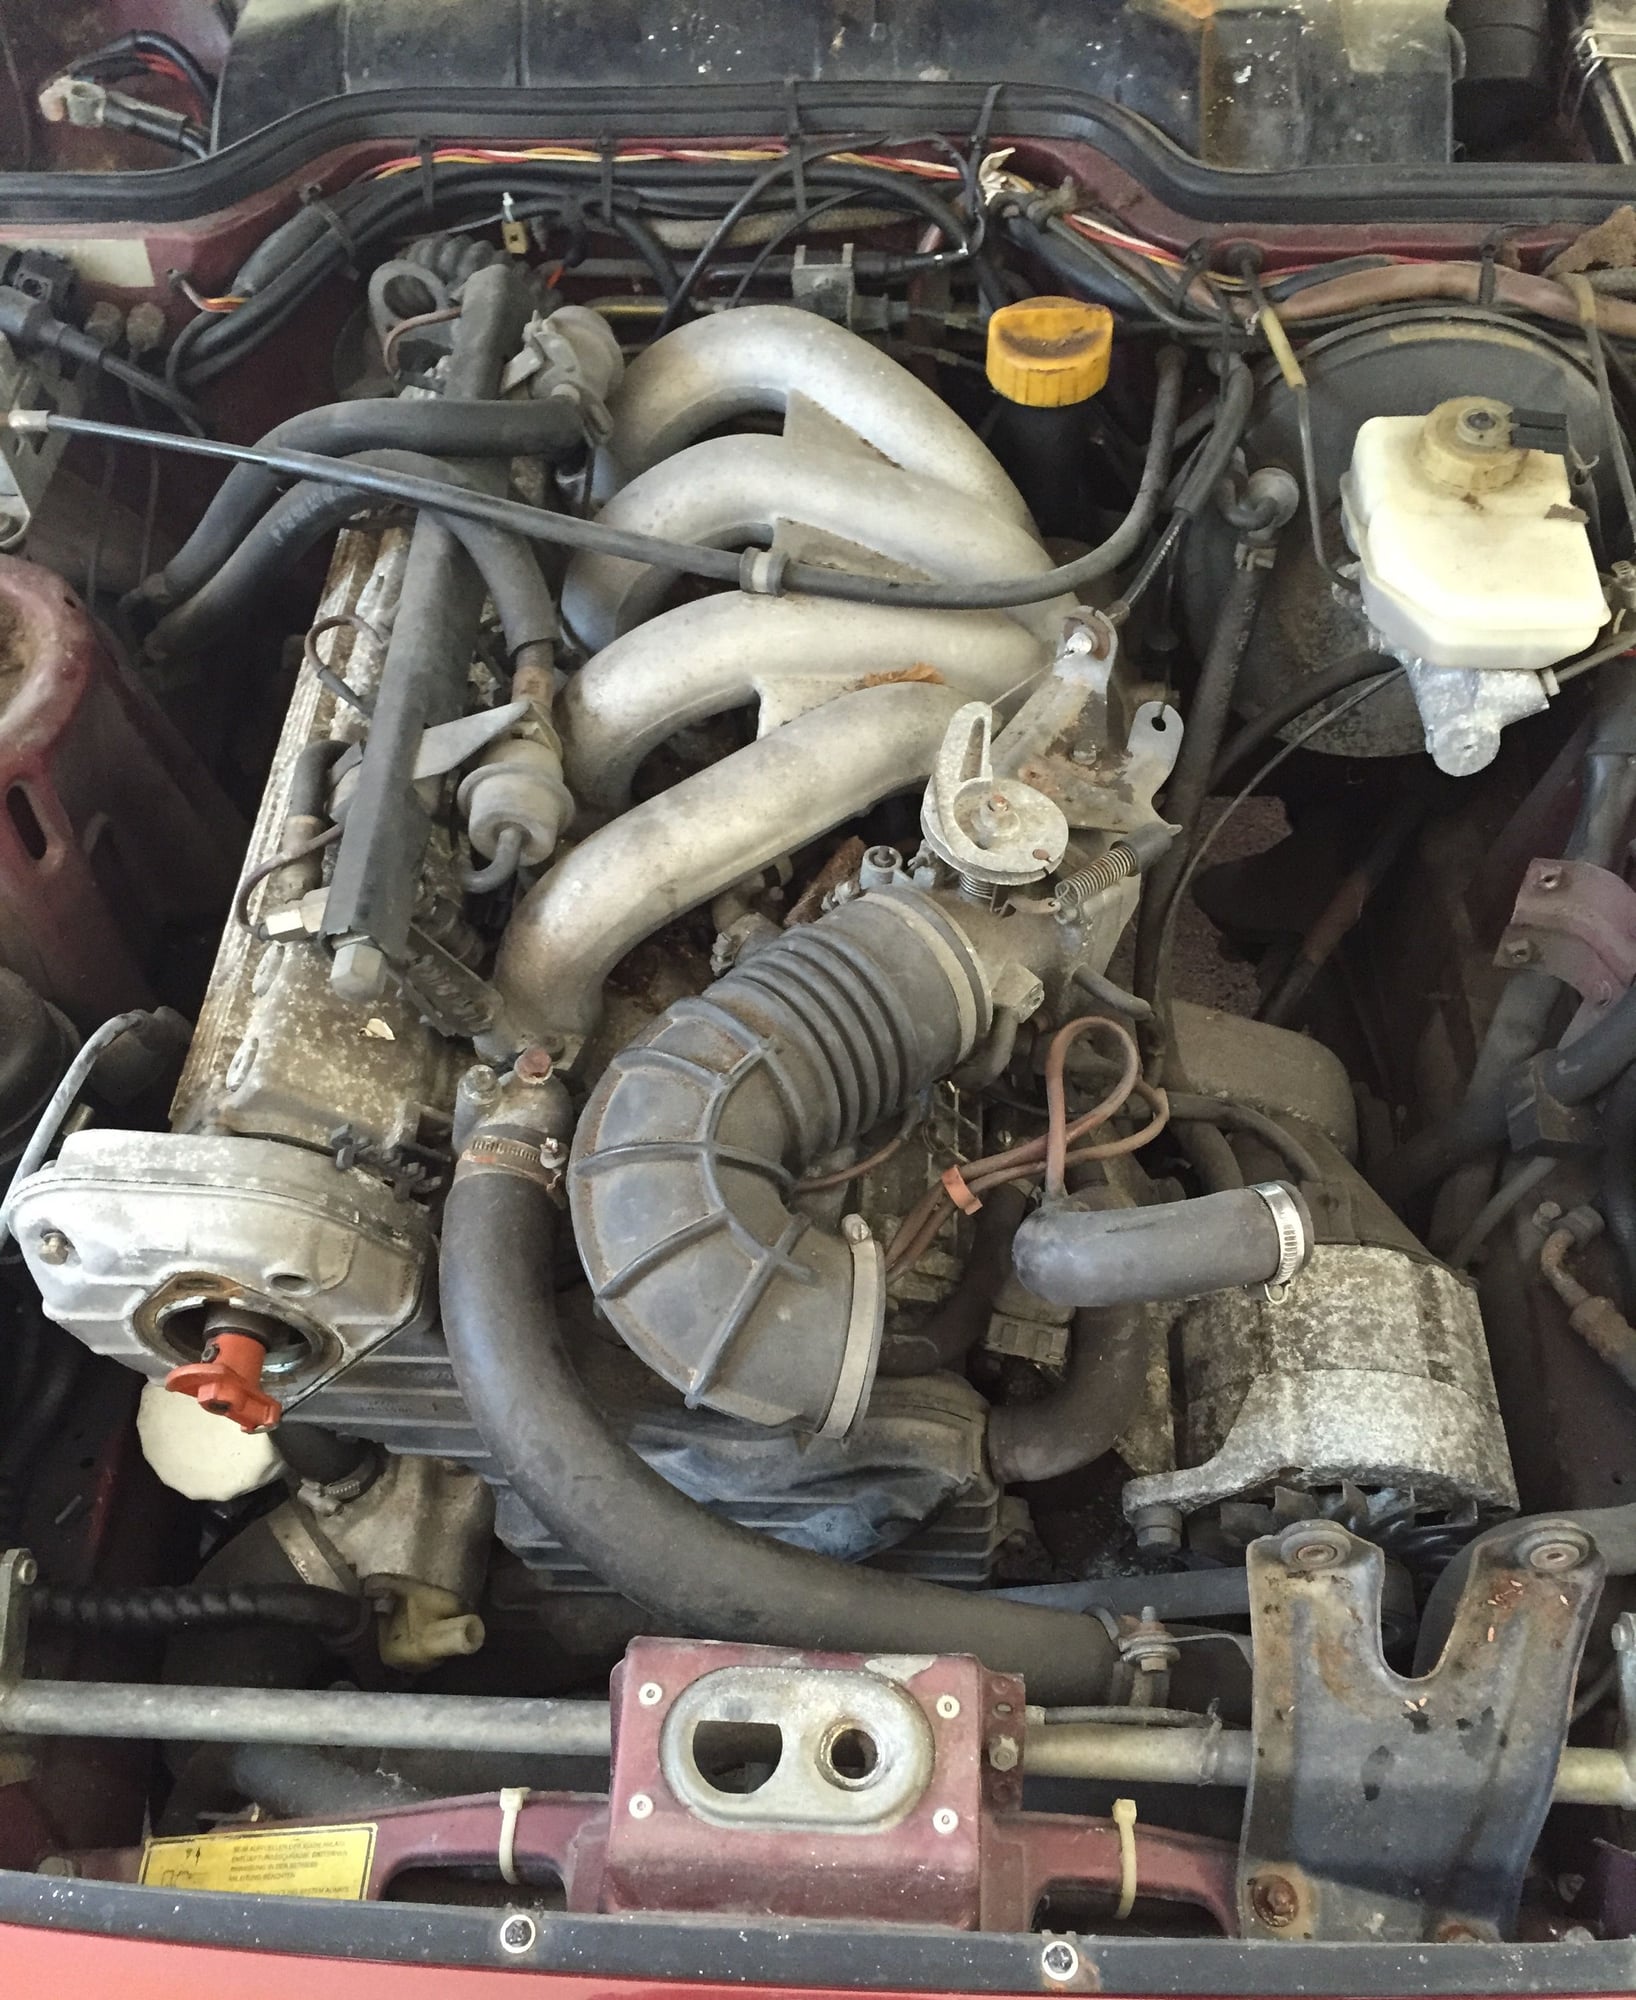
Removed the airbox, as I wanted to crank the engine by hand, to ensure that is was not seized (not that I thought it was). Yes, I was able to turn it by hand (first win!).
Then used the mark above the distributor to try and approximate TDC...
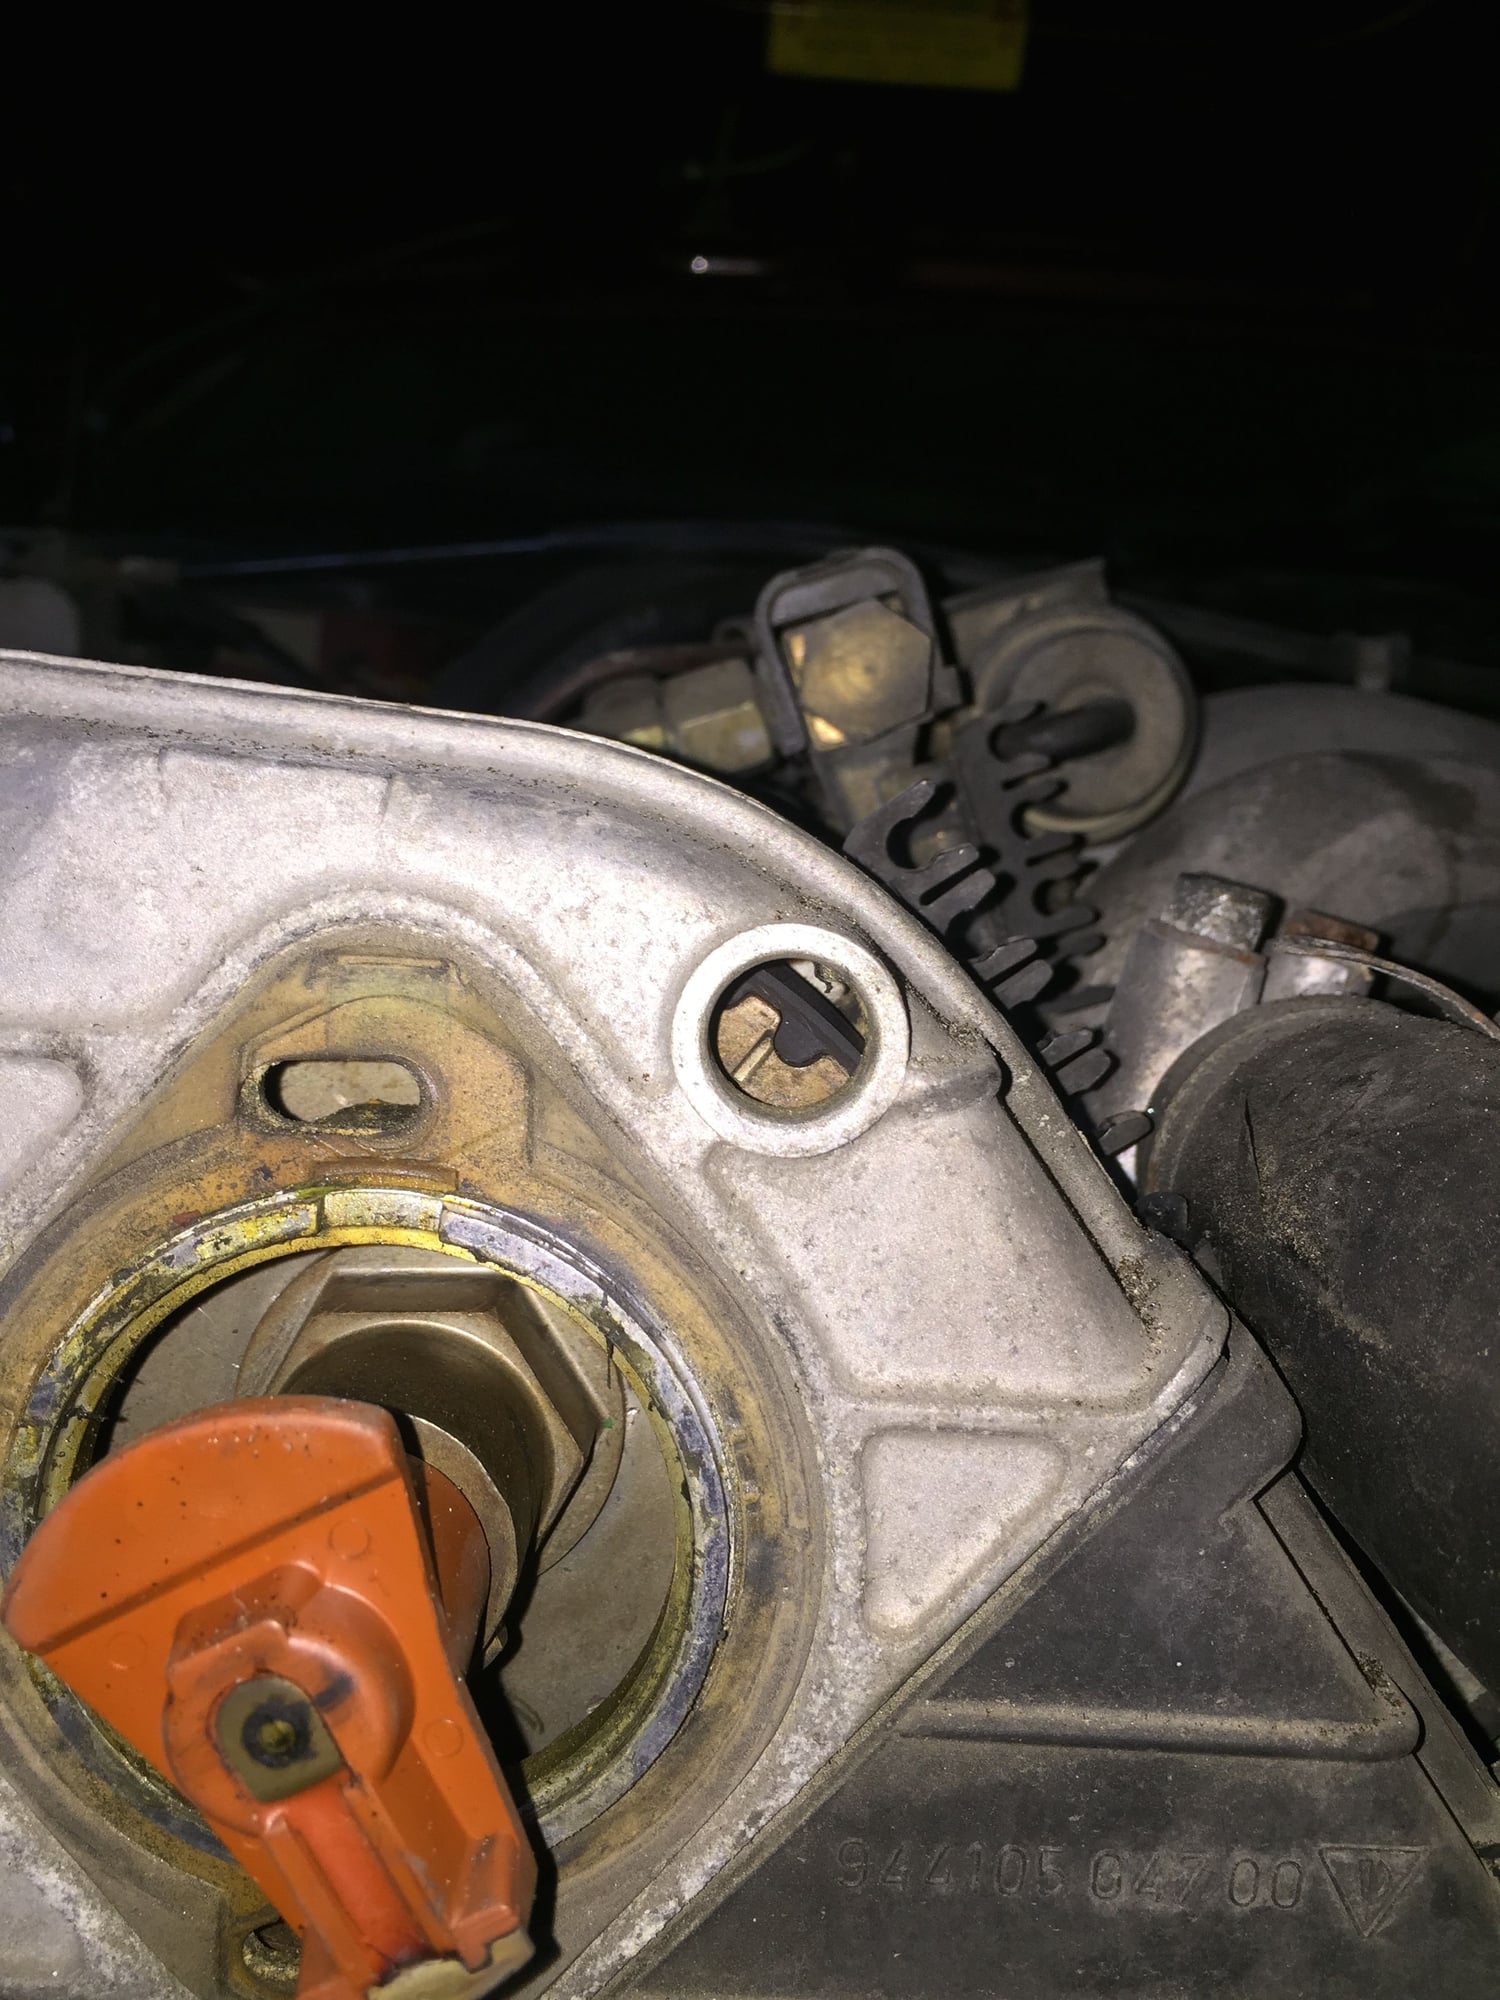
I figured I would get the engine set at TDC in preparation for parts arriving for the timing belt replacement. However, I am having trouble finding the viewing port on the Flywheel. I have read that it is buried back behind the oil filler cap, but this is from a 951 tech article. Any tips on finding this viewing port? I'm just not seeing it... Am I looking in the correct place?
Can I replace the timing belt and water pump while the engine is in the car? What else should I check and potentially replace while doing this?
Thanks for the help! I'm sure I'll be reaching for more assistance this year.
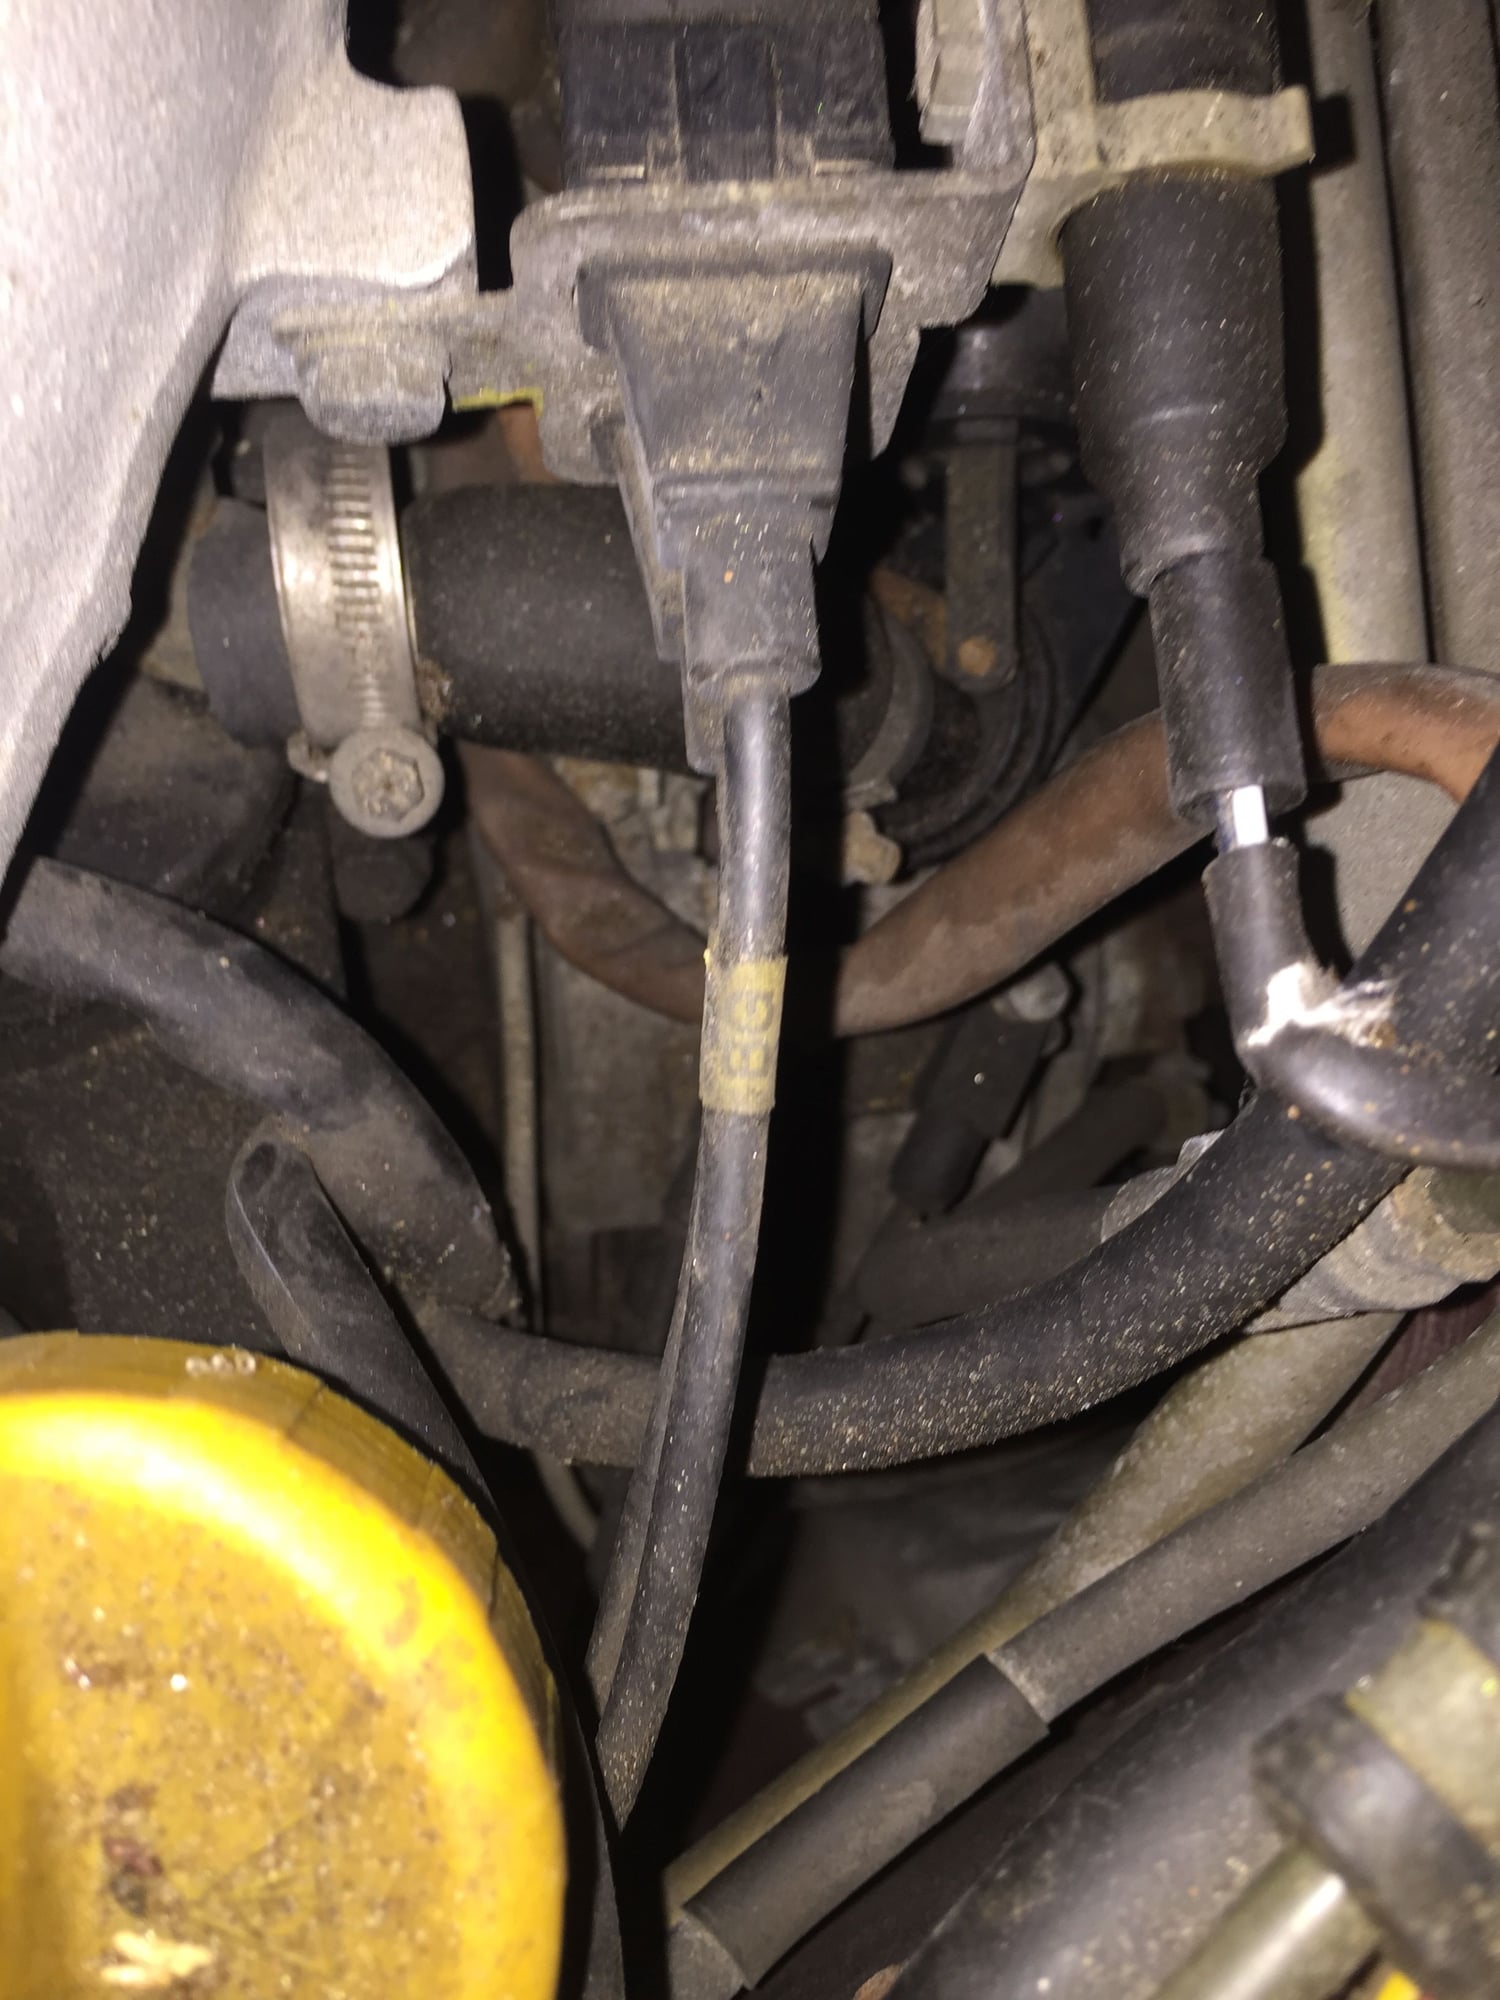
The port where you view the TDC mark on the flywheel from above is right in the vicinity of where the reference sensors are bolted on. See to the right of the BG label on the ref sensor wire and down deep. You have to get up on a stool and look down deep into that area and you'll see a window. There's a blade inside that window that should align itself with the TDC mark. Sometimes it's easier to remove the bracket the BG wire is connected in. That 10mm nut to the left of the BG label, if loosened, will allow the bracket to be removed by sliding it towards the firewall. Be careful as the other cable, the round one, is clipped into a nylon clip on the same bracket. That's the O2 sensor connector. The nylon clip that holds it ages with time and could break if stressed. Just move the cable and bracket assembly aside as needed to get better viewing of the TDC window on the bell housing.
You could probably see it in the picture if that brown coated wire wasn't there. See that black booted sensor just right below the big brown wire? It's just above that.
Honestly your picture is centered about 3 inches below where it would be, if you didn't have stuff in the way from seeing it. Your looking in exactly the right area.
If it makes you feel better, it takes me a minute to get the right angle to see it, and I've set my TDC and checked it at least 10 times.
Awesome choice of project. You should probably ignore the hood insulation adhesive for now and focus on the belts and waterpump job. If you wanted to go all out you could replace all rubber seals and hoses now, or you could do the wait and see approach. Your choice but don't run the engine warm until fuel lines are replaced. Are you going to do least a major tune-up and get the engine going? Good luck, looks like a fantastic project.
The initial goal is to get the car running. Once this is successful, then we'll see how far we go.
I'd like to be as efficient as possible, so when I do the timing belt and water pump (and possibly pulleys), what else makes sense on that part of the engine? I'm trying to avoid pulling the engine, at least for now, and I don't have a lift yet, only jackstands.
You know what, the more you do, the more makes sense. Basically once you've got the waterpump off, there is a lot more you are close to. While you are in there I would START by replacing everything that LOOKS questionable. After that, the snowball rolls and rolls and then who know how big it gets?
You could do front of engine seals.
+1 on front engine seals. That's your front main seal, balance shaft seals, and if you can be bothered, the cam box seals. Checking and cleaning your AFM will be 5 minutes work since the airbox is probably coming off. May well also remove the throttle body and rebuild it, $20 for the kit. Basically you want to replace rubber seals and lines, as others have said. Also, an important but simple job is to clean all the grounds. Plenty of info for all these jobs from web resources.
I will vouch for the vendor, but I'll also say I LOVE the kits. Yeah, you can piece it all together yourself, but it all come in a kit man!!! IN A KIT!!! And that means, you do things you didn't think of doing, because it's in the kit!
The other thing you'll need is a pin spanner wrench (if you don't have one). I however suggest getting a universal on ebay or whatever, so you can use it for other things as well. That's what I did.
TRUST me, it will save you many headaches later on. Your's are bad, I promise you. Just a ticking time bomb of pounding your head against a wall. I got red ones from a different source. I wanted red. But if you're fine with black, that's a great kit.
 03-06-2016, 06:01 PM