
944 Seat Repair Project
 08-03-2012, 12:43 AM
#1
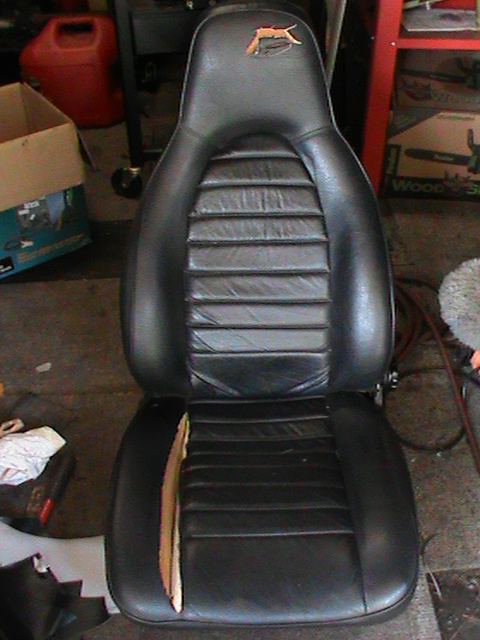
Hello all! First time posting anything on here. I purchased my first Porsche a few months ago, it's a 1983 944 that I managed to pick up off Ebay for $500. Only took a few days to get it running, but as you can imagine a $500 Porsche will need stuff done to it. Mostly cosmetic stuff though, needs new paint, and the interior could use some work... For now I'm working on the seats, I'm trying to fix them up for... well... no money at all really.
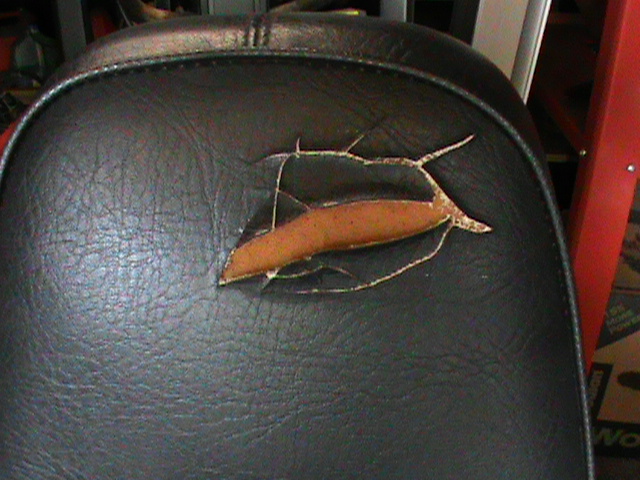
here you can see the damage I want to repair, guess that's what happens when a car sits out in the Florida sun for 10 years.
Attachment 653296
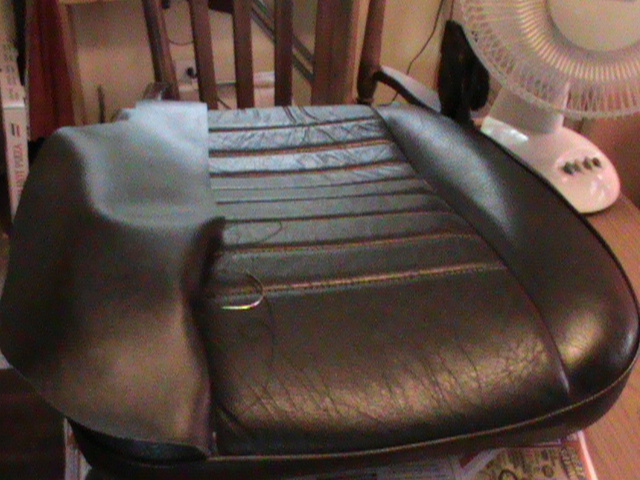
Just using some spare Vinyl I had laying around. I stitched the bottoms to make it sorta match what it looked like before.
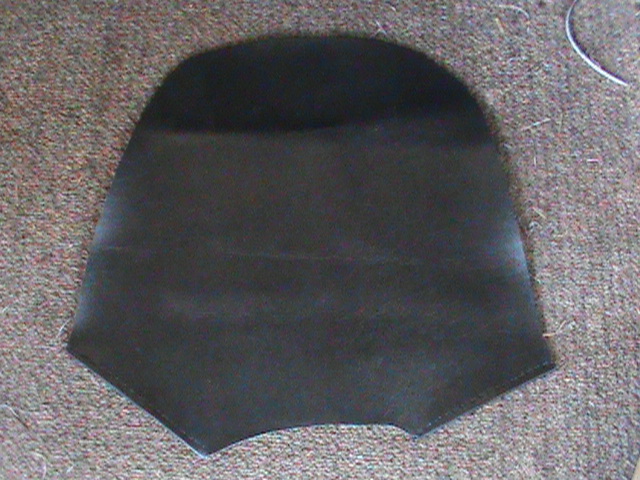
Stitching it to the piping.
Attachment 653298
Attachment 653299
So far I've pretty much got what I want for the top of the drivers seat.
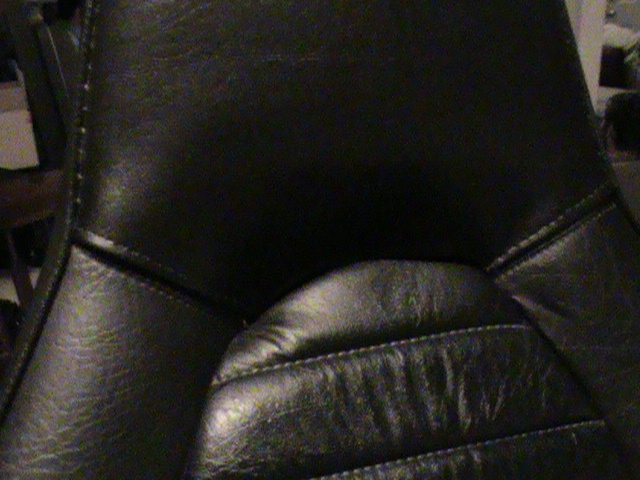
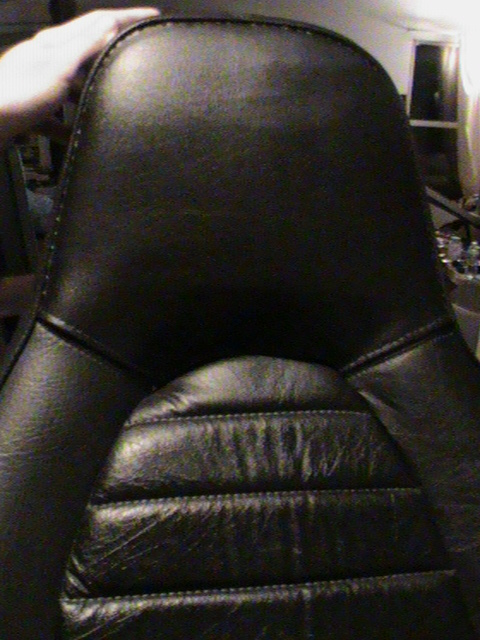
Not sure yet what I'm doing about the nasty rip along the seam. But so far I think it's coming along nicely.
here you can see the damage I want to repair, guess that's what happens when a car sits out in the Florida sun for 10 years.
Attachment 653296
Just using some spare Vinyl I had laying around. I stitched the bottoms to make it sorta match what it looked like before.
Stitching it to the piping.
Attachment 653298
Attachment 653299
So far I've pretty much got what I want for the top of the drivers seat.
Not sure yet what I'm doing about the nasty rip along the seam. But so far I think it's coming along nicely.
Last edited by GGX2; 07-07-2014 at 06:14 PM.

The following users liked this post:
evan911c4s (03-02-2020)
08-03-2012, 02:42 AM
#2
Three Wheelin'

Join Date: Jul 2009
Location: Hawkinsville / Perry, Georgia, RETIRED USAF GO BLUE
Posts: 1,309
Likes: 0
Received 1 Like
on
1 Post
Looks like a professional job. The seat bottom can be removed and a strip of canvas or nylon sewn to the bolster side then to seat. The strip of canvas is to make a stronger seam.
Cheers,
Larry
Cheers,
Larry
08-03-2012, 11:21 AM
#3
Thanks Larry. I've been trying to take the seat apart, but the cable that makes the seat fold is giving me trouble. It has a clip on it that I haven't figured out how to get off yet, anyone know how to remove the clip that holds the cable on an early seat?
edit: Never mind, just managed to get the clip off. Now I can get to work.
edit: Never mind, just managed to get the clip off. Now I can get to work.
08-07-2012, 06:26 PM
#5
Finally done with the drivers seat.
Used some denim material for some added strength.
Attachment 654512
Hand stitching this whole thing was painfully boring...
Attachment 654513
Attachment 654515
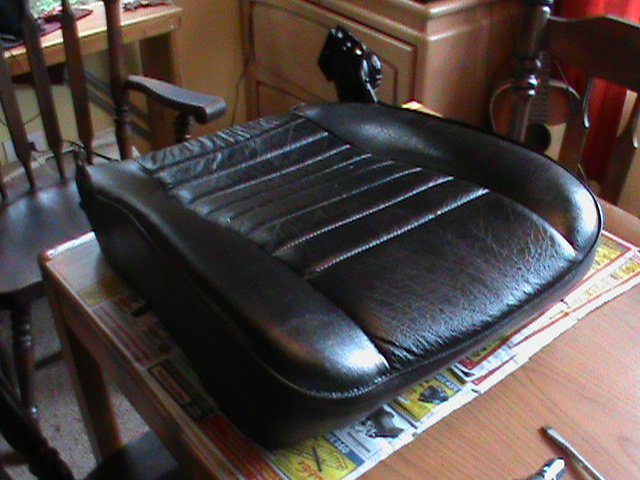
Took a few days but I finally finished the bottom half of the seat.
And here's the Before and After of the finished seat, pretty pleased with the result since it didn't really cost anything.
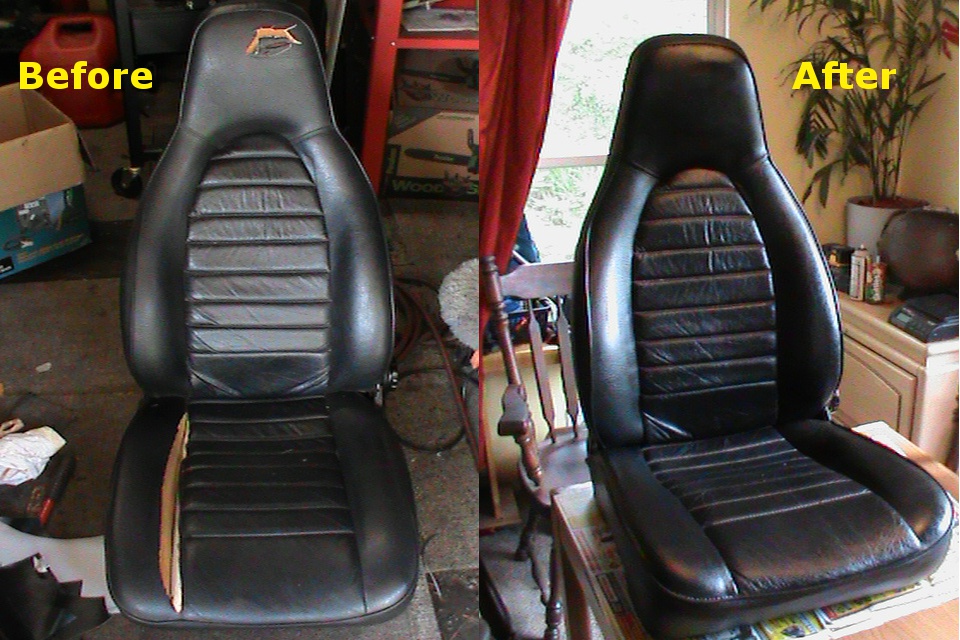
I'll wait a bit before I tackle the passenger seat... its upper half is perfect but both side bolsters are ripped at the seams, and that's what took the longest on this one.
This was only about the third thing I've ever sewn, so anyone with sewing experience should be able to this same thing, probably better and faster than I did too.
Used some denim material for some added strength.
Attachment 654512
Hand stitching this whole thing was painfully boring...
Attachment 654513
Attachment 654515
Took a few days but I finally finished the bottom half of the seat.
And here's the Before and After of the finished seat, pretty pleased with the result since it didn't really cost anything.
I'll wait a bit before I tackle the passenger seat... its upper half is perfect but both side bolsters are ripped at the seams, and that's what took the longest on this one.
This was only about the third thing I've ever sewn, so anyone with sewing experience should be able to this same thing, probably better and faster than I did too.
Last edited by GGX2; 02-08-2013 at 11:39 PM.
08-07-2012, 09:25 PM
#7
I used a few needles, for the main part of the ripped seam I had to use a curved upholstery needle.( I broke two before I was done) For the piping stitches it was easier just to use a small straight needle. The thread is just black upholstery thread, it was a little thin so I double threaded it.