
New interior, euro bumper and driving lights (long, with pics)
 01-07-2007, 03:15 AM
#1
Three Wheelin'
Thread Starter
Over the past few months I've been slowly updating my interior from brown to tan carpet with black trim and seats. My brown dash has had a coverlay on it since I've owned it and was actually nailed in place with some small tack nails on the corners by the PO. In addition, the cover was so glossy that it would make a terrible glare on the windshield in broad daylight, making it difficult to see directly ahead of you. Therefore, I picked up a cracked dash from aribop, filled the cracks, sanded it smooth and recovered it in vinyl.
I also stumbled across a pair of driving lights at one of those "I can't pass that up" prices. In addition, I picked up a euro rear bumper, shaved off the strip and painted it to match. Below are some pics of the interior, before, during and after, as well as the driving lights and bumper. Enjoy!
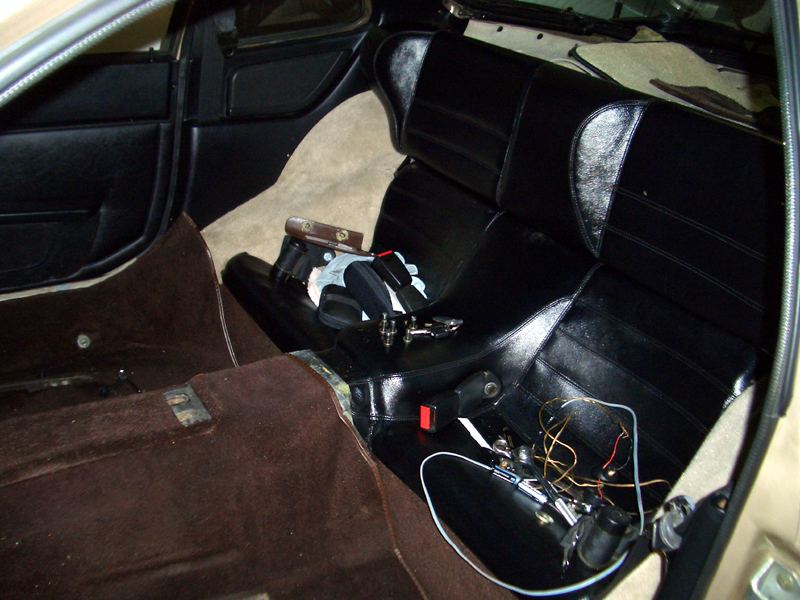
The brown interior before:
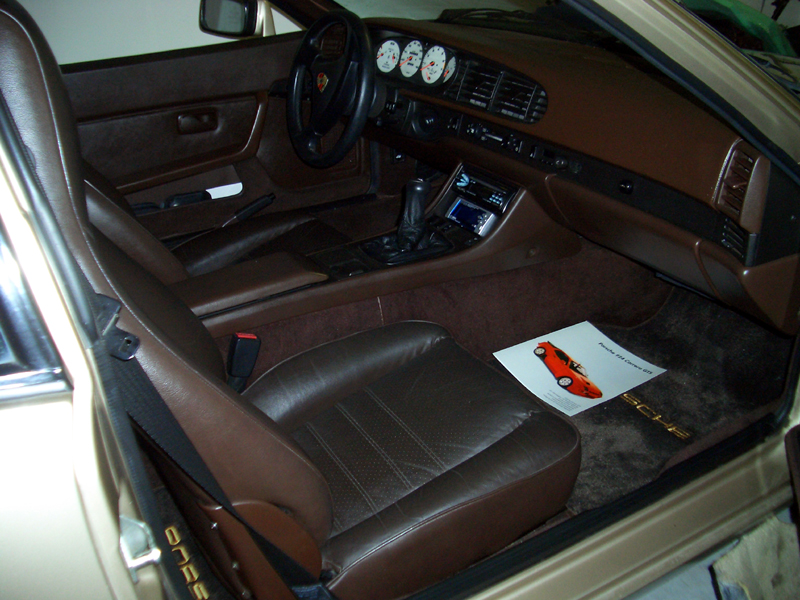
Aside from the cracked dash, it was in good shape. I just didn't like the brown, and I actually went through two sets of brown seats, as the driver's side bottom kept splitting.
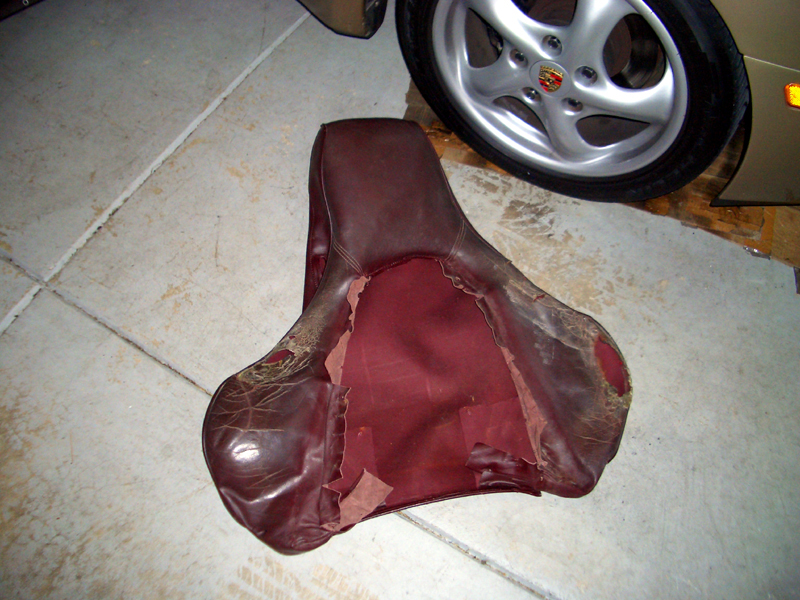
I picked up a set of brown sport seats badly in need of recovering, but they came with a set of black rennbay covers, so I had some work to do.
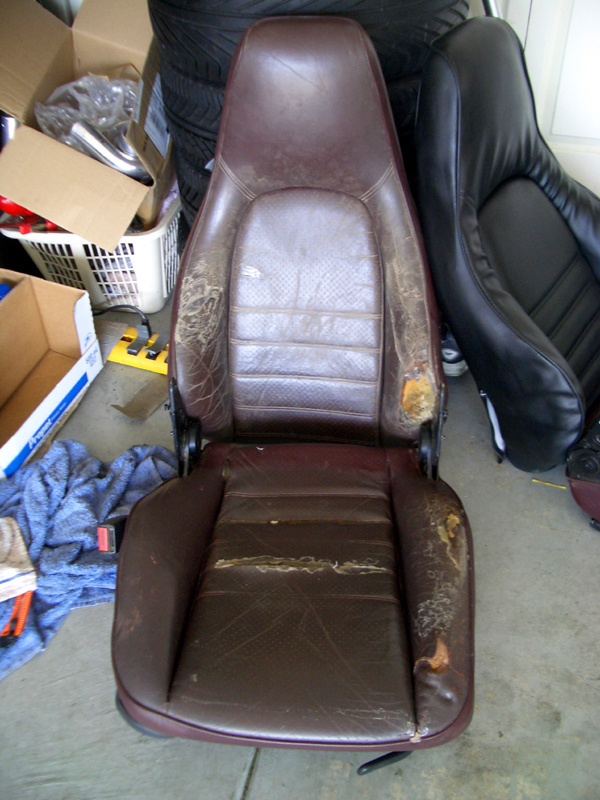
The driver's side seat was particularly bad, to the point I had to build up some missing foam on the bolster from the gaping holes in the leather.
Recovered:

I scored a set of 10 speaker door and rear panels, so those went in and the brown interior started to come out.
As I tore some of the brown out, I started installing some of the new black and tan bits.
WIth the new carpet in, the seats and floor mats were next.

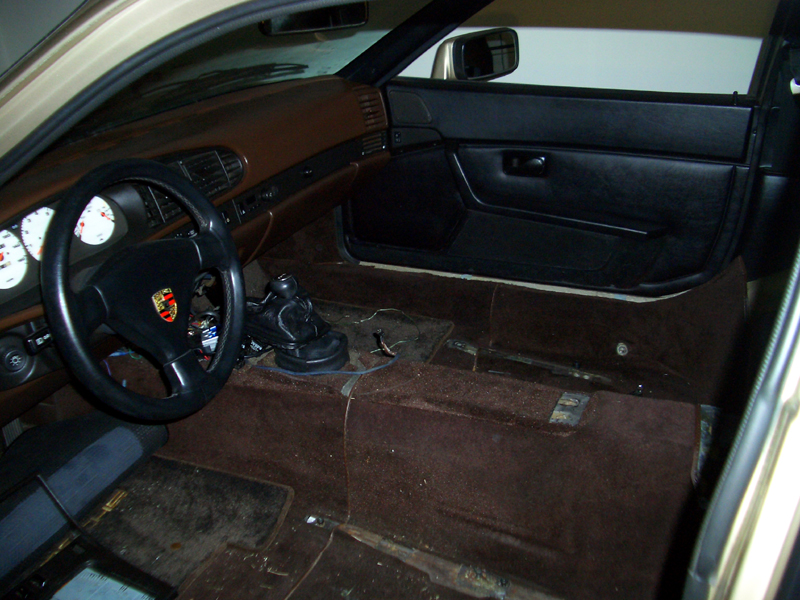
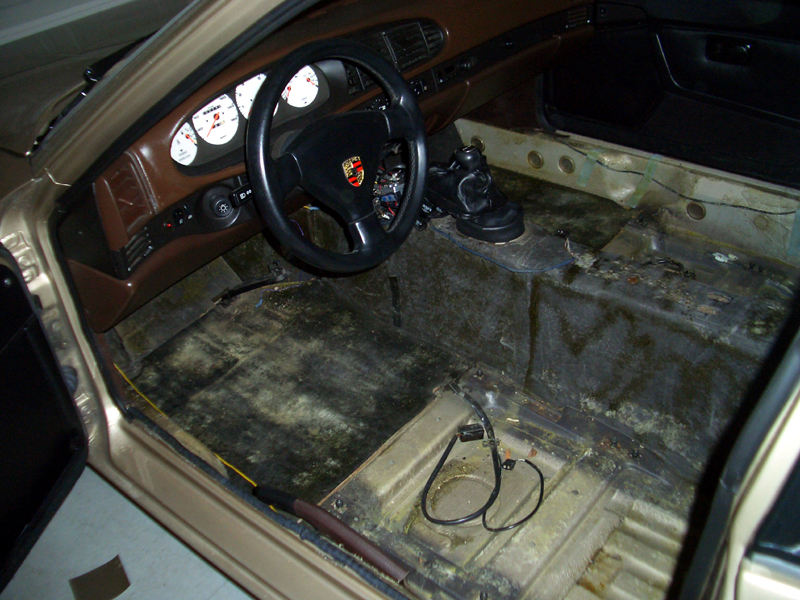
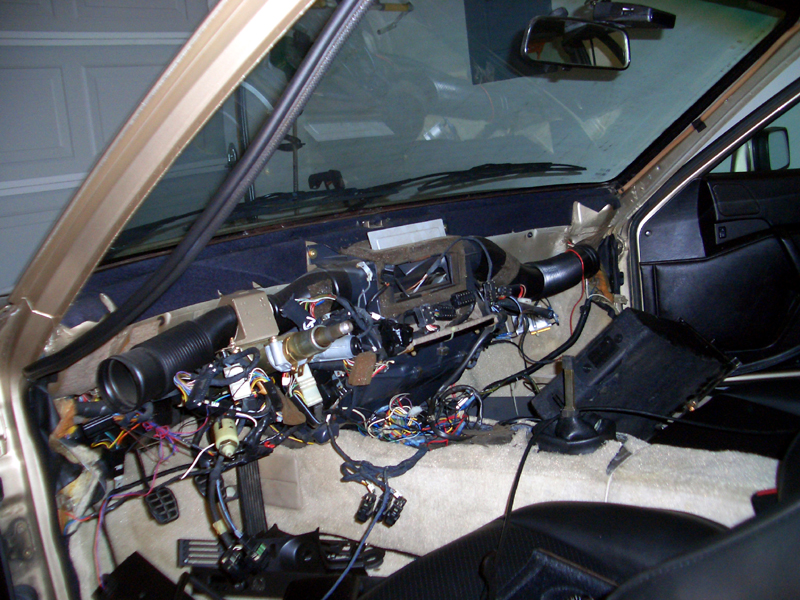
I saved the dash for last, as I thought it would be the most fun to pull and re-install, but was wasn't as bad as it looked.
Old dash out:
Here are some pics of my re-covering attempt on the dash. While I am pleased with the outcome, I would not compare it to what Rob Budd does in his process. On the other hand, my spare dash that I used for re-covering cost $20, the vinyl was $7 and the dye was ~$4. With that in mind, I'm very pleased with the outcome.
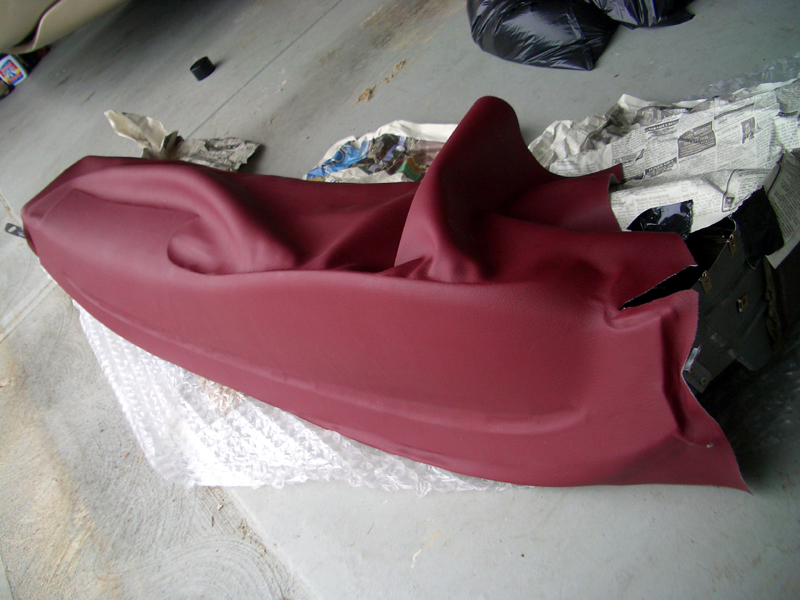
Tacking down the vents:

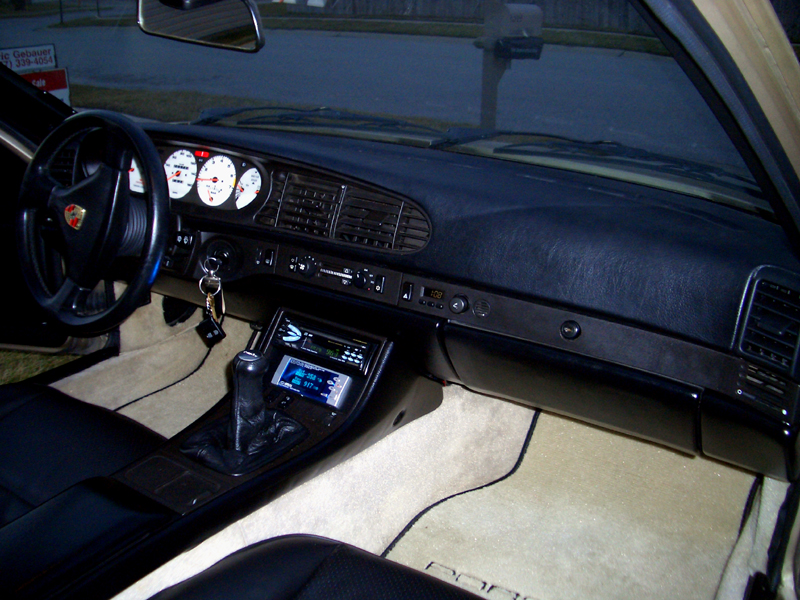
I then dyed the top of the dash a flat black to prevent that annoying glare, and did the bottom in gloss black.
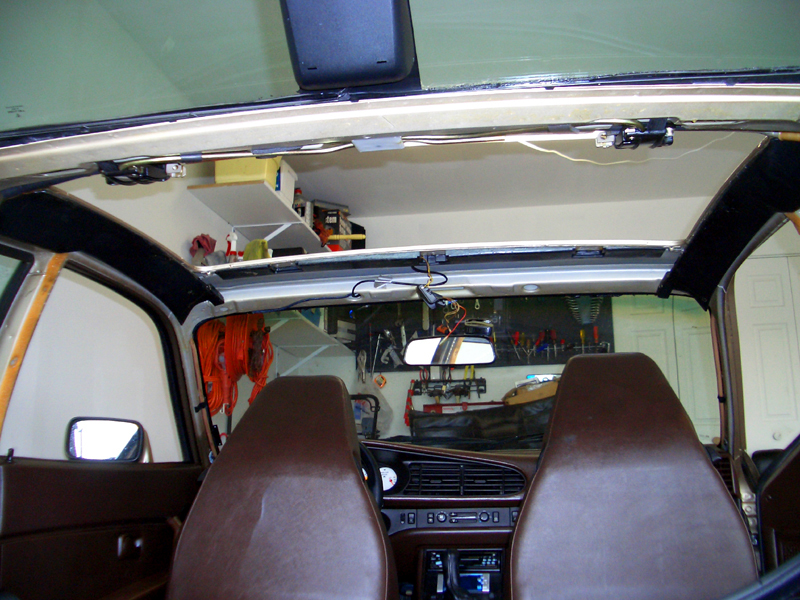
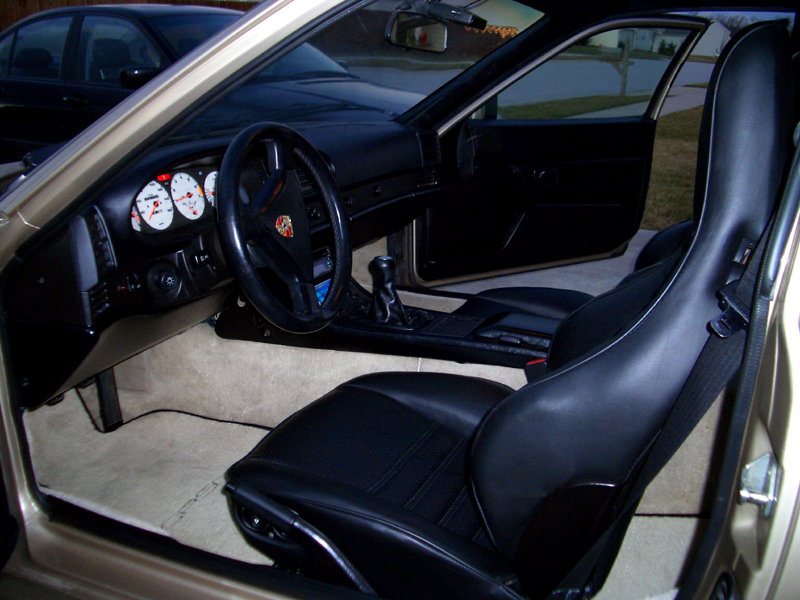
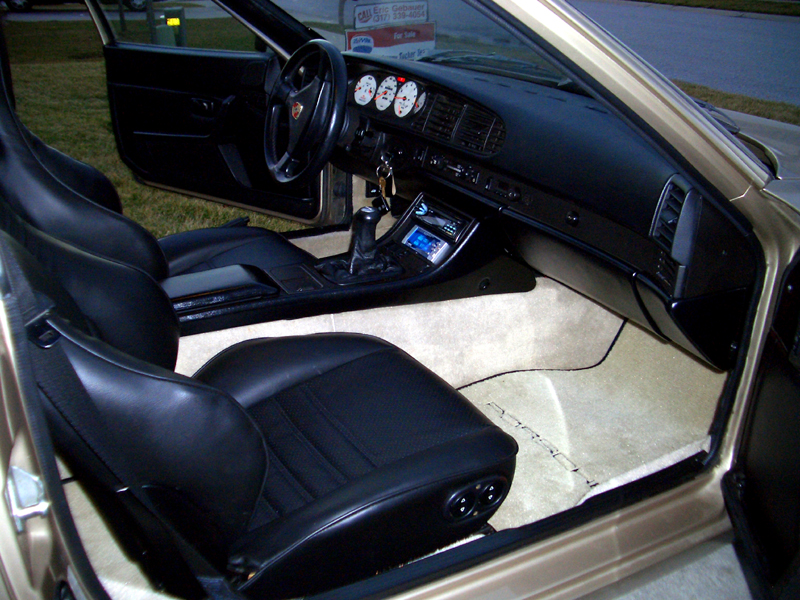
Here's the installed final product:


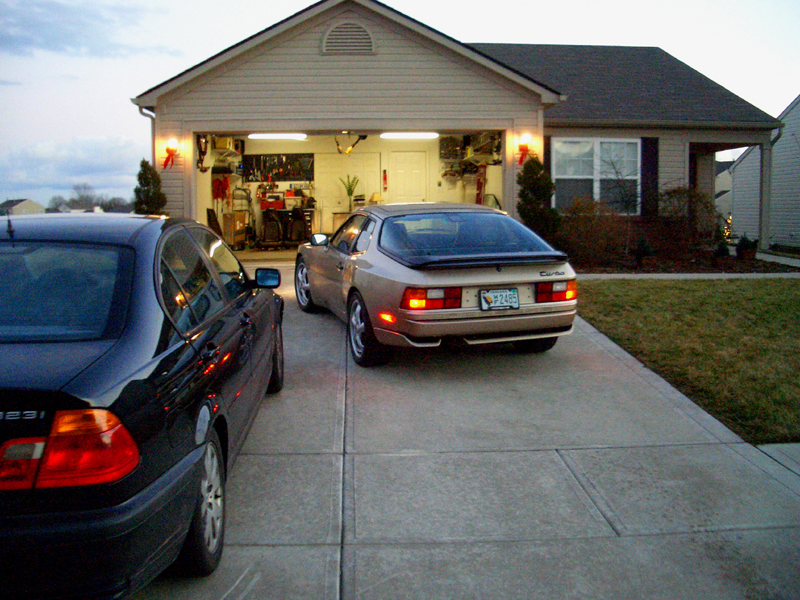
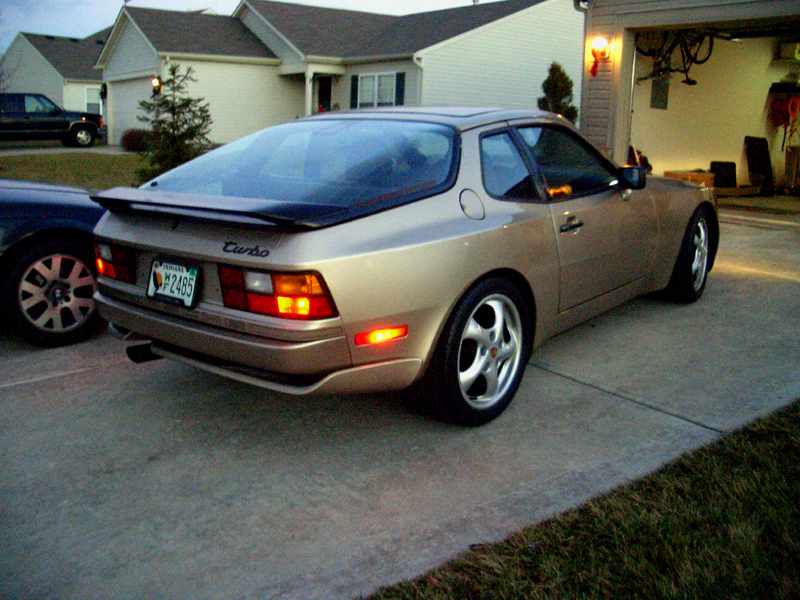
Here are a couple poor shots of the new bumper and the new driving lights. Thanks for looking!

I also stumbled across a pair of driving lights at one of those "I can't pass that up" prices. In addition, I picked up a euro rear bumper, shaved off the strip and painted it to match. Below are some pics of the interior, before, during and after, as well as the driving lights and bumper. Enjoy!
The brown interior before:
Aside from the cracked dash, it was in good shape. I just didn't like the brown, and I actually went through two sets of brown seats, as the driver's side bottom kept splitting.
I picked up a set of brown sport seats badly in need of recovering, but they came with a set of black rennbay covers, so I had some work to do.
The driver's side seat was particularly bad, to the point I had to build up some missing foam on the bolster from the gaping holes in the leather.
Recovered:
I scored a set of 10 speaker door and rear panels, so those went in and the brown interior started to come out.
As I tore some of the brown out, I started installing some of the new black and tan bits.
WIth the new carpet in, the seats and floor mats were next.
I saved the dash for last, as I thought it would be the most fun to pull and re-install, but was wasn't as bad as it looked.
Old dash out:
Here are some pics of my re-covering attempt on the dash. While I am pleased with the outcome, I would not compare it to what Rob Budd does in his process. On the other hand, my spare dash that I used for re-covering cost $20, the vinyl was $7 and the dye was ~$4. With that in mind, I'm very pleased with the outcome.
Tacking down the vents:
I then dyed the top of the dash a flat black to prevent that annoying glare, and did the bottom in gloss black.
Here's the installed final product:
Here are a couple poor shots of the new bumper and the new driving lights. Thanks for looking!


Trending Topics
01-07-2007, 11:14 AM
#8
Addict
Rennlist Member
Rennlist Member
Wow Mike, that is some impressive work. Was the old dash cracked, did have to do any repair to the foam underneath?
It really looks great, nice color combo and I love the little detail of the black piping around the floor mats.
Congratulations!
It really looks great, nice color combo and I love the little detail of the black piping around the floor mats.
Congratulations!
 01-07-2007, 12:09 PM
#12
your car looks GRREAT!!! NICE JOB!
how hard was it to do the seats? were you familar with the procedure before hand or did u just dive in? were they difficult to recover?
how hard was it to do the seats? were you familar with the procedure before hand or did u just dive in? were they difficult to recover?
01-07-2007, 01:10 PM
#13
Race Director
Man that looks fantastic Mike! I cant believe how much it brings out the color of Kalhari, should have been that way from the factory...nice write up. Euro lights and euro bumper as well, solid!! 