When you click on links to various merchants on this site and make a purchase, this can result in this site earning a commission. Affiliate programs and affiliations include, but are not limited to, the eBay Partner Network.
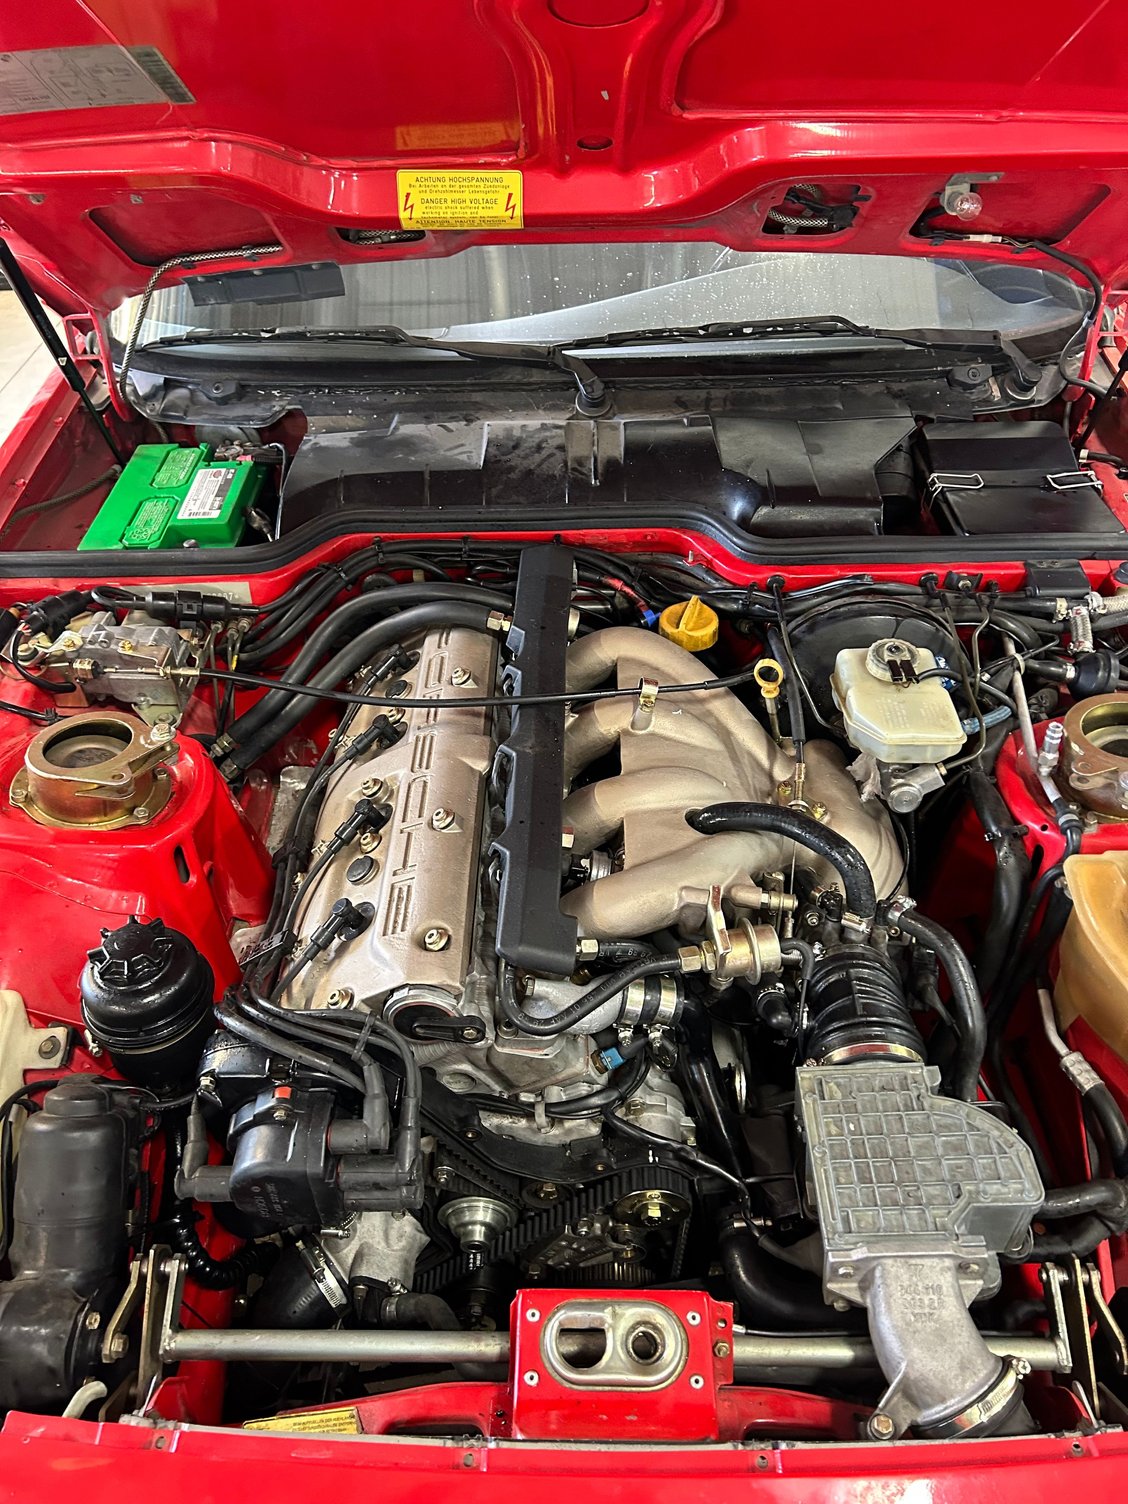
My year-long engine rebuild is complete and reinstalled into my ‘90 Cabrio. In November of ‘22 the engine would no longer make compression. So a compete tear down and rebuild started. Block was bored and re-nikasiled by LN Engineering, and I installed a set of custom JE pistons and rings. Full reseal, head reconditioned, and engine reinstalled back into car. A 160k mile engine is now like new! Looking forward to spring and many more miles.
Lookin' good!
Did you create a thread for this build? I'm sure there are lots of details that will be helpful to the community.
Before the front cover is buttoned up, please check that the balance belt tensioner has been rotated clockwise for tensioning.
No- no thread- I really admire the guys that do this, but the way my brain works the interruptions of stopping, photographing, and commenting would absolutely lead to a trainwreck of continuity. Plus I would probably spend more time deleting my screwups than actual documentation! But here are 10 nuggets in no particular order that I learned/noted/screwed up and had to fix:
1) I made the decision to get all the parts that had been originally gold zinc plated re-gold zinc plated. Holy crap they look great! But keep in mind that when you take them to the plater they are going to dump all into a basket. So my carefully and lovingly sorted baggies came back as a “box o’ parts”. Have fun sorting. Also, they will lose some, I swear!
2) Scattered around the engine are little L-shaped brackets that wire harnesses are fastened to. Document these- they are impossible to remember with everything else going on.
3) The OEM RMS and aftermarket RMS are radically different in terms of quality and robustness. I wish I had photographed them side by side on the backside, but the OEM is so much more robust. I installed an aftermarket RMS and it leaked. I then ordered and installed an OEM RMS, no leaks. And yes, replacing it was the full equivalent of an extra stand-alone clutch job.
4) when you have the clutch housing out, do the “slot mod” that allows you to remove the clutch housing without removing the reference sensor bracket. There is a theory that this will allow signal interference, that may be so but my belief system is that the later models had a “tube” installed around the reference sensor and so should not suffer from this mod. But holy mackerel how much easier it makes removing and reinstalling the clutch housing!
5)Slot the dipstick tube. The bolt that holds it on must be the most difficult bolt to fasten on the car. Slotting the dipstick tube bracket allows the dipstick tubevto be inserted after the intake manifold has been secured.
6) Girdle-block-oil pan housing. alignment-alignment-alignment! They move when being tightened, be aware of this and constantly check. Where they are when starting to be tightened is not where they will be when being torqued, unless you are diligent as you start every bolt/nut. This is where thousandths count.
7) Document stud depths before you remove them. Do not assume they “bottom out” to the right depth. They don’t. And so measure them.
8) before the block went to LN engineering, they need all studs, etc removed. There are two “pins” that locate the head embedded in the top of the block. I can’t say everyone’s experience will be like mine, but start with a sacrifice to the gods before attempting to remove. Use diagonal cutter pliers (same method as removing the keys on the balance shafts and crankshaft). Any slip will mar the top of the block.
9) oil pan gasket torquing- the common wisdom is multiple passes. That is indeed wise, but what is amazing is that coming out each day for 3 days left more torquing to be done until torque was “balanced to spec” around the entire circumference.
10) Get professional help when needed. This includes the various measurements needed to ensure various items are not worn beyond tolerances or need to be accounted for. Fortunately for me the parts I was re-using were well within limits, but it took a professional with the proper tools to tell me this. Don’t skimp here. Drink cheap beer if you want to be cheap, but pay the dang professionals.
11) Bonus item! Assuming you took it out the bottom, once the engine is out of the car, re-install the lower crossmember and hook up a-arms, steering rack, and put wheels back on. This allows the car to be jockeyed around in the garage while engine is out for long periods. At some point you will want/need to move the car. It is inevitable.
I did most of the labor myself with some helpers in my garage and at a friends garage with a lift. Work outsourced was as described above (LN Engineering, measurement of parts, head reconditioning (welding corrosion on cylinder head)) and total cost was about $6000. Total hours invested were something like 200. I have no benchmark, but I would expect that to be typical for a DIY rebuild.
5)Slot the dipstick tube. The bolt that holds it on must be the most difficult bolt to fasten on the car. Slotting the dipstick tube bracket allows the dipstick tubevto be inserted after the intake manifold has been secured.
This is so true. Its the worst bolt to access and so easy to be dropped. Great idea.
Especially on a turbo, in which the exquisite difficulty of securing the dipstick tube is compounded by the heat shield. As a famous movie once said “it goes to 11”.
 01-22-2024, 10:36 PM