When you click on links to various merchants on this site and make a purchase, this can result in this site earning a commission. Affiliate programs and affiliations include, but are not limited to, the eBay Partner Network.
So, I finally addressed an issue I've had for 6 years (when I got the car). My cruise control worked, but would often raise the speed 10-15 MPH when you set it. Especially if you were going faster than 60. I could play with it sometimes, and get it to hit the speed I wanted (by setting it way low) but most of the time I either just accepted doing 85 when I wanted 70, or doing 75 when I wanted 60. I would just get tired of trying, again and again, to get it where I wanted. Sometimes it would even do it below 60. It was just a mess.
I know Ian (944online) will rebuild these, but I wanted to at least give it a go first. I found this video helpful
and followed what he did. I pulled the CC module, took it apart, and reflowed the solder joints with my heat gun. Just got back a bit ago, working perfectly now. You set it, and it nails it right where you set it. Tested all other functions, and they all work. I do have an issue (not new) where the clutch doesn't disengage the CC, but I know what that has to be (clutch switch) but that's an adventure for another day. There is nothing I hate more than working under the dash of these cars. I'm thinking of pulling the seat to do the clutch switch. That's how much I hate it.
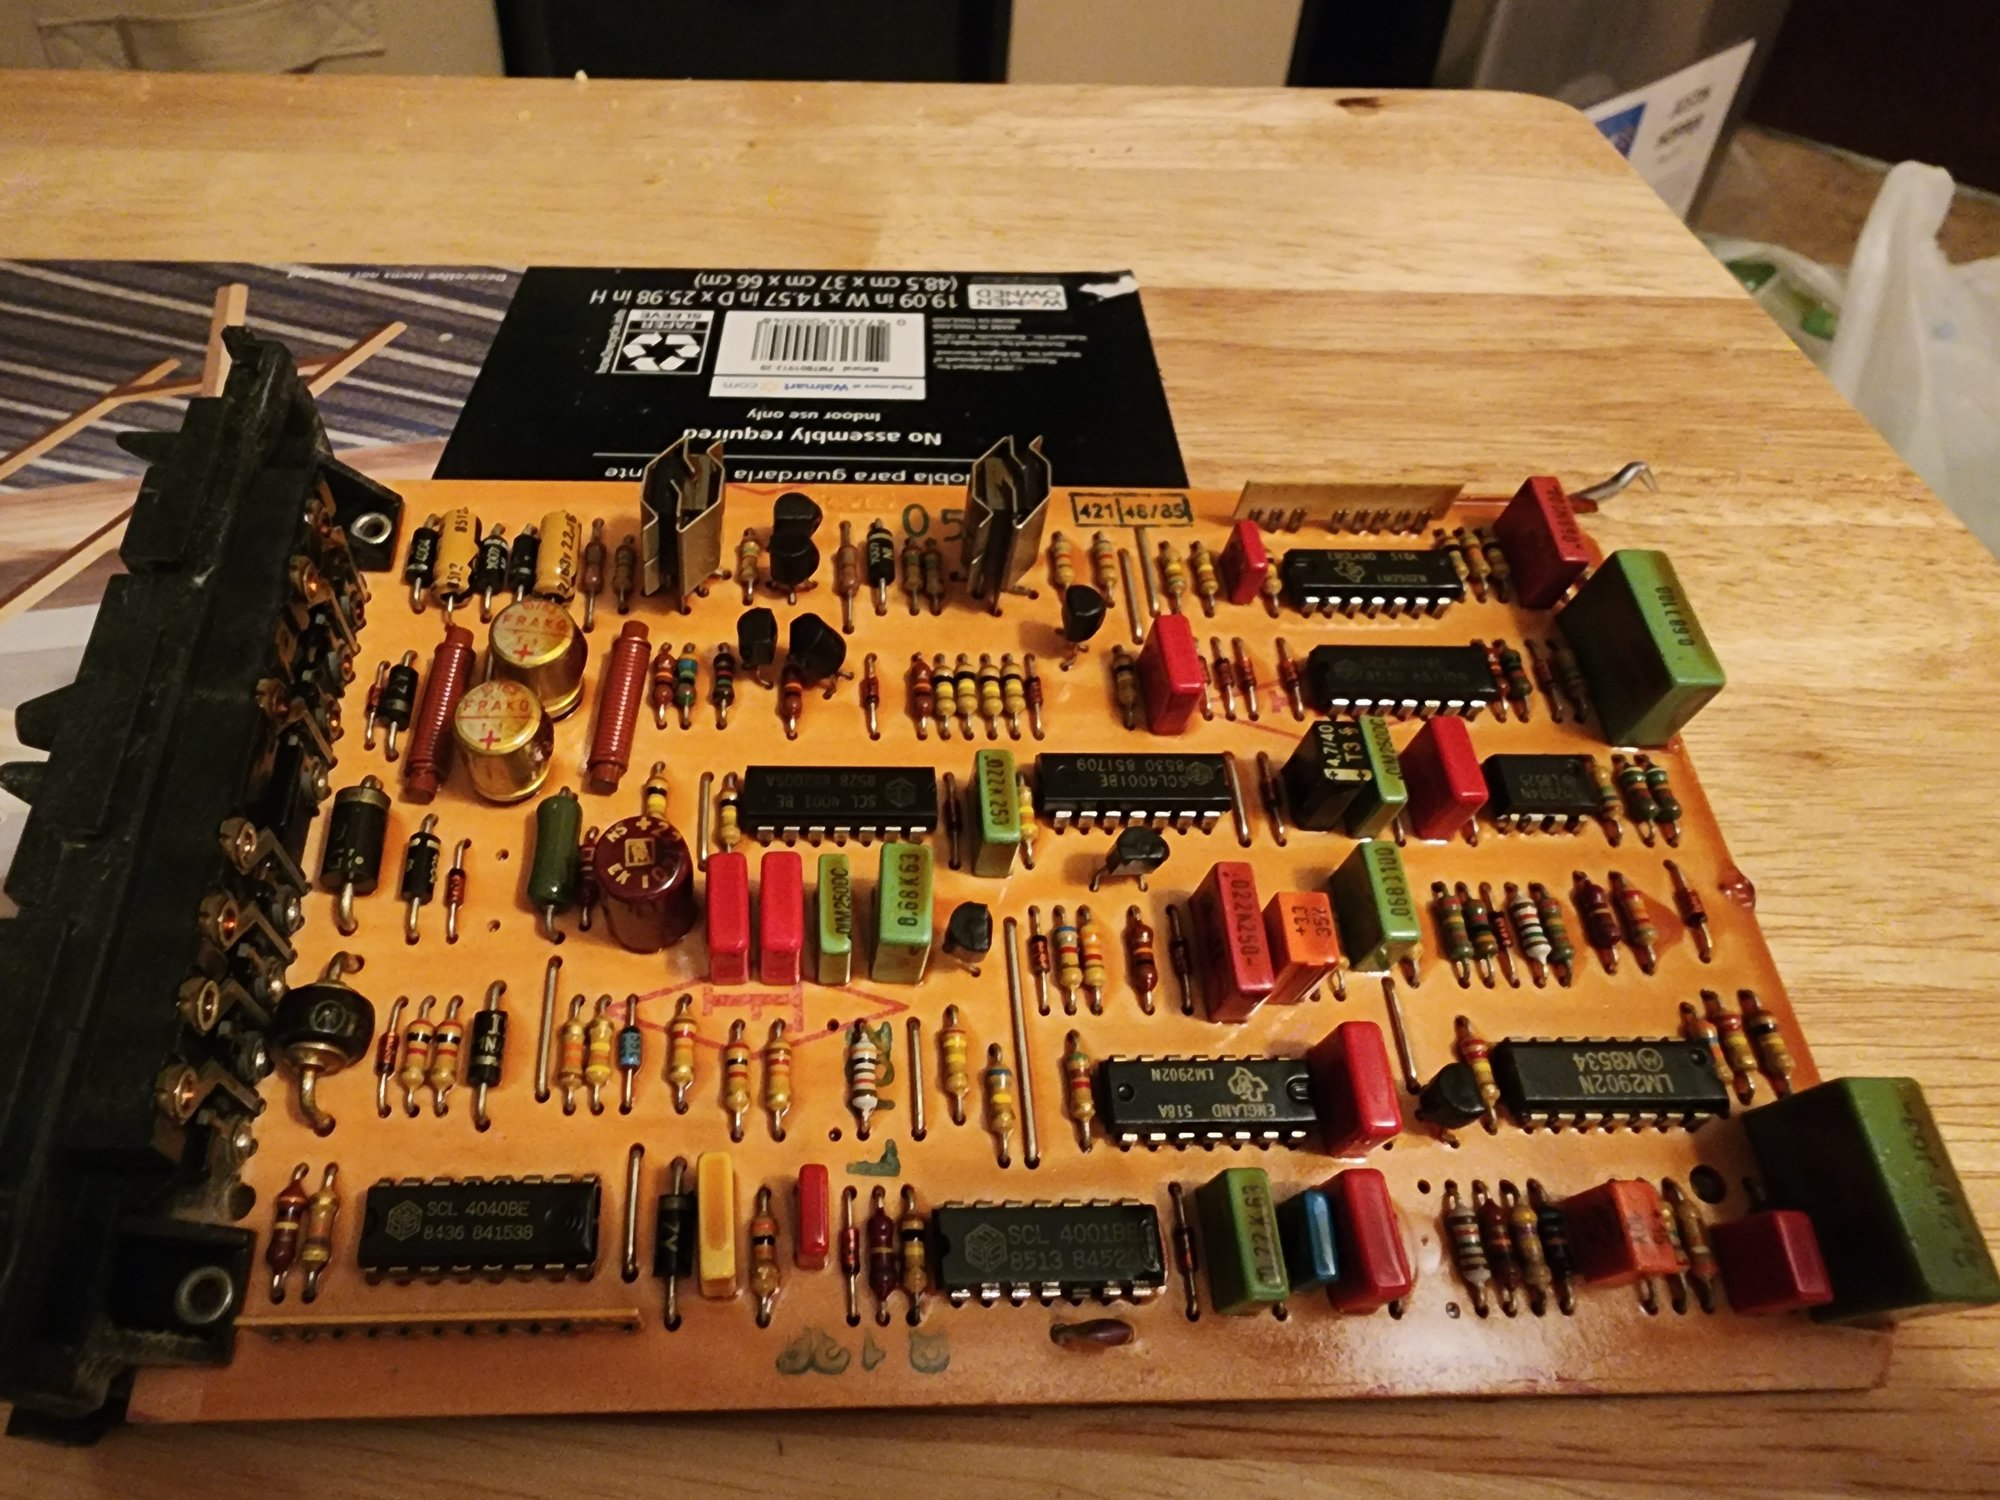
Anyway, here's some eye candy and observations about the board.
The board itself looked good. No blown caps, no scorch marks. This looked like a fully functioning board.
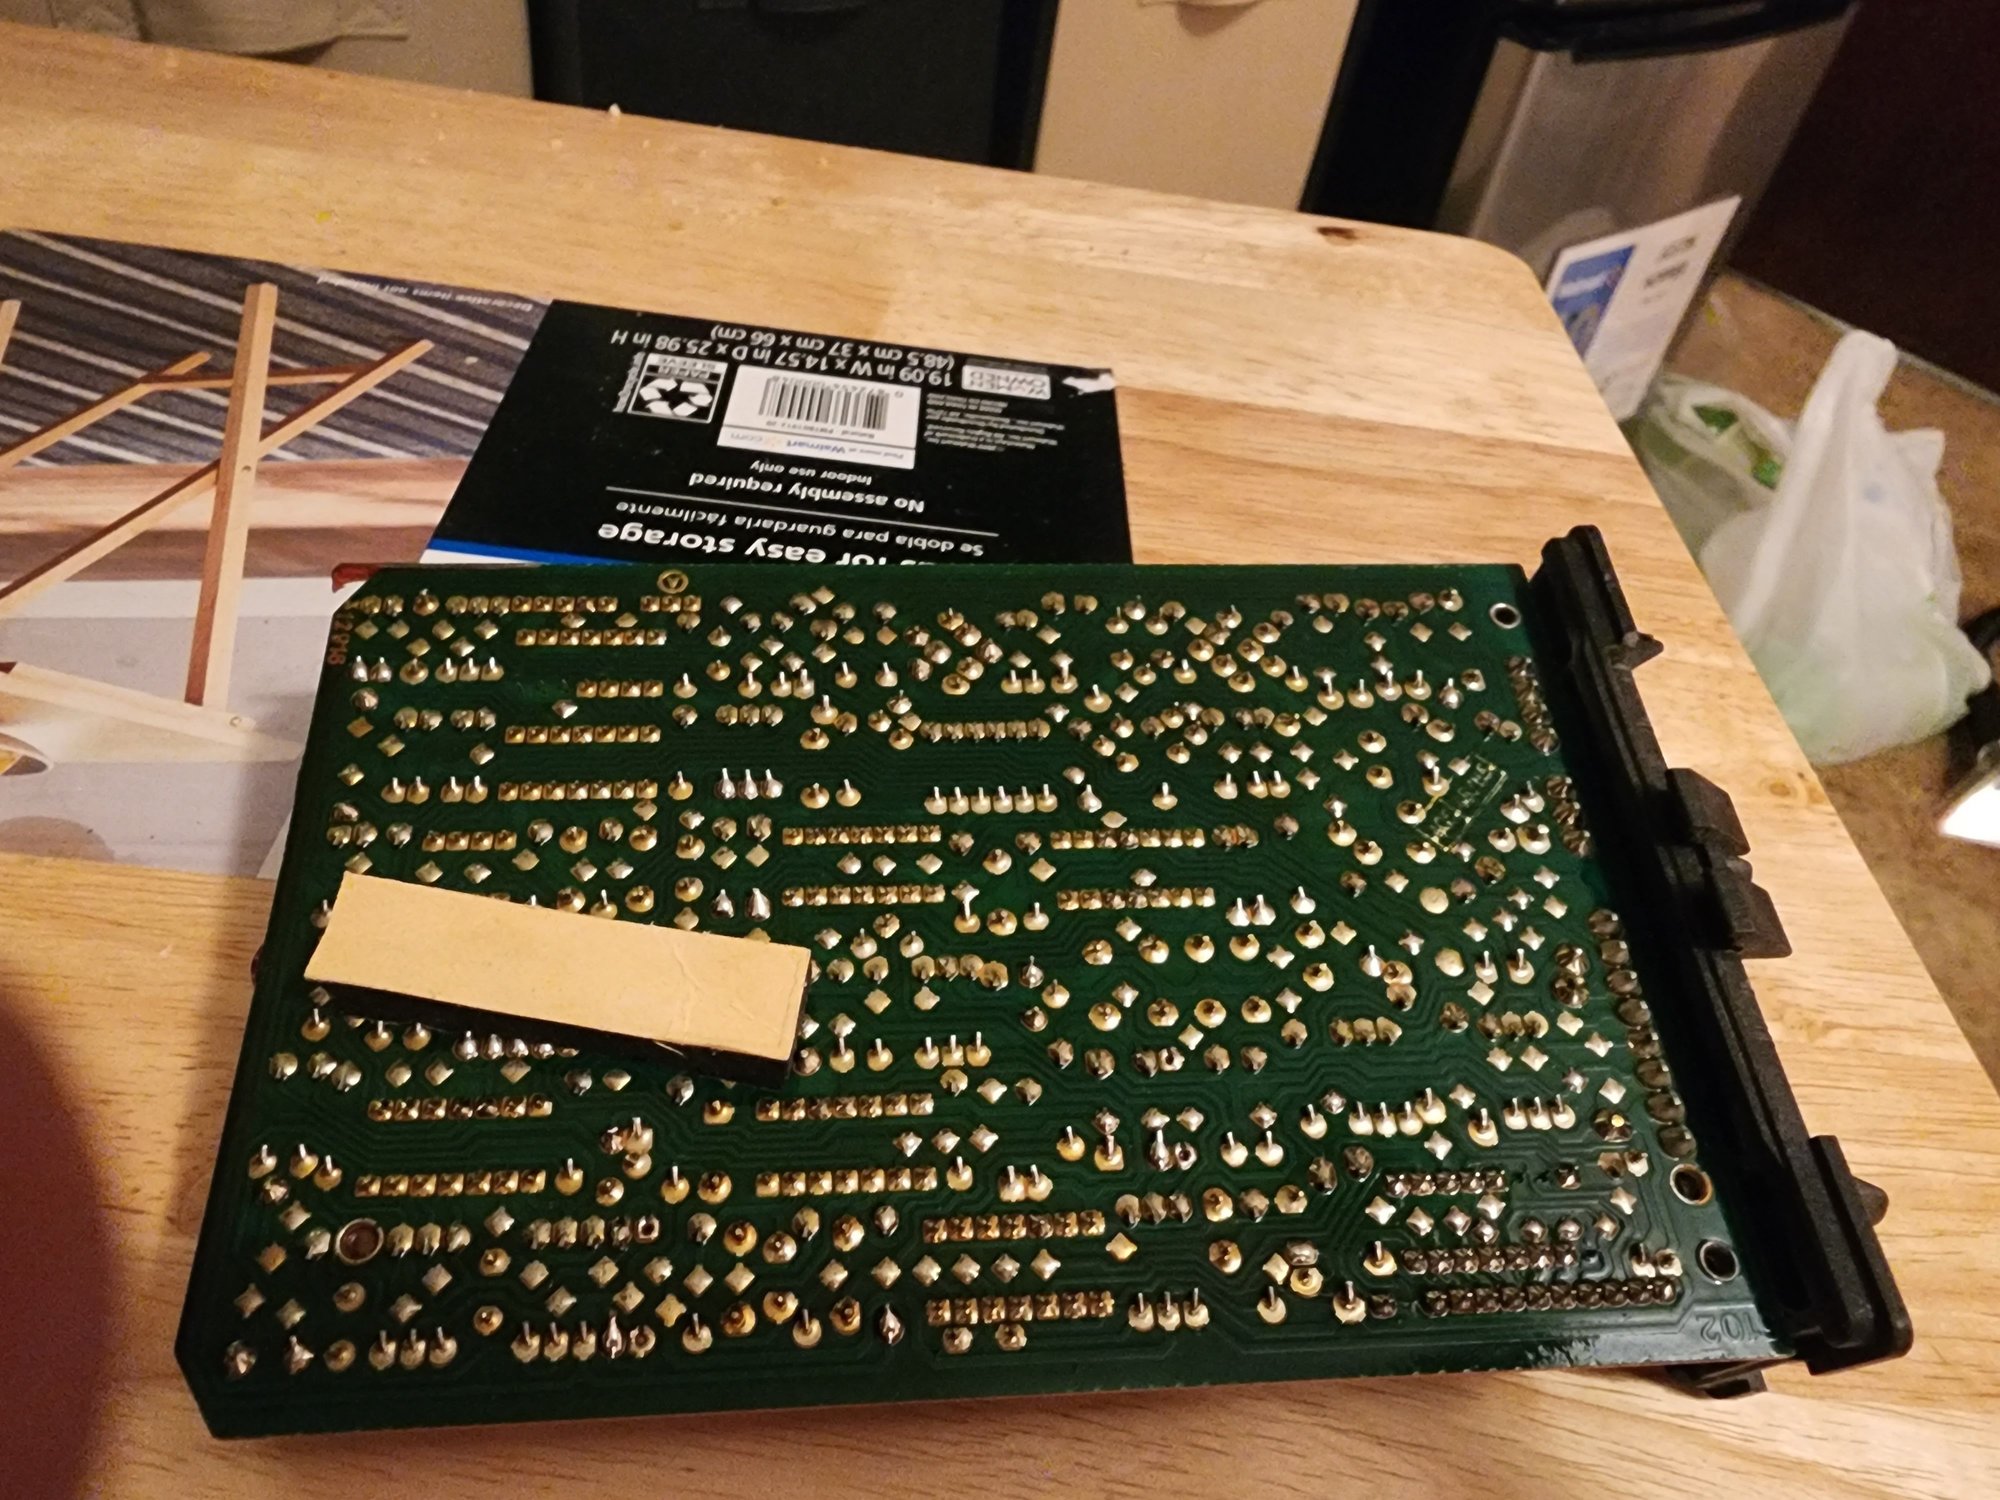
The circuit side looked equally as good. No broken joints, no signs of anything suspicious. That foam rubber piece, which I think is there to give the board tension in the guide rails so it doesn't rattle around in the case, was a bit of a pain. It was stuck on there good. But the heat gun helped get it off. All the sticky was gone. And it tore in 1/2, but I reinstalled it in the case when I was done. The joints kept it in place.
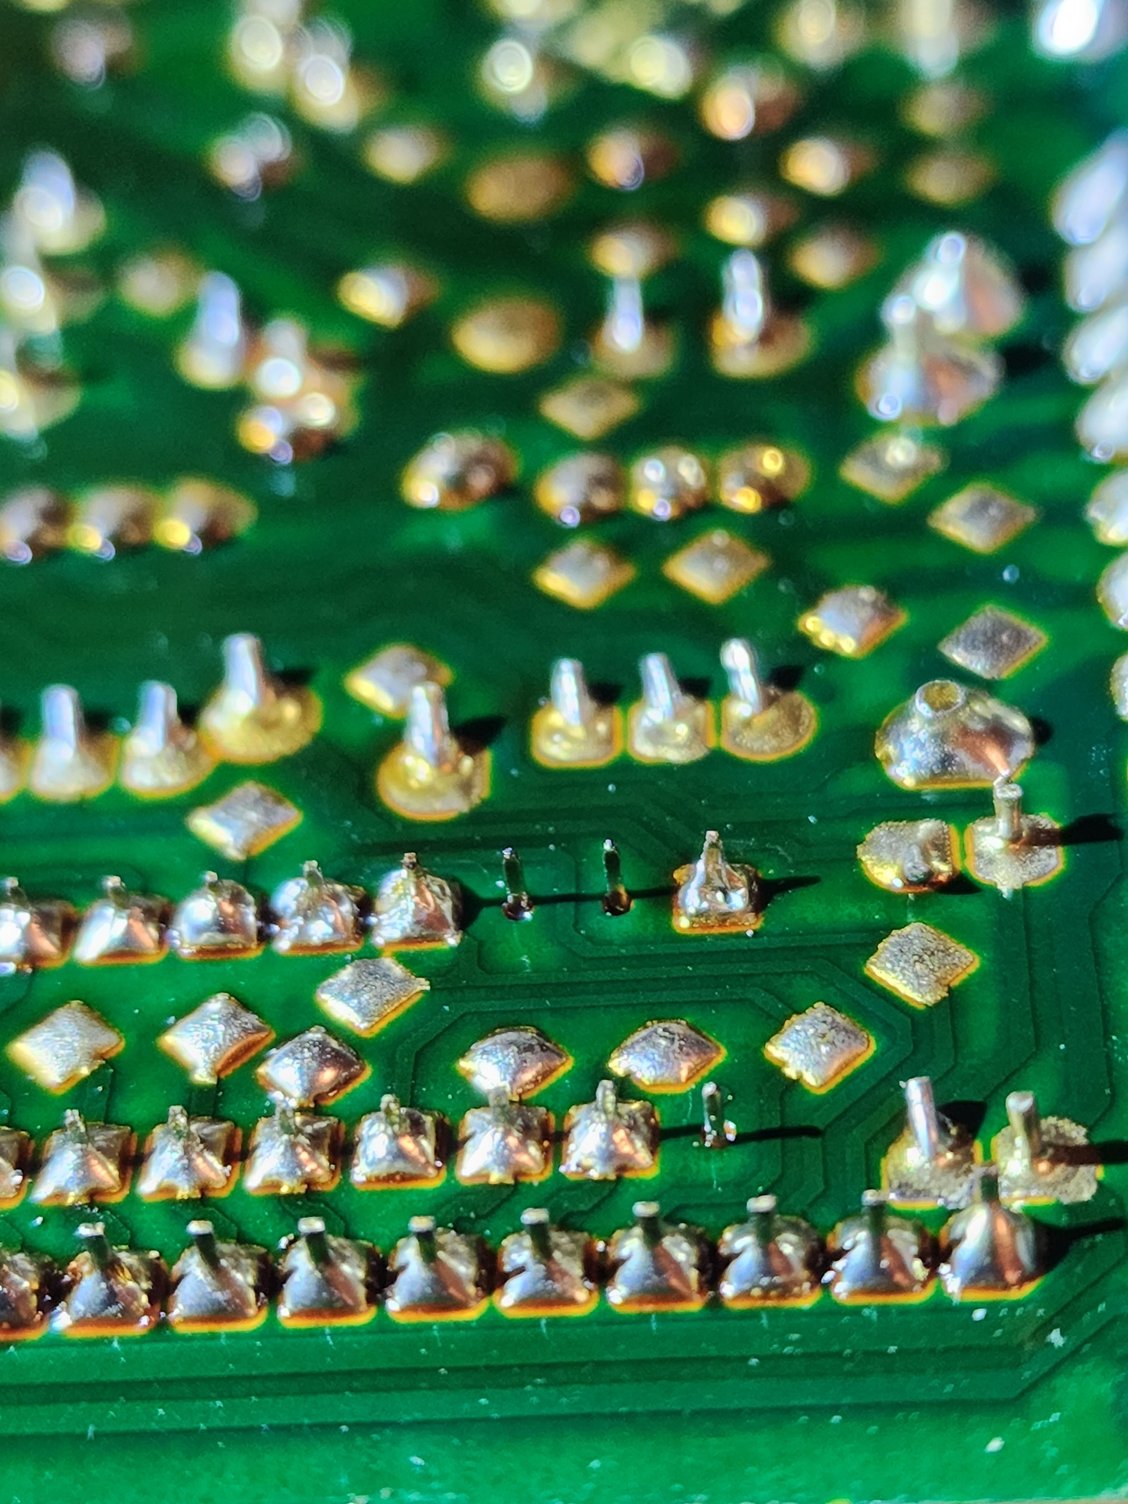
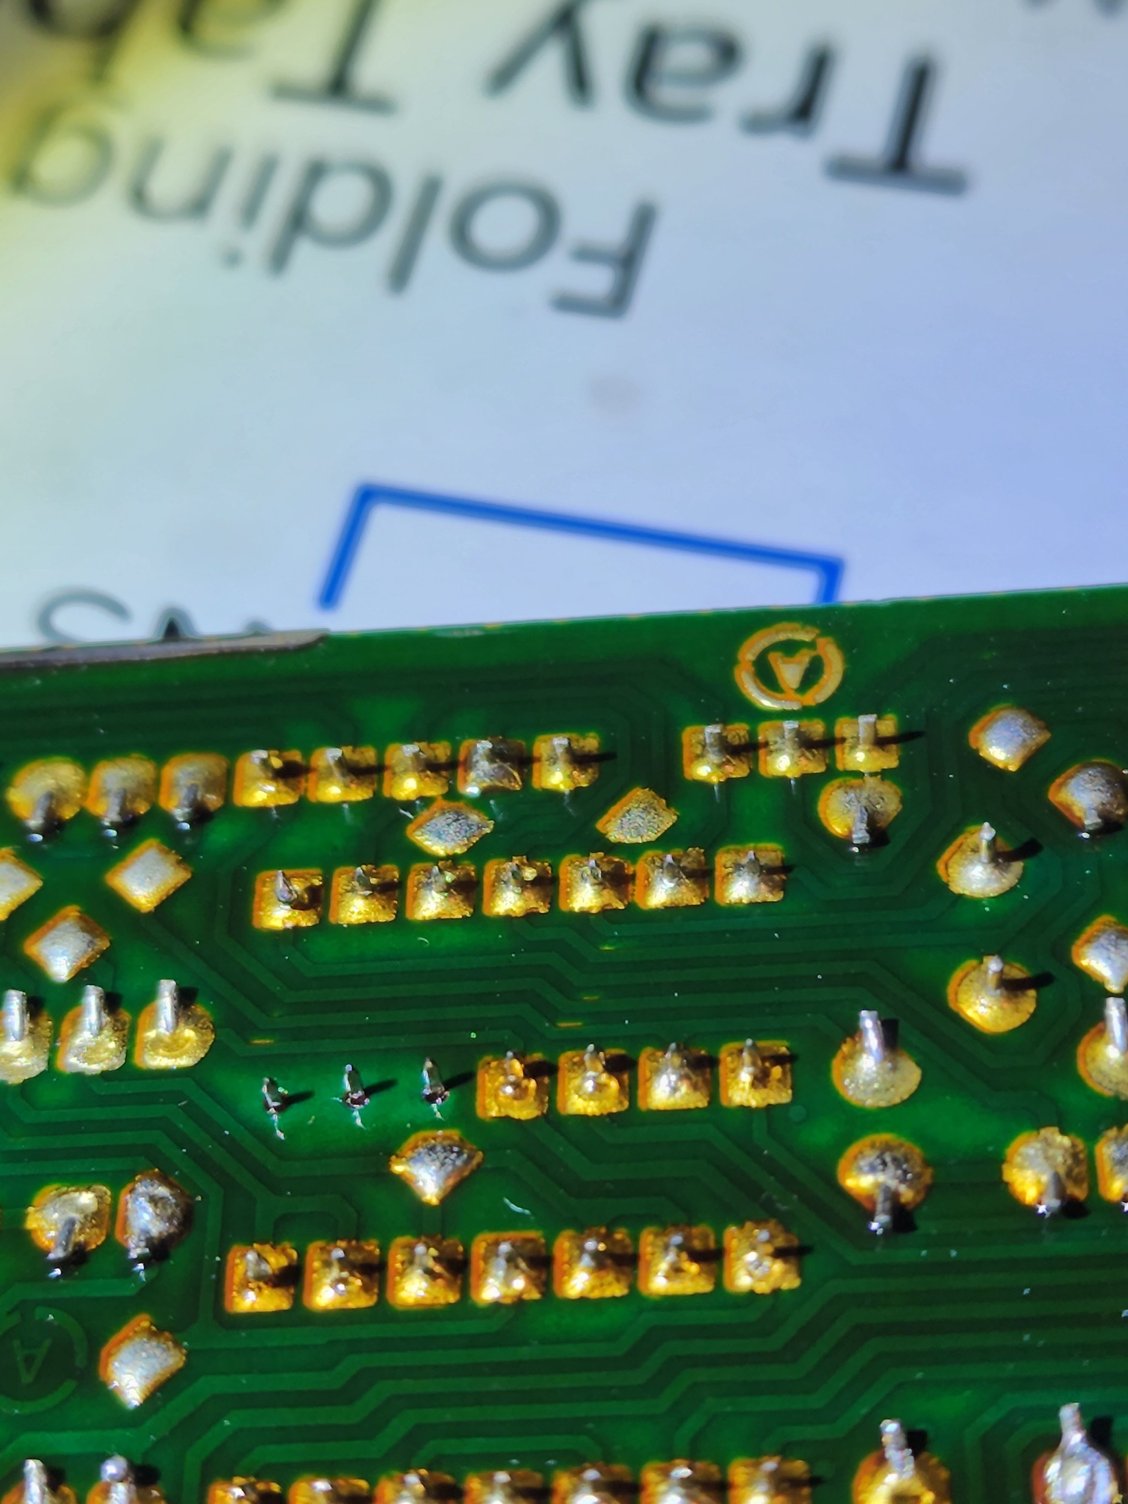
Once I started reflowing the solder, I get better light so I could keep an eye on it better. And I noticed a few things that at first worried me.
But closer inspection of the board showed that those are not in fact missing joints, there are no circuits on the board for those pins, so VDO just didn't bother soldering them.
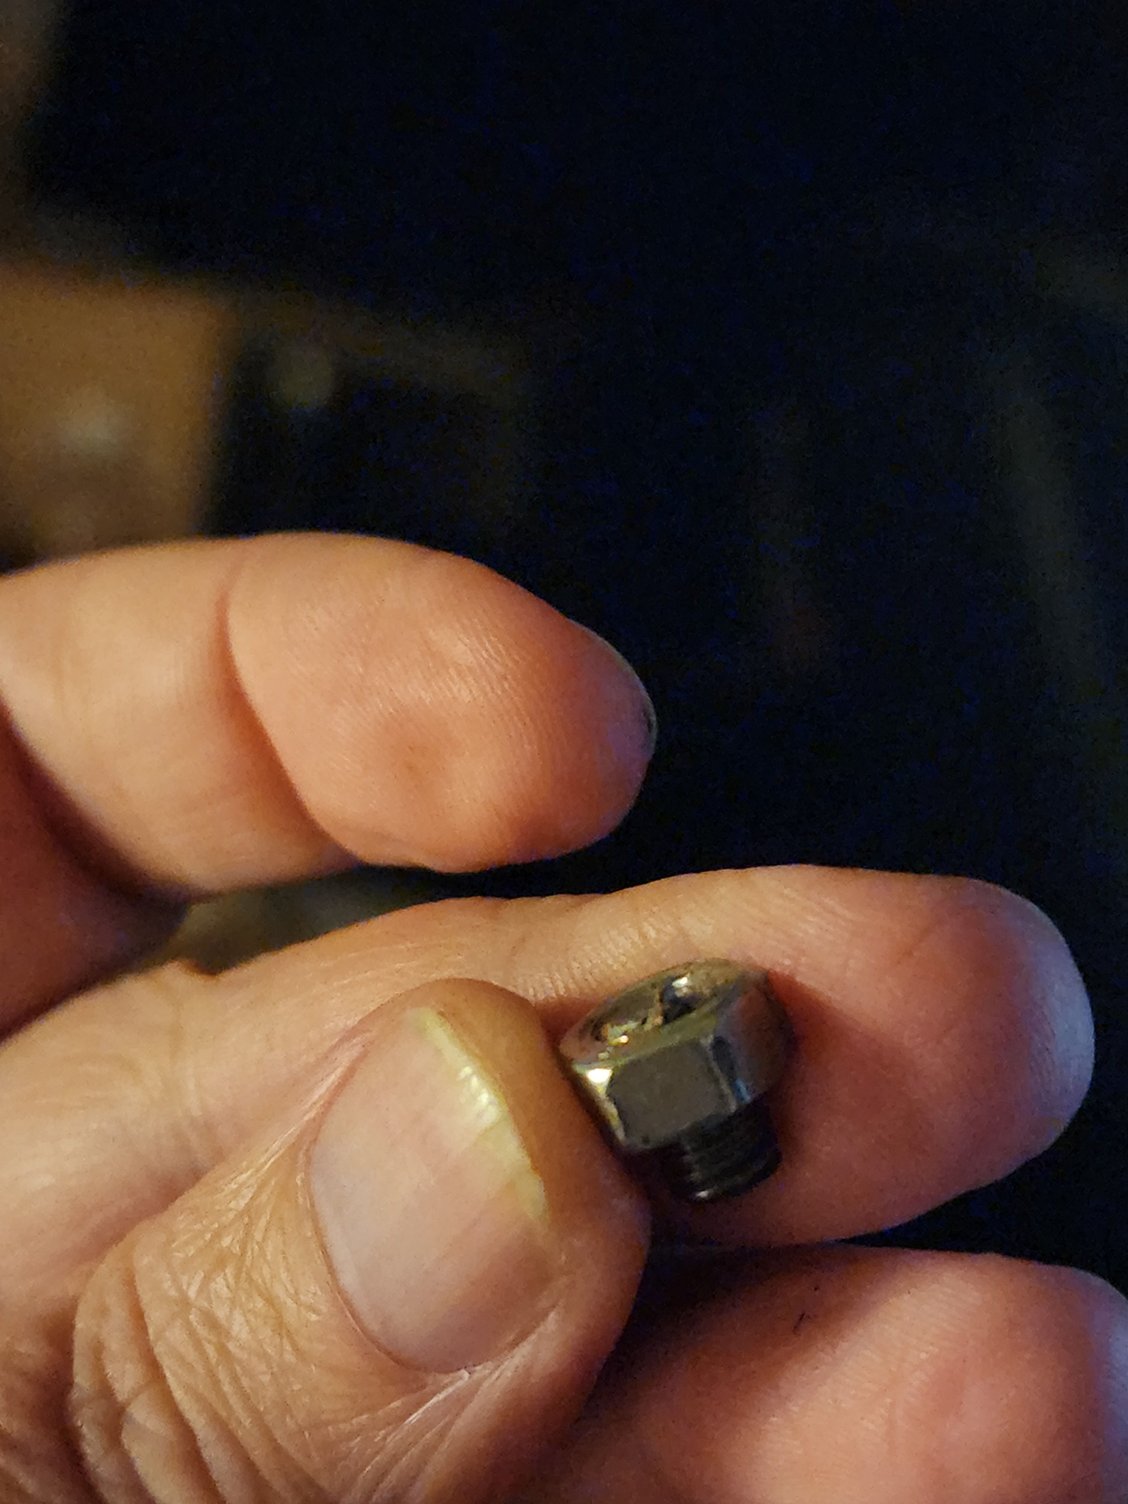
All went well until I went to reinstall the CC module. The front nut had been VERY hard to get off. And it looked to me like the stud was torn up, like it had been cross threaded. I found no signs anyone had been in this CC module before. I don't know if someone removed it for some other reason, and cross-threaded it putting it back (or if this was a "new" module for this car, a replacement sometime in the past) or if it was cross threaded from the factory. But this happened when I tried to reinstall the module...
The rear one (that I think I put the messed up nut from the front on) was also acting like it was going to fail the same as this, so I stopped trying to tighten it anymore. After some thinking, I fell back to my redneck roots, and come up with a solution. I used the NEW bailing twine of redneck engineering. Zip ties! There is a ground block right above where this mounts for the instrument cluster. I used a small zip tie ran back behind that block to give me something to use to secure the CC module with a large zip tie. (the block runs the wrong way to zip tie to directly). Is it pretty? No. But then, it's way up under the dash. Does it work? Hell yeah! WD40, duct tape, and zip ties FTW! Yee haw!
Bottom line. With a little bit of work and a couple of zip ties, I now have a perfectly functioning CC system again! Aside from having to work under the dash, it was a fast, easy, and simple fix. If you don't have a heat gun but have a soldering iron, you can also reflow the joints one at a time. I've done that in the past on other things. I just turn my iron way up and hover it close to the joint for a few moments. But, with what looks like over 200 joints here... the heat gun is a better choice. Of note, just like he says in the video, you really have to use the highest heat setting to get the joints flowing.
 02-06-2023, 03:44 AM