When you click on links to various merchants on this site and make a purchase, this can result in this site earning a commission. Affiliate programs and affiliations include, but are not limited to, the eBay Partner Network.
Do you have a boost gauge on there? You're going to need one to diagnose your possible low power problem. I sort of had the opposite problem...it was very laggy but hit quite hard when you revved it enough. I got a boost gauge...15 psi! Yikes. I'm lucky I didn't blow it up...
I plan to install a boost and AFR gauge once I've got the interior sorted out to some degree. I'm surprised they didn't install one from the factory. Lucky you for sure, holy wow!
All of the main vacuum lines have been replaced, and the spark plug wires brand new from Kingsborne. My questionable affinity for using blue lines and wires, I now have all the power this car hasn't had in well over half my life. It's such a strong engine and finally having the car running like a dream, I've almost completely forgotten about my old '84 944. This is now objectively the best Porsche I've ever driven.
Still more to get sorted out. Need new rear shocks, getting the damned reverse lights to actually work, new door cards, an exhaust rattle, and finishing up the interior are on the list. But before that I've got one small problem.
The main turbo feed line is leaking at the o-ring mounted between the turbo and it's bracket. It causes much smoke, and unfortunately requires that the turbo be dropped to replace it. I'm looking forwards to this challenge.
Had the car's undercarriage inspected during a tech session at Munk's this weekend. Much was learned and appreciated. Turns out one of my many exhaust rattles comes from the fact that the rear portion of my exhaust was swapped out for a 951's, which is a direct bolt-on. I'm missing the more intricate muffler hanger setup. The support weld on the front of the 951 muffler is broken and rattling. Also, the U-clamp at the 4-bolt connection is missing (#6/7 for the 931, #5/6 for the 951), putting a lot of weight on the remaining hangers of my system. Welding that support and adding that mid hanger will solve the most annoying rattle issue.
I'm gonna have a very involving winter, replacing the oil pan gasket, turbo seal, lots of A-arm and rear sway bar bushings, ball joints, amd a lot more.
I removed the oil pan last week. Currently cleaning it, and working on removing the turbo too. This car did not live a pampered life before it got to me.
I removed the oil pan last week. Currently cleaning it, and working on removing the turbo too. This car did not live a pampered life before it got to me.
Looks like a good start on the pan. Are you planning on soda blasting to remove remainder of grime? Might as well do main bearings since the pan is off...and so on with the "while you're in there" that seems to get me every time I start to repair one thing, and leads to ....
Looks like a good start on the pan. Are you planning on soda blasting to remove remainder of grime? Might as well do main bearings since the pan is off...and so on with the "while you're in there" that seems to get me every time I start to repair one thing, and leads to ....
What I actually did with the pan afterwards was lightly clean it with oven cleaner. Have to work fast and wear protection with that stuff because it can eat magnesium and aluminum if left for too long. It's far cleaner than it's been in recent time so I'll take a pic later to show the results.
I got the turbo free yesterday and cleaned it similarly. The "dead" O-ring causing my oil leak is very apparent now. Waiting on new fasteners to arrive to put it back in.
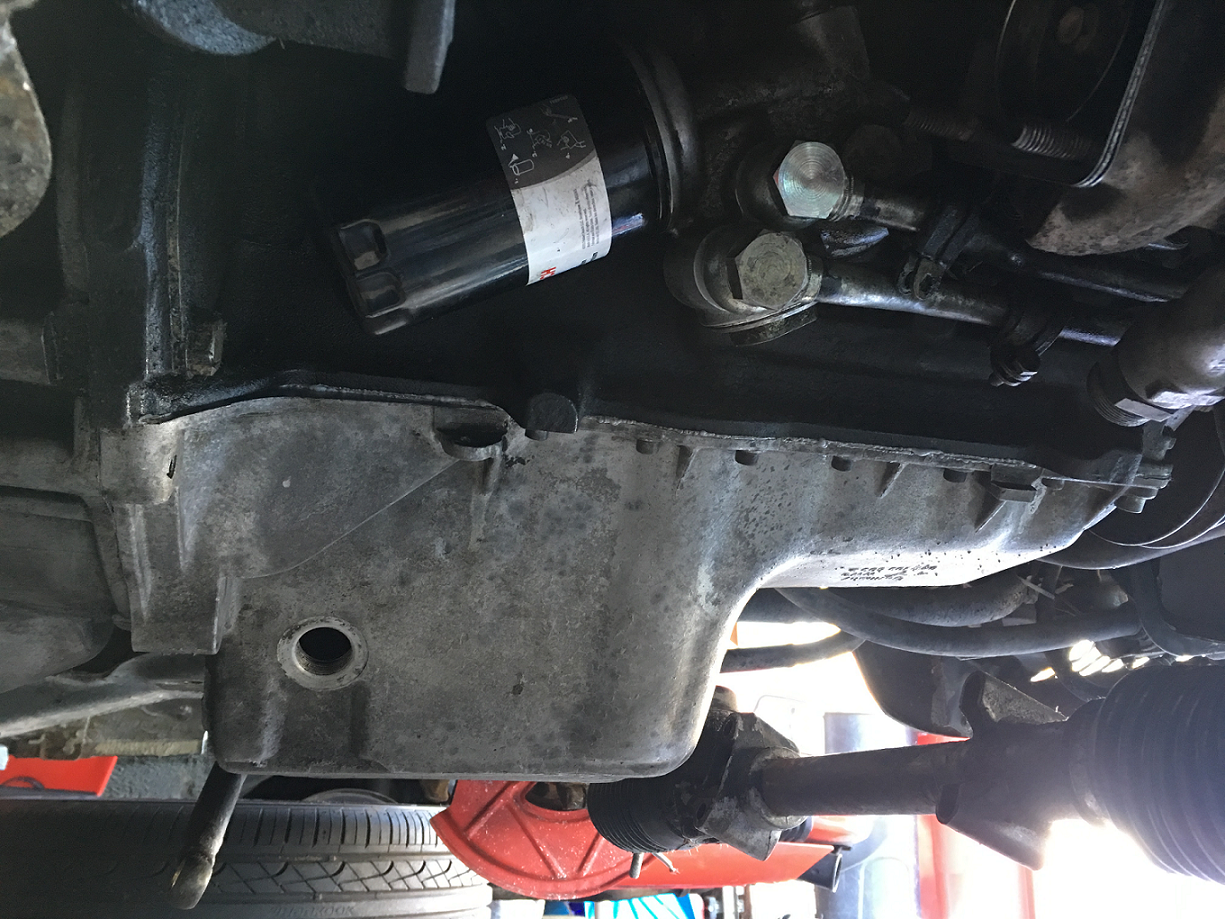
From top to bottom, you can see how far the crossmember has come from being removed, to being cleaned of oil and grime, and where it sits today: soaking in phosphoric acid (bought a gallon from Home Depot for $15) to remove the rust and protect the metal.
Another thing I've done is replace part #93111018501(NLA) with an identical part used on 951s.
Your'e making great progress. Have you added any videos to your channel lately? I haven't checked.
Thank you! The only one I've added as of late was the final steps to removing the oil pan a couple weeks ago. I hope to have another update video to share by the end of the week!
As for what I can share right now, I've gotten the resealed turbo back in, but not before removing the fairly crude heat shield to discover what happens when a painted frame meets heat cycles from a turbo. I sprayed a lot of phosphoric acid and used the smallest steel wire brush to remove what ended up being the worst surface rust I've seen on the car (this car is seriously too clean to be a 30 year old Michigan car), cleaned up the surface as best I could and sprayed a couple layers of hi-temp BBQ paint. I'm also gonna see if I can more heat reflective material to apply along the frame as well. The turbo is back in, and I'm waiting on new fasteners to replace the rotten ones I took off.
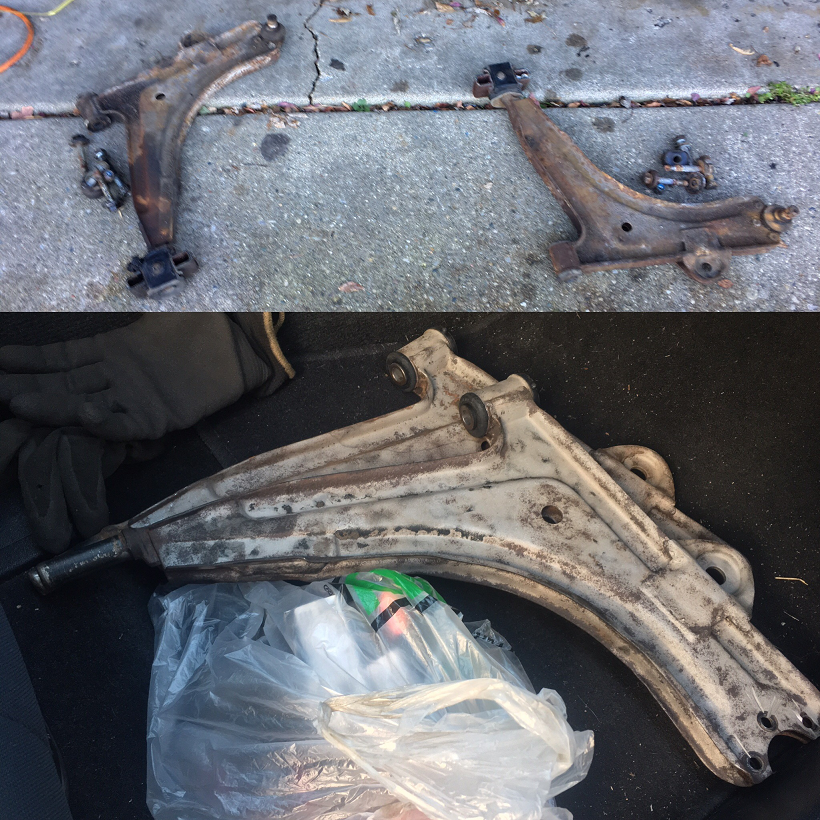
Had the original balljoints and bushings in my control arms replaced today. Why OEMs used rivets in the past, I cannot understand. Using an angle grinder to remove the rivet heads was not fun, but walnut blasting is. Because the car sat outside for soo long, there was an awful amount of surface rust. I spent maybe 30 minutes on both arms combined, but they're much cleaner now.
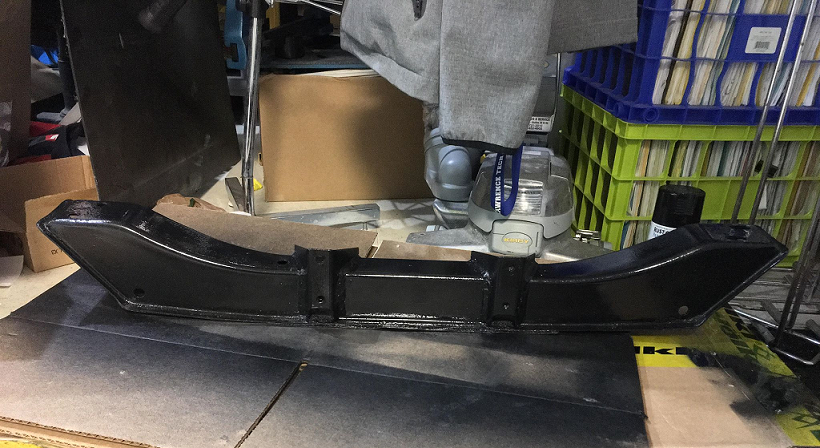
Crossmember is painted, control arms are painted, and after two hours fighting gravity and obstructions, the oil pan is sealed and bolted back in! This rebuild is ramping back up with fierceness!
We're back up and running again! Gonna check if there are any remaining leaks this afternoon. Also waiting for control arm bushings, tie rod ends, and shock absorbers. Then I can move it out of the garage and set to work on the interior again!
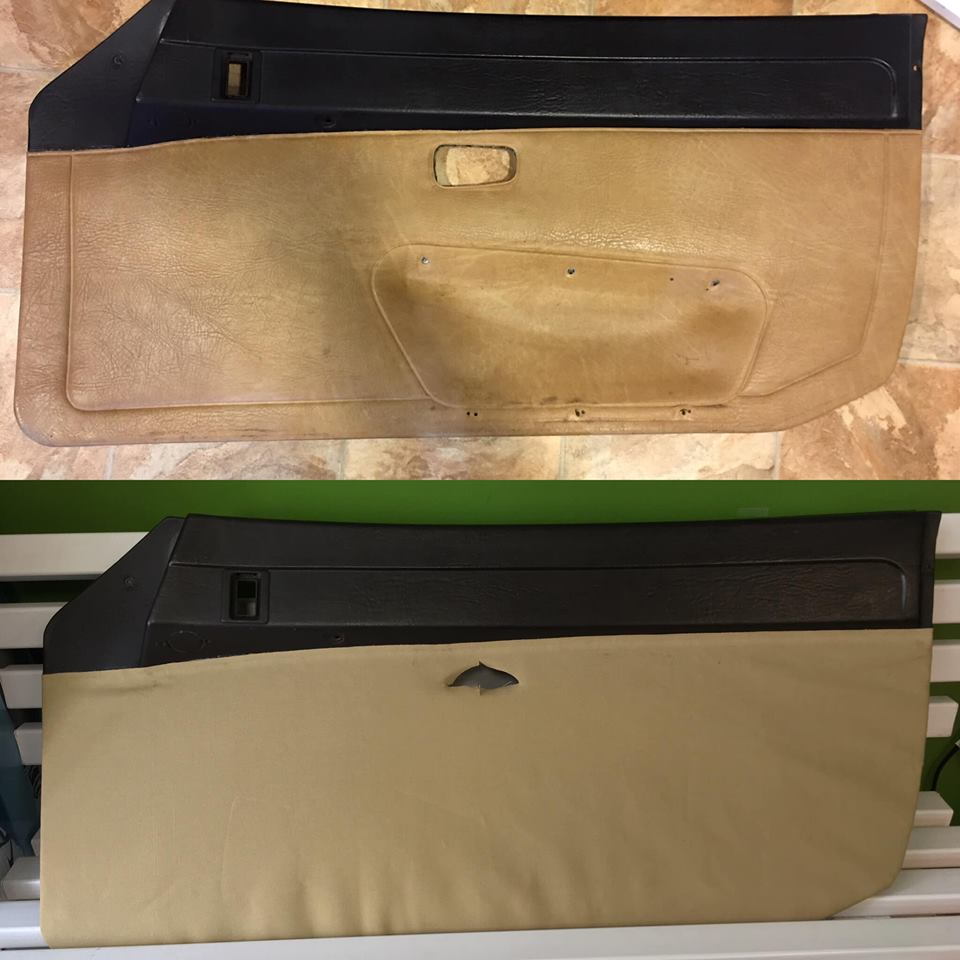
With spring break just around the corner, the engine sealed back up and the suspension getting ready to be put back together this weekend, I'm starting work on redoing my interior, again! I've redone one of my doorcards in the RS-style, using duck canvas from a typical fabrics store, and I'll figure out how I wanna do the door pulls this time around when I finish the second card.
I also found a website that sells brand new flooring/carpets and ordered a set in dark navy blue to replace the tan I have and the car came with. This is gonna be quite the car come summer time!
Finally installing a proper set of carpeting I ordered online. The fitment is pretty good, and while my trimming is ongoing and may or may not be factory perfect, it's a helluva lot better than what the car has had over the last decade.
 09-19-2018, 07:39 PM