When you click on links to various merchants on this site and make a purchase, this can result in this site earning a commission. Affiliate programs and affiliations include, but are not limited to, the eBay Partner Network.
Bought a hood insulation kit from Classic 9 with the decal. I'm half-way done getting the old goo off, and the insulation panels themselves look great.
But, I'm wondering how well the decals hold up with the heat of an engine bay.
What I don't want is the decal to crack and look terrible after a few years of driving.
Anyone have any experience with the longevity of the decal? Will it last 10 or 20 years on a car that's driven lightly and only in good weather?
Well, I'm pretty darn pleased with how that little project turned out.
I did take the hood off my car, but it was much easier to get the old adhesive off that way. I put it up on a couple of sawhorses and it took almost an entire bottle of goo gone gel and a plastic putty knife to get the old stuff off. However, it did come off completely and didn't harm the underlying paint at all. Took about 4 hours of spraying it on, waiting 15 minutes, scraping and repeating to get the whole underside clean.
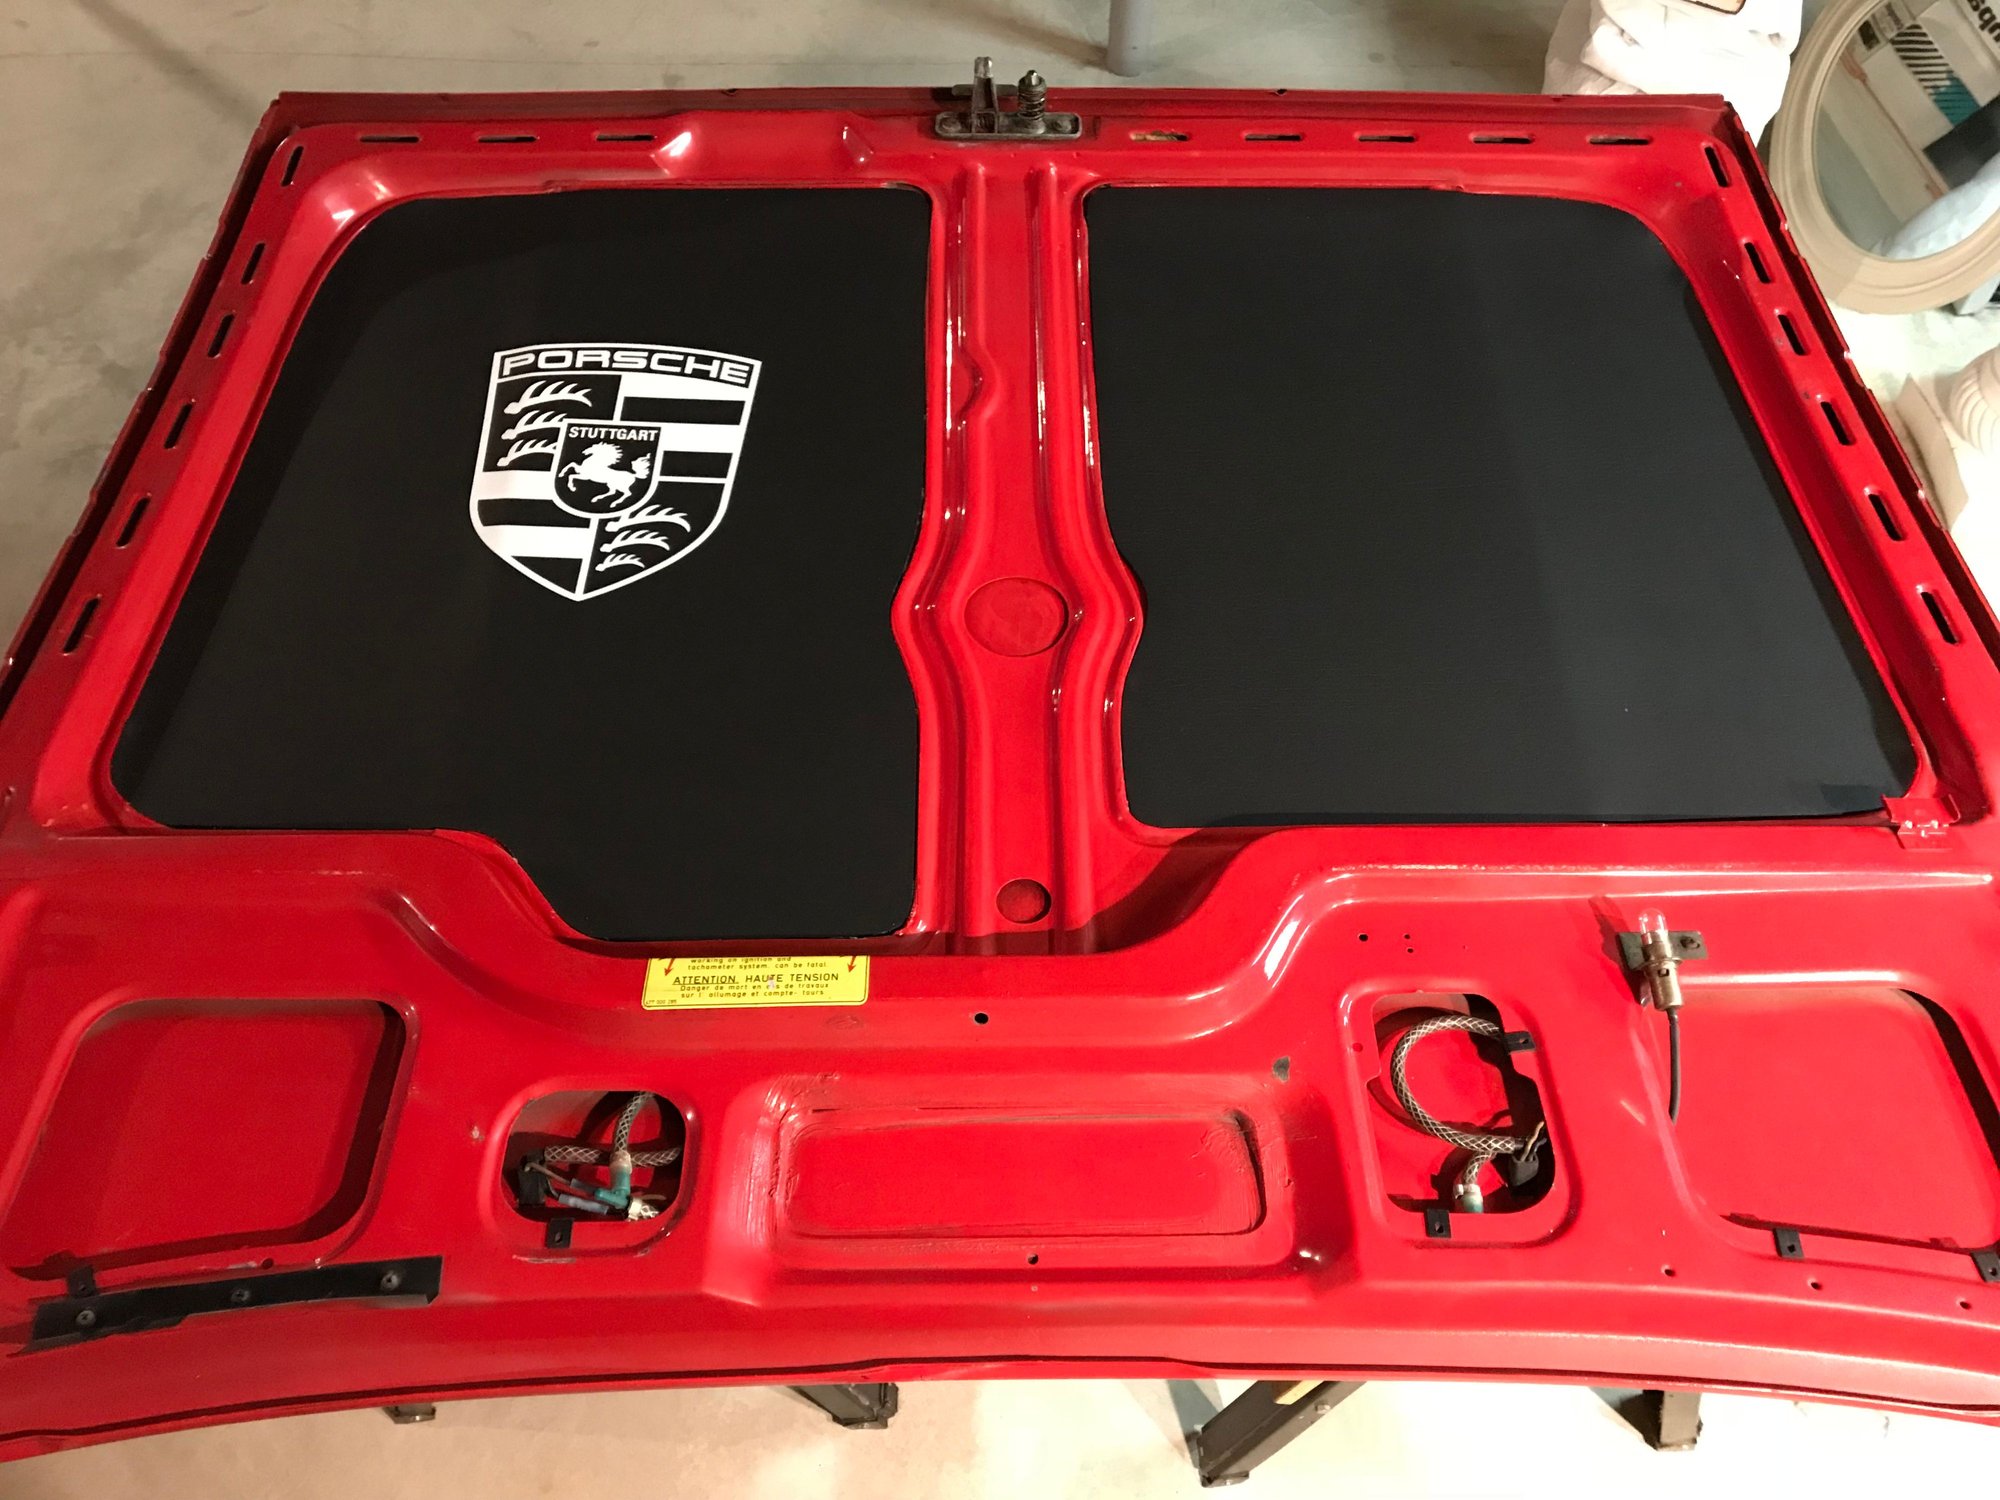
Then, I did have to trim a little piece off of the new insulation as they evidently altered the structure on the underside of the hood at some point. Once that was done I used 3M 80 spray glue and wax paper as recommended to align and glue the new liner. Applied the decal according to the instructions, and I think it looks awesome.
Of course, while I was under there, I gave the underside a good cleaning, touched up some places where the paint had rubbed and whatnot, and gave it a good coat of high quality carnuba.
Putting the hood back on was definitely a two person job. I had two pieces of cardboard taped to the windshield where the points of the hood get close and a piece of PVC holding the front of the hood up. We set the front of the hood on the PVC pipe and my wife held the driver's side back corner roughly in place while I loosely put in the bolts for the passenger side. Then I loosely put in the bolts for the driver's side and it was a one-man job from there.
Pro tip - Use a fine tipped sharpie to mark around the bolts before you remove the hood. Then you can put them right back in the same place without any fitment issues.
All, in all, a time consuming job with all of the legacy adhesive removal, but a very rewarding one. It looks awesome! Thanks Classic 9 for such a quality kit, and thanks Magk944 for letting me know it was safe to use the decal.
Half finished with removal of the old adhesive. Used Goo Gone Gel, a plastic putty knife, and a lot of patience.
New installed insulation from Classic 9.
New under-hood insulation from Classic 9 with the hood back on the car.
To be honest, I wasn't sure that the Goo Gone Gel would work, but I wanted to start with the least aggressive stripper possible. The label said to leave it on for 5-10 minutes. I left it on for 15 before taking a soft plastic scraper to it, and it still took about 4 or 5 passes to get all the goo off.
I used most of the bottle and really hosed it down with each pass.
But, it worked, and as far as I can tell had absolutely no affect on the paint, which is what I wanted.
Definitely tried my patience, but I devoted all of Saturday day to it, and several beers later, it worked out real well.
Anyone have any success doing this with the hood still on the car? My 931 badly needs a new hood liner. I did this on my 928 by removing the hood (way easier on that car because it's so light) but I've never really been happy with the way the hood is aligned since then. I can only imagine that's even harder to do with a heavy steel hood...
Quite a few people here have done this with the hood remaining on the car. I just knew that I needed it to be horizontal for the Goo Gone gel to stay on it, and I knew I was going to need some scraping or rubbing pressure to get the old glue off, so it made sense to take it off and put it on some padded saw horses.
It was too heavy for a single person to lift off and put back on. However, I didn't have any problems with alignment since I used a fine-tipped sharpie to draw around the bolt heads before I took it off. I threaded the bolts on loosely to put it back on, used one hand to adjust the fit until the bolt heads lined up with my marks, and then tightened it down with the other hand. Not too difficult, actually, and as far as I can tell, it worked a treat. Hood fits nicely and looks just like it did before.
If you do decide to do it with the hood still on, use a queen sized sheet or even better a plastic drop cloth over the engine bay to keep the crap from falling into it. It can certainly be done, but frankly it sounded to me like it'd be much harder to do it with the hood still on the car than it would be to re-align the hood (provided you mark it first). I think I was right about that...

 02-10-2018, 04:40 PM