
Leather restoration experience
 02-02-2014, 06:45 PM
#1
RL Community Team
Rennlist Member
Rennlist Member
Thread Starter
Hello Everyone,
In my 911 project, I used Leatherique products to re-color my leather (cork color). The products worked well and the results have been holding up fine so far.
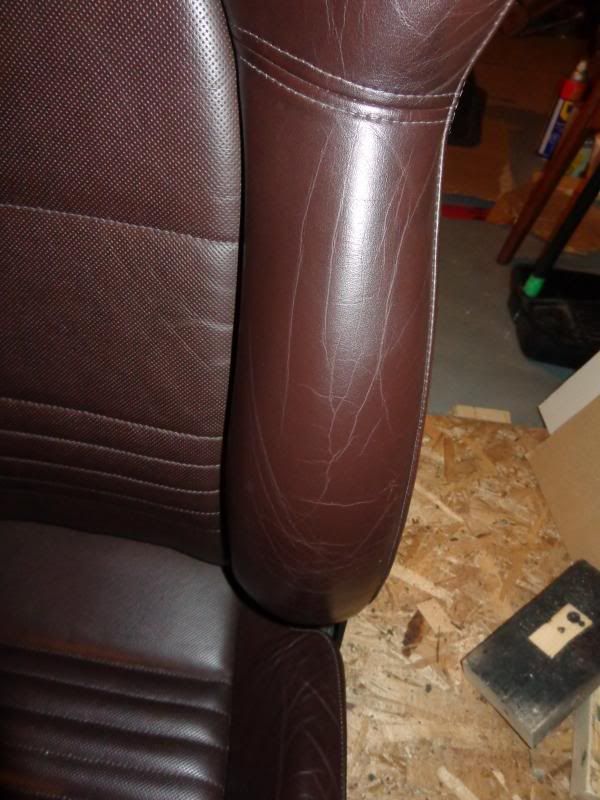
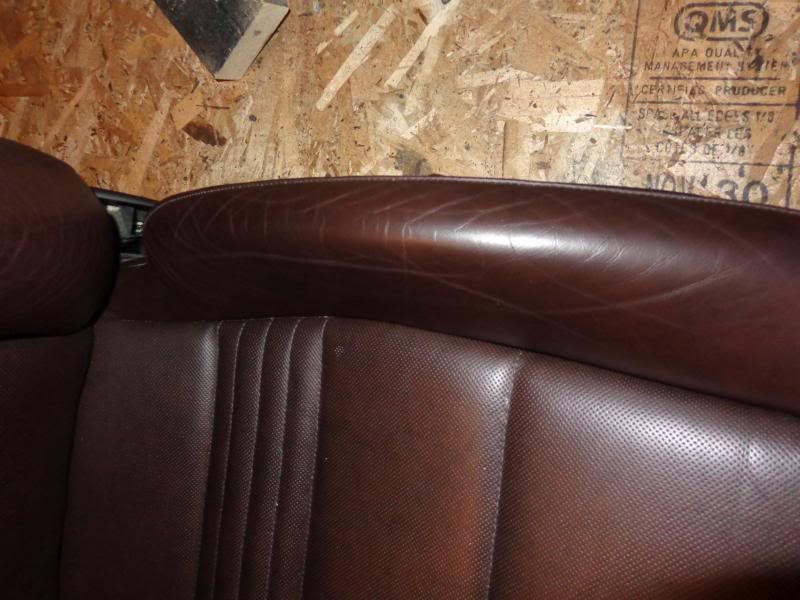
For my Boxster, i wanted to refresh the leather on the seats as it looked a little tired on the drivers side.
Here are some "before" pictures. The flash does emphasize the flaws much more than they would appear normally, but it gives you a good idea of the areas I wanted to work on.
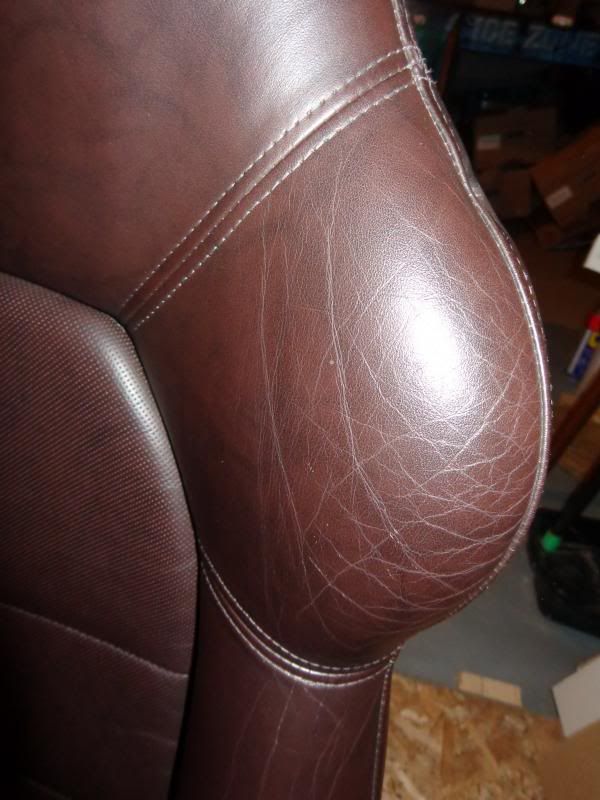
Since I did the 911 project, I have learned more about leather work and this time around I wanted to give Furniture Clinic products a try. Furniture Clinic originates from the UK and they have some interesting products including an activated adhesion promotor as well as a clear finish, also activated by a cross linker. Subjectively, this should provide a tougher finish. The result certainly seems great. There is also a product in their range called Leather Binder, which is a leather strengthener. The list of products I used is:
Leather prep solvent
Leather binder
Flexifil
Adhesion promoter with cross linker (activator)
Colorant (I sent them a piece to match to)
Clear satin finish, again with activator.
1) Apply Leather Prep with Scotchbrite wrapping cotton ***** (which "hold" the prep). It is rubbed agressively and removes a lot of the old color. Finish by spraying Leather Prep and wiping down with cloth
2) Apply Leather Binder with a sponge (eight coats, drying with a hair dryer in between)
3) Apply Flexfil to to the cracking, dry with a hair dryer in between
4) Apply further coats of Leather Binder, dry, and sand with P1200 until desired texture is achieved
5) Apply Adhesion Promoter (with 10% Cross Linker X): Four coats with an airbrush, drying in between with a hair dryer
6) Apply colorant by airbrush, until desired coverage is achieved
7) Apply Leather Finish by Airbrush, drying with hair dryer
http://www.furnitureclinic.co.uk/
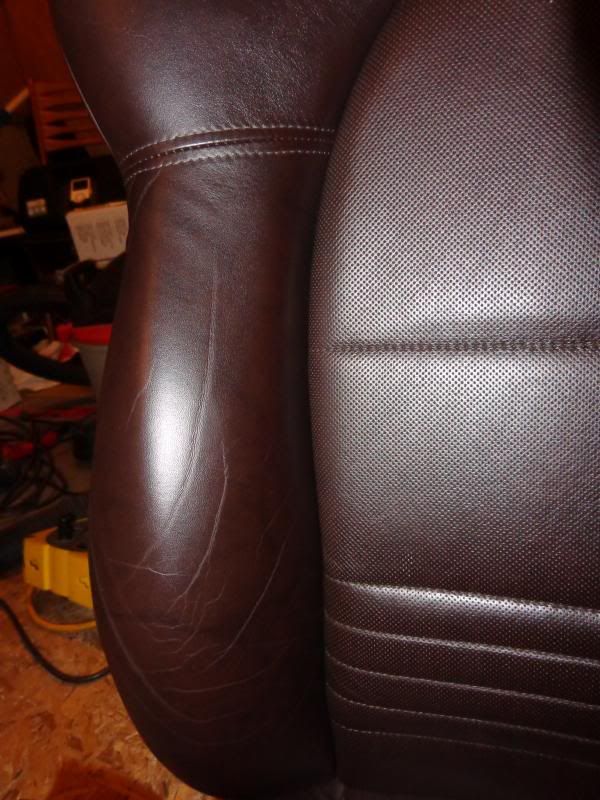
Here are the finished pics:
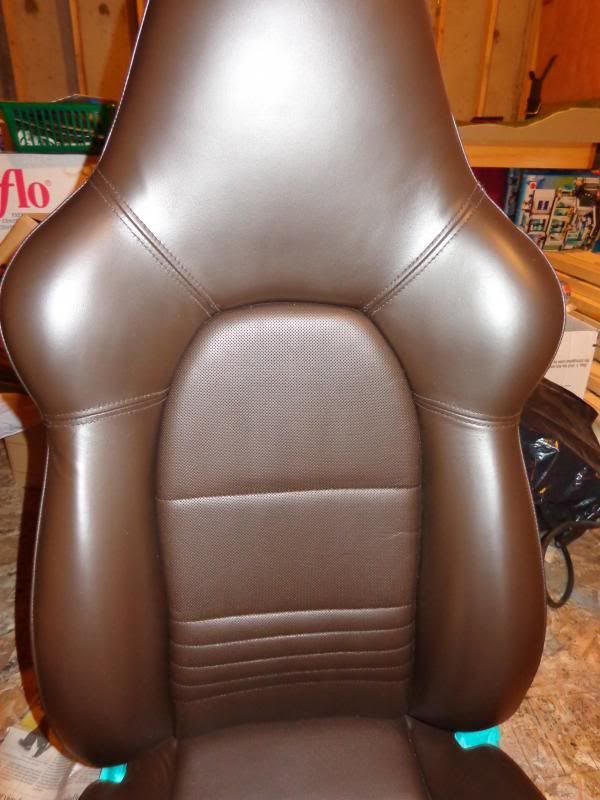
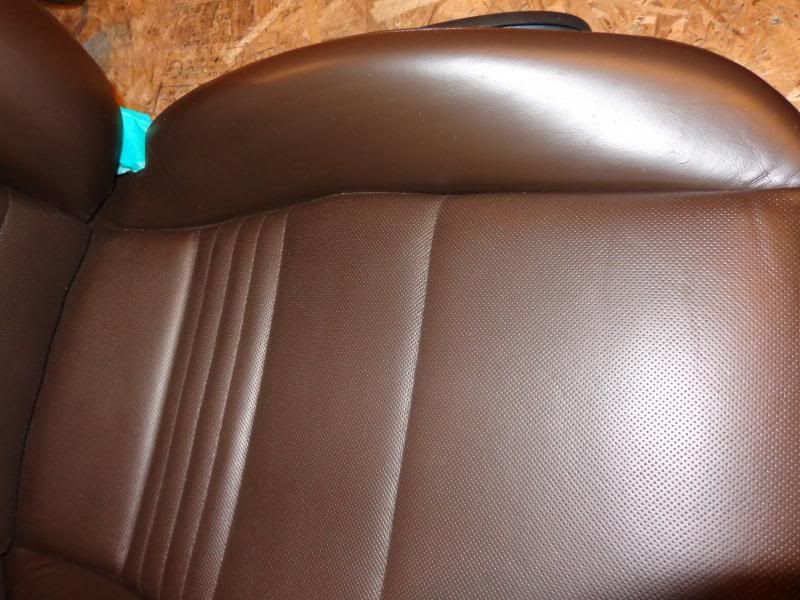
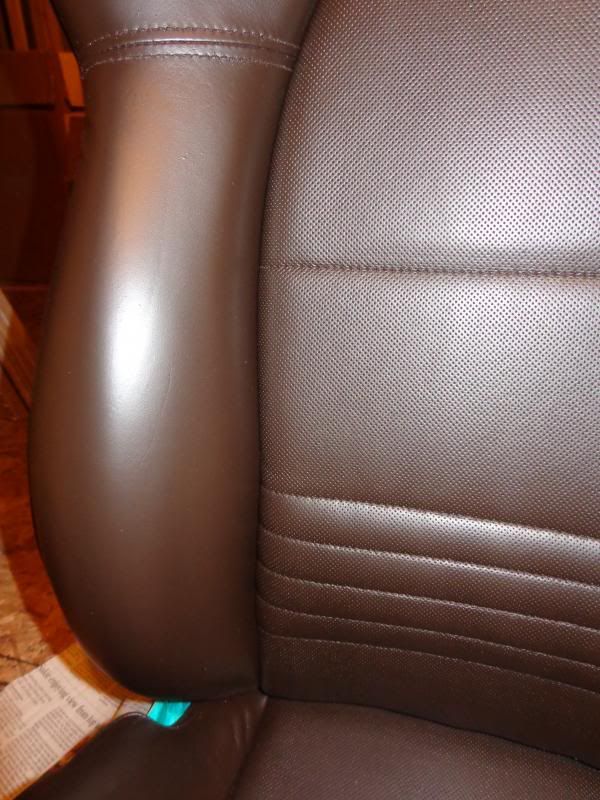
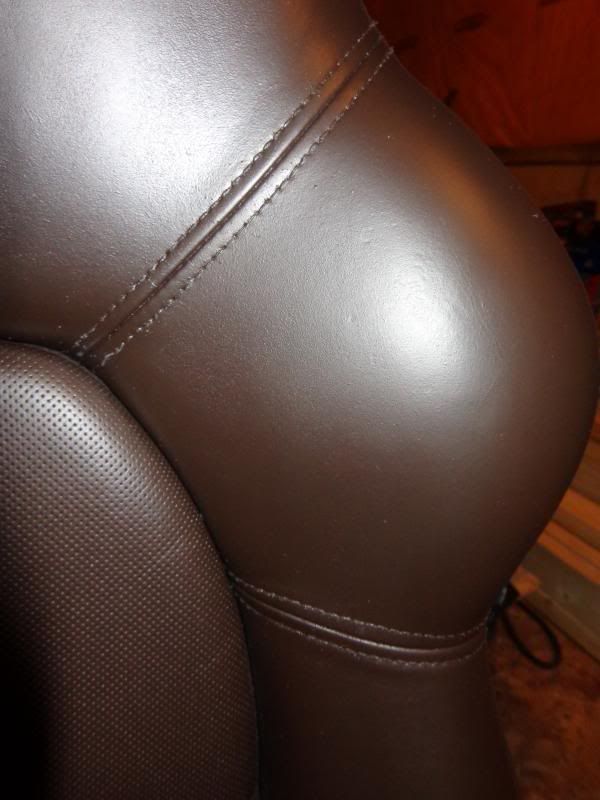
Now, when I press in the leather where there used to be creasing, the leather now flexes smoothly instead of along the (former) creases... seems to work very well. I am really pleased with these products.
In my 911 project, I used Leatherique products to re-color my leather (cork color). The products worked well and the results have been holding up fine so far.
For my Boxster, i wanted to refresh the leather on the seats as it looked a little tired on the drivers side.
Here are some "before" pictures. The flash does emphasize the flaws much more than they would appear normally, but it gives you a good idea of the areas I wanted to work on.
Since I did the 911 project, I have learned more about leather work and this time around I wanted to give Furniture Clinic products a try. Furniture Clinic originates from the UK and they have some interesting products including an activated adhesion promotor as well as a clear finish, also activated by a cross linker. Subjectively, this should provide a tougher finish. The result certainly seems great. There is also a product in their range called Leather Binder, which is a leather strengthener. The list of products I used is:
Leather prep solvent
Leather binder
Flexifil
Adhesion promoter with cross linker (activator)
Colorant (I sent them a piece to match to)
Clear satin finish, again with activator.
1) Apply Leather Prep with Scotchbrite wrapping cotton ***** (which "hold" the prep). It is rubbed agressively and removes a lot of the old color. Finish by spraying Leather Prep and wiping down with cloth
2) Apply Leather Binder with a sponge (eight coats, drying with a hair dryer in between)
3) Apply Flexfil to to the cracking, dry with a hair dryer in between
4) Apply further coats of Leather Binder, dry, and sand with P1200 until desired texture is achieved
5) Apply Adhesion Promoter (with 10% Cross Linker X): Four coats with an airbrush, drying in between with a hair dryer
6) Apply colorant by airbrush, until desired coverage is achieved
7) Apply Leather Finish by Airbrush, drying with hair dryer
http://www.furnitureclinic.co.uk/
Here are the finished pics:
Now, when I press in the leather where there used to be creasing, the leather now flexes smoothly instead of along the (former) creases... seems to work very well. I am really pleased with these products.
Last edited by 500; 02-03-2014 at 07:04 PM.
 02-03-2014, 04:51 PM
#7
Rennlist Member
Man, I've done a few leather resto parts and pieces, plus one complete Ferrari 328 interior, but the quality you achieved is flat-out excellent. Nice job there.
To me, the three best things about Leatherique are 1) Color match 2) Finish sheen is never too shiny, plasticky looking 3) Water based.
Outstanding job there, you should be well pleased. Thanks for sharing.
To me, the three best things about Leatherique are 1) Color match 2) Finish sheen is never too shiny, plasticky looking 3) Water based.
Outstanding job there, you should be well pleased. Thanks for sharing.
Trending Topics
02-03-2014, 06:41 PM
#8
RL Community Team
Rennlist Member
Rennlist Member
Thread Starter
Thank you for the comments everyone, i am really pleased with the results.
You are right� the �after� definitely looks lighter under the flash. In normal lighting I can�t really see it. Yesterday I removed the passenger seat (which had not been done yet) and side by side, I could not tell the difference. However, in brighter light (i.e. sunny day, top down�) I think it would be more visible. Since I am doing both seats, it should be fine. I re-installed the driver�s seat and it looks good with the rest of the interior leather. I think the major factor is that the original color was actually more a brown with black �mottled� in. I don�t know how to re-create that. I am really happy with the result though. Under normal light it is a deep, dark brown.
By your question do you mean can you coat over Leatherique? I think any time one recoats leather it is best to use the prep solvent to remove some of the old colorant. I did not use Leatherique products here, but I spent a lot of time on prep and would say the prep was similar to what I did when I used the Leatherique previously.
The funny thing is at first I was just going to re-do the driver's seat as I thought the passenger side was in comparatively pristine shape. However, the passenger seat now looks tired by comparison so I am doing both!
02-03-2014, 08:23 PM
#9
I haddah Google dat
Rennlist Member
Rennlist Member
That makes perfect sense to me. I was asking because I'd like to try that stuff on my seats. I had them re-covered about 7 years ago and the driver's seat looks more worn now than the passenger's seat. I want to match the color, but to be honest they are a touch lighter than stock. I want to bring them back to stock color.
