
Seat repair and recolor howto
 12-17-2008, 08:35 AM
#1
Rennlist Member
Thread Starter
Join Date: Feb 2007
Location: South Western Victoria Australia
Posts: 318
Likes: 0
Received 0 Likes
on
0 Posts
Well after playing with the idea in photoshop and liking the results I went ahead and bit the bullet. I had used leatherique on my Benz with very good results but a local guy convinced me to try a different product.
......here's the process and results.
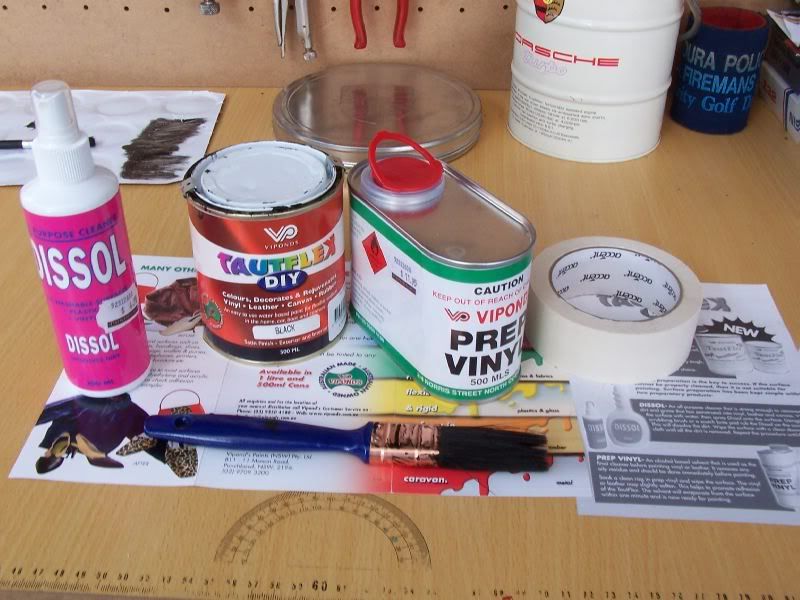
Not sure if all this is available anywhere else but Australia but it consists of Dissol (a concentrated cleaner) Vipont Prep Vinyl ( a solvent based prep that removes all grease and remaining dirt) and the magic TauTFlex (which can be tinted to any color BTW)
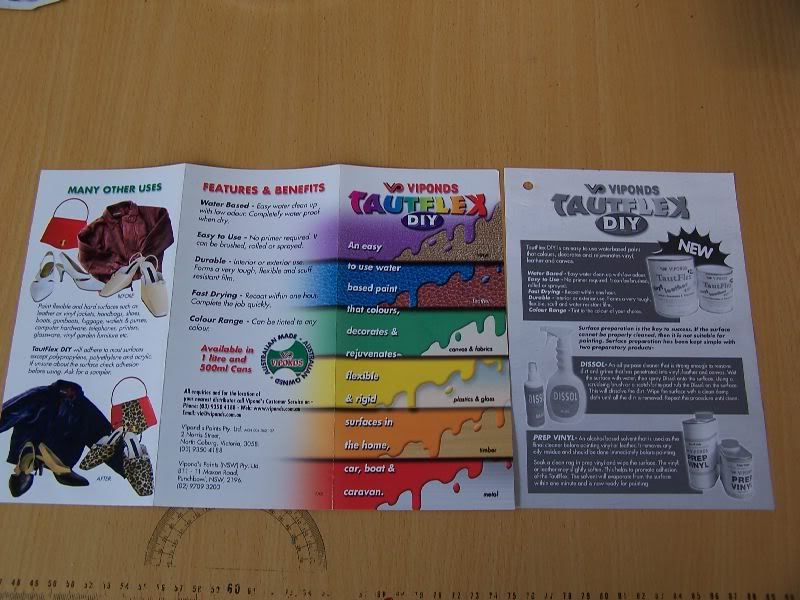
This stuff is truly magic. It is used here to do all the graphics on the canvas sides of B-doubles and is very tough, inexpensive and water based!
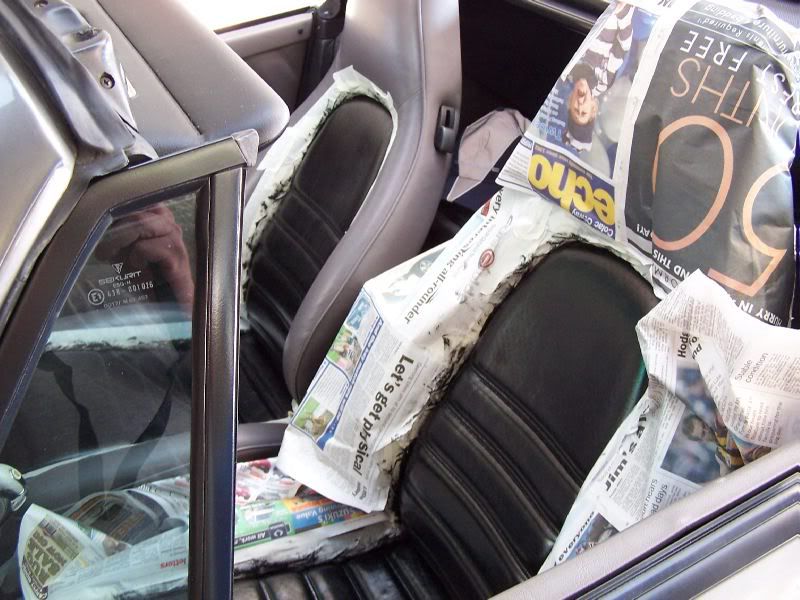
Preparation time.
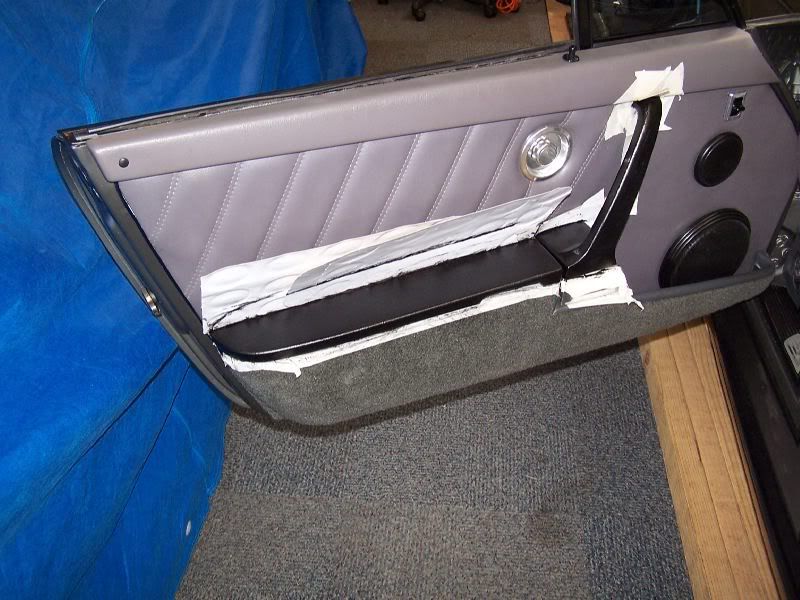
Clean with Dissol and then the Prep Vinyl....and then the mask up.
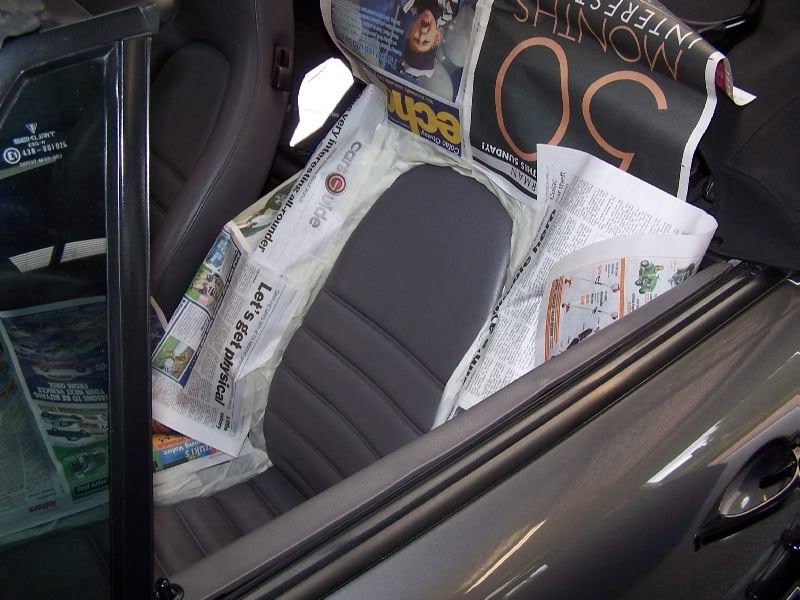

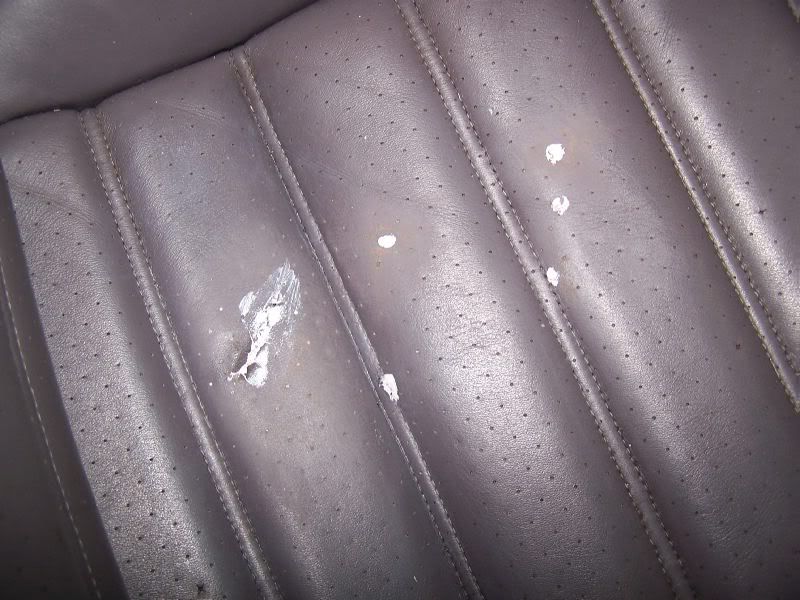
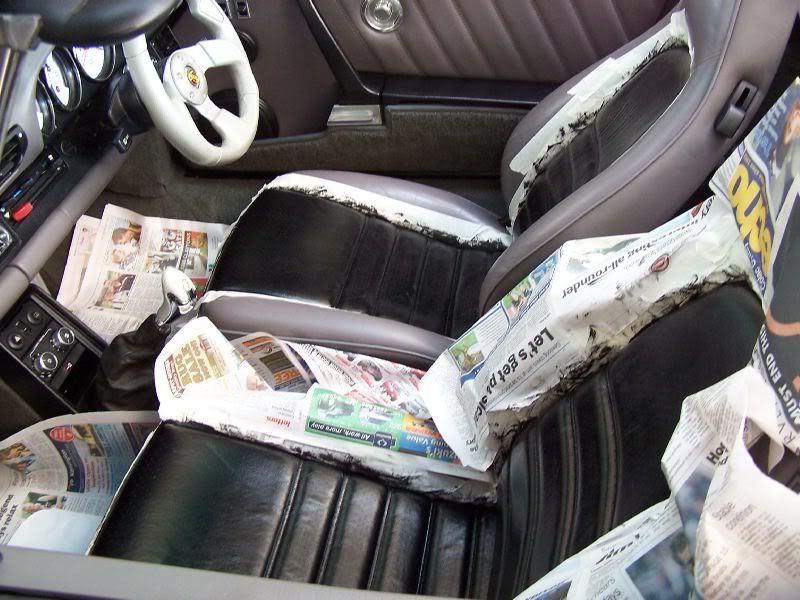
I had a 1" tear in the drivers side seat as well as a couple of other small holes.
The tear was patched on the back side with a small piece of leather and then they were all filled with leatherique crack filler. These were ten sanded back with some 320 grit sandpaper.
Then a touch of TauTflex
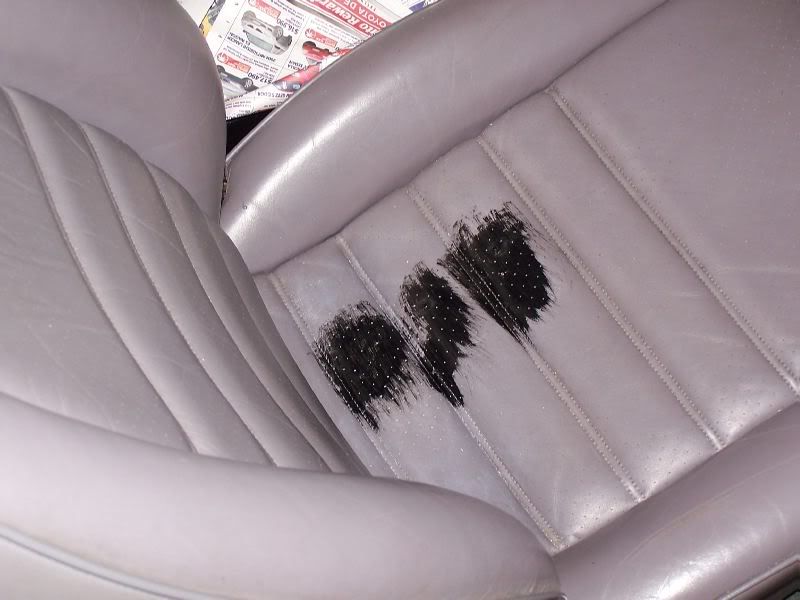
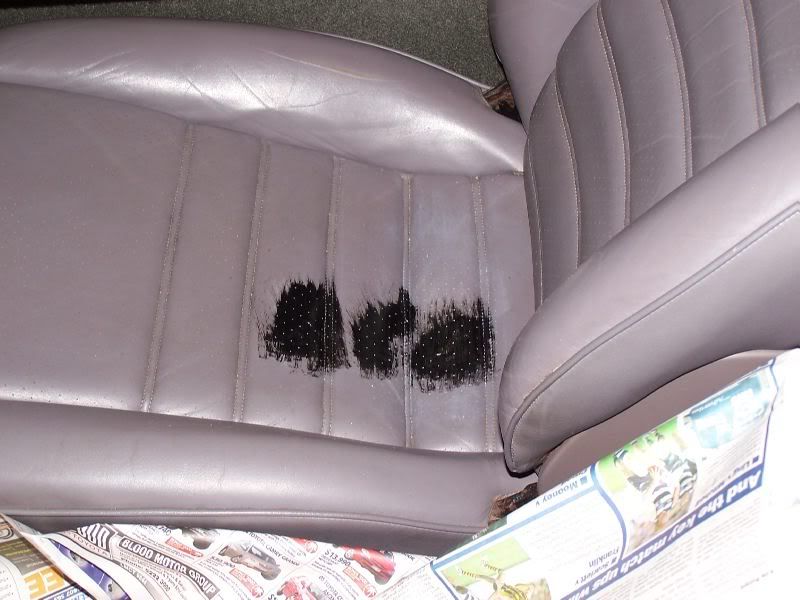
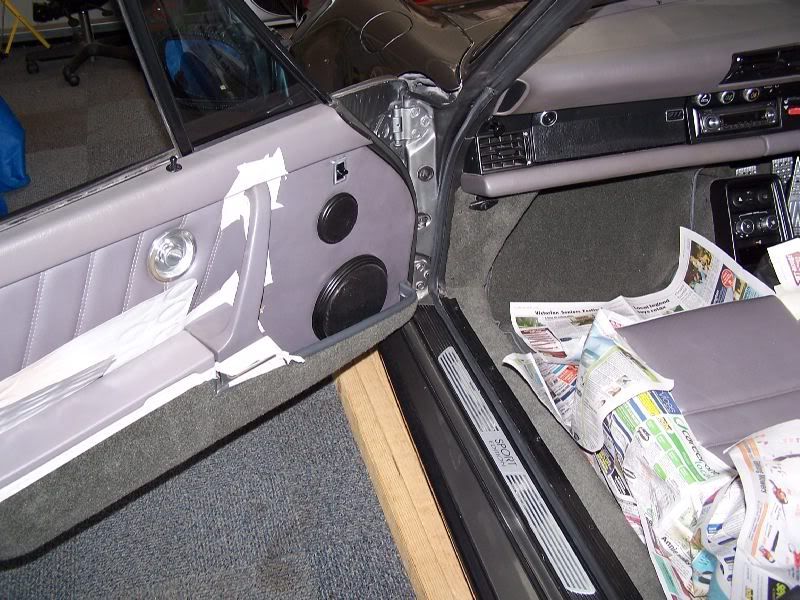
Next was the big test. I started with the arm rests and I was concerned about how the TauTflex would take to the different materials......I need not have worried. It brushes on and then settles into every grain as you can see...very impressive!
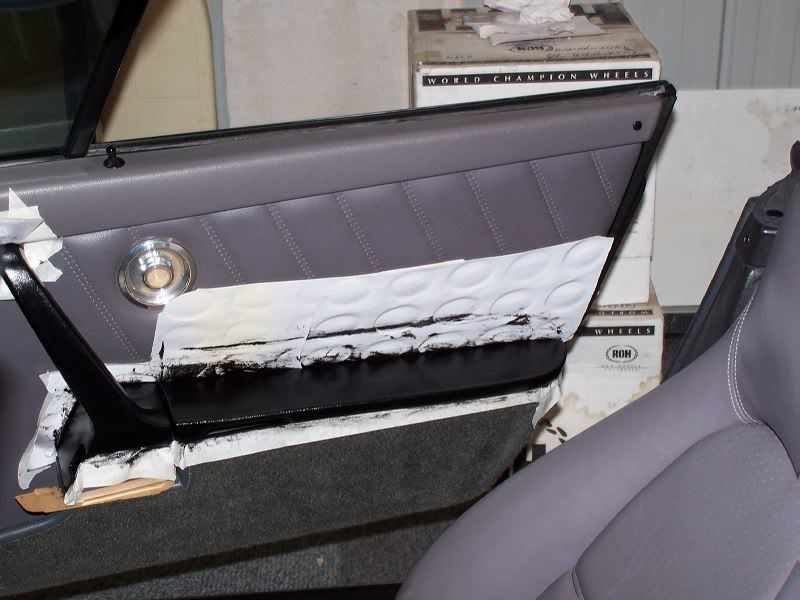
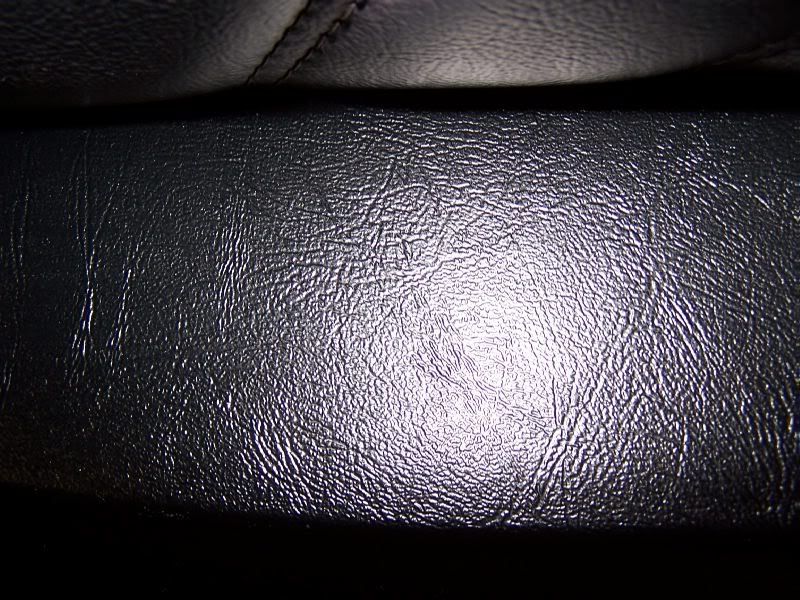
It dries in 30 minutes to a satin finish....even more impressive and the rest is history!

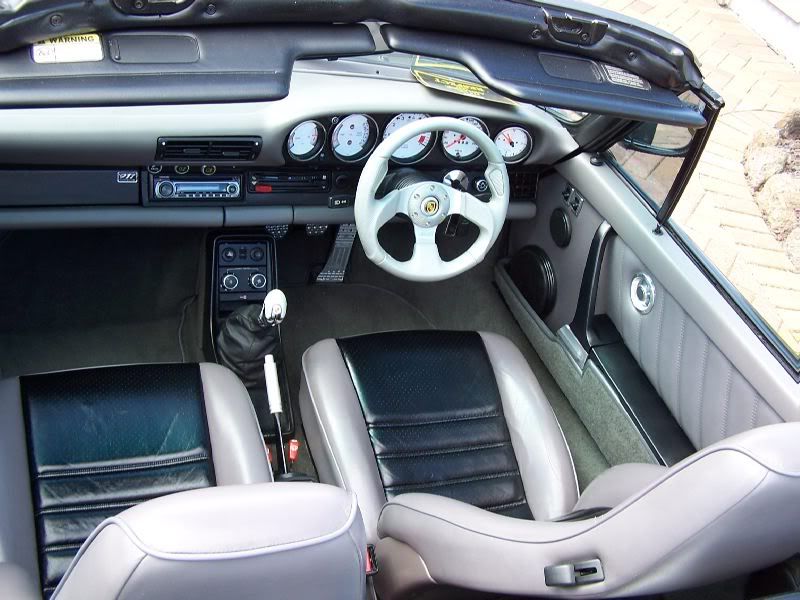
This has now been done for quite some time as I wanted to test it's durability. I have to say it is fantastic, not a mark on it. In fact it wears better than the Leatherique and is a fraction of the cost at around $20.00 for 500ml. I have used a fraction of that amount. Hope this helps someone else. Another tip......I used it on the wifes cars pasty white rear view mirrors....fantastic results also.
Cheers.
Dave
......here's the process and results.
Not sure if all this is available anywhere else but Australia but it consists of Dissol (a concentrated cleaner) Vipont Prep Vinyl ( a solvent based prep that removes all grease and remaining dirt) and the magic TauTFlex (which can be tinted to any color BTW)
This stuff is truly magic. It is used here to do all the graphics on the canvas sides of B-doubles and is very tough, inexpensive and water based!
Preparation time.
Clean with Dissol and then the Prep Vinyl....and then the mask up.
I had a 1" tear in the drivers side seat as well as a couple of other small holes.
The tear was patched on the back side with a small piece of leather and then they were all filled with leatherique crack filler. These were ten sanded back with some 320 grit sandpaper.
Then a touch of TauTflex
Next was the big test. I started with the arm rests and I was concerned about how the TauTflex would take to the different materials......I need not have worried. It brushes on and then settles into every grain as you can see...very impressive!
It dries in 30 minutes to a satin finish....even more impressive and the rest is history!
This has now been done for quite some time as I wanted to test it's durability. I have to say it is fantastic, not a mark on it. In fact it wears better than the Leatherique and is a fraction of the cost at around $20.00 for 500ml. I have used a fraction of that amount. Hope this helps someone else. Another tip......I used it on the wifes cars pasty white rear view mirrors....fantastic results also.
Cheers.
Dave
 12-17-2008, 07:00 PM
#4
Rennlist Member
Thread Starter
Join Date: Feb 2007
Location: South Western Victoria Australia
Posts: 318
Likes: 0
Received 0 Likes
on
0 Posts
The armrests are like a preformed rubber compound and the grab handles are vinyl and yes the wife has been in and out with white clothes on hot days..........no problems.
12-19-2008, 01:44 PM
#6
Team Owner
Dave
I hope you got the results you were looking for, hard to tell from the pics. FYI it takes about ten minutes to take those parts off the door, way quicker and less riskier than taping off.
The seats come out in about 10 minutes with 4 bolts and one electrical conector but i can see how you would have wanted them fastened down . for that job it would make things easier.
12-19-2008, 05:32 PM
#7
Rennlist Member
Thread Starter
Join Date: Feb 2007
Location: South Western Victoria Australia
Posts: 318
Likes: 0
Received 0 Likes
on
0 Posts
Dave
I hope you got the results you were looking for, hard to tell from the pics. FYI it takes about ten minutes to take those parts off the door, way quicker and less riskier than taping off.
The seats come out in about 10 minutes with 4 bolts and one electrical conector but i can see how you would have wanted them fastened down . for that job it would make things easier.
I hope you got the results you were looking for, hard to tell from the pics. FYI it takes about ten minutes to take those parts off the door, way quicker and less riskier than taping off.
The seats come out in about 10 minutes with 4 bolts and one electrical conector but i can see how you would have wanted them fastened down . for that job it would make things easier.

Merry Xmas to all.

Trending Topics
12-20-2008, 01:46 AM
#9
Rennlist Member
Thread Starter
Join Date: Feb 2007
Location: South Western Victoria Australia
Posts: 318
Likes: 0
Received 0 Likes
on
0 Posts
12-20-2008, 07:37 AM
#11
Rennlist Member
Thread Starter
Join Date: Feb 2007
Location: South Western Victoria Australia
Posts: 318
Likes: 0
Received 0 Likes
on
0 Posts
12-20-2008, 10:17 PM
#12
Rennlist Member
12-23-2008, 03:05 AM
#13
Advanced

Join Date: Dec 2008
Posts: 75
Likes: 0
Received 0 Likes
on
0 Posts
Ive seen this done a few times on the Toyota mr2 spyder, so it was constantly exposed to sun and it never wore out, they also changed the top from a red canvas to black with the same result, held off pretty well. I never tried it so dont ask me about any white pants, dont own any
12-23-2008, 11:37 PM
#15
Rennlist Member
Thread Starter
Join Date: Feb 2007
Location: South Western Victoria Australia
Posts: 318
Likes: 0
Received 0 Likes
on
0 Posts
natural grain and texture of whatever it is applied to. Very impressive I must say. Those who have seen it could not pick it from a factory finish.
Merry Xmas.

Dave.