
Smog pump removal part Deux
 10-23-2006, 09:22 PM
#1
Team Owner
Thread Starter
Well Here we go. I went and got interested from reading other posts and away I went. I started by cutting up all the plumbing. As stated getting out the drivers side front one was an absolute nightmare. So now I needed plugs. As far as I knew the closest plugs were in California , this was simply not an option since I have only a couple of weeks of driving left.
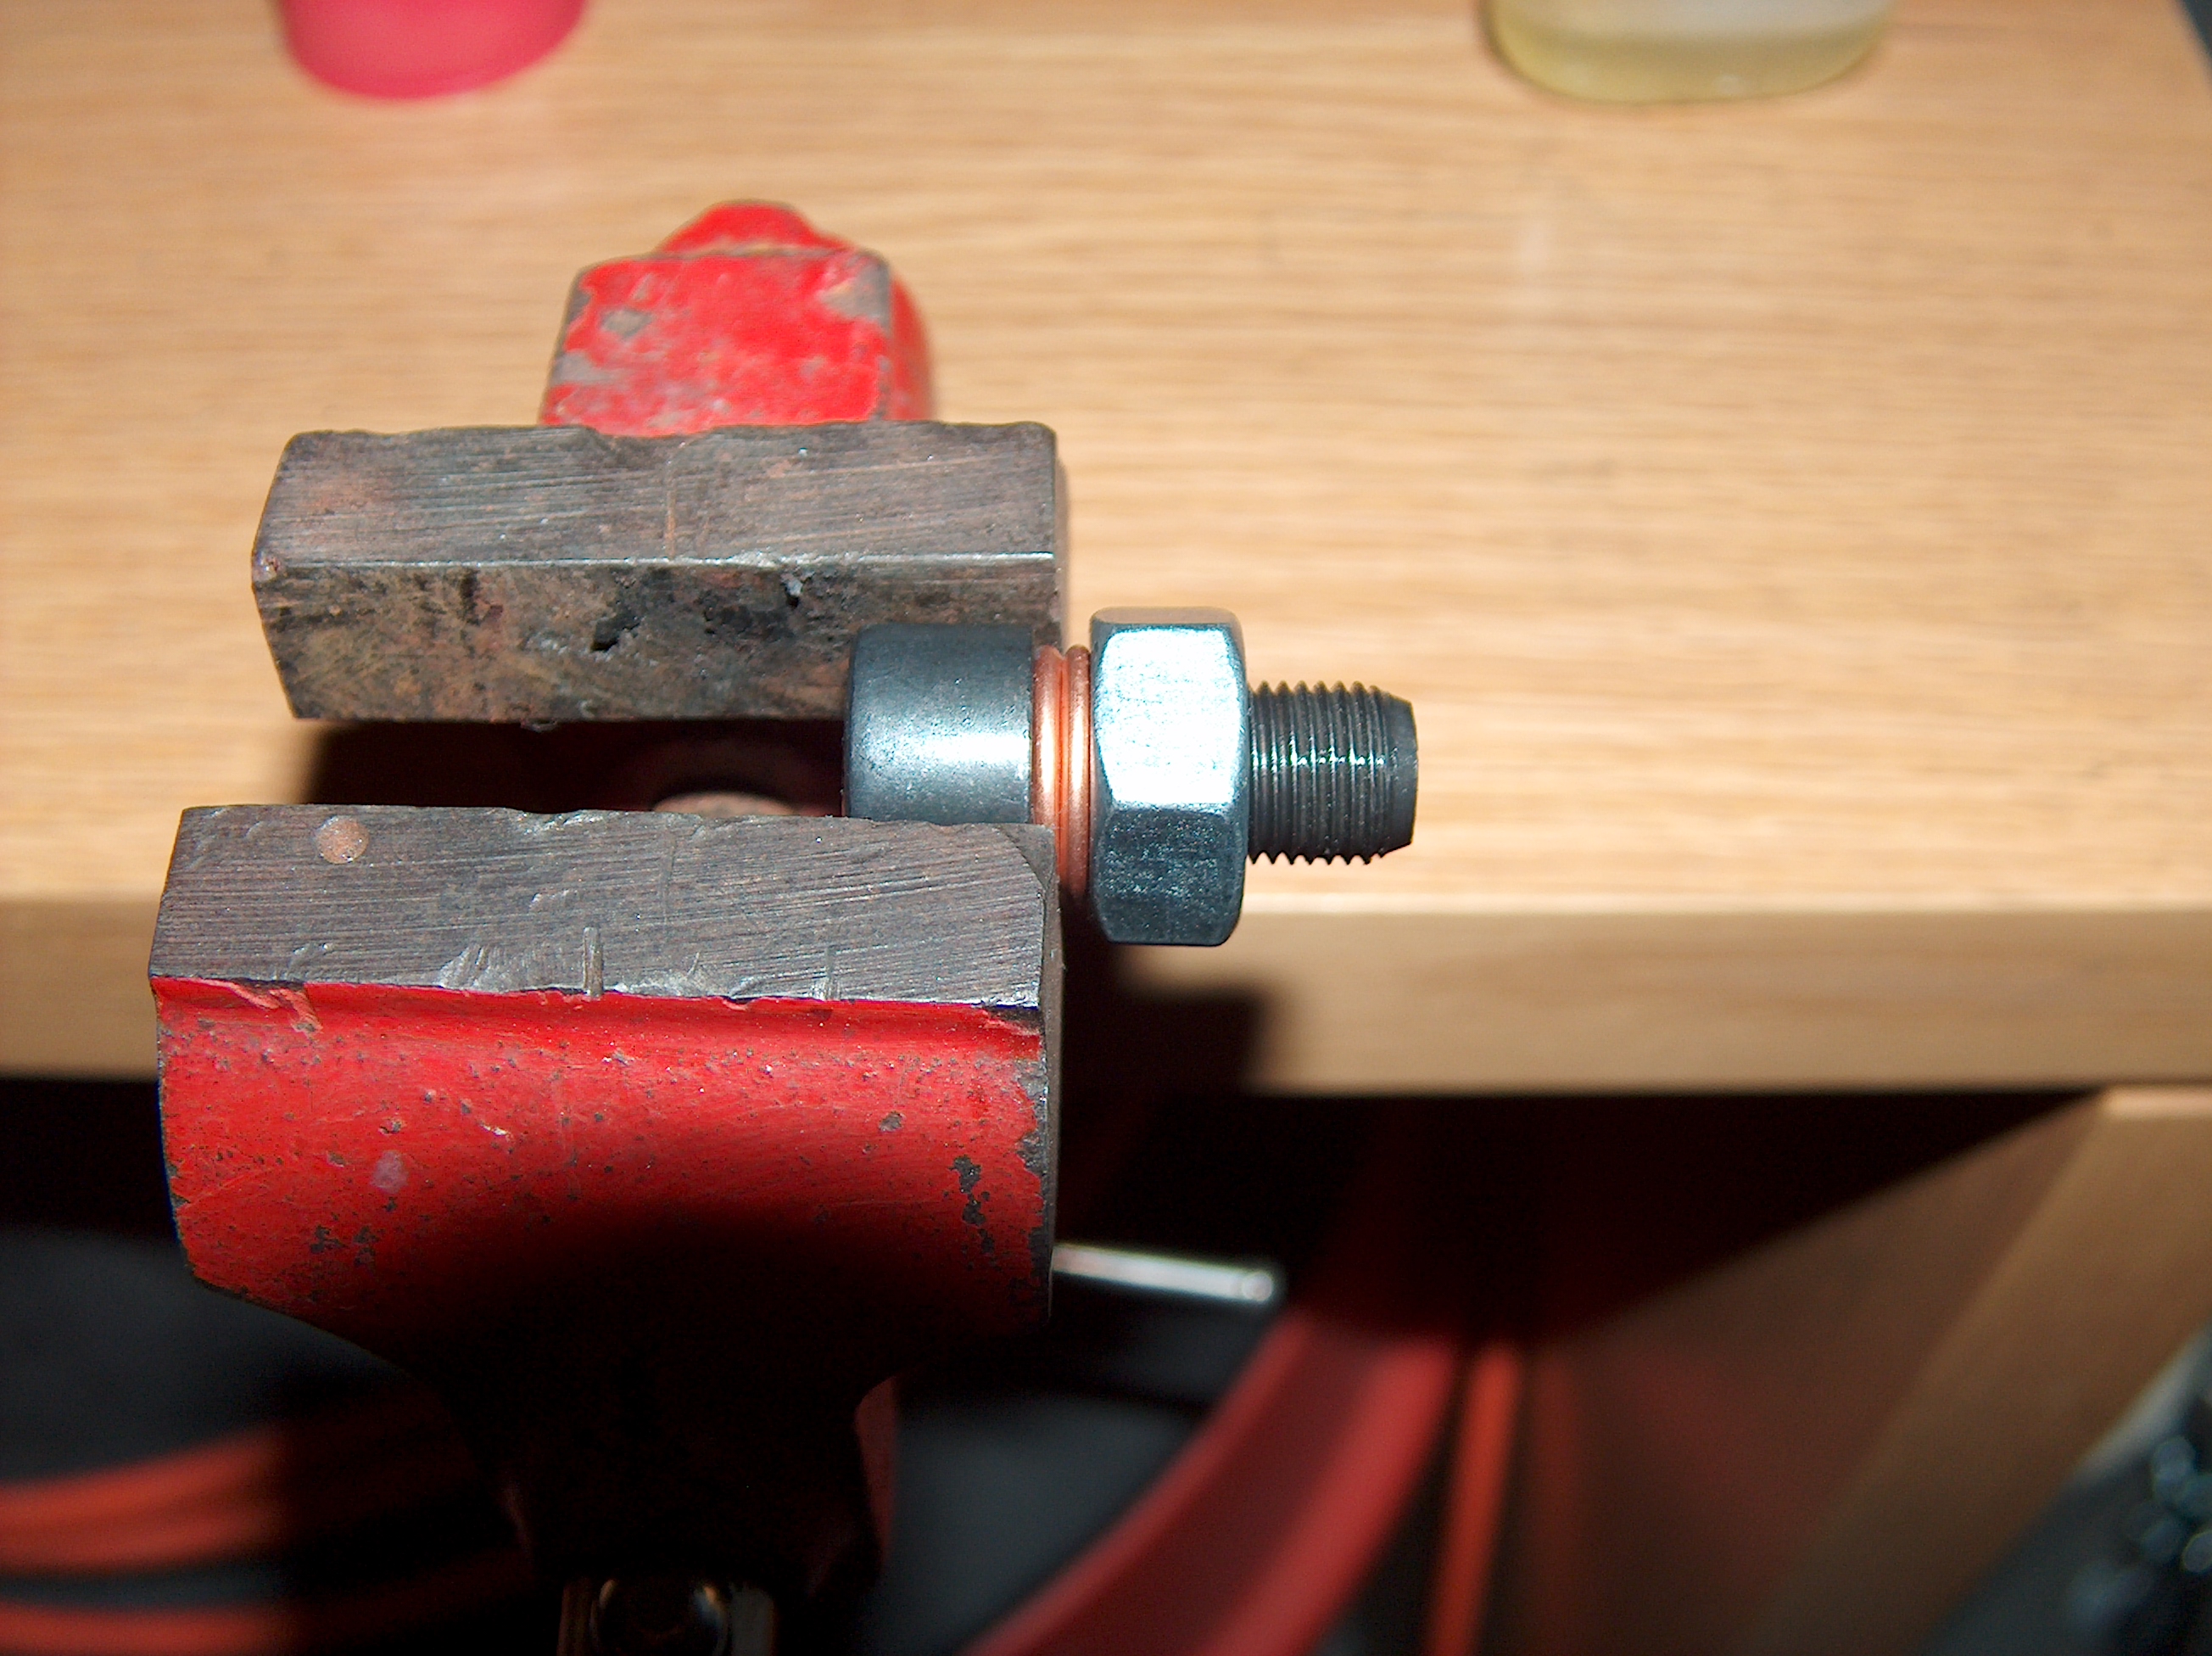
Off I went to my trusty hardware supplier. I managed to get some M10 bolts with a thread pitch of 1.0. $5.42 each ..holy crap....any way I had them. They were a little longer than what i wanted but they would work. I decided to cut them off to look more than the weltmeister one. This was a high risk unneccessary job but I did it anyway. I put a nut on with two washers to get the right legnth, cut them off with my die cutter and put a drop of oil on the bolt. I then unscrewed the nut , using it as a thread follower to clean up the threads. With that done I put my bolts in with 22lbs of torque same as the air injectors. I HATE crush washers as crushing the washer is the exact same feeling as stripping the threads. So I put blind faith in my torque wrench. Fortunately I get it calibrated annually.
The reason cutting the bolt is high risk because if it is not dressed properly is you can easily damage the aluminum threads in the head. I almost did this once but backed it out and used an injector as a thread chaser with some oil and compressed air I got it cleaned out and my bolt threaded
first pic , my bolts
second pic getting ready to cut
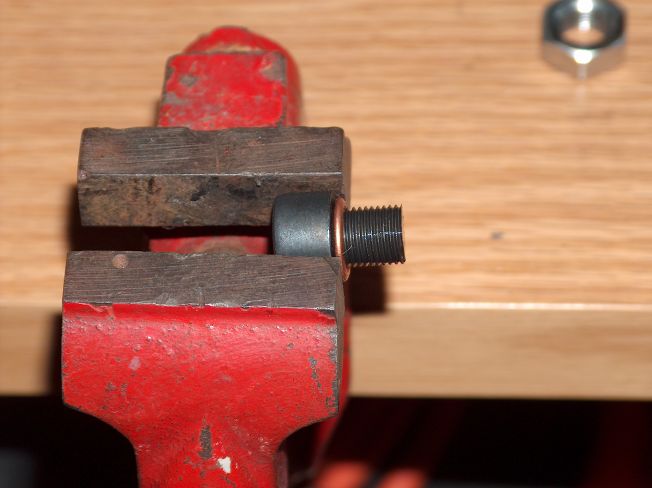
third pic all ready to go
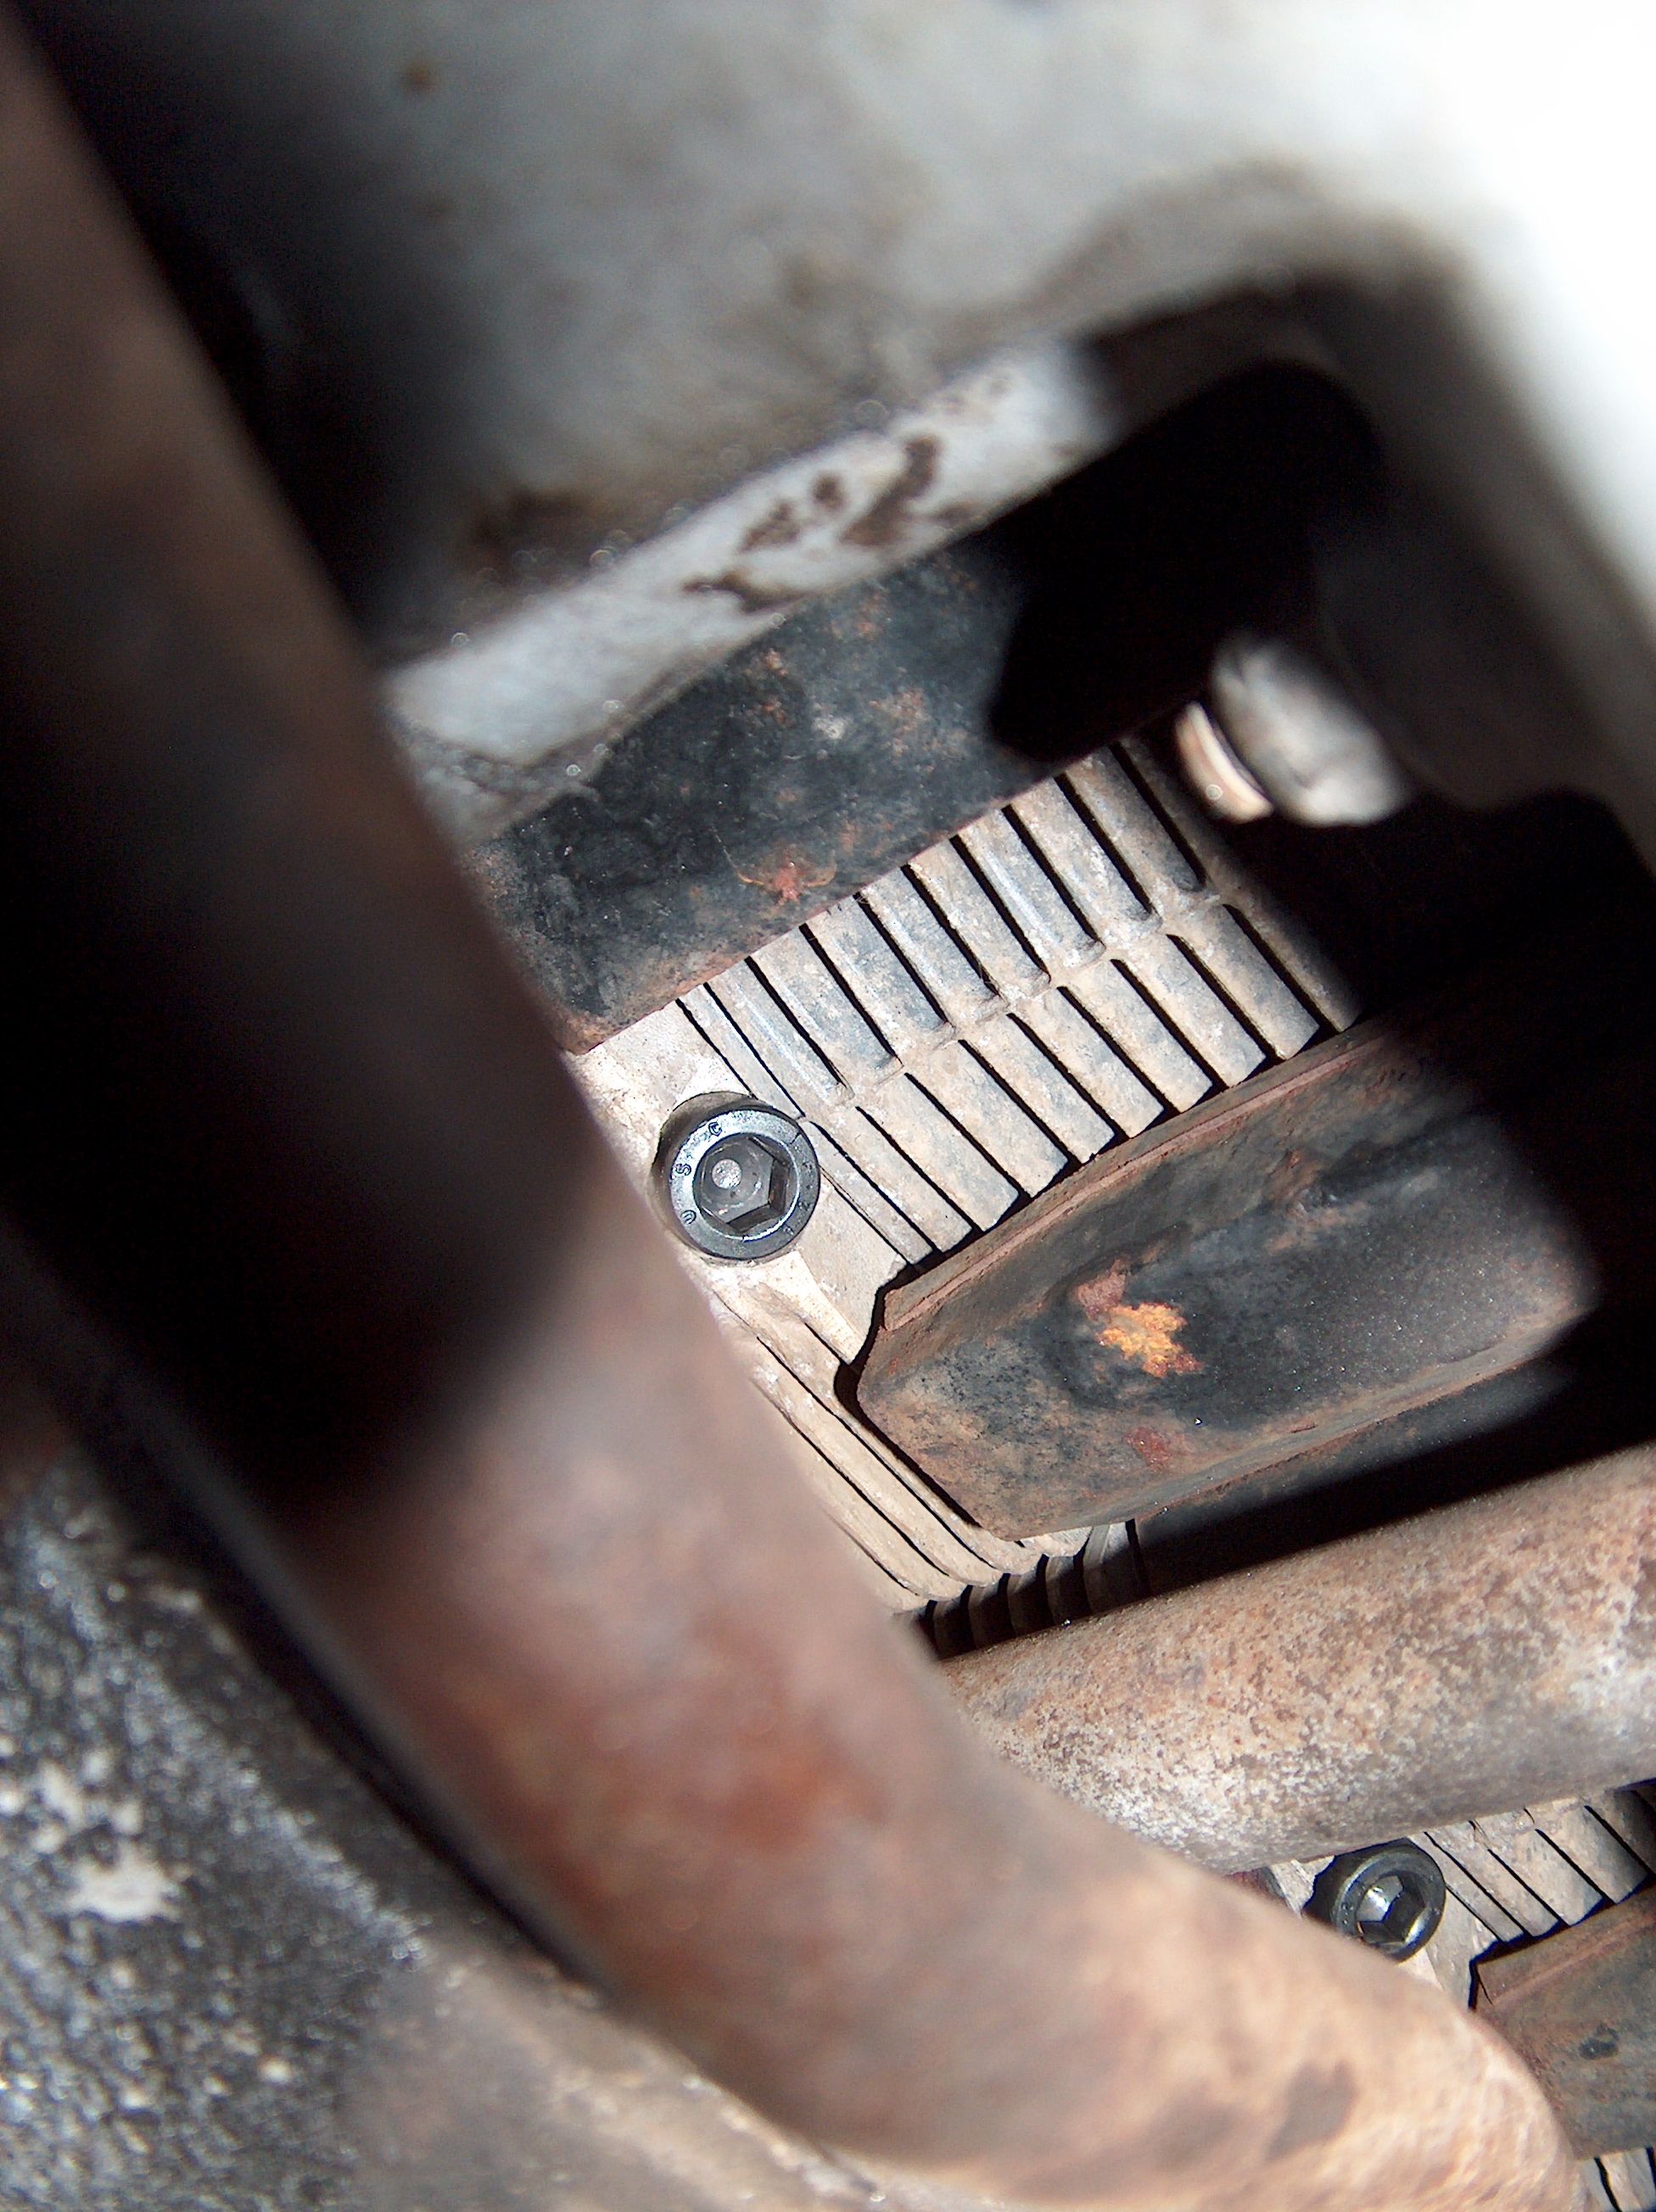
fourth pic all done ..
pic 5 the leftovers..
pic6 of piping before
Well another job all done.. of coutrse now I have to go and test it :-)
Off I went to my trusty hardware supplier. I managed to get some M10 bolts with a thread pitch of 1.0. $5.42 each ..holy crap....any way I had them. They were a little longer than what i wanted but they would work. I decided to cut them off to look more than the weltmeister one. This was a high risk unneccessary job but I did it anyway. I put a nut on with two washers to get the right legnth, cut them off with my die cutter and put a drop of oil on the bolt. I then unscrewed the nut , using it as a thread follower to clean up the threads. With that done I put my bolts in with 22lbs of torque same as the air injectors. I HATE crush washers as crushing the washer is the exact same feeling as stripping the threads. So I put blind faith in my torque wrench. Fortunately I get it calibrated annually.
The reason cutting the bolt is high risk because if it is not dressed properly is you can easily damage the aluminum threads in the head. I almost did this once but backed it out and used an injector as a thread chaser with some oil and compressed air I got it cleaned out and my bolt threaded
first pic , my bolts
second pic getting ready to cut
third pic all ready to go
fourth pic all done ..
pic 5 the leftovers..
pic6 of piping before
Well another job all done.. of coutrse now I have to go and test it :-)
 10-24-2006, 08:43 AM
#5
Team Owner
Thread Starter
I would suggest if you are local or are not in a hurry just order the kit from performance products. Keep in mind that drivers side front can be difficult.
11-29-2022, 11:24 AM
#6
Team Owner
Thread Starter
Jut a repost from 16 years ago with pics added back in ... not sure how pics were lost ..
Well Here we go. I went and got interested from reading other posts and away I went. I started by cutting up all the plumbing. As stated getting out the drivers side front one was an absolute nightmare. So now I needed plugs. As far as I knew the closest plugs were in California , this was simply not an option since I have only a couple of weeks of driving left.
Off I went to my trusty hardware supplier. I managed to get some M10 bolts with a thread pitch of 1.0. $5.42 each ..holy crap....any way I had them. They were a little longer than what i wanted but they would work. I decided to cut them off to look more than the weltmeister one. This was a high risk unneccessary job but I did it anyway. I put a nut on with two washers to get the right legnth, cut them off with my die cutter and put a drop of oil on the bolt. I then unscrewed the nut , using it as a thread follower to clean up the threads. With that done I put my bolts in with 22lbs of torque same as the air injectors. I HATE crush washers as crushing the washer is the exact same feeling as stripping the threads. So I put blind faith in my torque wrench. Fortunately I get it calibrated annually.
The reason cutting the bolt is high risk because if it is not dressed properly is you can easily damage the aluminum threads in the head. I almost did this once but backed it out and used an injector as a thread chaser with some oil and compressed air I got it cleaned out and my bolt threaded
first pic , my bolts ( cant find the old pic )
second pic getting ready to cut
third pic all ready to go
fourth pic all done ..
pic 5 the leftovers..
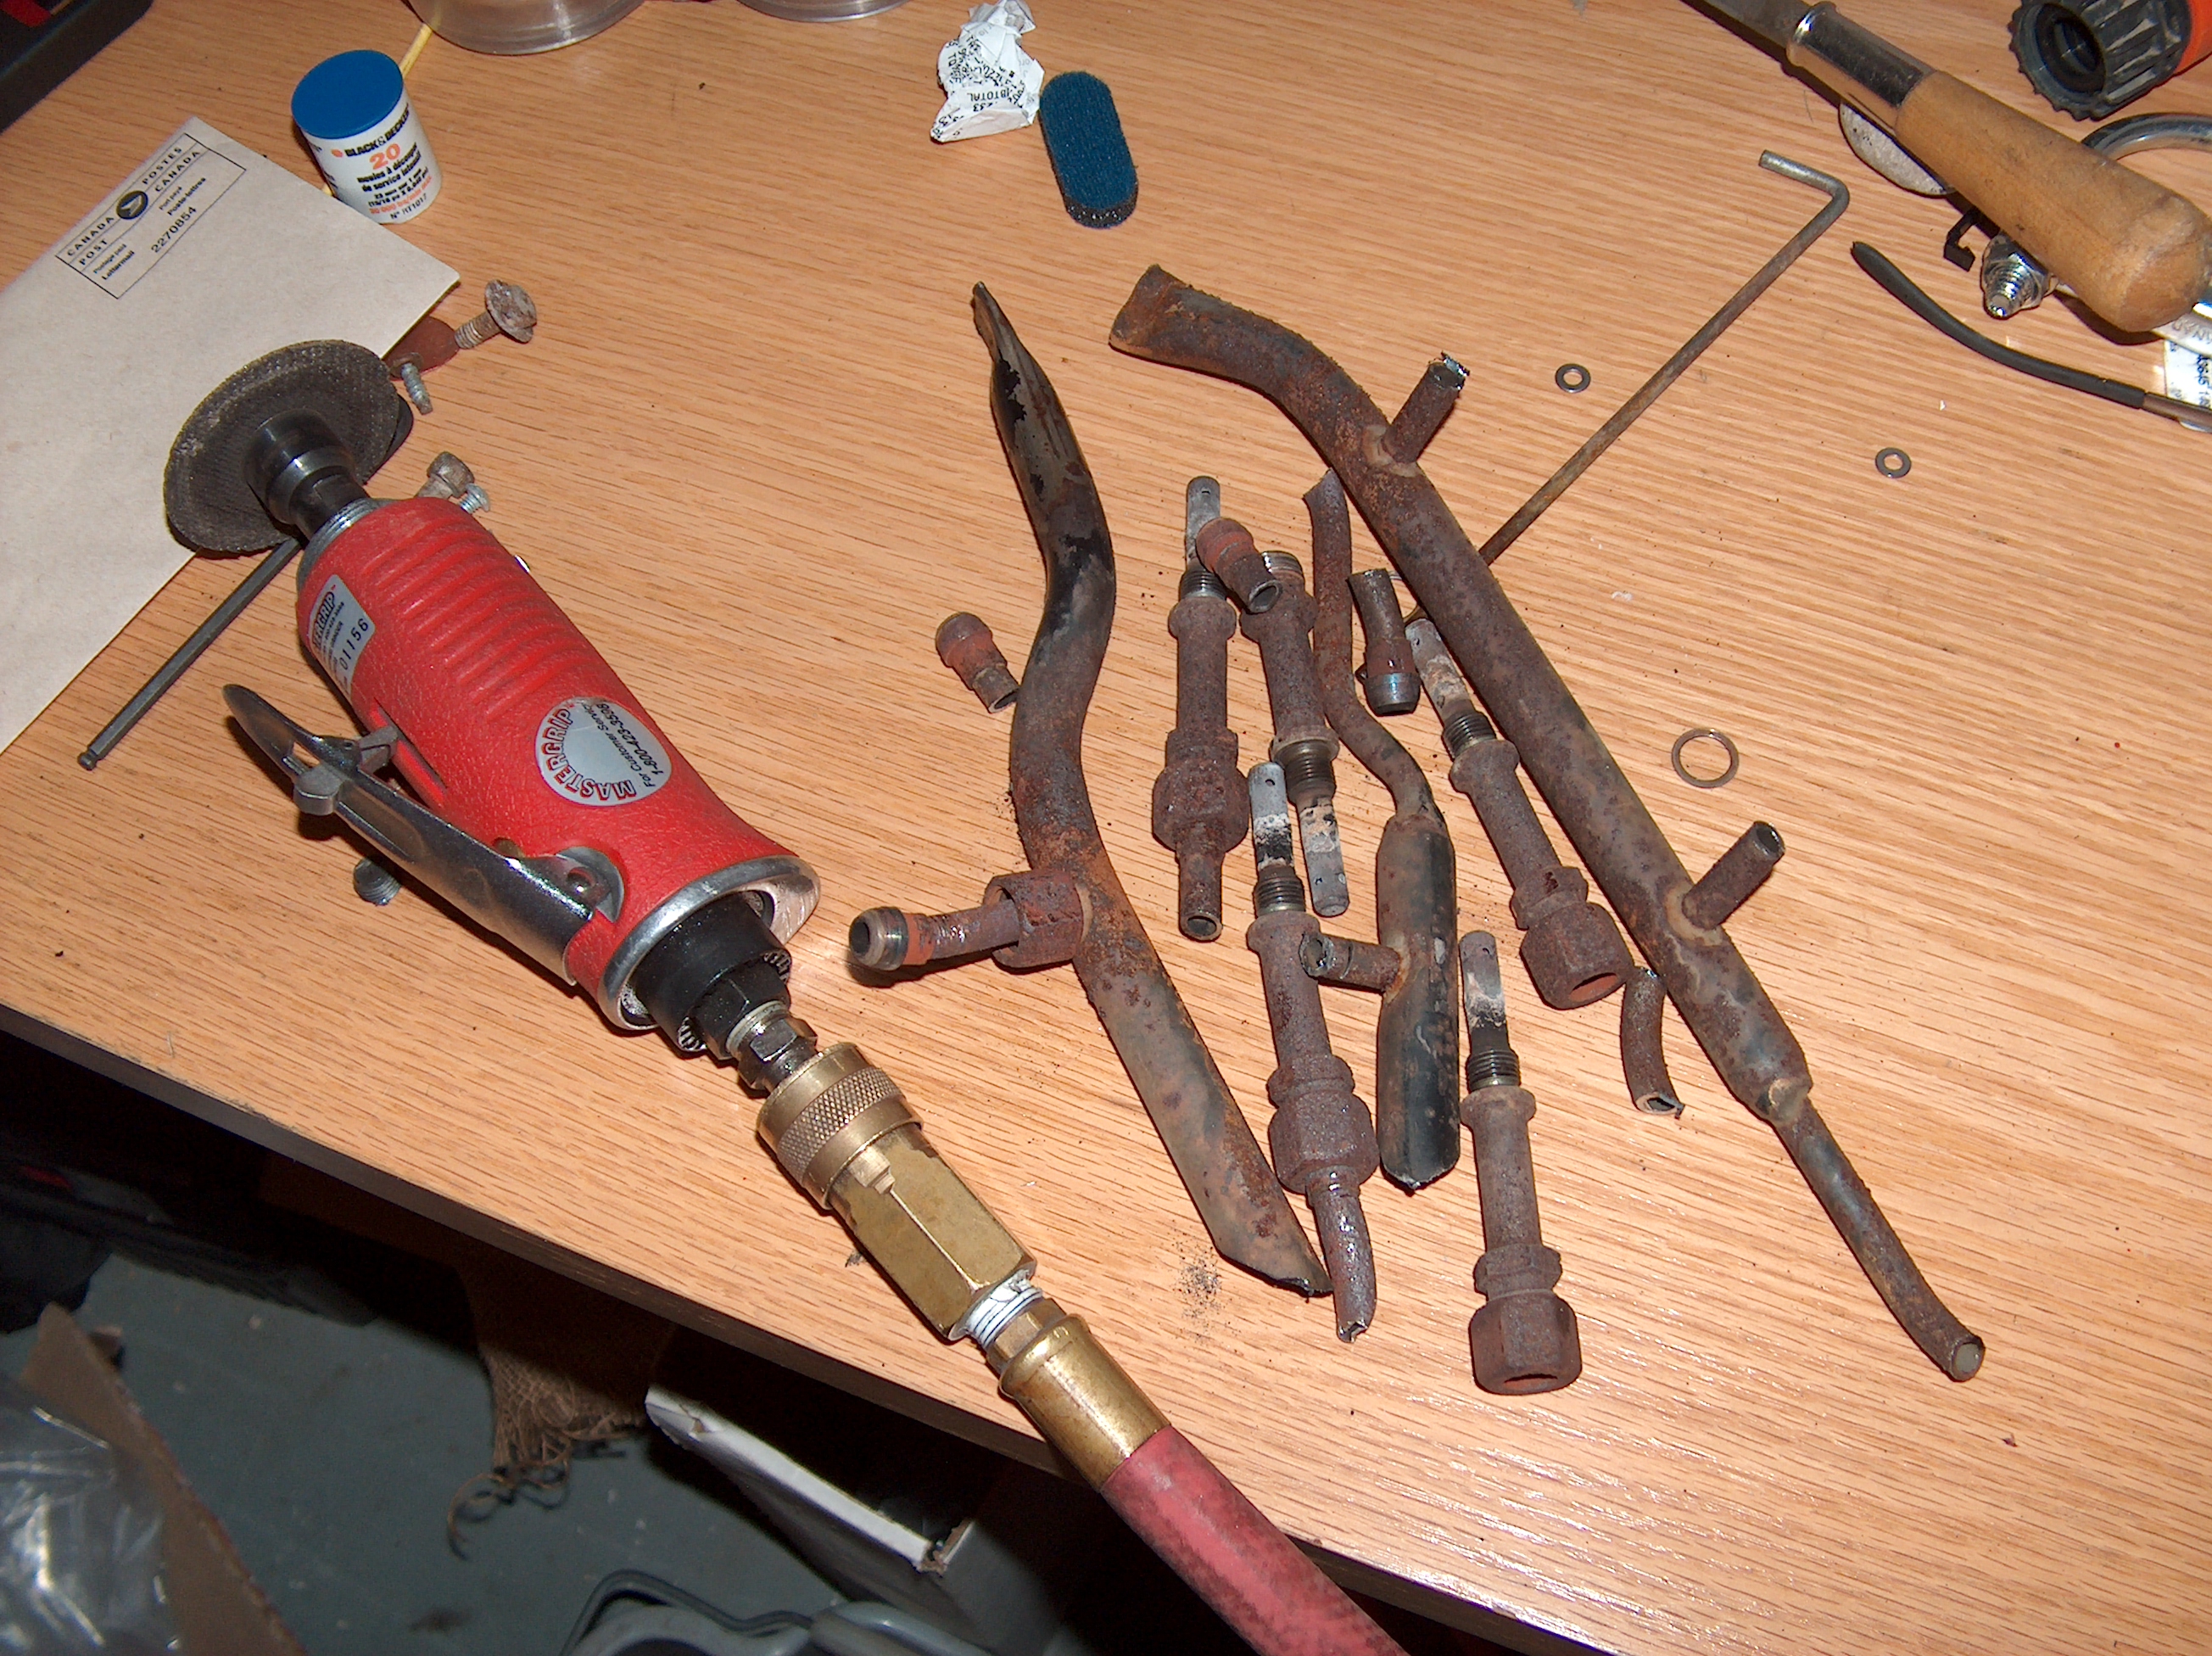
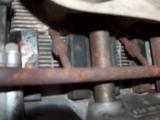
pic6 of piping before
Well another job all done.. of course now I have to go and test it :-)
Well Here we go. I went and got interested from reading other posts and away I went. I started by cutting up all the plumbing. As stated getting out the drivers side front one was an absolute nightmare. So now I needed plugs. As far as I knew the closest plugs were in California , this was simply not an option since I have only a couple of weeks of driving left.
Off I went to my trusty hardware supplier. I managed to get some M10 bolts with a thread pitch of 1.0. $5.42 each ..holy crap....any way I had them. They were a little longer than what i wanted but they would work. I decided to cut them off to look more than the weltmeister one. This was a high risk unneccessary job but I did it anyway. I put a nut on with two washers to get the right legnth, cut them off with my die cutter and put a drop of oil on the bolt. I then unscrewed the nut , using it as a thread follower to clean up the threads. With that done I put my bolts in with 22lbs of torque same as the air injectors. I HATE crush washers as crushing the washer is the exact same feeling as stripping the threads. So I put blind faith in my torque wrench. Fortunately I get it calibrated annually.
The reason cutting the bolt is high risk because if it is not dressed properly is you can easily damage the aluminum threads in the head. I almost did this once but backed it out and used an injector as a thread chaser with some oil and compressed air I got it cleaned out and my bolt threaded
first pic , my bolts ( cant find the old pic )
second pic getting ready to cut
third pic all ready to go
fourth pic all done ..
pic 5 the leftovers..
pic6 of piping before
Well another job all done.. of course now I have to go and test it :-)