When you click on links to various merchants on this site and make a purchase, this can result in this site earning a commission. Affiliate programs and affiliations include, but are not limited to, the eBay Partner Network.
Great story. +1 on everything Mark Salvetti said. There are a lot of standard maintenance things you should do to make sure the car is safe and reliable. Some are easy DIY jobs, some (like bushings) are not so easy. Have a look at Wayne Dempsey's 101 Projects for your Porsche 911. Make a prioritized list, and don't break the bank on unimportant "mods".
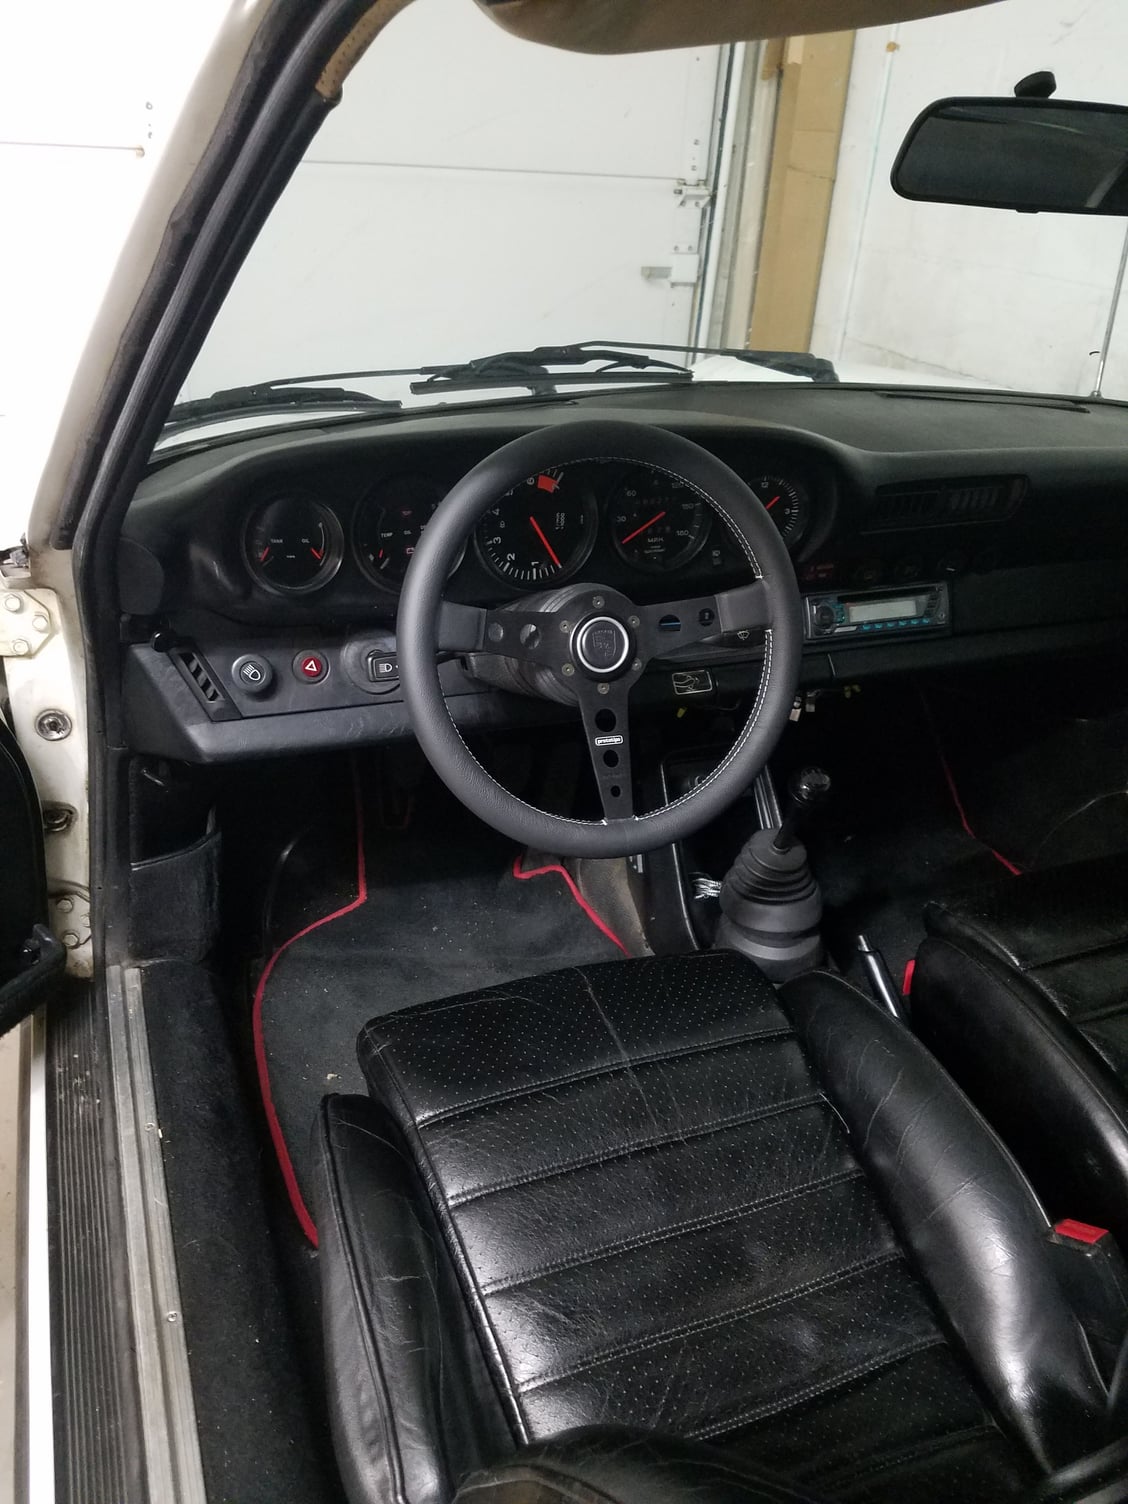
It's been a while since I have updated this thread. Since my last post I was able to do a valve adjustment, and some other small modifications (mostly cosmetic). I first changed out the steering wheel for a momo prototipo with a black leather porsche crest horn button. (excuse the dirty floor mats, it's fall here any all the leaves and branches are falling in my driveway and I didn't get a chance to vacuum)
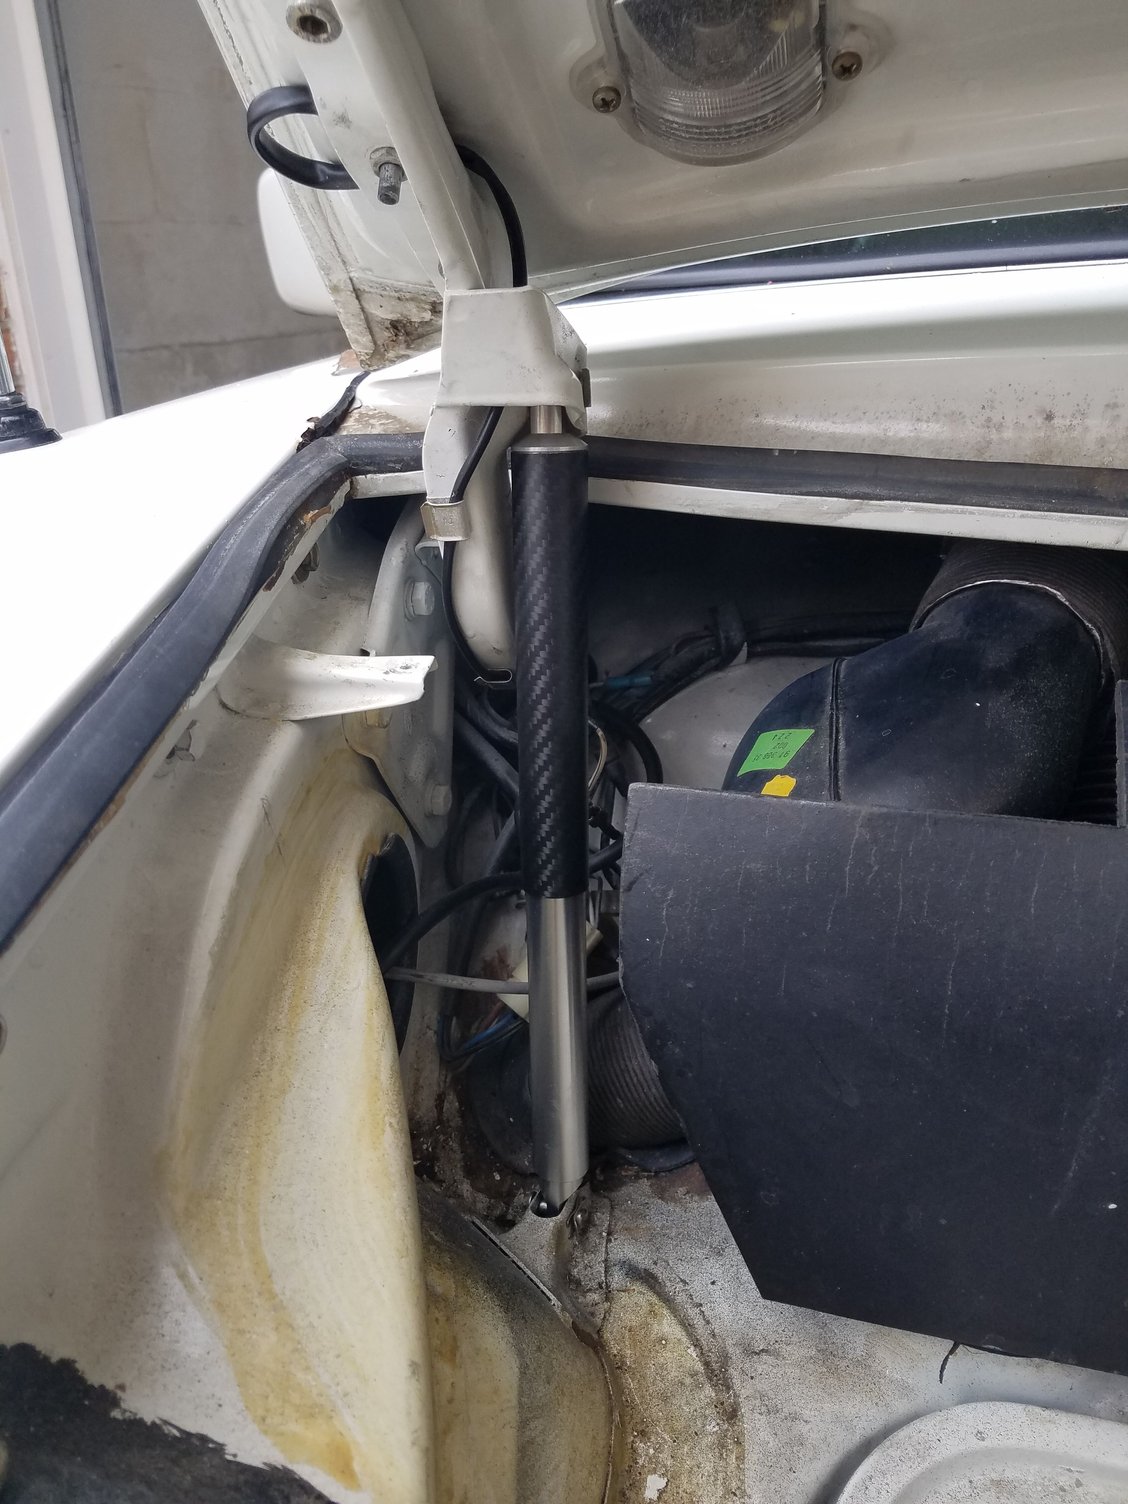
The front hood shocks were also toast and had been using a long thin plastic rod to keep it open. I decided to replace with the rennline mechanical hood shocks. They are pricey, but have a lifetime warranty. My experience with the hydraulic shocks have been ok, these do seem to go after a few a years. I have the rear deck mechanical shock as well, but waiting for an extra pair of hands since I have the whale tale and it's too hard to take out the hydraulic shock without someone holding the decklid open. Given the weight of the decklid, I for sure wanted the mechanical shock on the rear.
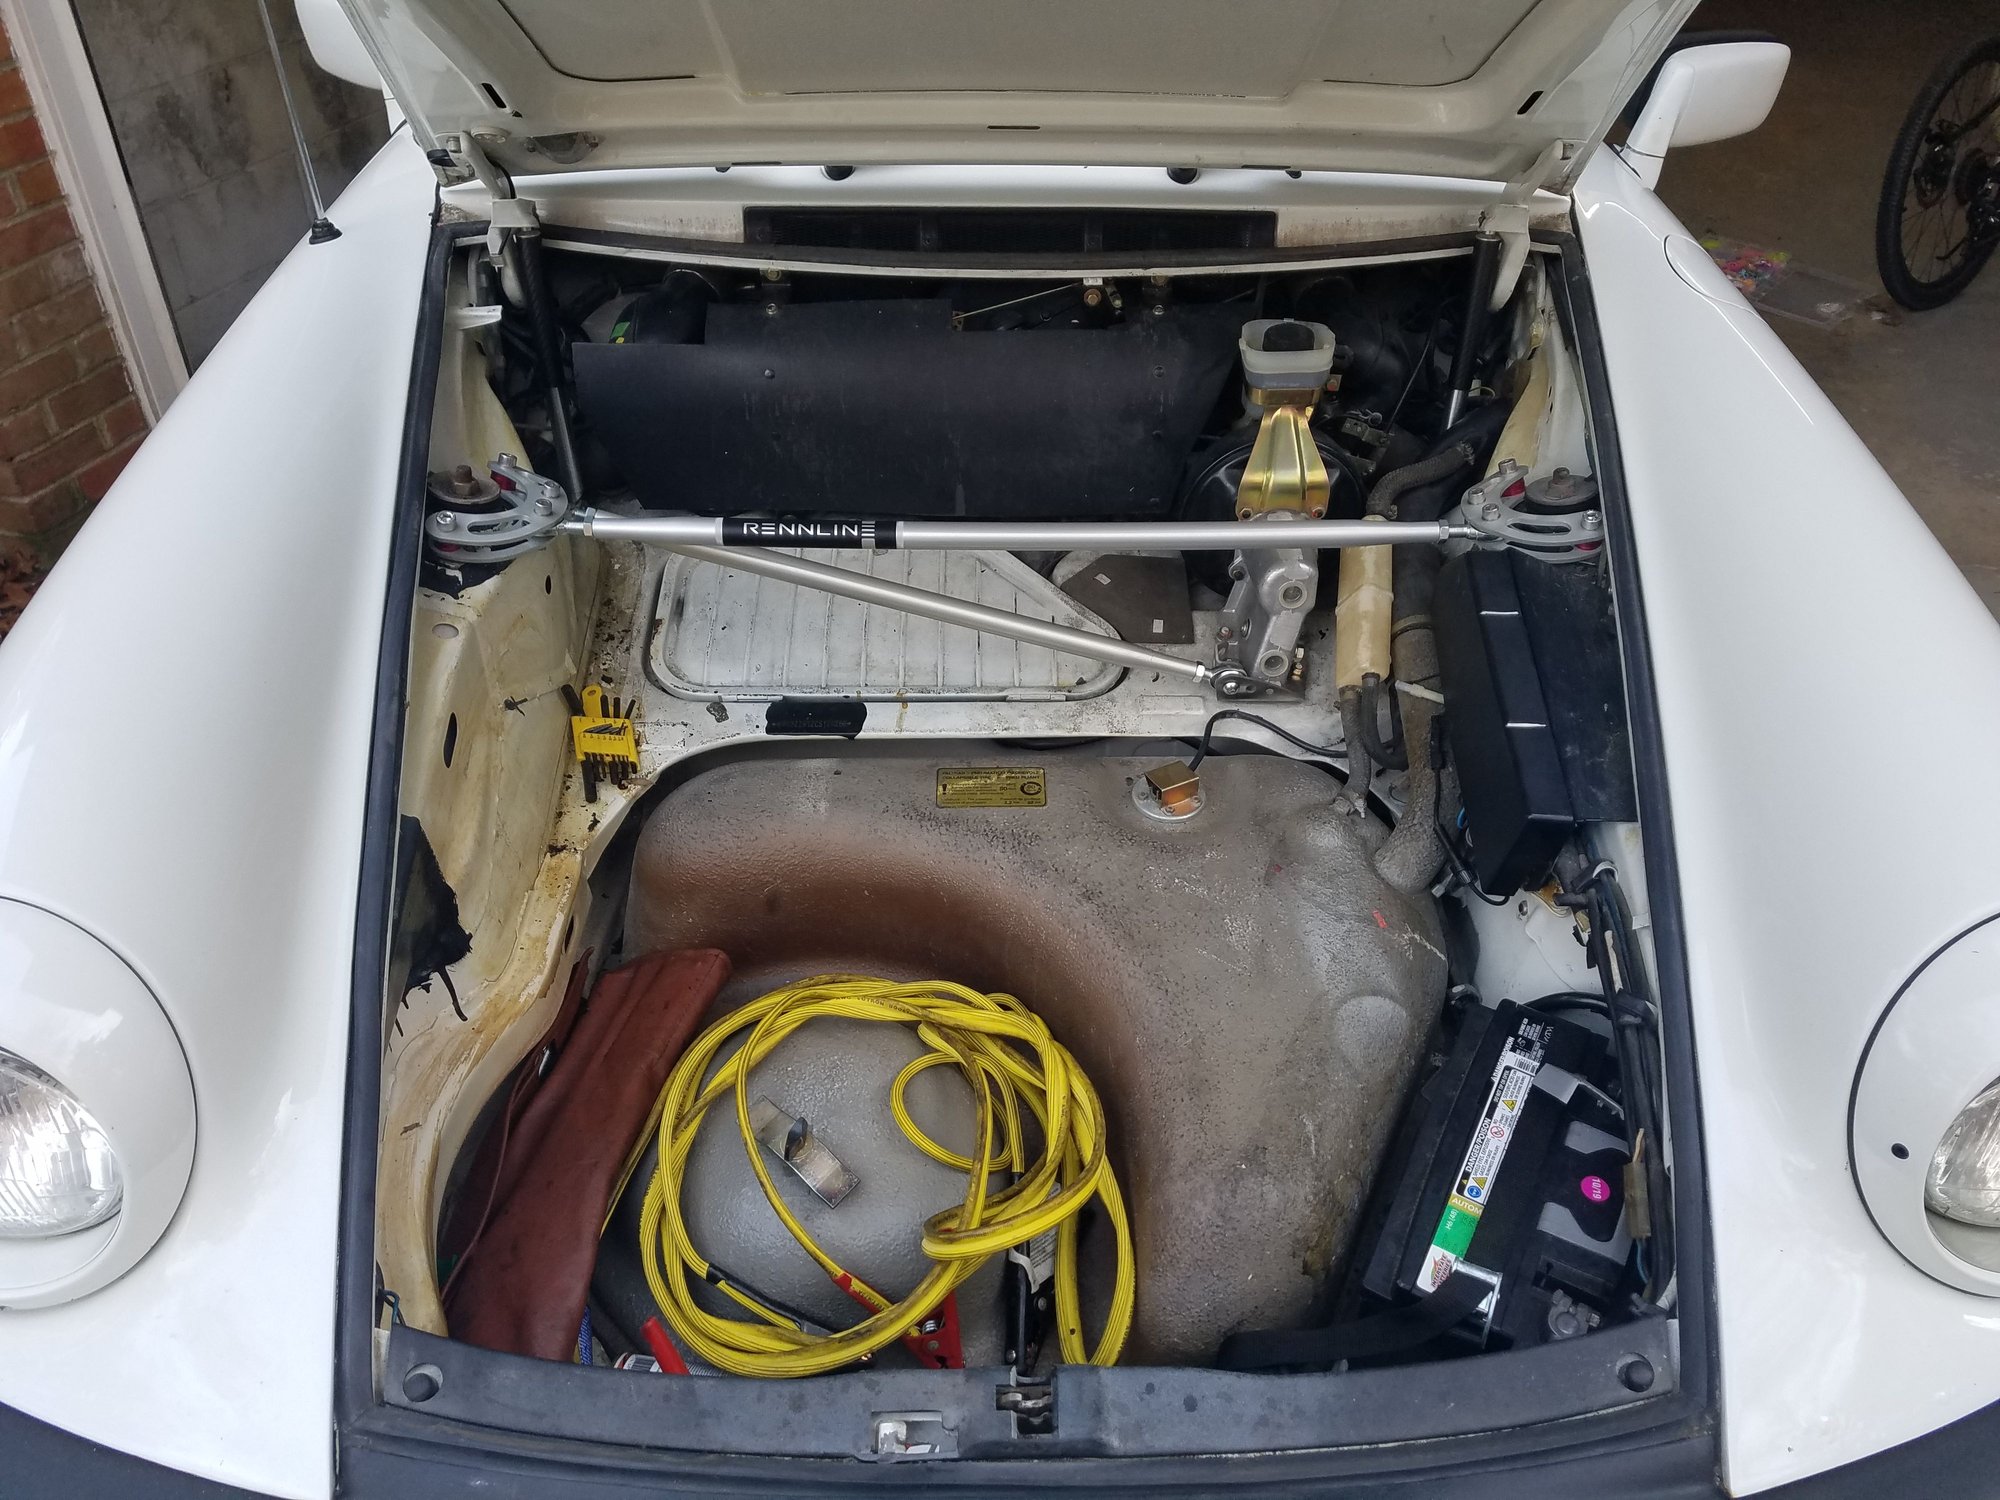
Finally, I installed the rennline 3 point truss mount strut brace. I am surprised at how much performance gain these bars provide. After a quick ride around some nearby twisty roads, I noticed significant improvement in reduced body roll and a reduction in understeer. The quality of the rennline components are great and install was relatively easy, but could have been much easier with better instructions from rennline and some quality control issues from rennline on marking their parts. The instructions state that driver side braces would be marked with a red dot, but they were not. Also left hand thread items were supposed to be marked, but were not. Also, top plates and bottom plates are not marked, but are easy to figure out if you spend time pre-assembling the night before. I was able to do this in my living room on the couch.
Here are some tips for those thinking about purchasing and installing the rennline strut brace.
1) Watch this video -
2) lay out all your parts and make sure they are included. Also, make sure you have the proper tools. These require 8mm and 5/16 hex socket to tighten down the truss bolts. It is beyond me what rennline decided to use both metric and SAE sized components.
2) It may just have been my components, but if the top and bottom plates are not identified it seems that the top plate is a bit longer than the bottom place. the plates also have what can be described and oblong holes on each side of the center bolt holes. On the passenger side bracket the longer of these holes will be on the "left side" closer to the front of the car, ie smaller hole on the "right side" toward the windshield. The opposite will be true on the driver side bracket (i.e. longer of these holes will be on the "right side" closer to the front of the car, ie smaller hole on the "leftside" toward the windshield.
3) For the 3pt you will be mounting to the bottom of the brake master cyl. (BMC) on the driver side of the BMC is a bolt (I believe it was 19mm or 17mm) that covers the 13mm nut that needs to be removed. I needed to remove this bolt to access the nut. On the passenger side it is easy to remove the 13mm nut to mount to the BMC, but to re-install the nut you need to back out the bolt holding in the rod end (no need to totally remove) tighten down the nut and then tighten back up the rod end.
4) Finger tighten everything first, then tighten down per proper torque specs.

 01-03-2020, 12:41 AM