When you click on links to various merchants on this site and make a purchase, this can result in this site earning a commission. Affiliate programs and affiliations include, but are not limited to, the eBay Partner Network.
Im not 100% sure but I think mid 80's with metallic paints only, late 80's with solid colors. for original paint- its possible late 70's
im sure there's enivromental laws with water based and 2 stage clear.
Any repaint will have 2 stage paint clear and color.
the transformation I can do with single stage paint is like a new paint job. night and day
Great thread here. Really impressive work, thinkiwanta928.
I've wondered too about the clear coat. I can say that my '85 with its original Grand Prix White paint has no clear coat. The above info sounds about right, and I think I've also heard that white stayed without clear longer than others, due it it naturally being harder. Could that be right?
A few days ago I was searching for any options data on the 911SC and found this guy's SC website with an interesting paint options table. On the SC, looks like metallics had a clear coat and solids did not: http://www.adelgigs.com/911colours.shtml
Makes sense.
Polishing update. Last night I finished wet sanding with 2500 the passenger side door. I was just getting started wool pad rotary machine polishing when "POP," a nice big juicy blue arc occurred at the end of the handle of the machine where the power cord is secured. This is a machine I've overworked since 1990. How the brushes for the motor still exist is beyond me. But the power cord had worn in the area, frayed, and the two lines shorted. Always nice to know your 120v circuit breakers can still trip. So I took the machine to the bench, took it apart and cut off about 10" of power cord, installed new, big thick shrink tubing to make a new grommet where the cord leaves the machine and put it back together. Interestingly, there was a huge amount of dust and lint inside the machine. While apart, I blew out all the crap. I was tired so I quit, but while enjoying a Texas Ale Project's Fire Ant Funeral beer, I walked around the car examining my polishing work with a hand held very bright led light. I found about 4 places which need more work. What i see are small areas of not-completely-glossy areas which probably just need the soft yellow pad and Meguiar's Dual Action chemical. This weekend, I plan to push the car out of the garage into sun, I hope, and see what it looks like in daylight. (Still waiting on the fricken rebuild kit for the Control Pressure Regulator from the guy in Australia. It arrived in Germany on the 22nd and i see tracking updated today that Germany has processed it - took a week? Should have paid up and had him 2nd day air the package)
I’ve finished most surfaces with the yellow pad and Meguair’s Dual Action Polish. Still think it will need Swirl Remover, which is applied with a softer yellow Meguair’s pad and a change to the dual action polish machine. I gave the car a wipe down with detailing spray to clean up dust and splatter. I did push the car out into the driveway so I could sweep, vacuum and then mop the garage floor. Man! Polishing really lets the dust fly!
I used Meguair’s black product for plastics, etc. on some of the trim. More to do another day.
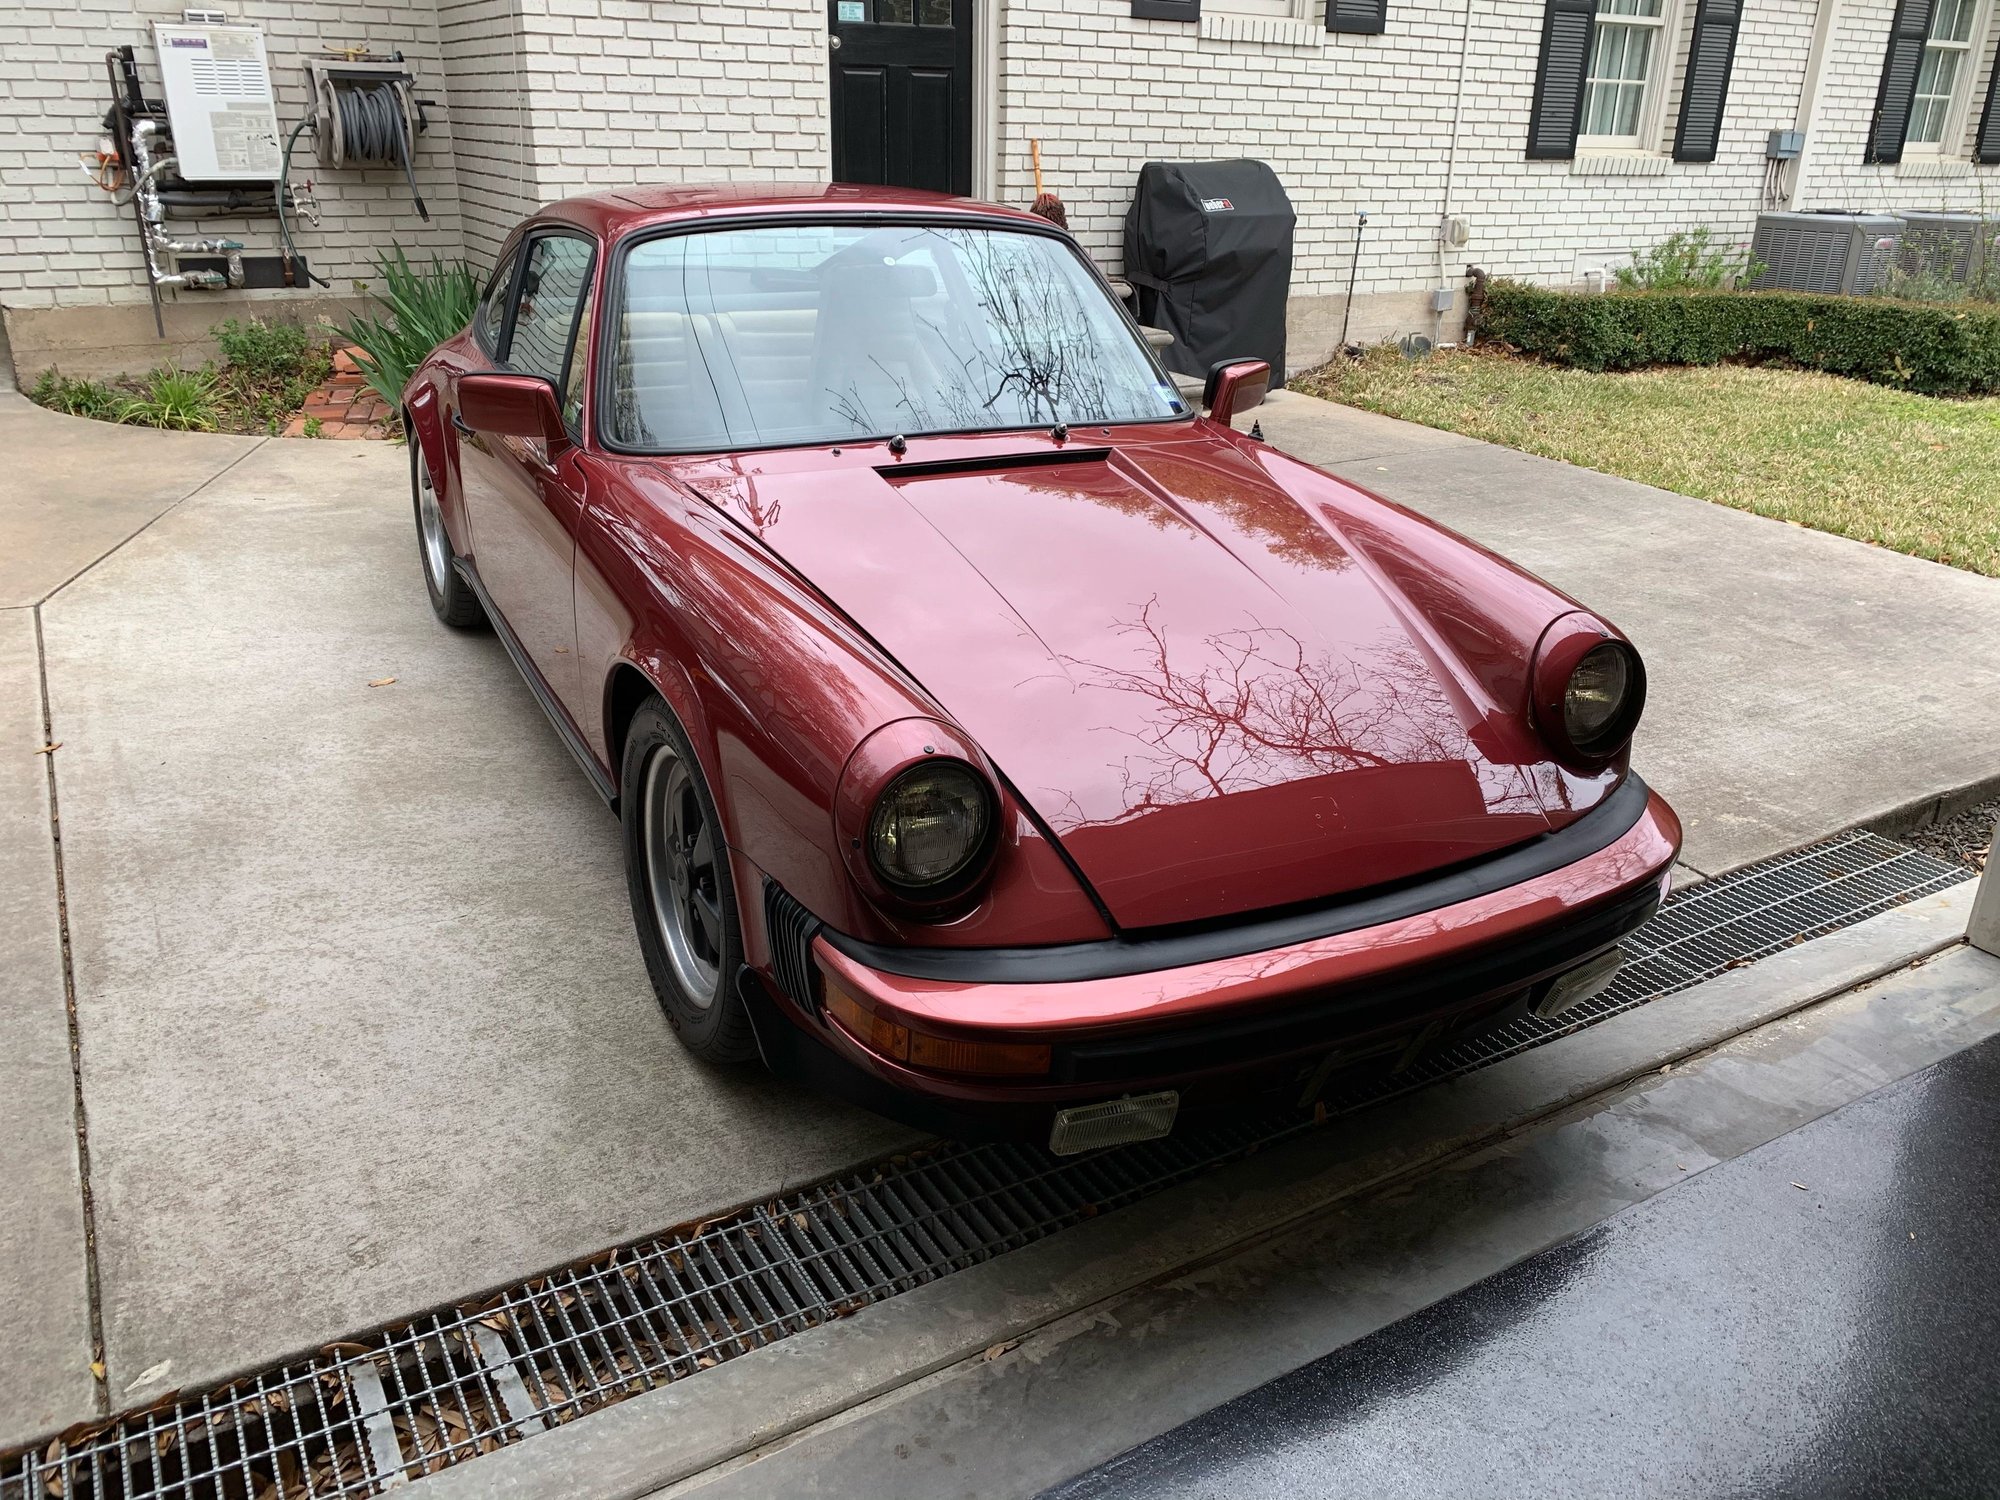
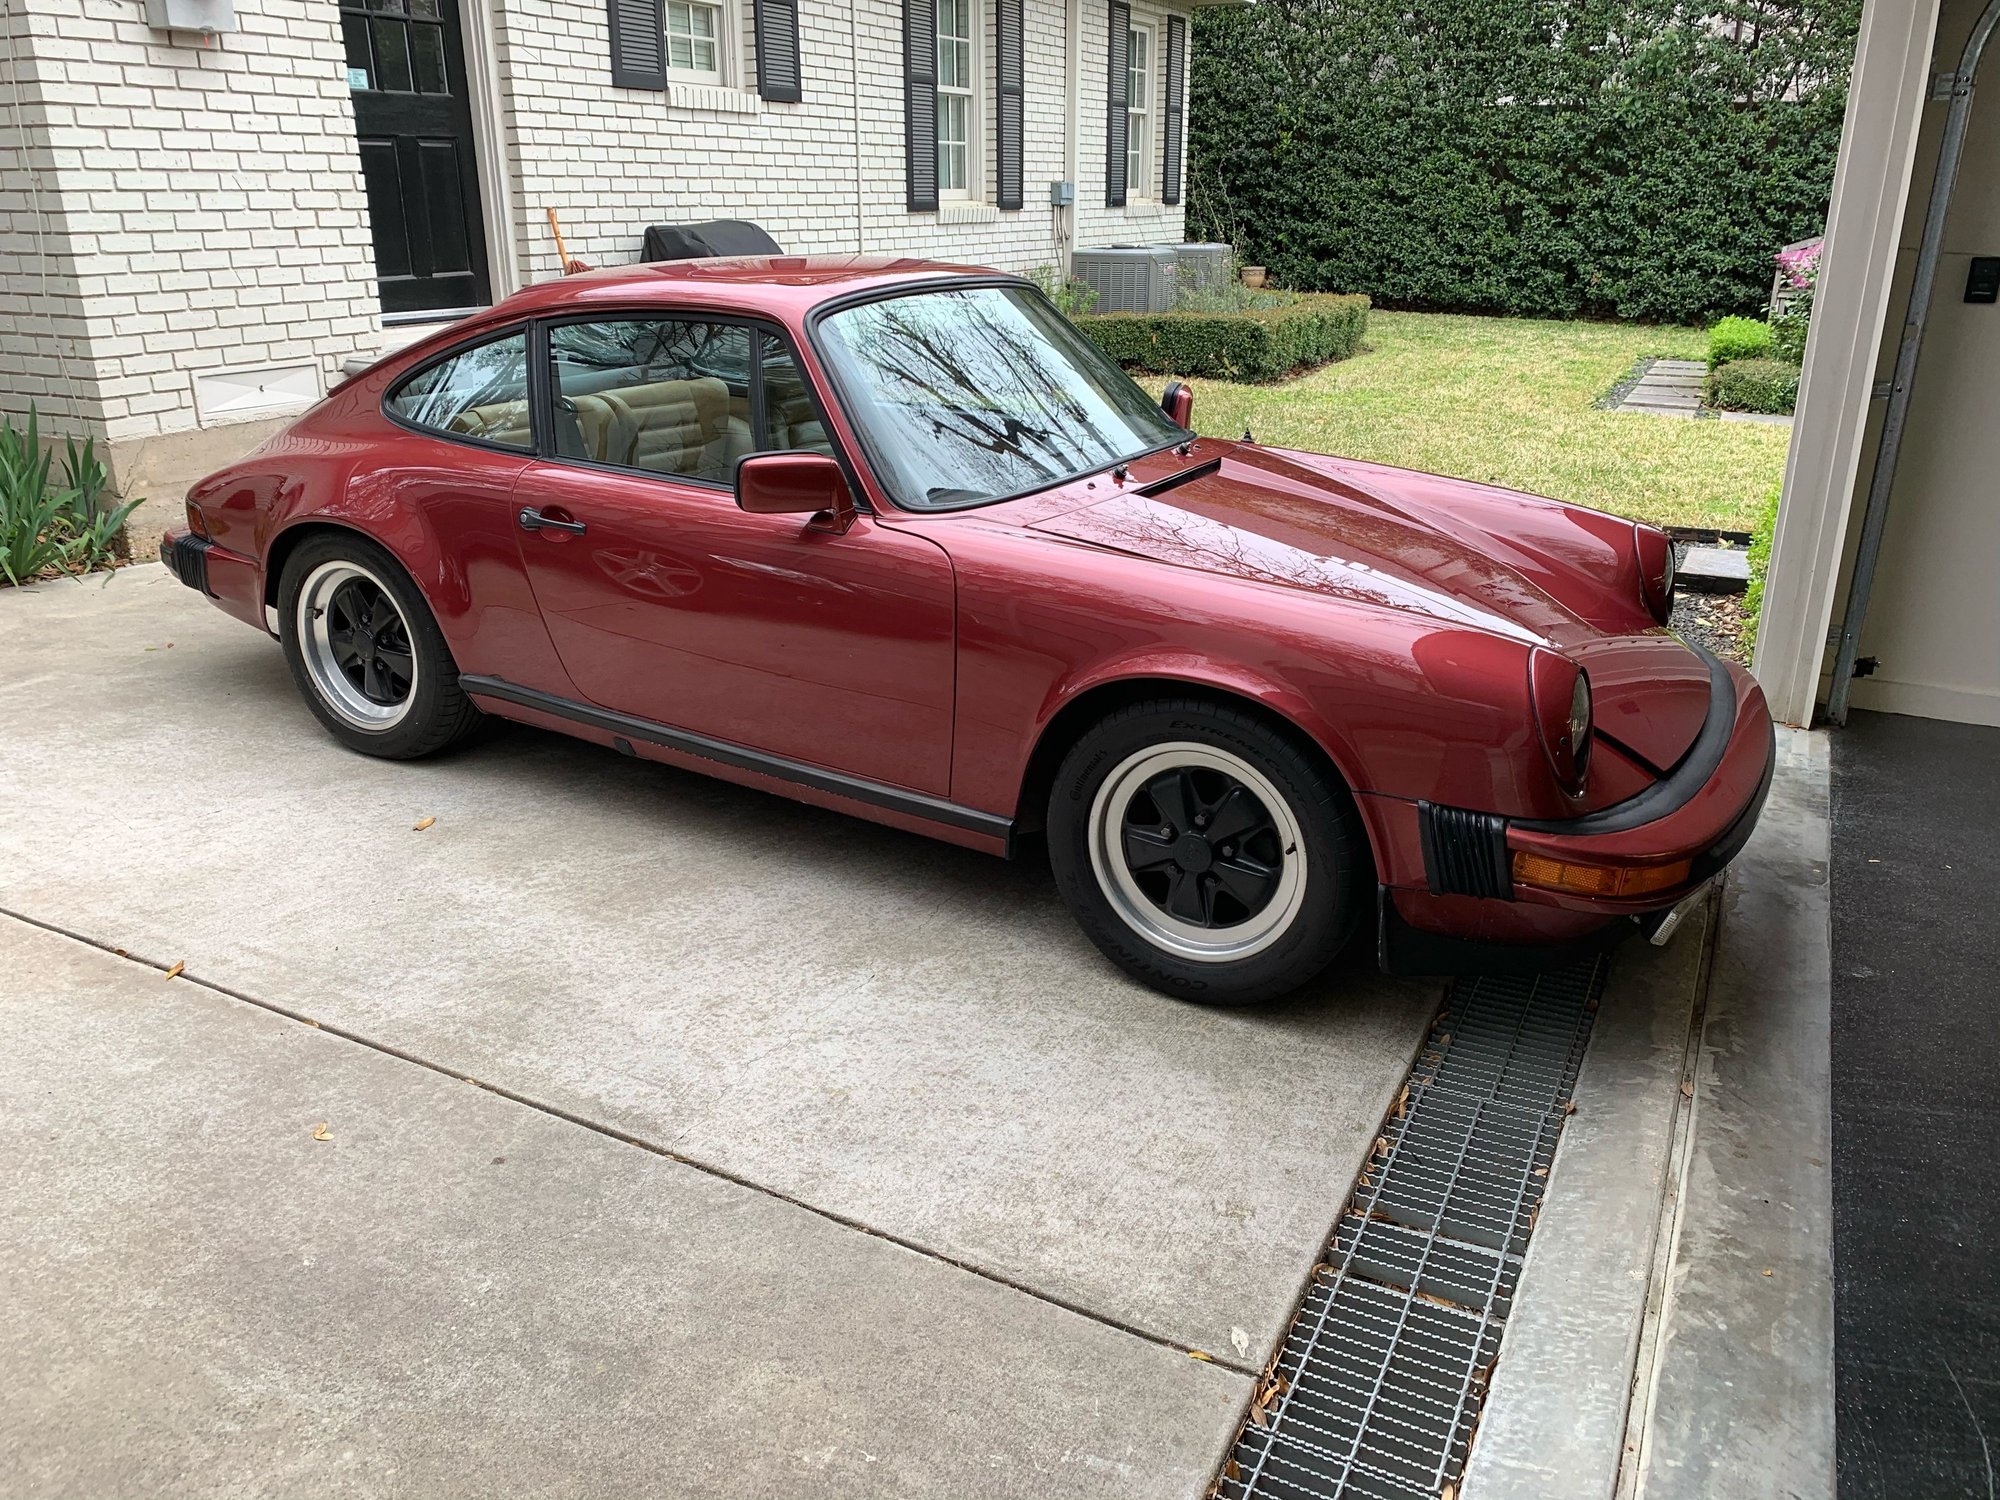
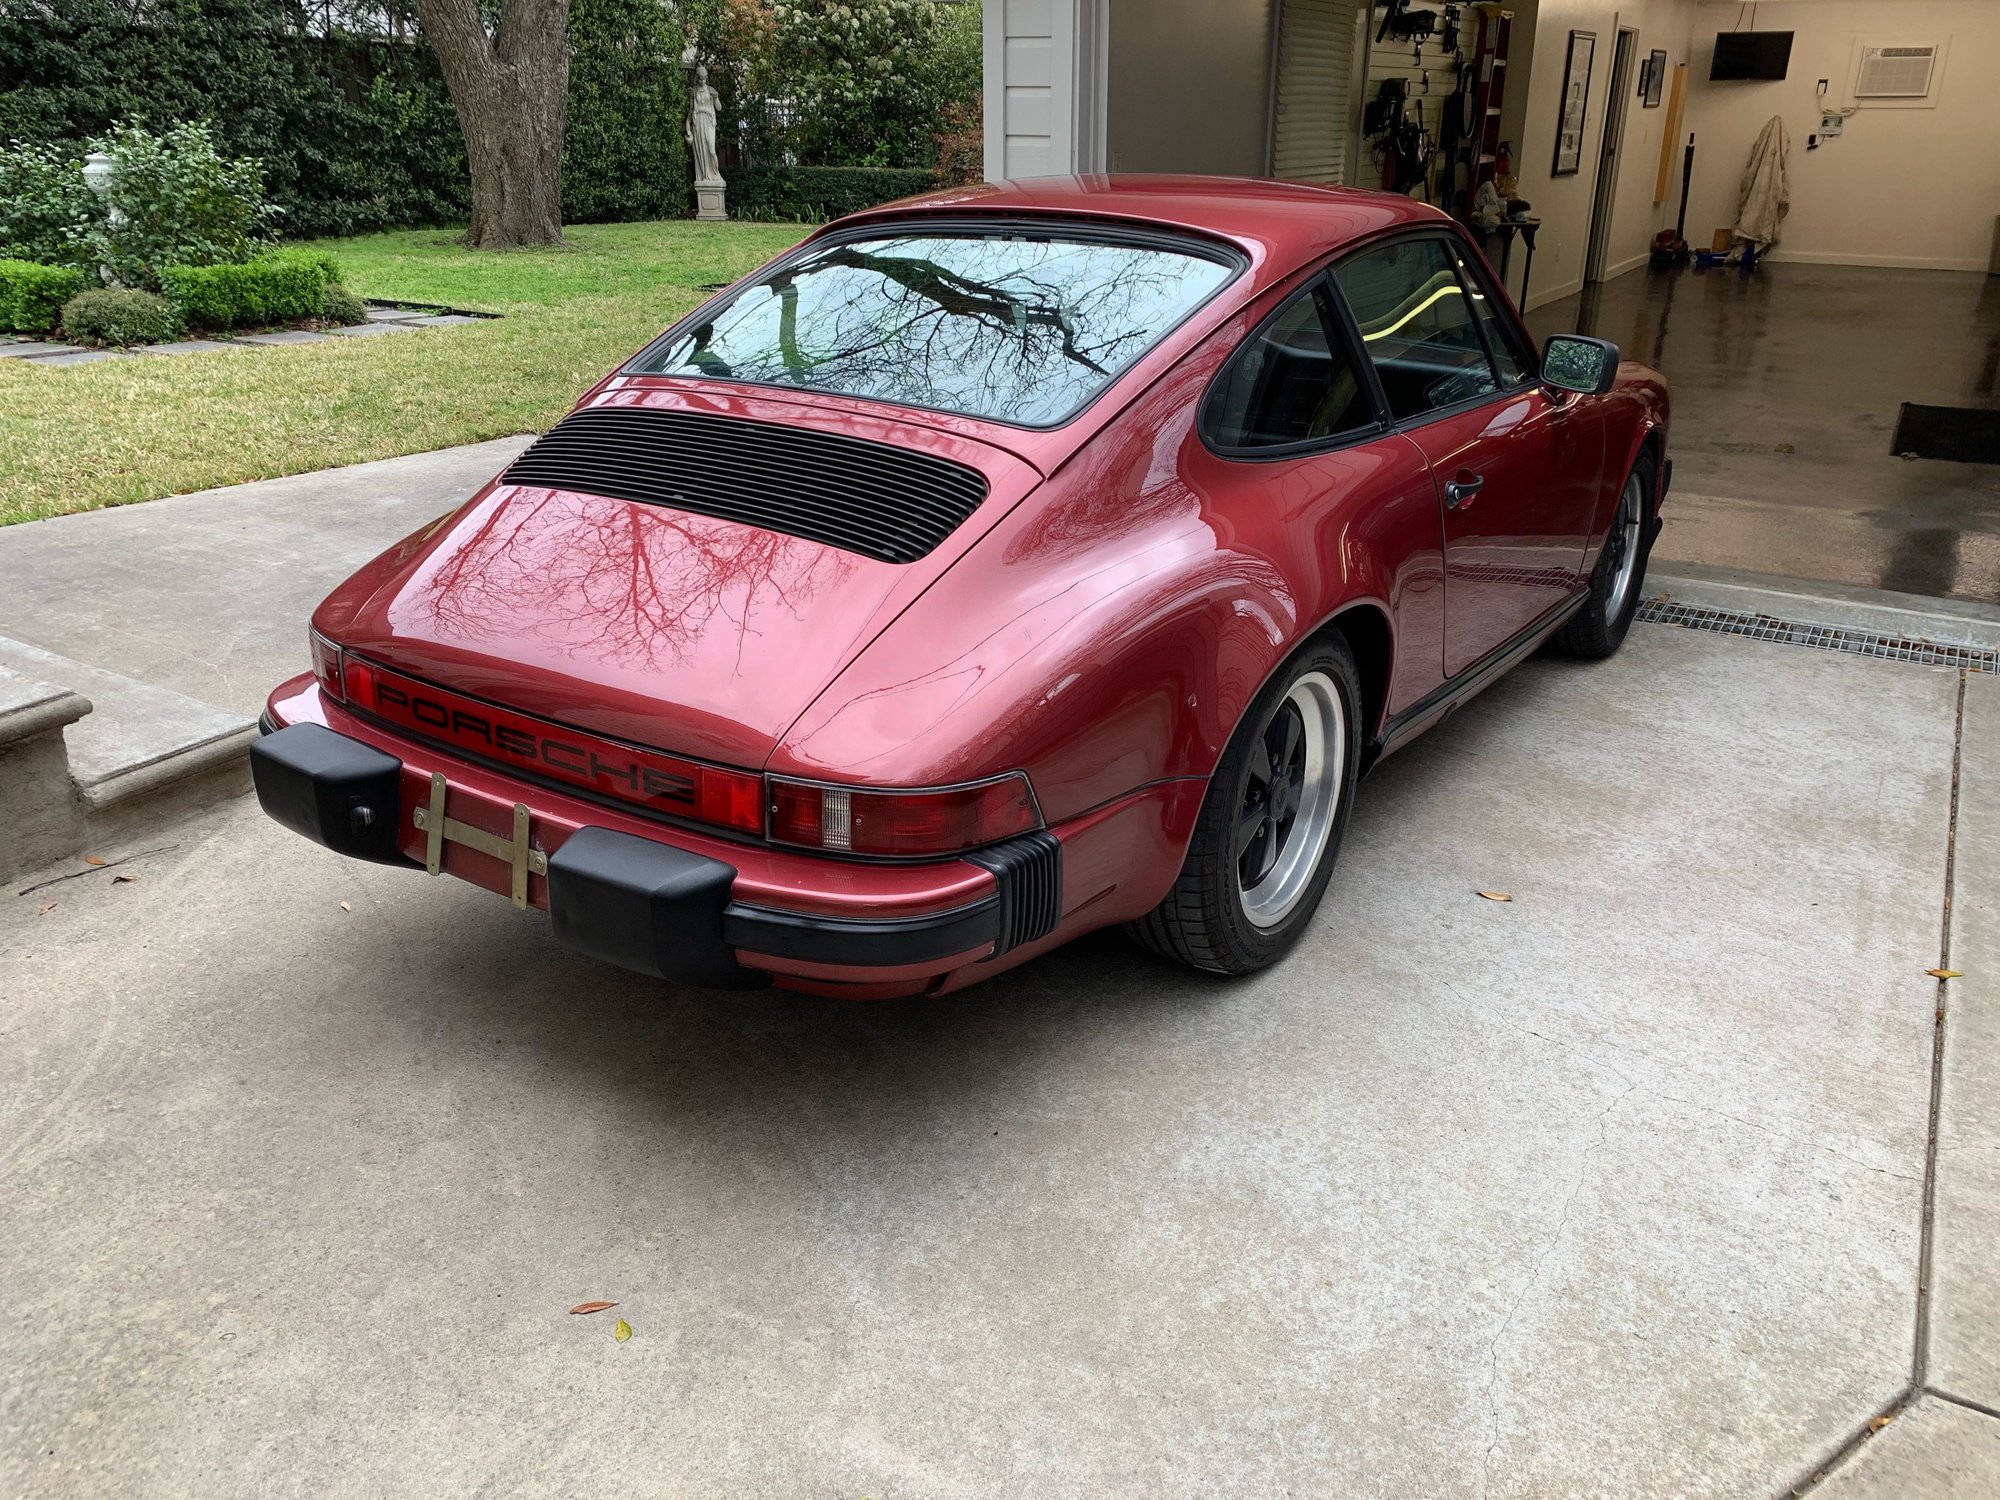
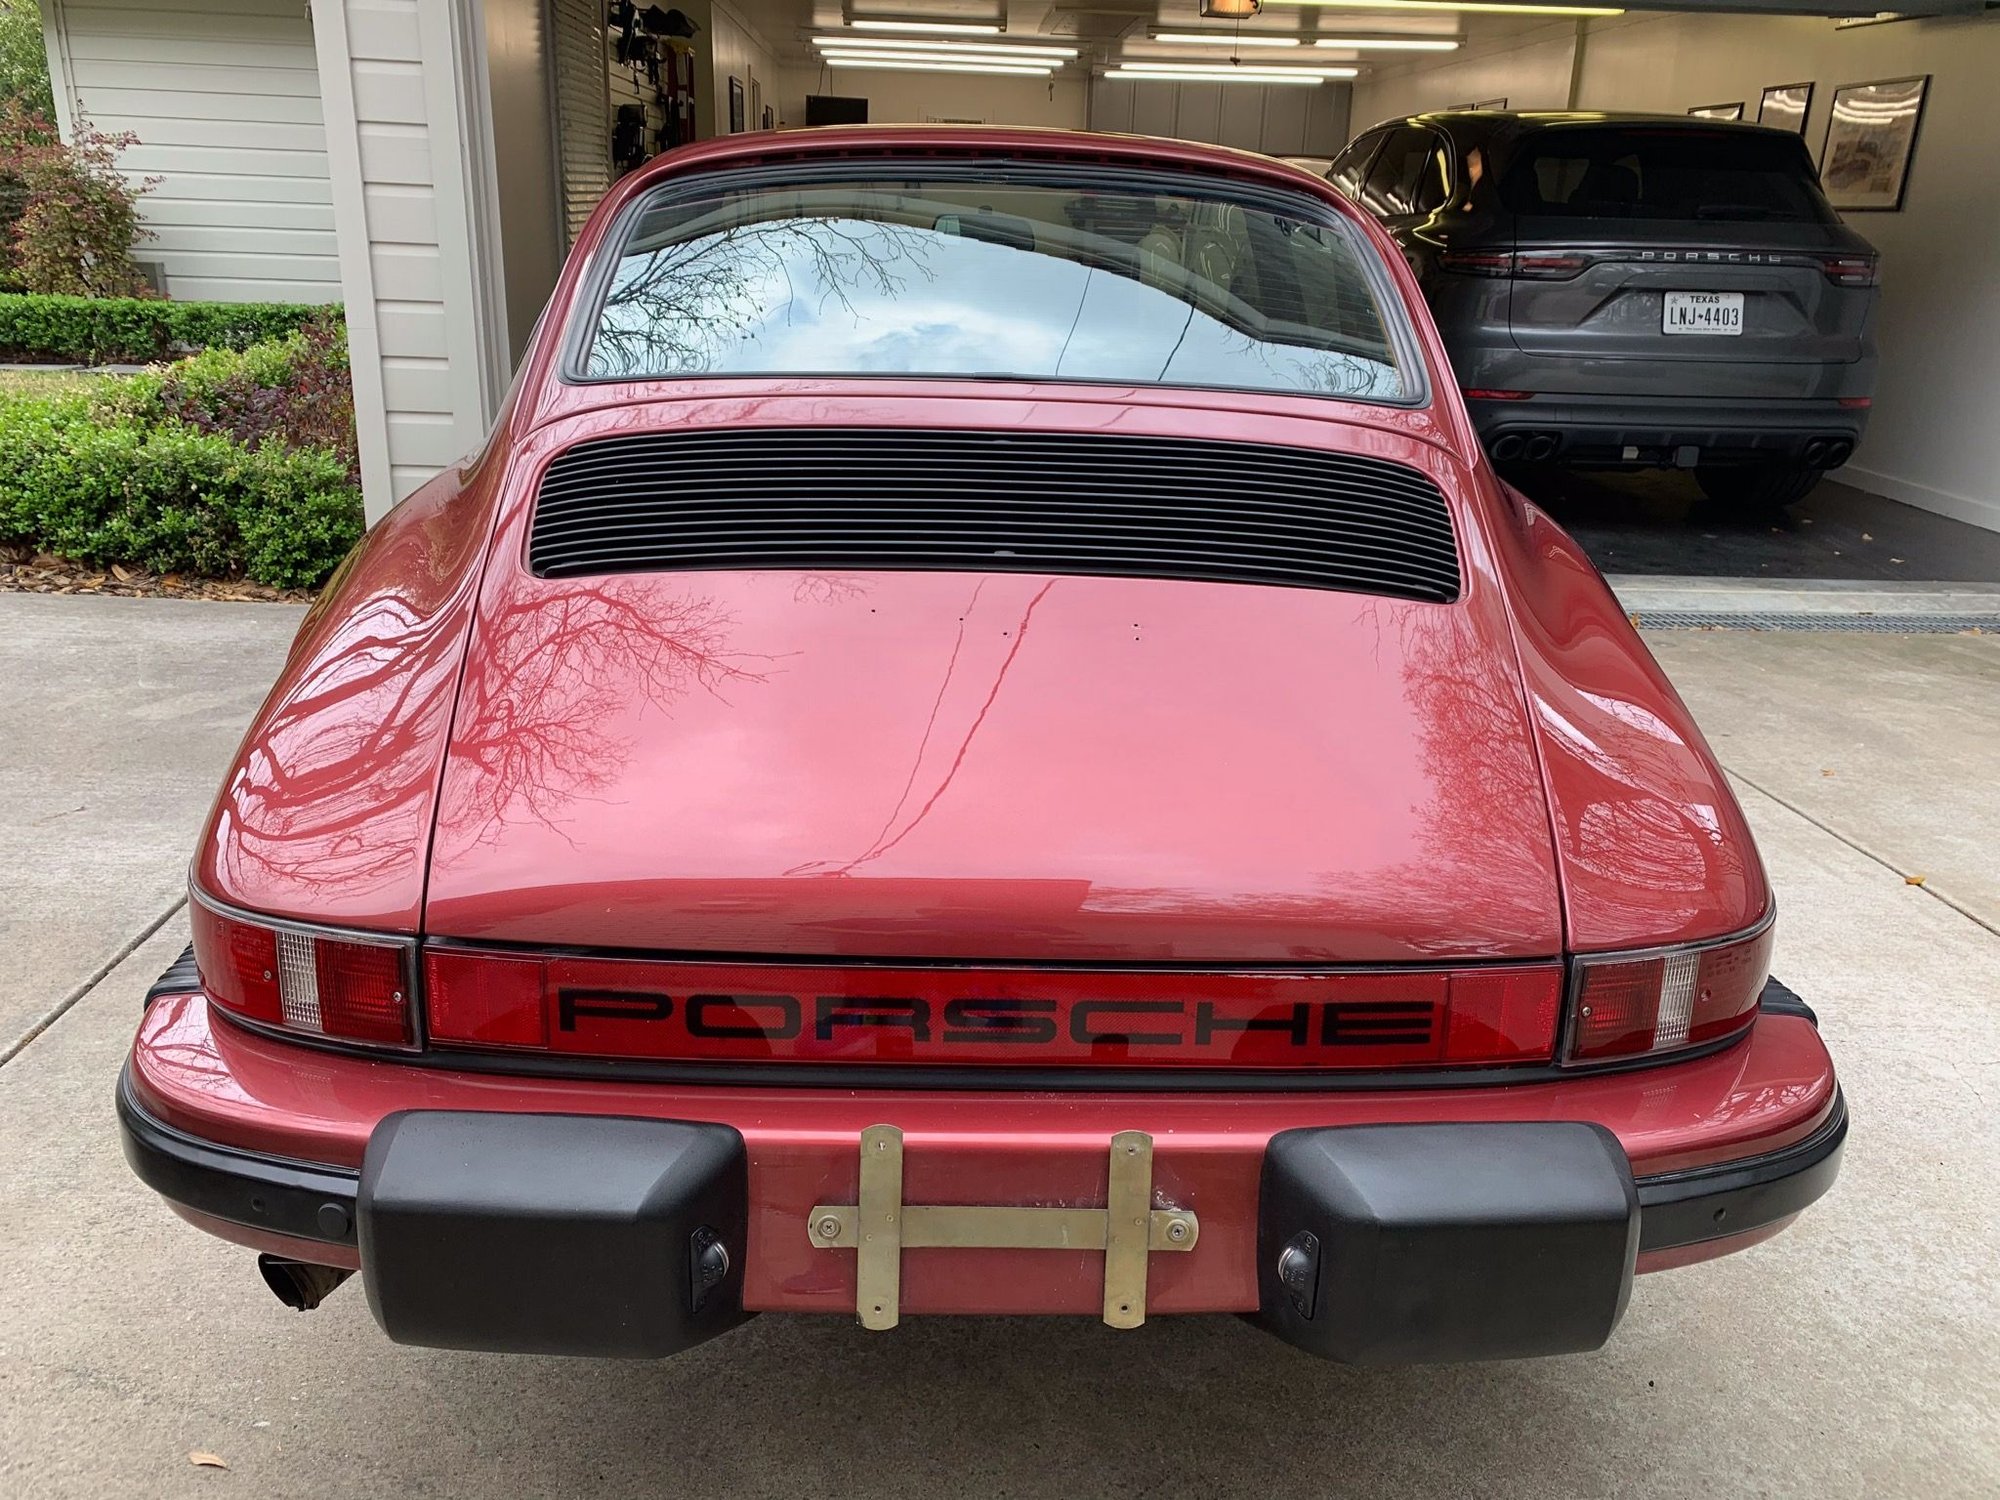
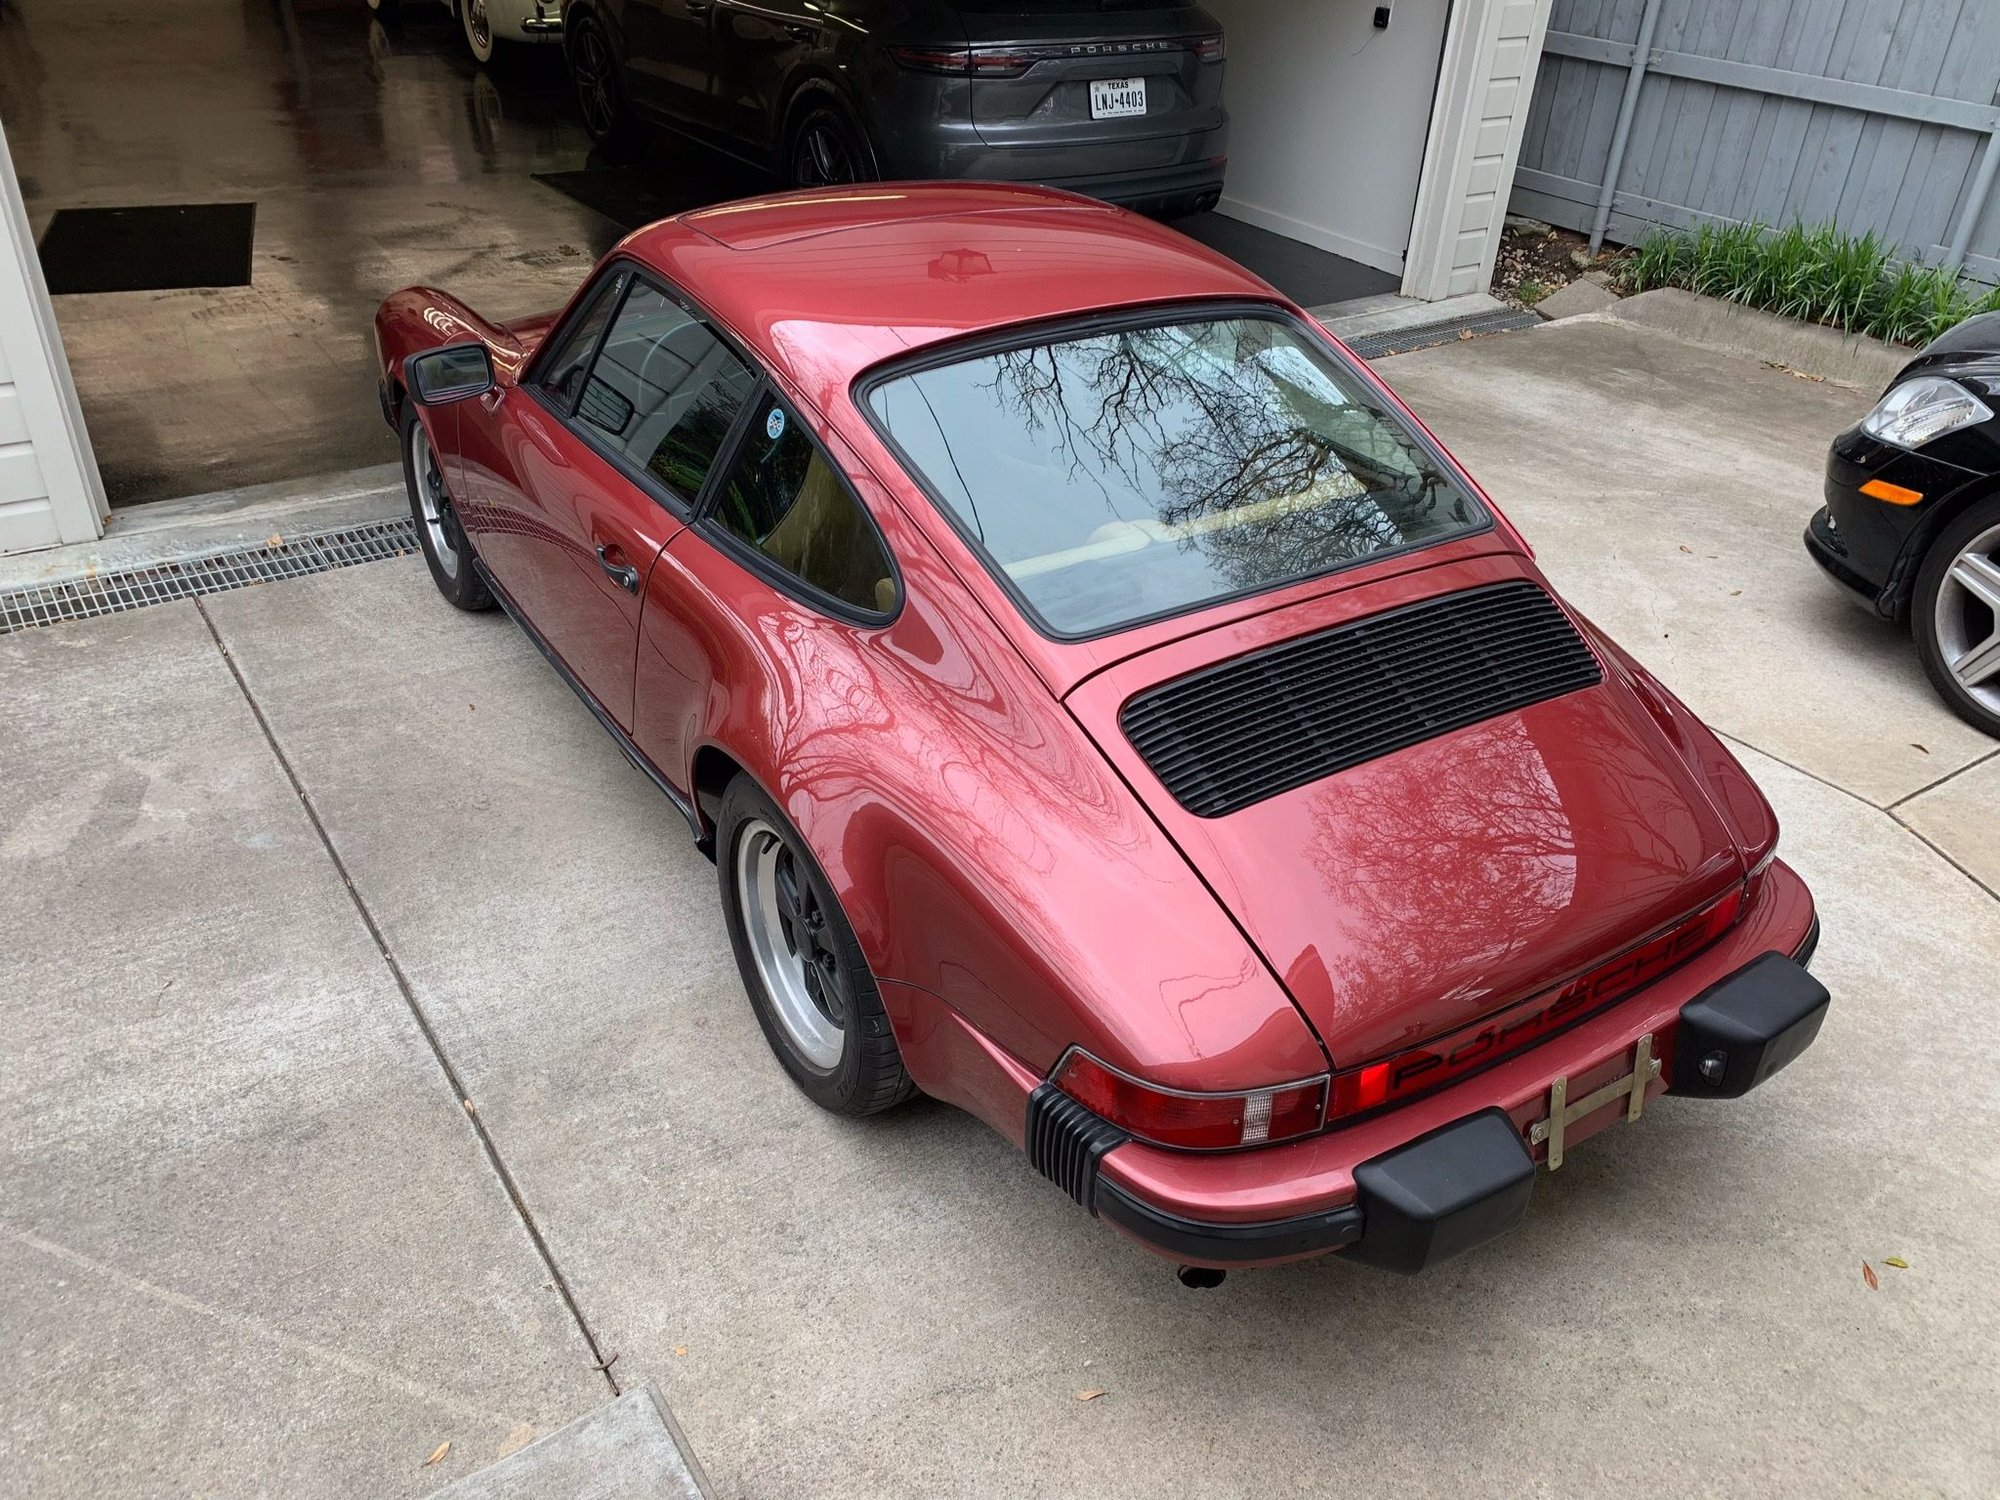
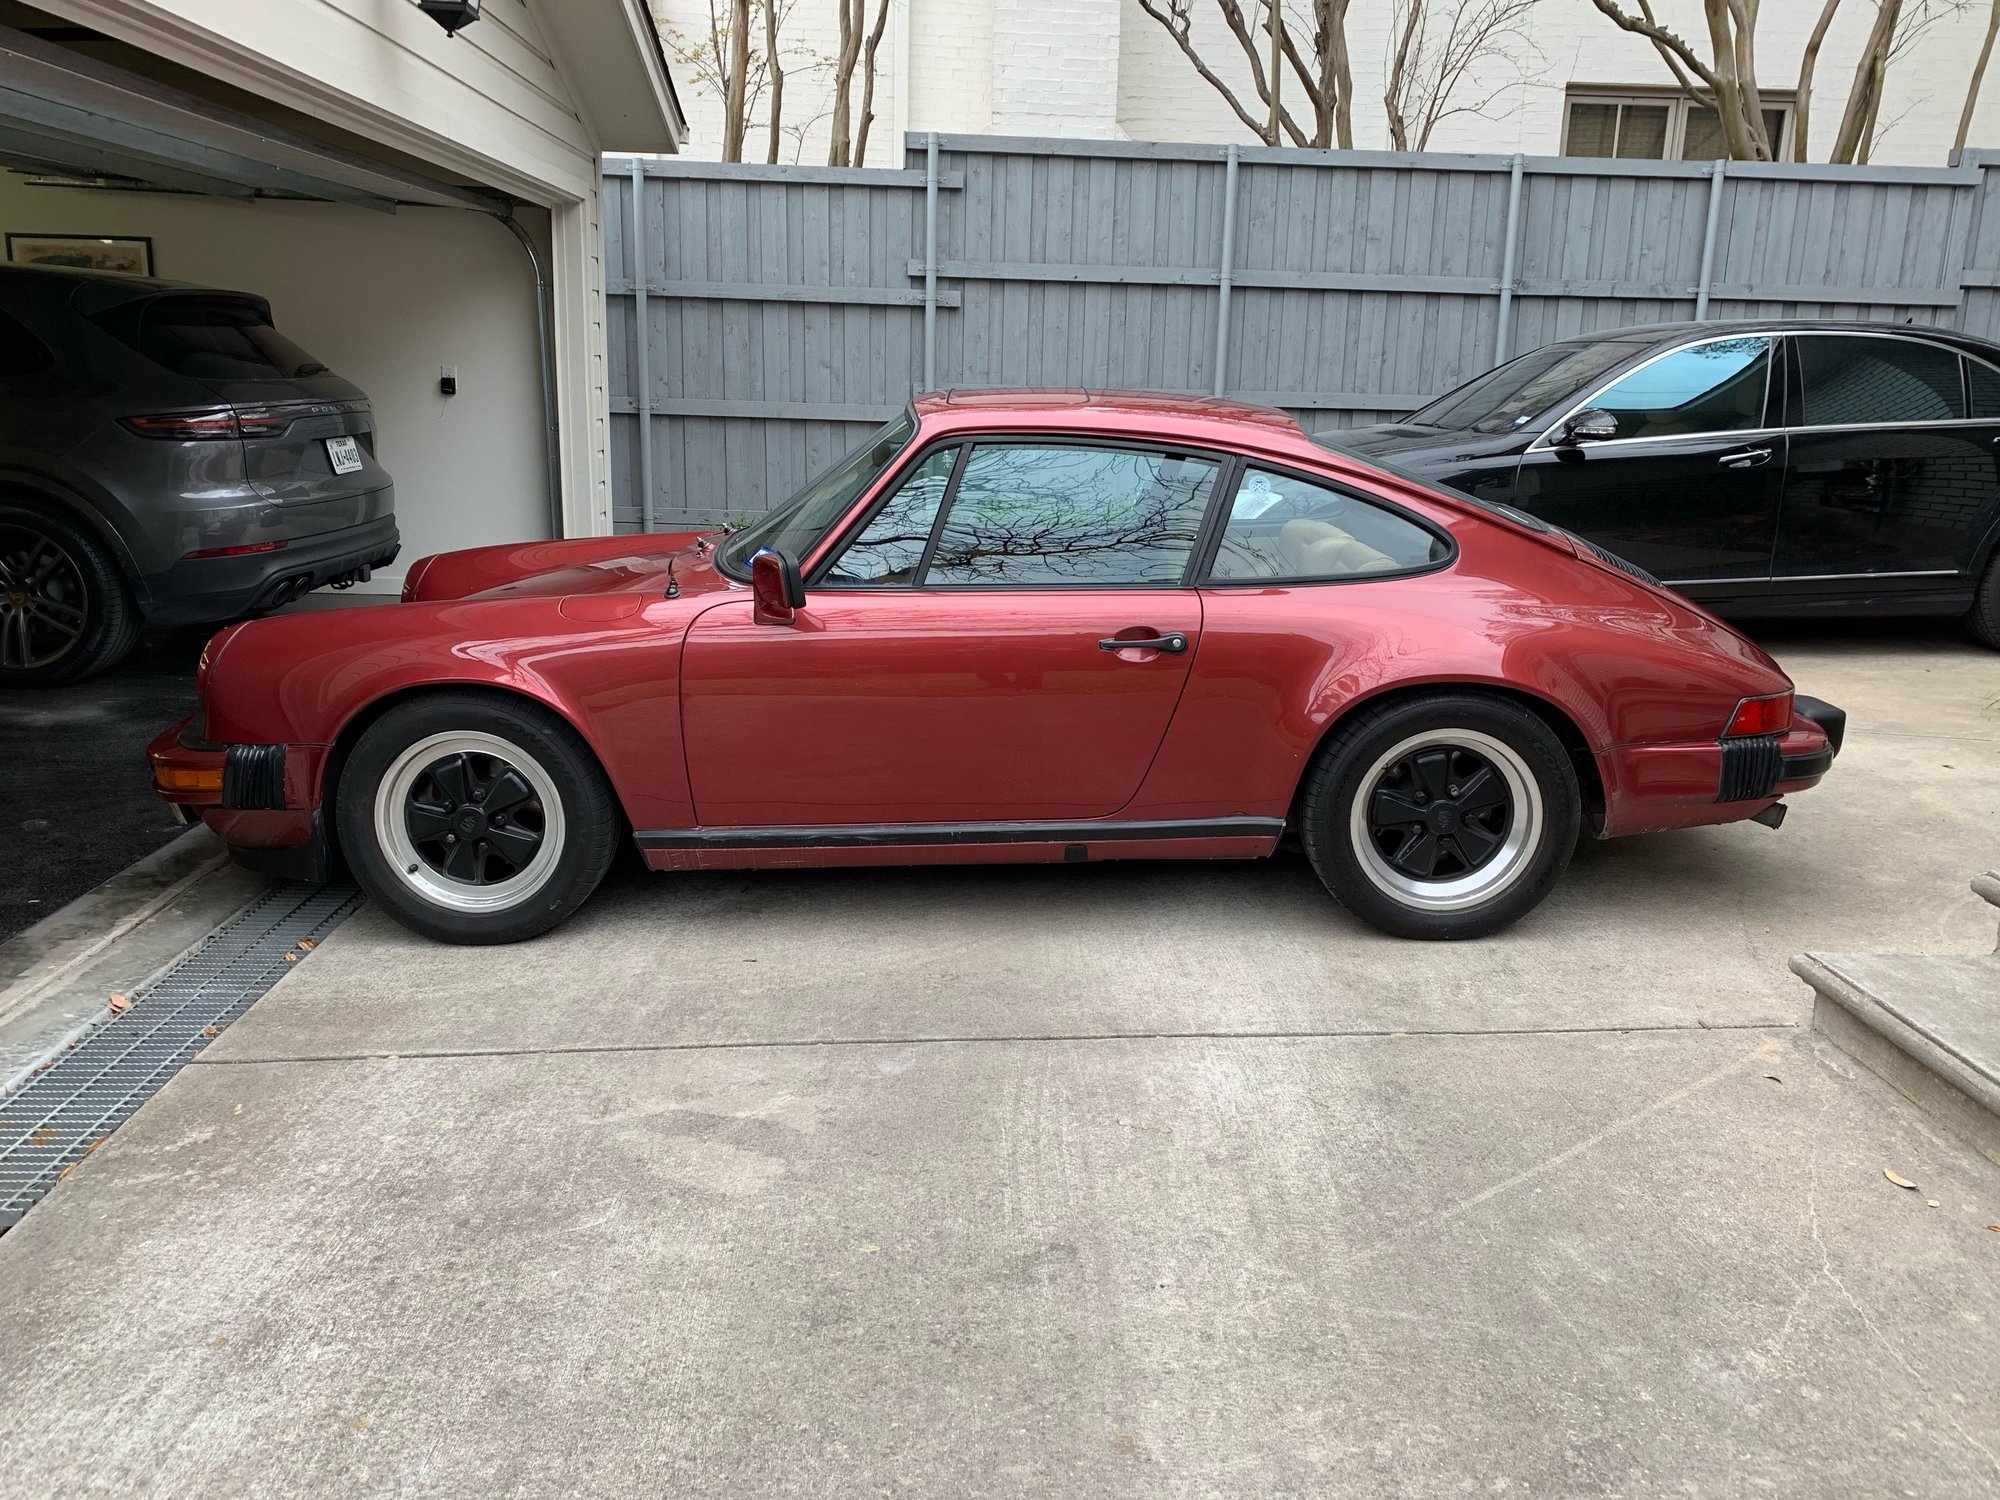
Here are some pictures of the car outdoors, but no sun in Dallas today to get a better inspection of polish success and to look for swirl patterns:
(Note: cars always look better in photos than in person. This paint has lots of chips on door edges, rear fenders, front end, etc.)
From: Western Washington and the Olympic Peninsula.
Nicely done!
Did much the same on one of my 356s.. Difference was it was painted in a driveway in an attempt to do blending....which didn't work. Went through 600-1200 paper then Griot's 1-4 step polish using an orbital with a micro-fiber pad. In this picture, see the cowl for the paint that was sprayed to do the blend:
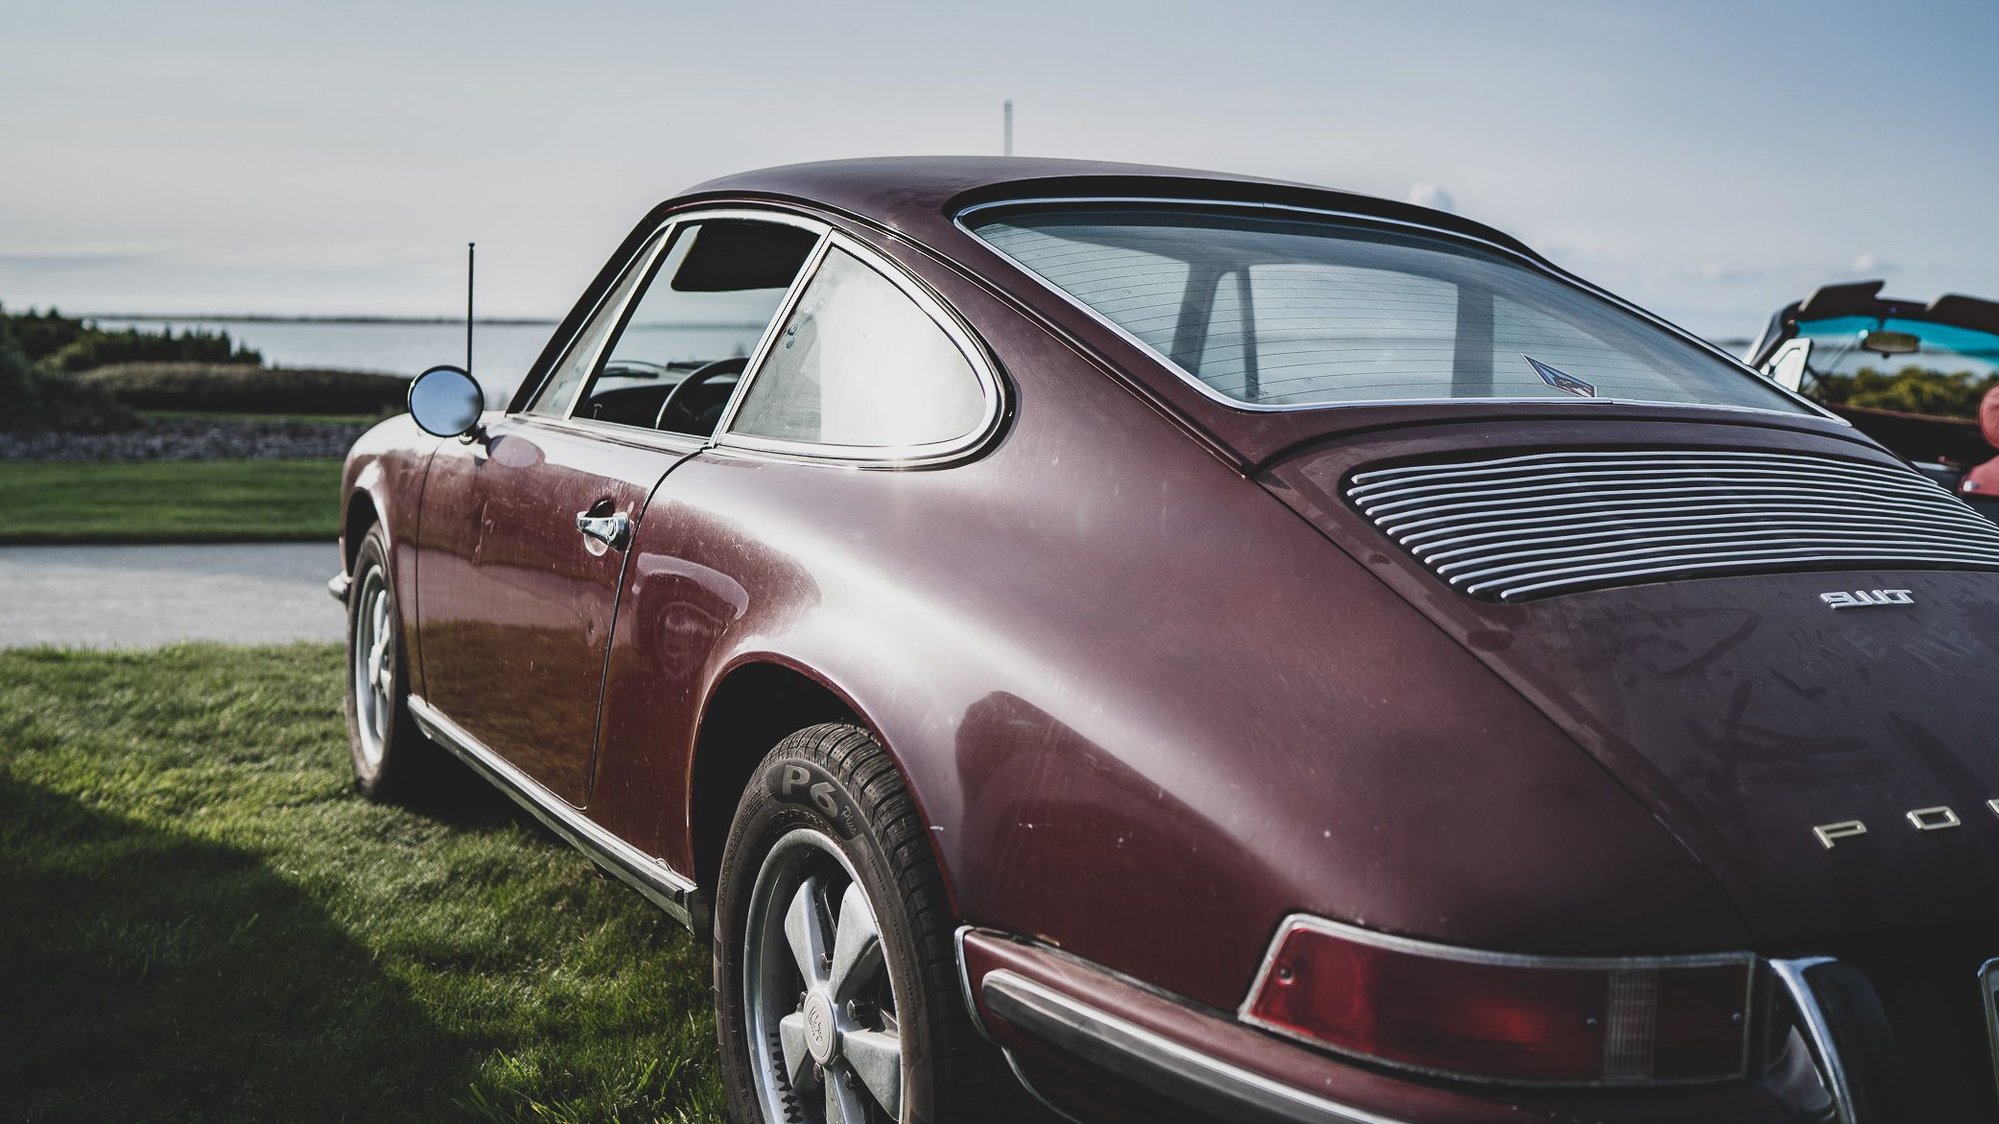
My next project is the 71T where I'm the second owner. This car needs more serious love:
thinkiwanta - very nice job - hope to see this car at a PCA mocha soon.
Thank you. Yes, I have joined the PCA and in the Maverick Region of north Texas. I do plan to go to some events soon. I'm working on the CIS system currently as under another nearby thread titled something such as CIS on a 81SC diagnosis.


 03-28-2019 | 10:00 PM