When you click on links to various merchants on this site and make a purchase, this can result in this site earning a commission. Affiliate programs and affiliations include, but are not limited to, the eBay Partner Network.
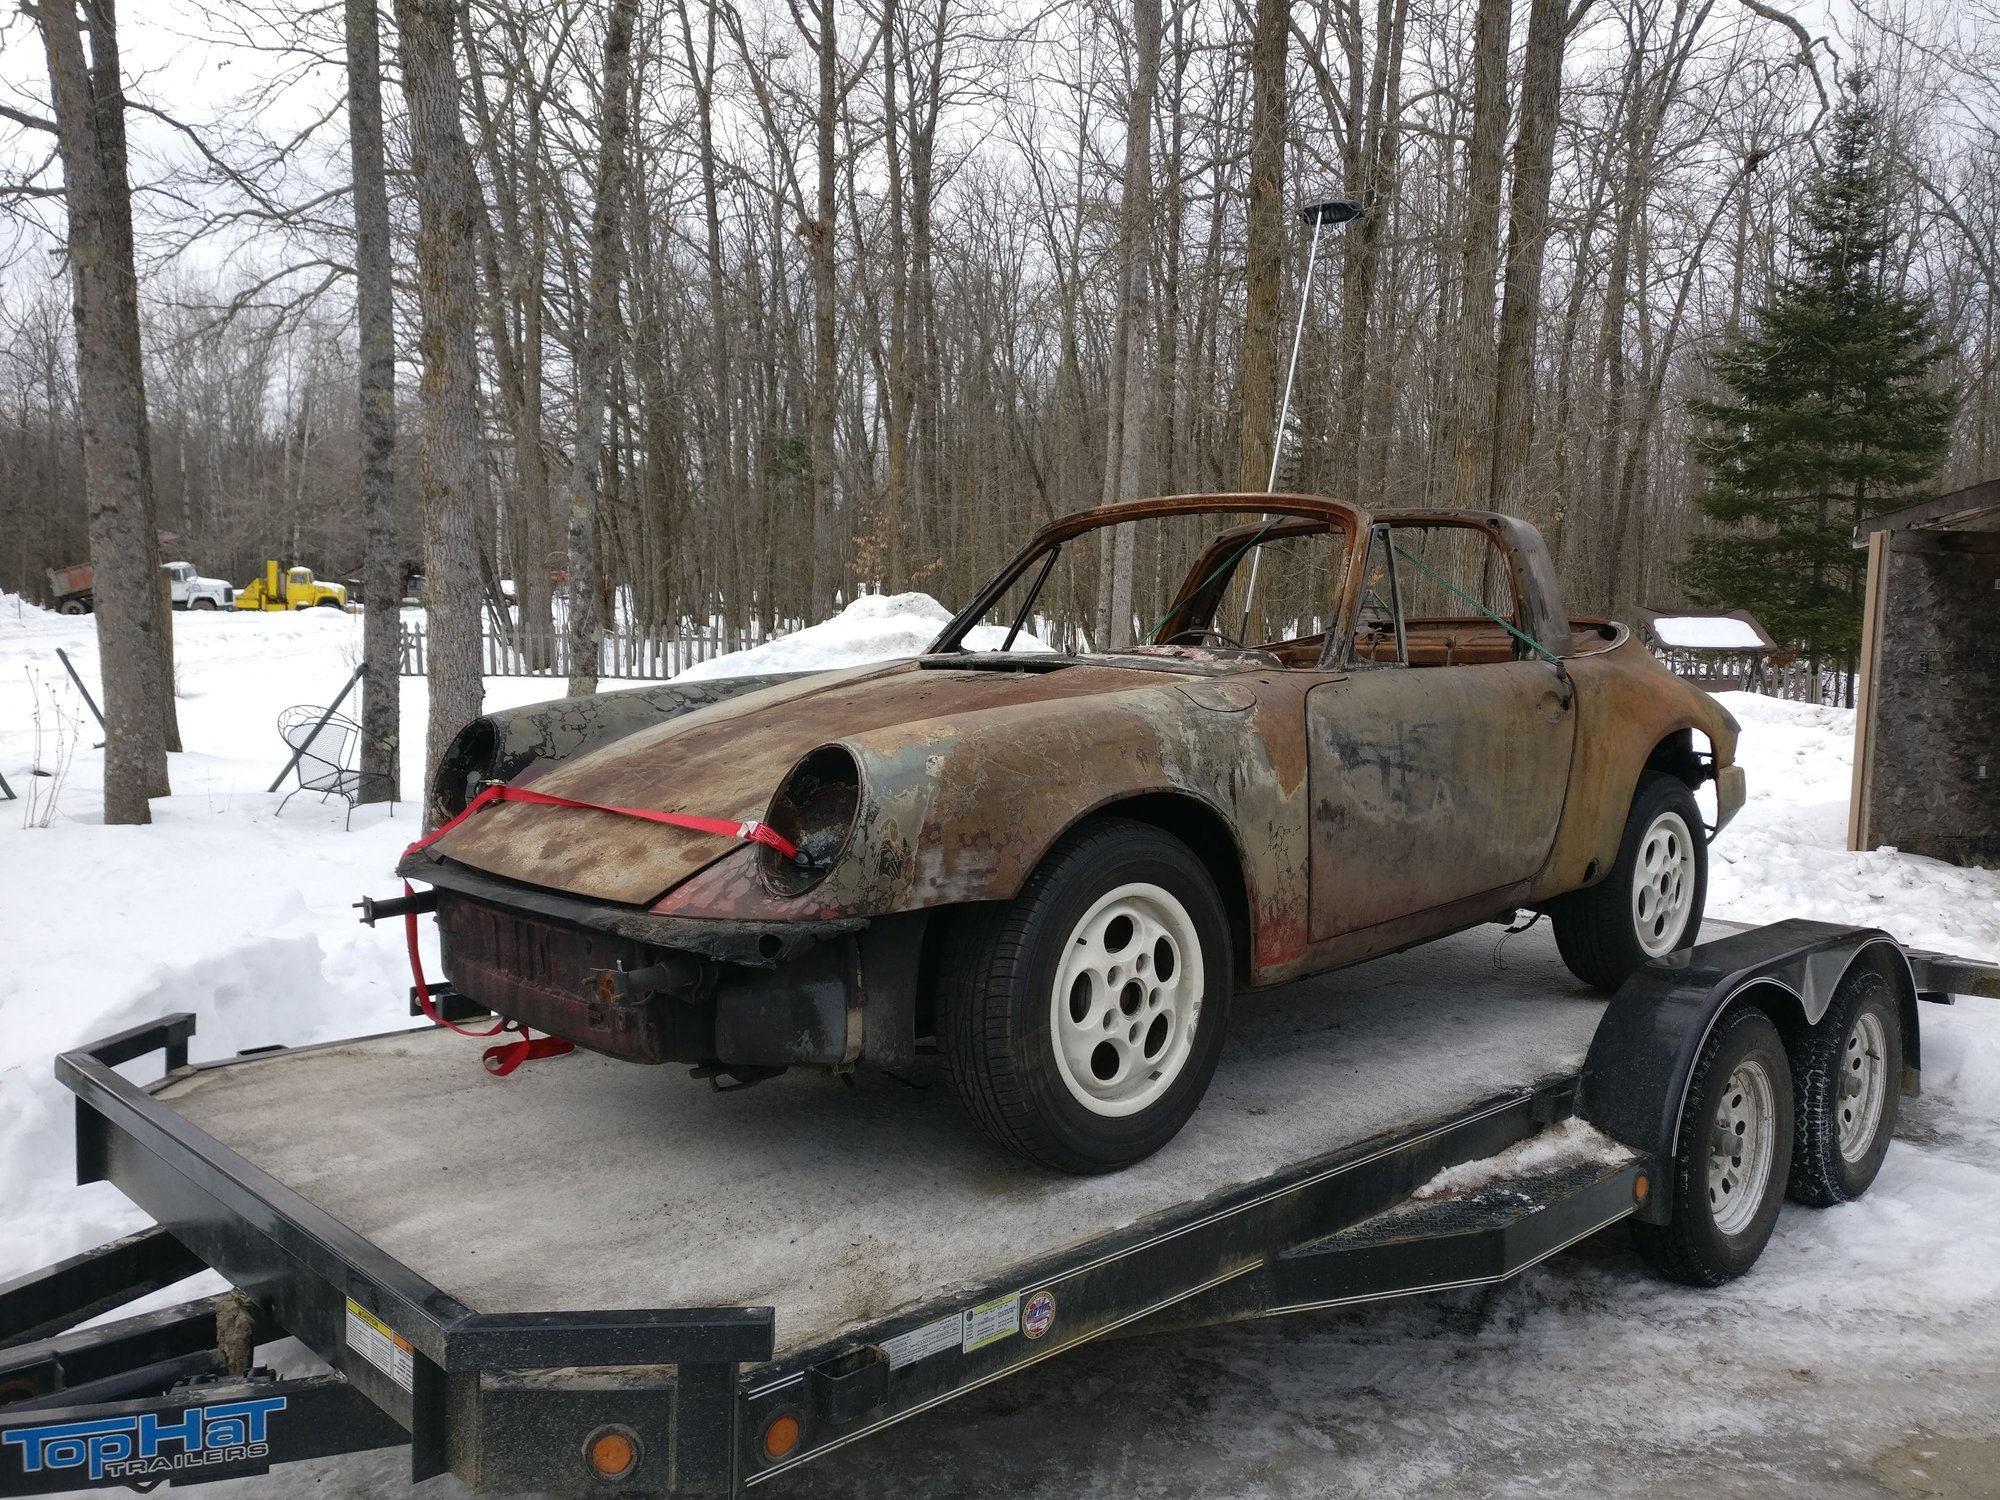
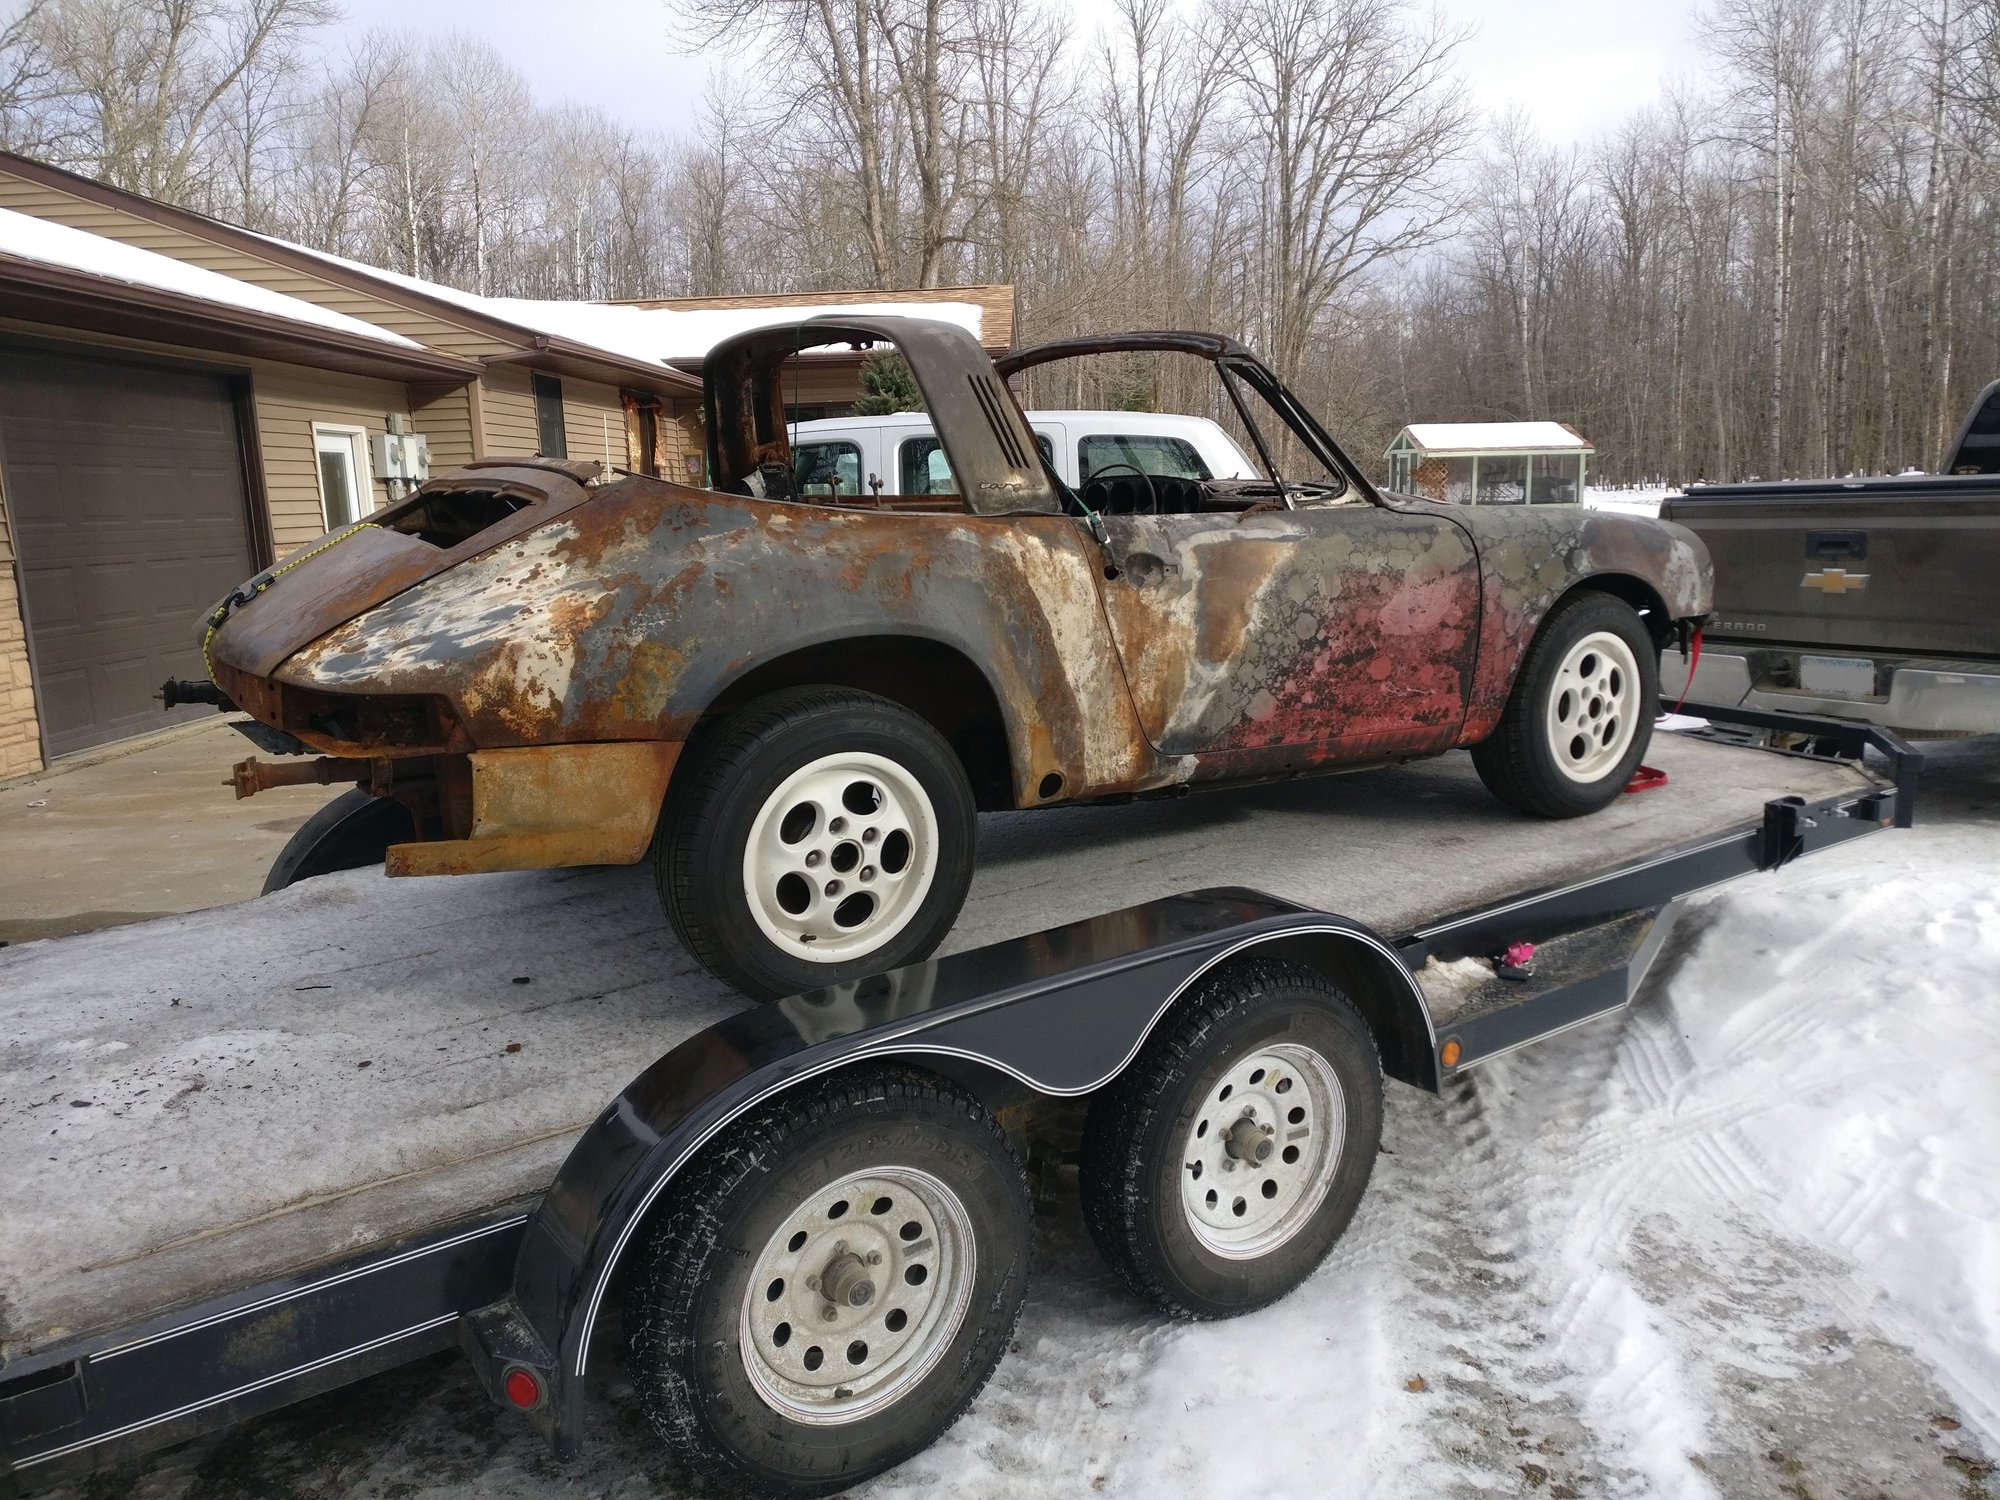
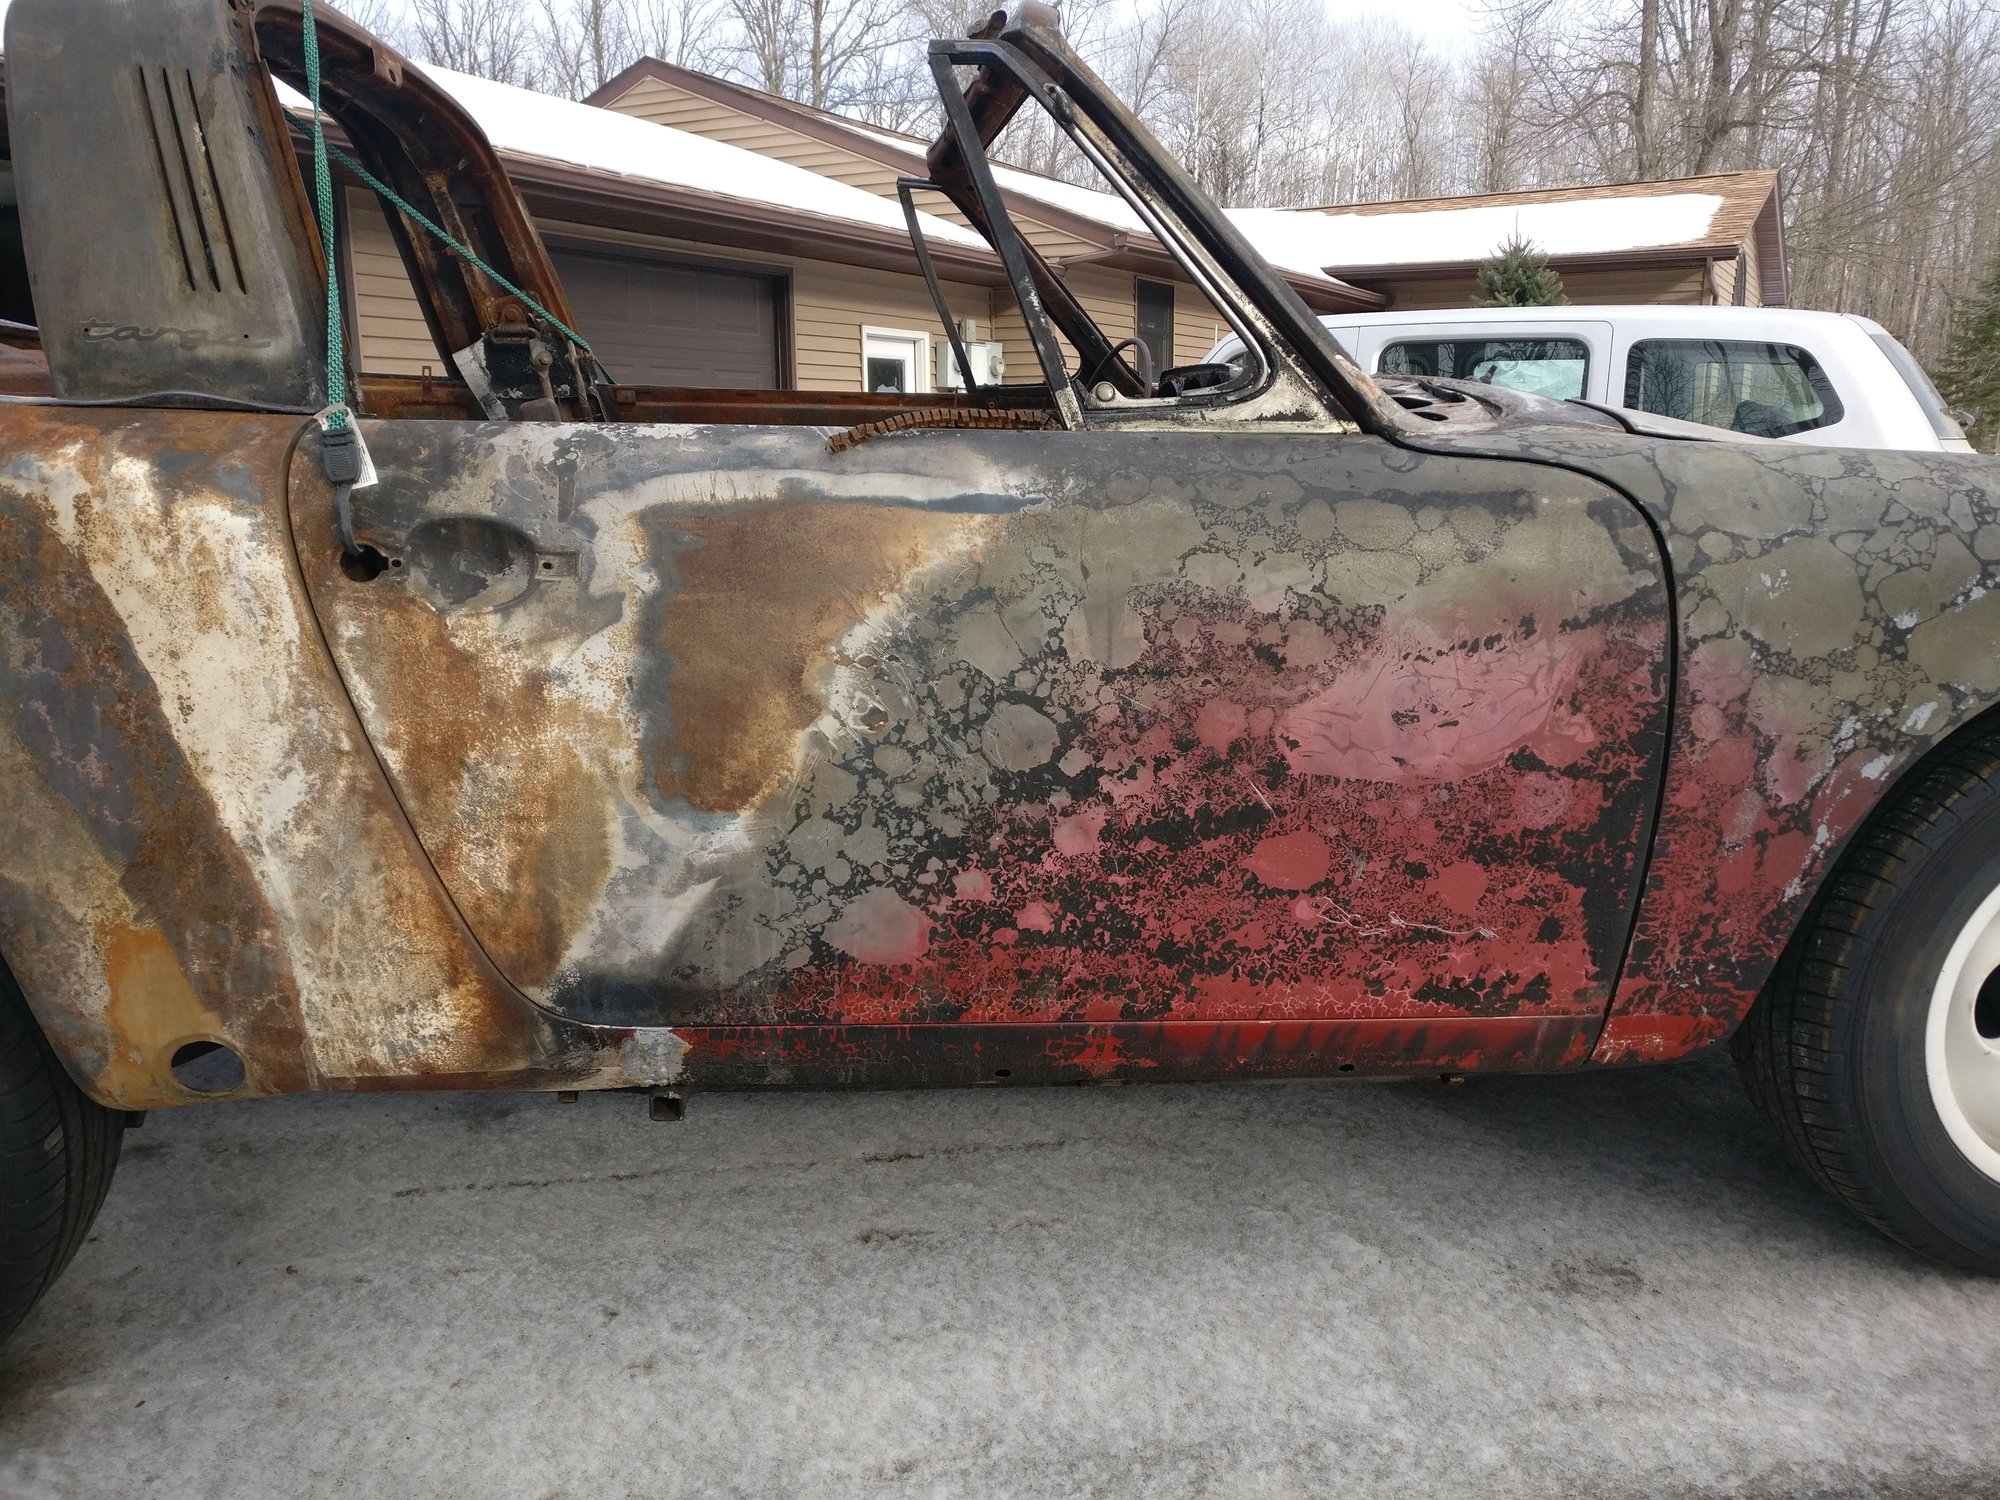
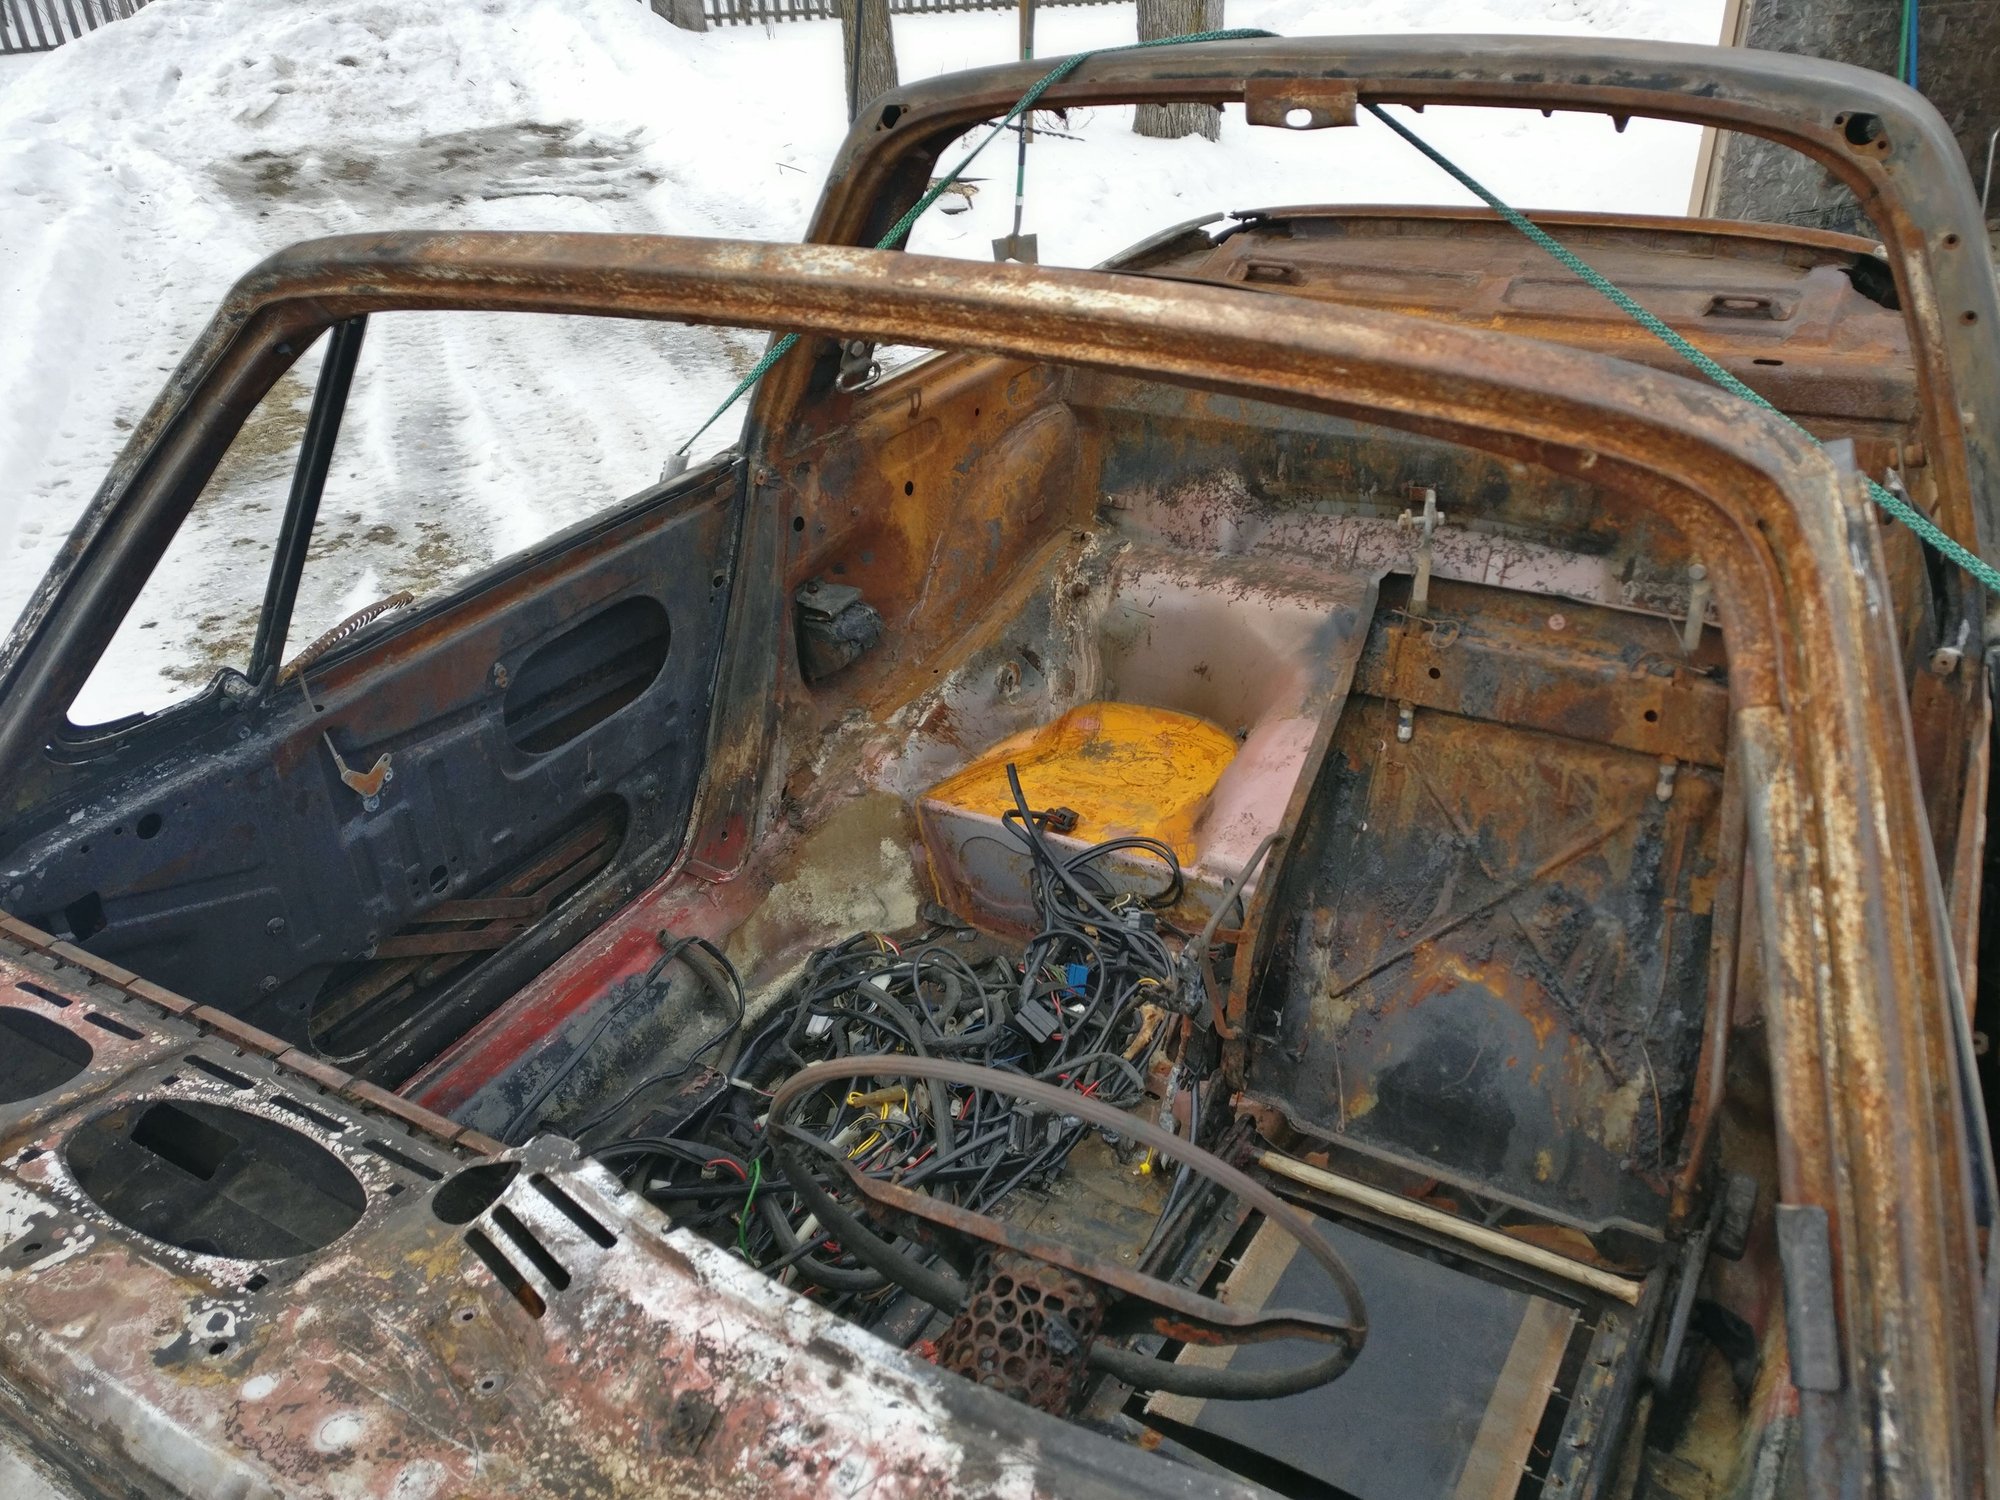
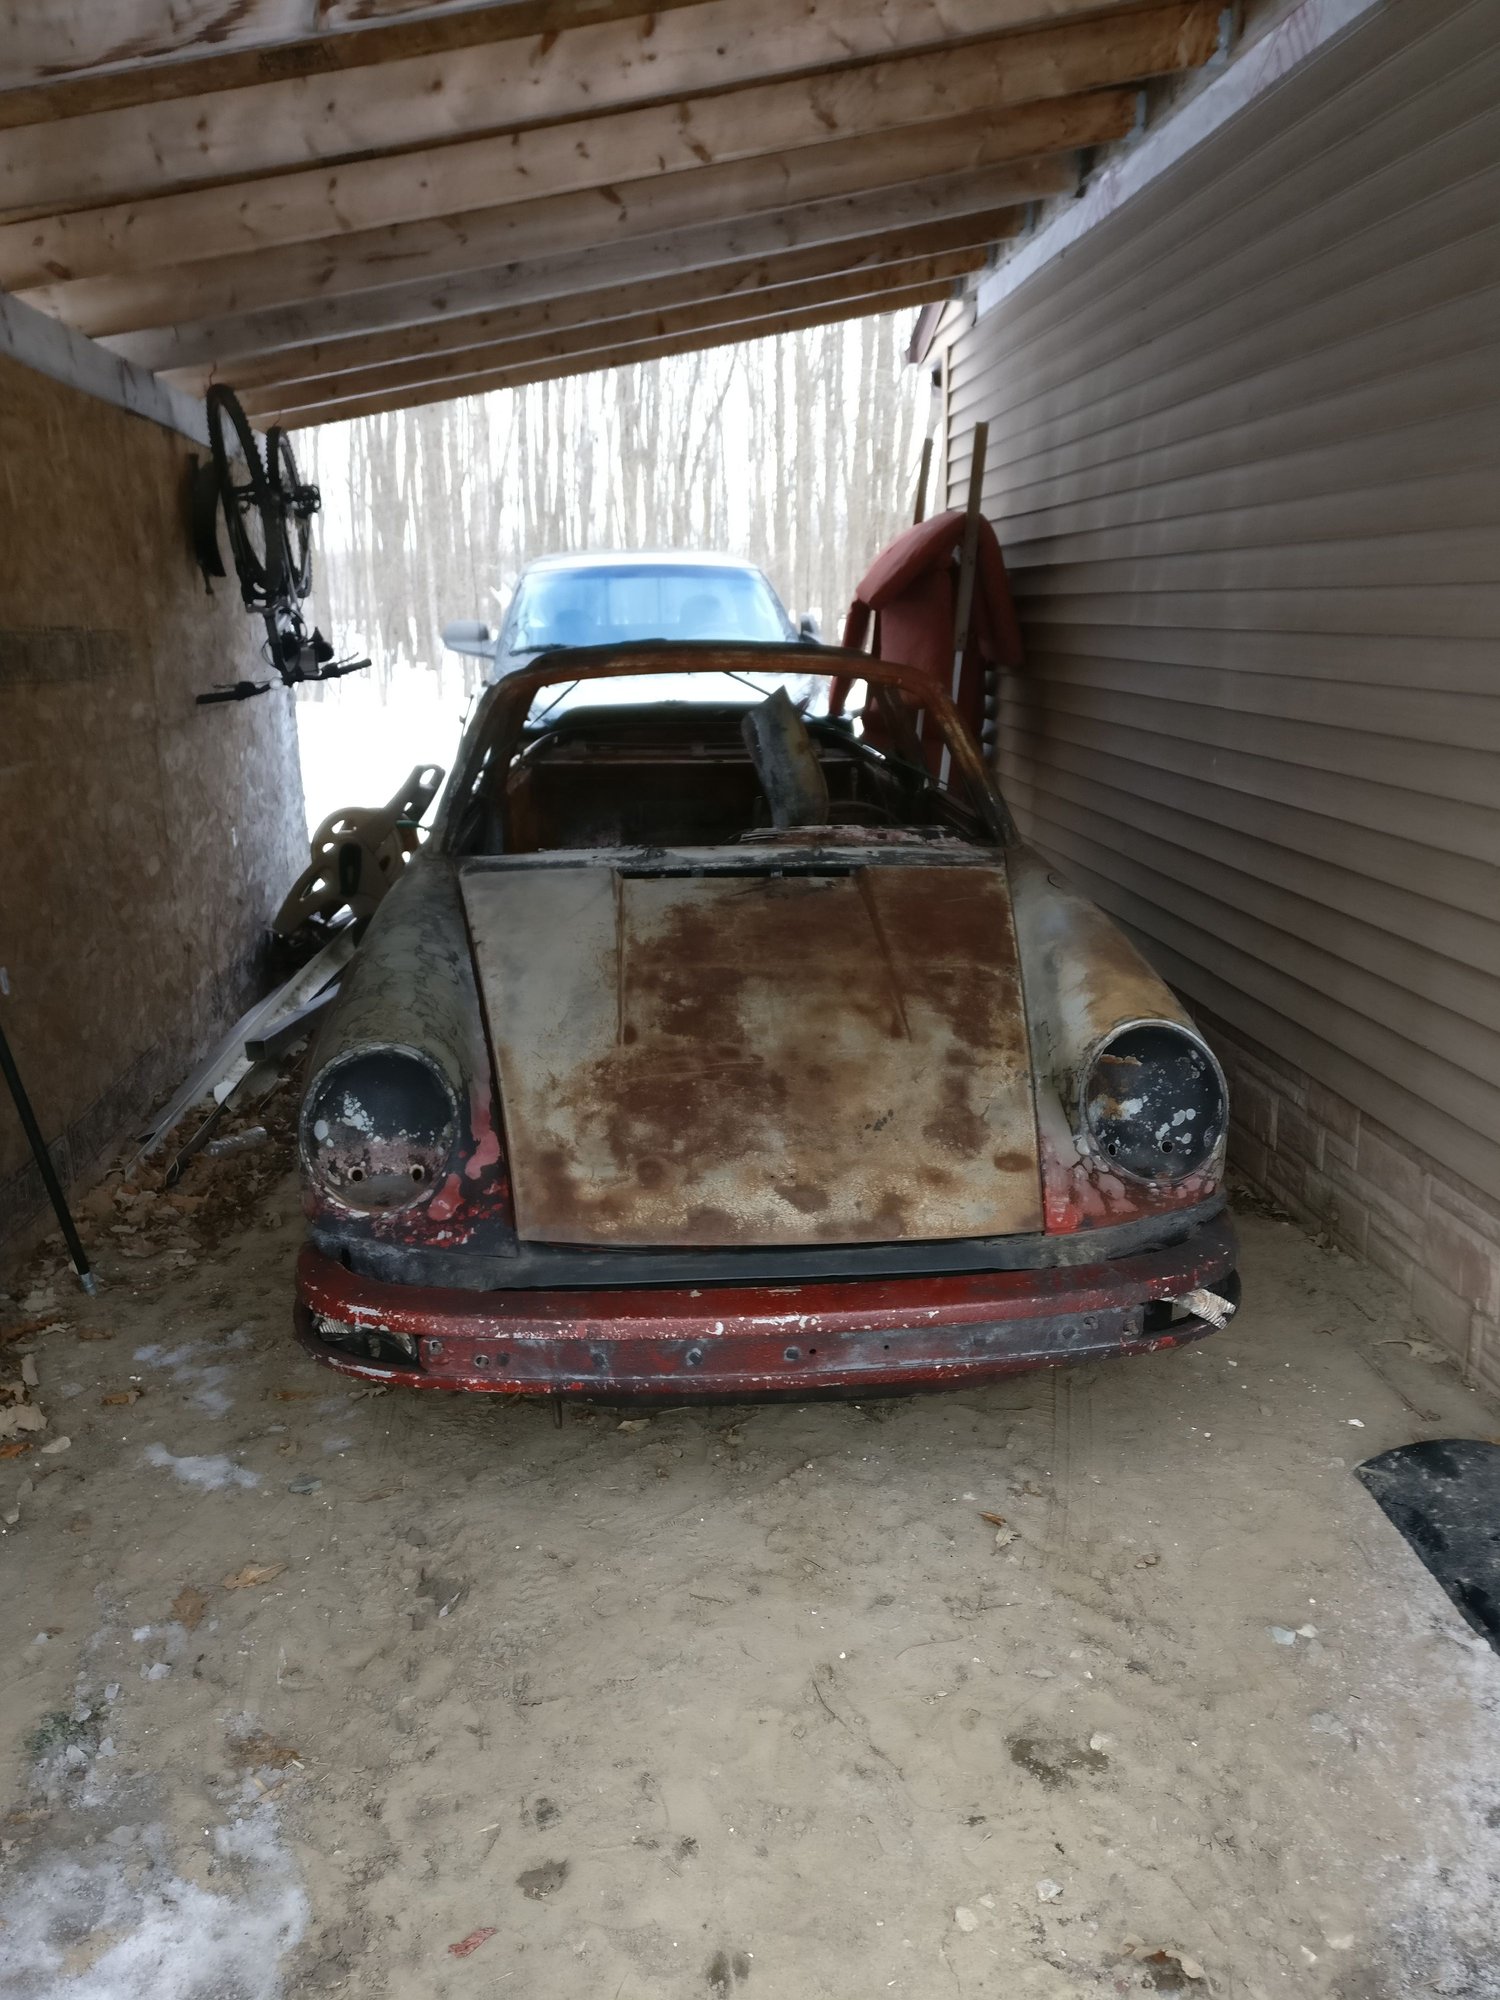
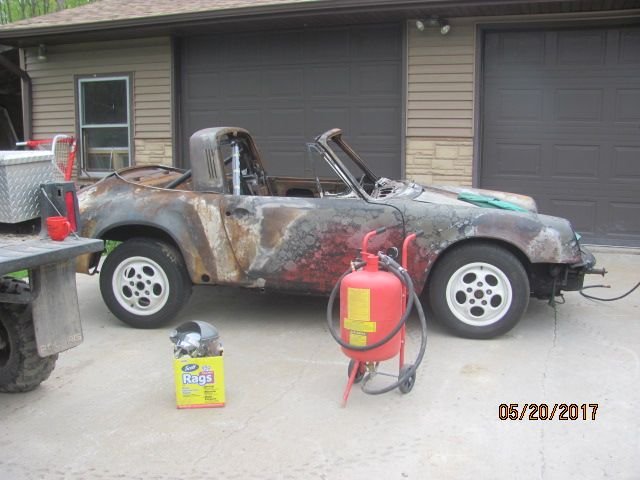
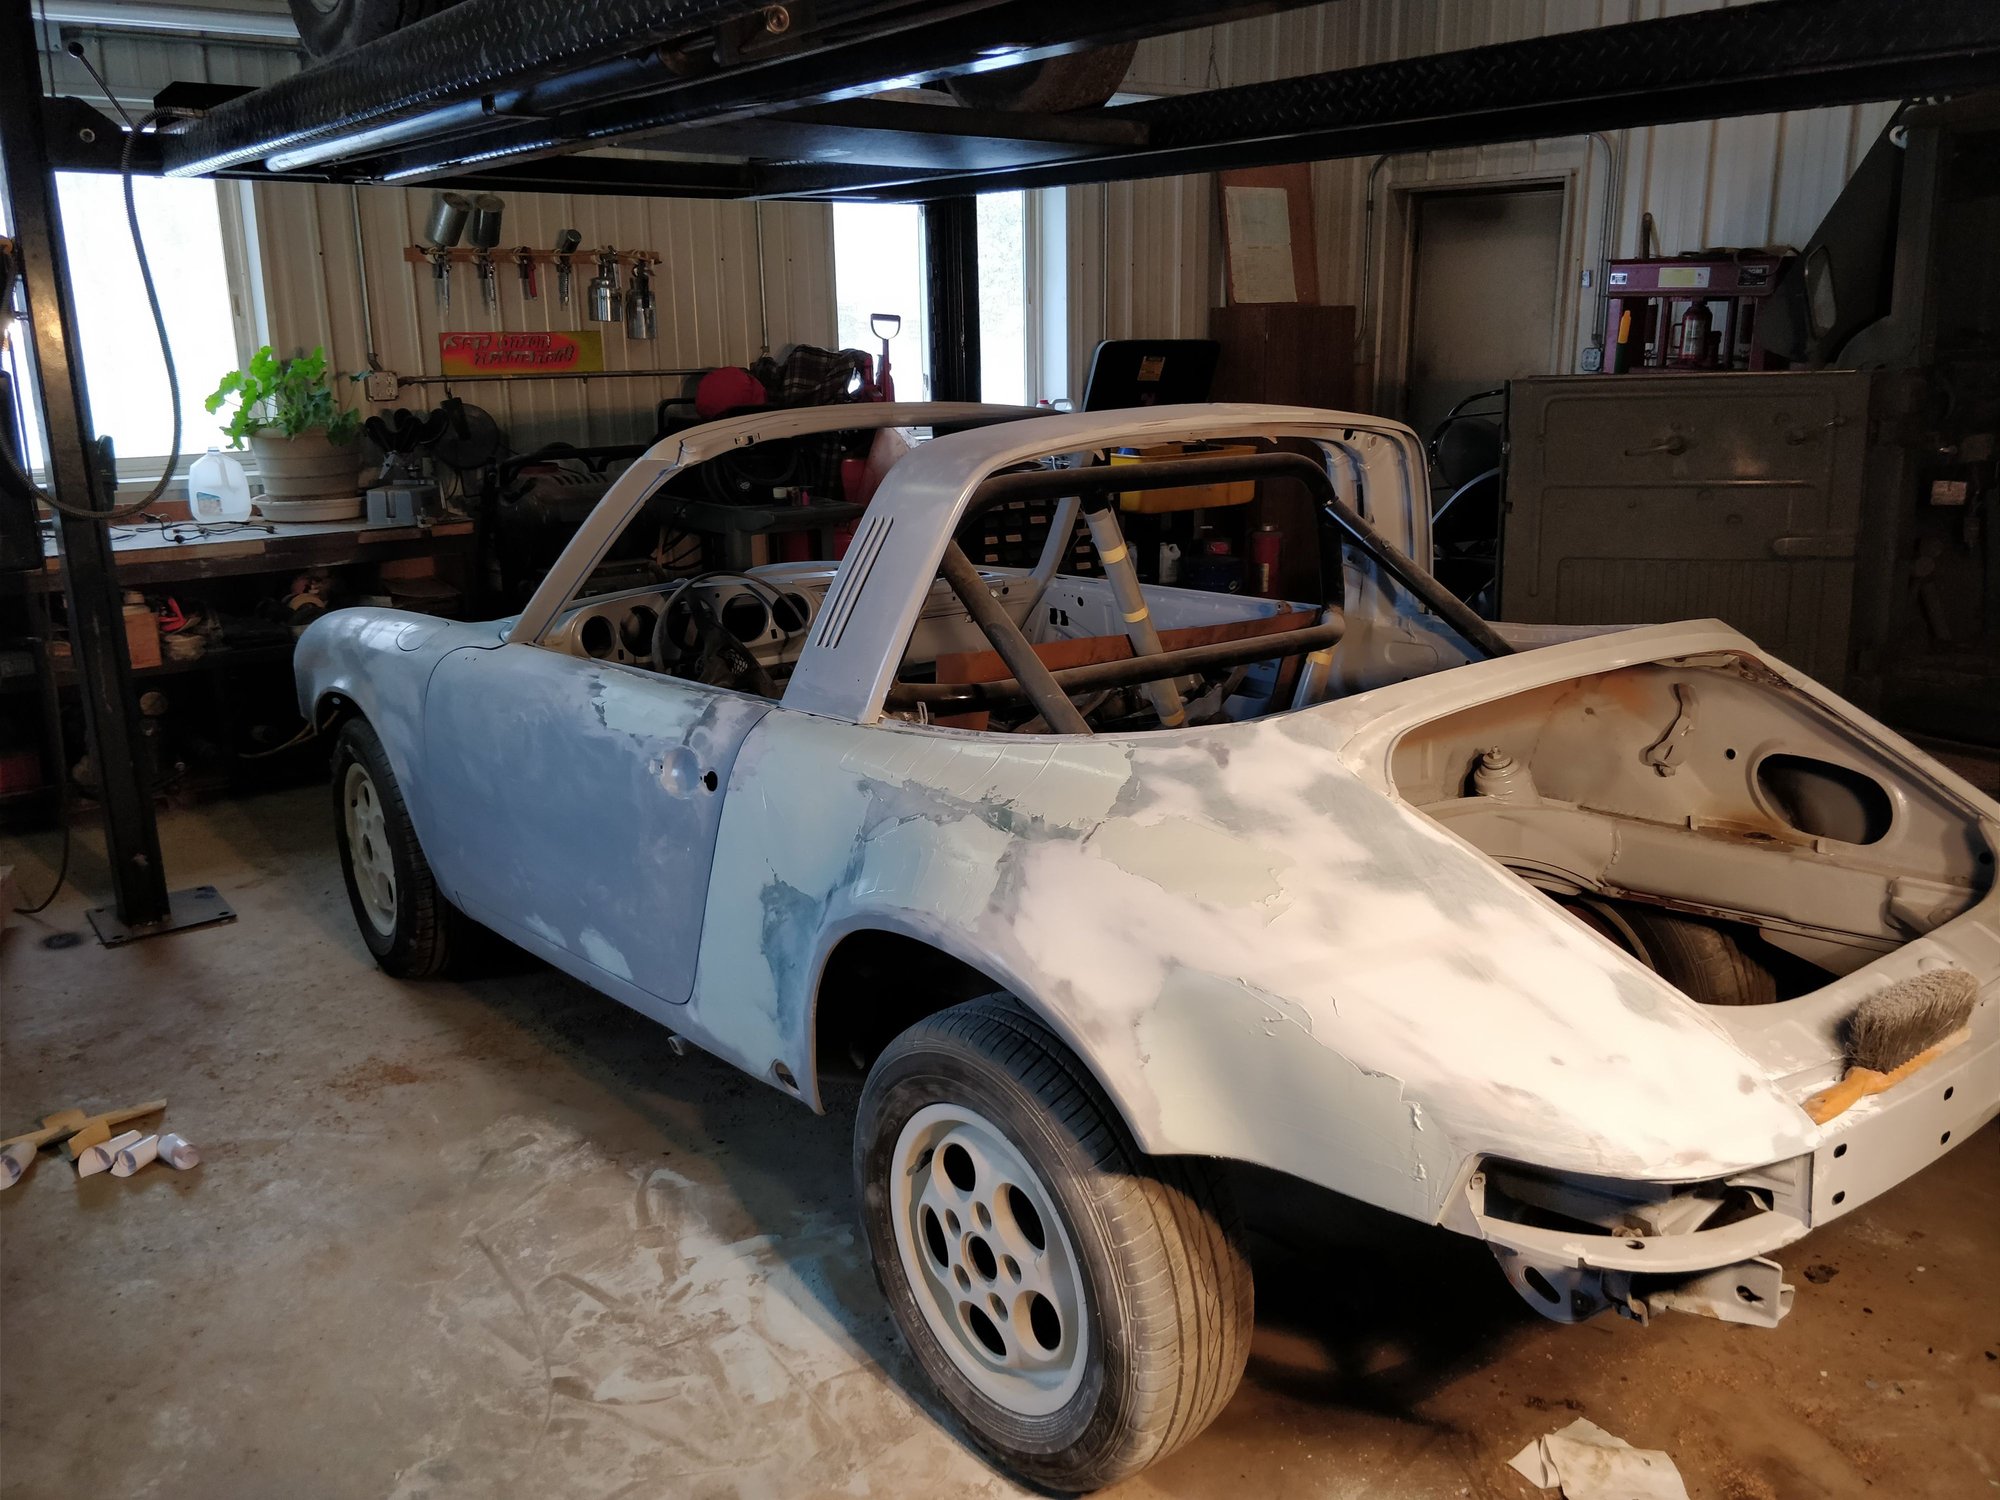
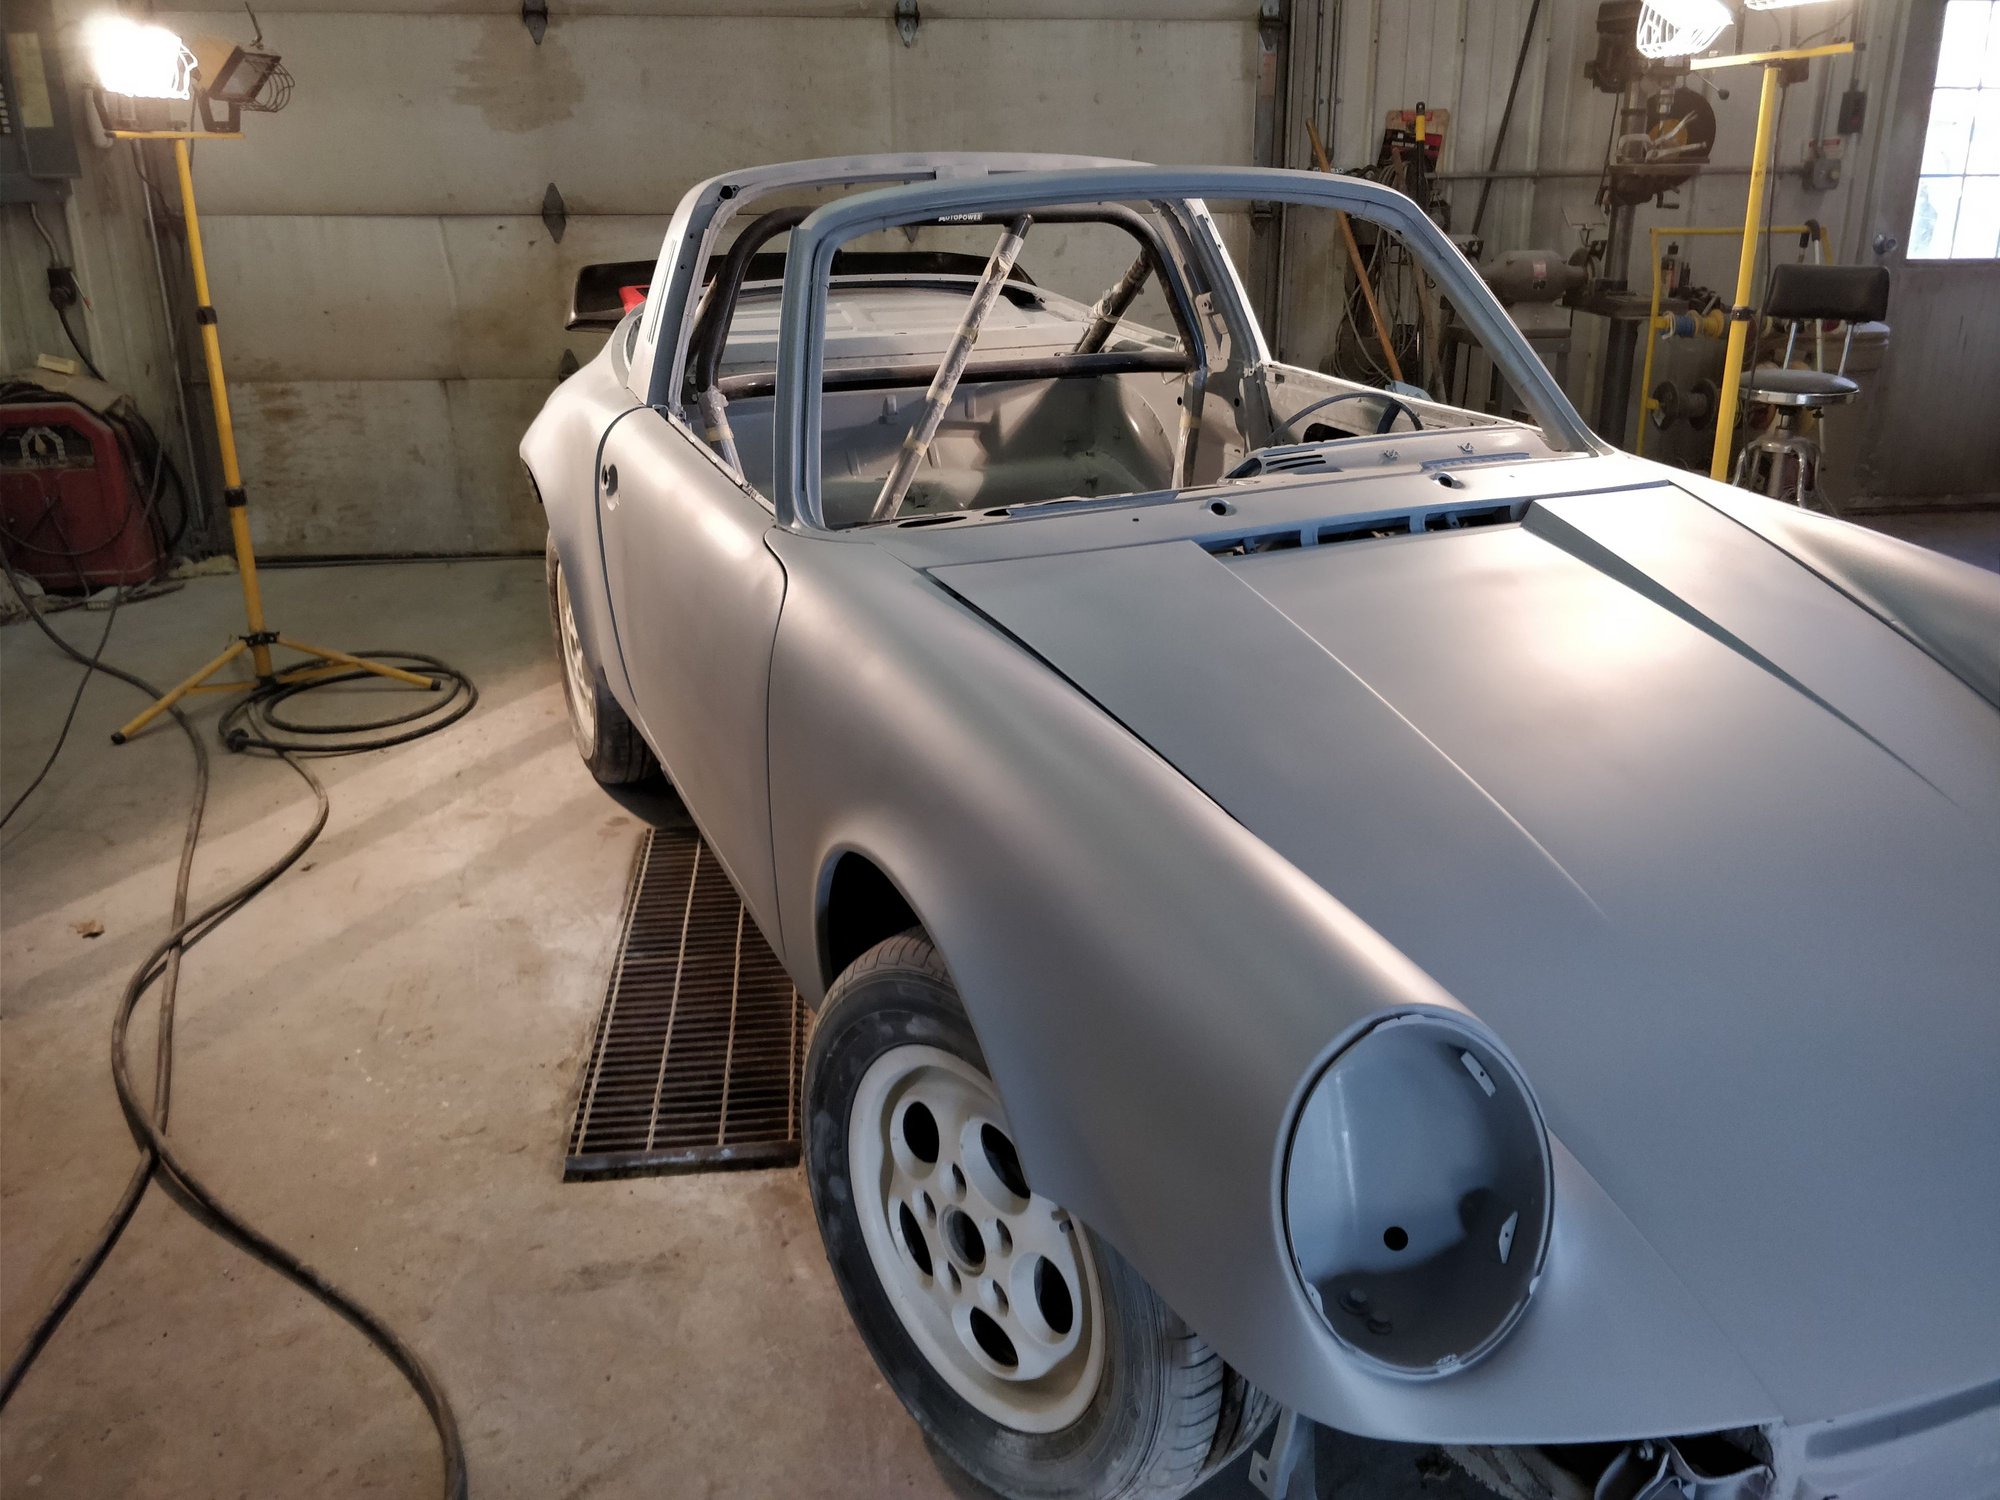
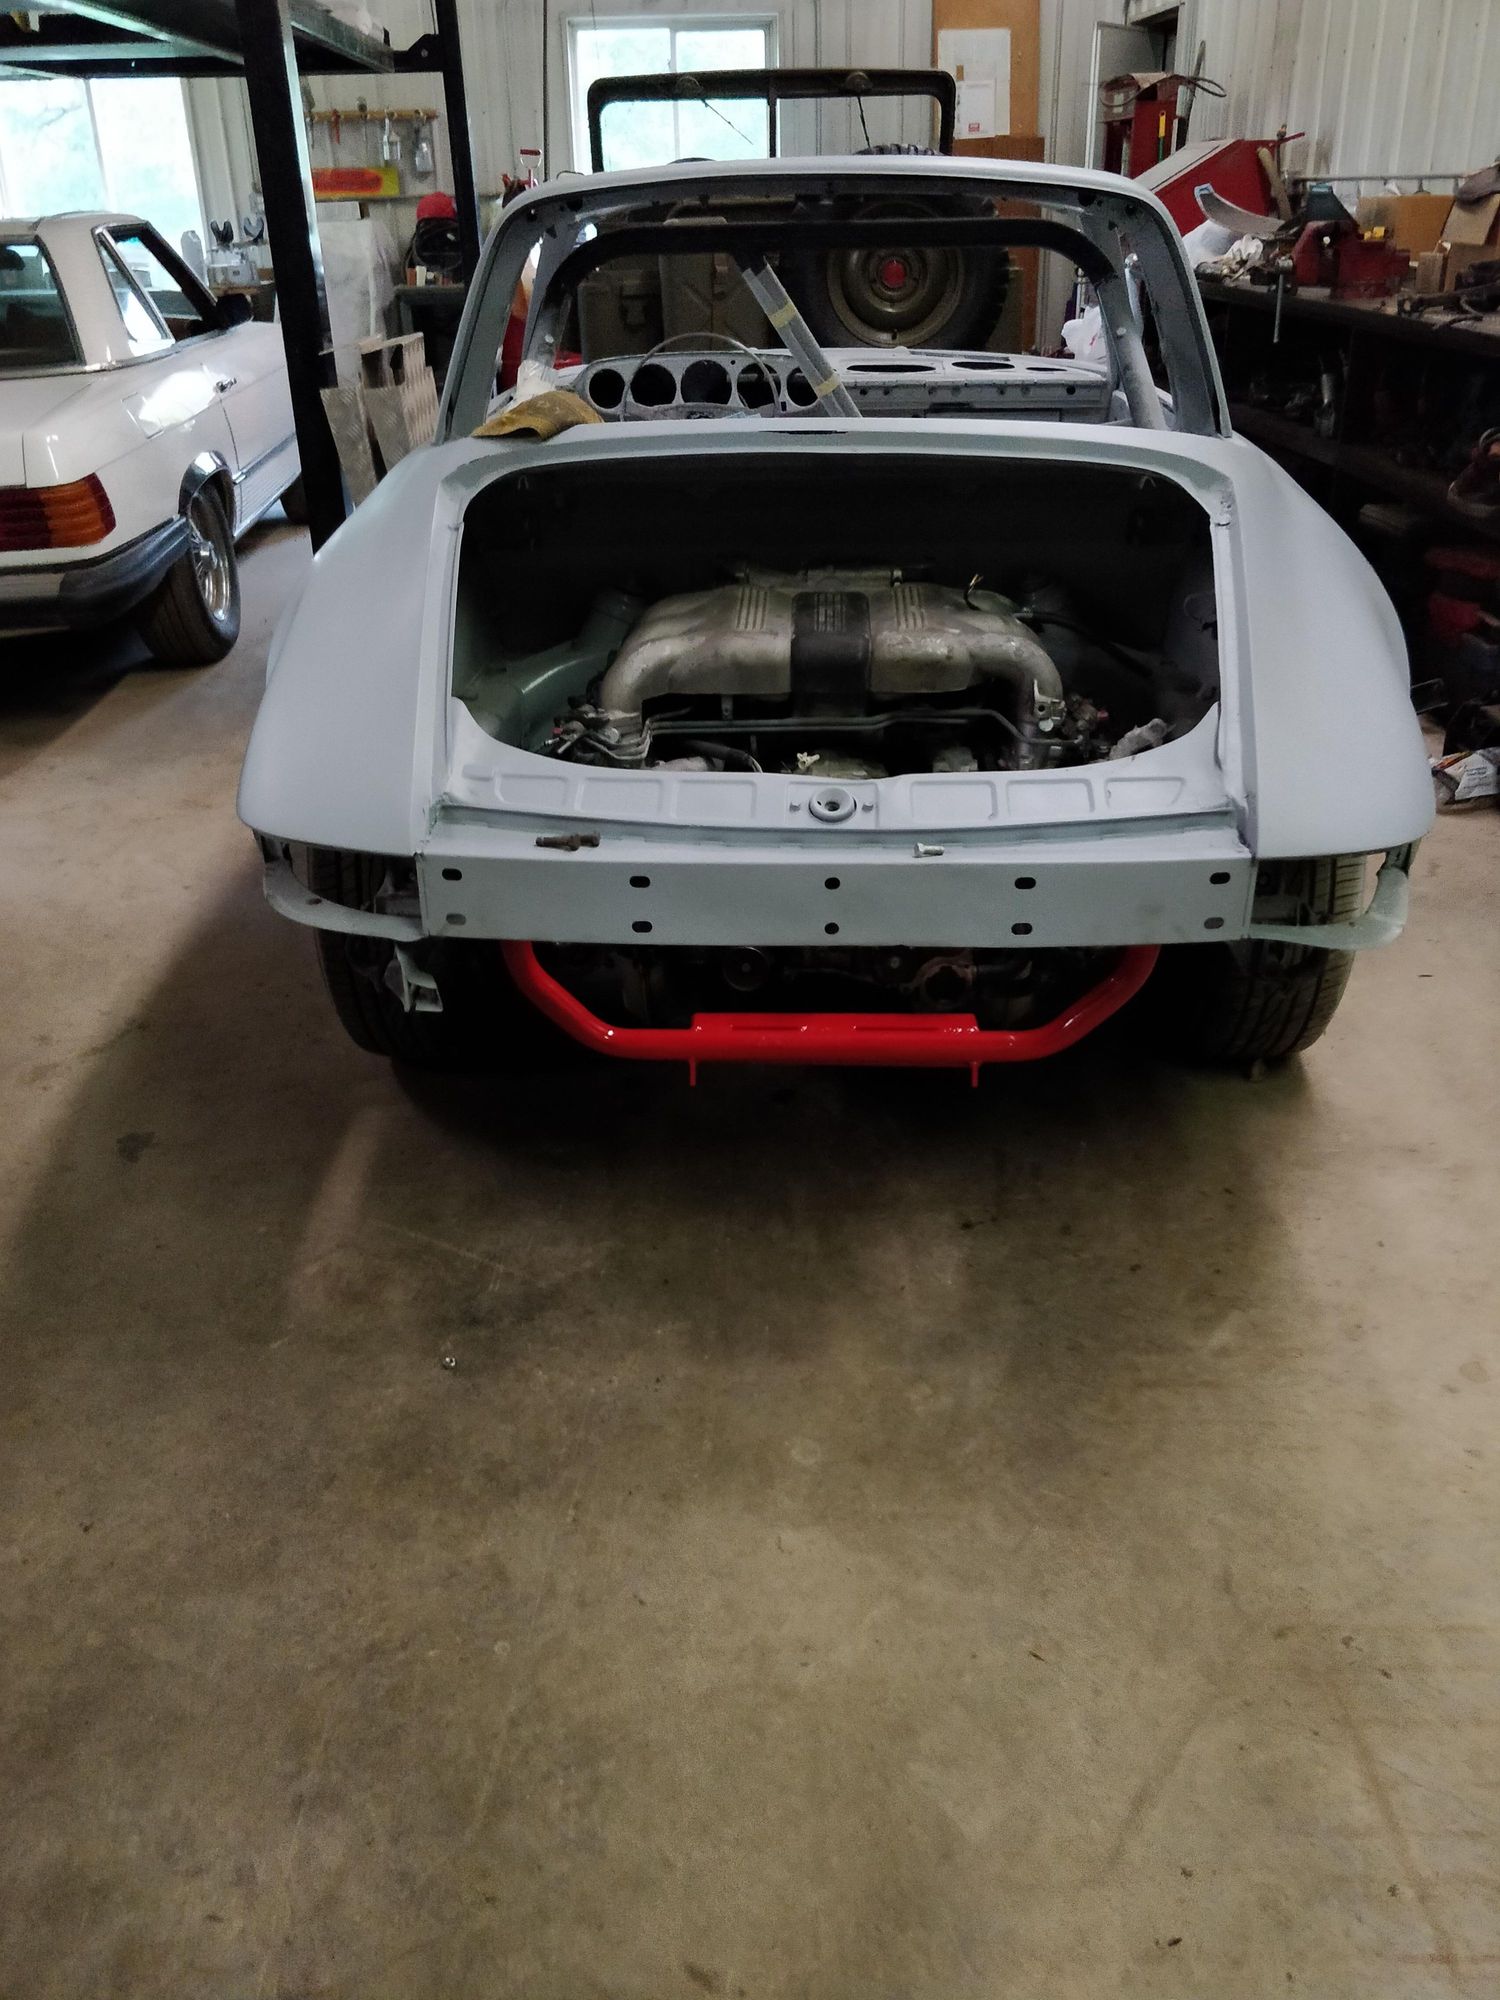
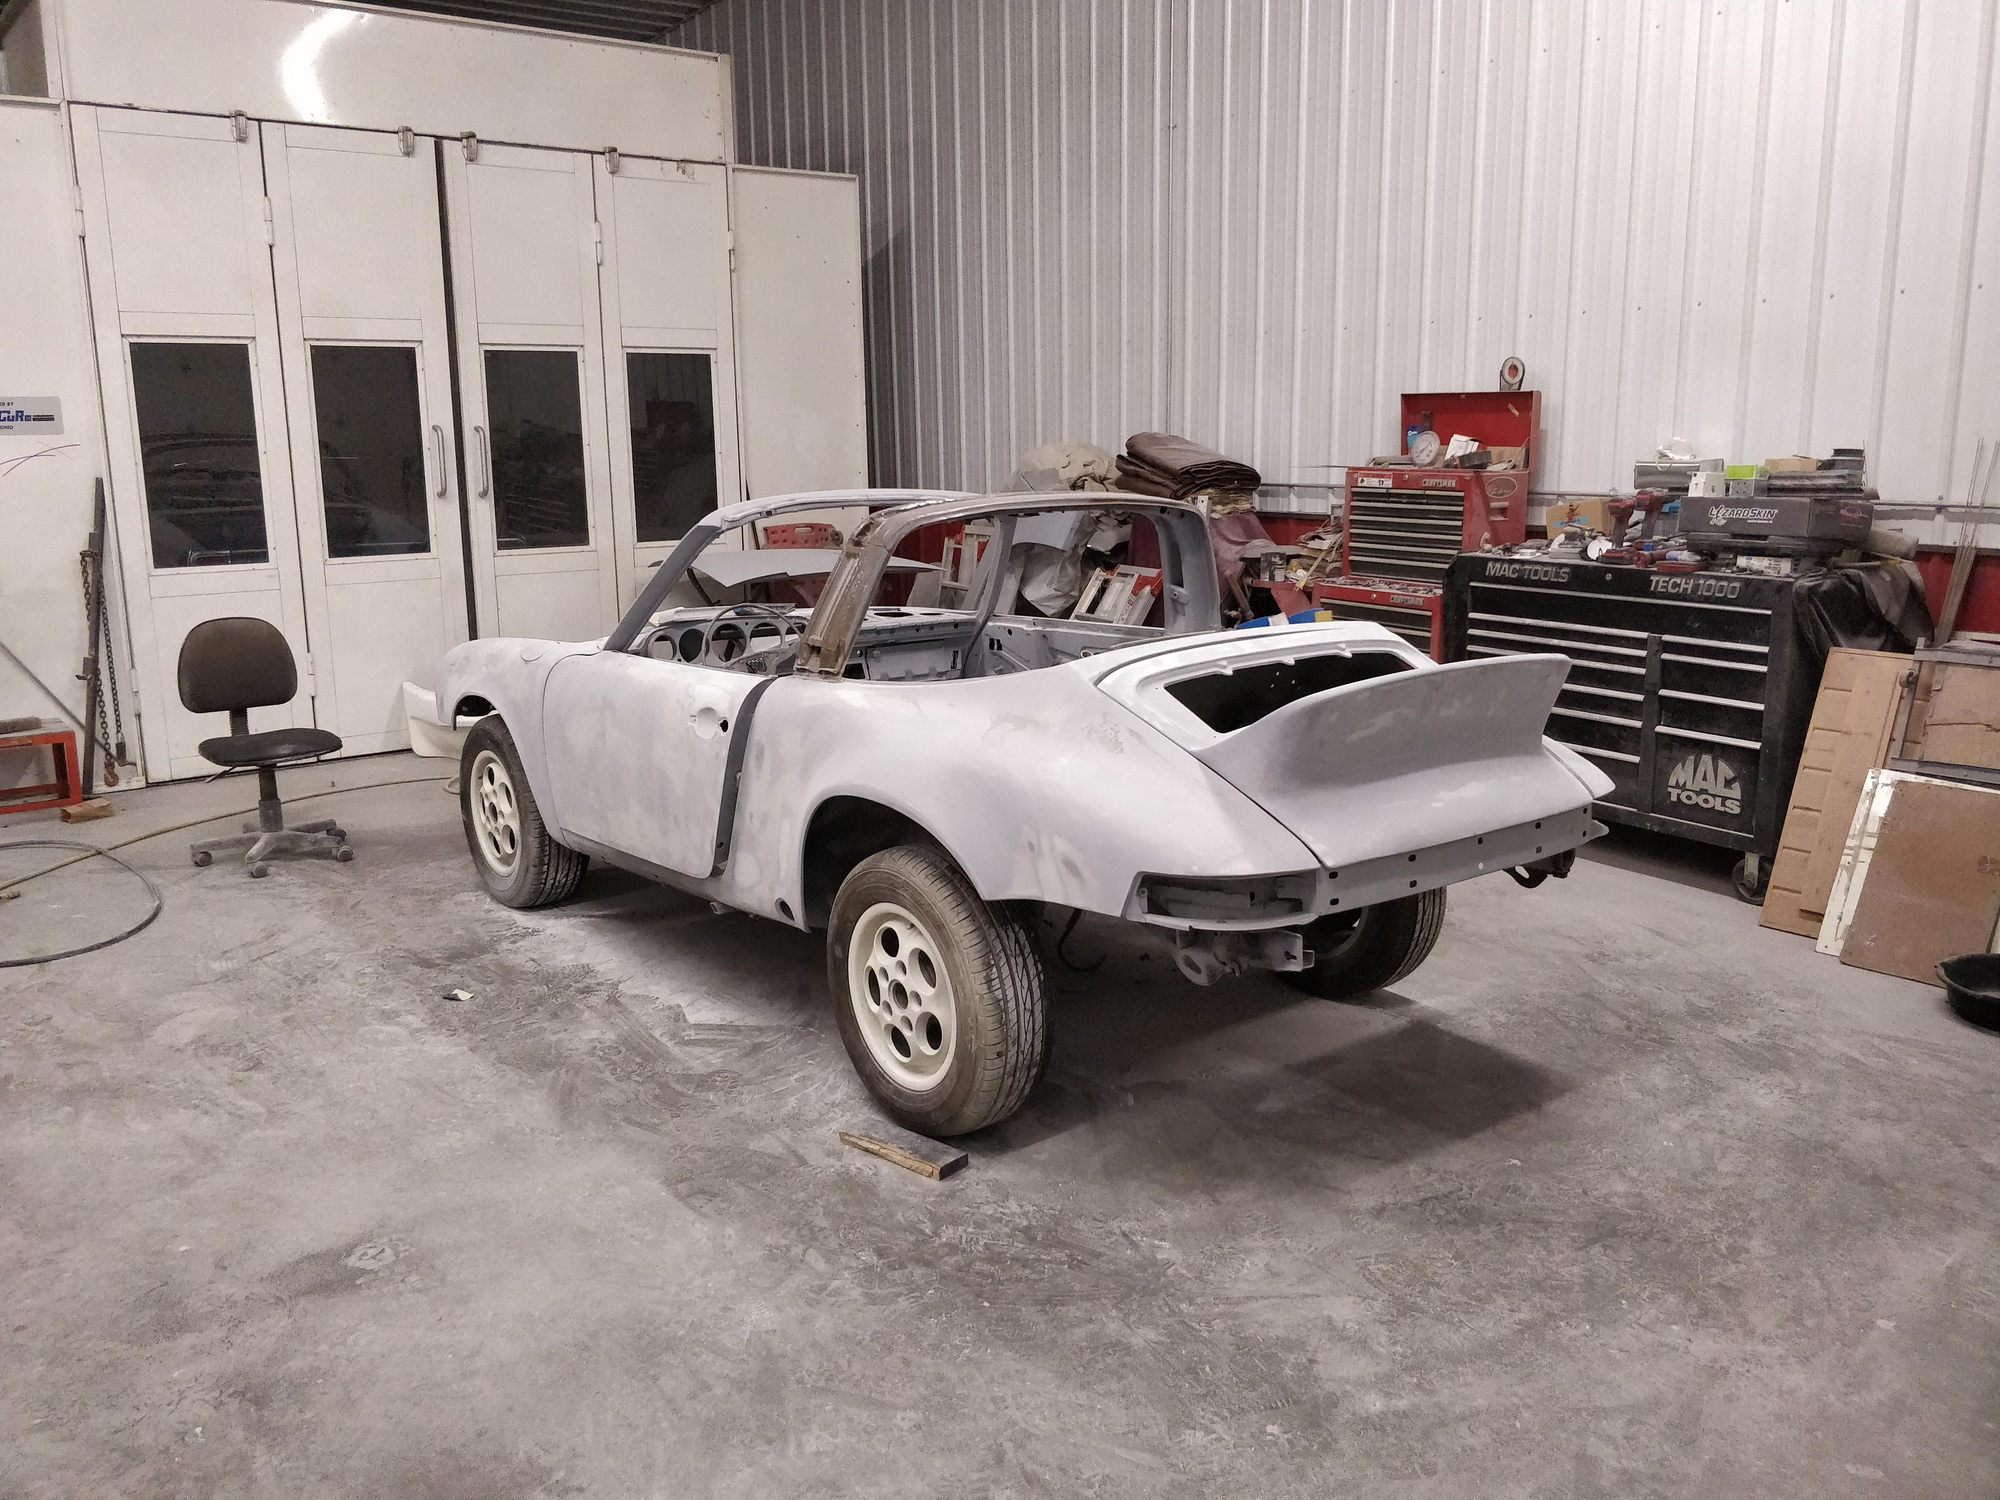
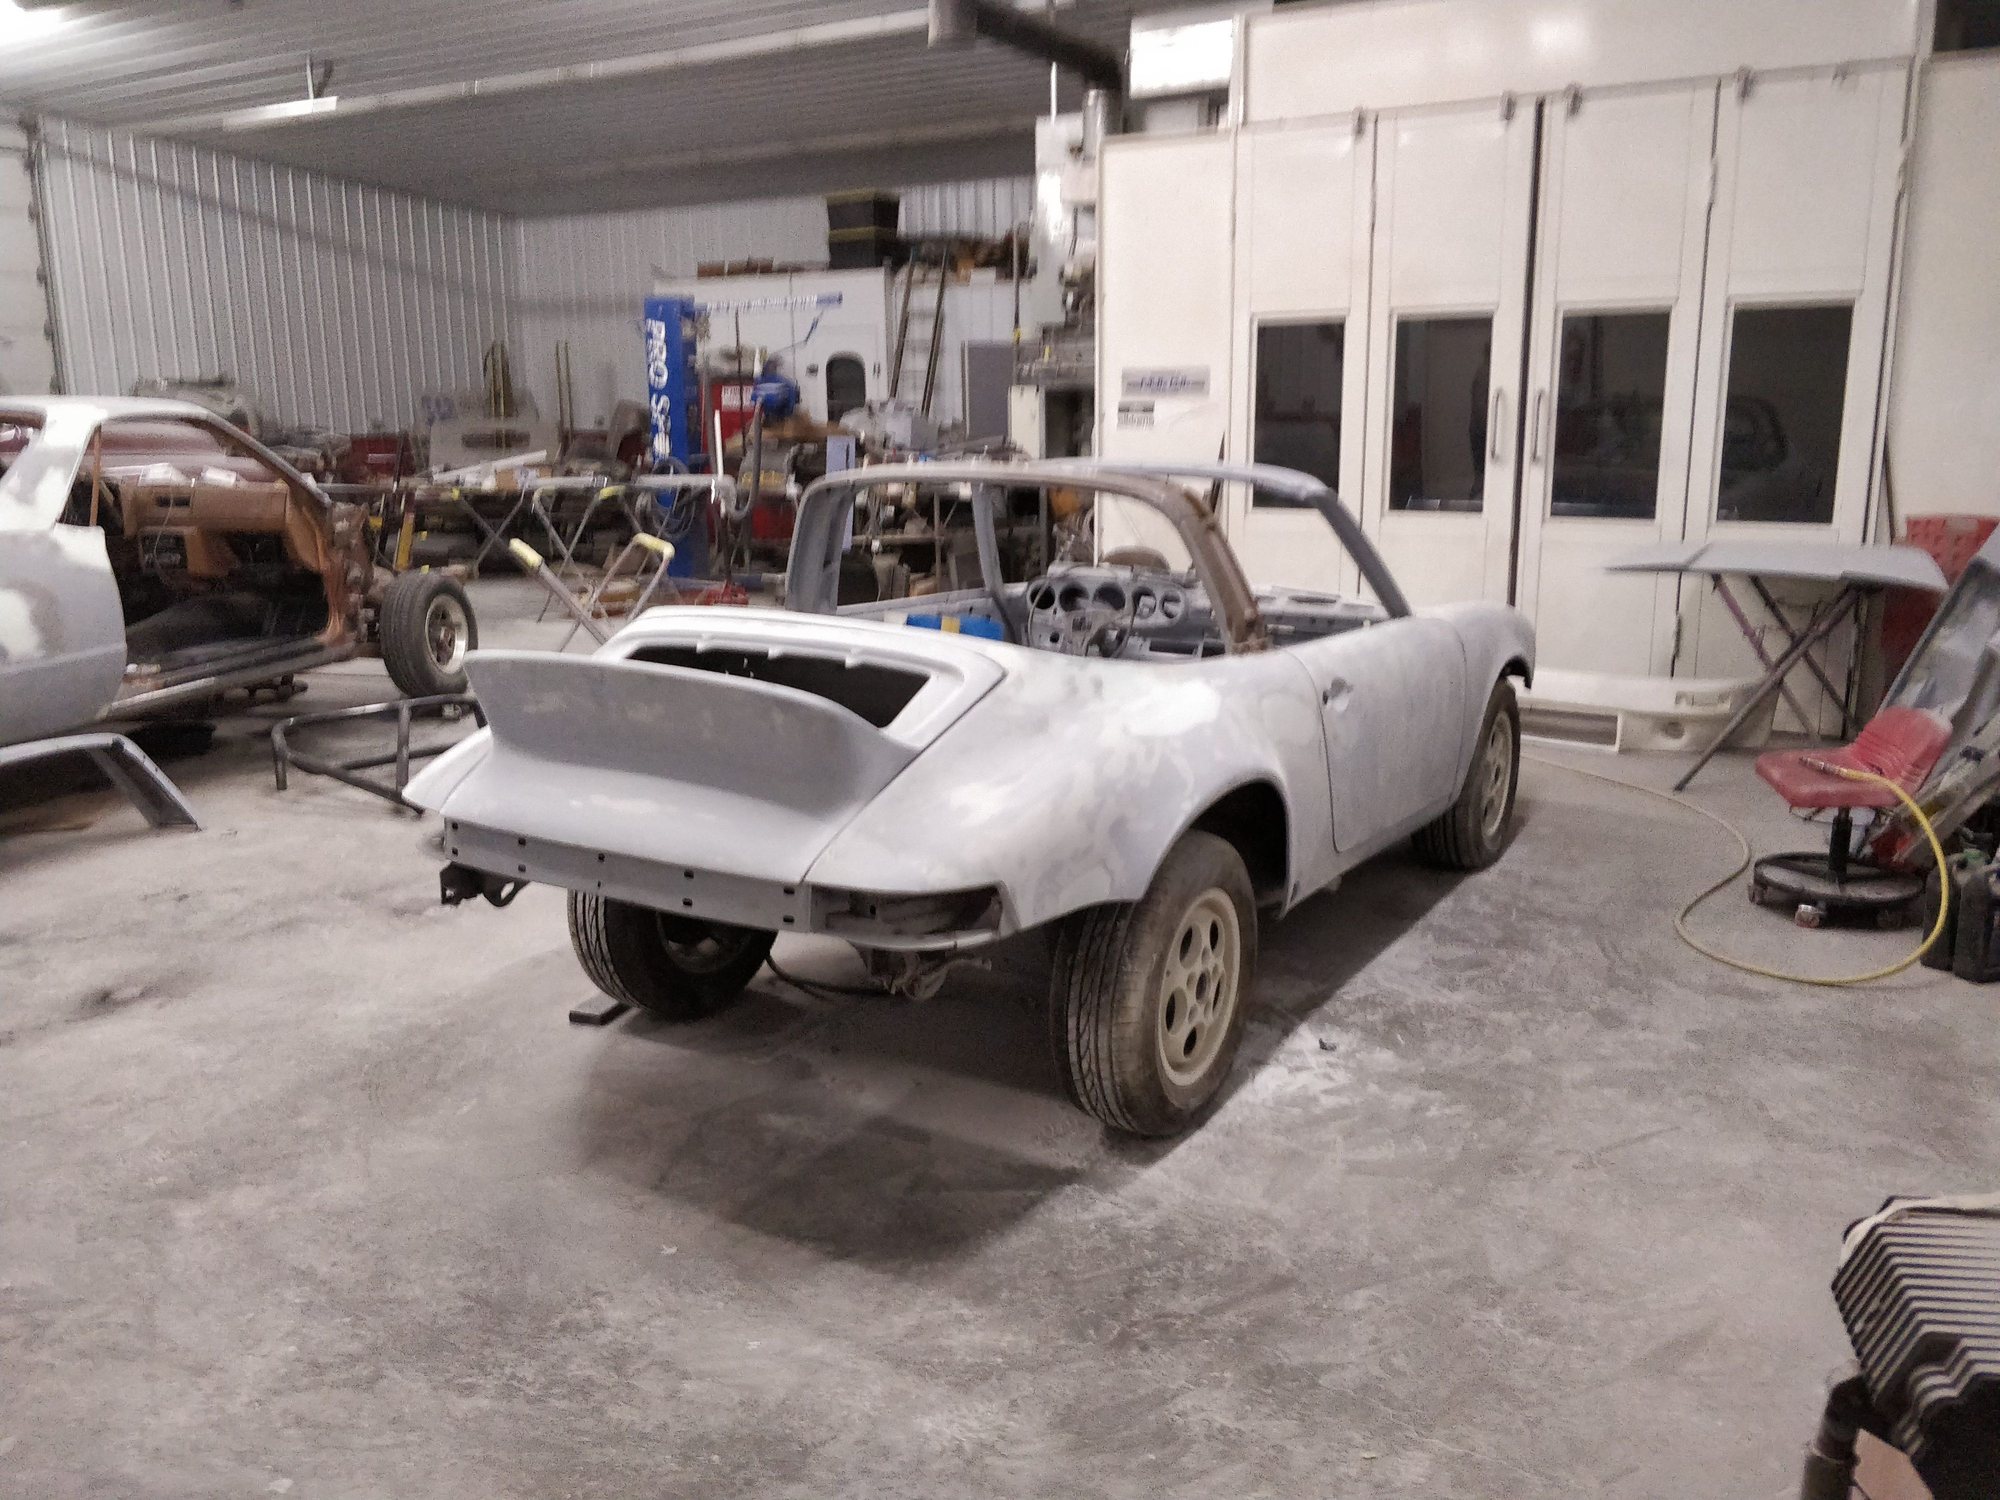
I picked up this 1975 911 Targa in early 2017 and have been on a journey to get her back on the road and learn as much about building 911's in the process. The car has clearly been in a bad fire but the bones are exceptionally solid, but rough in certain areas. What you see in the first few photos is all I was able to buy so really starting from scratch (no engine, no trans, no brakes, etc). I like to think that I saved it from the scrap heap so don't feel too bad about making a bare-bones outlaw style build or even putting in a non-porsche engine.
Since starting this project I have moved to southern California for grad school (car is at the family shop in Minnesota) which means amazing access to used parts, but also limits my ability to work to just a few holiday breaks.
Hope you enjoy!
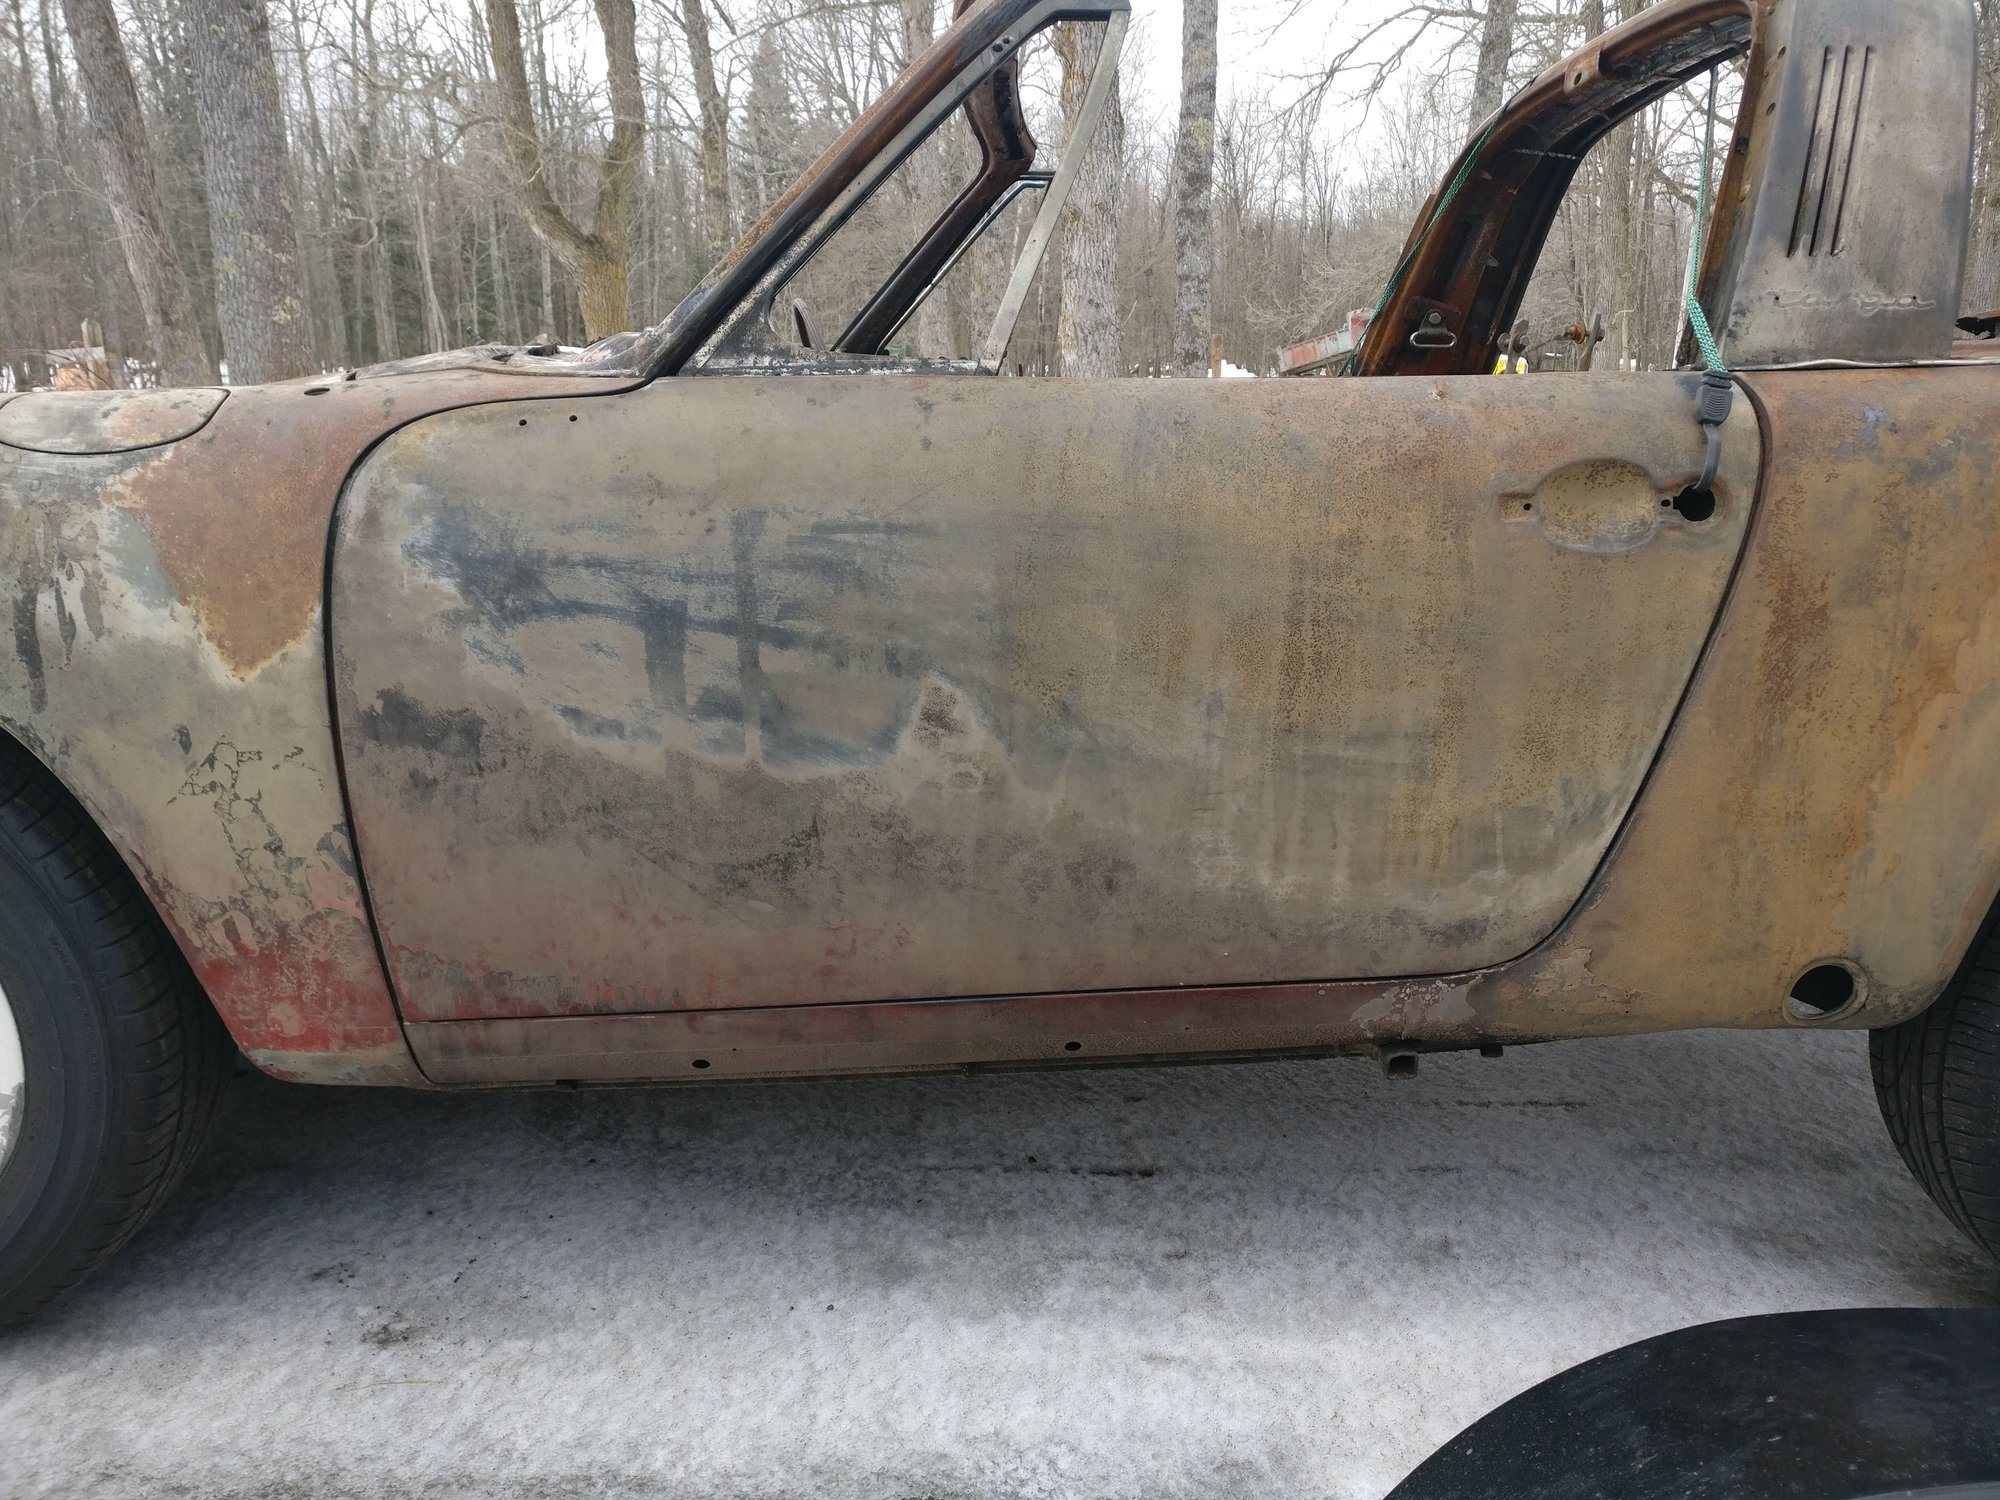
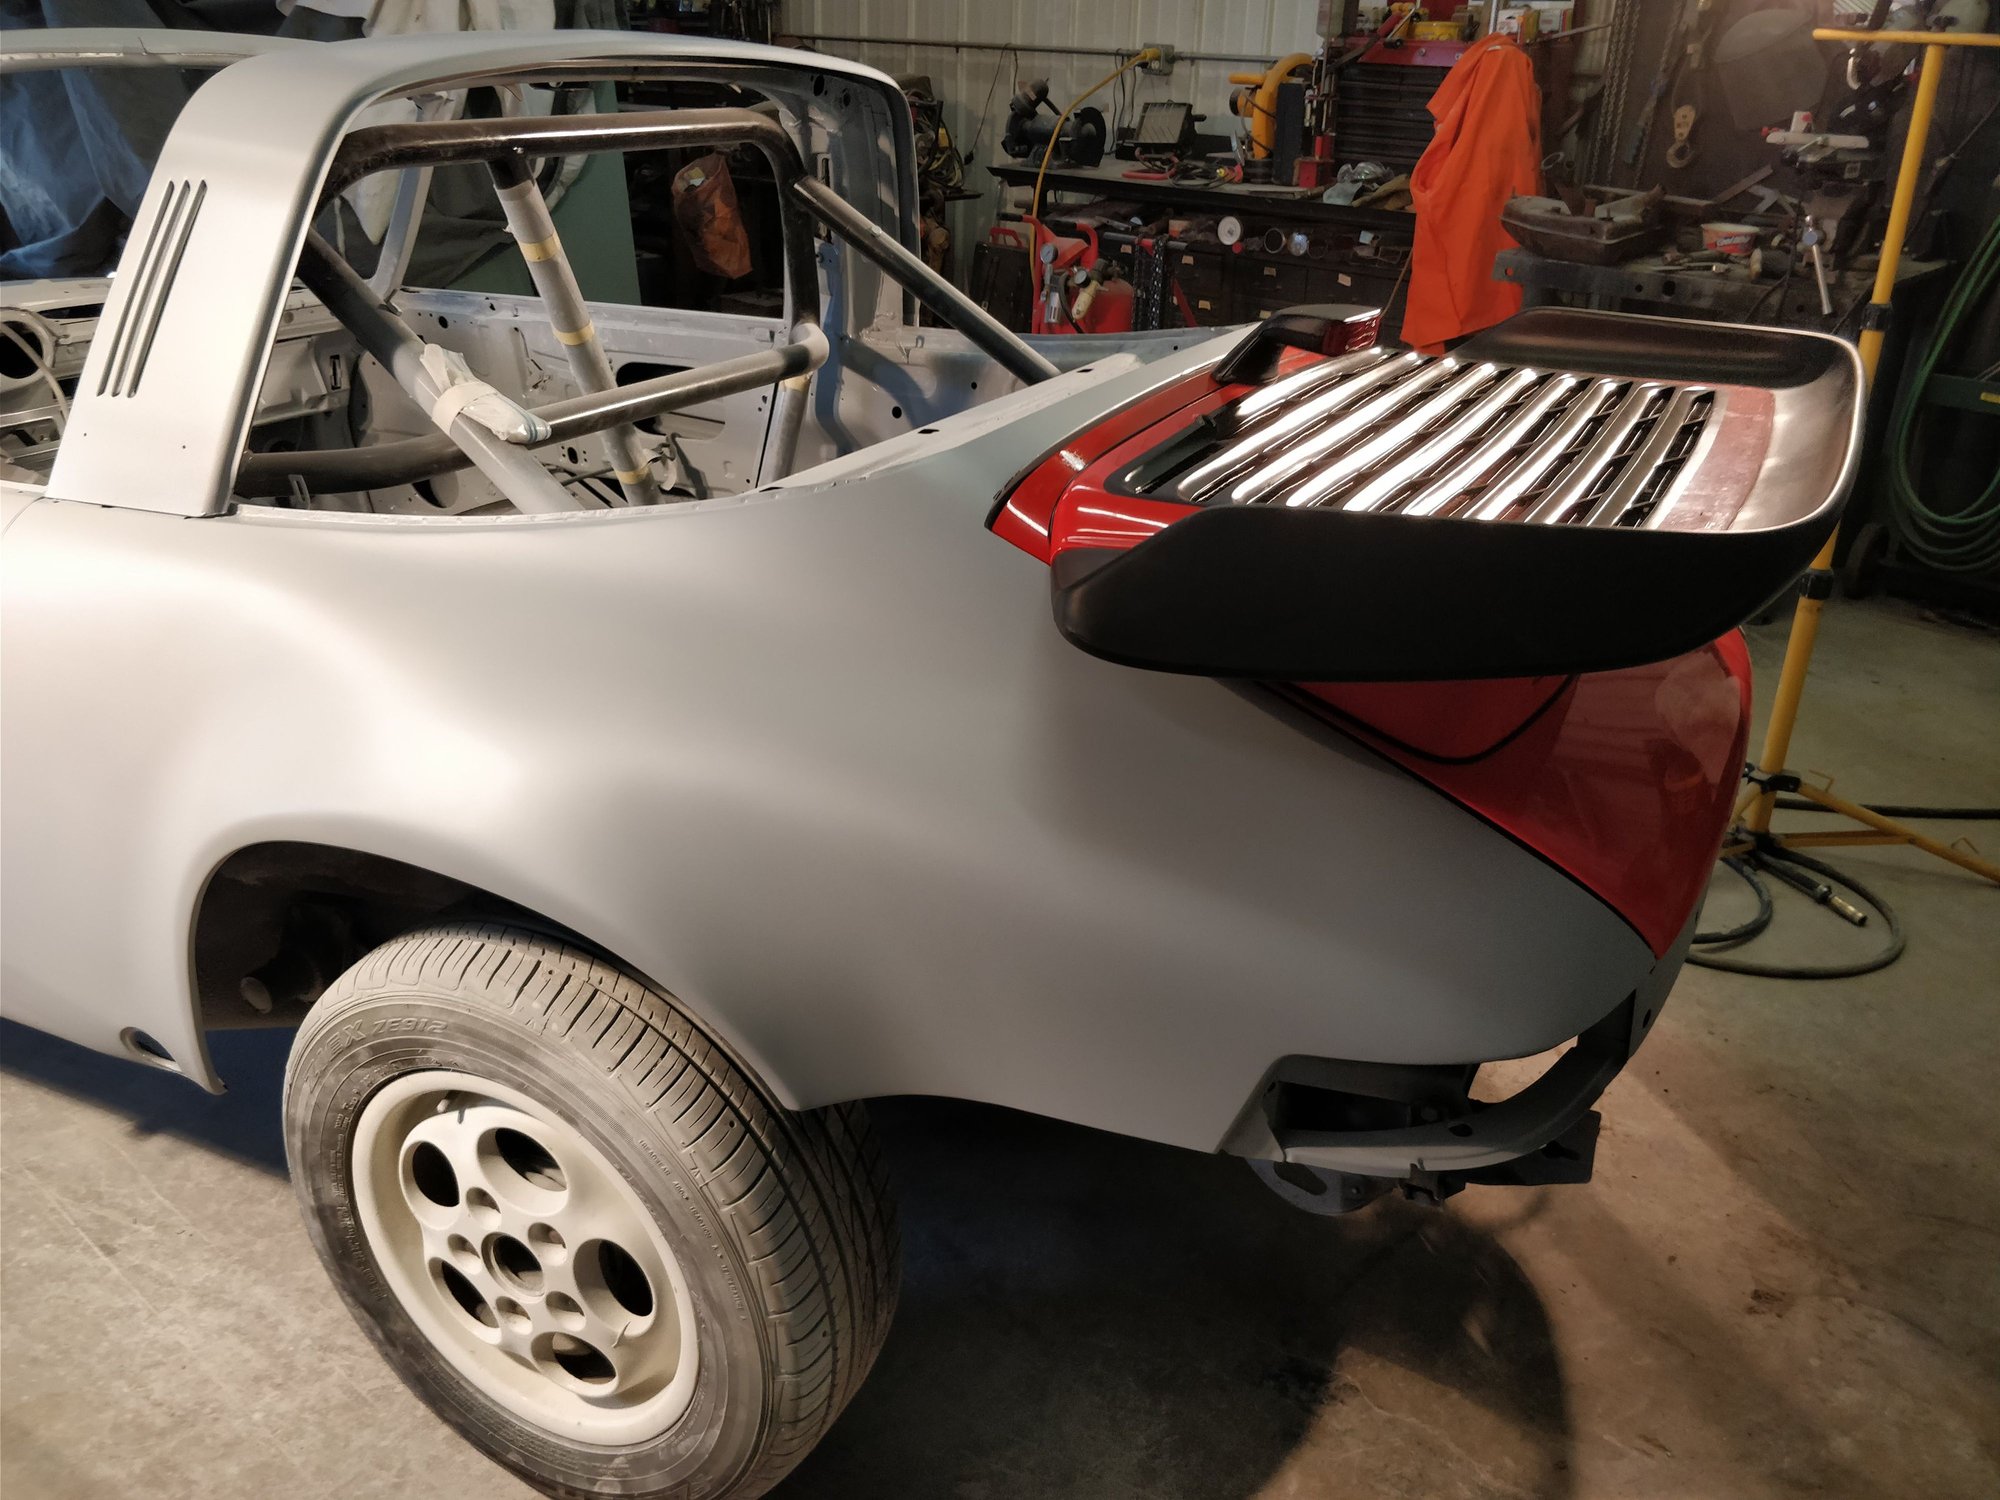
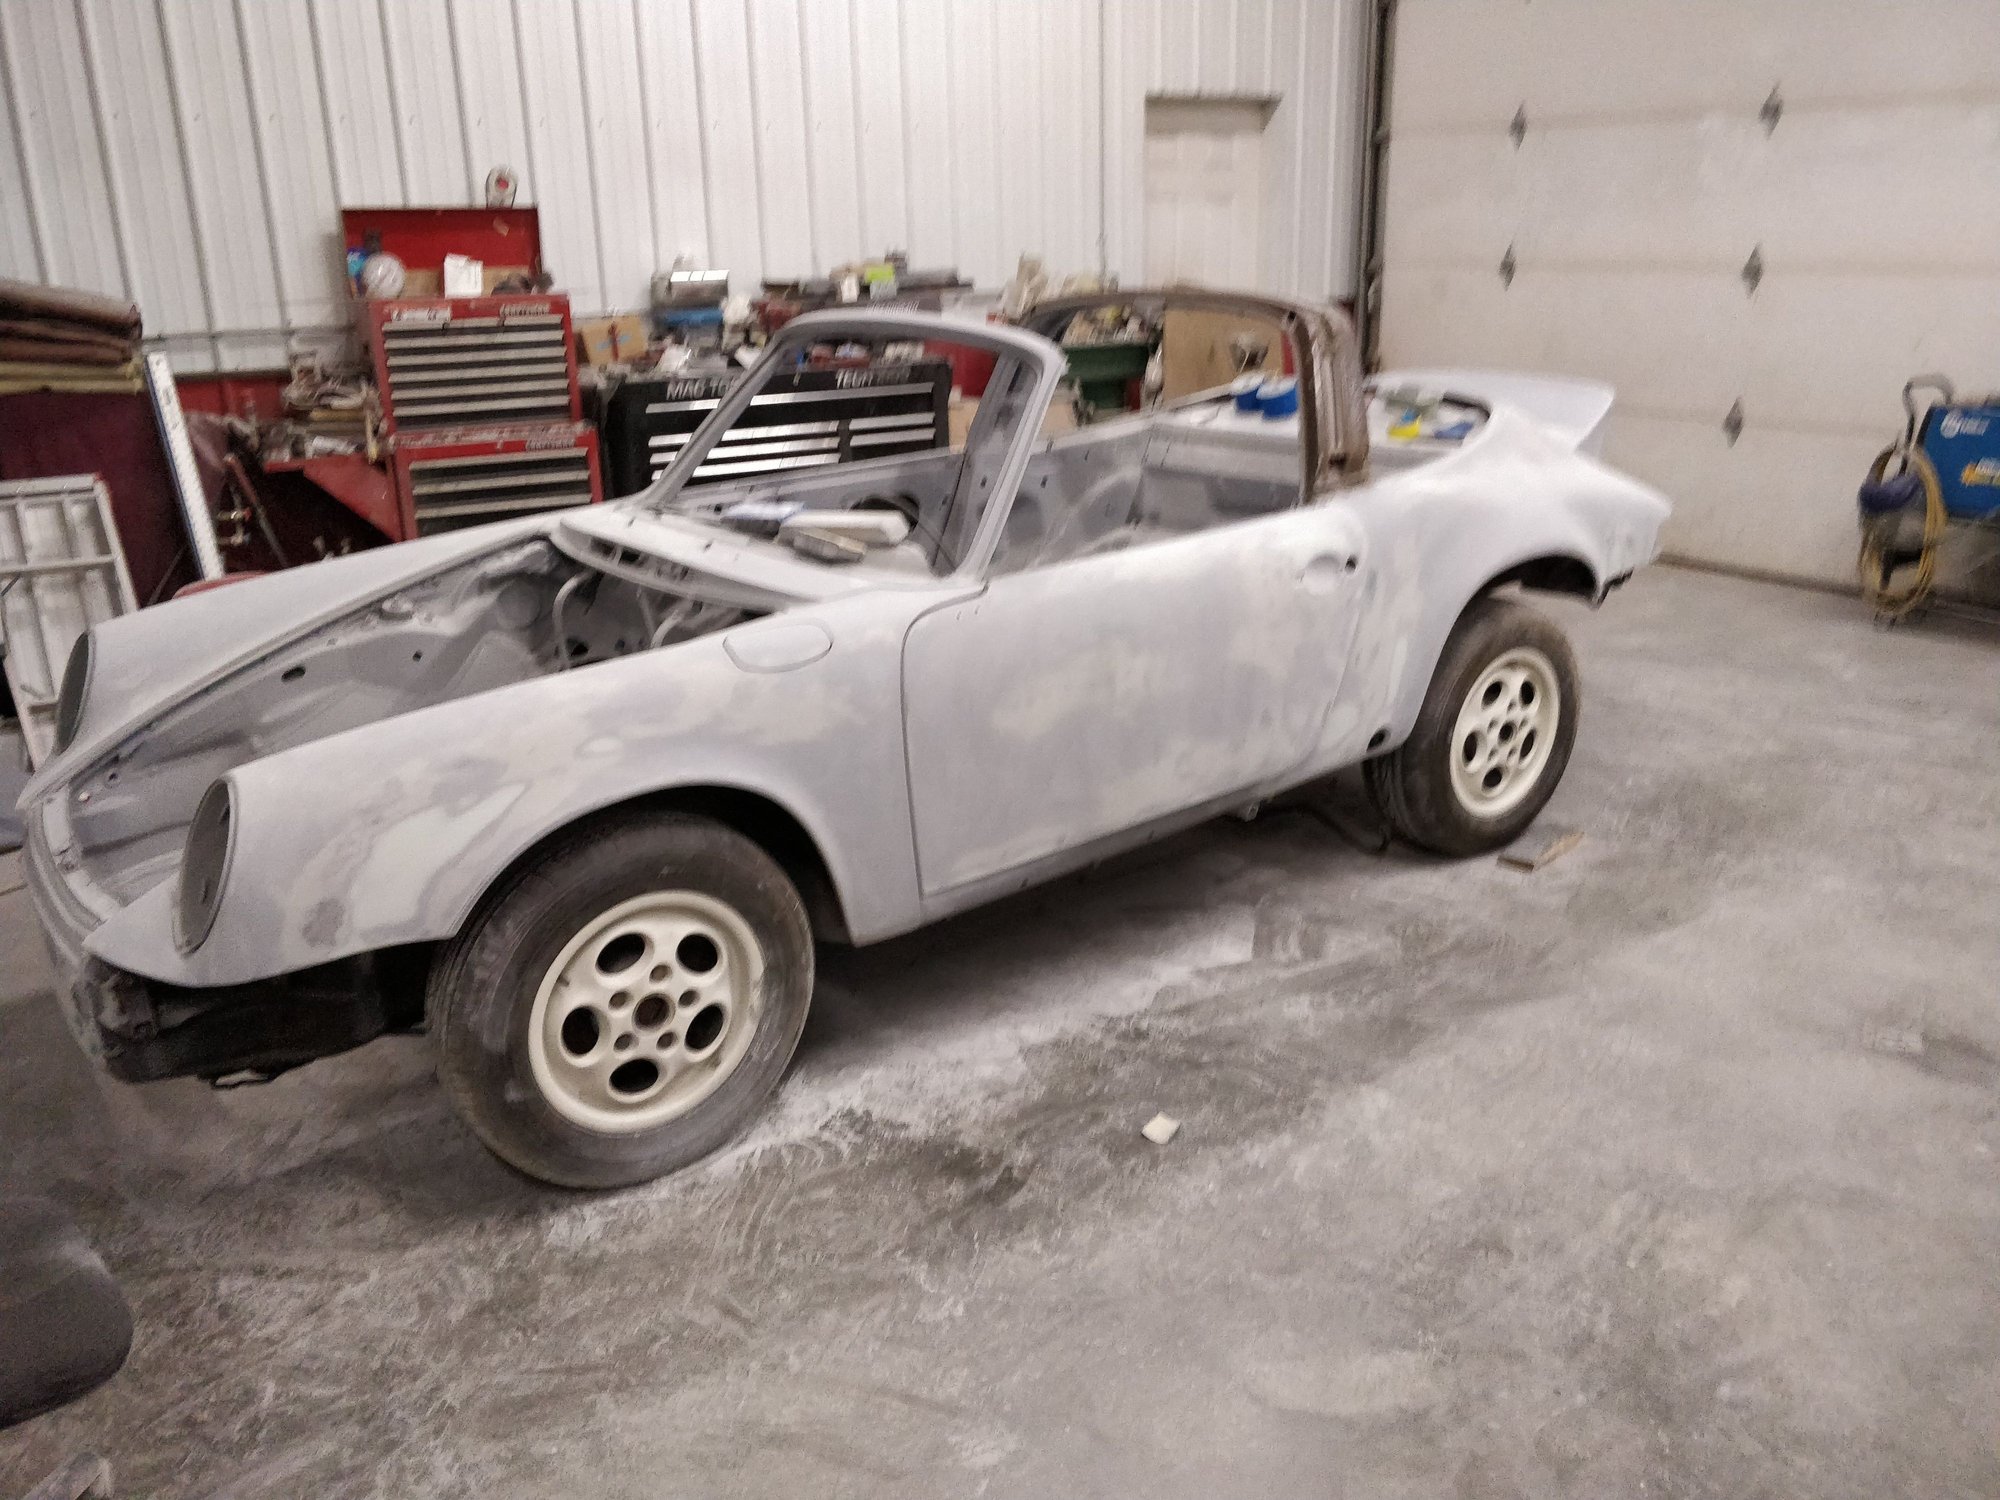
It looks like someone added flares to the quarters at some point (perhaps from the factory) but it was a very well executed flare and remains super solid even with the trauma.
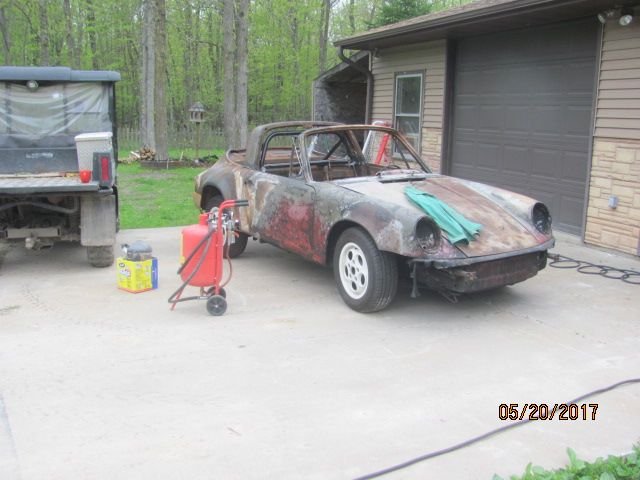
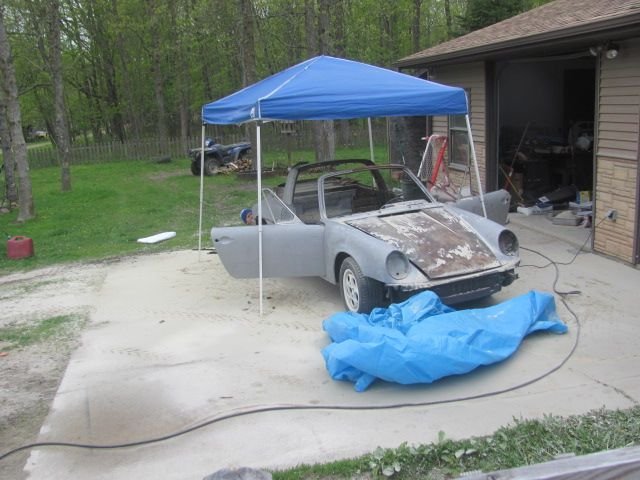
The next step was to sand blast the shell and get it in some top quality epoxy to protect it. I waited until spring so I could do it outside. I worked with Spesco in St. Paul MN to figure out the most appropriate grit and bought 500 pounds worth. I thought that would be enough but even after recycling a lot of it I needed to head back the next weekend for 500 pounds more.
When doing this I would highly recommend renting a large diesel air compressor to achieve a constant and high volume of air. While this would have been doable with the 60 gallon shop compressor it would have run nonstop and pressure would likely have varied. The sand blaster itself was a ~$100 one from the fleet store that needed some extra brass fittings and a few valves to set-up how I wanted. Think that was an extra $30 at the hardware store.
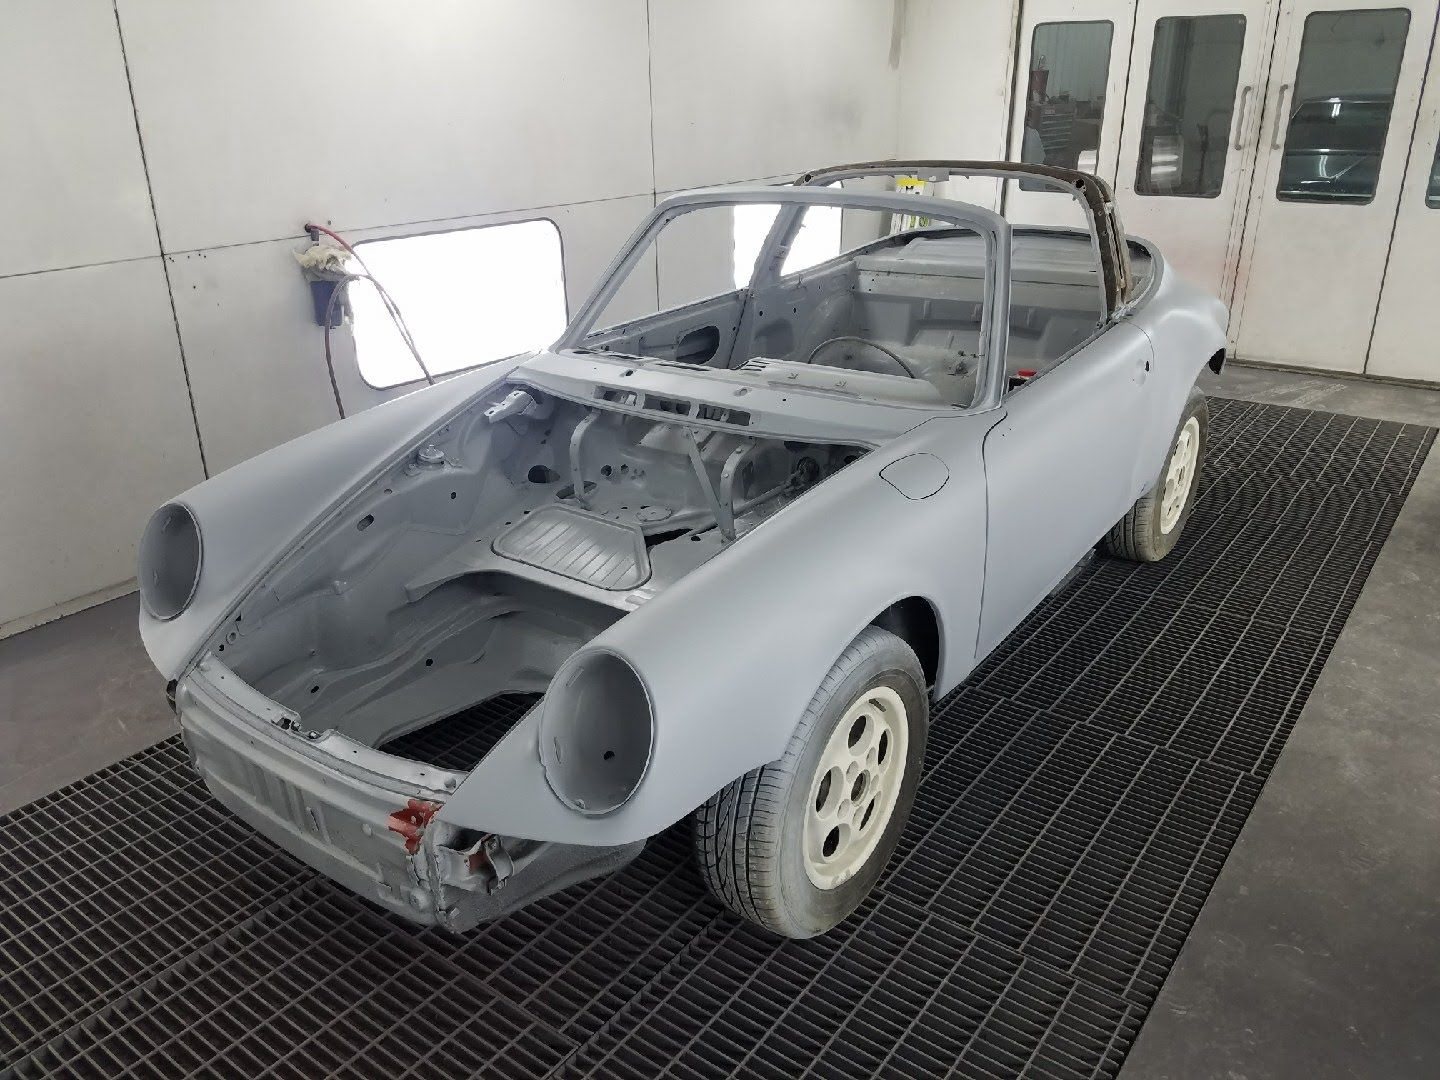
Sand blasting too a full 2 weekends. To prevent flash rust between sessions I sprayed the car down with some WD40 and made sure I used a high quality degreaser before spraying Epoxy. Unfortunately I could not find any picture of the finished blasted car or the spraying of the expoxy. but you will see the result in the next post as I began the body work.
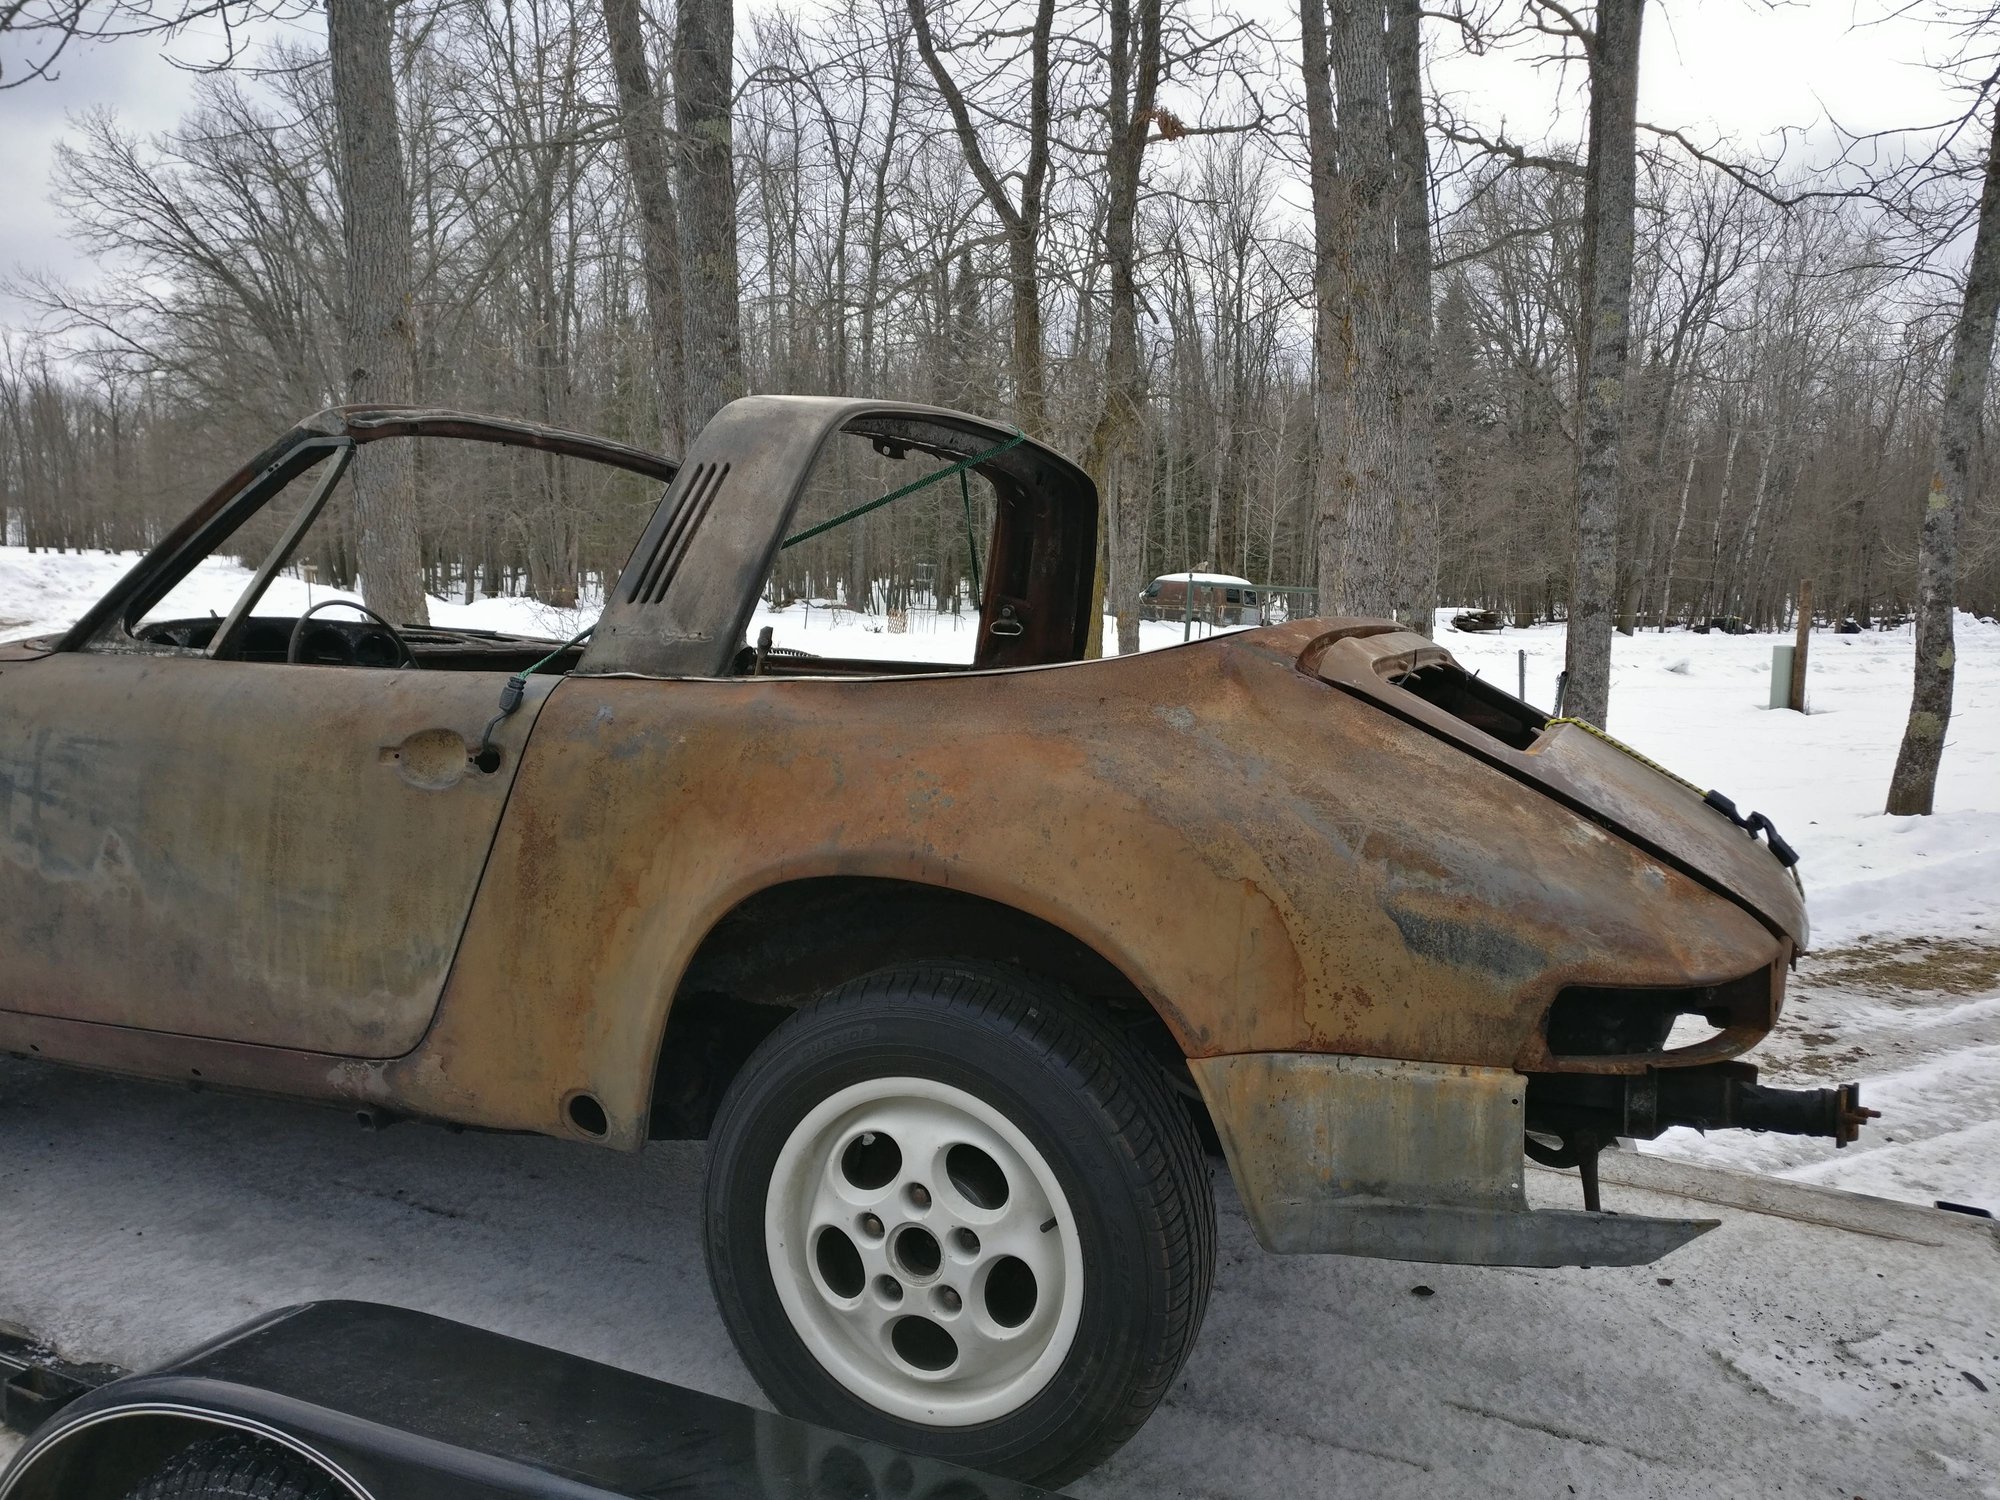
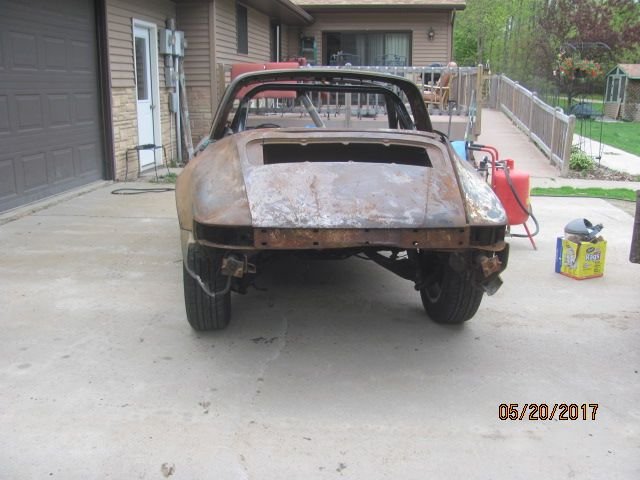
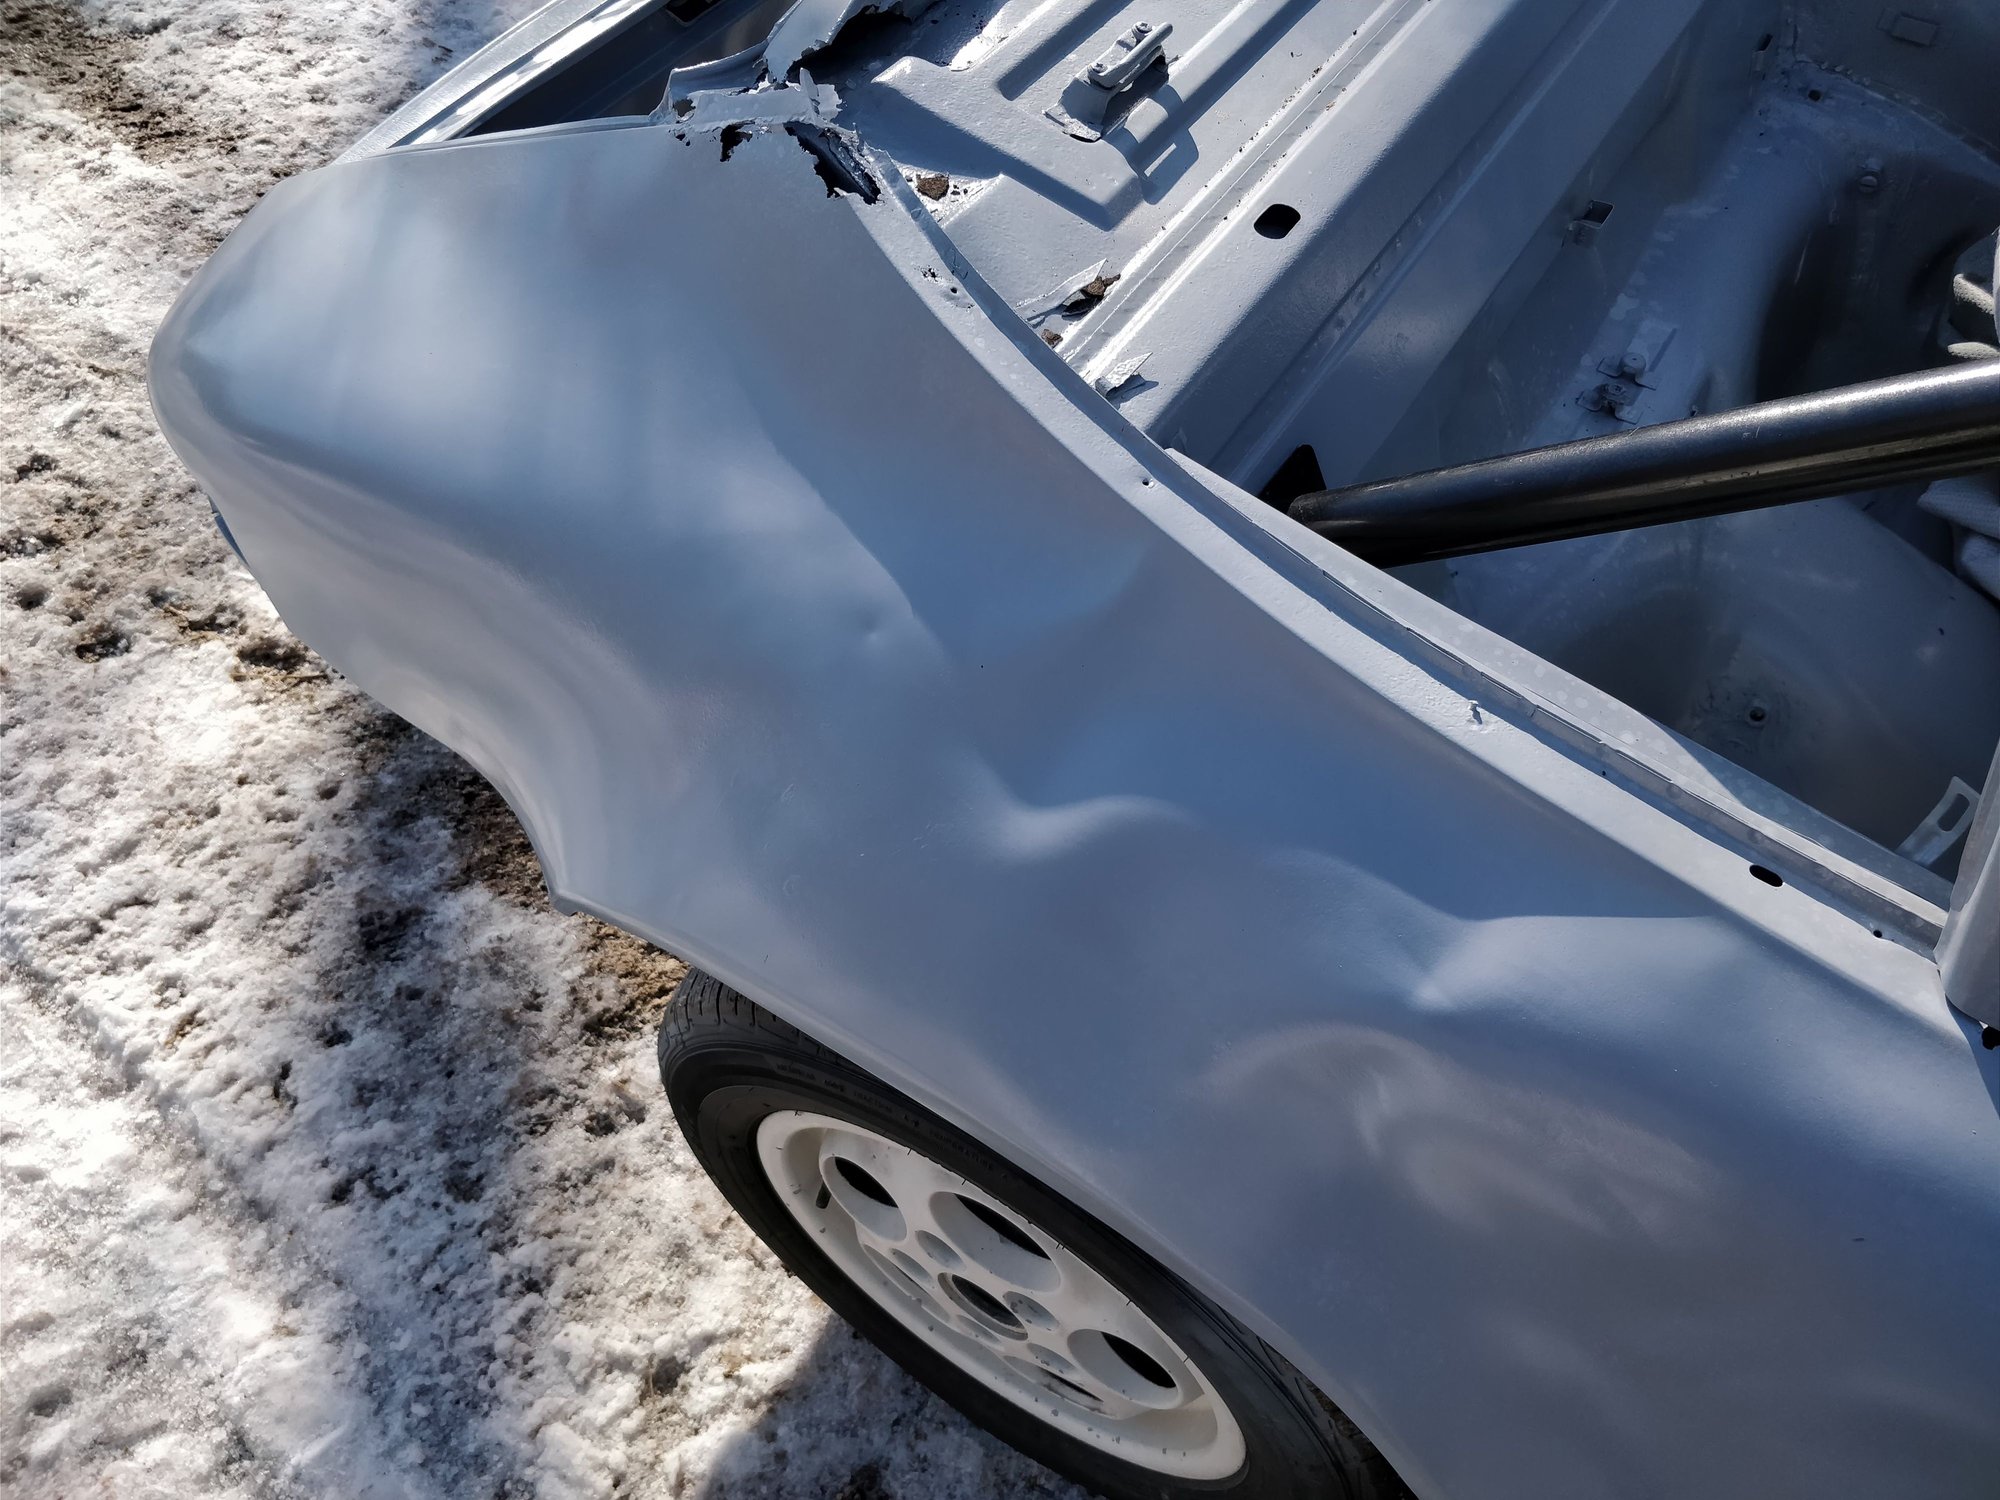
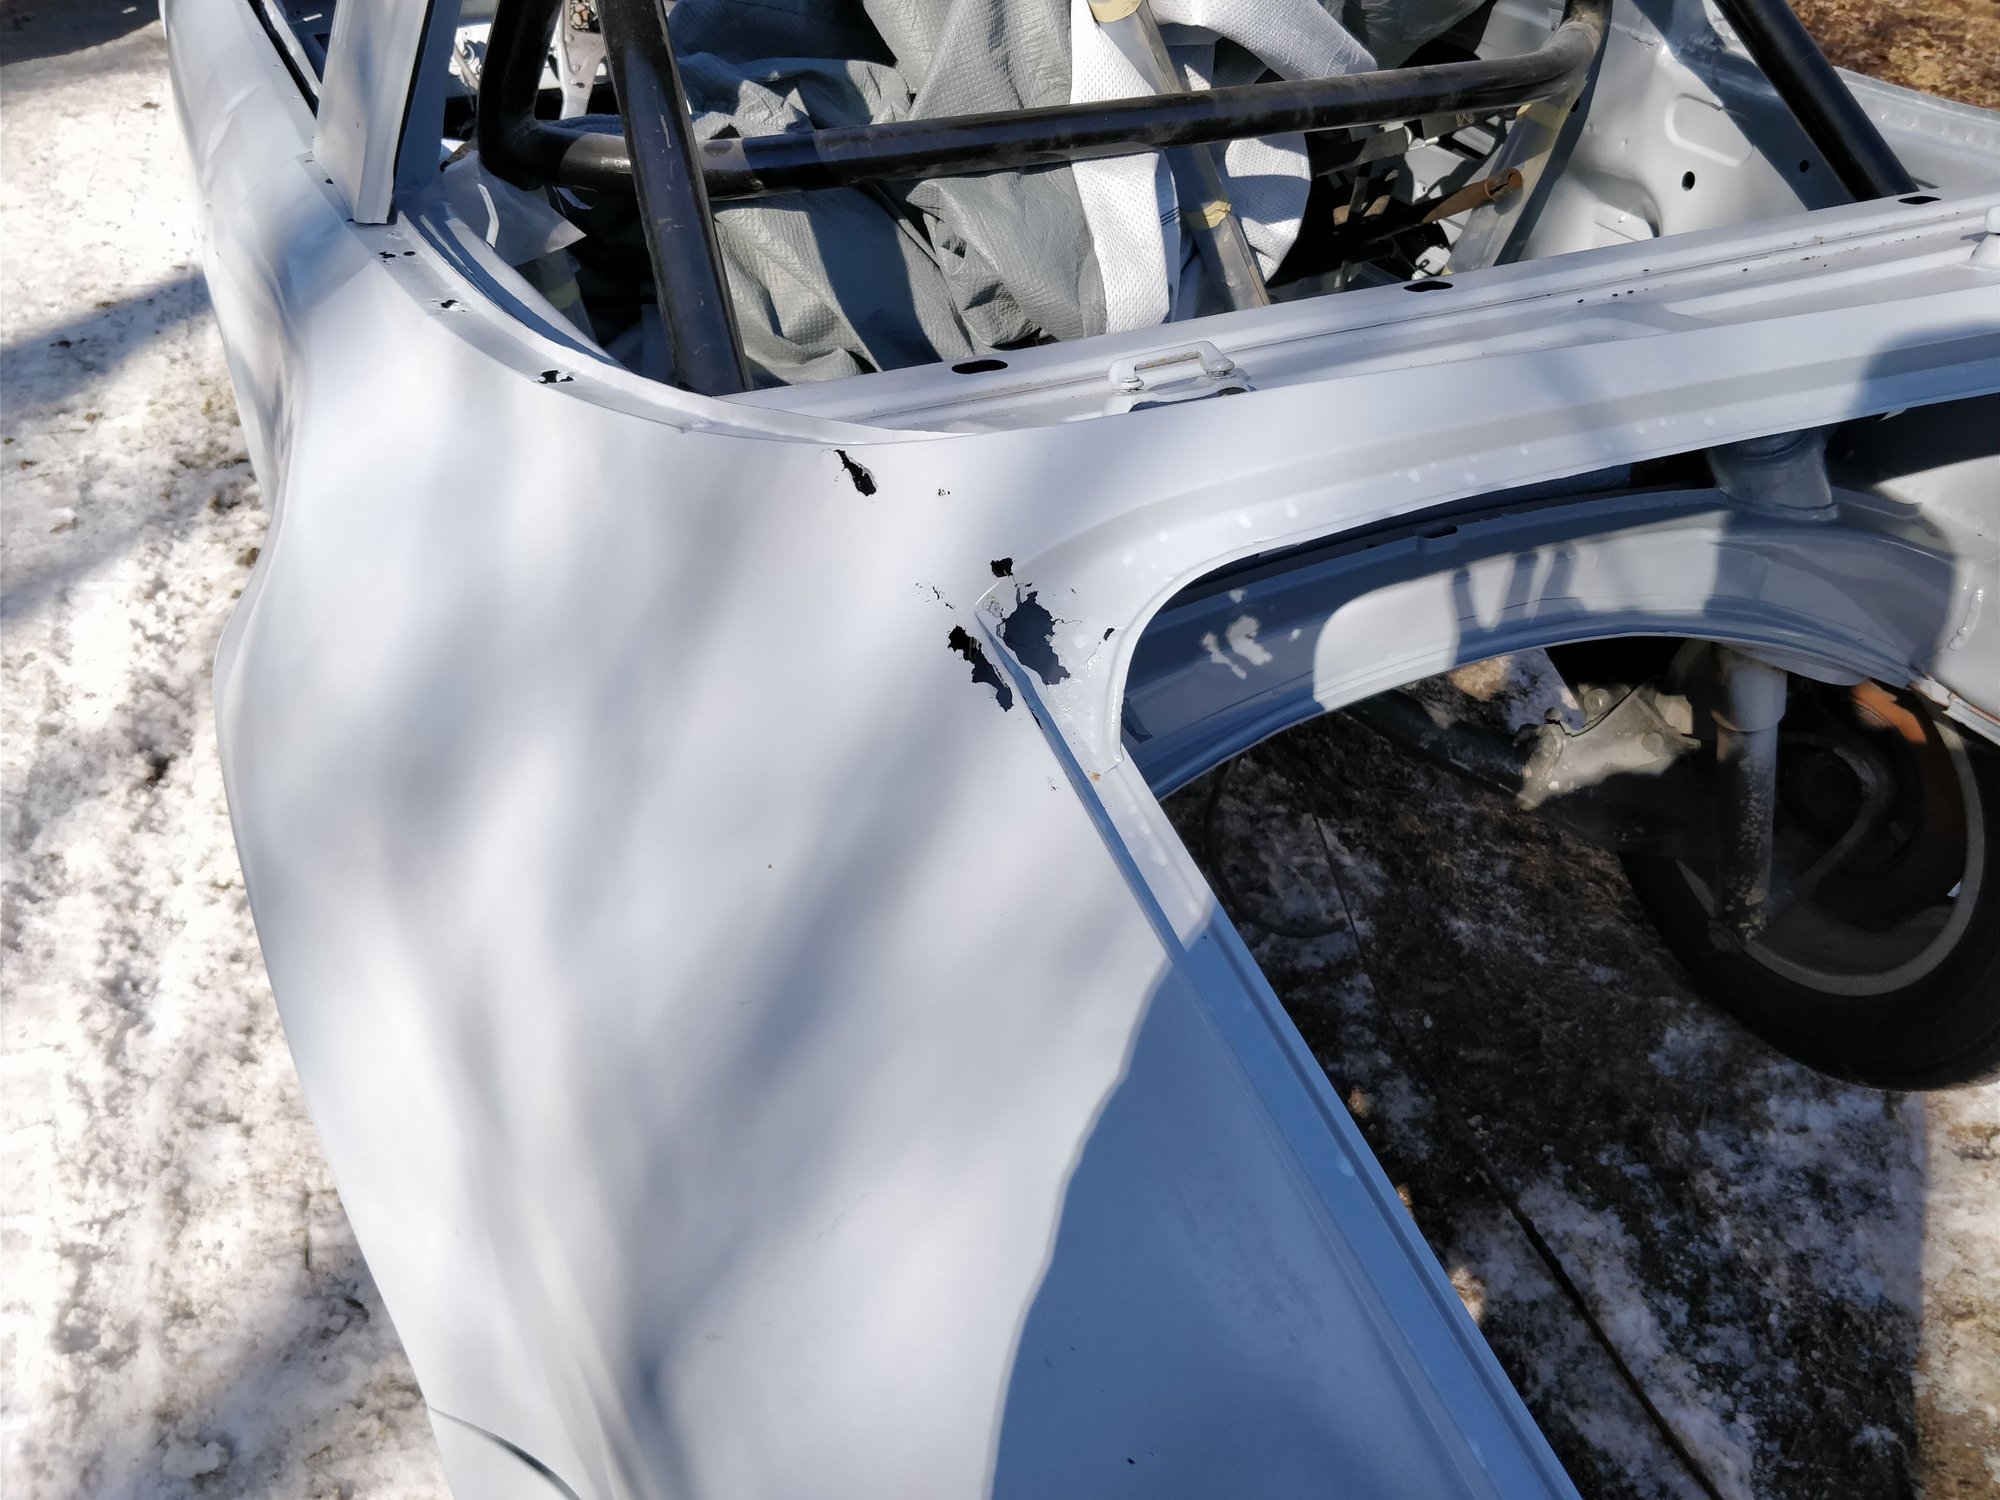
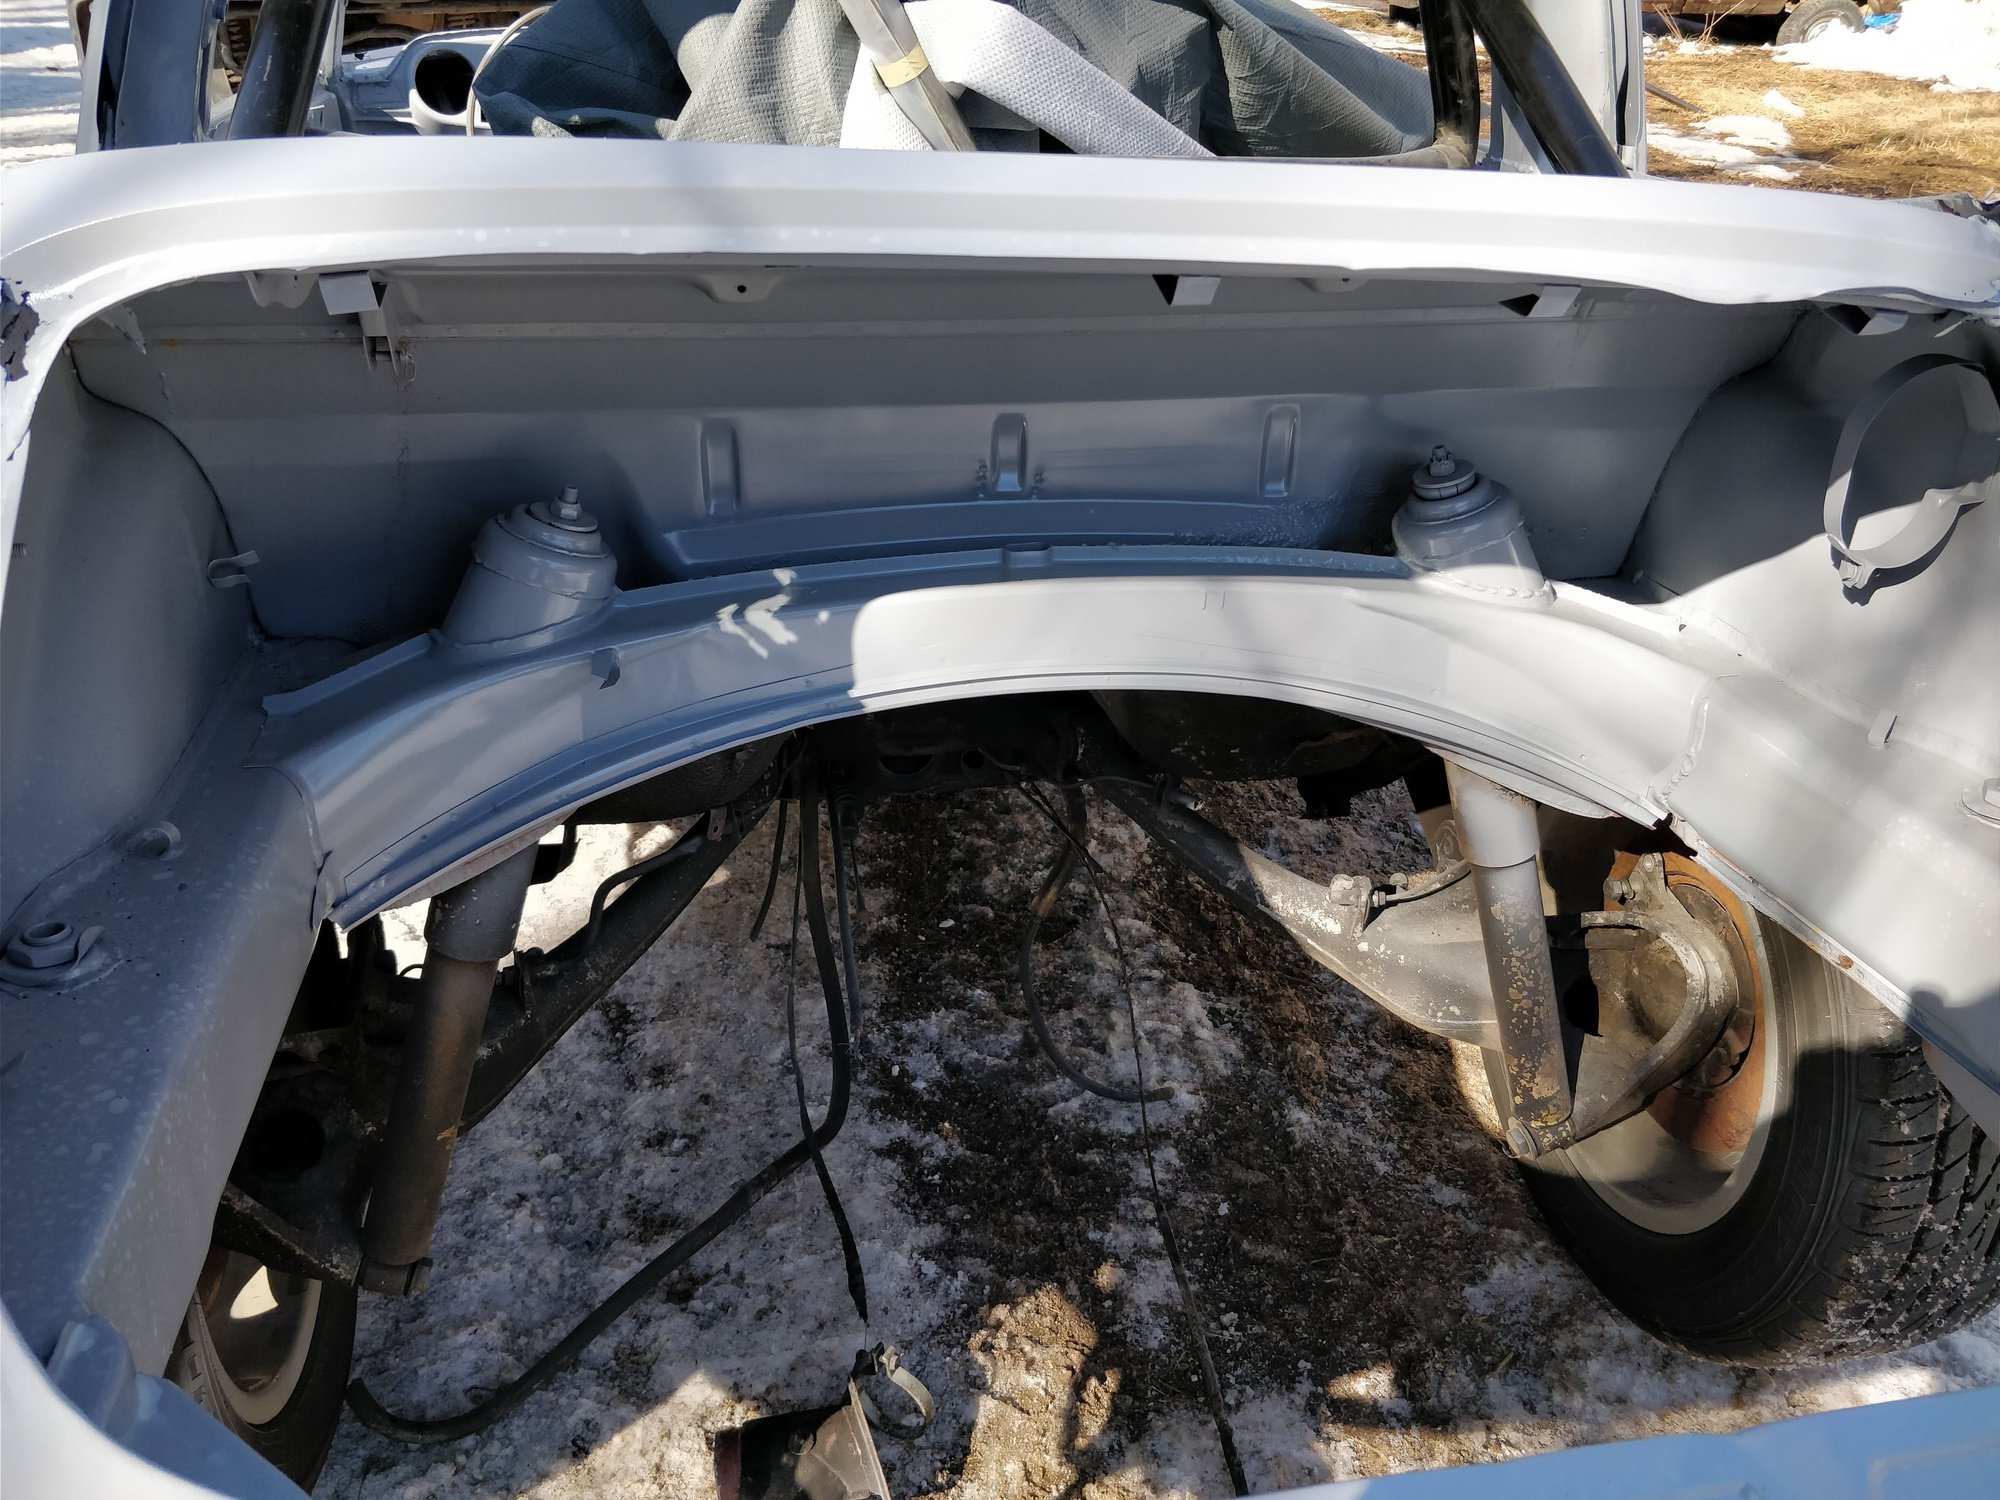
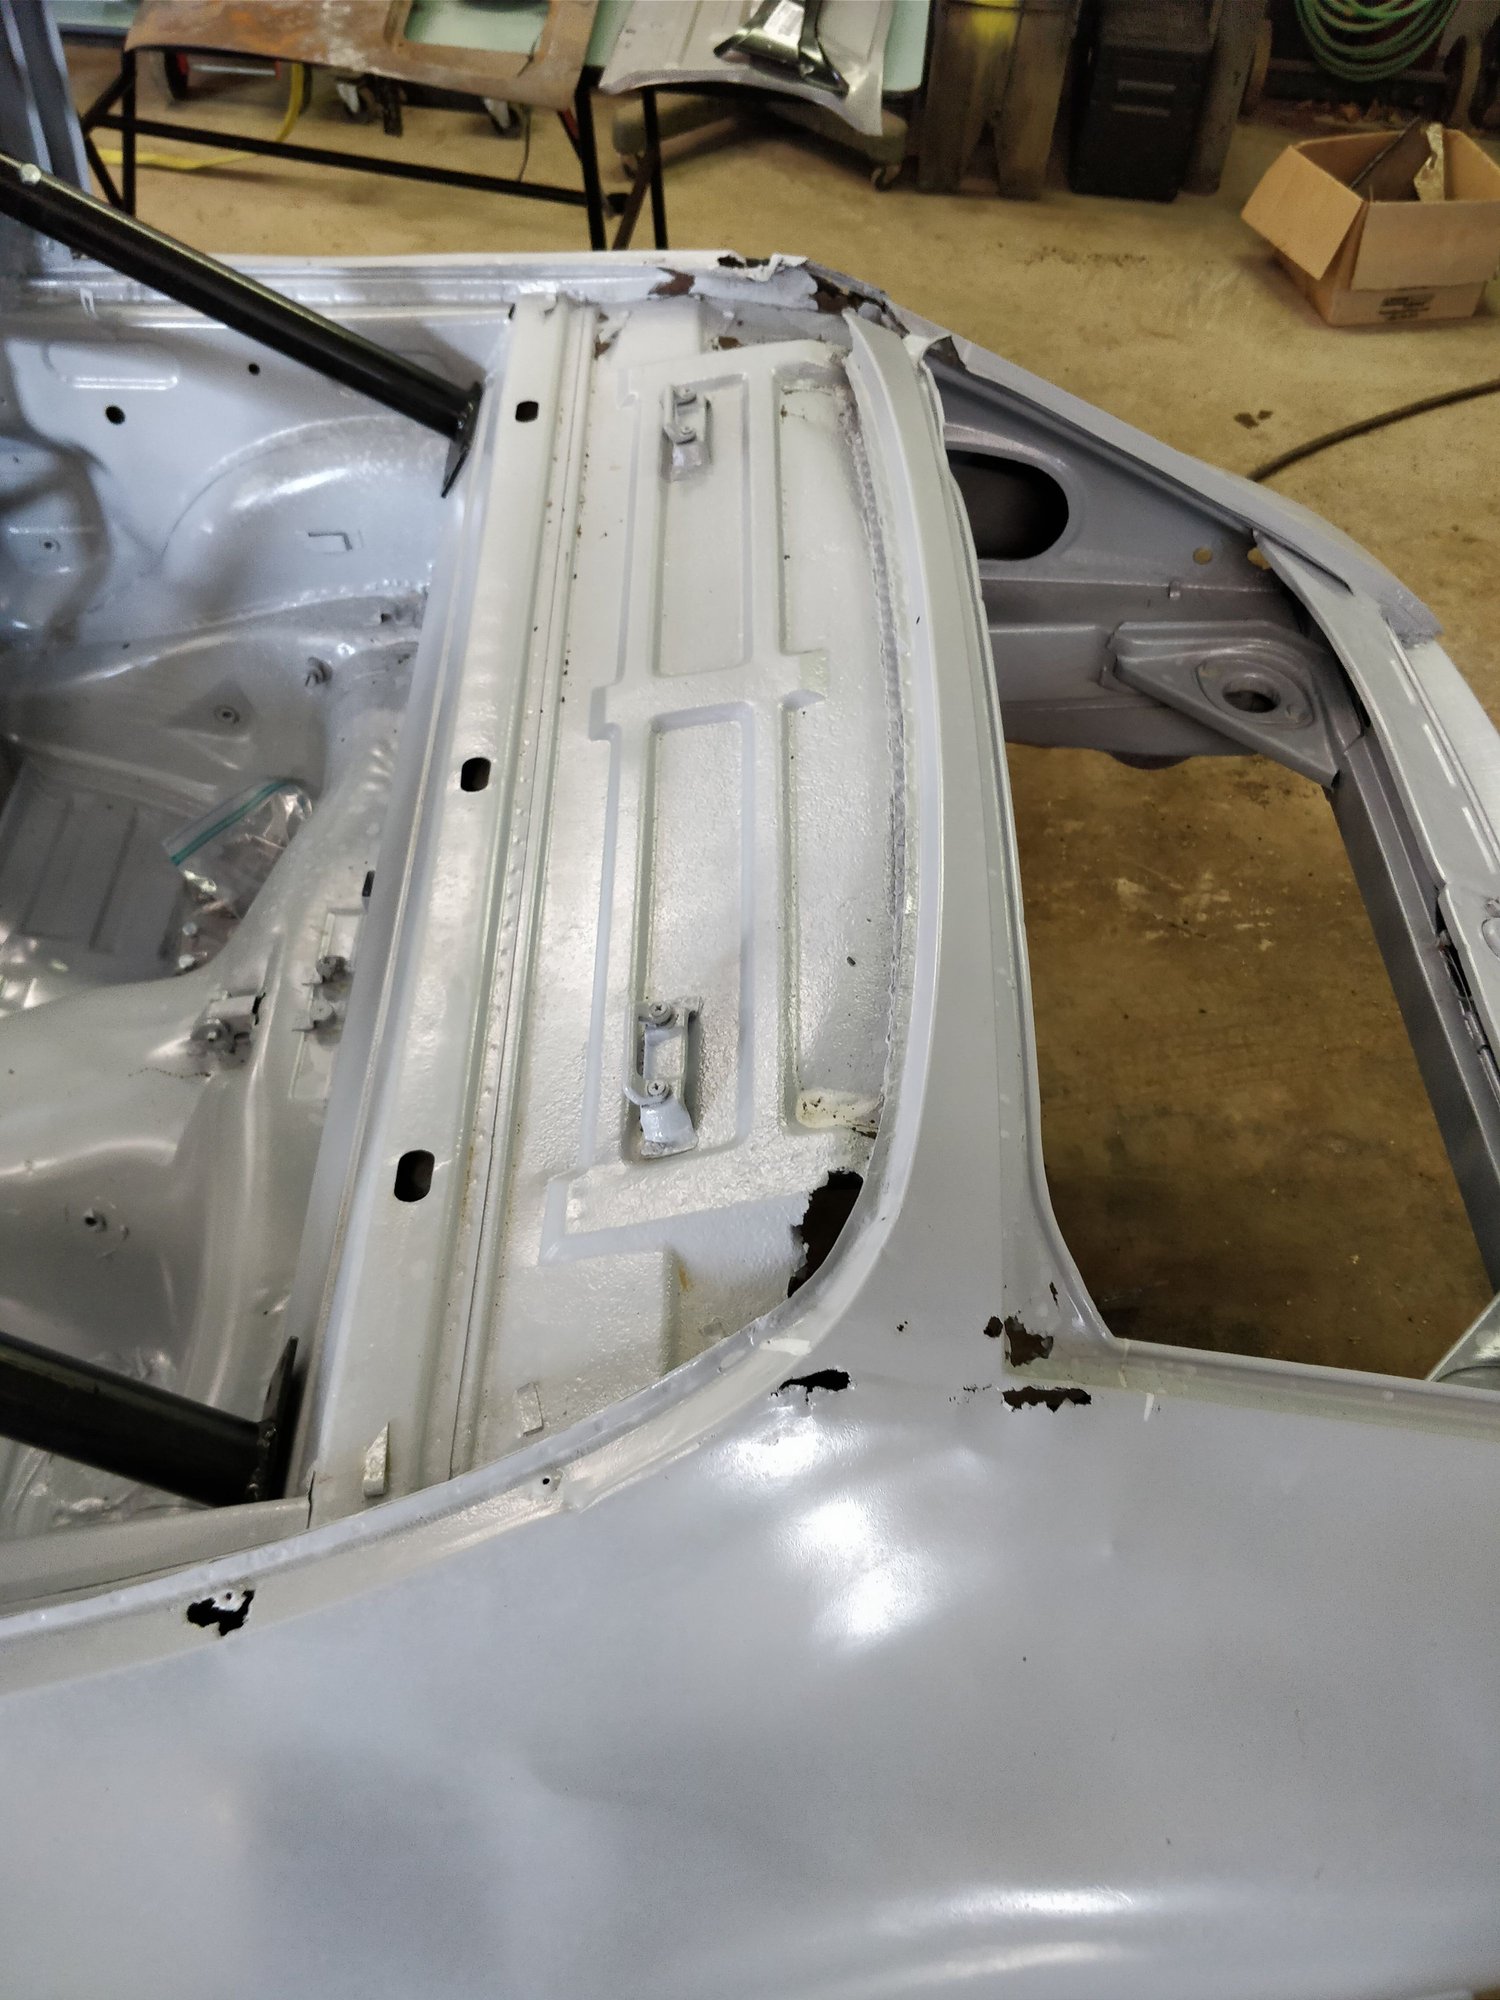
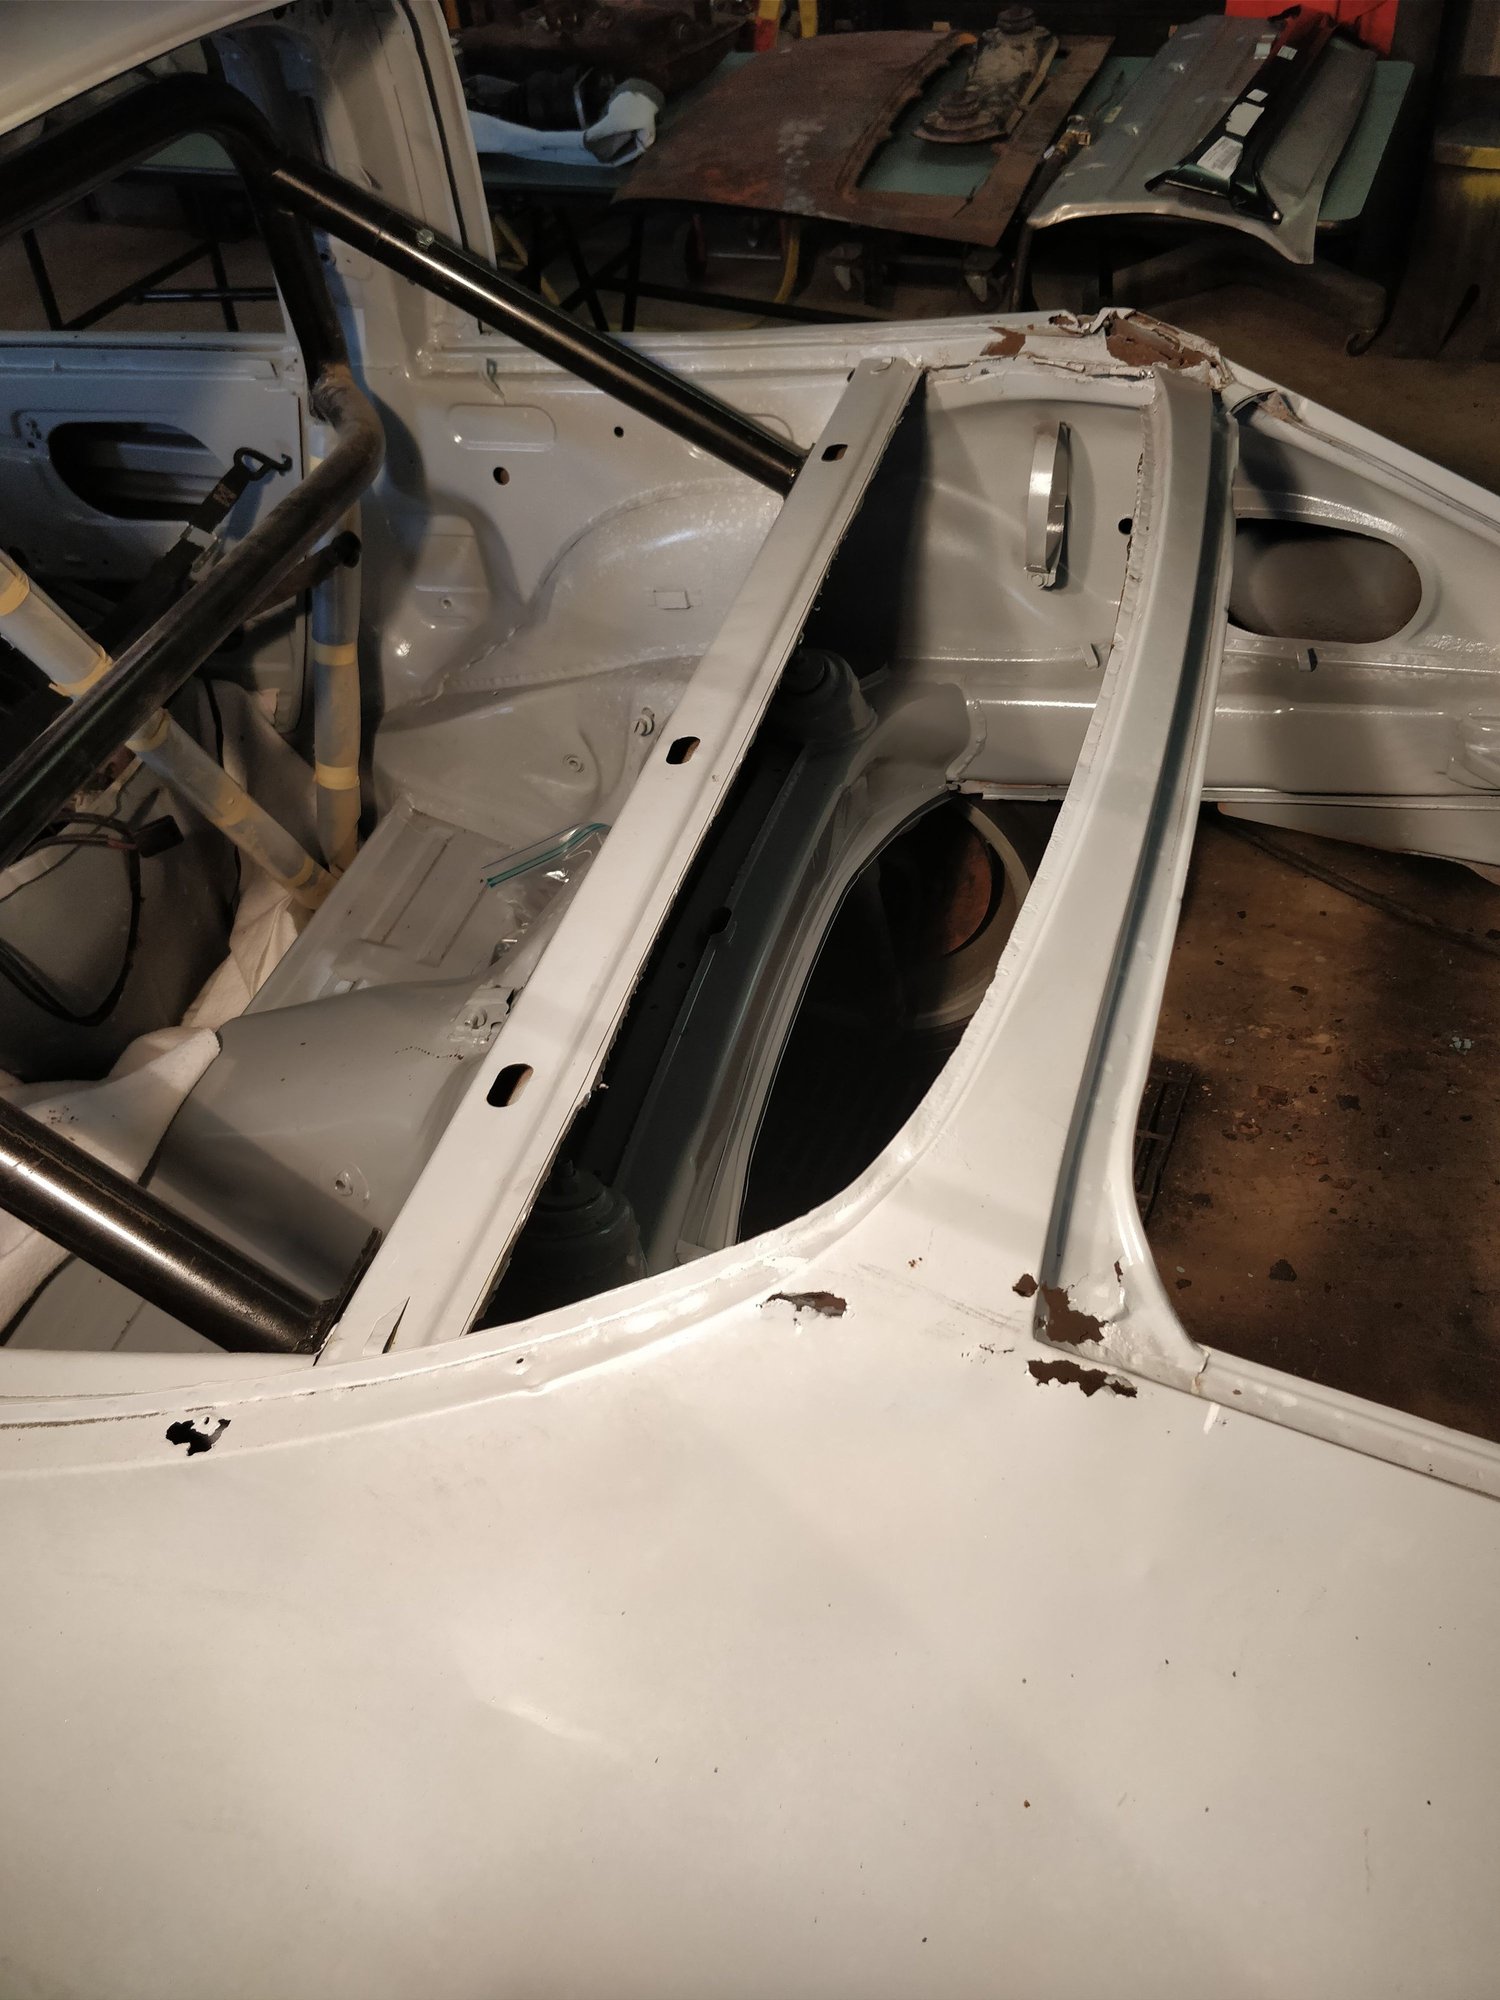
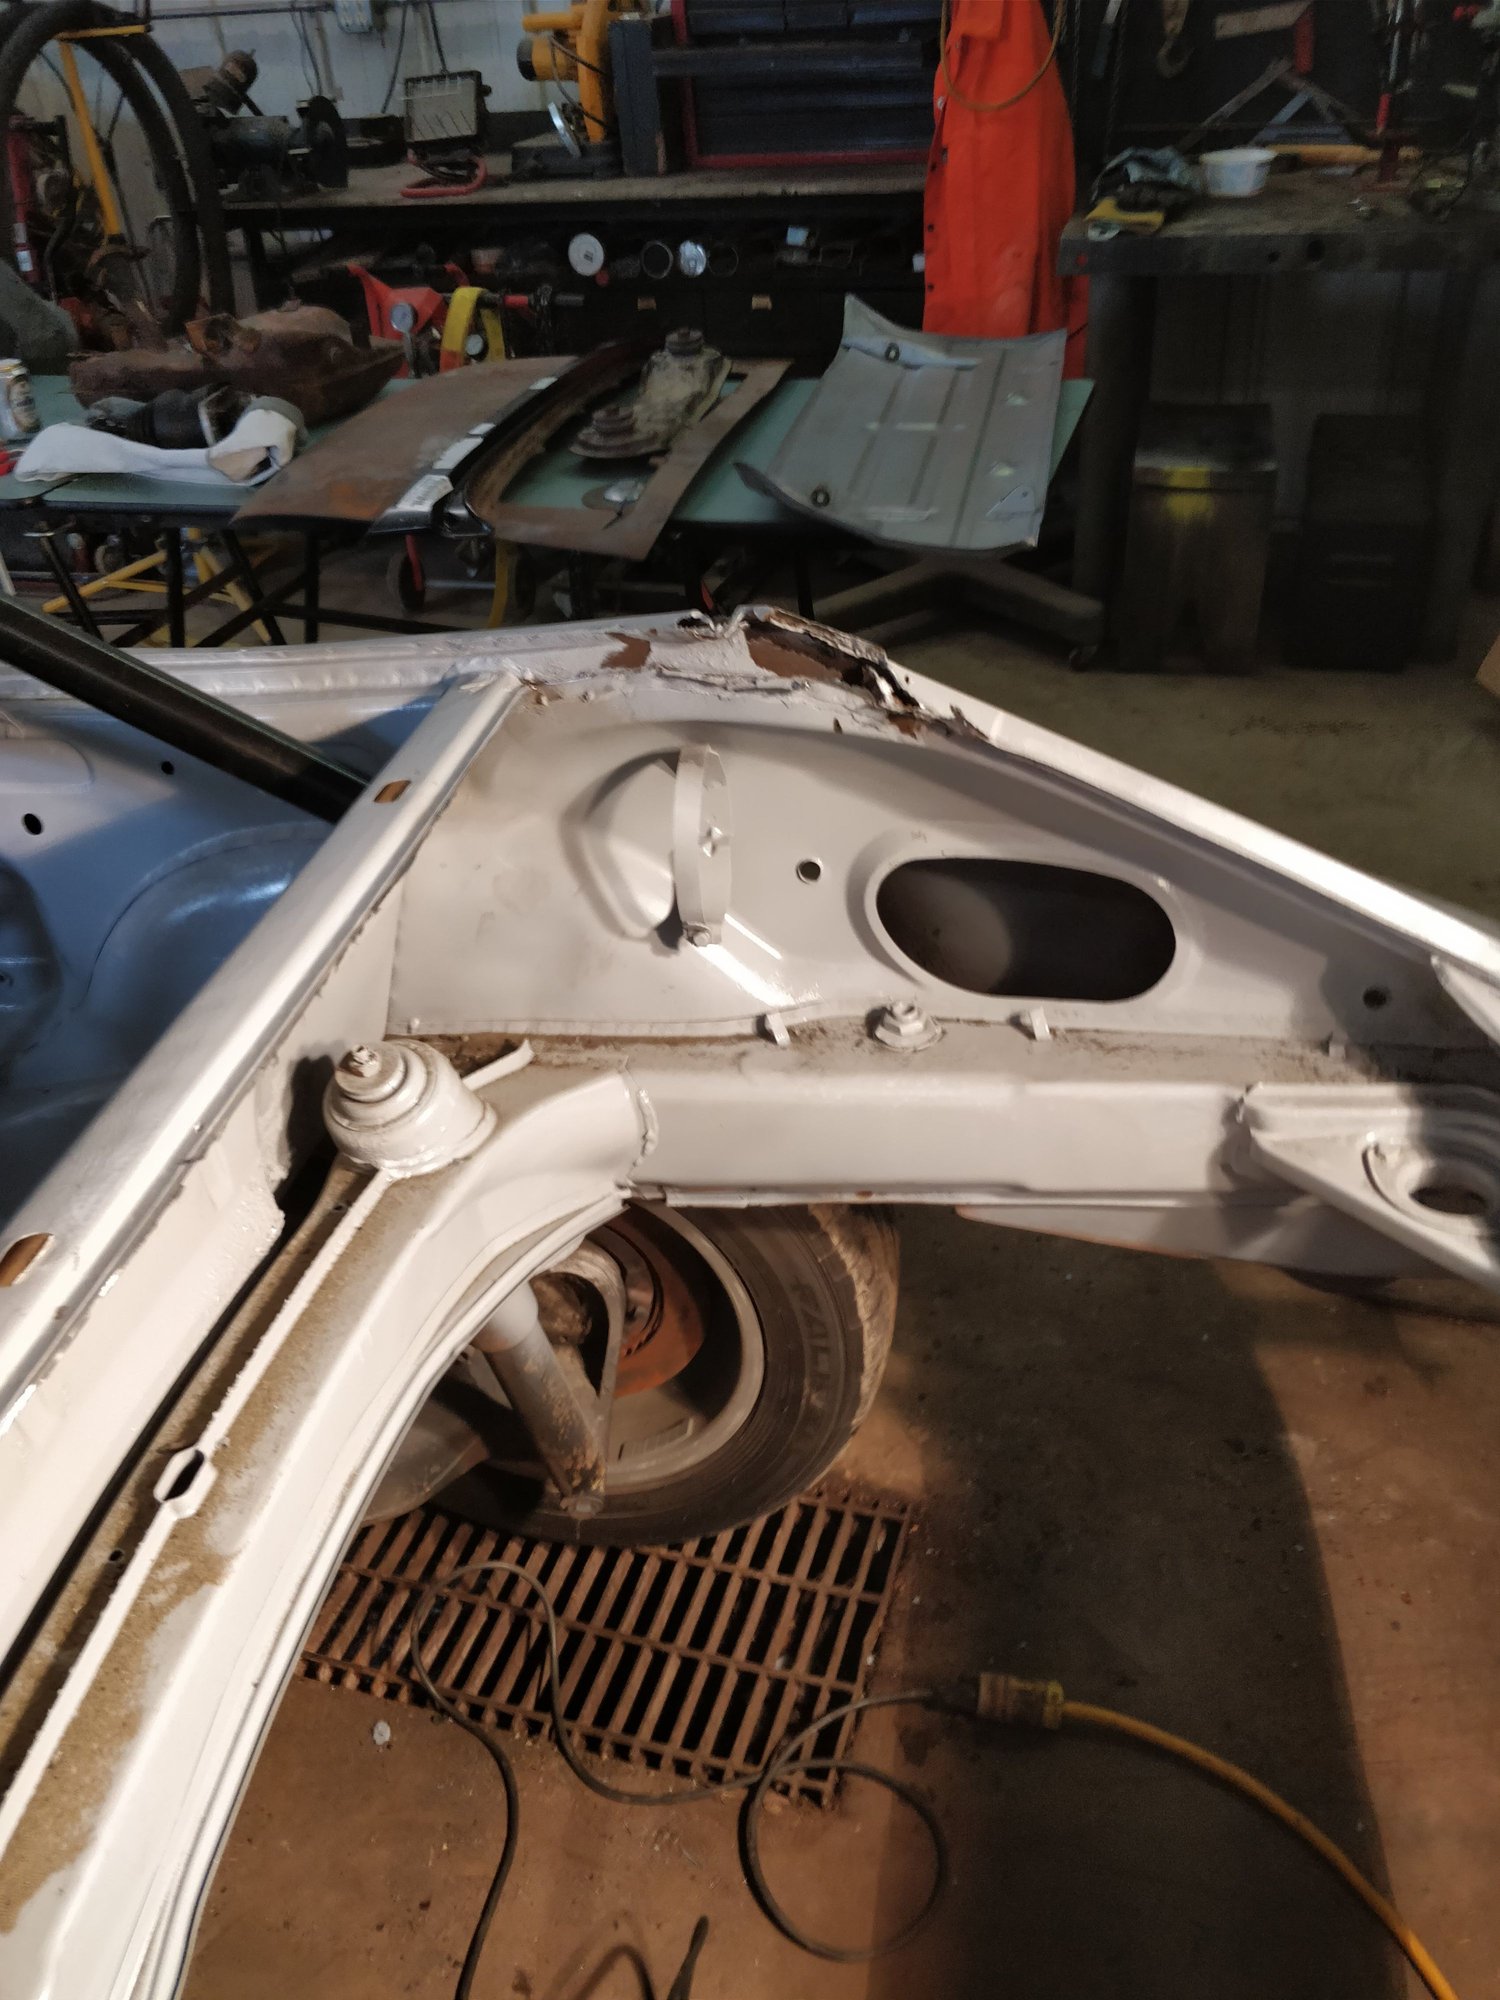
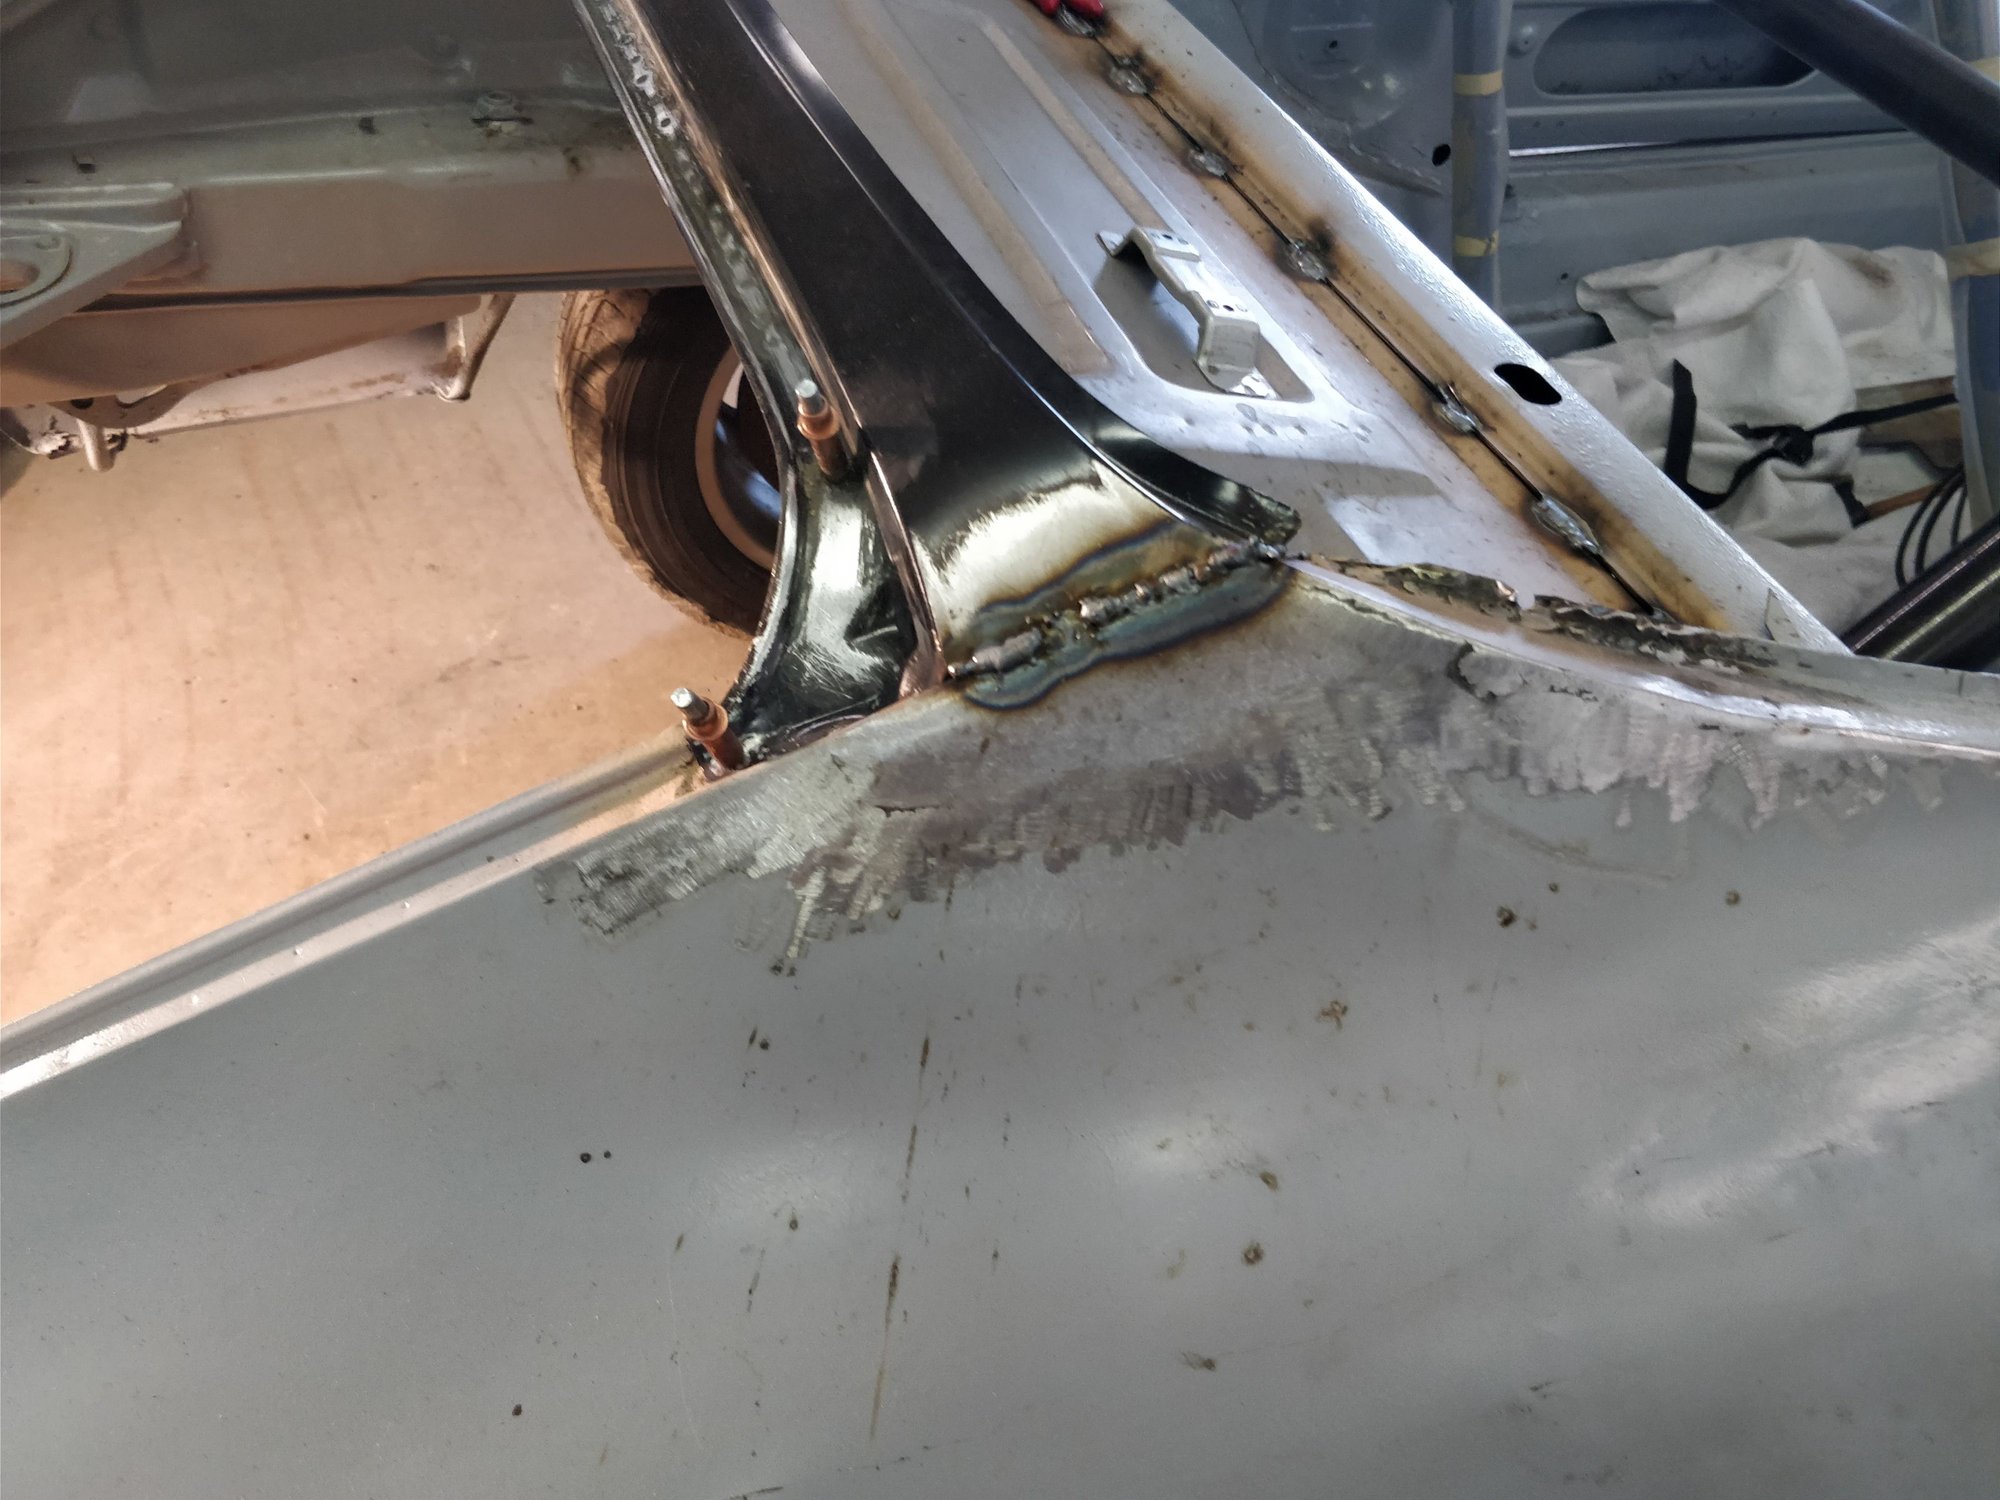
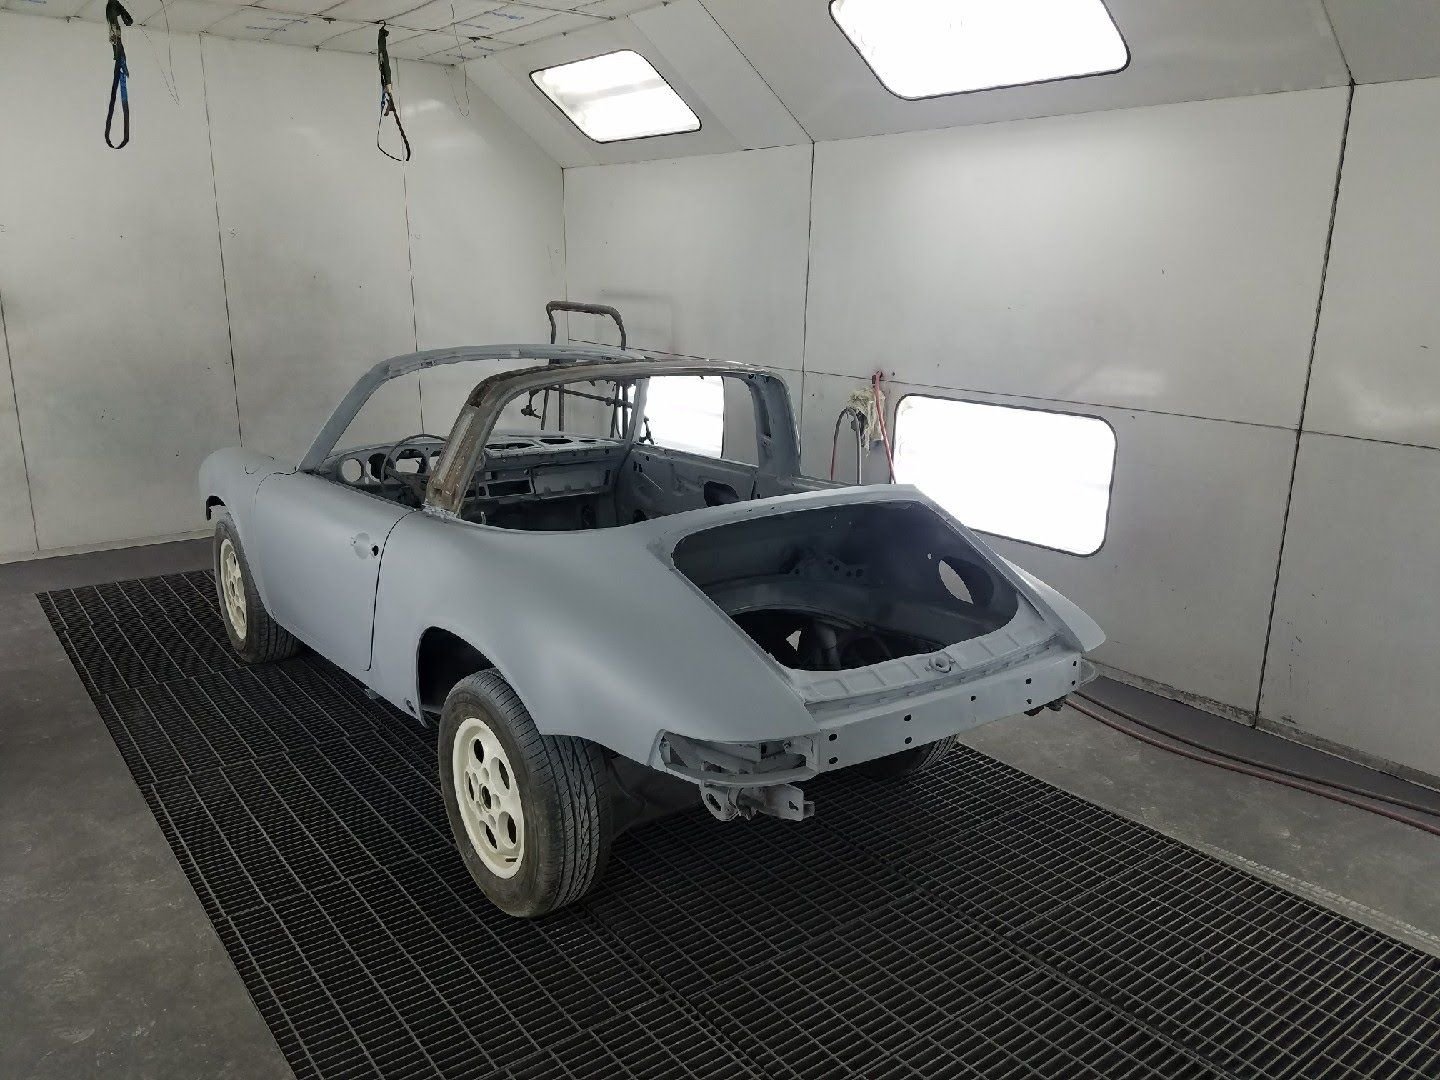
Once It was sand blasted and primed ( I used SPI epoxy and would highly highly highly recommend it to anyone - well worth the price) I was able to get a sense for the trouble areas. There was some rust on the parcel shelf in both bottom corners near where the targa glass mounts up. There were also a few random holes that were easy enough to patch. Those corners in particular were fairly rotted out so I ordered a new parcel shelf and the rear body panel that runs under the rear glass. She looks much better without the char and rust. You can see the rust at the top of this picture but this lighting gives a good view of the quarter panel dents from debris falling on the car as the firefighters did their job. Similar story on the other side. This definitely the worst of it all. Step 1 - cut out the cancer Step 2 - cut out the rest of the cancer. Step 3 - Test fit the new parcel shelf and make some patch panels Repeat on the drivers side.
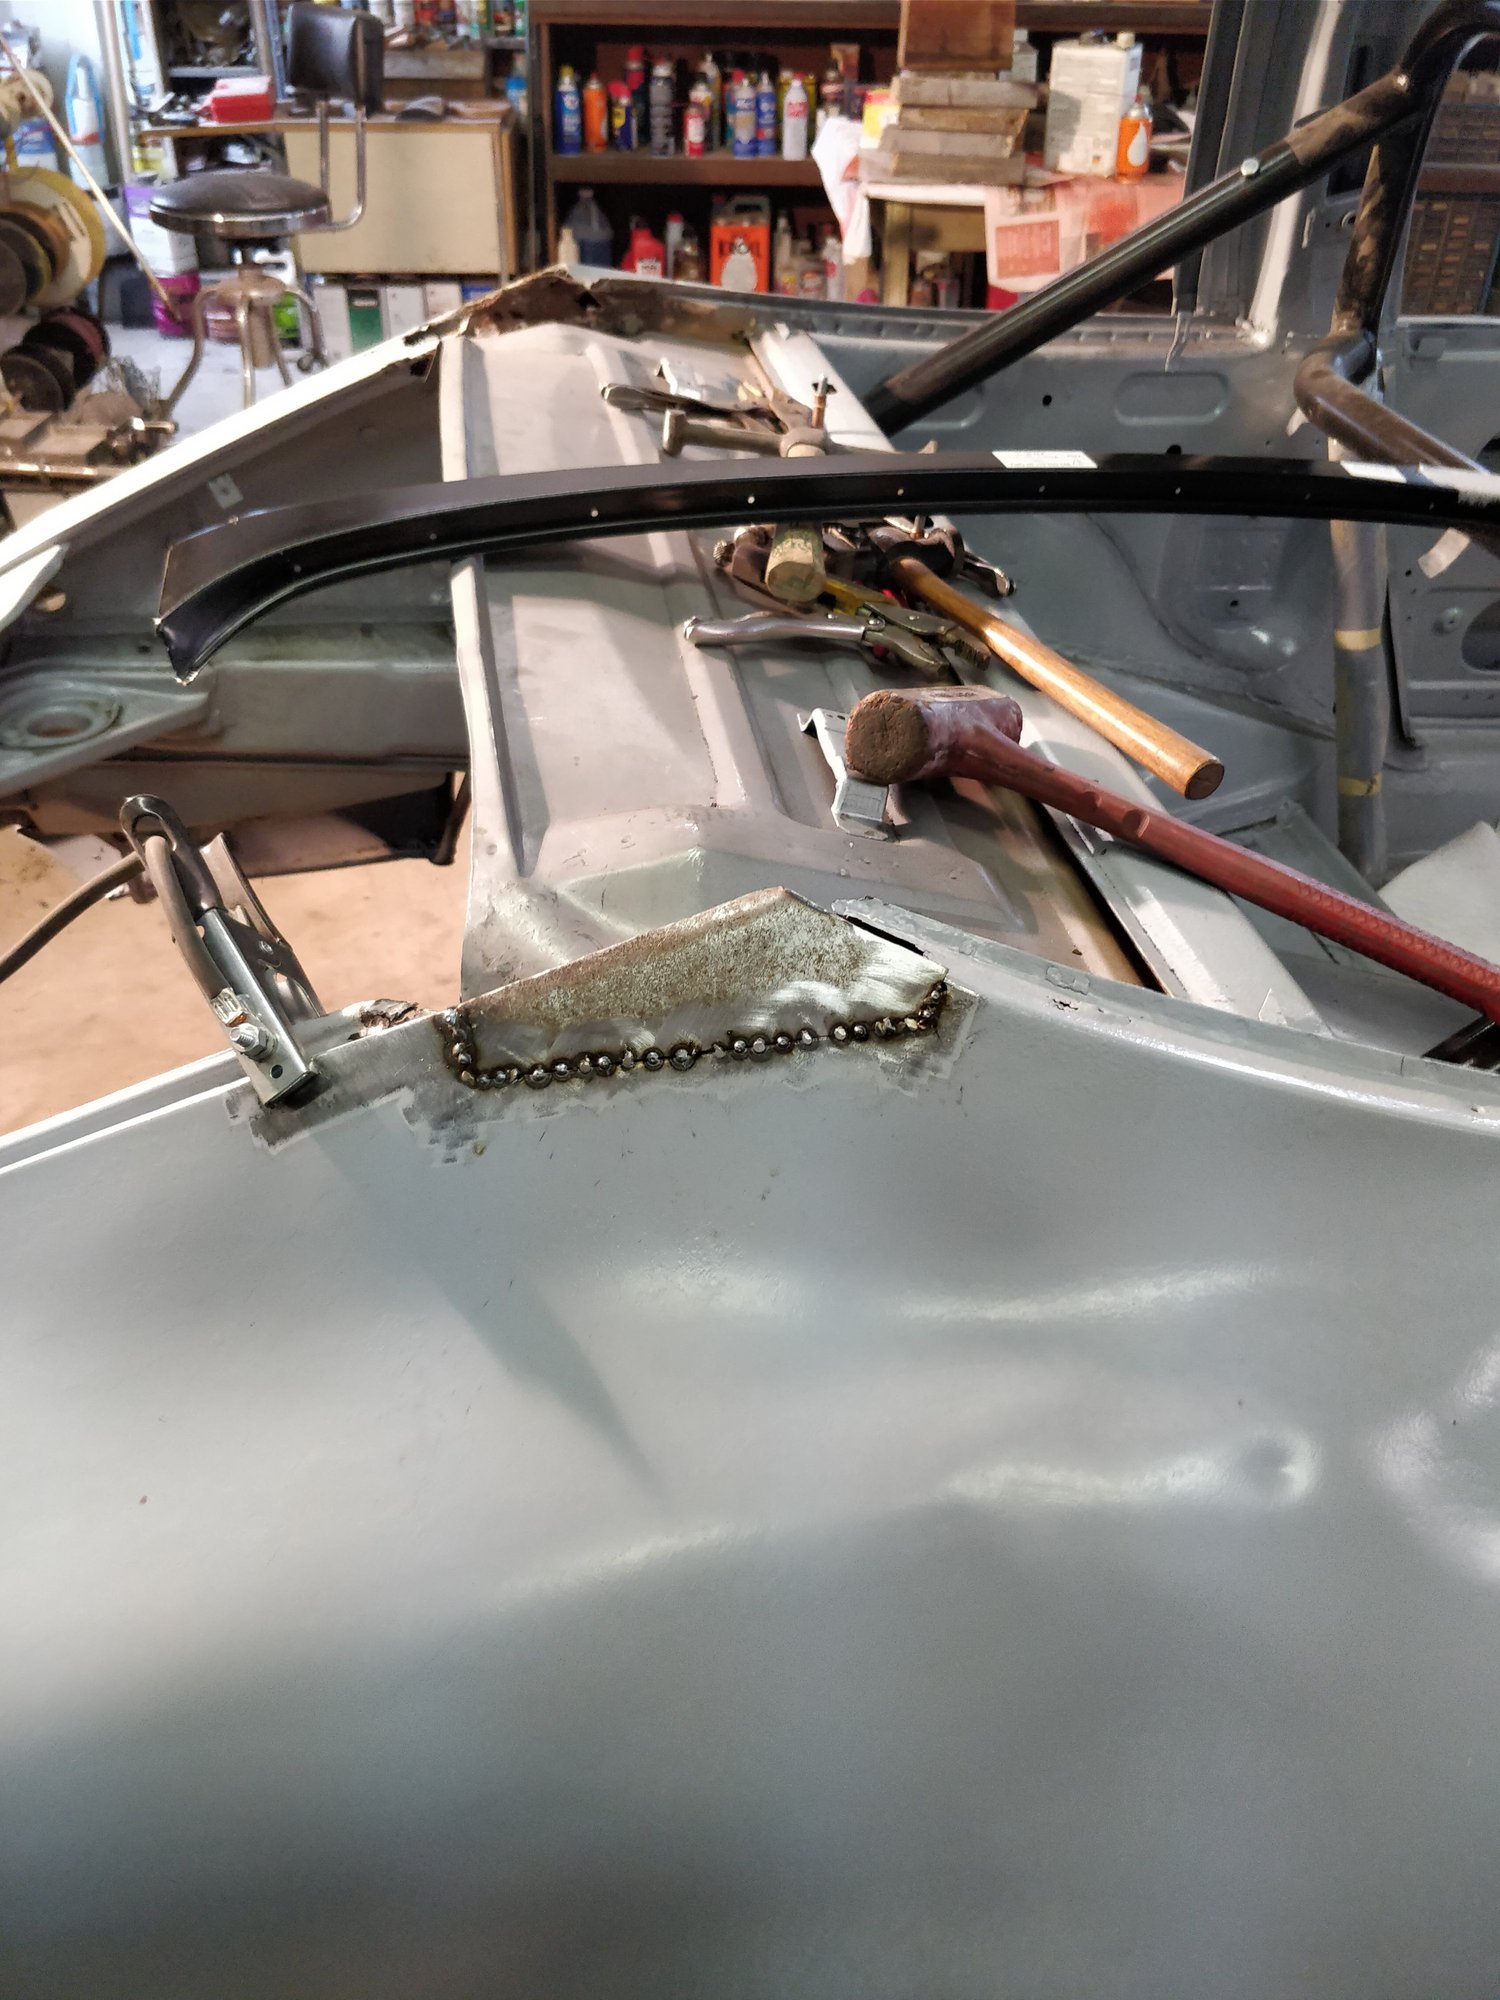
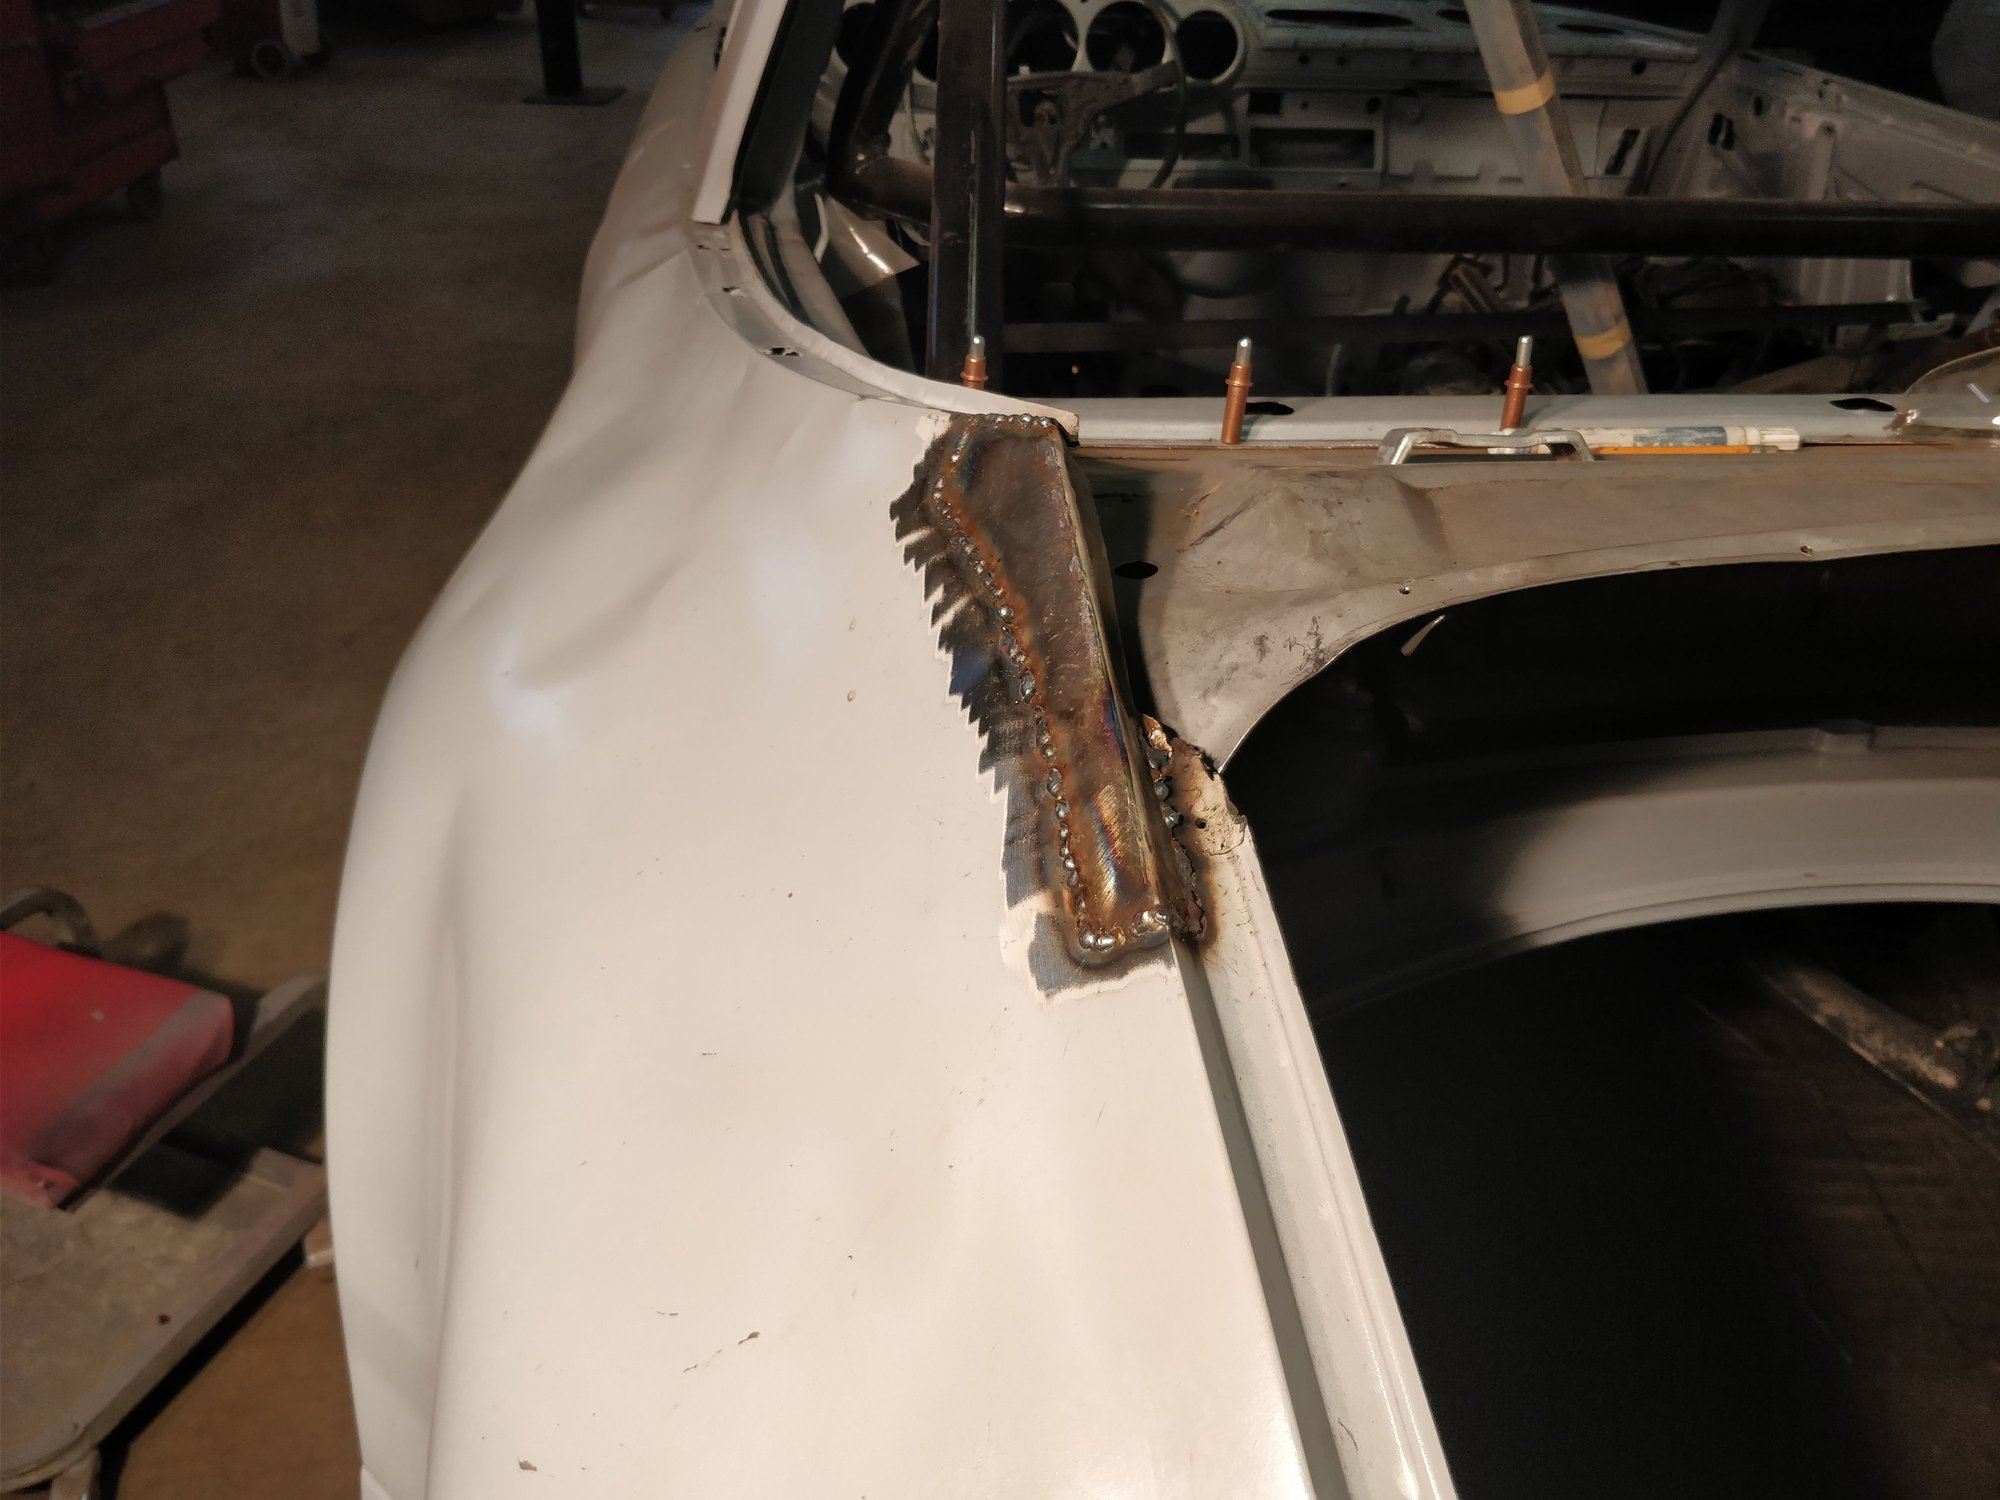
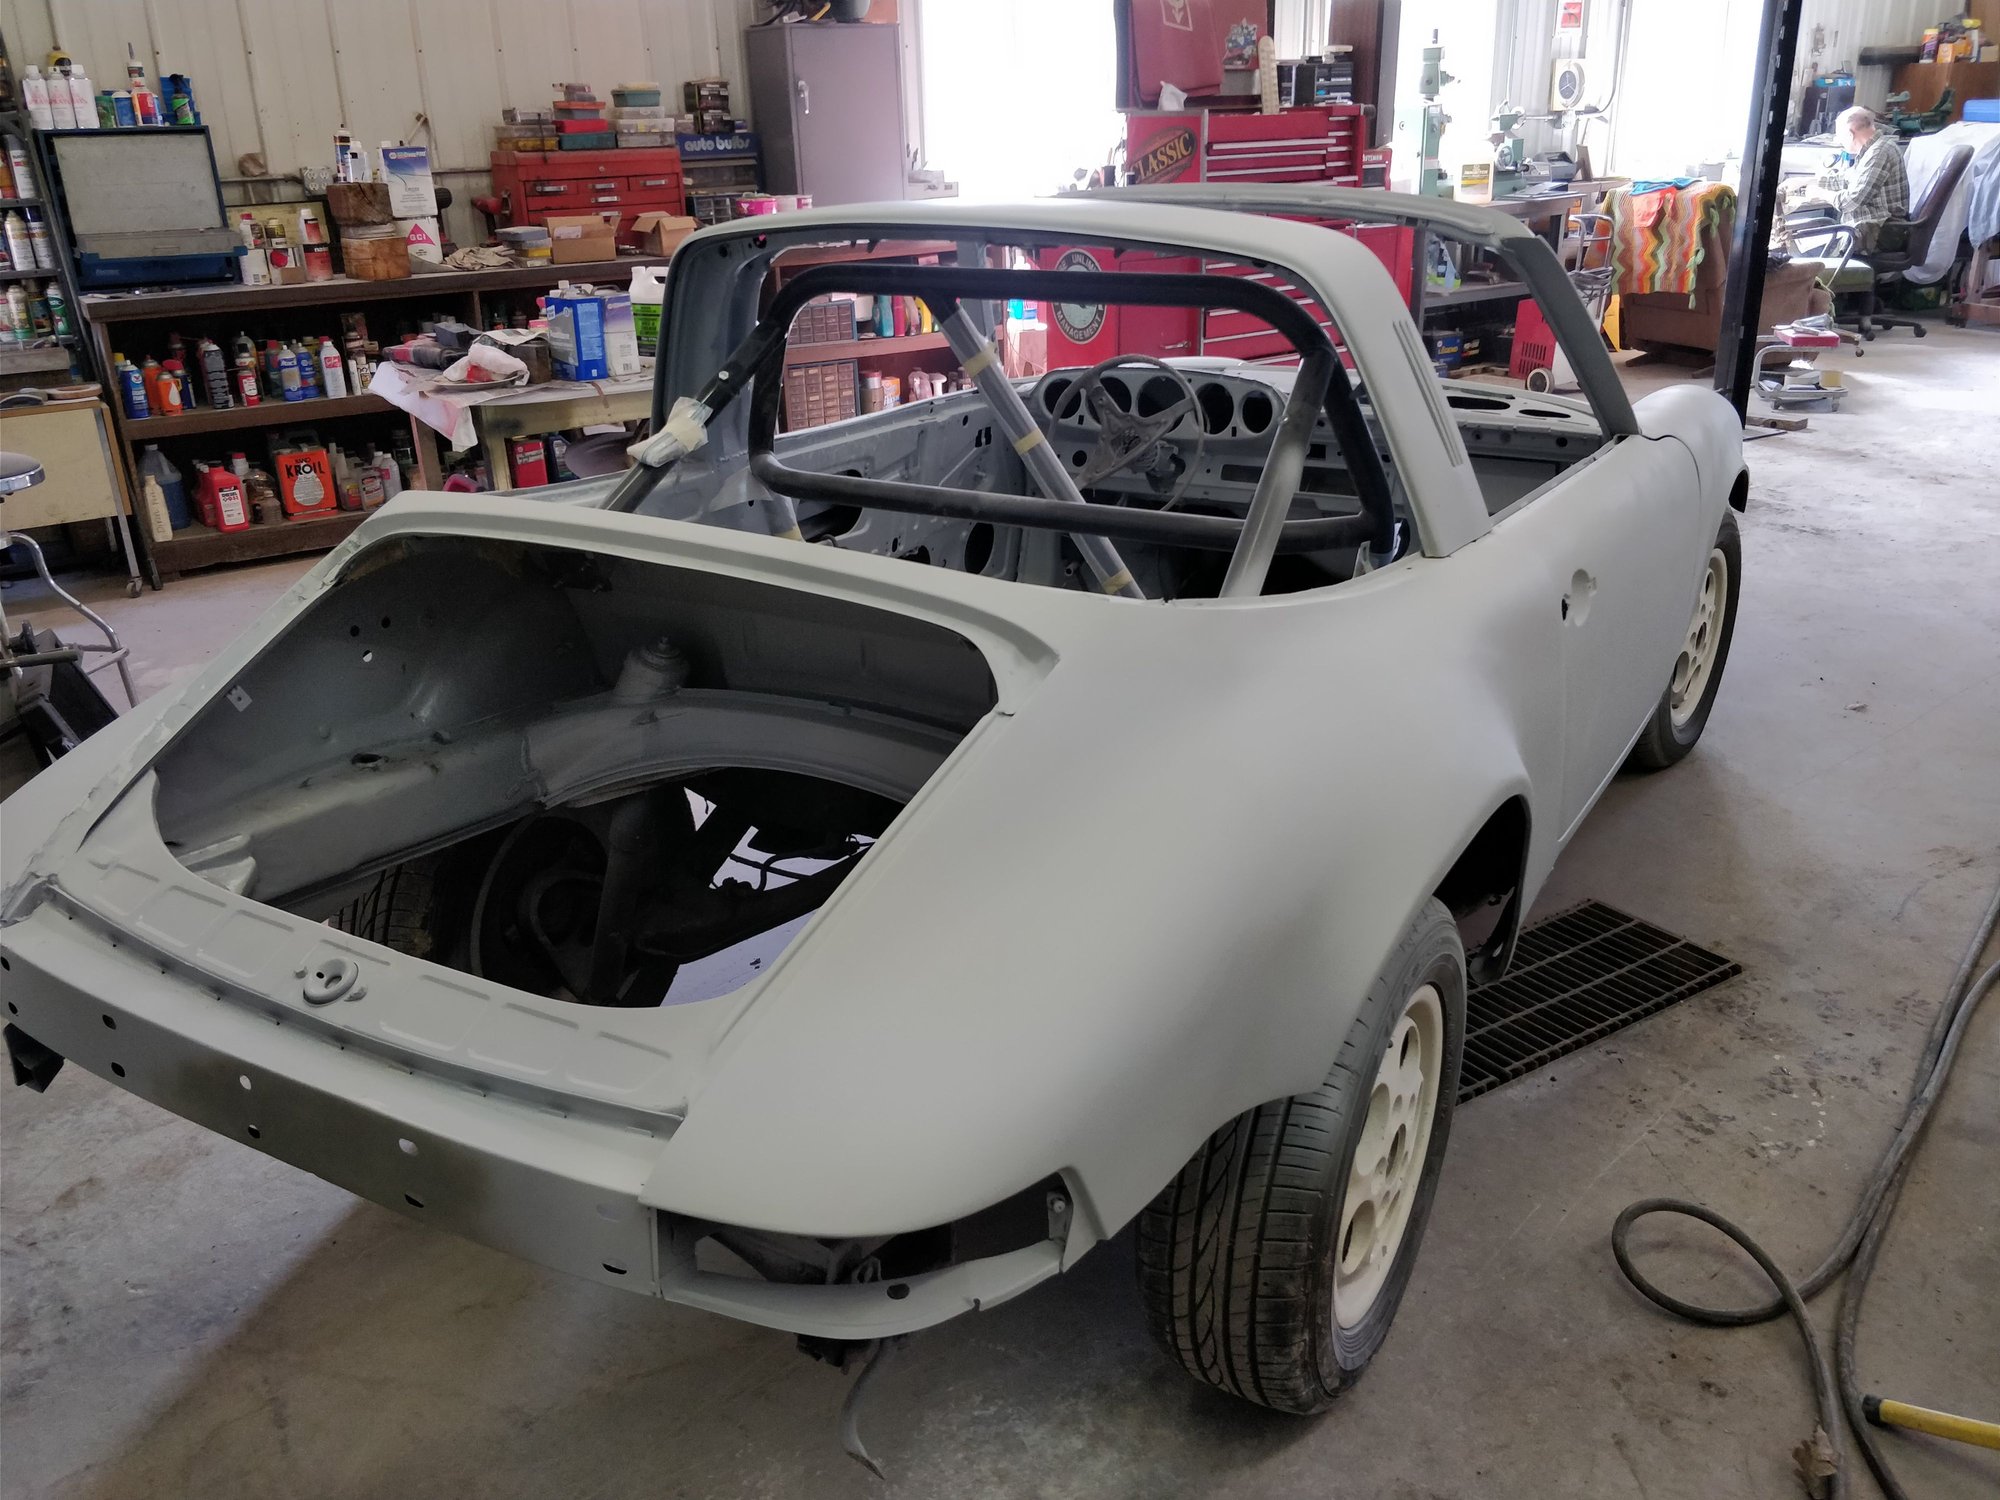
This is what it looked like when the rear was all patched up. I decided to stitch weld the parcel shelf from the top and inside the engine bay for added strength, and because I don't have a huge spot welder. It has been cleaned up a bit since but I am very happy with the repair given where she started.
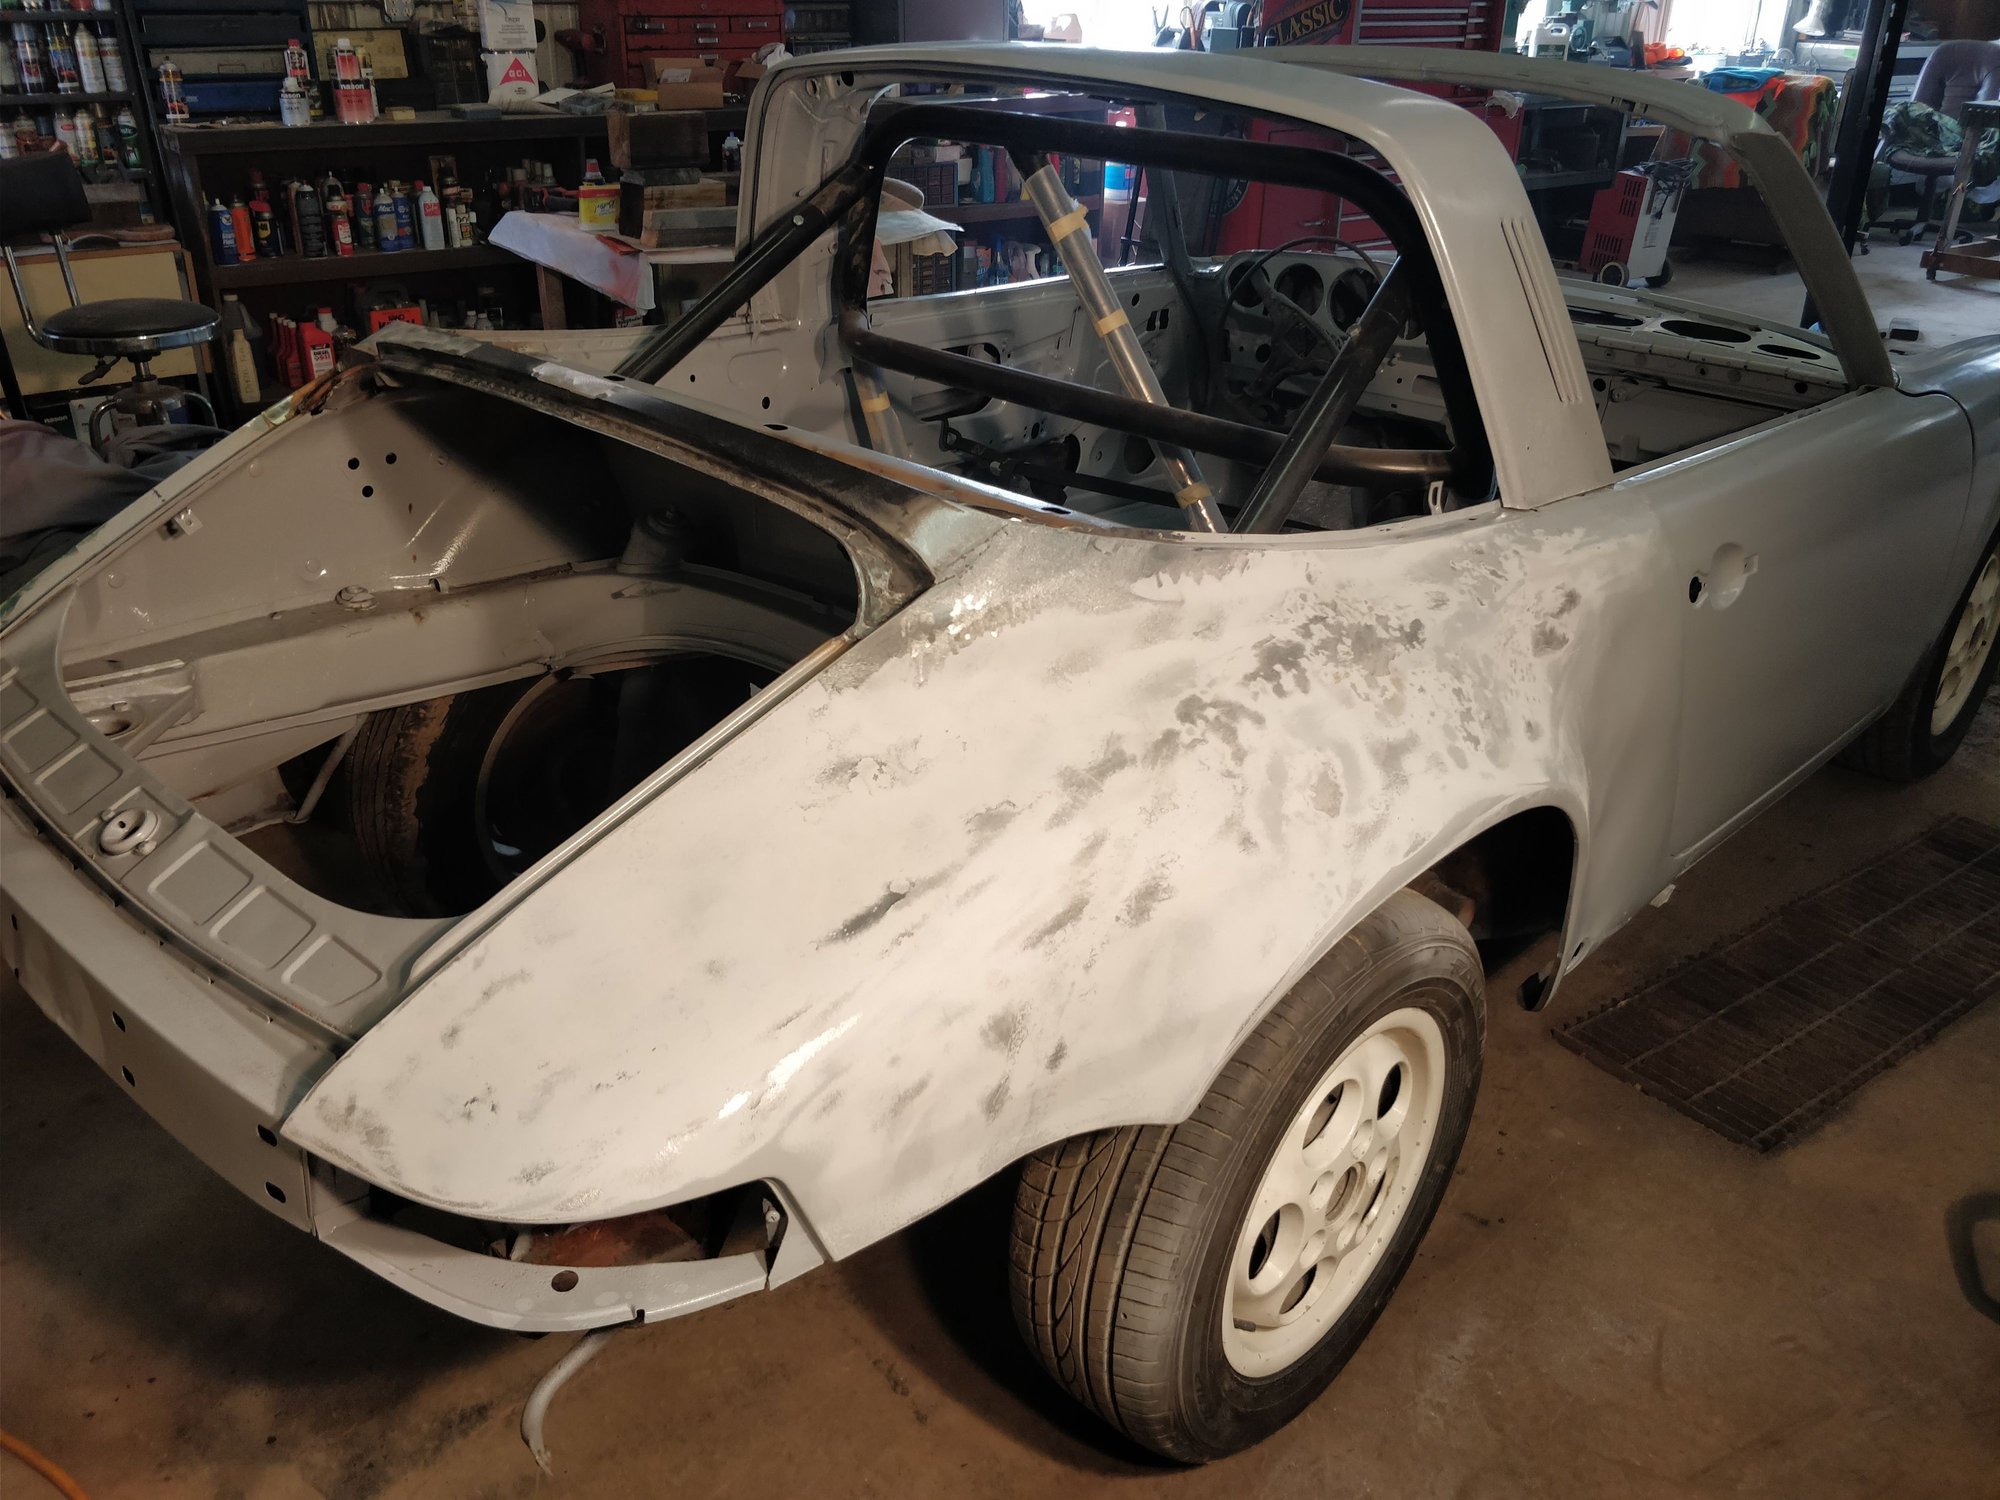
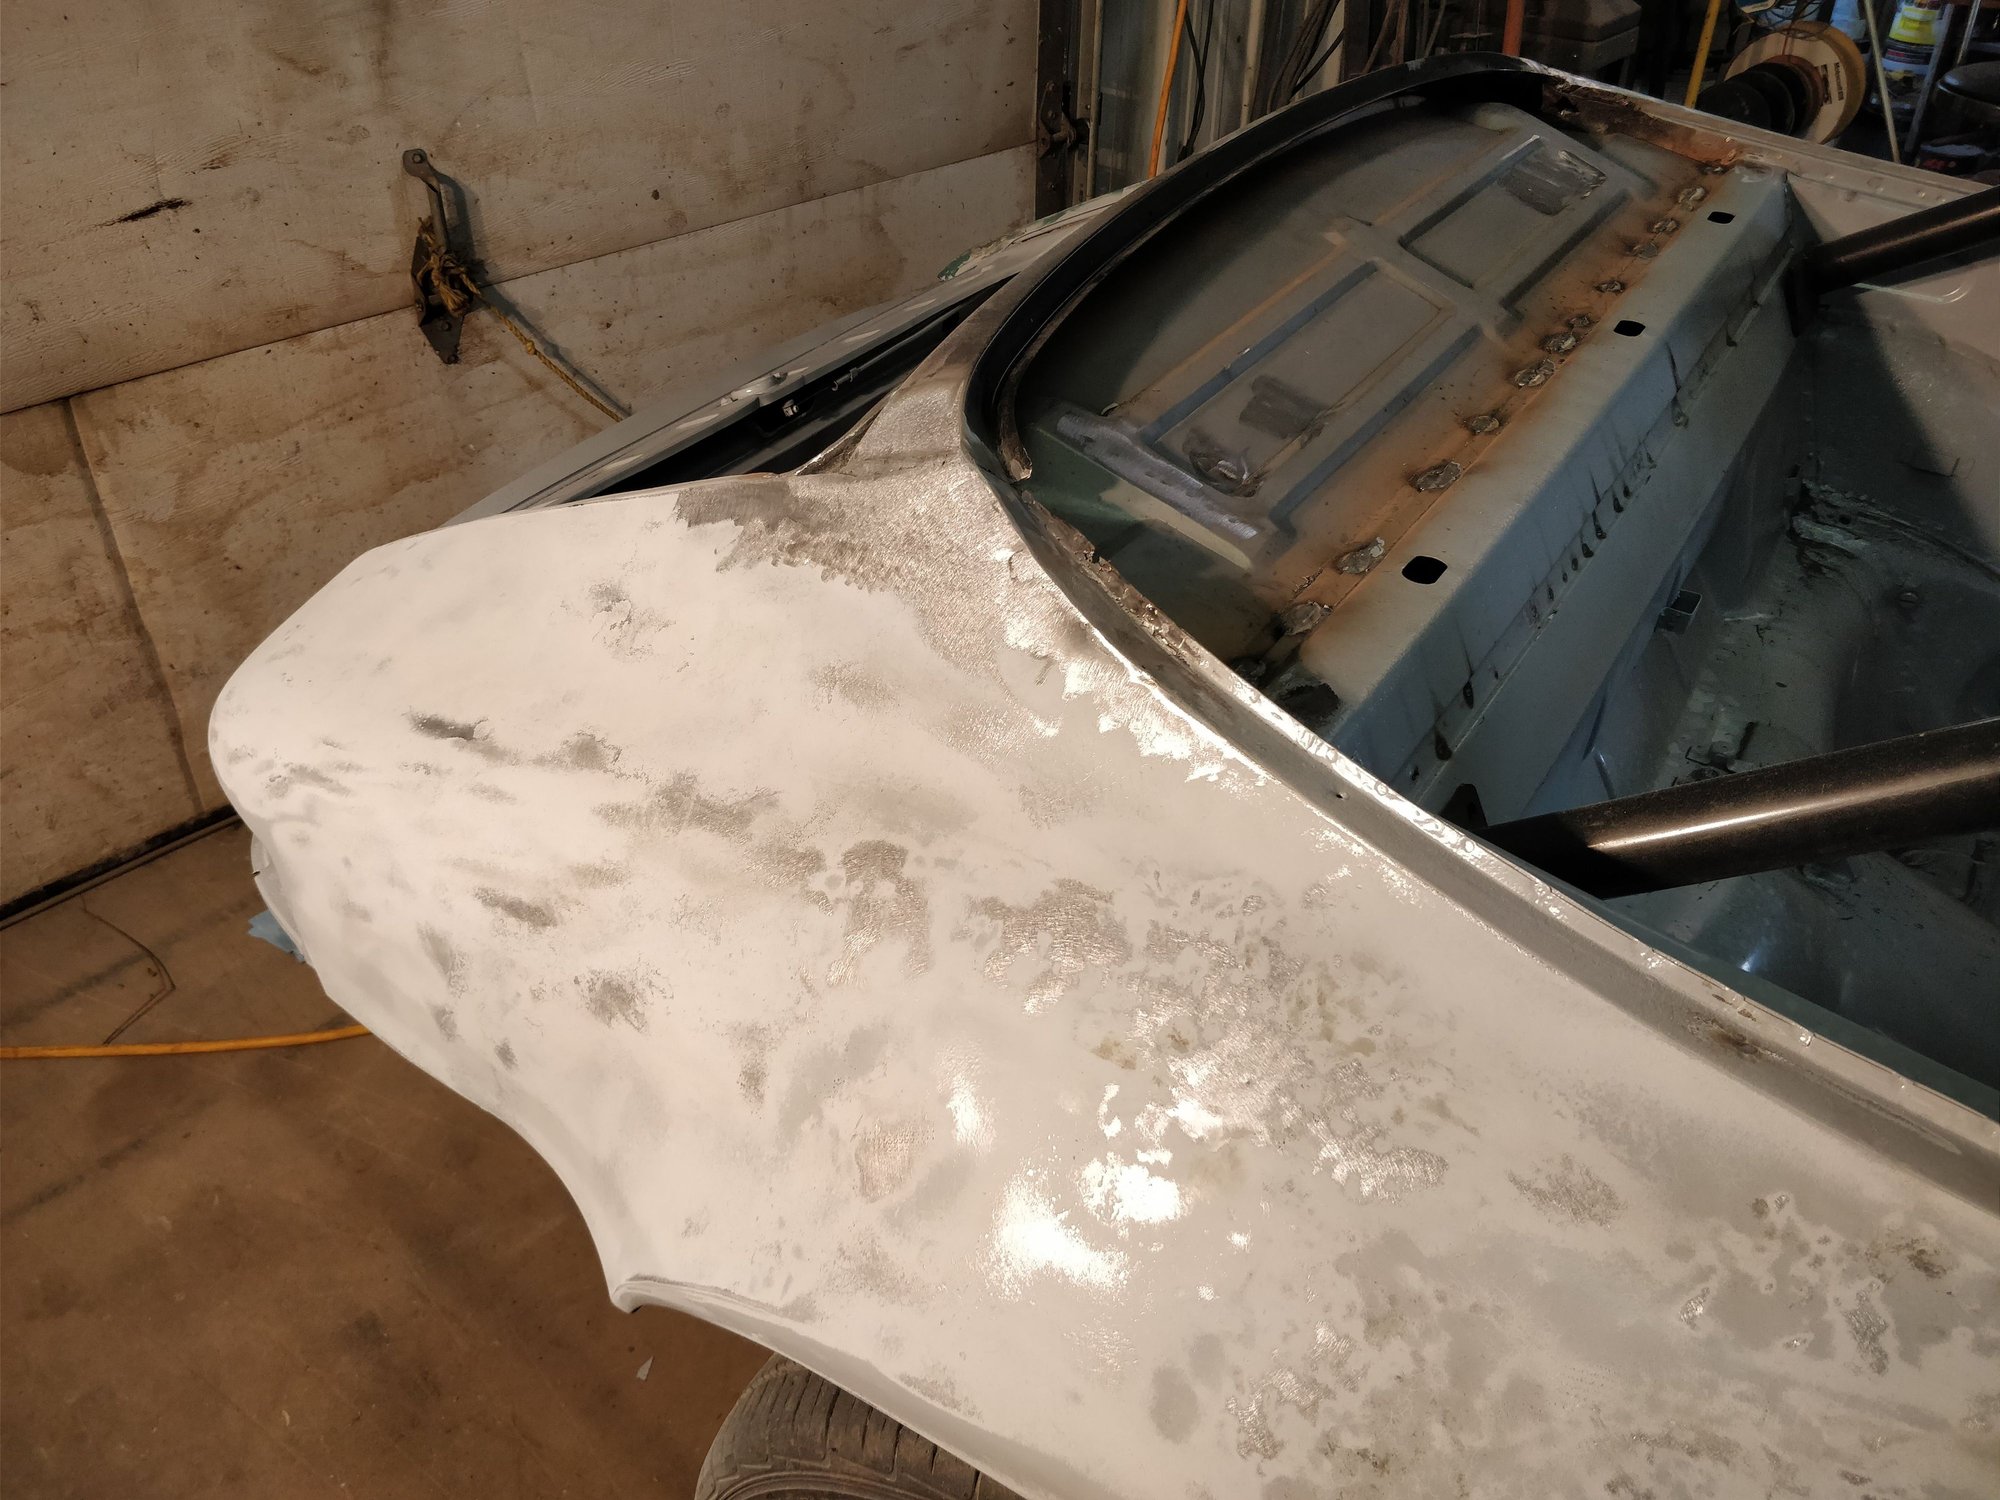
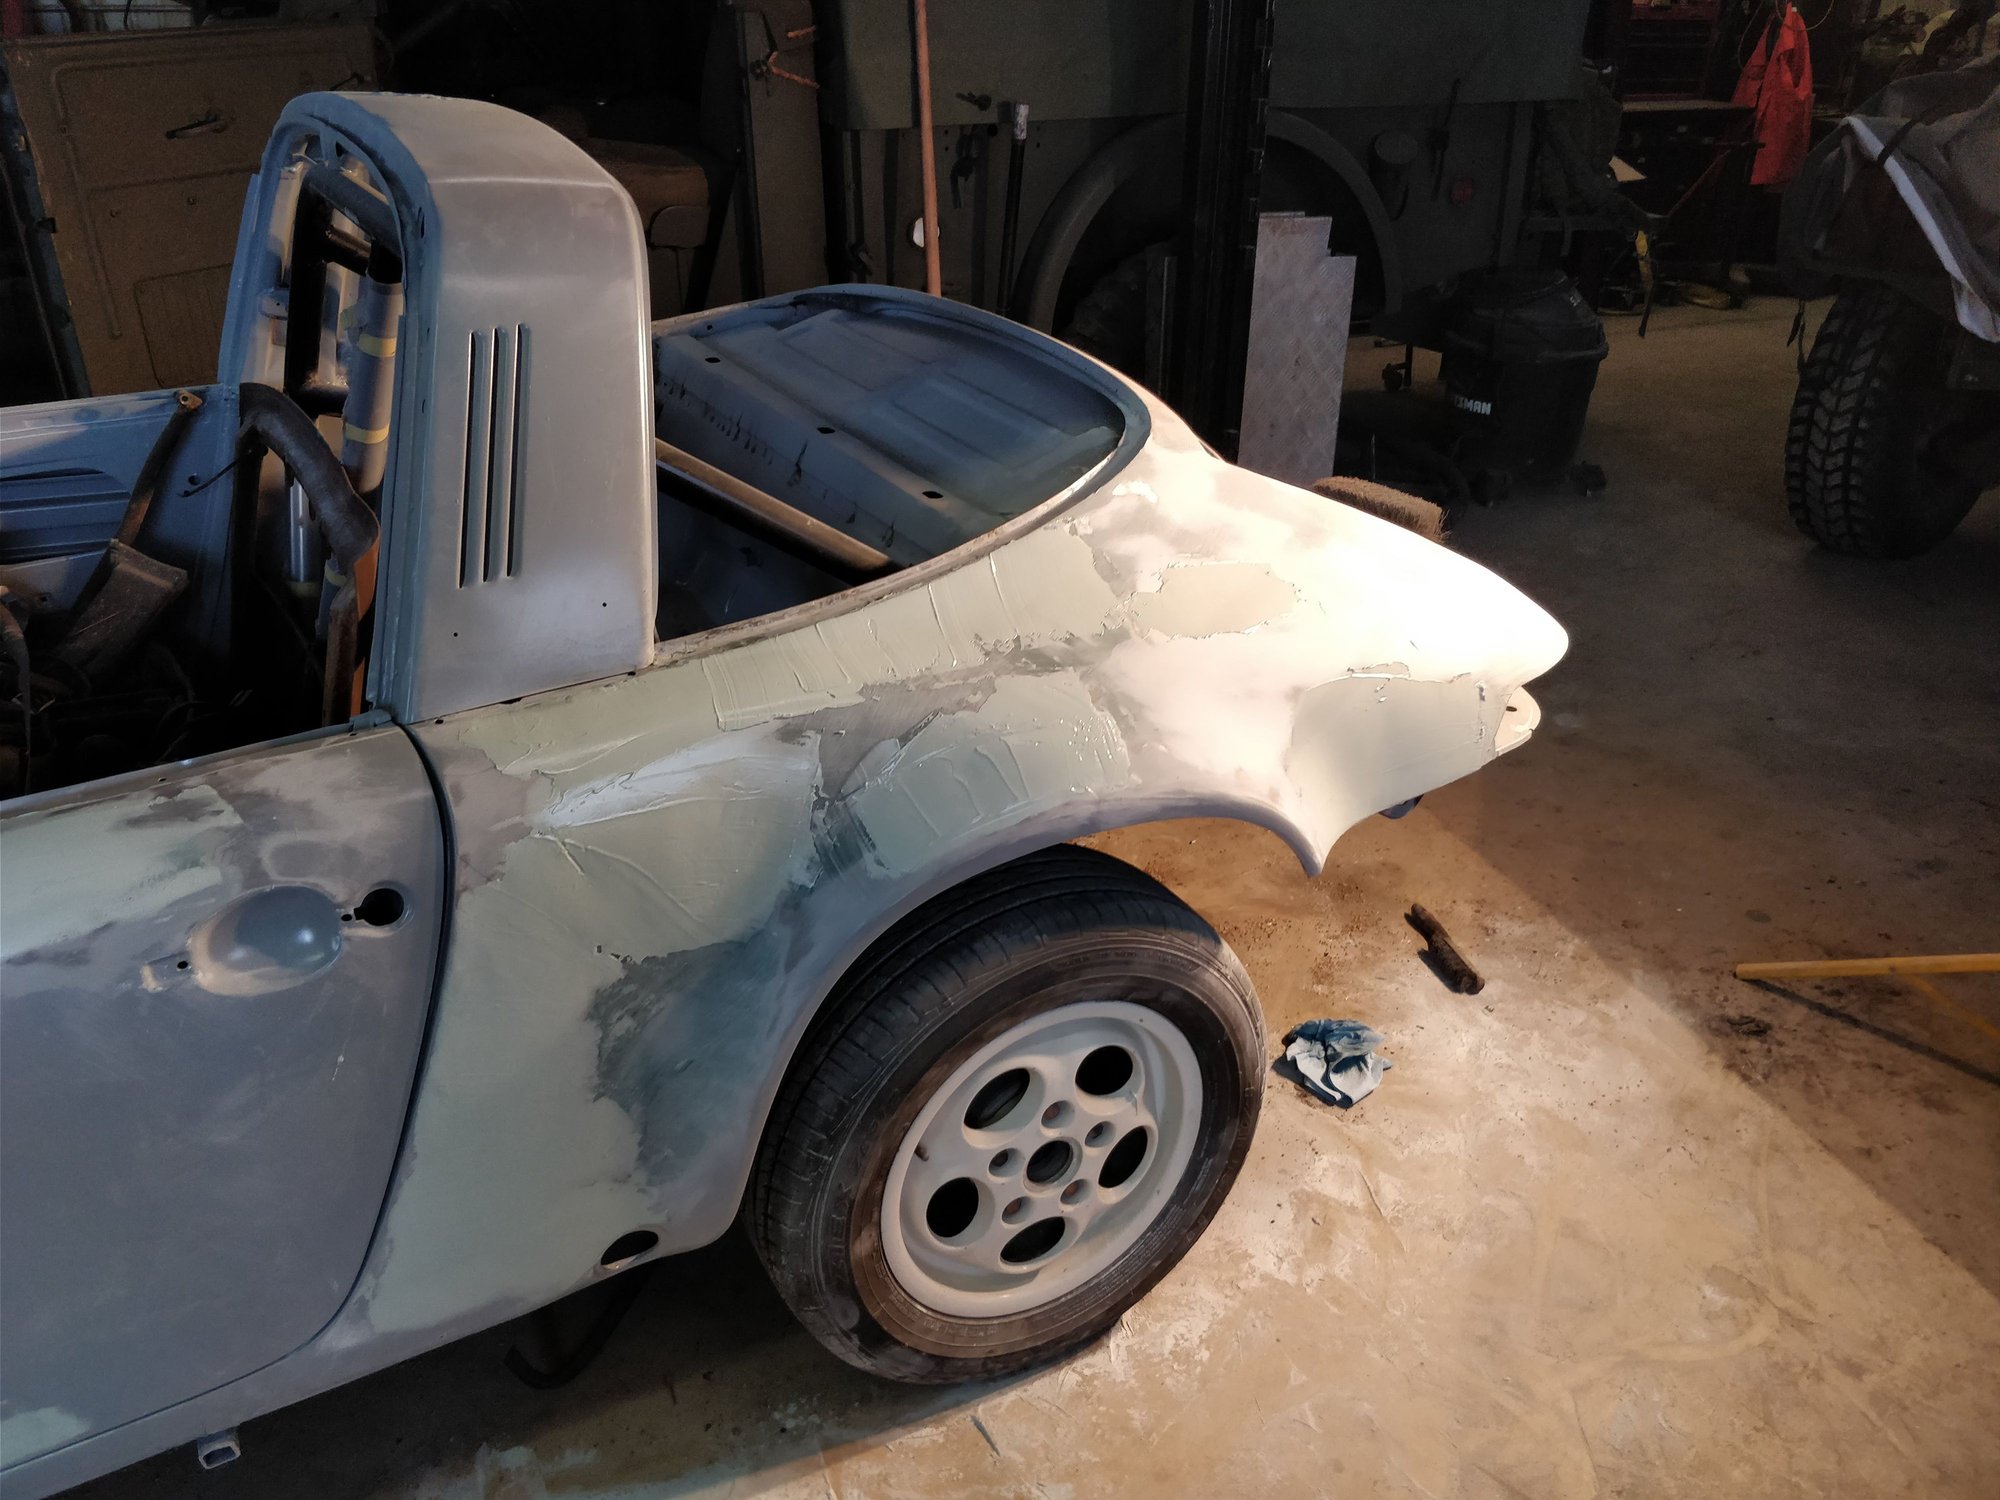
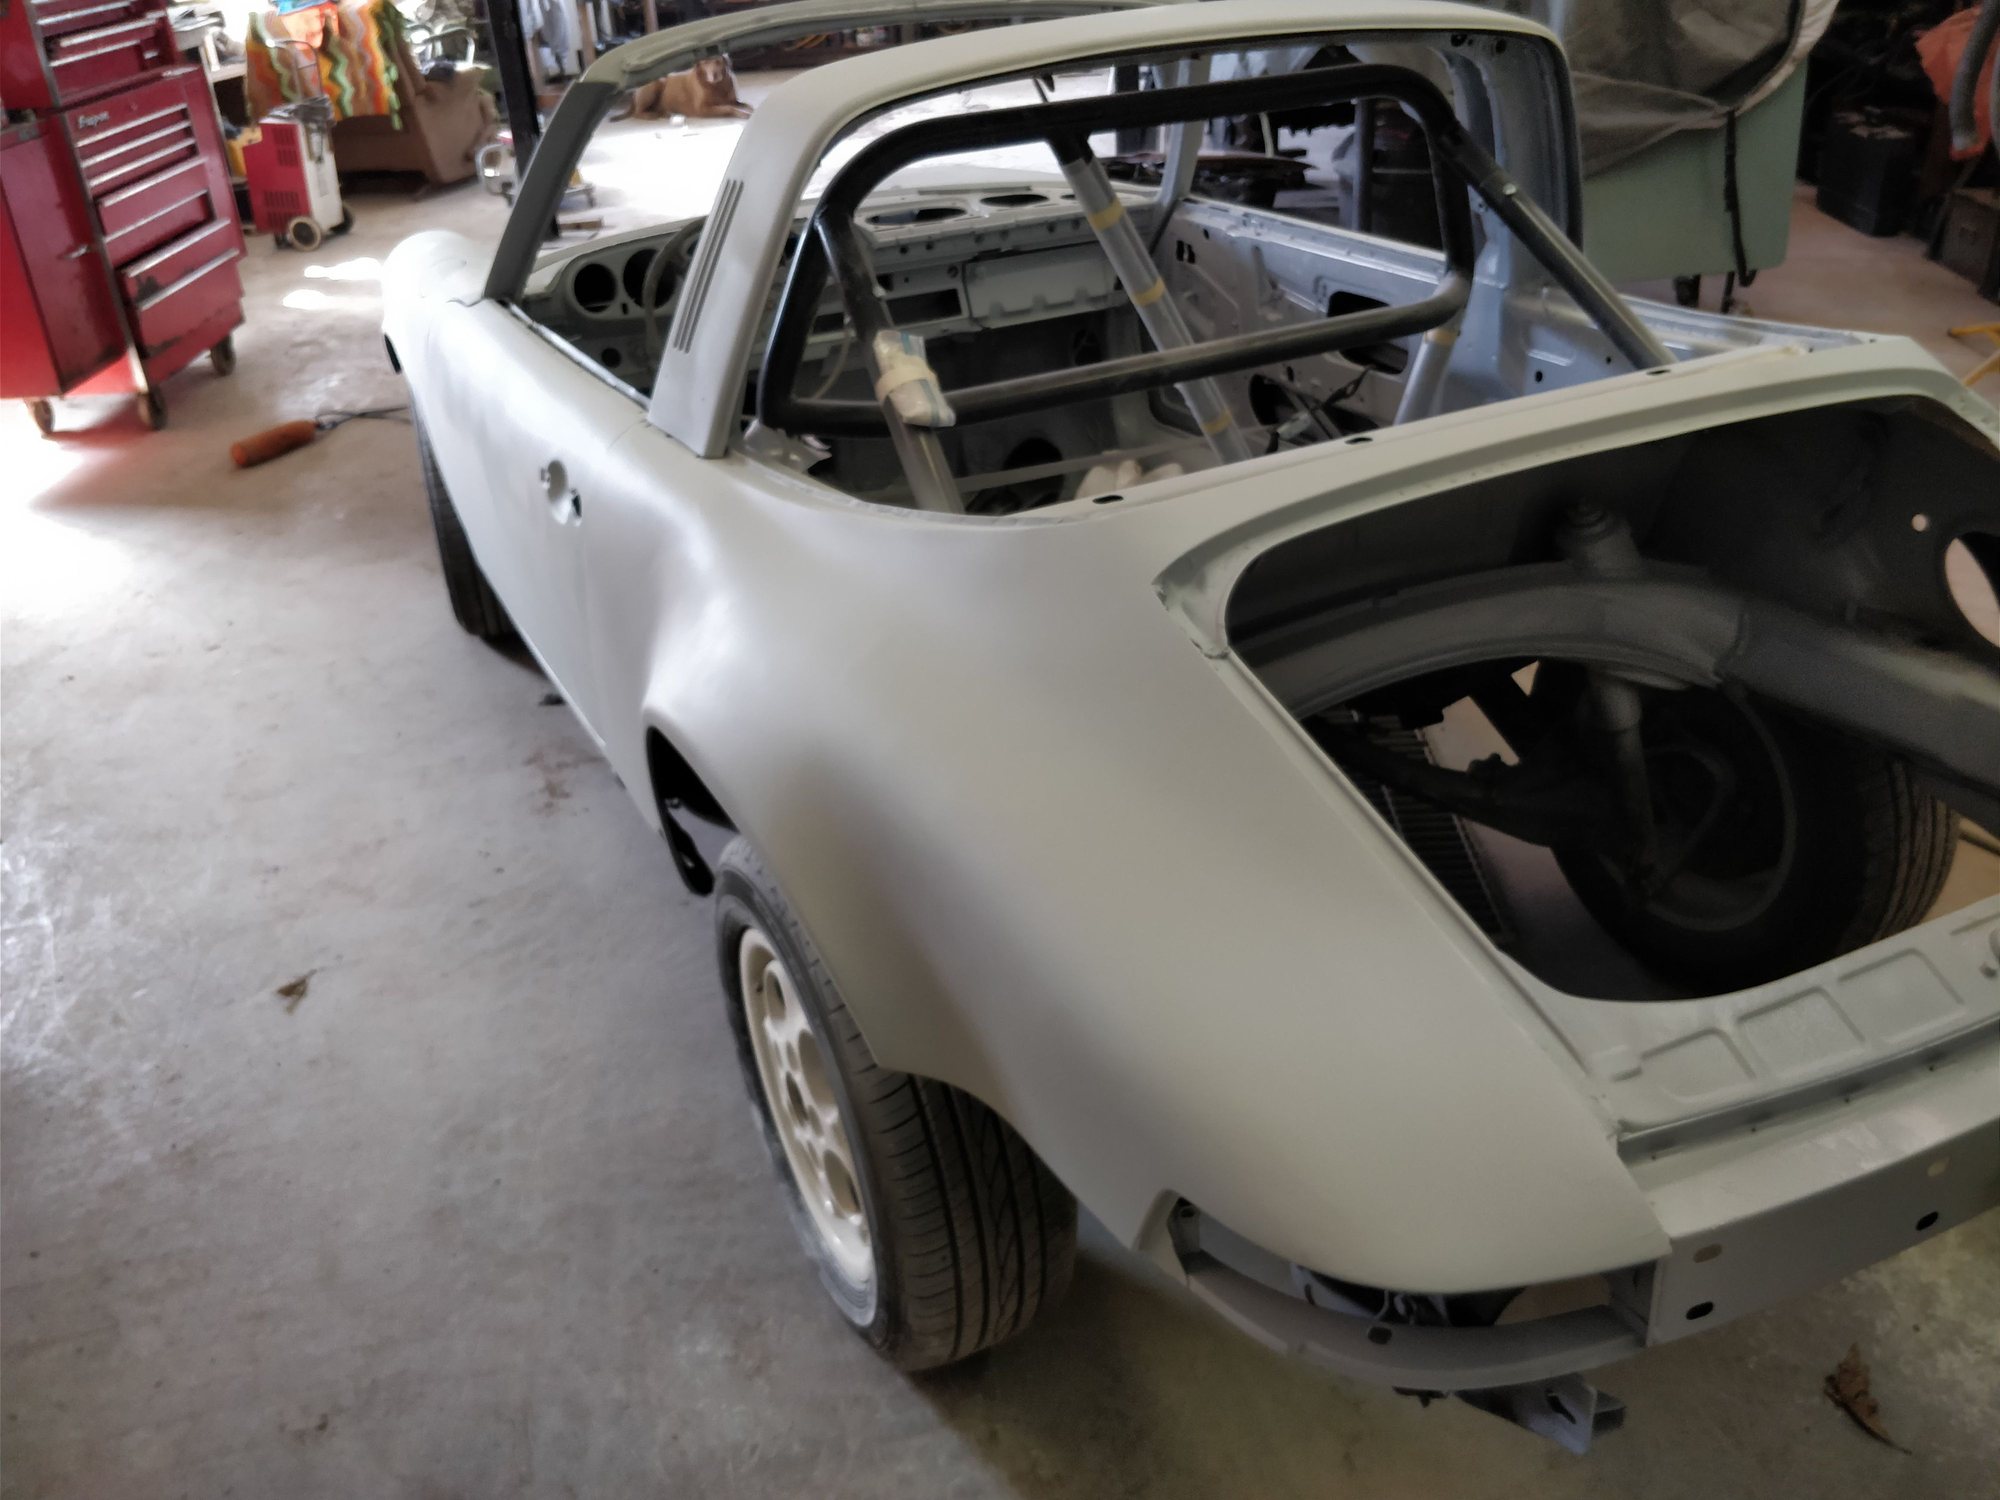
Looks Ok with the welds sanded down. I then began the body work, lots of hammer and dolly work to smooth out the high spots and bring those nice curves back into the flares. I tired to keep the filler to a minimum but some was necessary. There was one patch that needed some short strand fiberglass filler before the lightweight filler went on. Looks much smoother without all those dents!
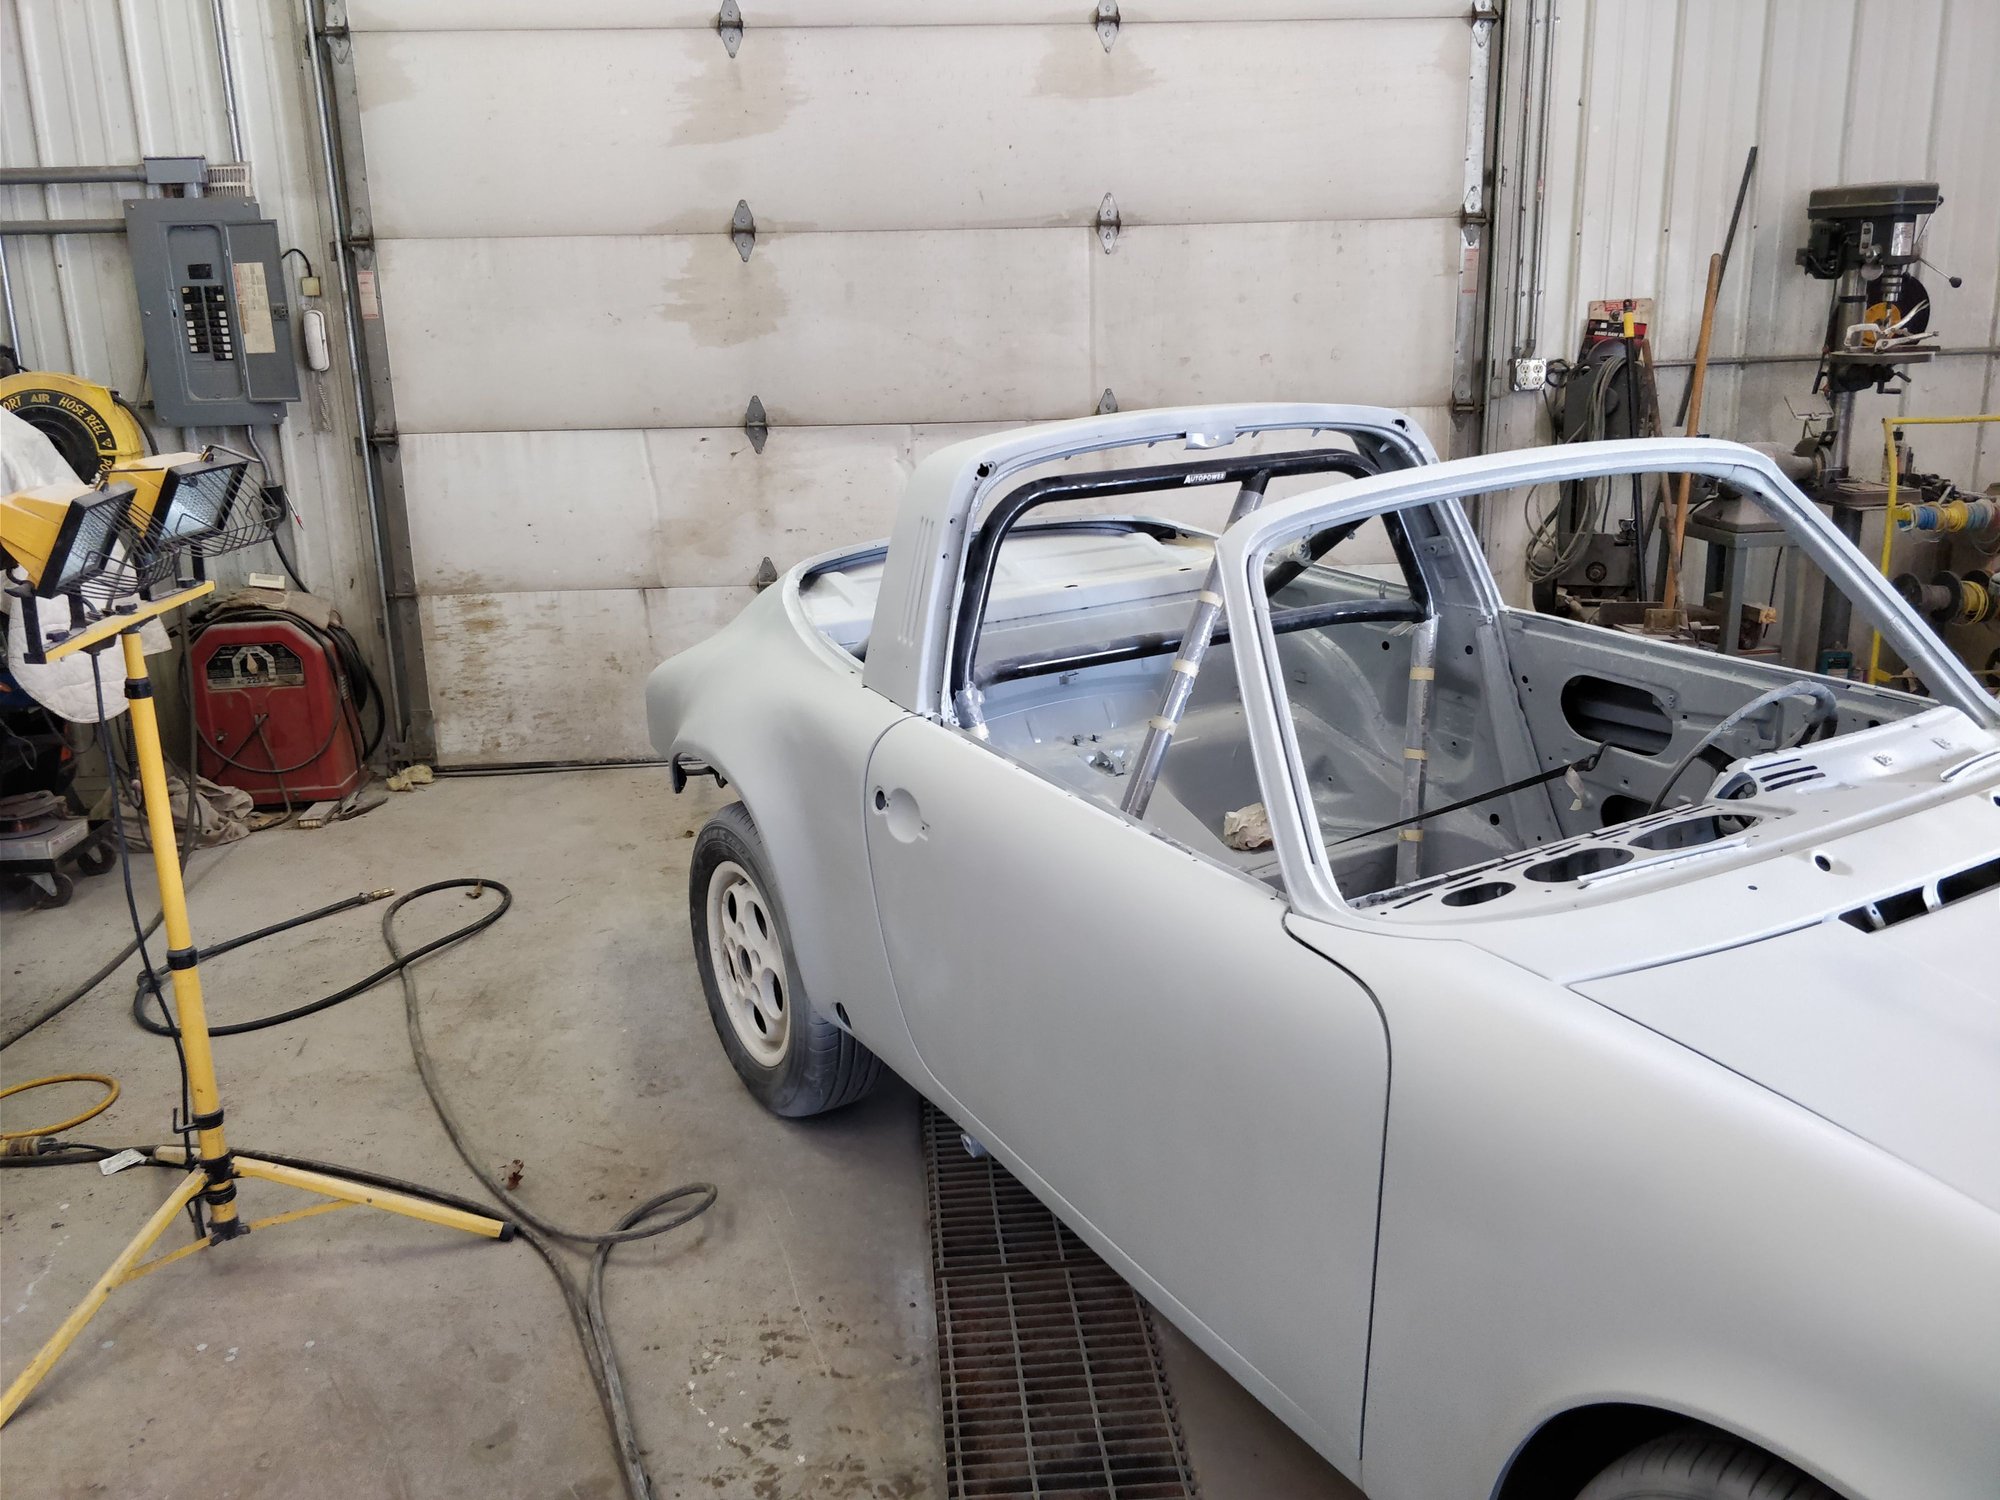
For filler I used the Evercoat Ultra, It is expensive but sands well and I spent what felt like days sanding on this thing (thats because it actually was days worth of sanding). For this original primer I used the Evercoat Polyester high-build primer to give a really good foundation for the final primer and paint. I think I needed 3 coats (prime > sand > Prime > sand, etc) to get to this point. I am very happy with it but will need some finishing work before paint.
I found the whale tale locally for a great price but wont be running it. I prefer a ducktail so I've sense sourced one.
More pictures.... I picked up a 3.0 CIS engine in California, it was disassembled but complete. Owner said it was a ~40,000 mile engine before it busted a head bolt. The internals are completely beautiful (sorry no pics of the engine yet) so I believe it. My plan is to build a high compression (twin plug) 3.2 Short Stroke (upgrade to 98mm P&Cs) with ITBs, Electronic Fuel control and electronic ignition via coil-near-plug with a robust software and ECm to run it all (probably a hot cam grind as well)
Turns out this set-up is very expensive to build so I think I will slowly collect parts for the build until I can take it in and get it done in one shot.... but what to do in the meantime?
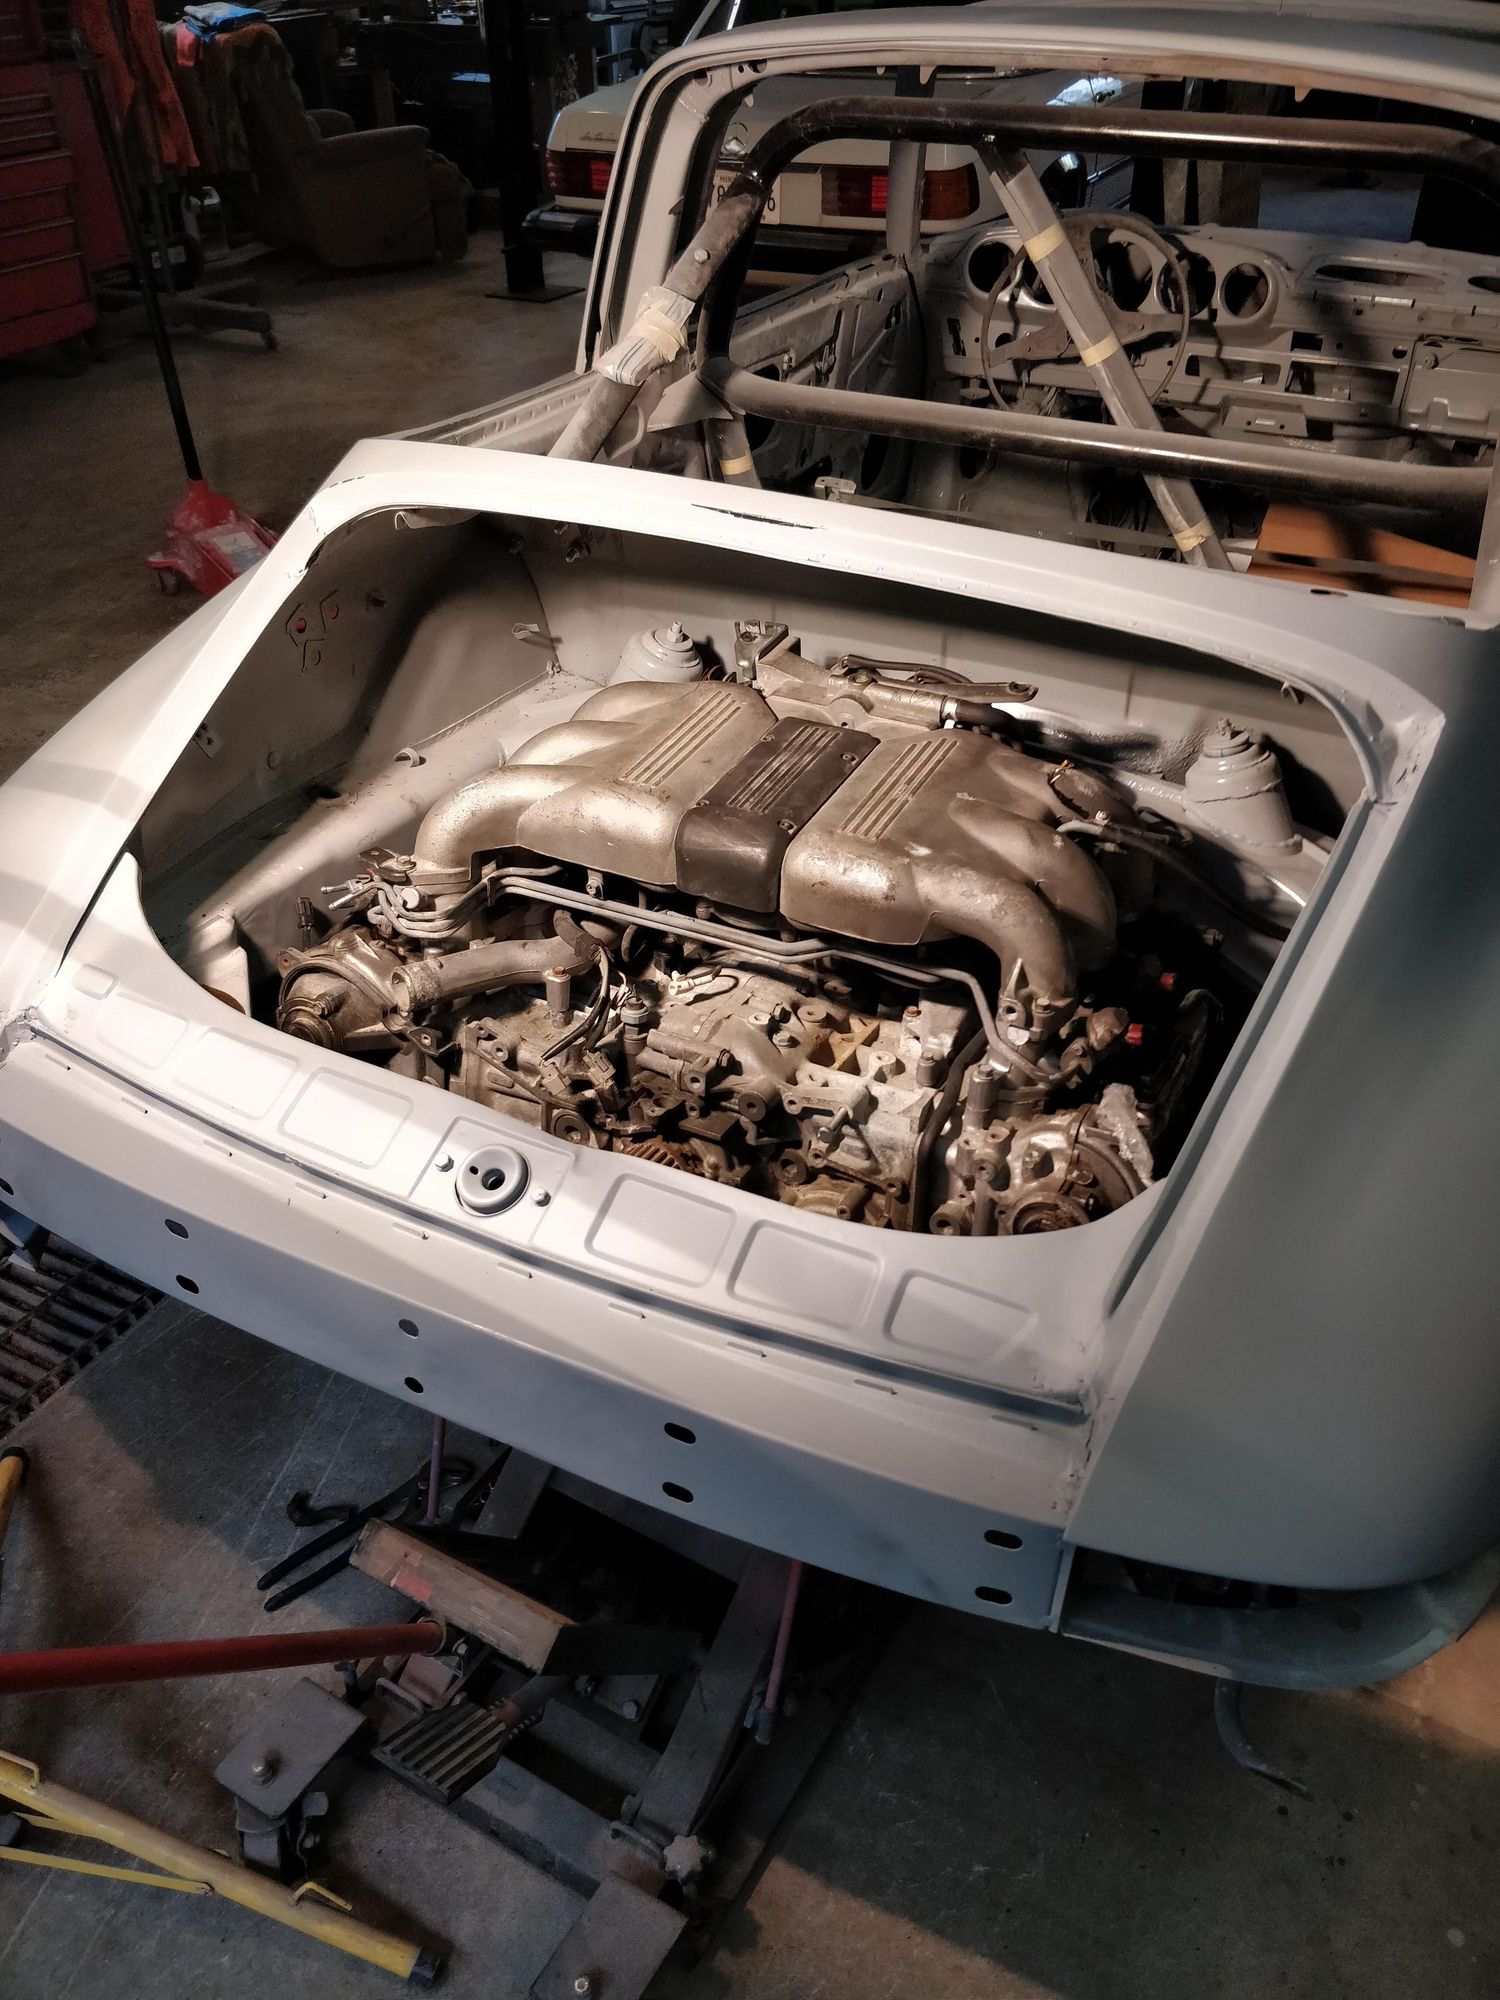
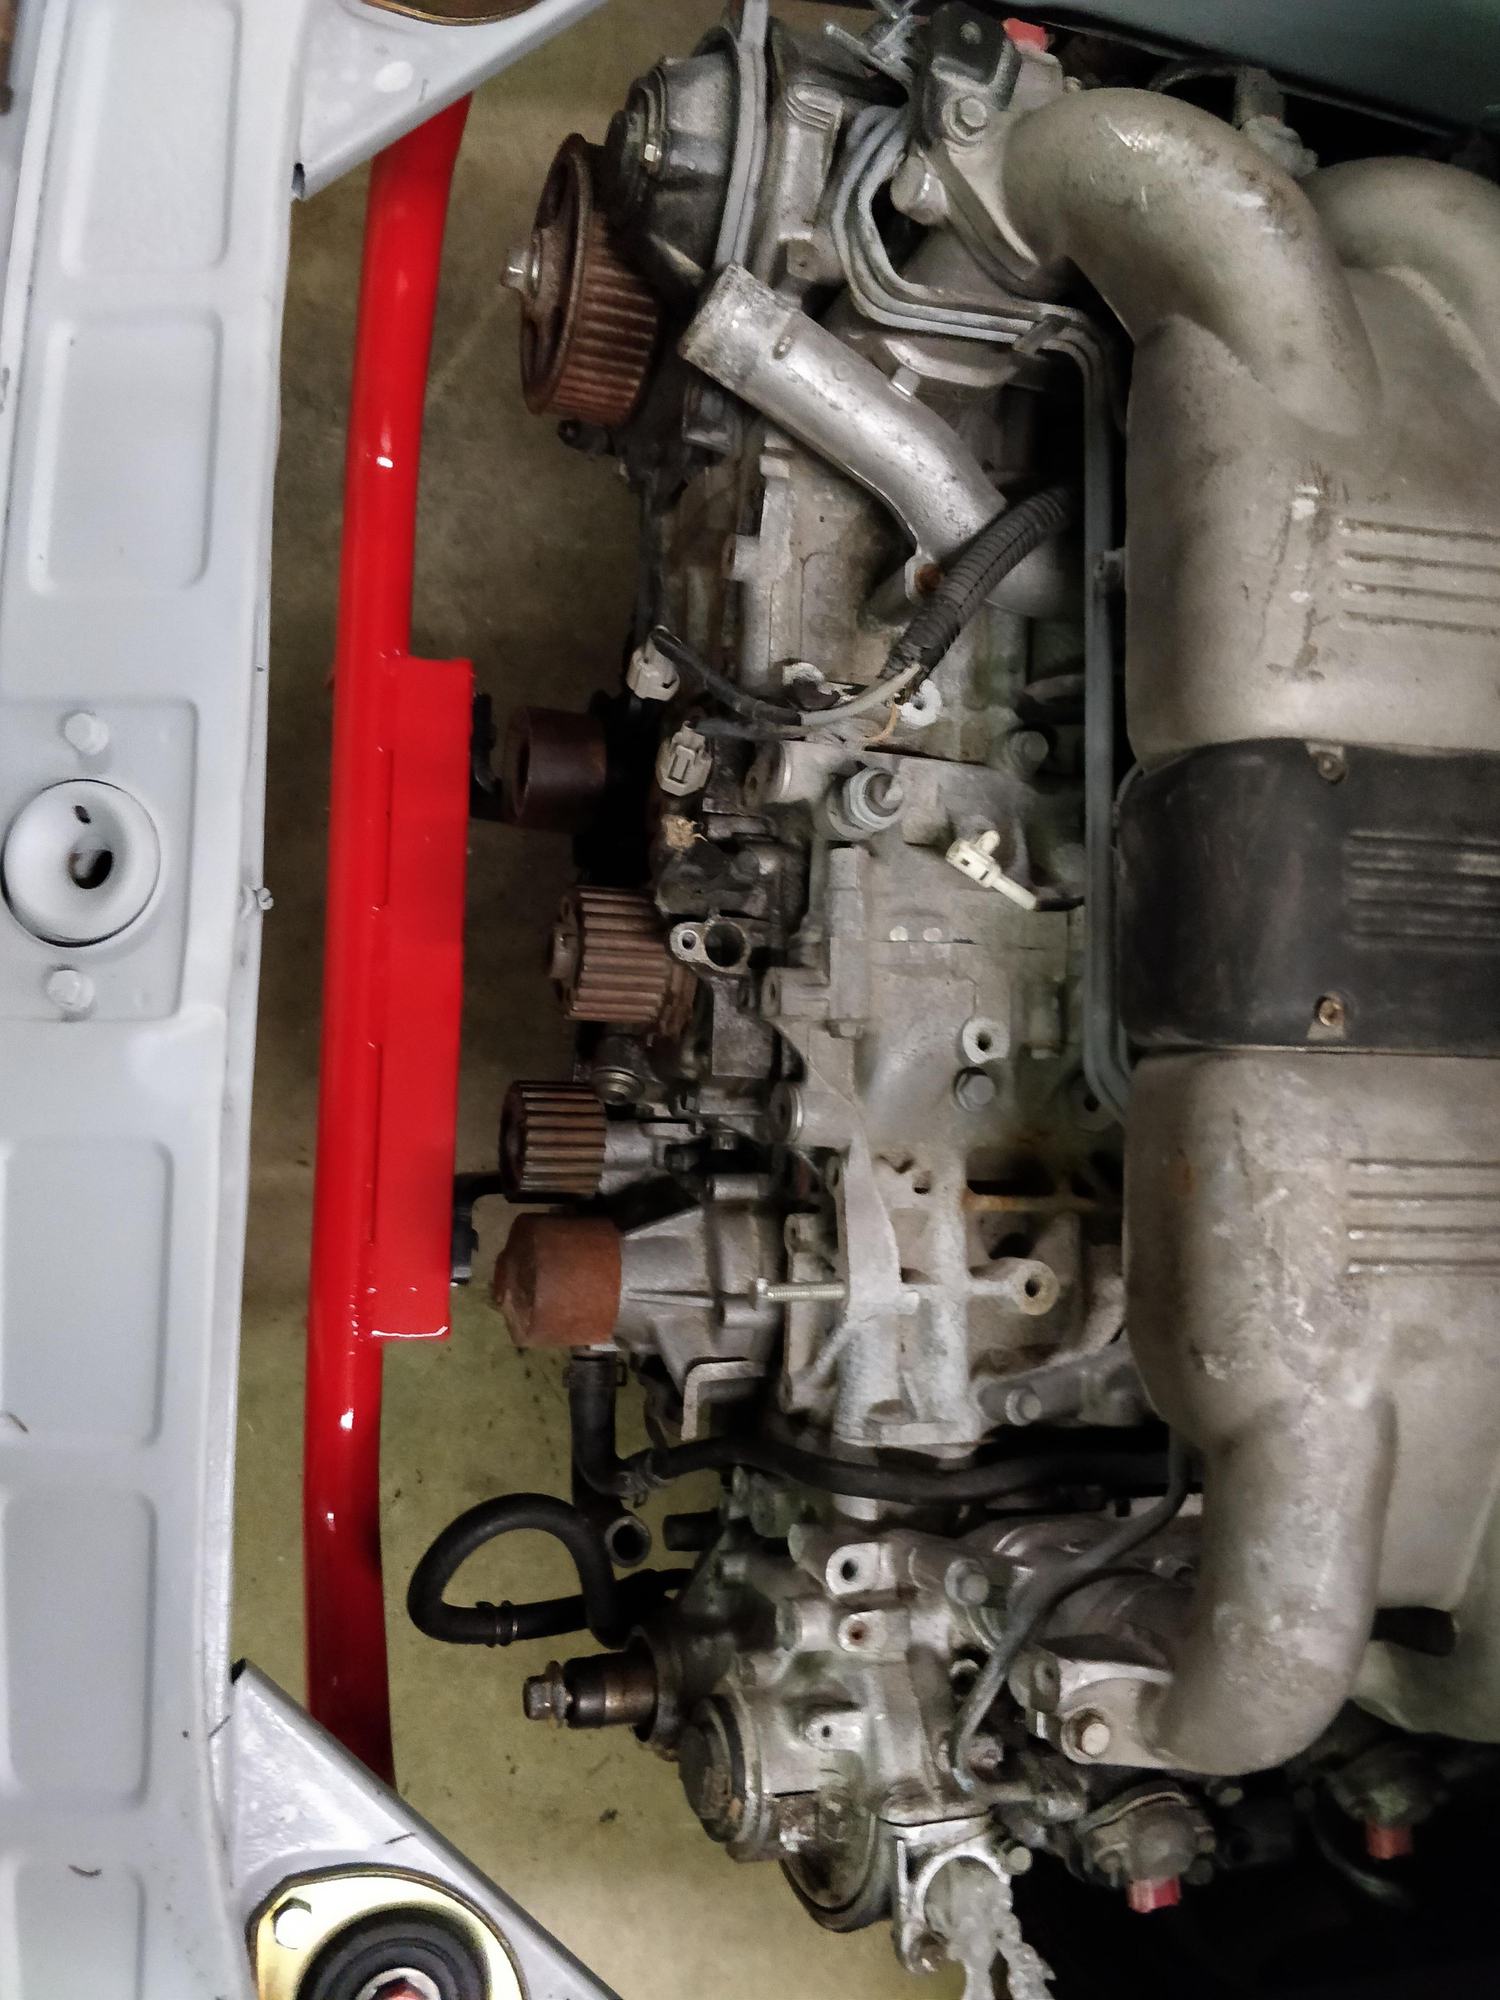
I was fortunate to find a flat 6, 230hp engine, 3.3l with a great torque curve - but its from Subaru. I have seen a few others put an EG33 into 911s with varying results. This is a stop-gap measure so I can enjoy the car as I wait for the engine build dollars to appear - knowing I want to go back to air cooled eventually I am being very careful to keep the core of the car as original as possible.
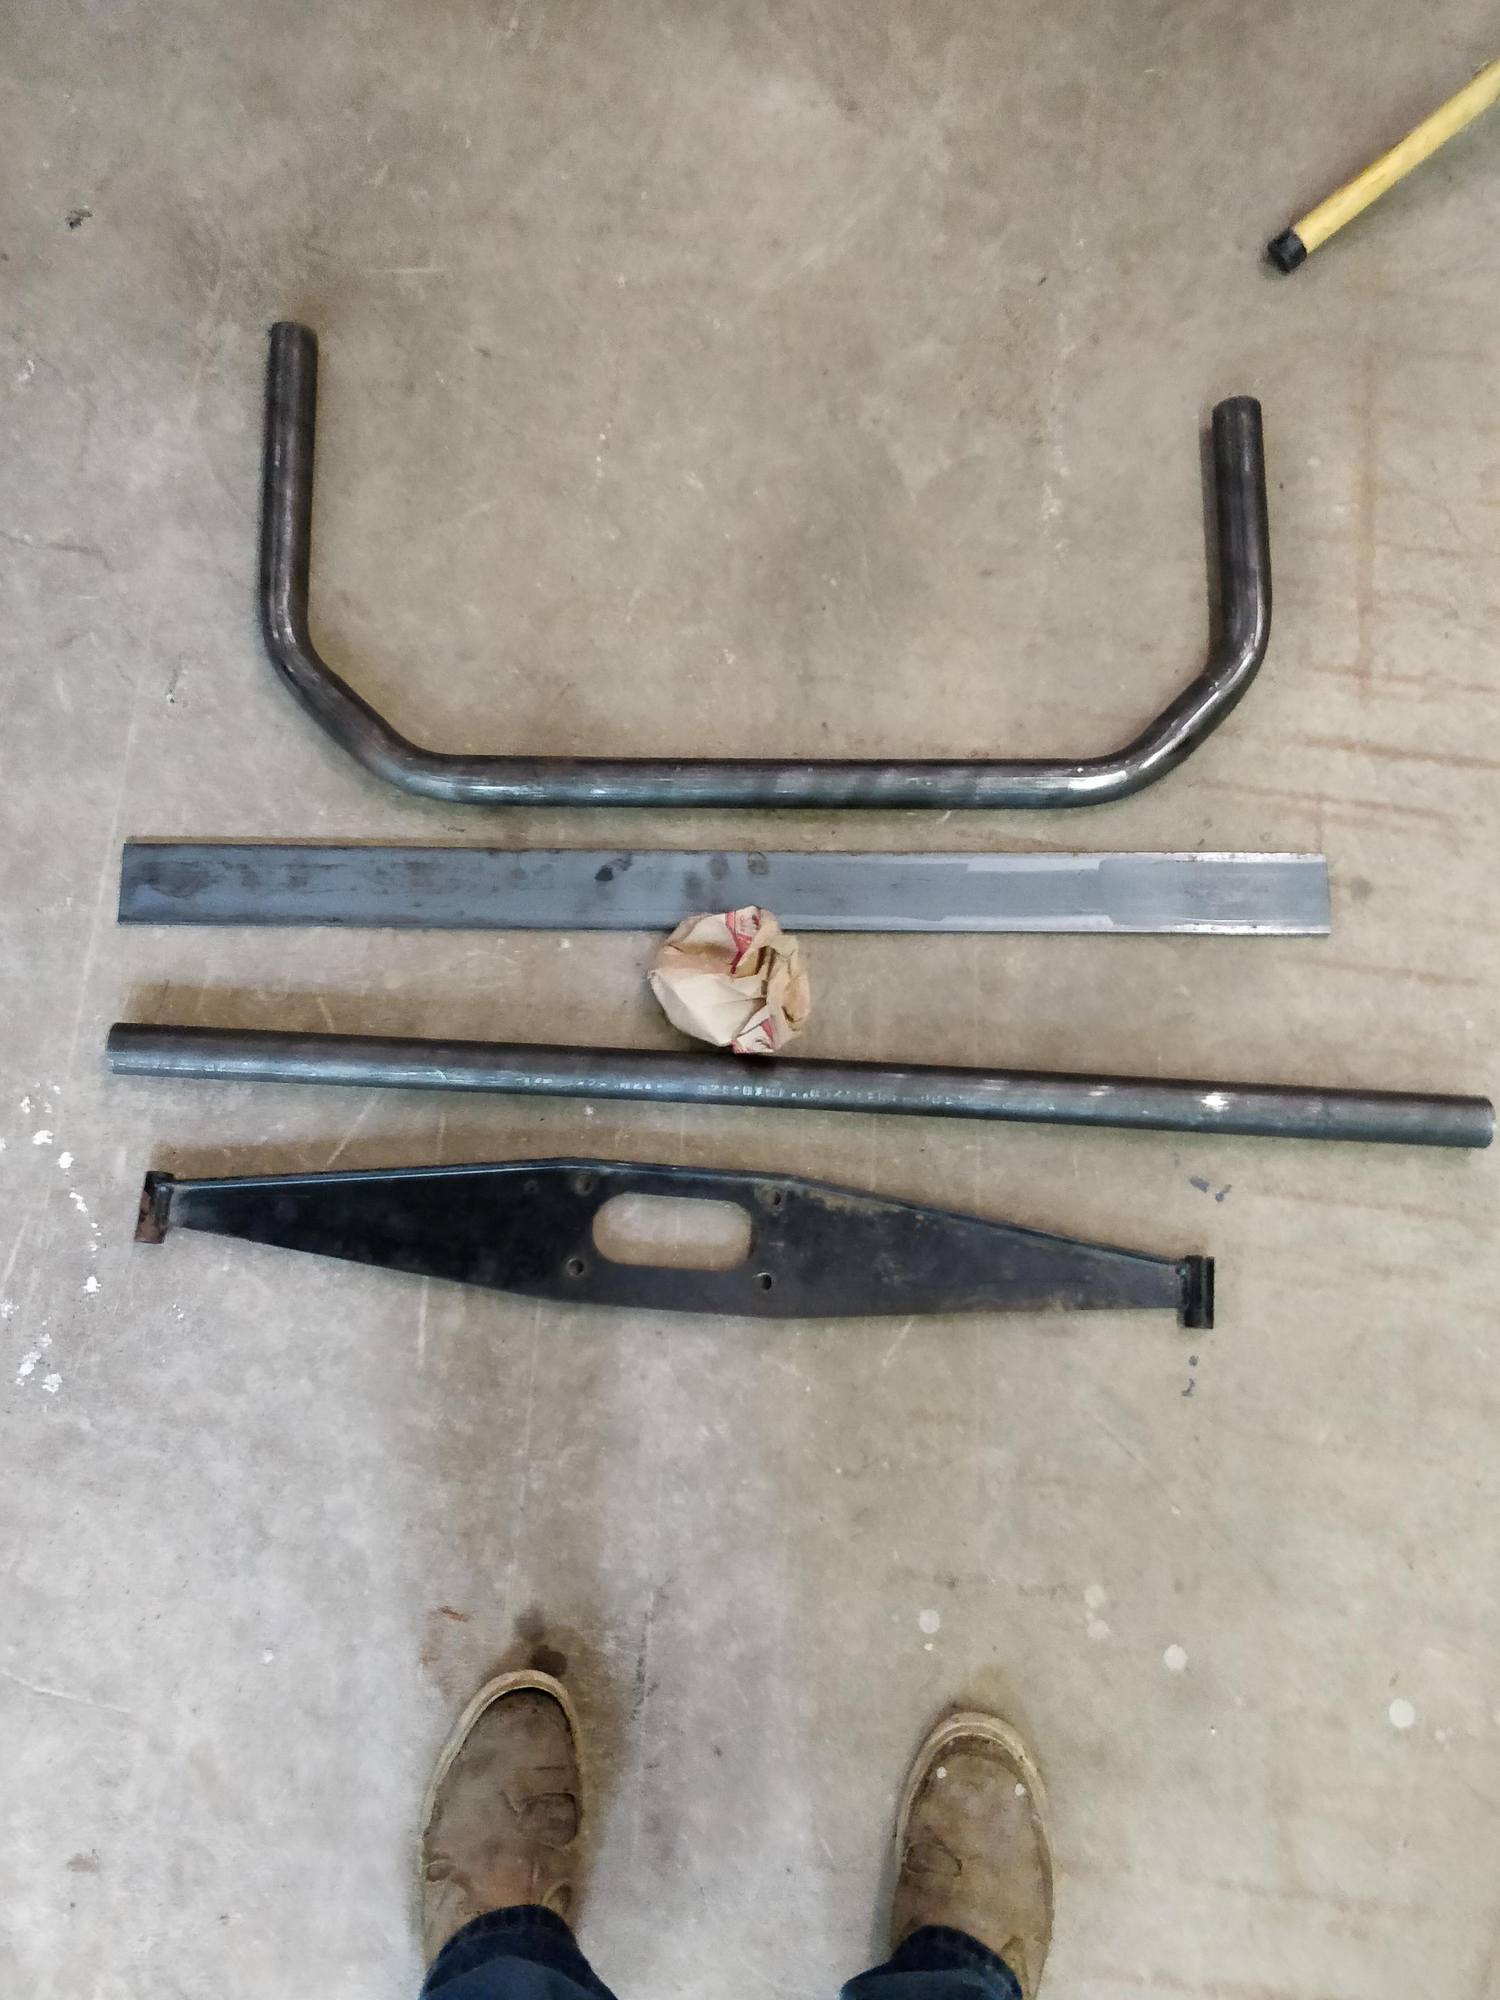
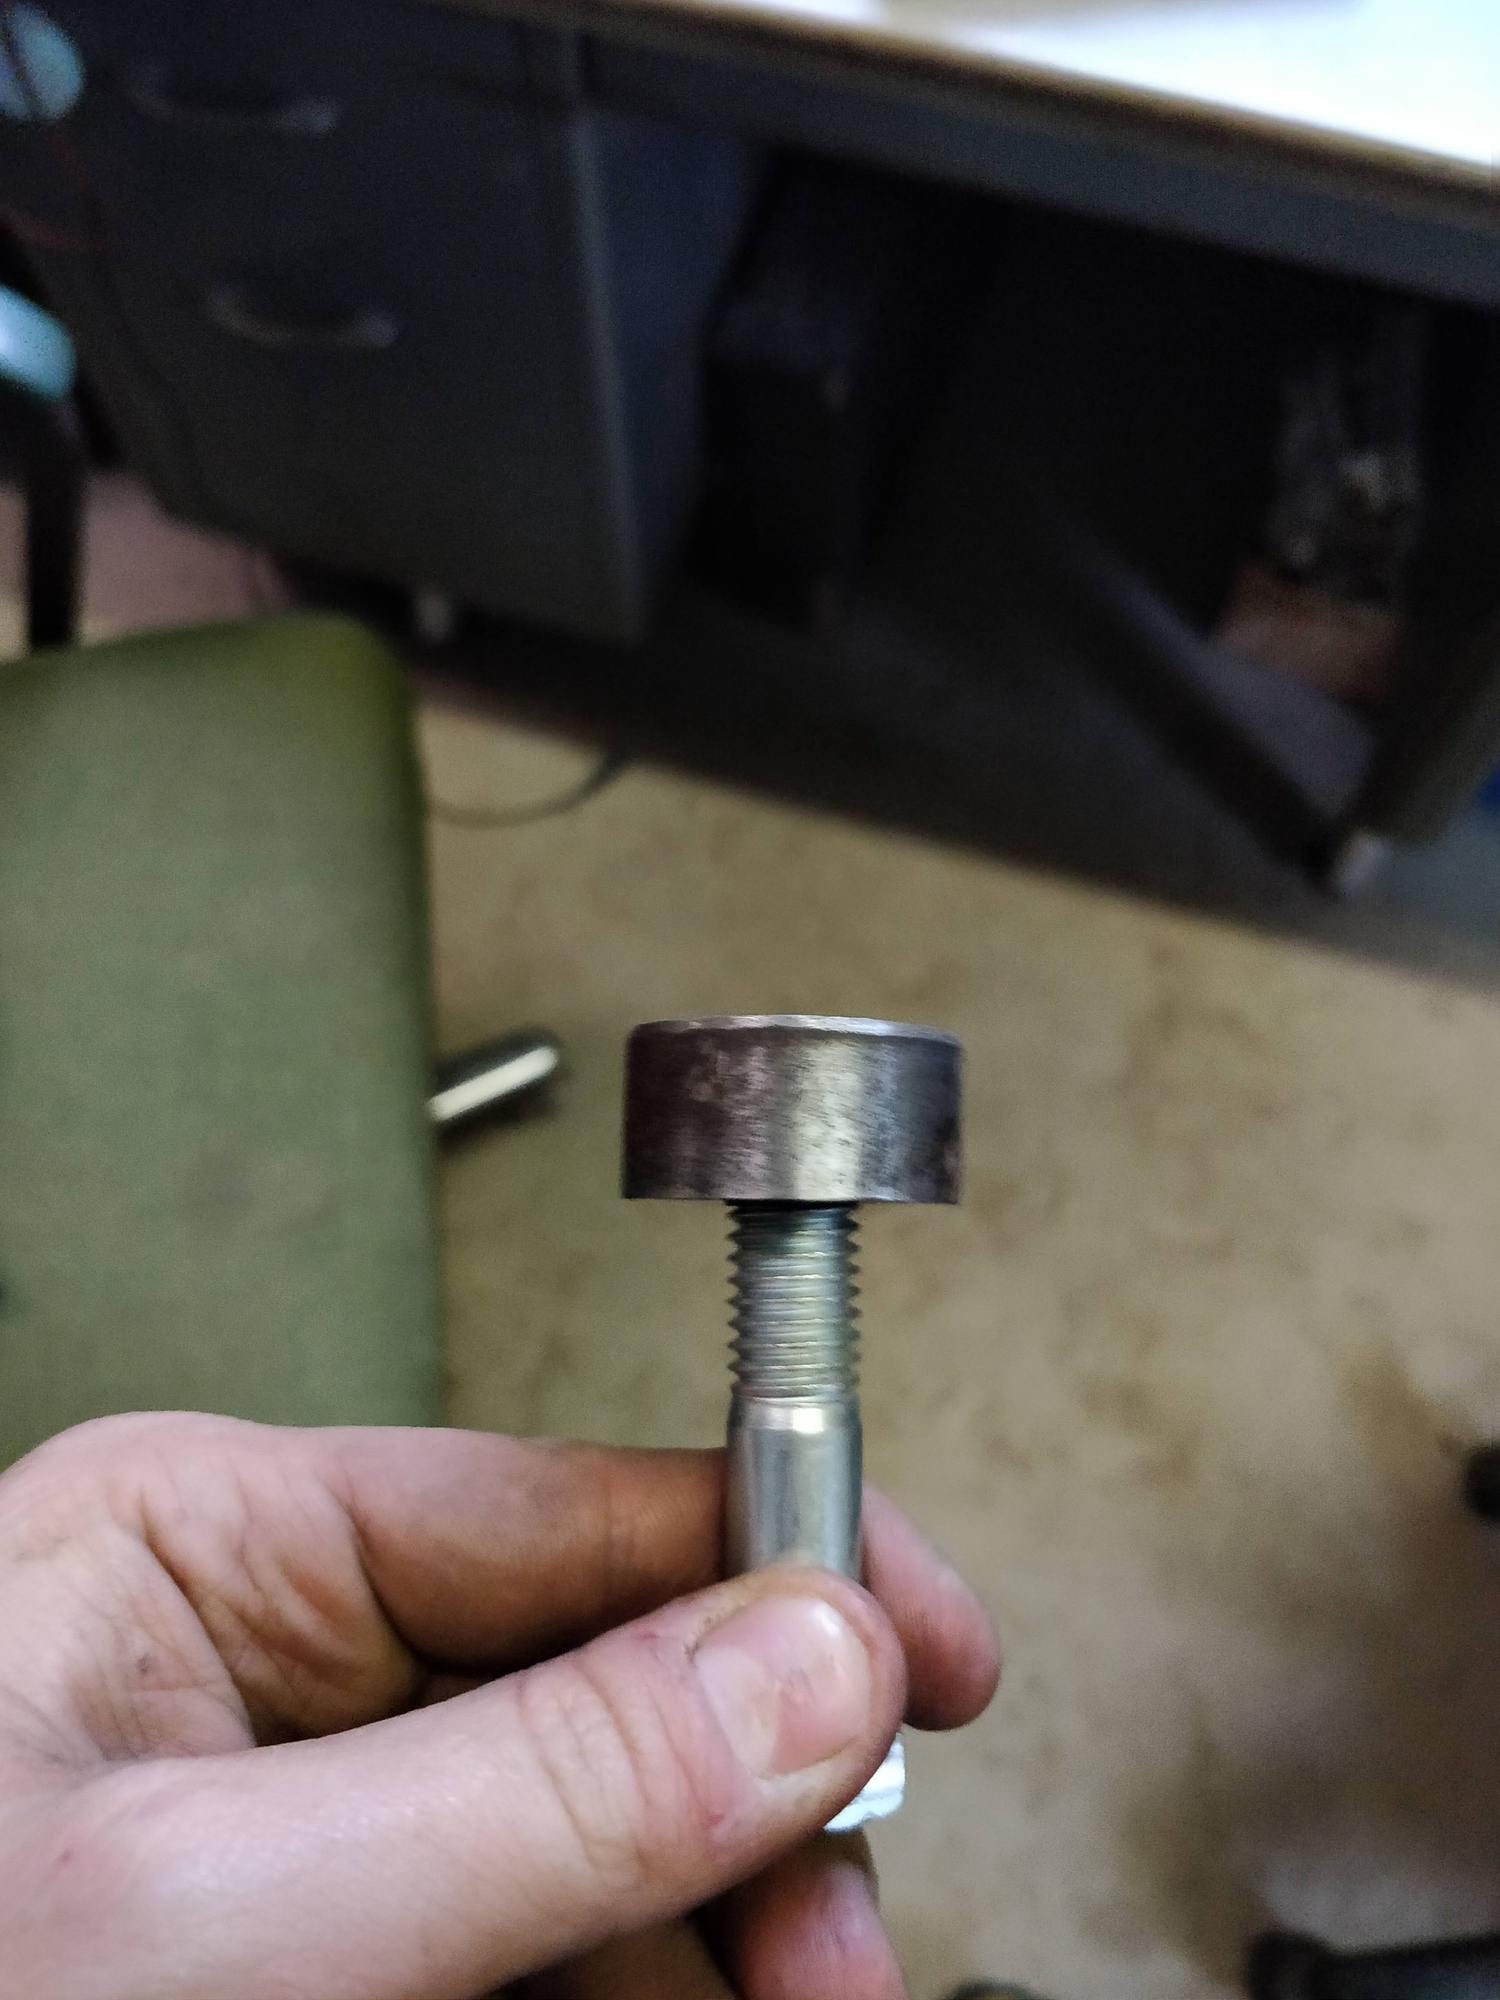
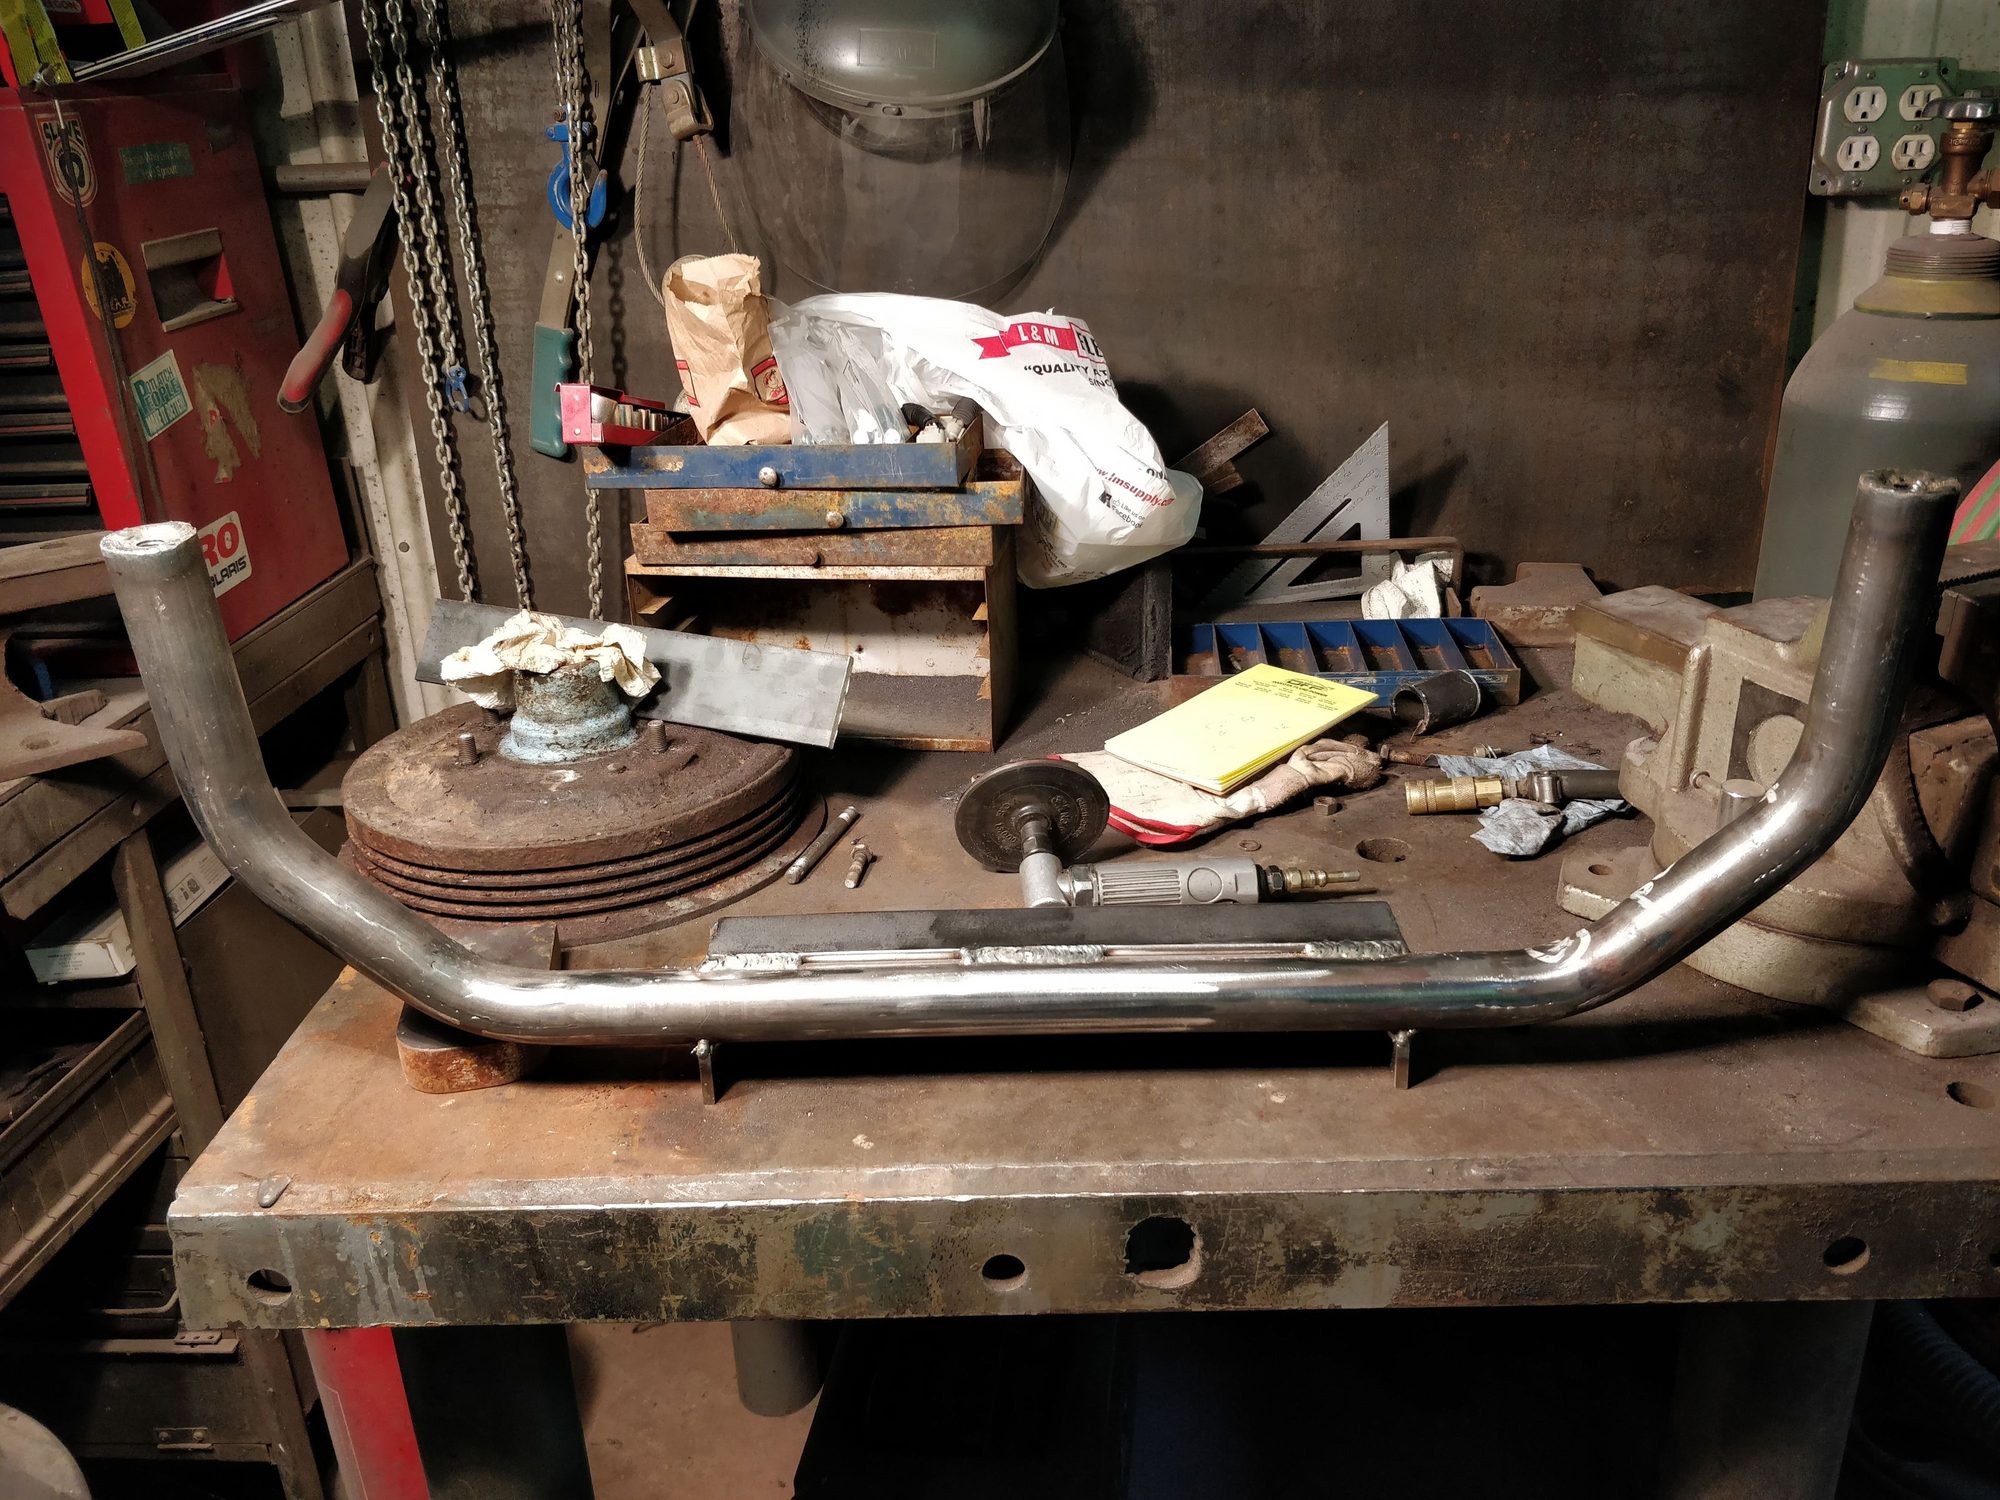
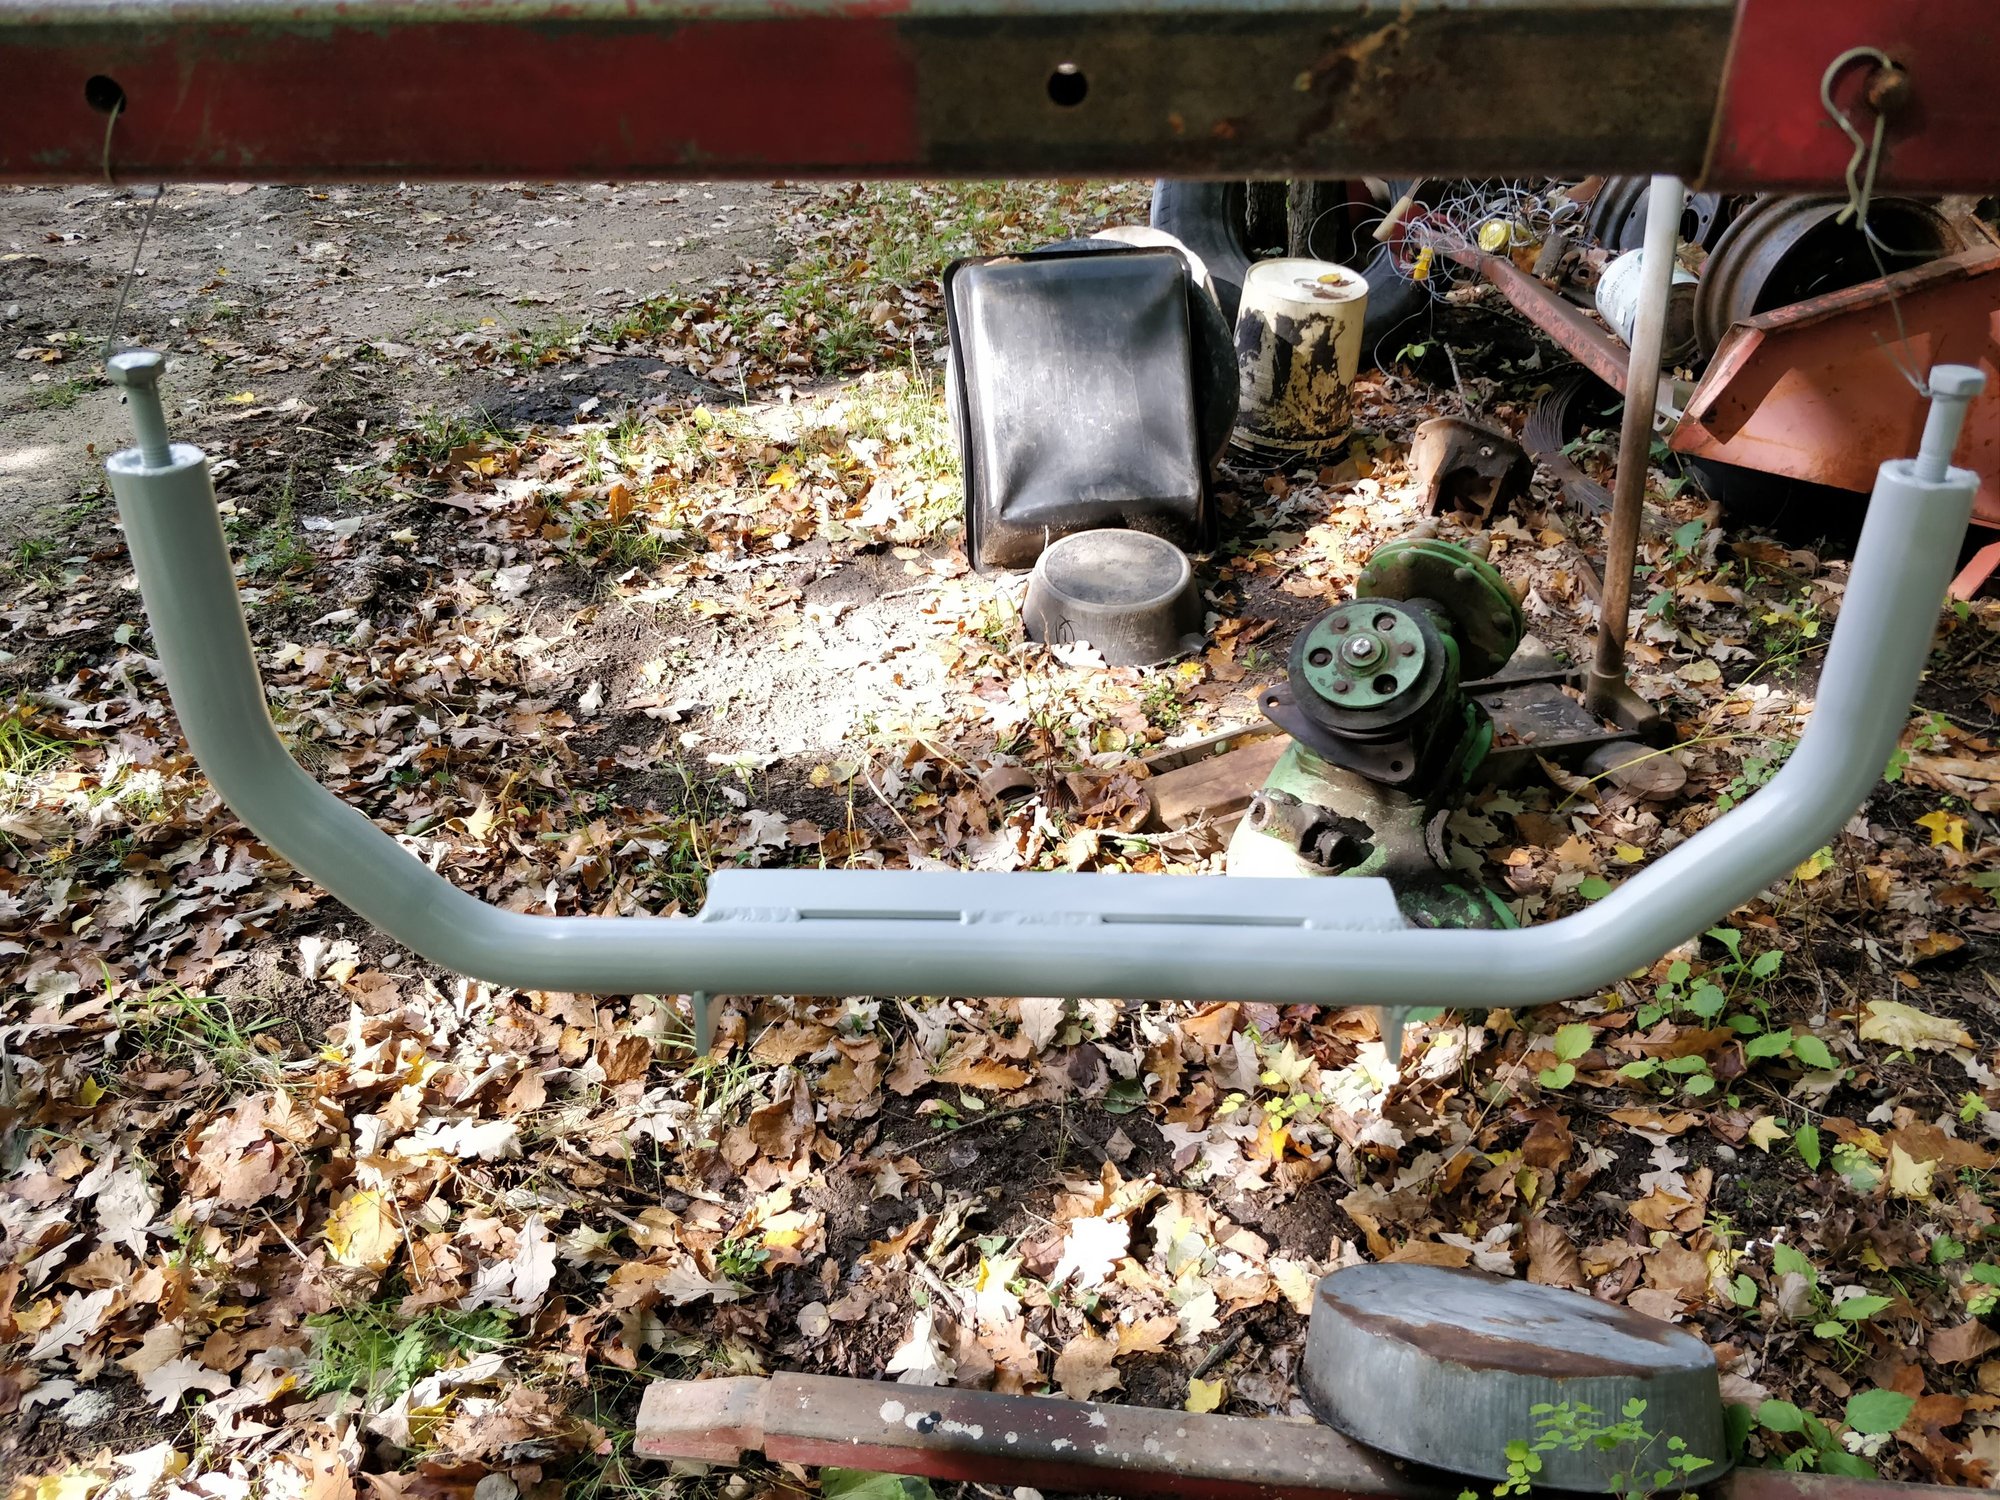
I wanted to maintain the engine mounting points which meant getting creative with engine mounting. Vanagon sells an engine bracket for the EG33 (not pictured) but I had to fab up the mount that goes from those brackets to the original engine mounts. Got some great mild steel tubing and with the help of a local muffler shop was able to bend it into a U shape. I needed plugs for the end so I took some bar stock, turned it down to the right diameter and threaded it for 1/2'' bolts, coarse thread.
Adapter plate and custom flywheel to bolt the engine and trans together is from KEP (Kennedy Engineering) and its absolutely incredible quality. This engine and 915 trans is just for mock-up. I have a SVX that is running/driving that will serve as donor for this build. In my next post Ill upload a video of that engine as it sounds amazing in my opinion.
Leveraged my winter break to do some work on the car back home. Apologies for not updating the thread until now but I think you will like the results.
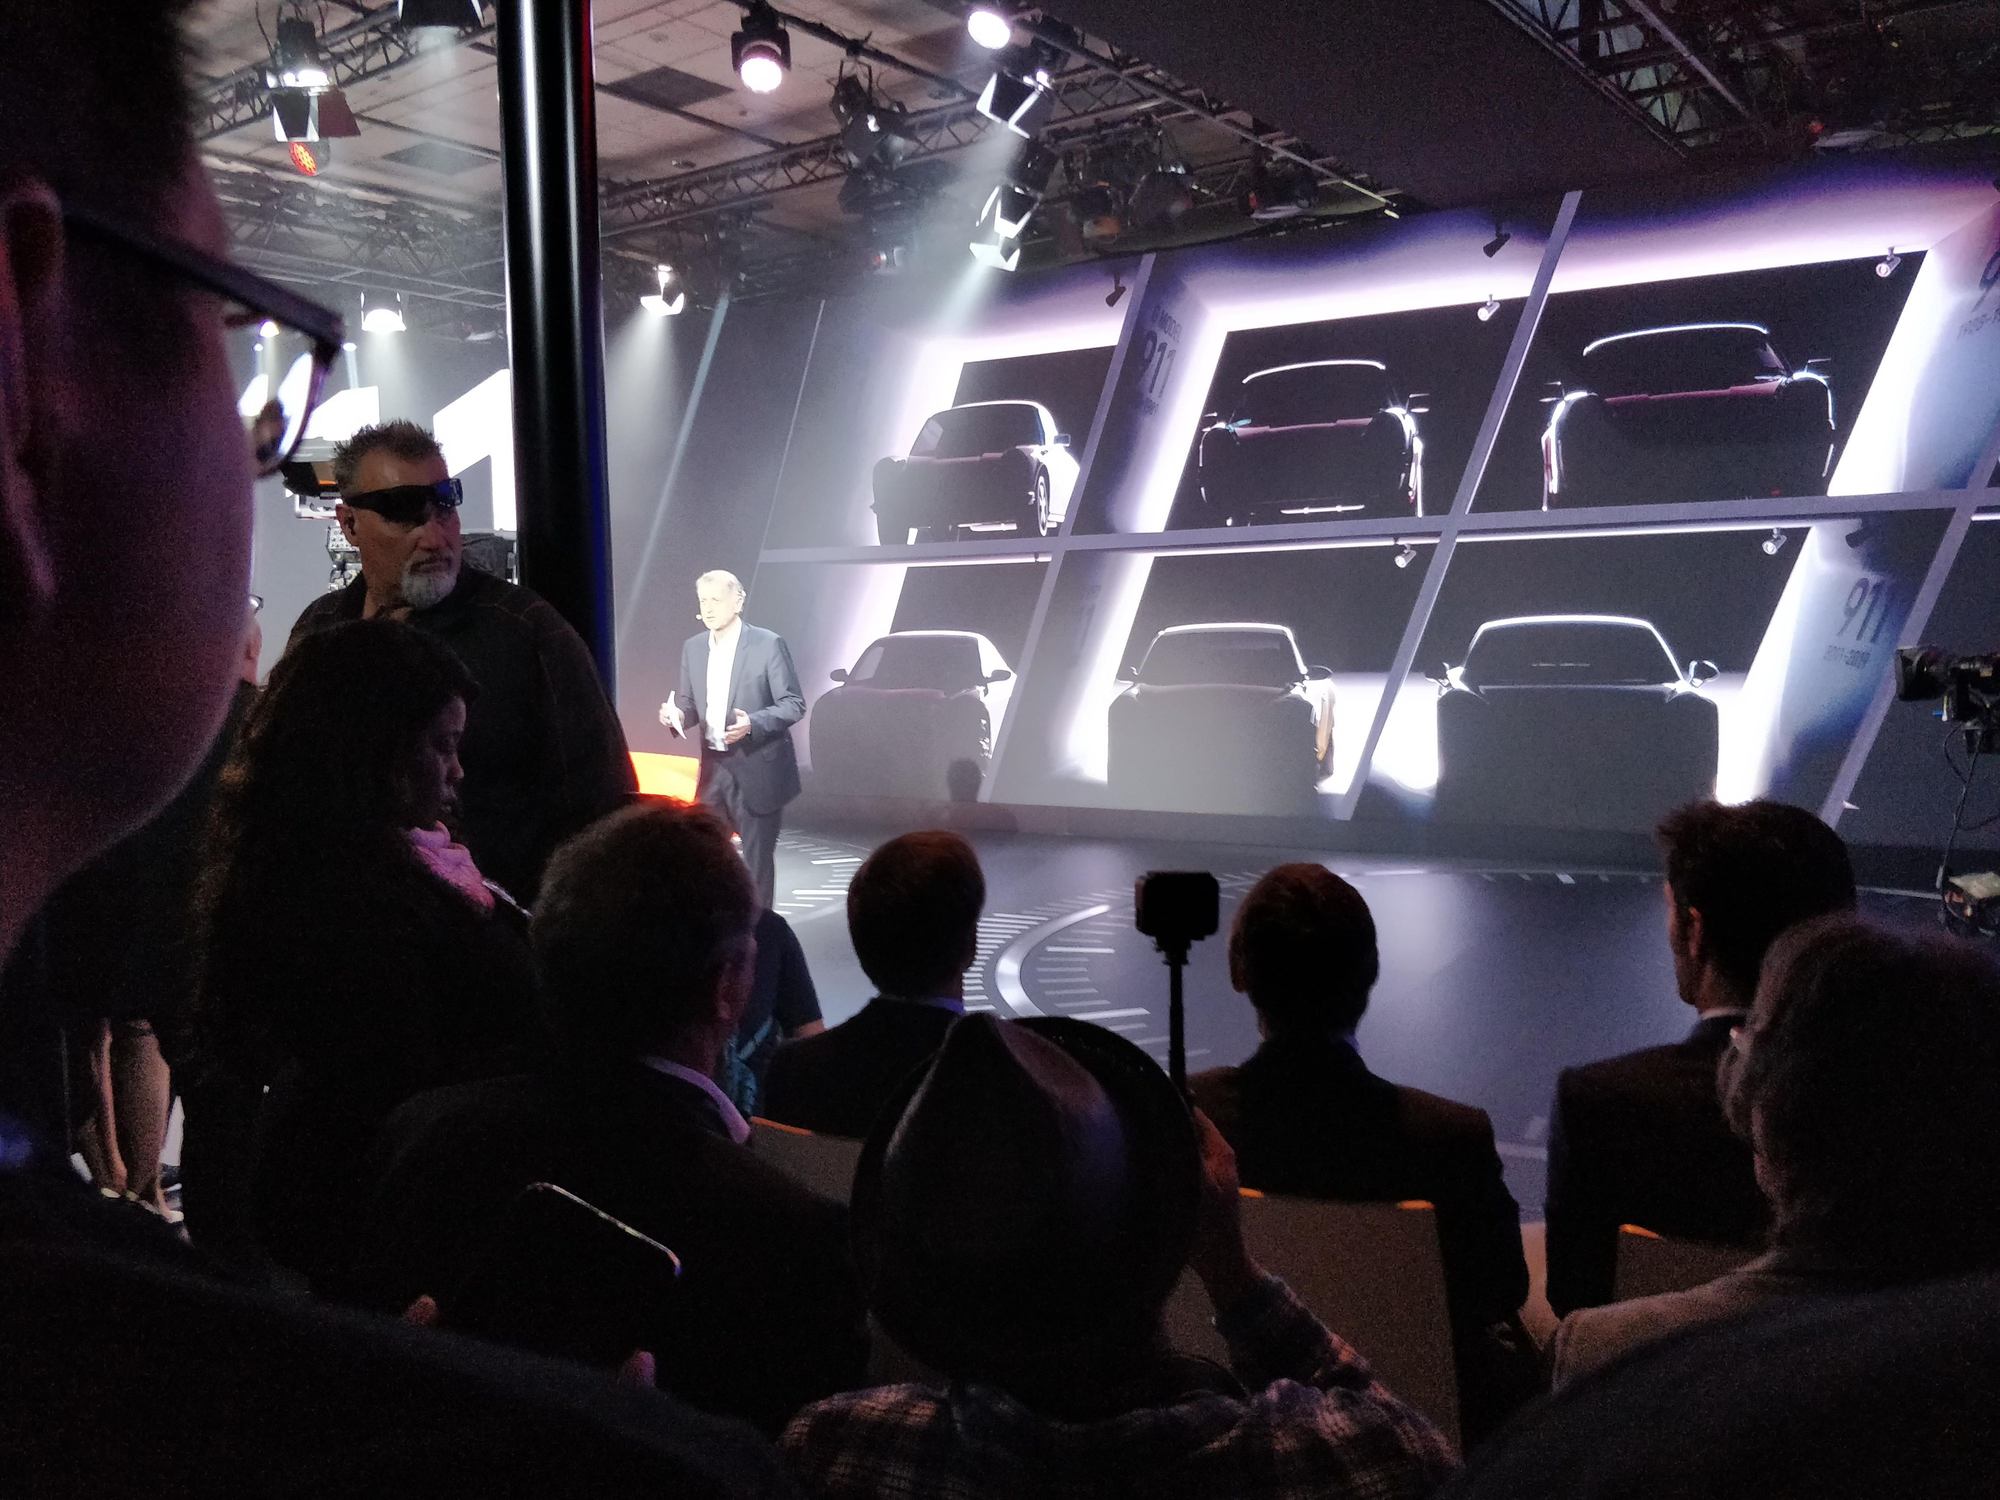
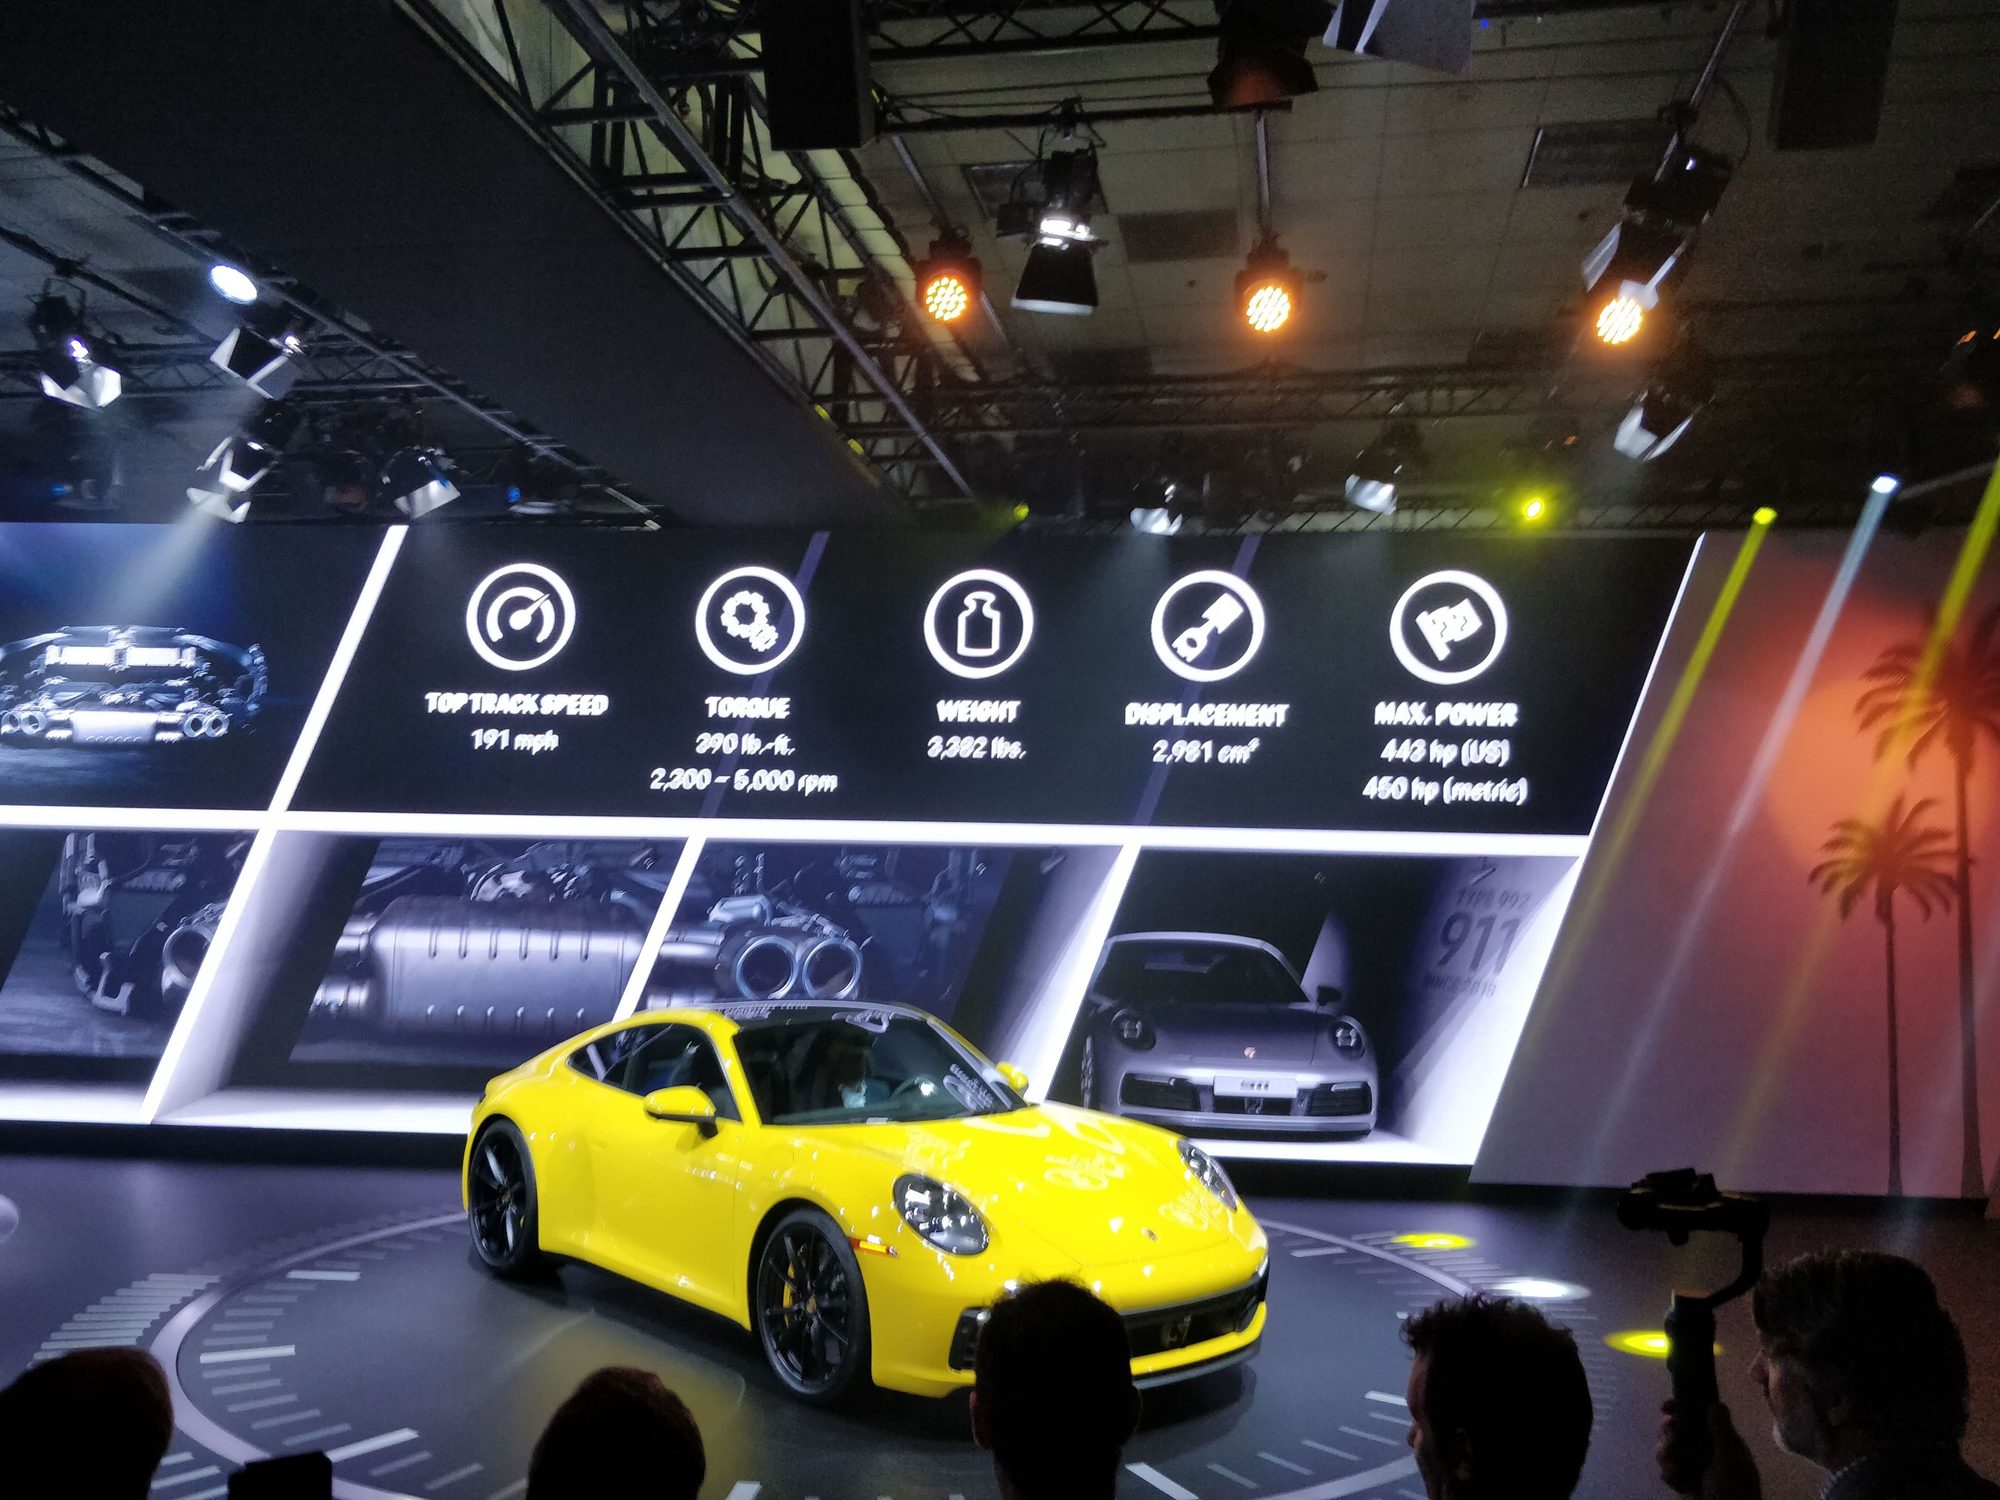
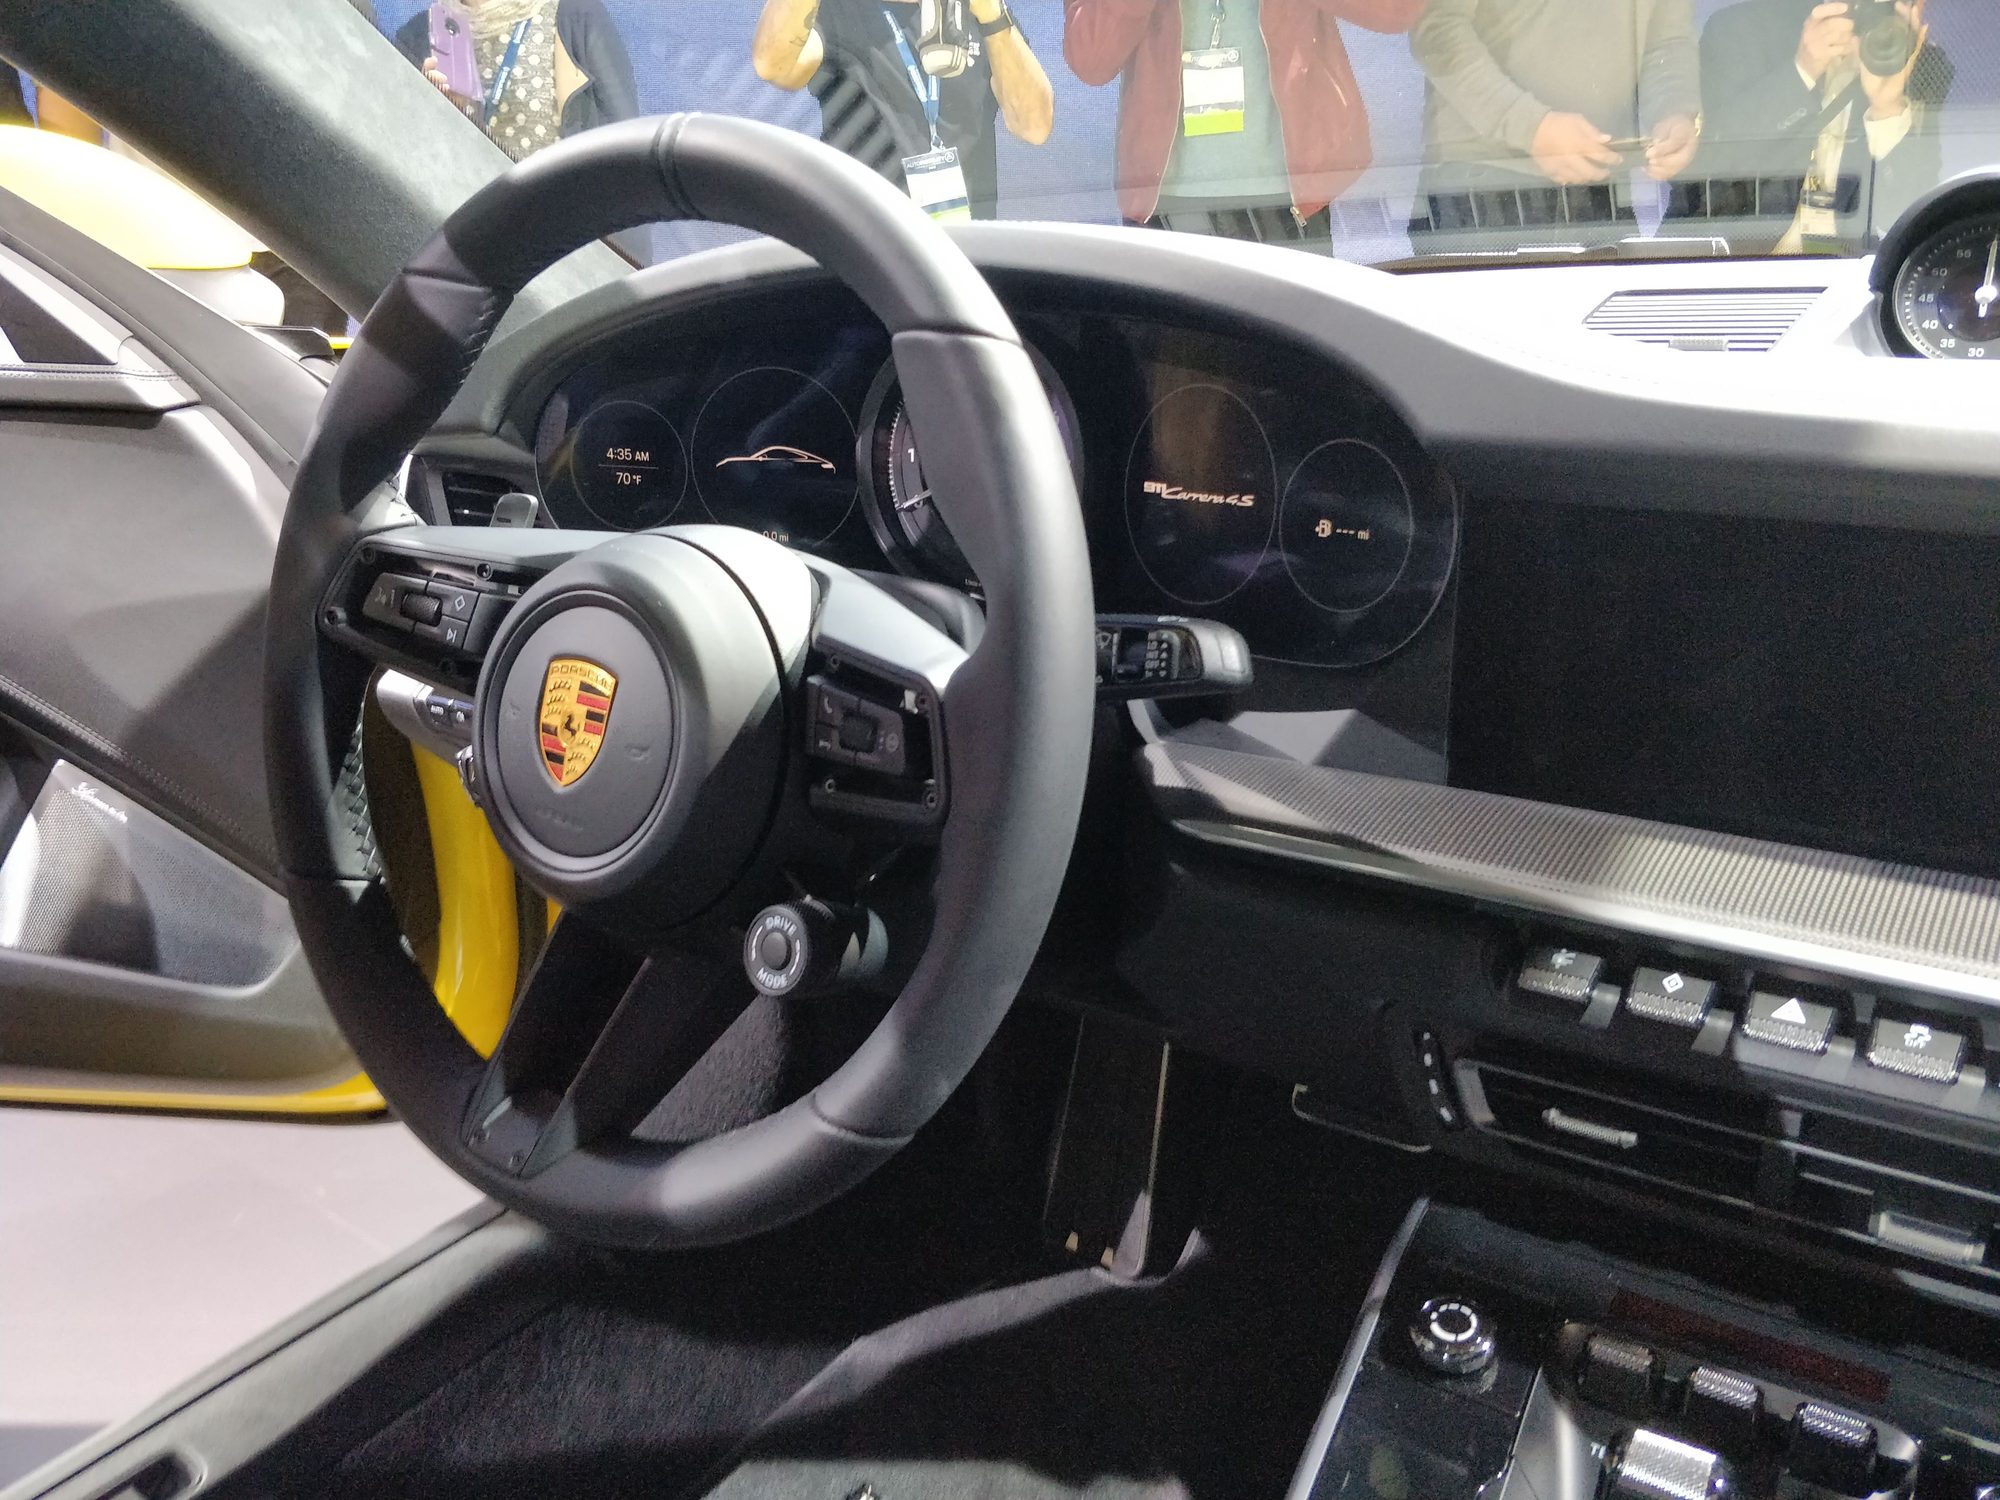
But, before we get to that I was fortunate enough to attend the LA Auto Show when they launched the 992 - old news by now..... In short I dig it! Really like the wet mode innovation to keep the shiny stuff shiny on slick days but the apps they are launching to augment the ownership and driver experience while planning routes is great for a guy like me who hasn't found all the great roads yet.
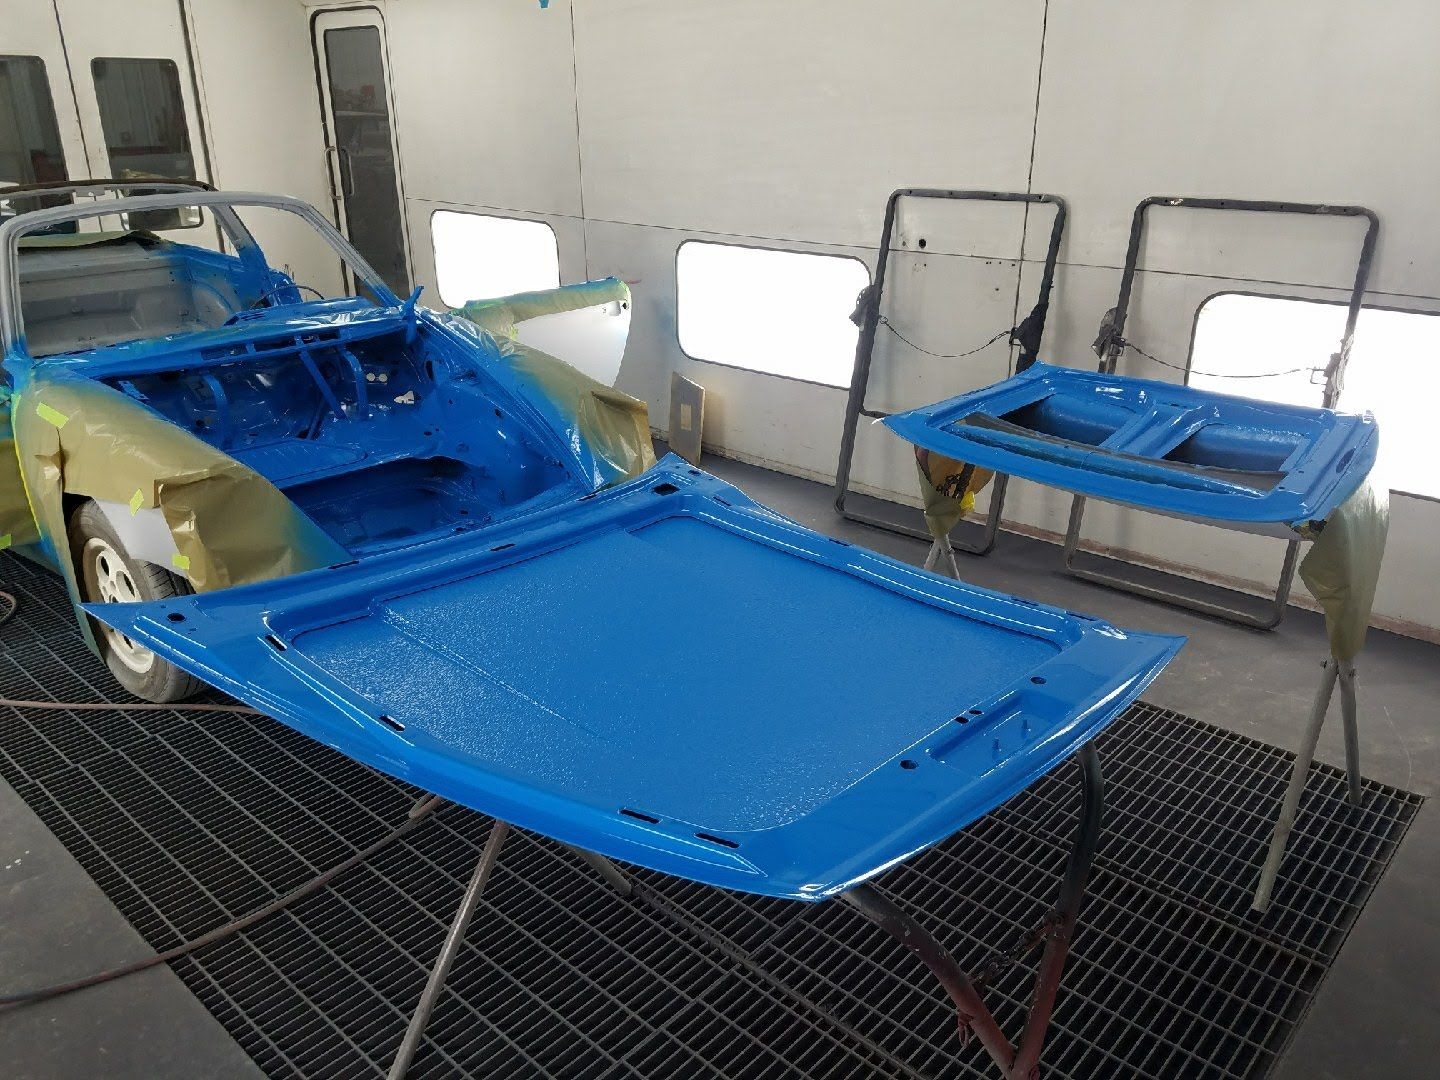
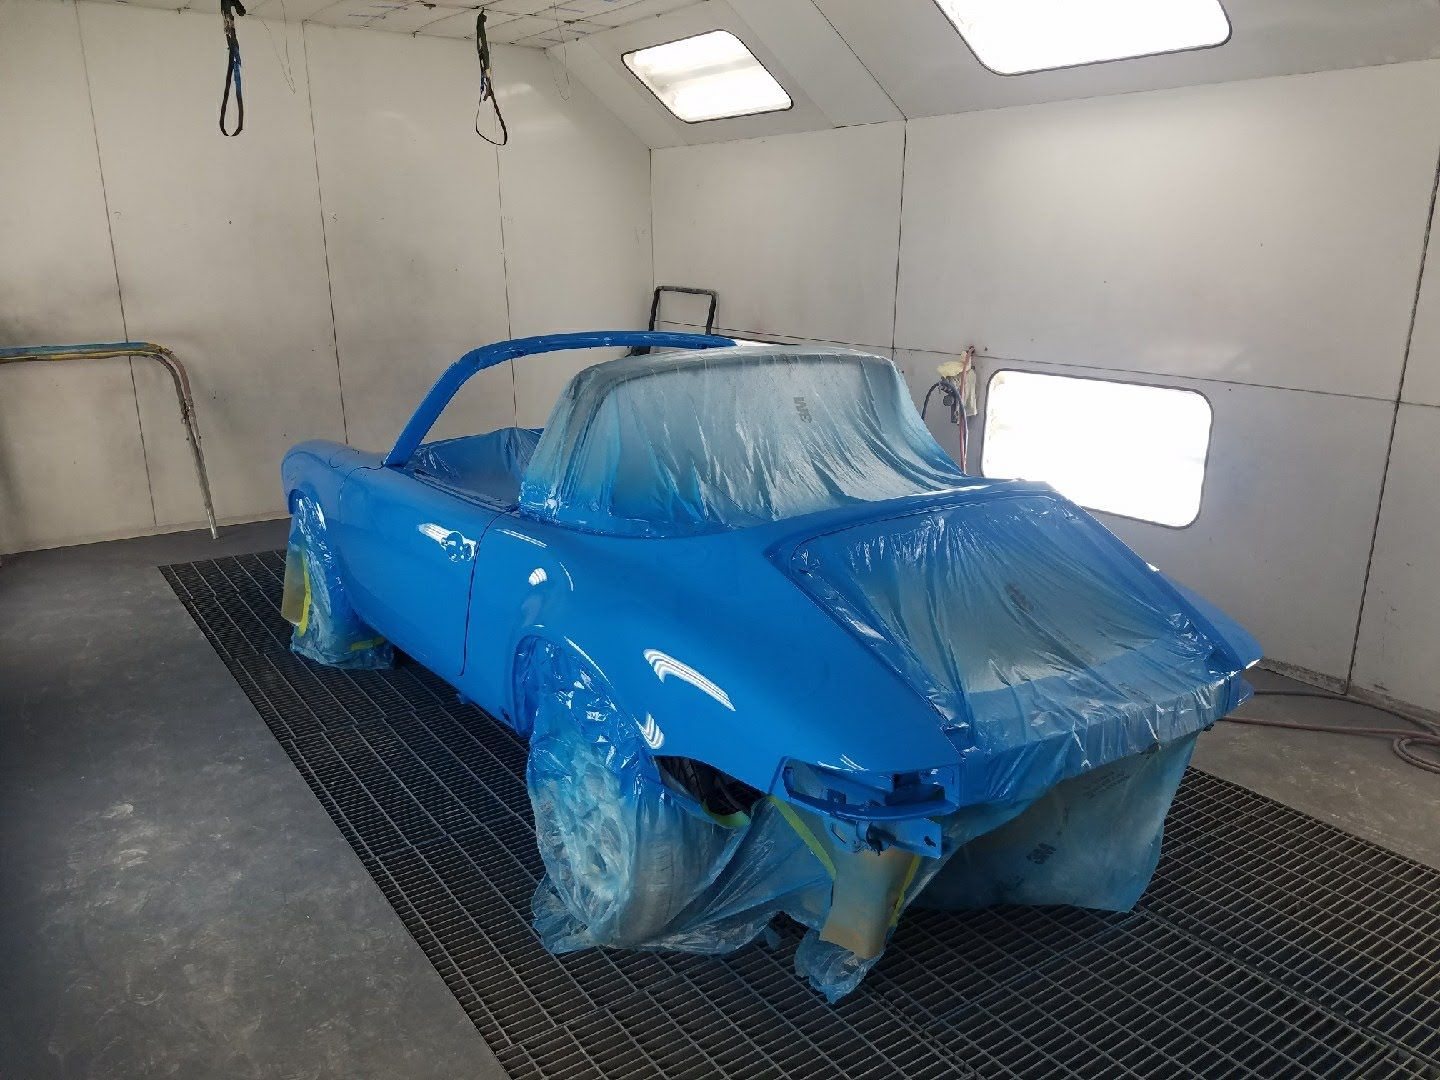
Back to your regularly scheduled programming... Took the car to the painters for final body work, tidy up the door gaps and spray the color. This will be the first time I have had another persons hands on the car since I started.
I am really pleased with the color and quality of the paint.
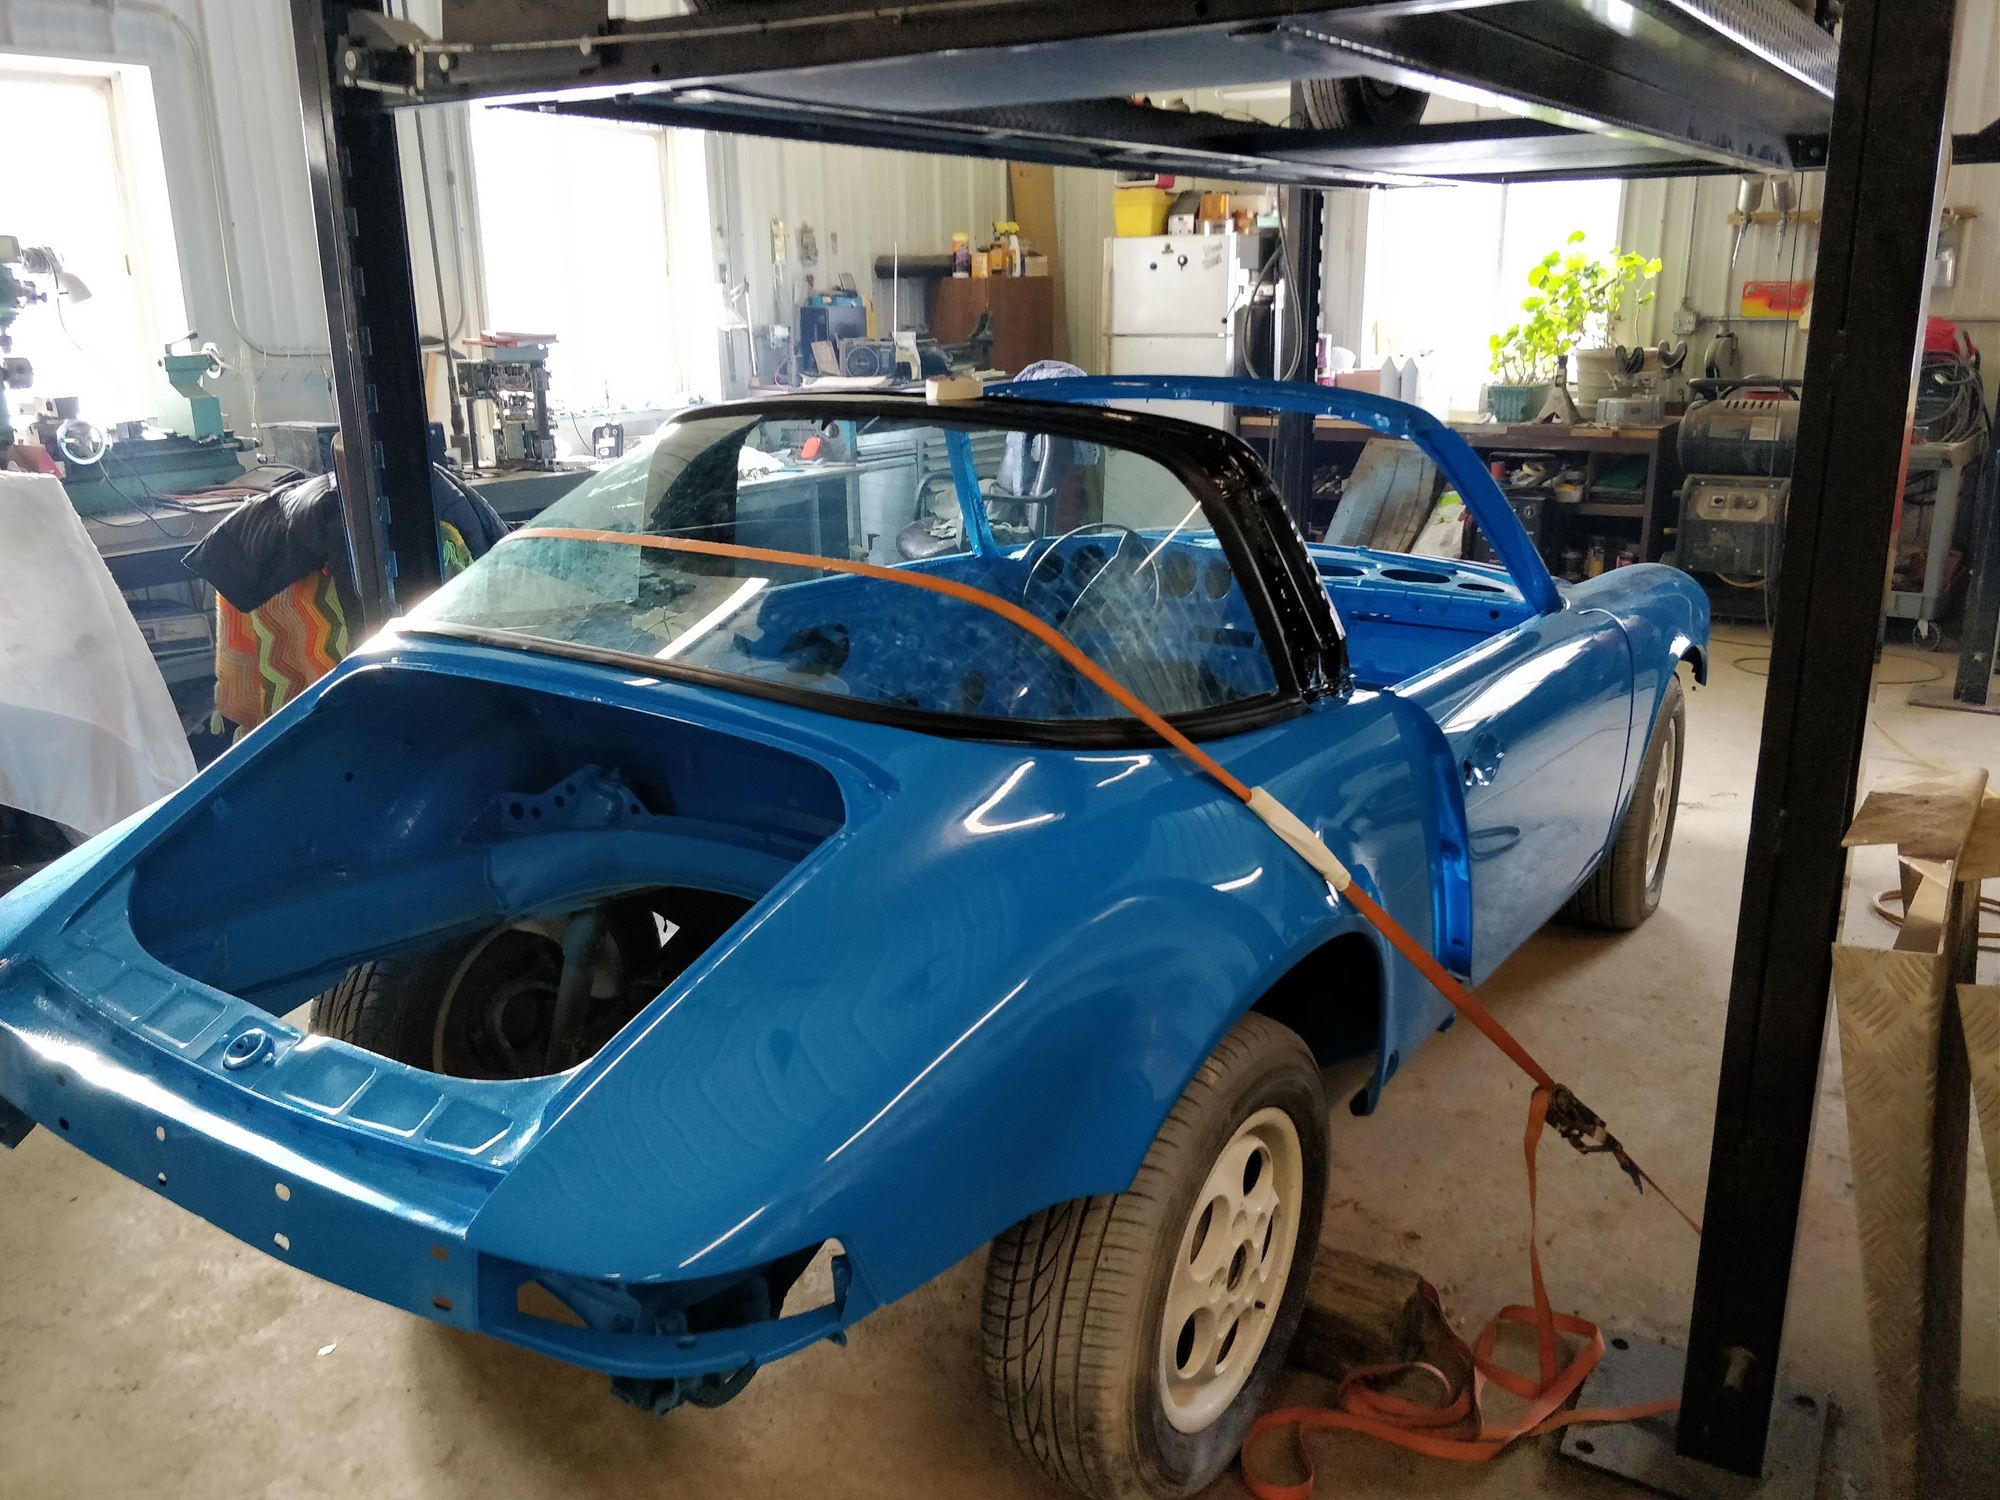
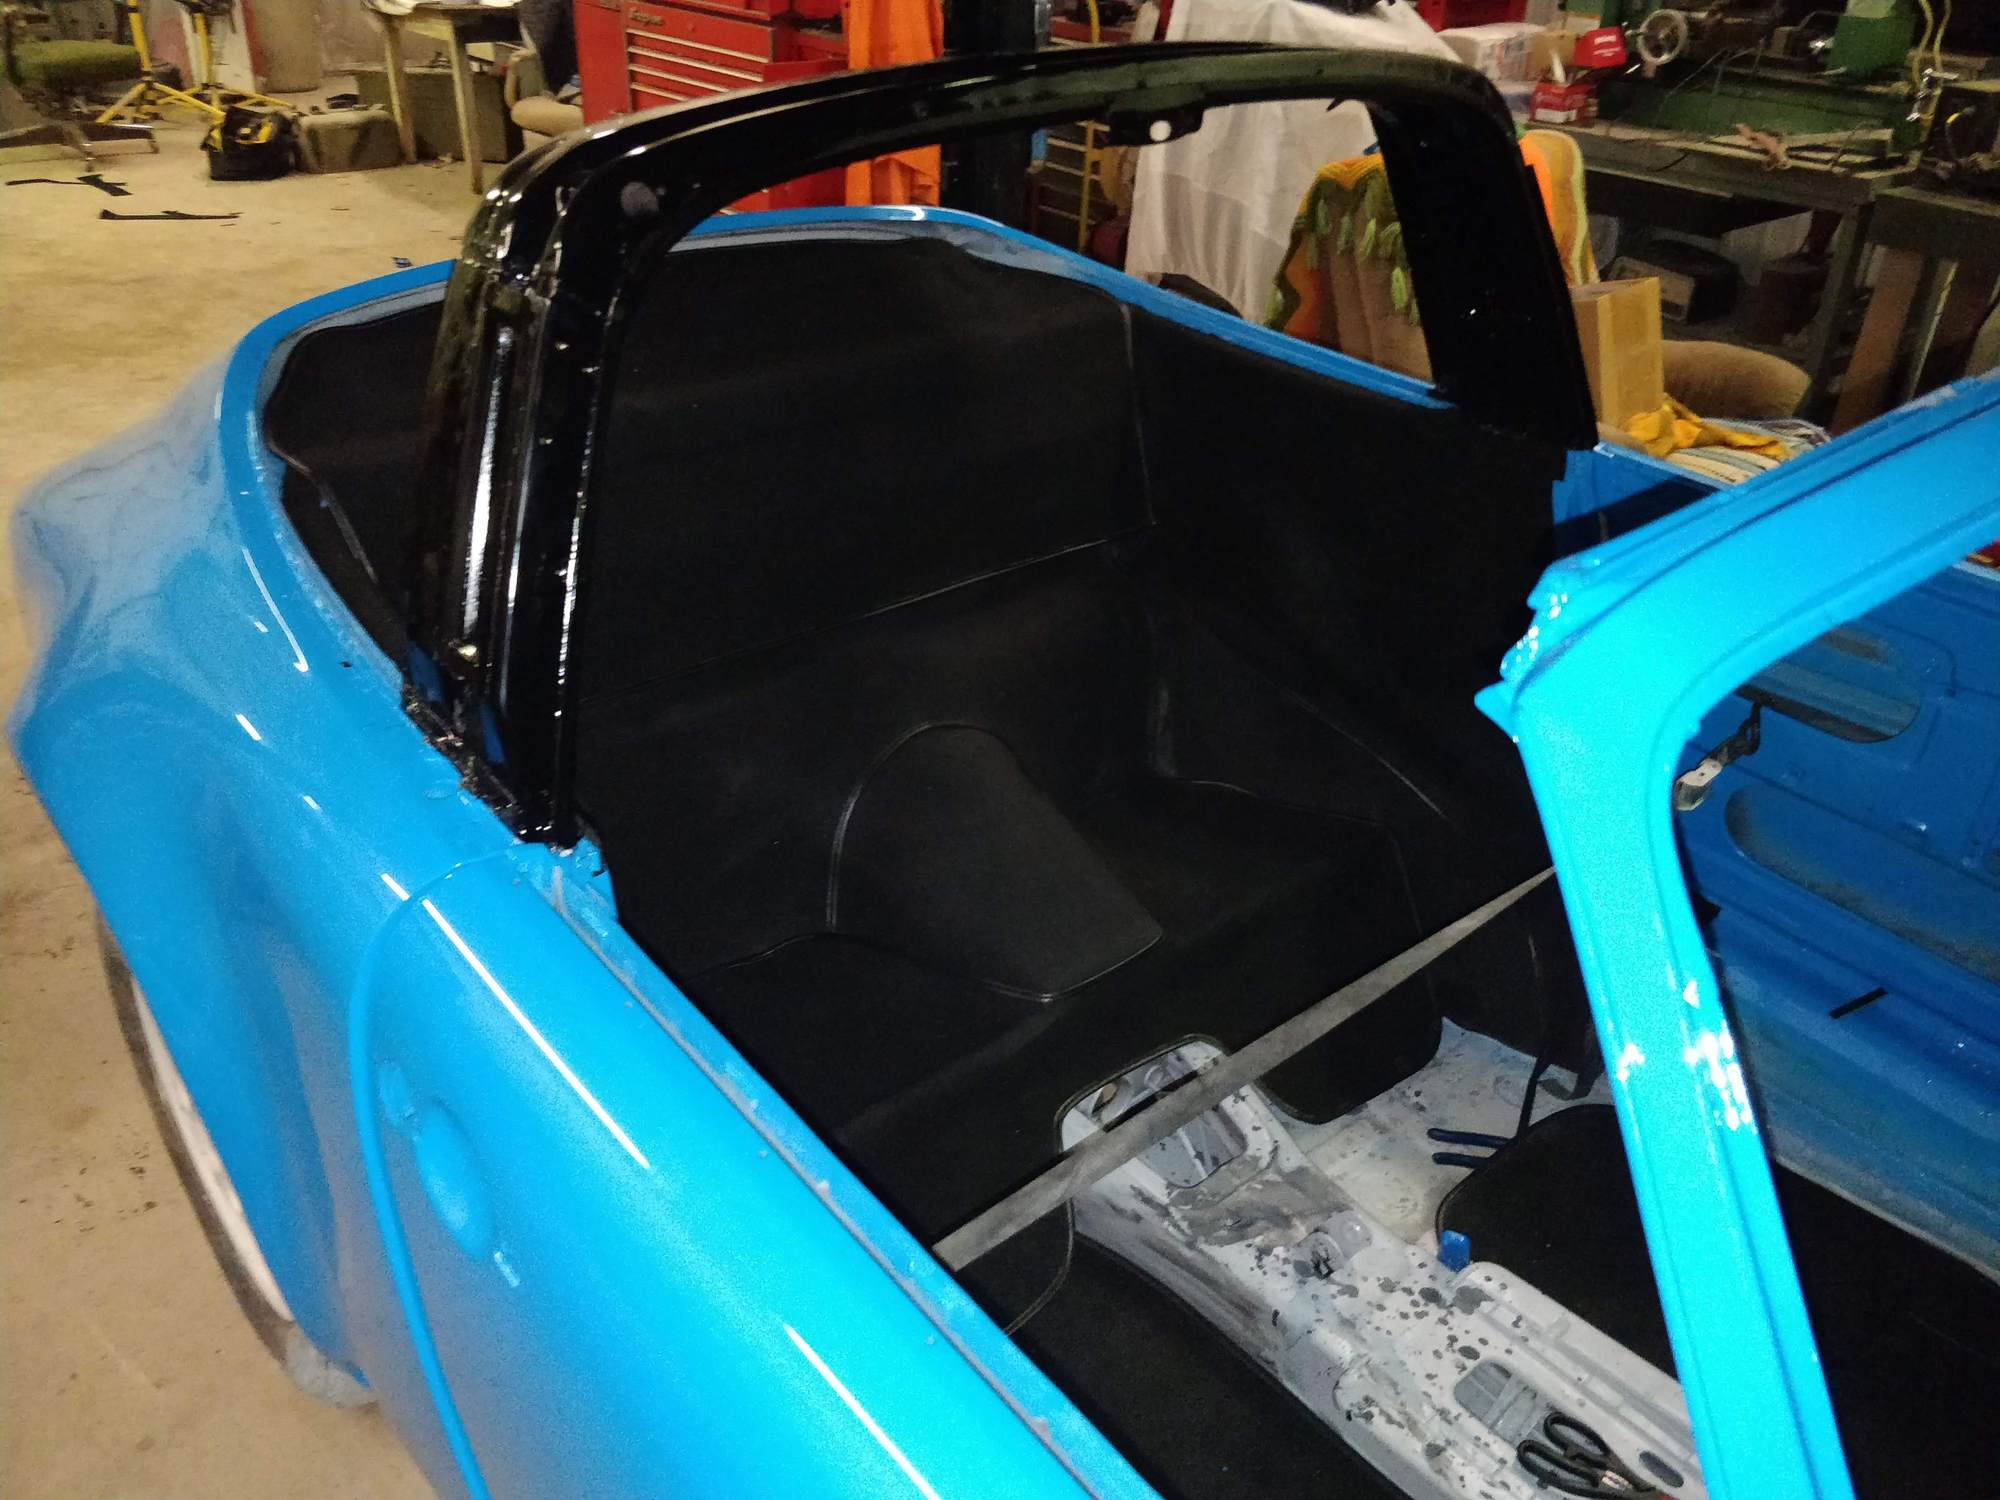
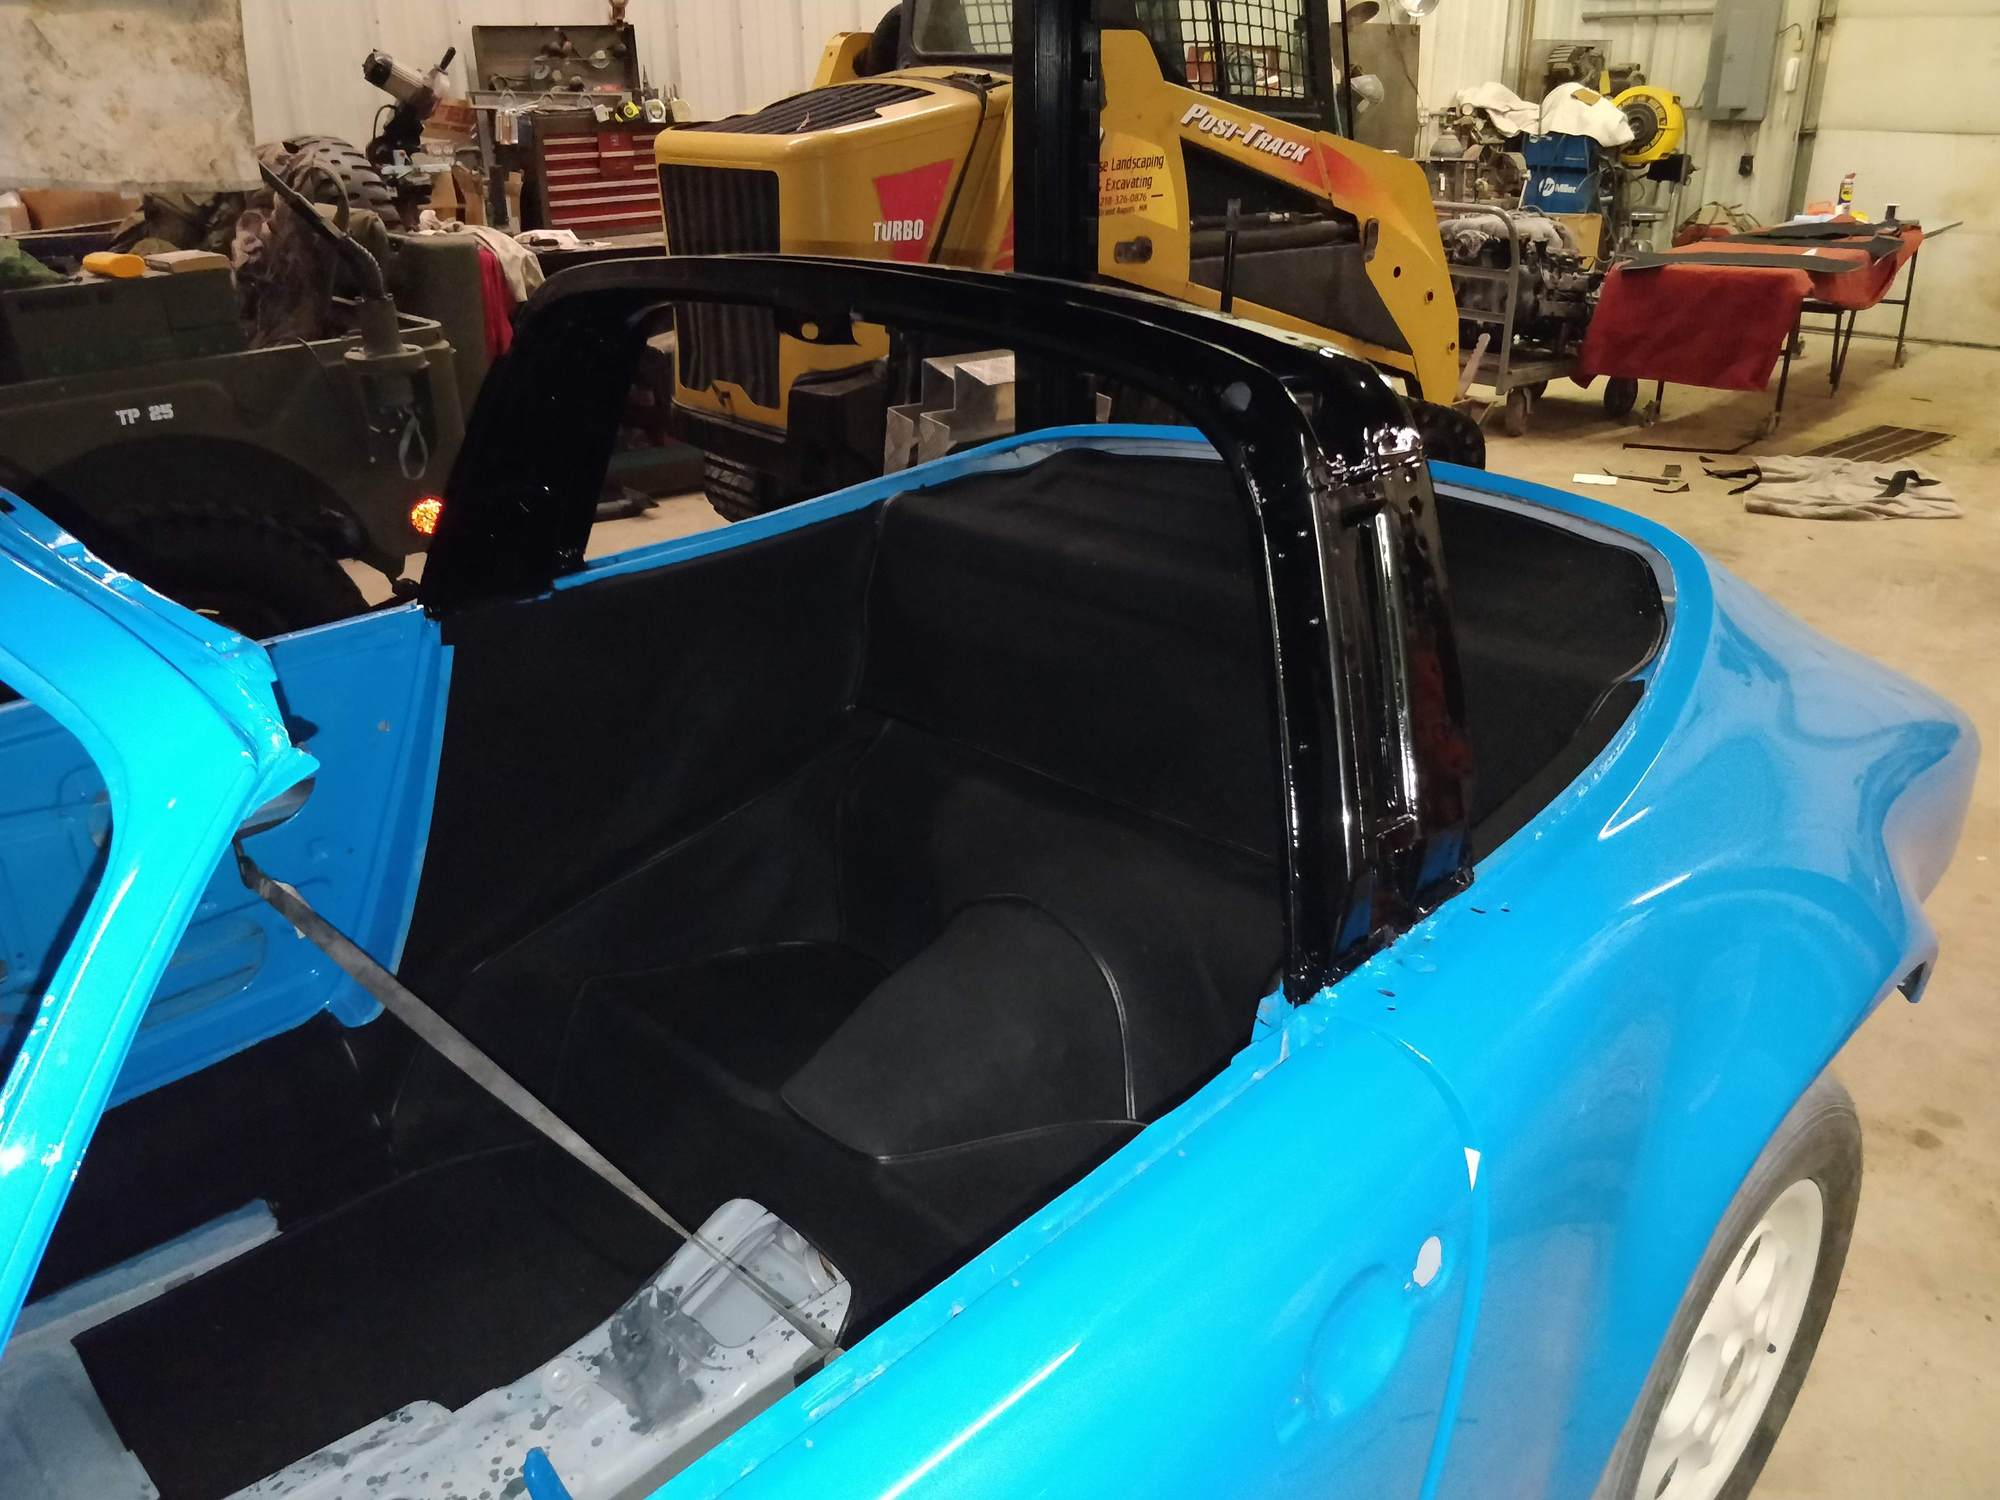
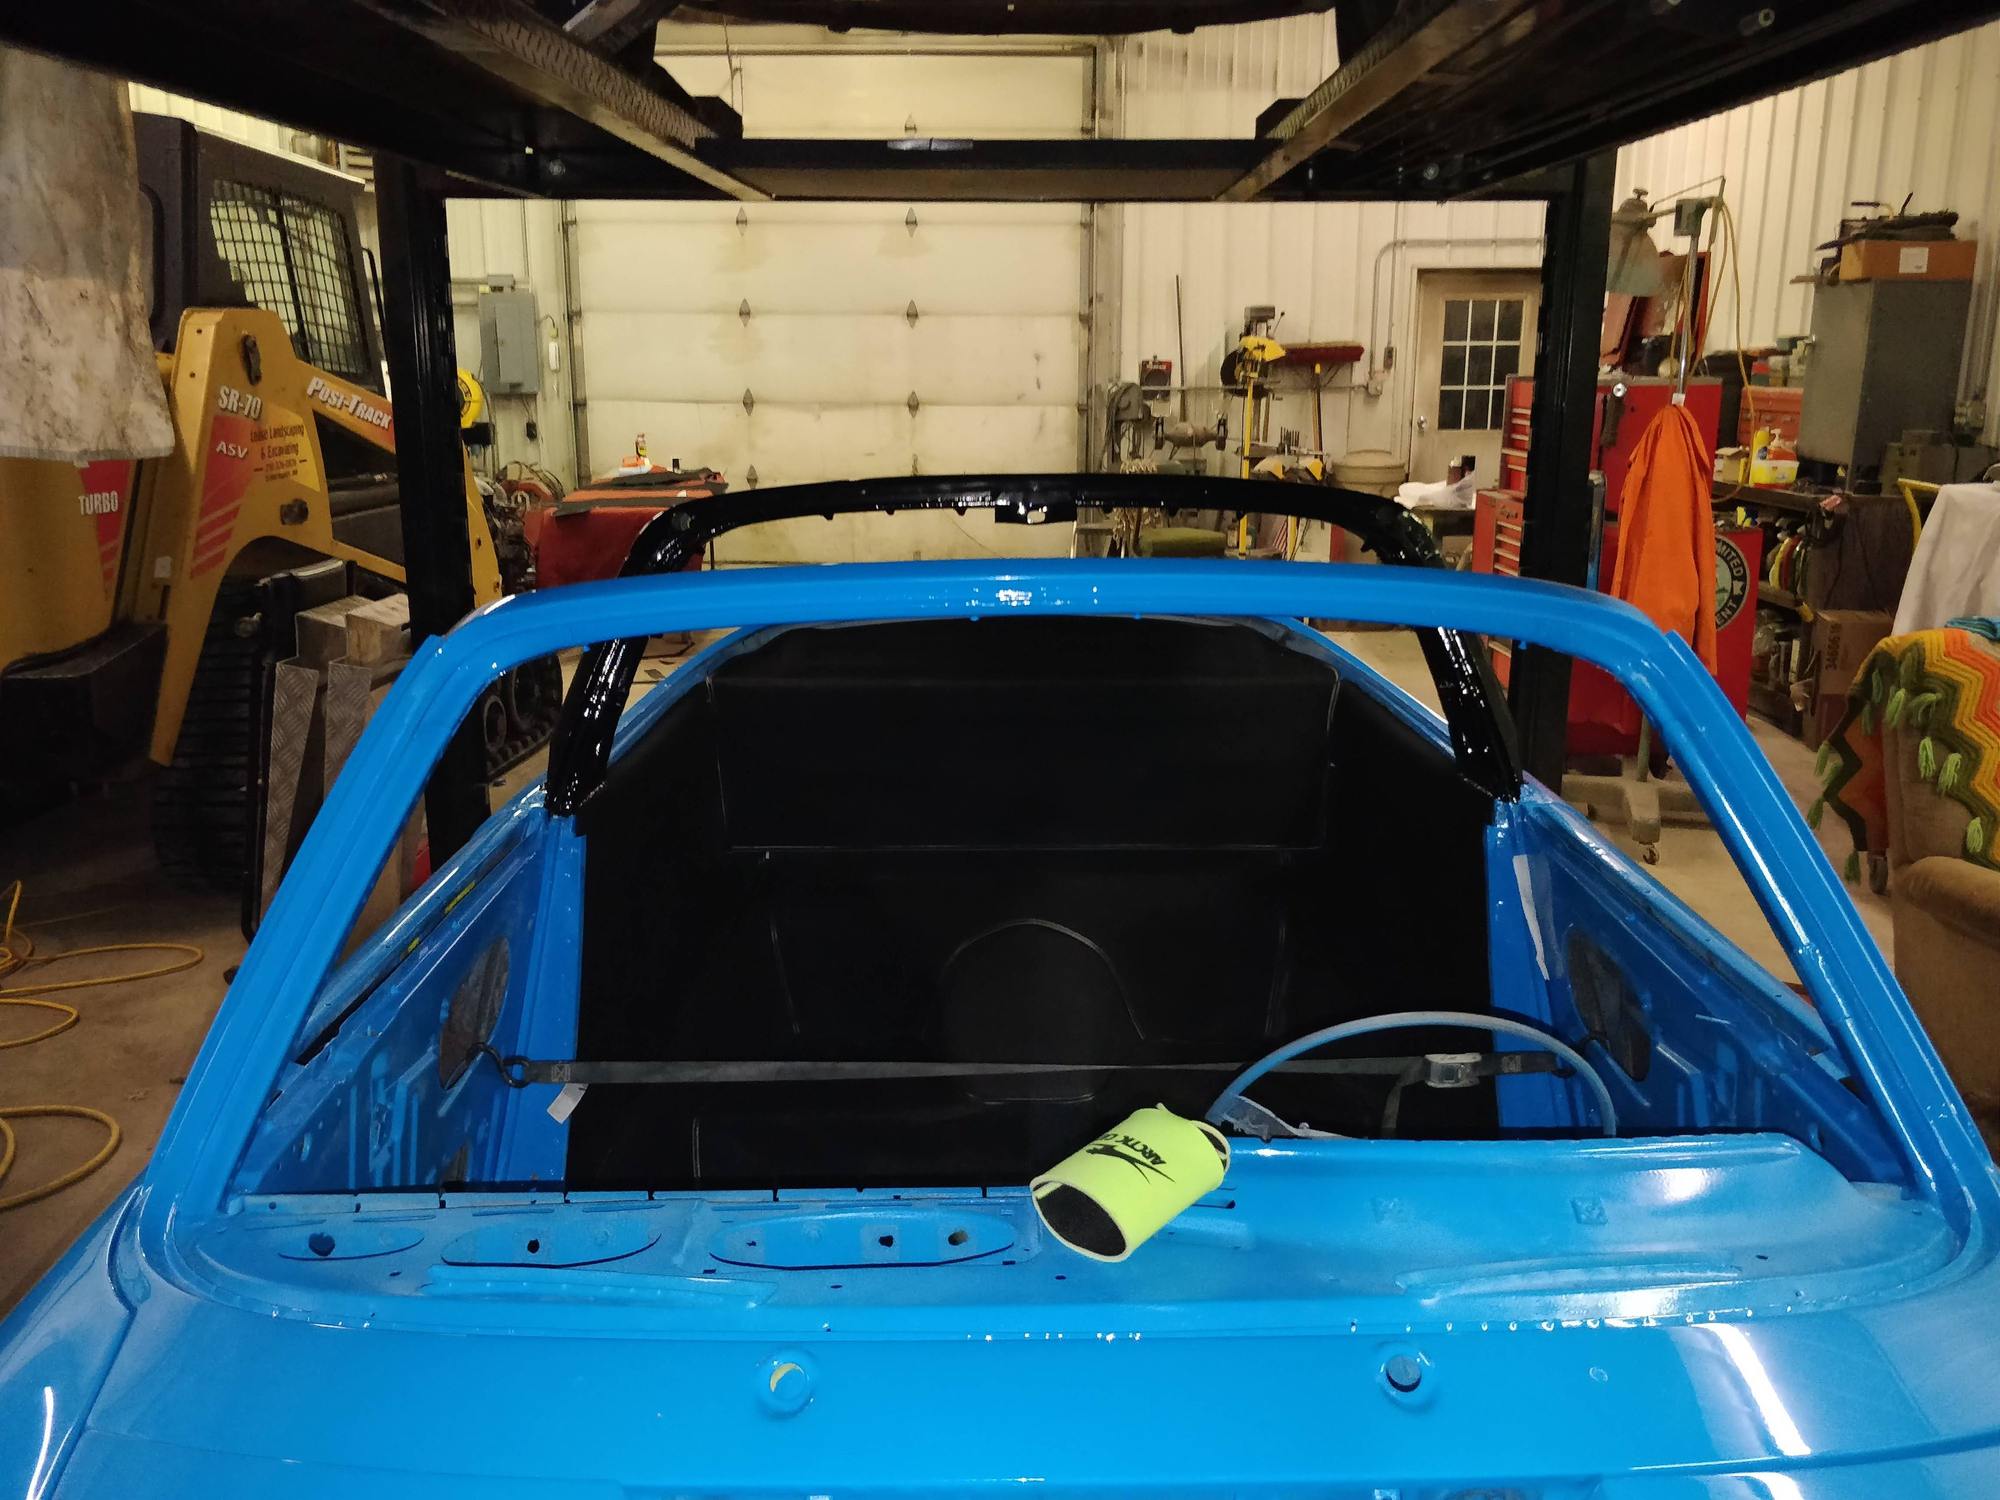
Once I got the car home I attempted to install the targa glass but managed to ruin the gasket in the process so that will have to be saved for Spring Break. To feel productive I started installing the gas tank and the rs carpet in the back half.
Saw this approach with the rachet strap on Pelican forum and it actually worked really well. My issue is that I used too small of a cord and started in the wrong place so I lost about 18" to tears along the top of the glass. I would recommend spacing your posts firmly if you are using a lift that is not bolted down like my grandpas. Have a little glue overspray in the one corner. Any recommendations to remove the overspray or to dye it the same color? Its 3M super 77 spray adhesive. The kit I bought required a lot of fitting and trimming. While I am not an interior guy it was kindof fun to do this. Patience and a few beers go a long way for this step.
This carpet kit was bought off of ebay for ~$400. I think it was 23 pieces. I am told there kits out there that have a better fit from the box but I didnt mind the extra time to fit and trim as I would have likely done that with any kit to get it to the level I wanted.
Thats about all for now. Might be a few months for more pictures as Winter quarter begins this week.
While I am not an interior guy it was kindof fun to do this. Patience and a few beers go a long way for this step.
.
^
Yes they do. I might also suggest a Oakville Cab and monitor your drinking with the 3M - 77 adhesive..... that stuff is amazing and a PITA to clean up.


 12-01-2018, 09:14 PM