When you click on links to various merchants on this site and make a purchase, this can result in this site earning a commission. Affiliate programs and affiliations include, but are not limited to, the eBay Partner Network.
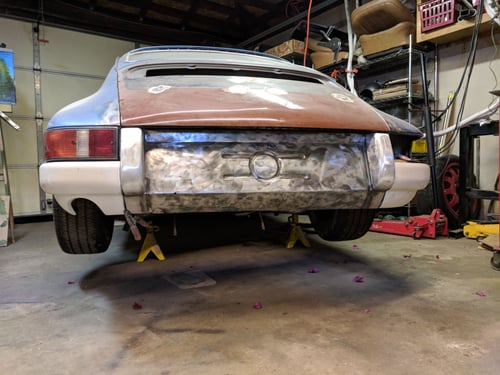
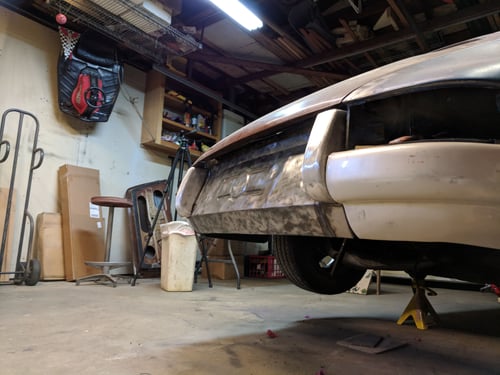
Rear Bumper Complete with Singer Style Bumperettes
I managed to finish both of my custom DIY bumperettes this week. This rear bumper ended up being a lot more complex than just slapping on a fiberglass cover. I wanted a better fit, retain some of the OEM features that work, and customize it a bit.
I had fun making these Aluminum bumper things starting with paper templates, Cutting flat sheet with the CNC, hand forming the radii, welding the box section, and smoothing it out.
Yes, they look like Singer's and I tried a few different shapes but I like this best. Mine are definitely narrower than the Singer ones.
I plan to at least polish and maybe chrome plate. The bare aluminum won't stay shiny for long.
Please watch the youtube video below if you want to see all the DIY steps!
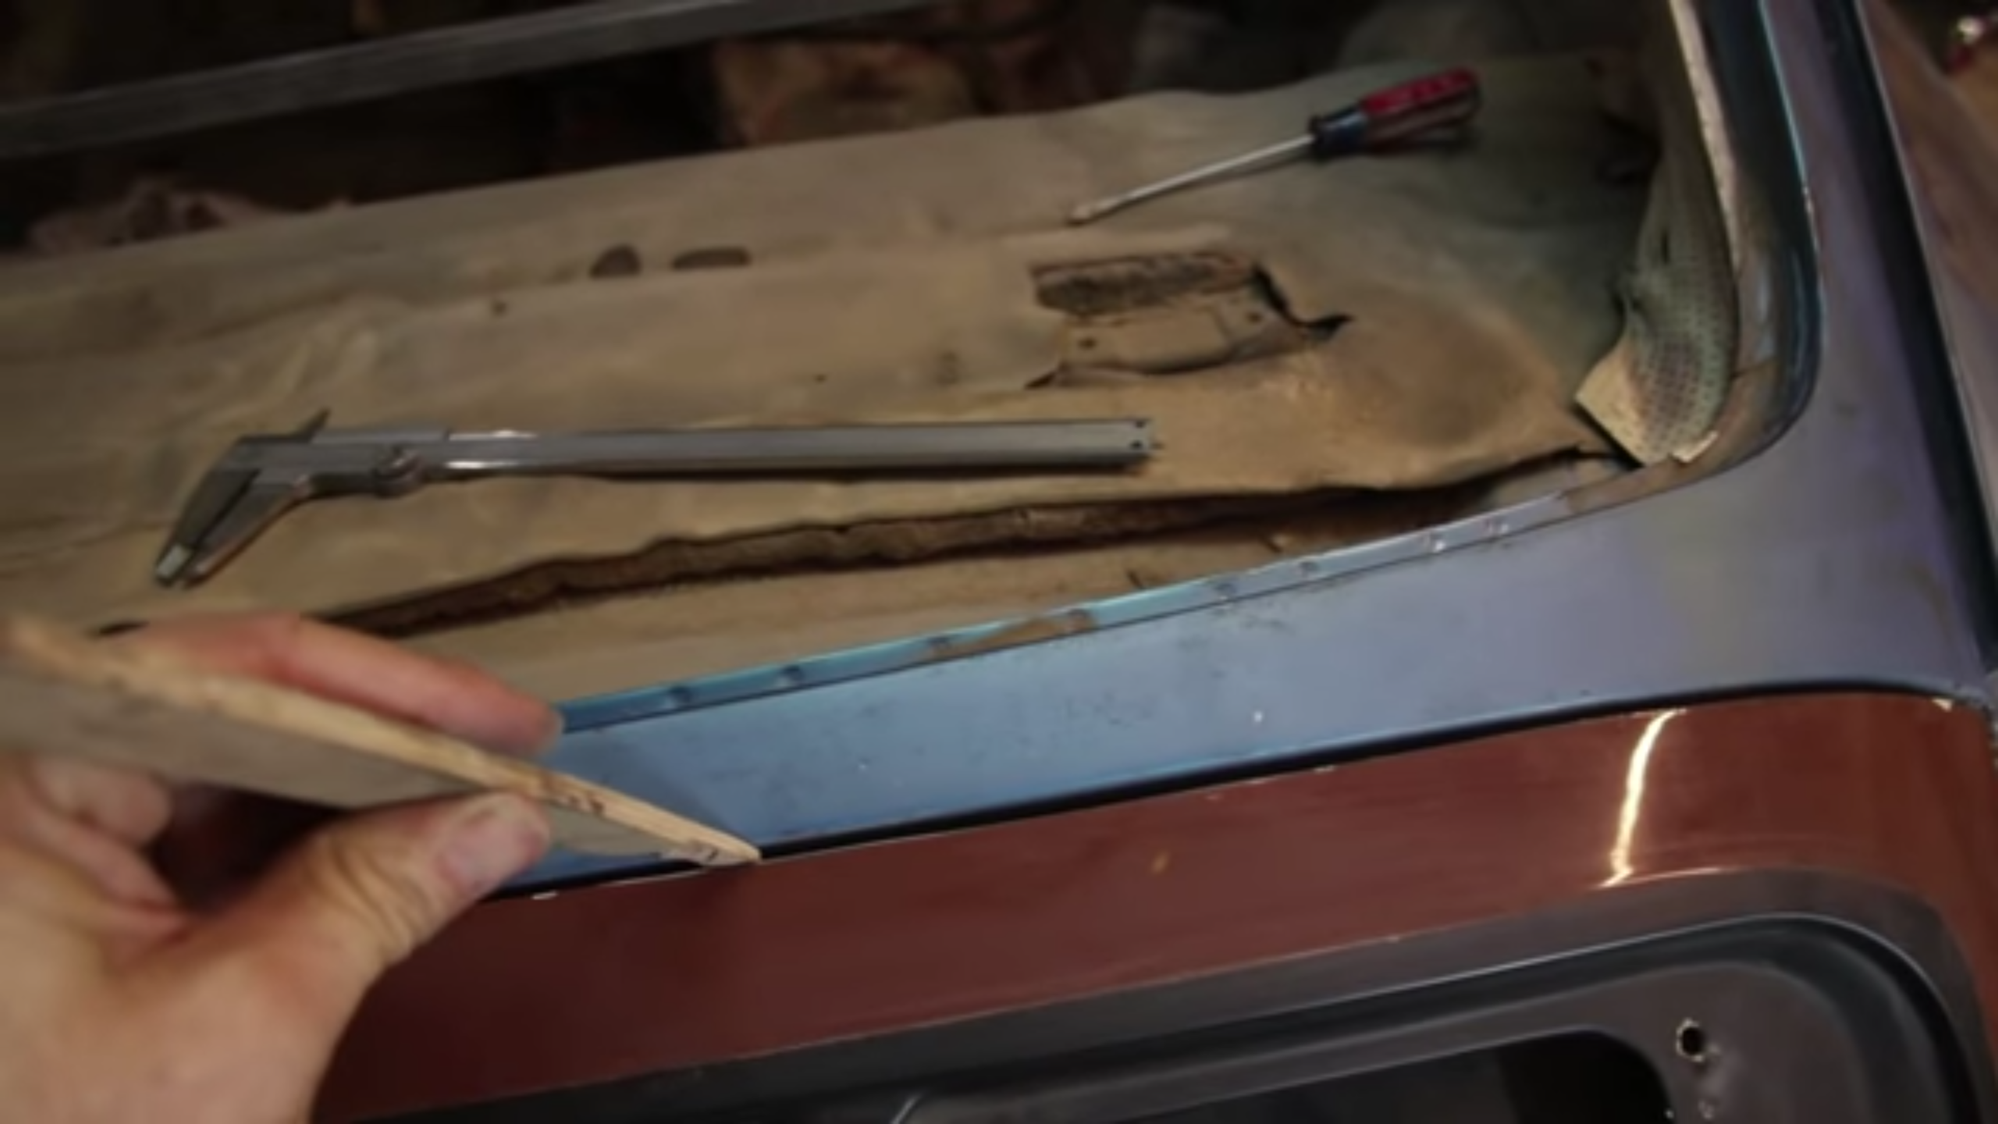
It was determined by others and confirmed by myself that material needs to be added to the wheel arch where the lip goes inboard. The upper arch remains unchanged. The total height of the edge profile is 28mm at its tallest point.
So here's the result of my modified SC flare to look like an RS flare.
All the research and methods used are shown in the my weekly youtube videos. The video below shows how I estimated the profile dimension using photoshop and known reference dimensions.
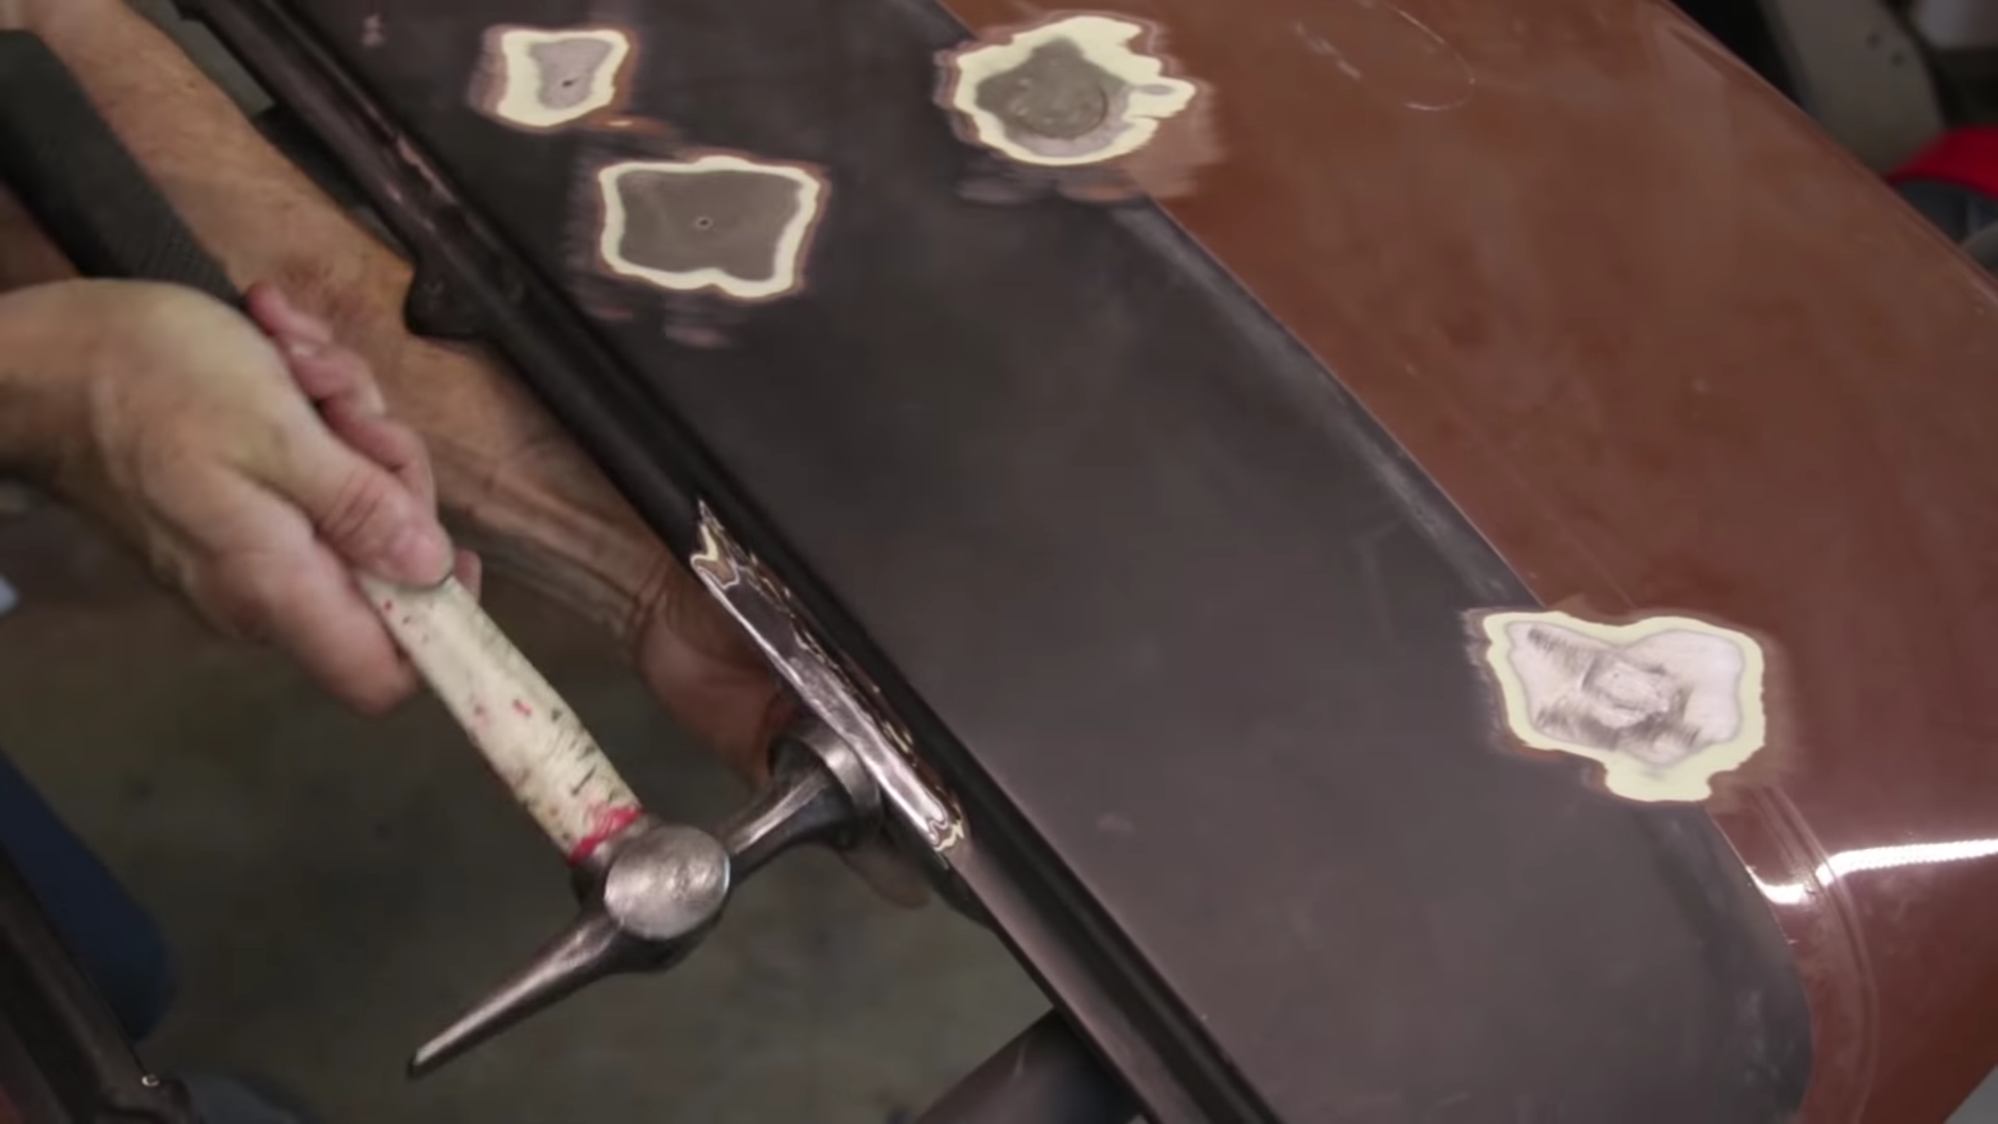
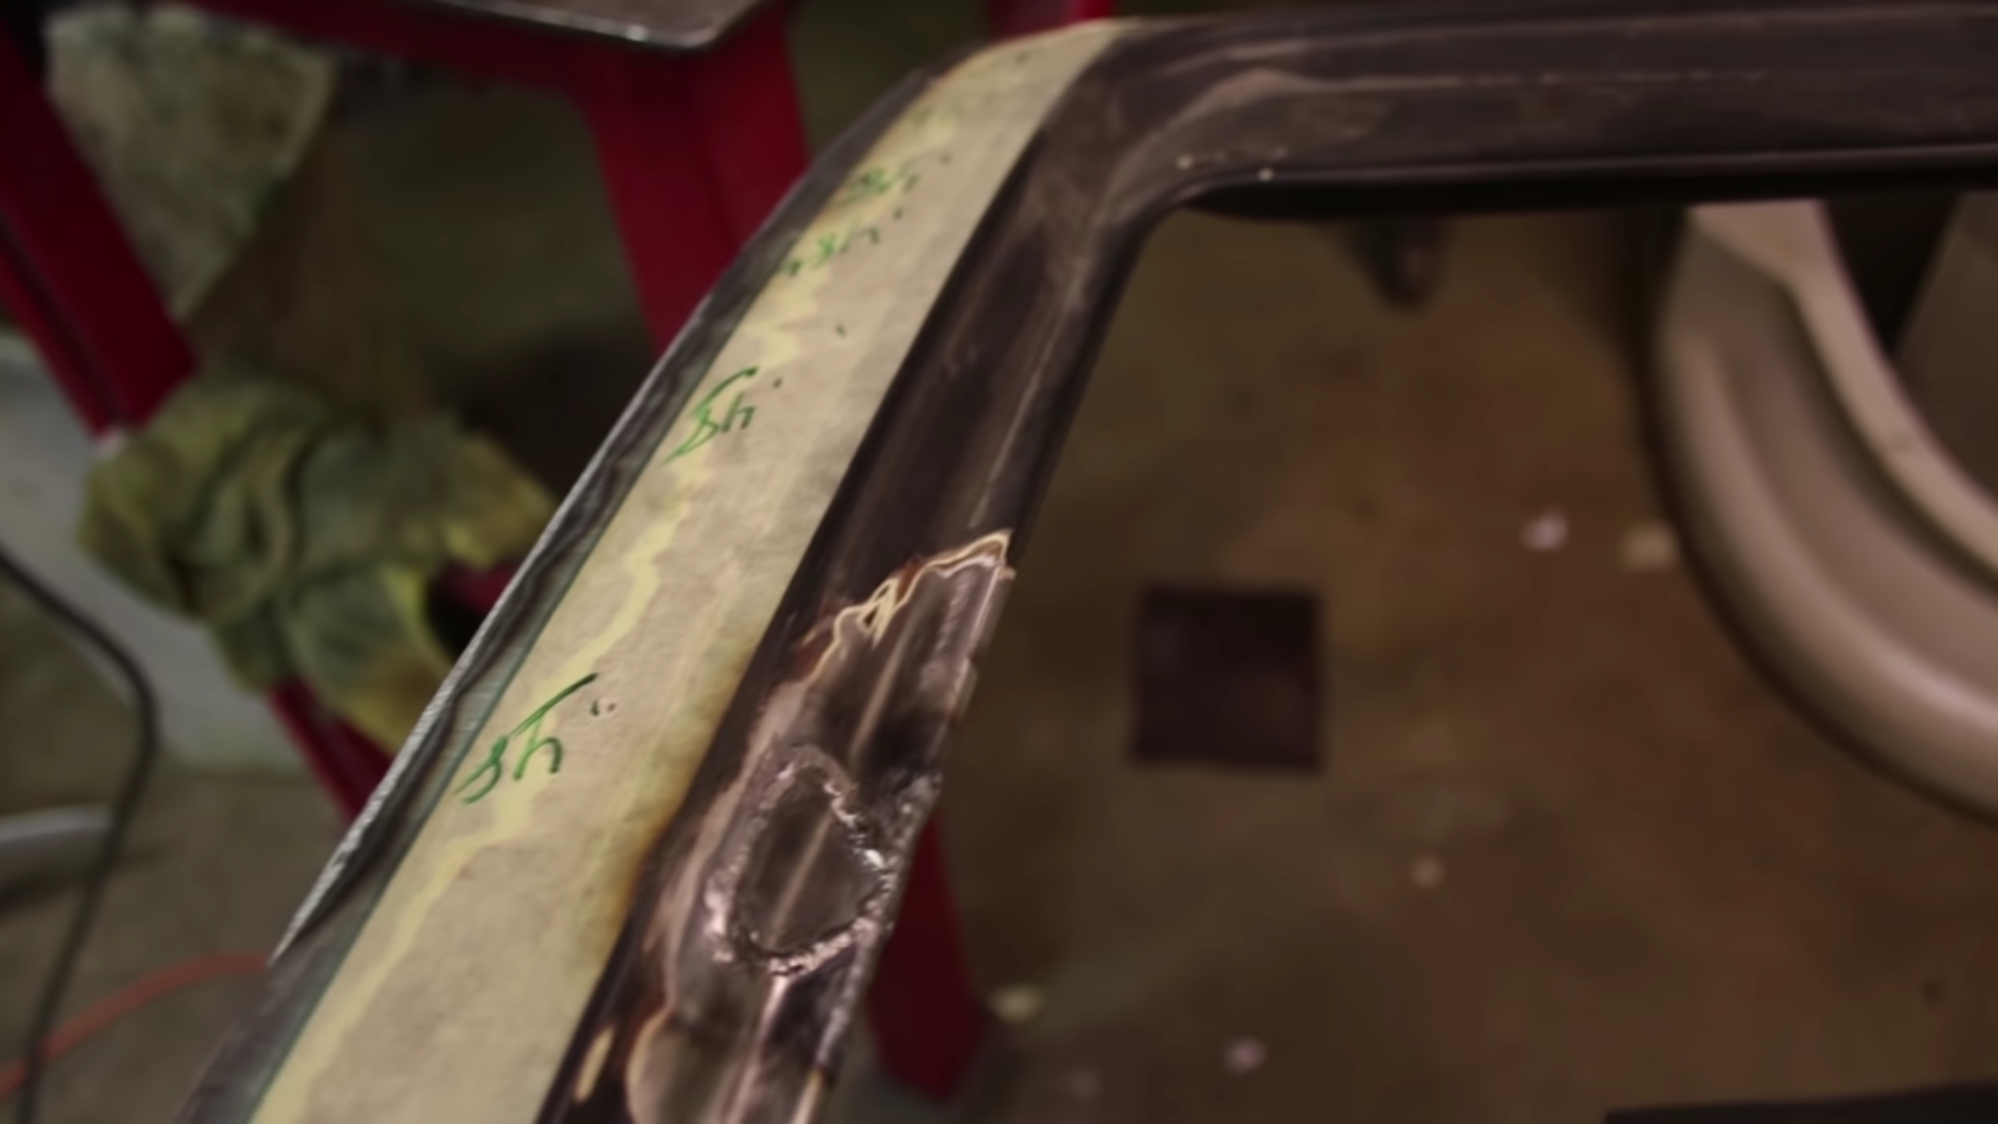
This week, I fully welded in the passenger flare. Its about five feet of TIG welding and metal finishing. Plus I had to massage the existing torsion bar hole because the person who cut the flare off destroyed the area.
I also gave a quick discussion why I chose to TIG weld this versus MIG weld. Its no surprise I'm a huge fan of TIG because its possible to get a smoother metal finish requiring less filler.
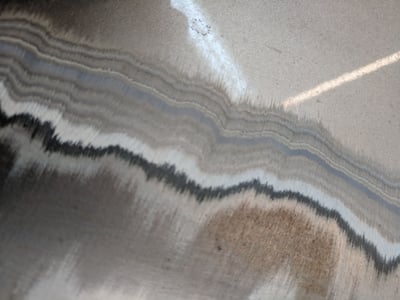
Here's a shot of the finished and smoothed install.
This week I start to align the body panel gaps on my old classic Porsche. As it turns out this is not an easy task because my car has had an accident on the front right and then parted out and now fixed, My job is take this old shell and a bunch of swap meet parts and make them fit like the factory did. As you can probably imagine, things don't just line up on their own. Brace yourself for the brute force method!
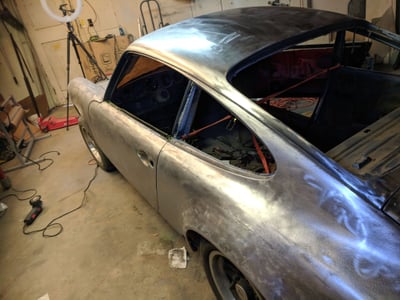
This week a major milestone was met....Finally got down to bare metal and protected with Epoxy Primer! Here's a few pics and the video of course! Please check it out.
@tperazzo you are an animal. This is the most epic build video ever. Your videos and work are amazing.
Keep it up. Im sooo excited to see the progress on the car!
Have you posted this to the Pelican forum as well? Im going to post it to the 997 forum.
@tperazzo you are an animal. This is the most epic build video ever. Your videos and work are amazing.
Keep it up. Im sooo excited to see the progress on the car!
Have you posted this to the Pelican forum as well? Im going to post it to the 997 forum.
ps - Where did you learn to do the bodywork?
Thanks Bruce, its a fun project for sure. I do post to Pelican as well under the same titles pretty much and thank you for sharing on other forums.
As for the body work, I'm basically self taught. Several years ago I did take a welding course from Steve Hogue in Torrance Ca, and then it was tons of practice. I have a 356 to thank for that. A challenging build like a 356 will teach you many things. Sometimes I repeated a repair or went back to touch it up as my skills improved. Now, I find that I'm teaching others which is why I started the YouTube channel.
Thanks again,
Tom


 06-24-2018 | 05:51 PM