When you click on links to various merchants on this site and make a purchase, this can result in this site earning a commission. Affiliate programs and affiliations include, but are not limited to, the eBay Partner Network.
did you remove the z trim to clean the area or did it fall off on the track? if the latter, had you used 3M tape or screws?
my post wasn’t clear (but I’ve edited it)… my track weekend took place before the z-trim install. I only posted the pic to show how much “activity” that area is subject to at the track and otherwise.
I did my install using screws. I entertained the idea of doing both tape and screws but then lost my ambition to go buy tape.
you push the tabs in from the inside of bumper underneath the car. no need to worry about dmg
Thank you for posting the video and additional details. I did this over the weekend, fairly straight forward, although having a skinny hand works great in this particular project, LOL.
For those who don’t want to sprinkle >$3 for a factory screw, I found the perfect match, use the #12 Stainless Steel Sheet metal screw in ľ” length. I bought a dozen and replaced the other black ones that are exposed to the element.
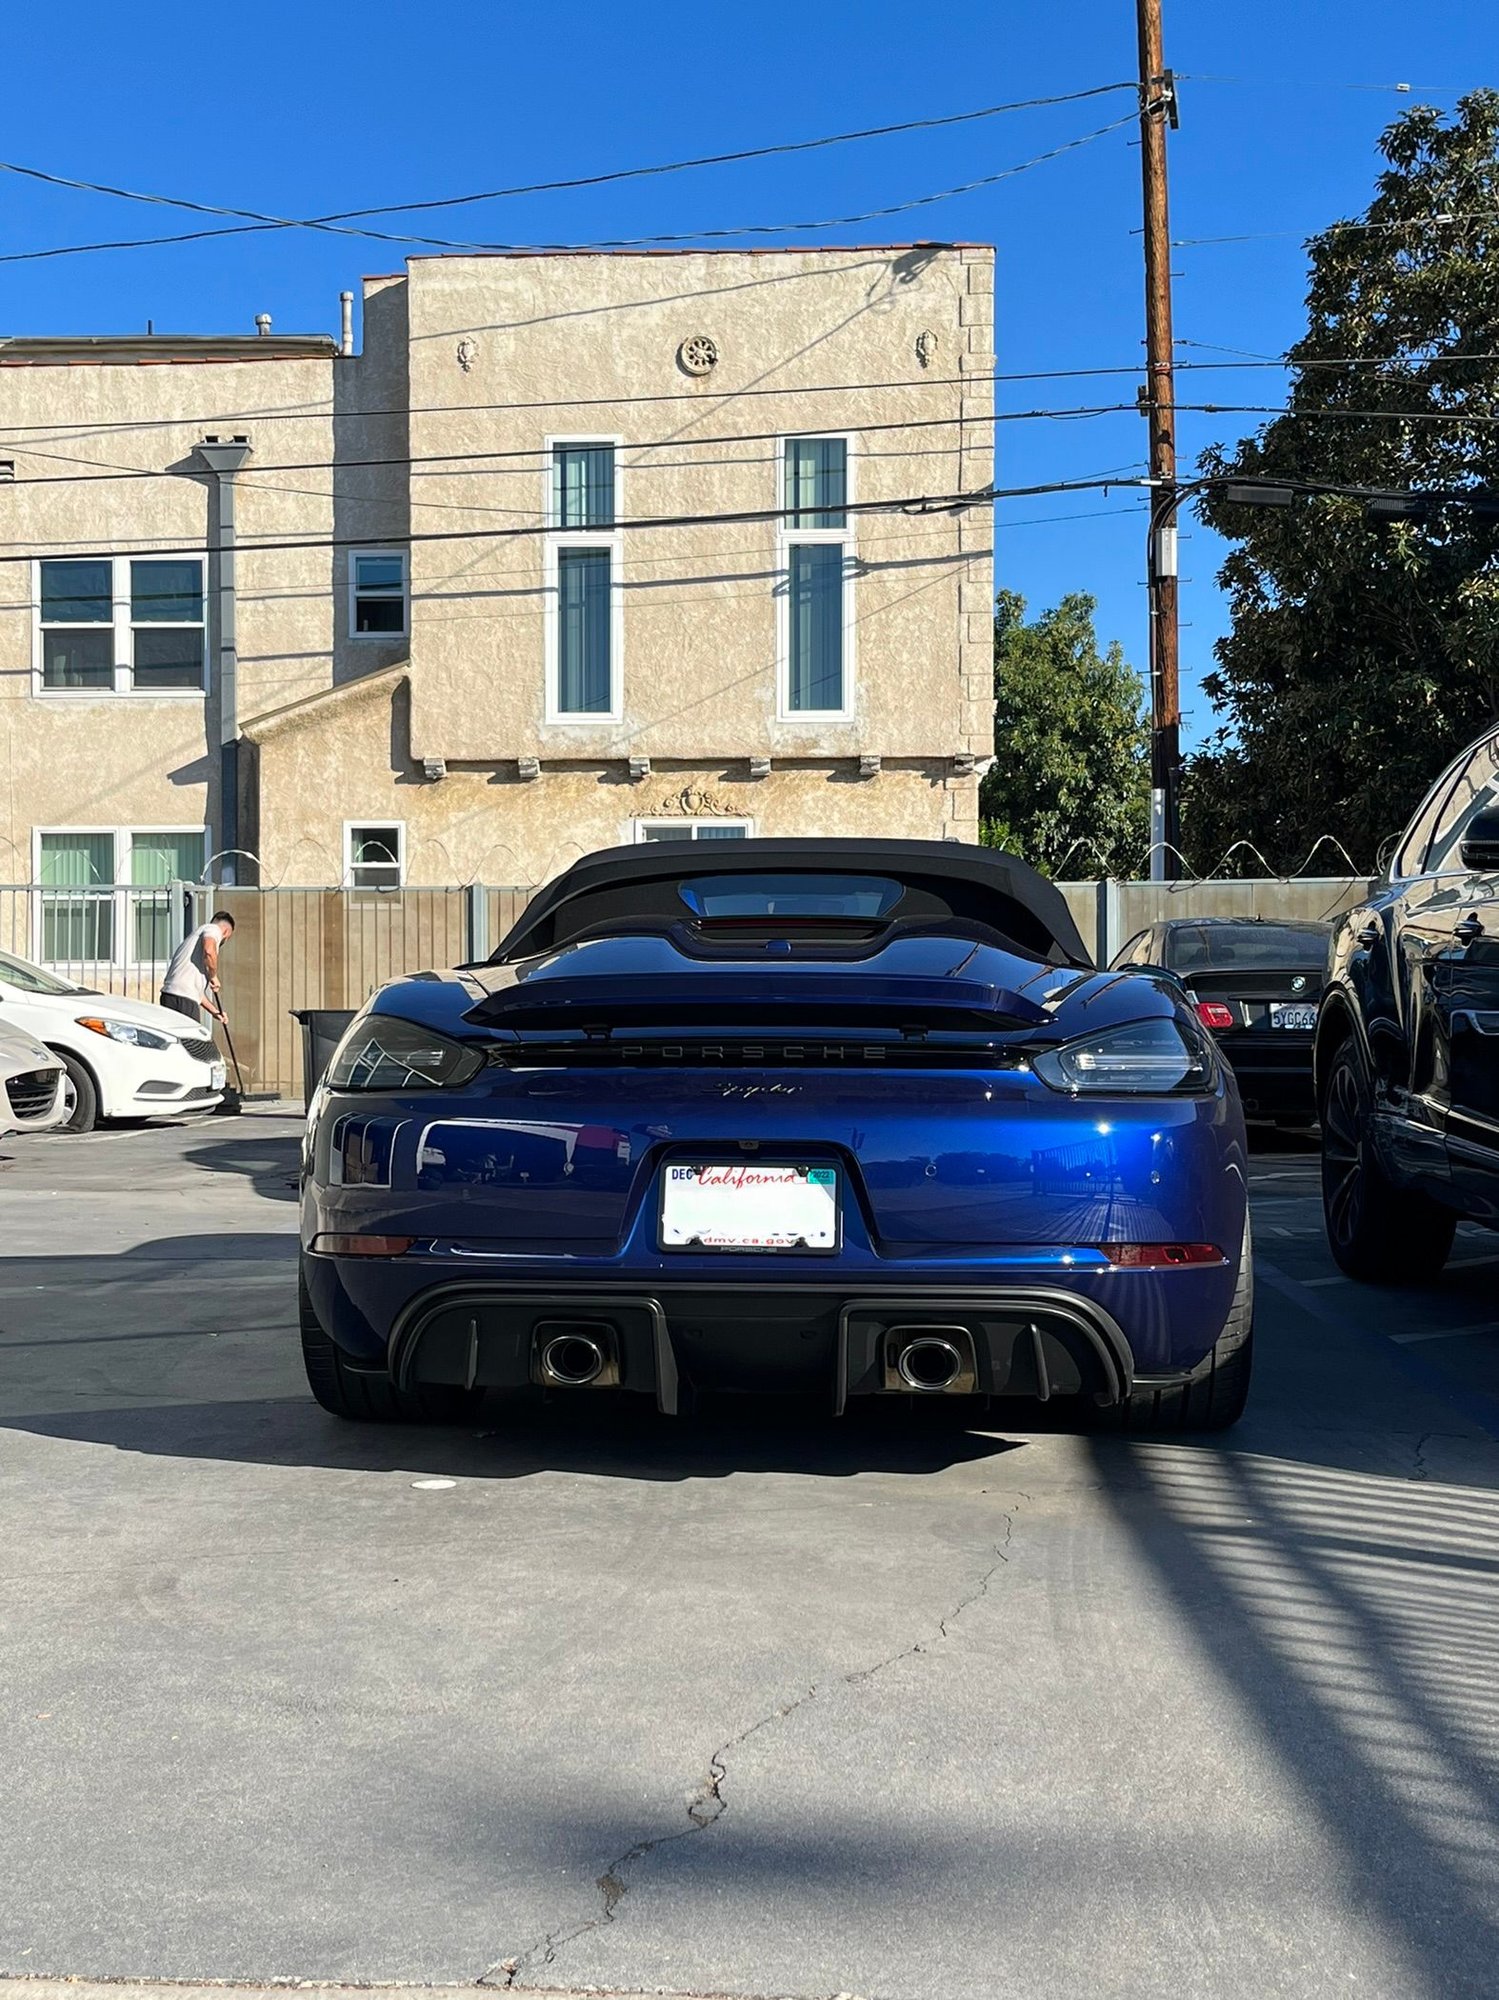
Hey all, finally had my fins installed on the car today at the shop as I don't have a lift or much tools to tackle the job (had the front GT4 RS strakes installed last week). So the screws that are suggested from Porsche are really tight (Part #WHT 003 954 I believe), had them checked to be sure and indeed they were the correct ones. The shop claims they were quite difficult to screw in.
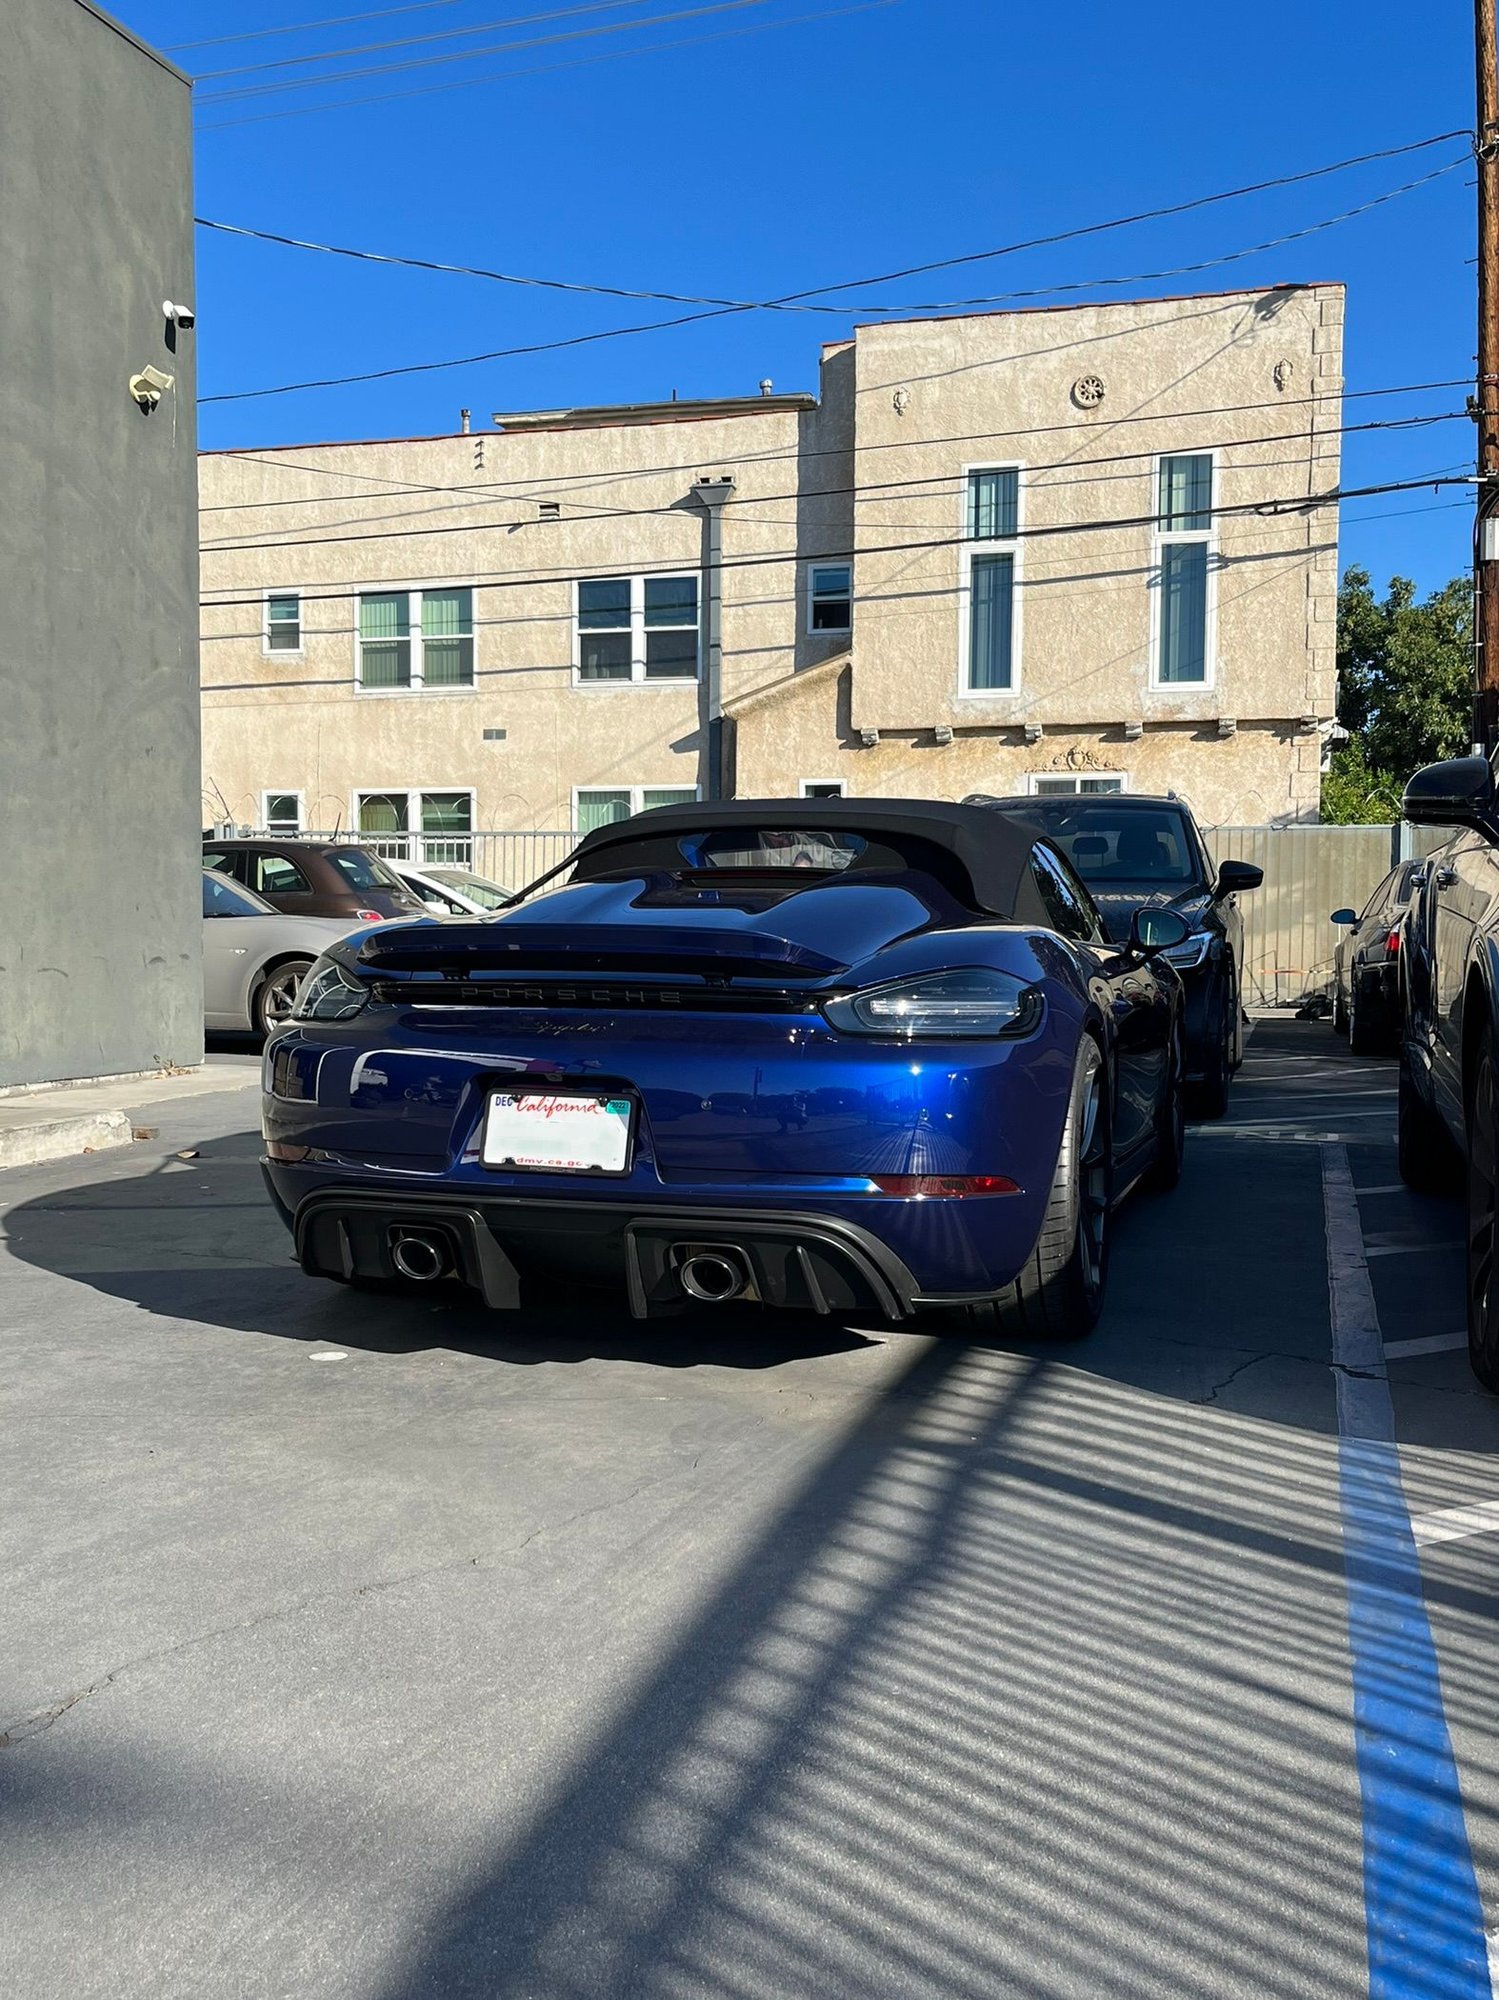
While pictures don't do them much justice they look really nice in real life and complete the look of the rear bumper. Always looked like they threw on a center diffuser on a regular Boxster, now it looks more special. Over the weekend I should be able to go out to the canyons and snap some better photos.
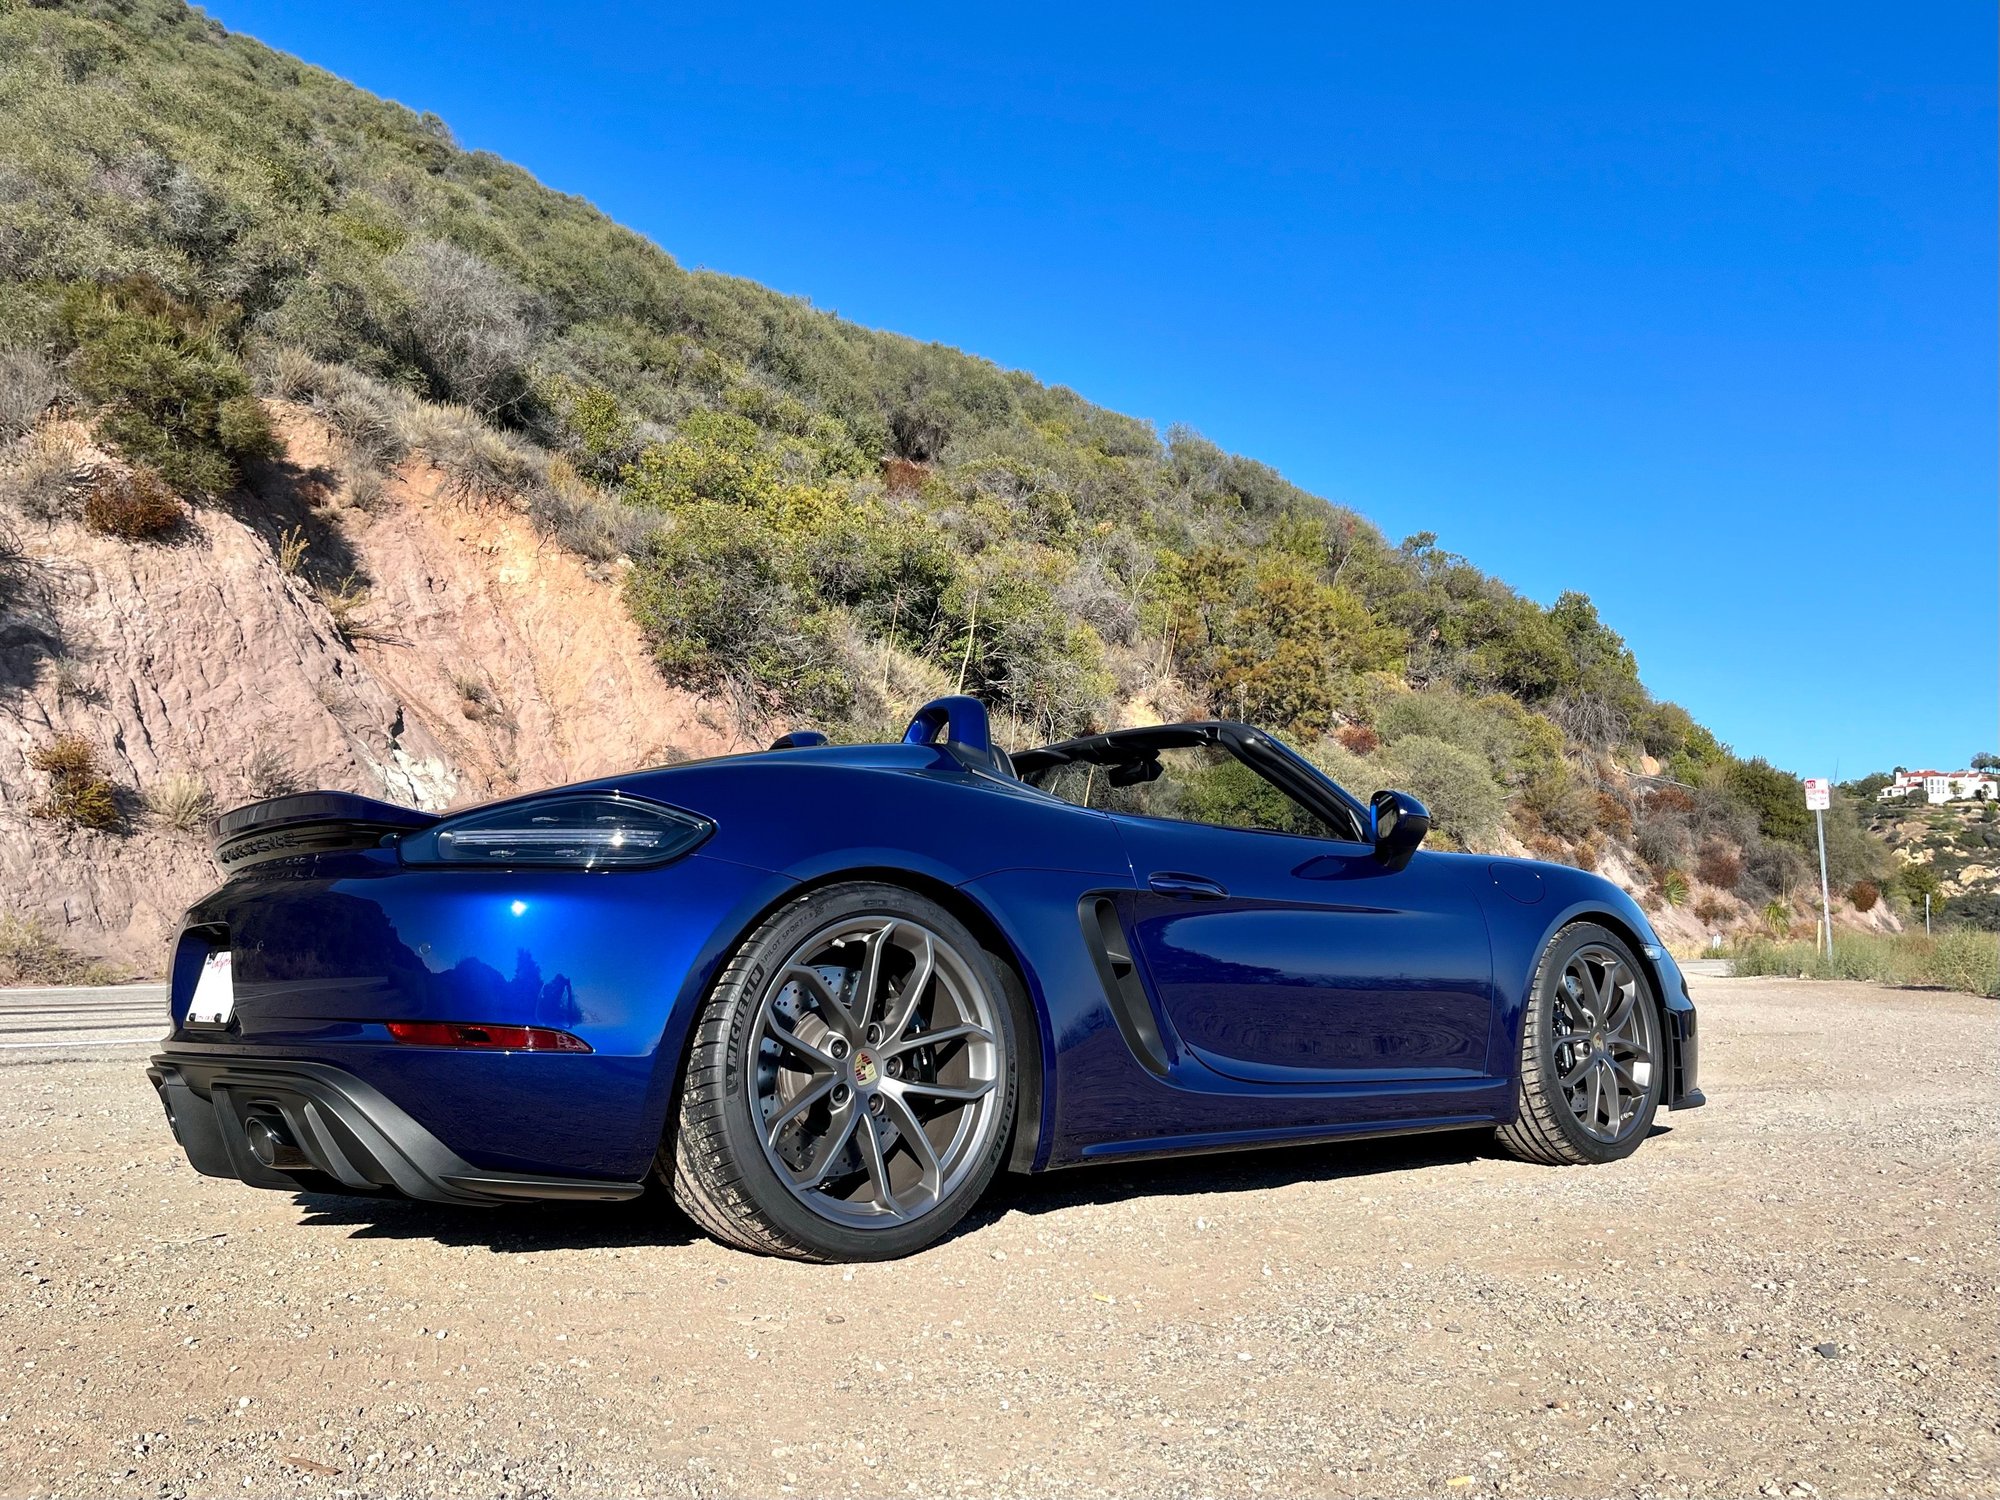
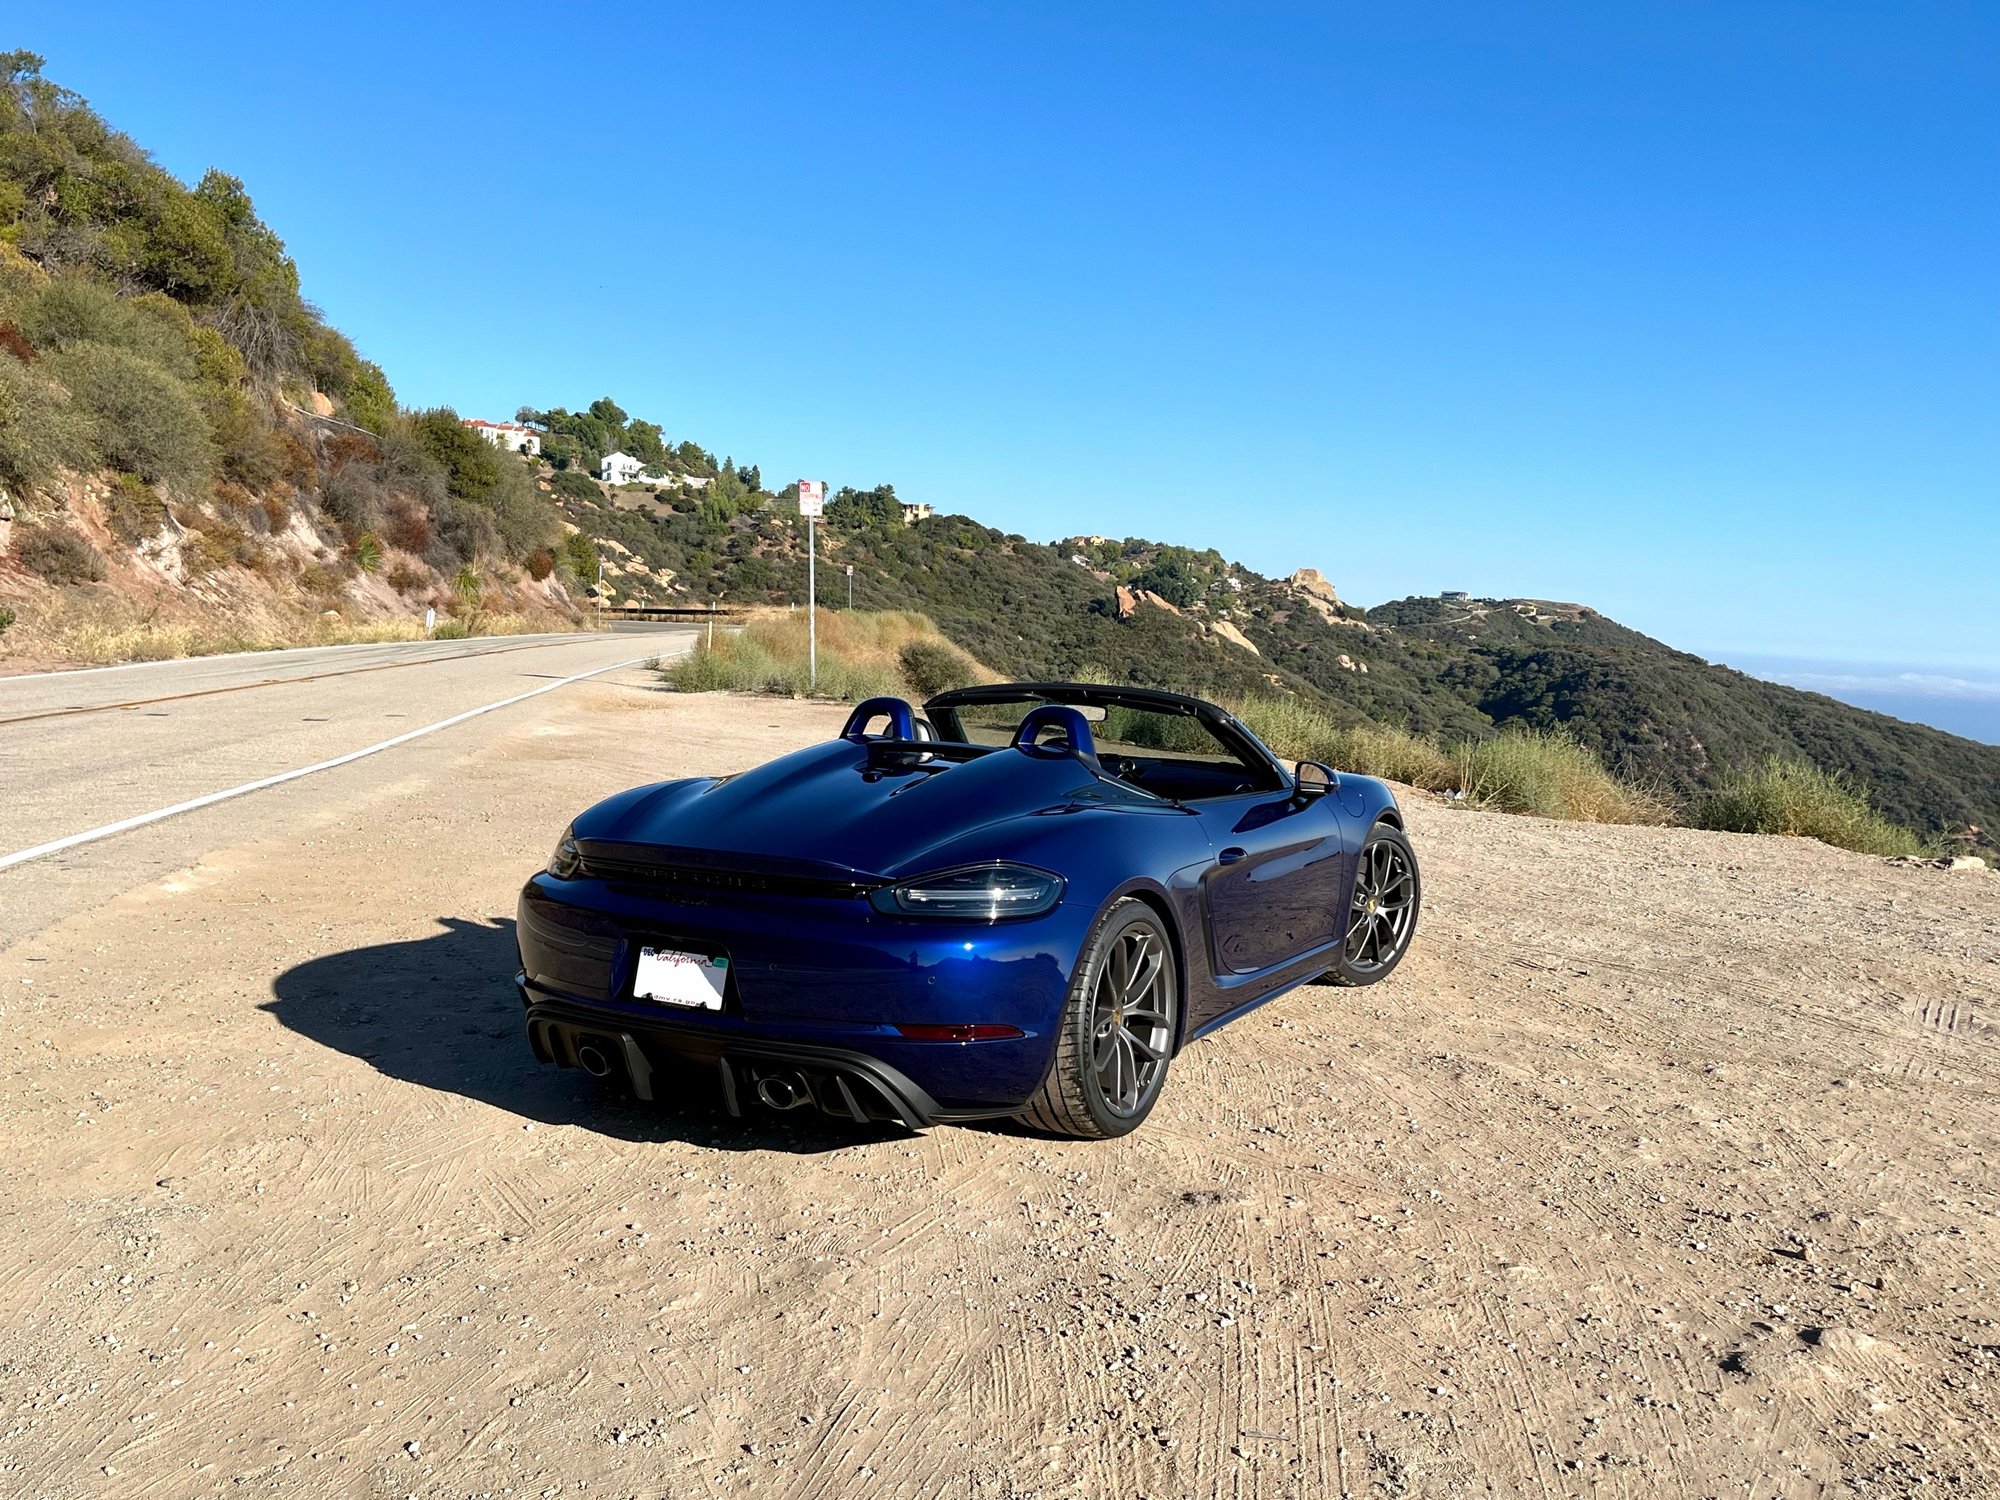
Took the car out for a drive in the afternoon and took some photos. The fins really tie in the diffuser to the rear bumper and completes the look as it should have been to begin with. One of the best mods I have done for the car along with Windschott rear glass.
Took the car out for a drive in the afternoon and took some photos. The fins really tie in the diffuser to the rear bumper and completes the look as it should have been to begin with. One of the best mods I have done for the car along with Windschott rear glass.
Agreed, the rear aero fins does complete the rear diffuser look and tie it in to the front as well. BTW, any pix of the front GT$RS strakes? Any modifications that needed to be done?
Agreed, the rear aero fins does complete the rear diffuser look and tie it in to the front as well. BTW, any pix of the front GT$RS strakes? Any modifications that needed to be done?
Sorry, no pics of the Gt4 RS strakes. Can try to lean and take some photos tomorrow but not sure how good they will come out. The shop only needed to drill holes in the fender liner for the screws, all was bolt on so quite straight forward.
Sorry, no pics of the Gt4 RS strakes. Can try to lean and take some photos tomorrow but not sure how good they will come out. The shop only needed to drill holes in the fender liner for the screws, all was bolt on so quite straight forward.
Good to hear that you don't need to invest in the GT4RS front diffuser for the strakes to line up and fit.
Bump. My rear fins just arrived today. Install over the weekend.
Are you doing it the proper way by drilling the holes, etc.? Ipnly used the one forwardmost bolt on mine and they look fine, and they have not moved at all.
Are you doing it the proper way by drilling the holes, etc.? Ipnly used the one forwardmost bolt on mine and they look fine, and they have not moved at all.
probably. Does that really entail removing the entire diffuser? And it seems from feeling around under there like the part I'm drilling through is actually a hollow two ply piece of plastic. Is that right?
probably. Does that really entail removing the entire diffuser? And it seems from feeling around under there like the part I'm drilling through is actually a hollow two ply piece of plastic. Is that right?
I think you have to remove it to drill the holes - check the thread that documents the process. I decided to attach mine with just the one screw per side to see if that was ok and it was, which saved a lot of time and anguish.
probably. Does that really entail removing the entire diffuser? And it seems from feeling around under there like the part I'm drilling through is actually a hollow two ply piece of plastic. Is that right?
The shop that installed mine said they removed the diffuser first, which makes sense. I think you just drill through one piece/side of plastic
I used a lift at the track to put mine on the other day. I left the diffuser on the car. Should have taken a few pictures but my phone was in the car high up on the lift. Here are some instructions if you want to attempt this on your own. I tried laying on the ground to scope it out but quickly realized it would take a lift to do it correctly.
1-first install all three screws in the diffuser piece
2-take out the vertical screw in front of the diffuser near the wheel arch
3-put some blue tape on the side of the diffuser where it will bolt on, two layers preferably
4-set the little plastic hook in the middle of the diffuser in the groove, wiggle it into place, and align and gently tighten the front vertical screw so the diffuser is loosely in place
5-then making sure the part is in the correct place, firmly push on it, one time, to have the Phillips screws make an indentation into the blue tape
6-I only used one piece of tape but as I write this the thought of using a double layer of tape would work better to have a softer surface to let the screws make their marks
7-remove the diffuser and check that the marks in the blue tape are well defined and in a straight line, if it doesn't look good then repeat the process
8-then drill the holes all the way through both pieces of plastic just big enough to gently hug the screws
9-start with a smaller bit and work your way up to the size that is just large enough to push is through with some friction of the threads scraping up against the plastic
10-next it gets a bit tricky...you then have to come back on the inside layer of plastic and enlarge the holes to like a 1/2 inch so you have room to feed the screws back through
11-this is where the larger bit will catch the plastic and start to rip it if you are not very careful
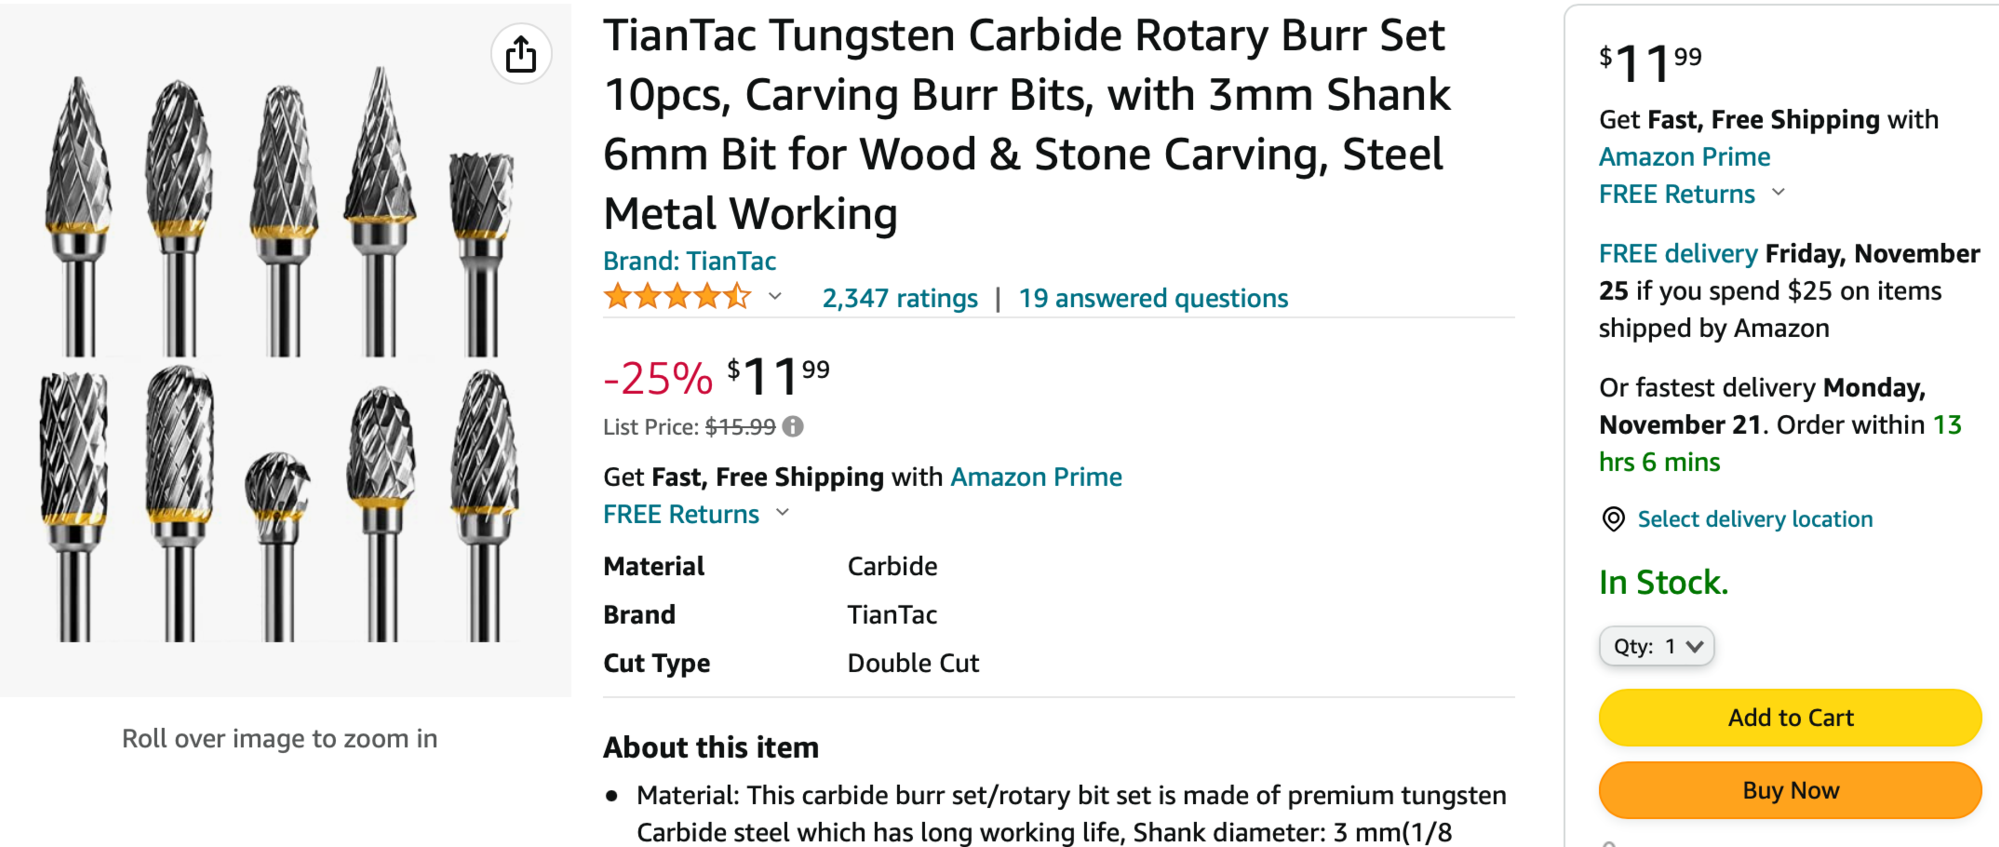
12-I did not have it but would recommend getting some kind of burr set to make the inner holes bigger (see below)
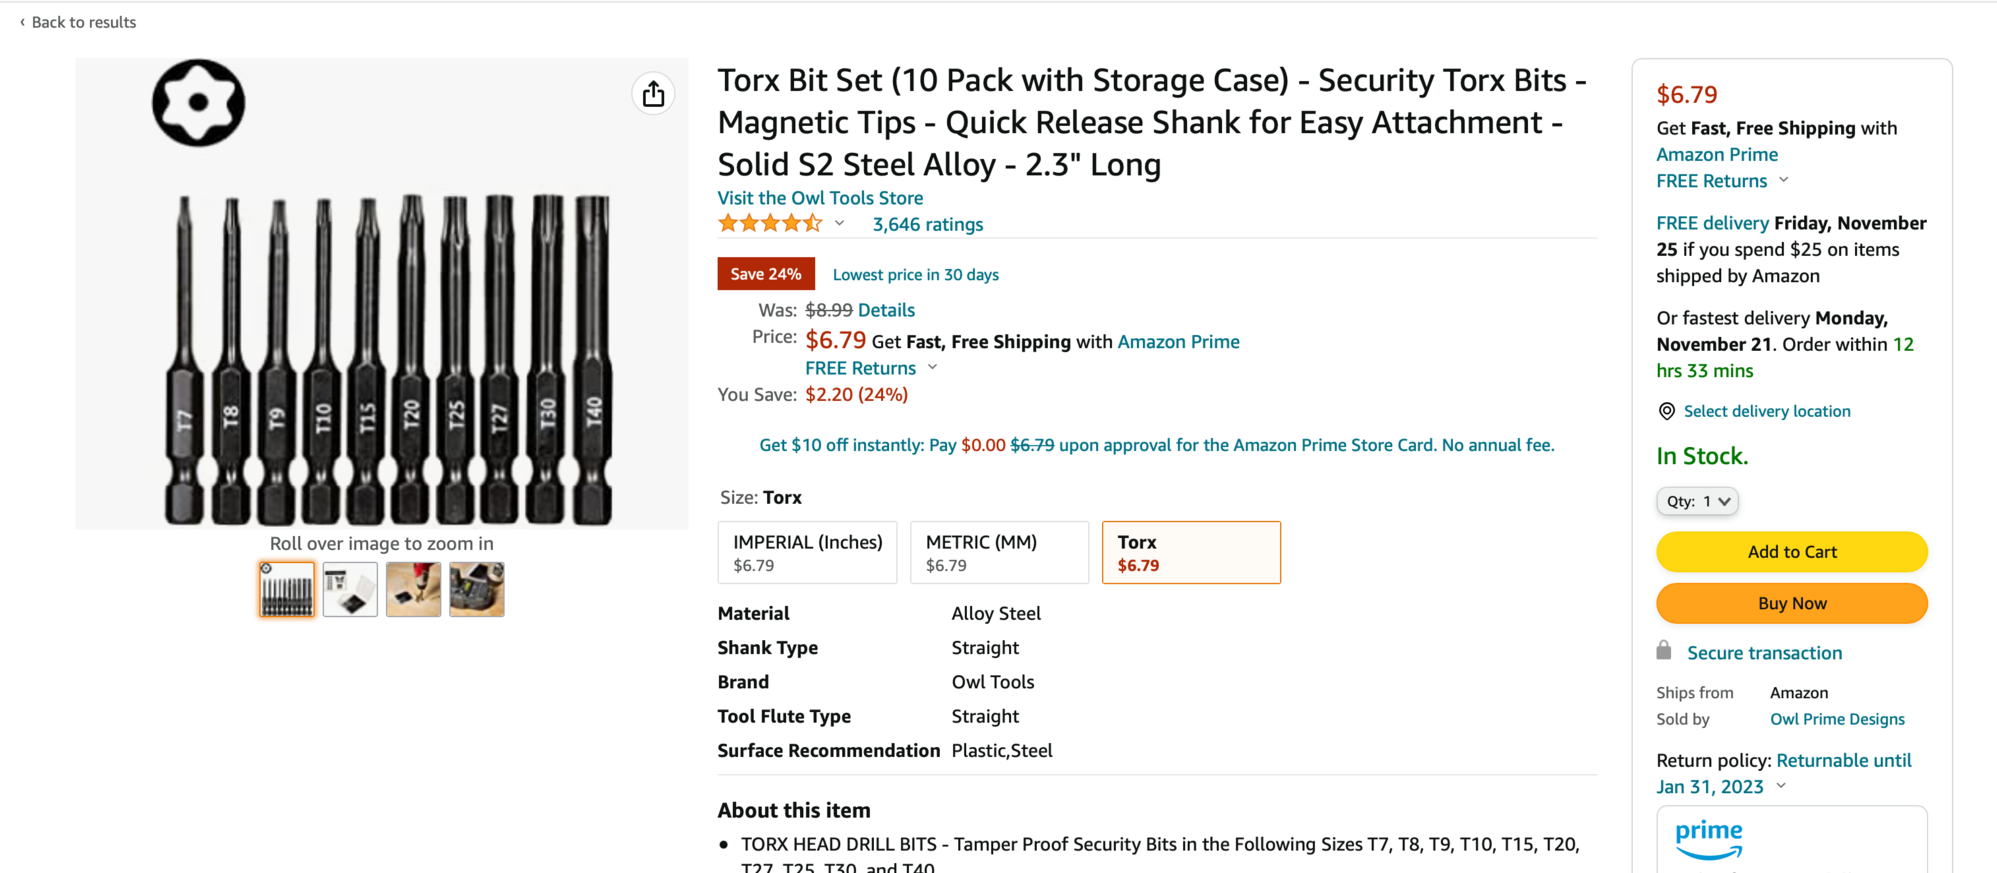
12-then you need a 30 Torx screw driver, Allen, and or what I found best was a long bit on a 1/4 socket wrench....preferably magnetic (see below)
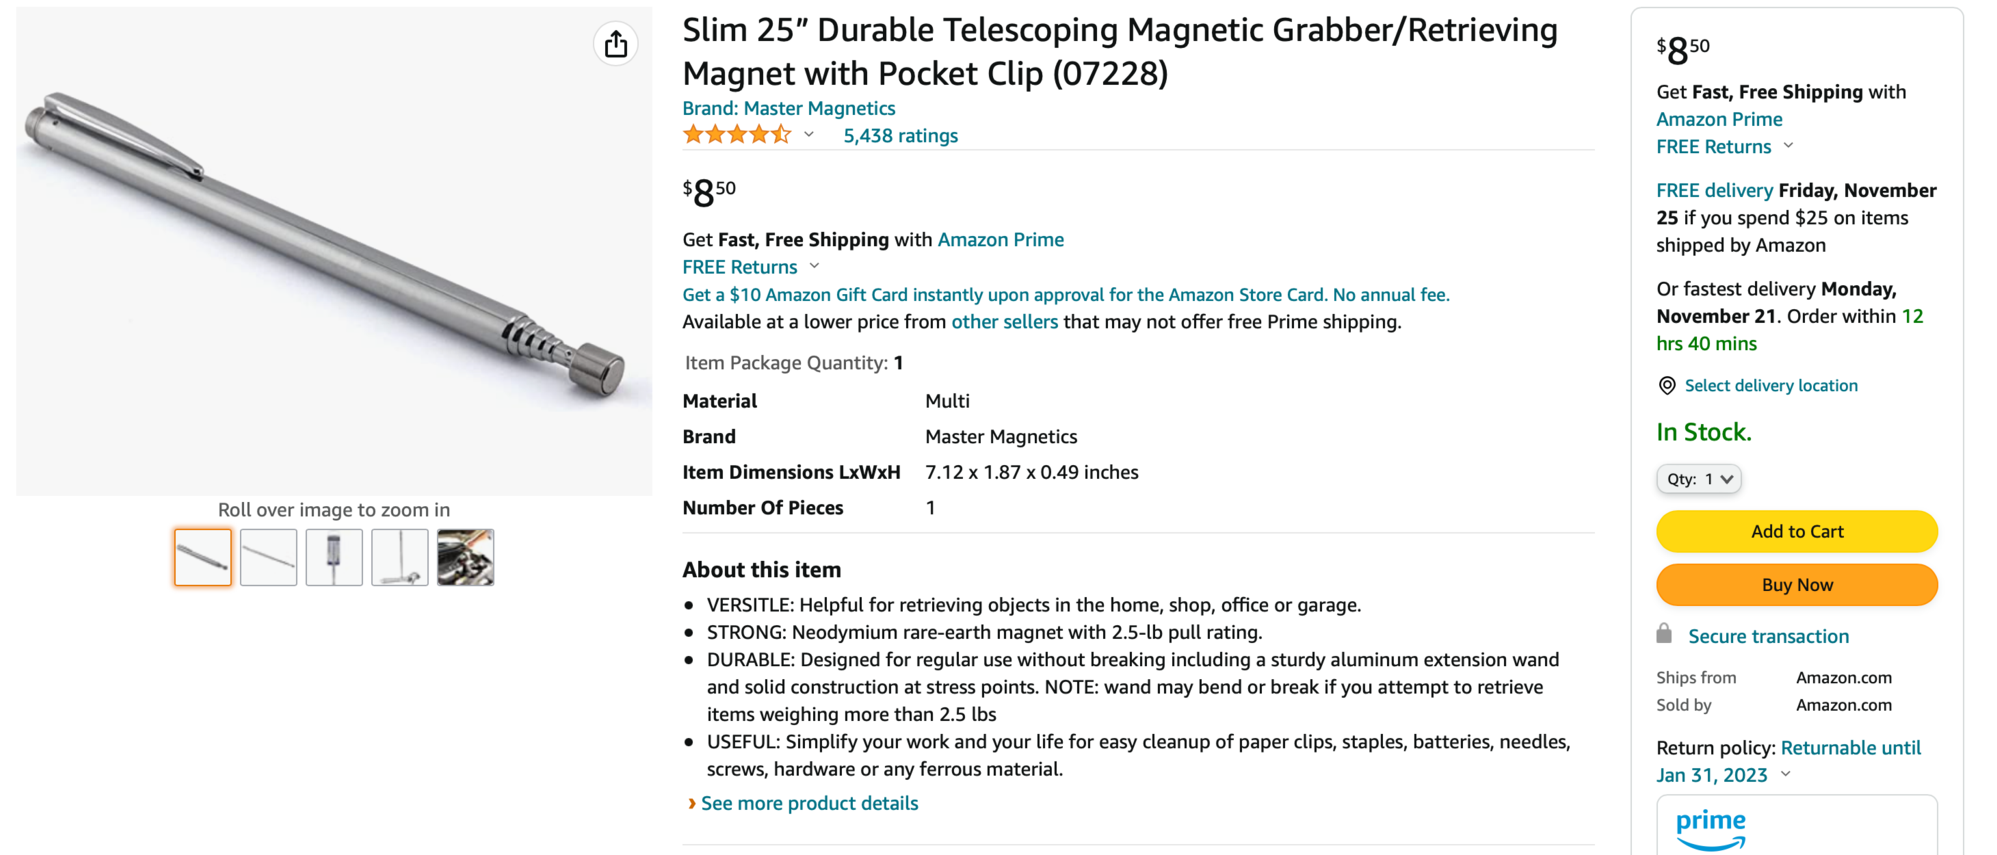
13-you will also need a magnetic extraction tool cause you will invariably drop a screw between the two layers of plastic and have to retrieve with the magnetic tool (see below)
14-I did not have any luck separating the two parts of the diffuser so...
15-you have to carefully put a screw on the end of a magnetic Torx and feed it through the larger inner hole then through the outer hole so it is exposed to the outside of the diffuser
16-this is where having a snug fit with the screw on the outside hole pays off
17-once you push the screw through the opening it will sort of stay in place and not so easily fall back between the two layers of plastic
18-put all three screws in place to receive the diffuser
19-carefully attach the diffuser loosely with the vertical screw
20-then the fun begins to reach inside the larger inner opening of the plastic, catch the screw with your Torx 30 bit, hold up the diffuser and set each screw in the speed nut (extra hands help here)
21-then once all threes are set, then and only then can you tighten all three
22-If you tighten the first one all the way, you won't be able to set the other two
It was a bit of a pain to do it this way but it worked out fine in the end. It took me 45 minutes to set up and do the first one and then 15 minutes on the second one. It must be done on a lift. Don't even think about doing in on the ground. I would liken this to laparoscopic surgery vs open surgery in taking off the whole bumper assembly. It is actually pretty straight forward, but dealing with the tiny space between the two layer of plastic in the side of the diffuser makes it very challenging. The bigger you can safely make the inner hole on the liner of the diffuser, the easier the whole process will go. I know earlier on people were concerned about where to drill the holes but the blue tape imprint technique precisely solves that issue.
Below are some options for some of the tools needed to complete this job.
Last edited by lovetoturn; 11-19-2022 at 09:30 PM.
I used a lift at the track to put mine on the other day. I left the diffuser on the car. Should have taken a few pictures but my phone was in the car high up on the lift. Here are some instructions if you want to attempt this on your own. I tried laying on the ground to scope it out but quickly realized it would take a lift to do it correctly.
first install all three screws in the diffuser piece
take out the vertical screw in front of the diffuser near the wheel arch
put some blue tape on the side of the diffuser where it will bolt on, two layers preferably
set the little plastic hook in the middle of the diffuser in the groove, wiggle it into place, and align and gently tighten the front vertical screw so the diffuser is loosely in place
then making sure the part is in the correct place, firmly push on it, one time, to have the Phillips screws make an indentation into the blue tape
I only used one piece of tape but as I write this the thought of using a double layer of tape would work better to have a softer surface to let the screws make their marks
remove the diffuser and check that the marks in the blue tape are well defined and in a straight line, if it doesn't look good then repeat the process
then drill the holes all the way through both pieces of plastic just big enough to gently hug the screws
start with a smaller bit and work your way up to the size that is just large enough to push is through with some friction of the threads scraping up against the plastic
next it gets a bit tricky...you then have to come back on the inside layer of plastic and enlarge the holes to like a 1/2 inch so you have room to feed the screws back through
this is where the larger bit will catch the plastic and start to rip it if you are not very careful
I did not have it but would recommend getting some kind of burr set to make the inner holes bigger (see below)
then you need a 30 Torx screw driver, Allen, and or what I found best was a long bit on a 1/4 socket wrench....preferably magnetic (see below)
you will also need a magnetic extraction tool cause you will invariably drop a screw between the two layers of plastic and have to retrieve with the magnetic tool (see below)
I did not have any luck separating the two parts of the diffuser so...
you have to carefully put a screw on the end of a magnetic Torx and feed it through the larger inner hole then through the outer hole so it is exposed to the outside of the diffuser
this is where having a snug fit with the screw on the outside hole pays off
once you push the screw through the opening it will sort of stay in place and not so easily fall back between the two layers of plastic
put all three screws in place to receive the diffuser
carefully attach the diffuser loosely with the vertical screw
then the fun begins to reach inside the larger inner opening of the plastic, catch the screw with your Torx 30 bit, hold up the diffuser and set each screw in the speed nut (extra hands help here)
then once all threes are set, then and only then can you tighten all three
If you tighten the first one all the way, you won't be able to set the other two
It was a bit of a pain to do it this way but it worked out fine in the end. It took me 45 minutes to set up and do the first one and then 15 minutes on the second one. It must be done on a lift. Don't even think about doing in on the ground. I would liken this to laparoscopic surgery vs open surgery in taking off the whole bumper assembly. It is actually pretty straight forward, but dealing with the tiny space between the two layer of plastic in the side of the diffuser makes it very challenging. The bigger you can safely make the inner hole on the liner of the diffuser, the easier the whole process will go. I know earlier on people were concerned about where to drill the holes but the blue tape imprint technique precisely solves that issue.
Below are some options for some of the tools needed to complete this job.
No way I'm going through all that. I just made a template using masking tape and I'm going to drill holes through the diffuser before removing it from the car. Then I'll remove the diffuser, separate the two pieces and screw it on.
I was tempted to make large holes on the inner side of the diffuser to allow the screw and its washer to fit through it and then through the smaller hole into the aero fin but I don't think I'm going to do it that way.
Last edited by SpyderSenseOC; 11-19-2022 at 03:49 PM.


 10-17-2022, 07:57 AM