When you click on links to various merchants on this site and make a purchase, this can result in this site earning a commission. Affiliate programs and affiliations include, but are not limited to, the eBay Partner Network.
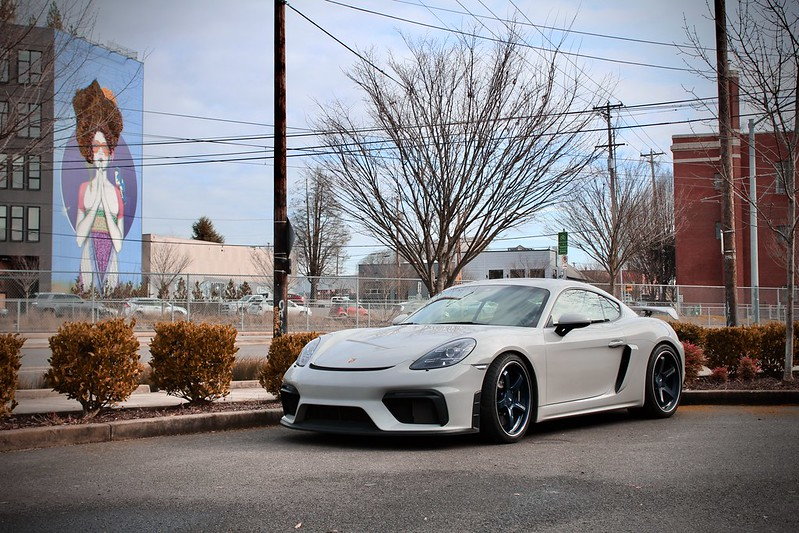
We recently had a local client in Washington reach out about getting some better sound in his 718 GT4. I thought it'd be a good opportunity to document some of the install process for anyone interested in the upgrade!
Be forewarned, this is a long read with LOTS of photos. That said, lets get into it!
The car came with Bose, which is the most common system we see in these platforms. The Bose system includes 10 speakers and a 450w amplifier under the passenger seat. The factory speaker's design is not conducive to good sound without adding a whole lot of processing, so changing them out is always the best approach. The only speakers that we NEED for great sound are the 6 that make up the primary front stage � dash tweeters, midrange drivers, and door woofers, so those are the locations we're going to retain. Everything else is actually a detriment to high-resolution sound and isn't necessary in a reference setup such as this. Knowing all that, we decided on a Stage Three system to rectify the factory systems shortcomings.
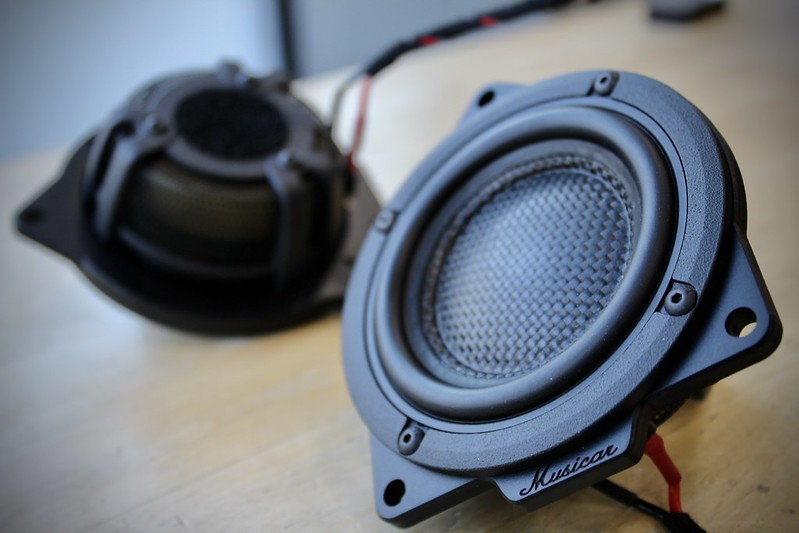
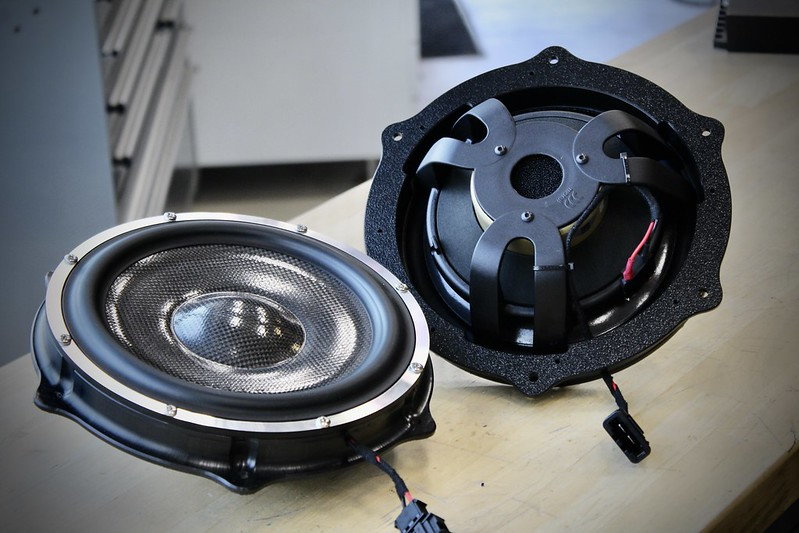
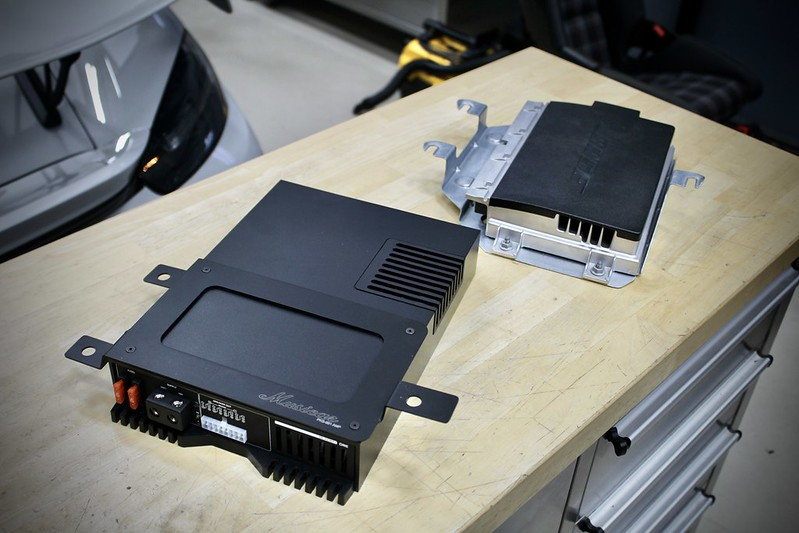
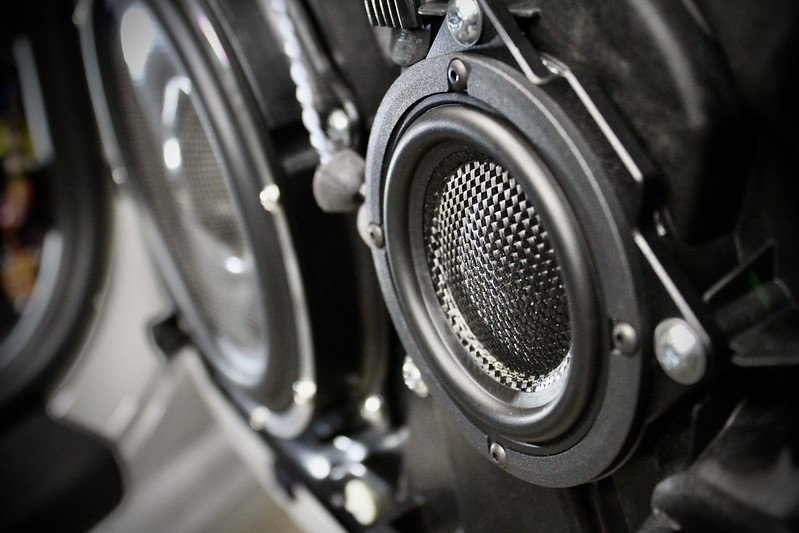
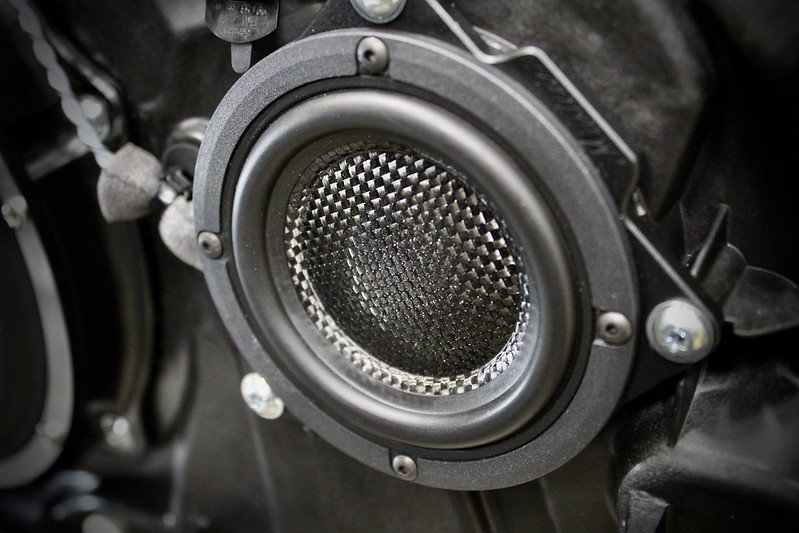
Stage Three upgrades the power substantially with a 6-channel Class-A/B Amplifier from Mosconi of Italy. Its staggered power gives us 90w to each tweeter, 90w to the midrange, and an impressive 250w to each door woofer. Typically, the larger the speaker the more power is required to get proper response. Having that much available for the woofers means we can easily get tight and detailed bass response. Of course, that's way too much power for the factory speakers to handle at high volumes, so we upgrade the speakers to a set from Morel of Israel's Elate Carbon series.
All of these products are carefully picked and some of them are actually special versions that are built to work perfectly with the Musicar solutions. Of course, we also go through the meticulous process of fabricating mounting adapters, sourcing and assembling wiring harnesses, and fine-tuning the amplifier's on-board DSP(digital sound processor) to optimize everything for the acoustics of the car and the driver's listening position. This is how we can transplant the same sound we get here at our shop to anyone in the world, which is pretty cool!
INSTALL PROCESS � DSP AMPLIFIER
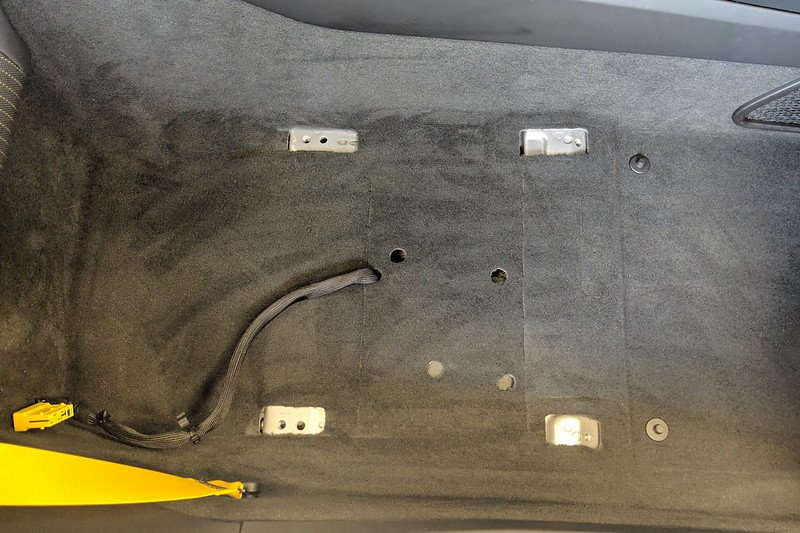
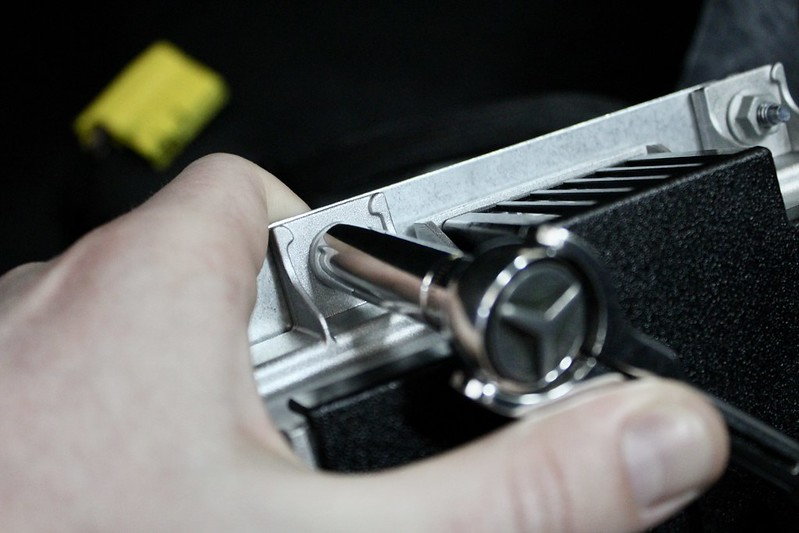
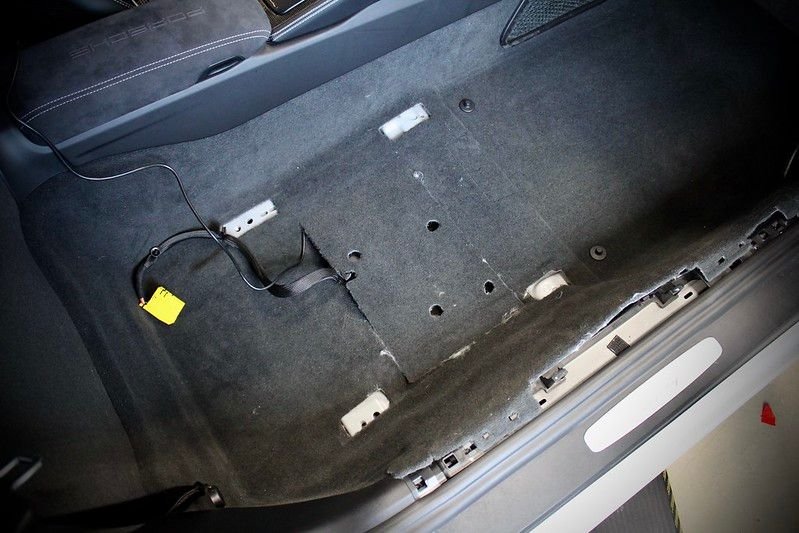
Knowing that I would need to run wires for power and for the fiber-optic interface module, I decided to start with the amplifier. The first step was gaining access to the factory Bose amplifier under the seat. Removing the seat starts with removing the small plastic caps the cover the front two bolts. There's a small tab to lift up and they easily slide forward. Once those are out of the way you can remove the two E12 reverse torx bolts, slide the seat forward and remove the rear two. Once the seat is free there are a couple of wiring harnesses under the seat that need to be released. Before you do that, make sure the seat is slide all the way back. This will make it easier to remove it since the rails are centered below the seat.
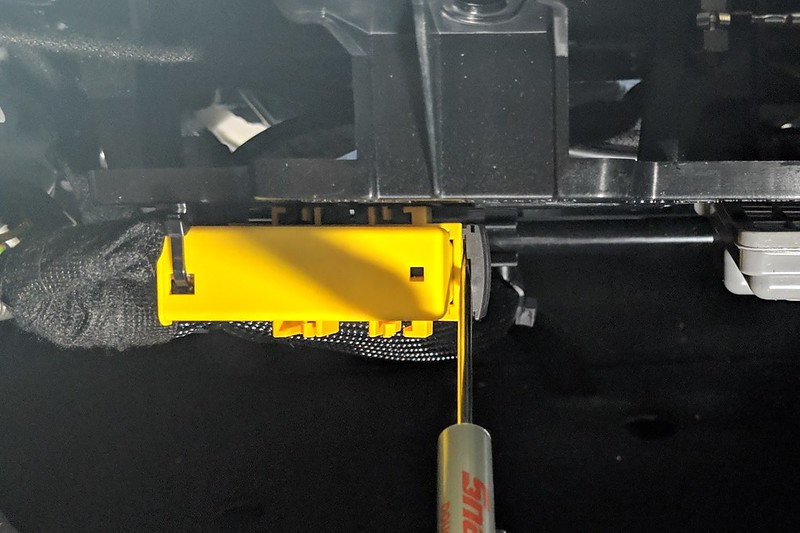
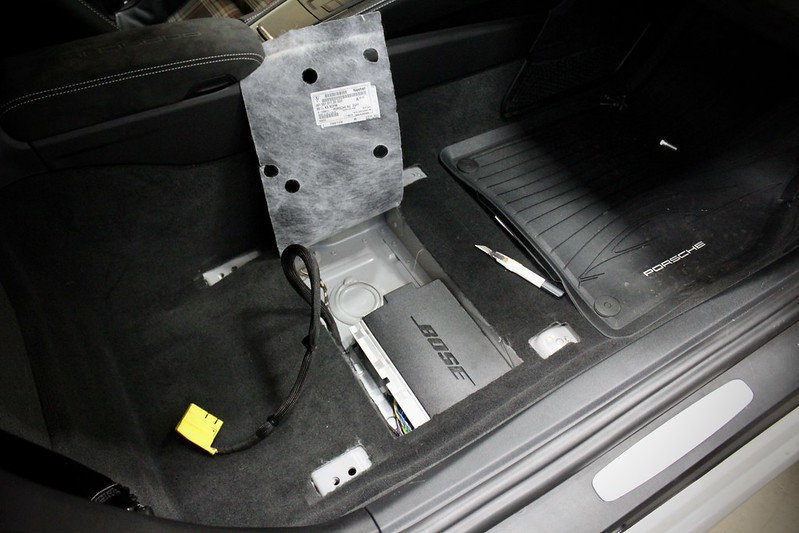
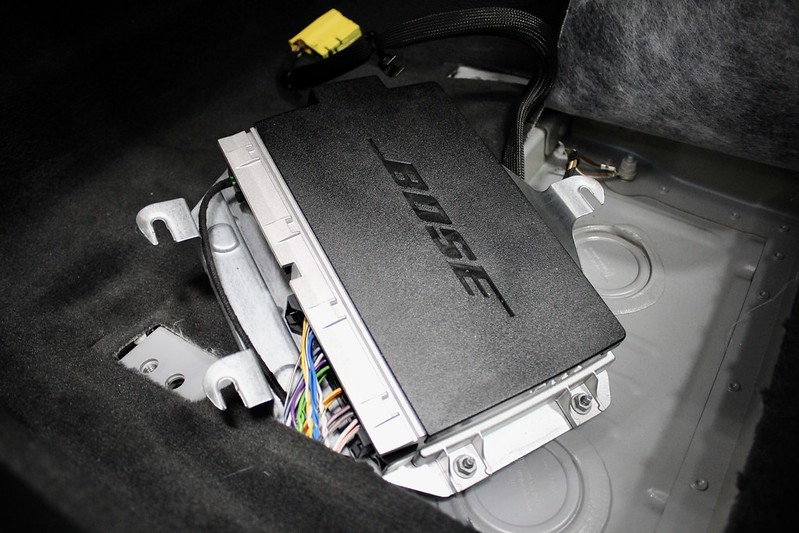
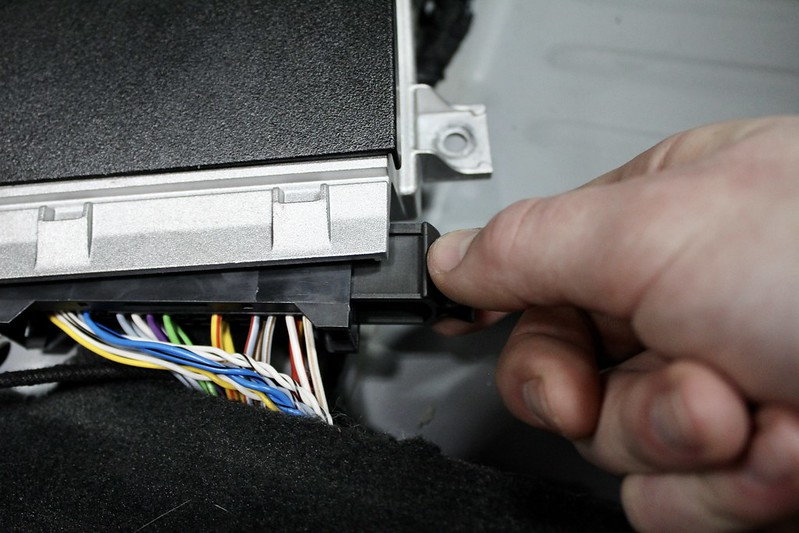
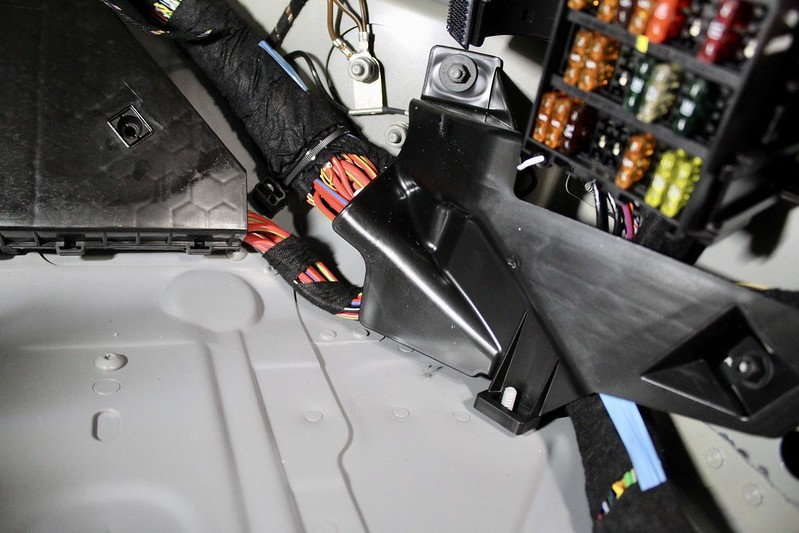
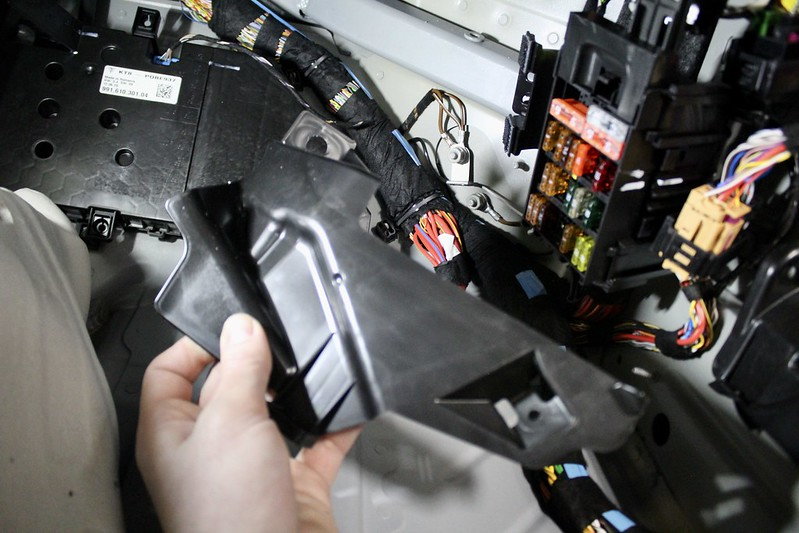
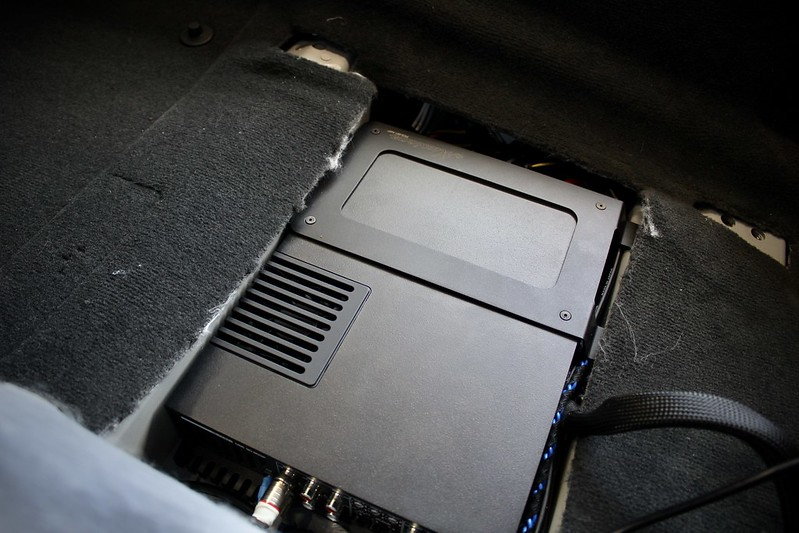
Once we have the seat out, we can see the rectangular carpet score above the amplifier provision. There are spots on three sides of this rectangle where the carpet is tacked together. We'll need to use a blade to sever those tacks to reveal the amplifier beneath the carpet flap. Once we have that free, I like to tuck it into the center console armrest cover so it stays up and out of my way while working. The amplifier can now be removed by first removing the three T25's that hold the bracket to the car(2 in back, 1 in front) and then removing the four 10mm bolts that hold the amplifier to the bracket. Only then do we have enough room to release the main wiring harness along with the MOST fiber connection.
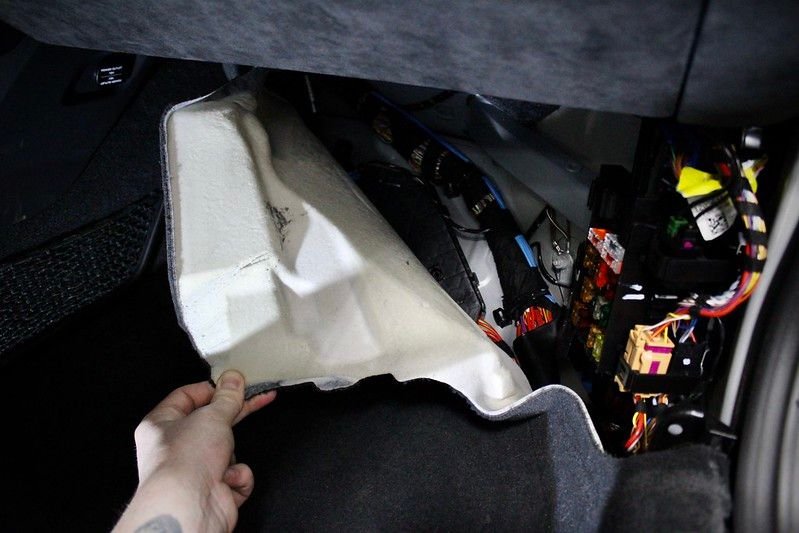
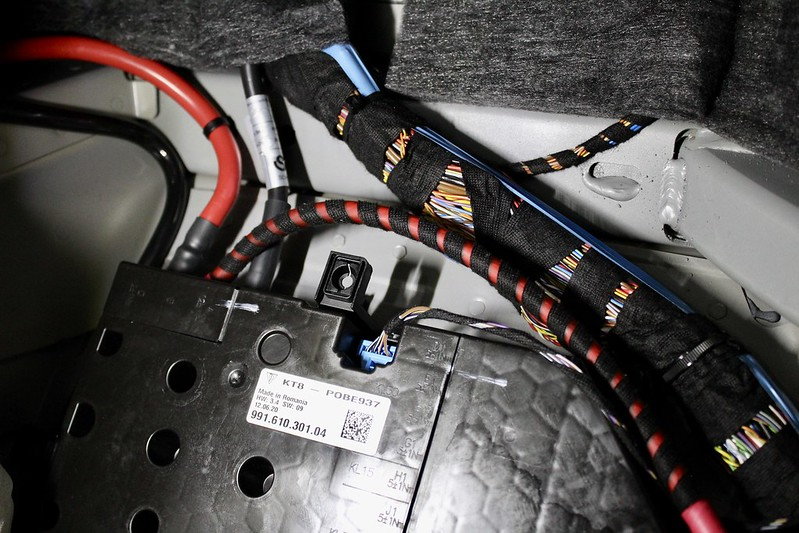
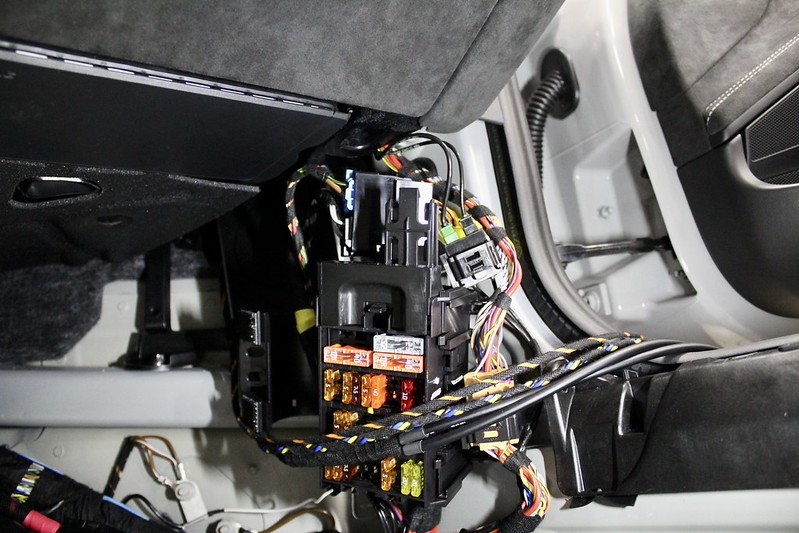
Now that we have the Bose amplifier out of the car completely, we can work on getting out wiring into place for the new Mosconi amplifier. The wiring we have to run up front is the main power and ground as well as the signal input/output harnessing for the fiber-optic interface. I started this phase by removing the door sill, the kick panel, and the dash side cap/upper sill to make it easier. From there I pulled the carpet mold back to reveal the power distribution panel as well as the OEM wiring paths from the seat forward. There's a small plastic wire cover below the fuses that I removed to help guide the new wiring better.
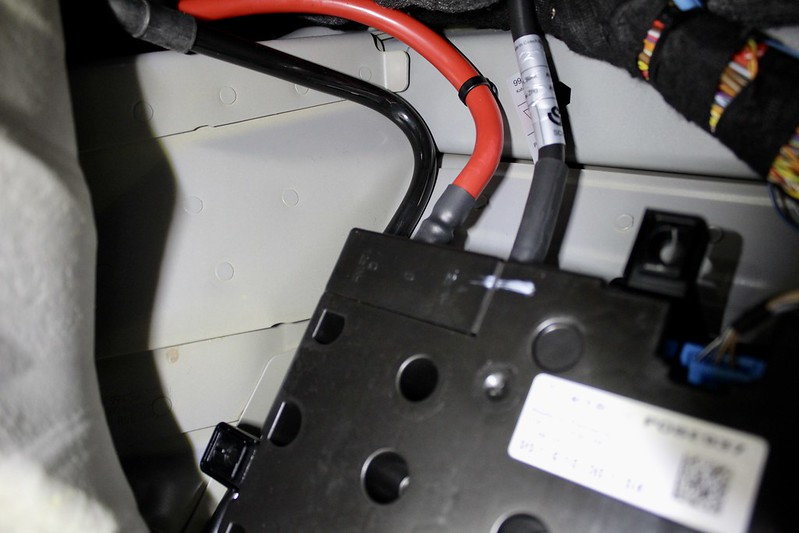
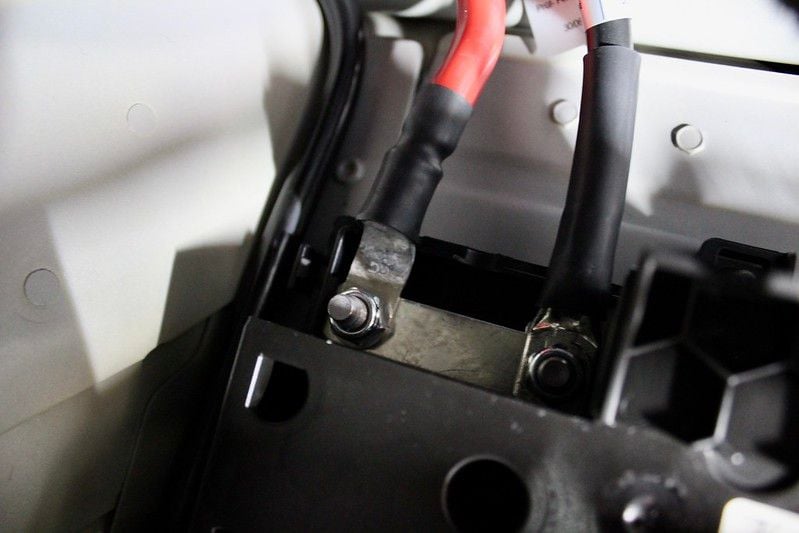
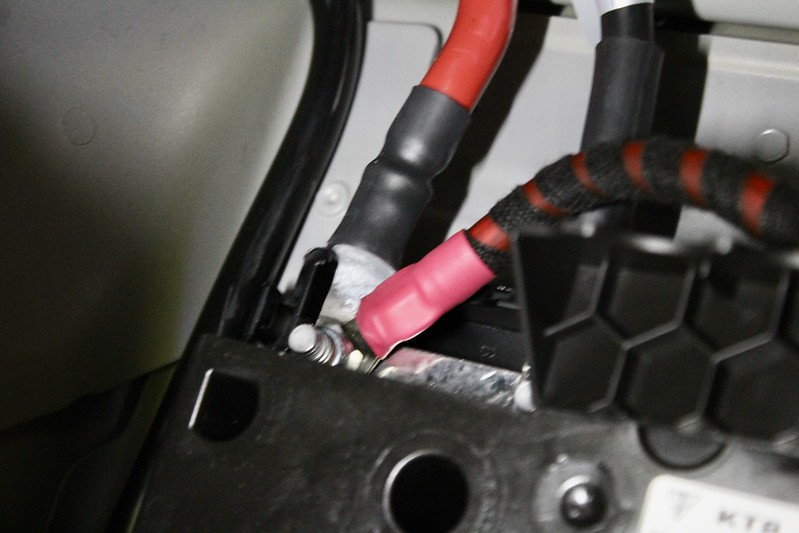
Now that we have all of that accessible and out of the way, we can start running out wires/cables to the amp. I like to start with the furthermost connection which is the main battery power. I would the battery at this point if I haven't done so already. Makes it so I don't have to awkwardly try to install a fuse on this lead when I'm done and I simply run the wire with the fuse pre-installed as it comes in the kit. The connection for power is all the way forward and towards the center console. There's a flap that can be unclipped at the top left corner of the power module to reveal two 13mm nuts. The power cable gets installed on the left of the pair. It can be oriented at a 45� angle when tightened down so that it cleanly exits the flap when closed. There's a third provision in that flap between the two existing cables.
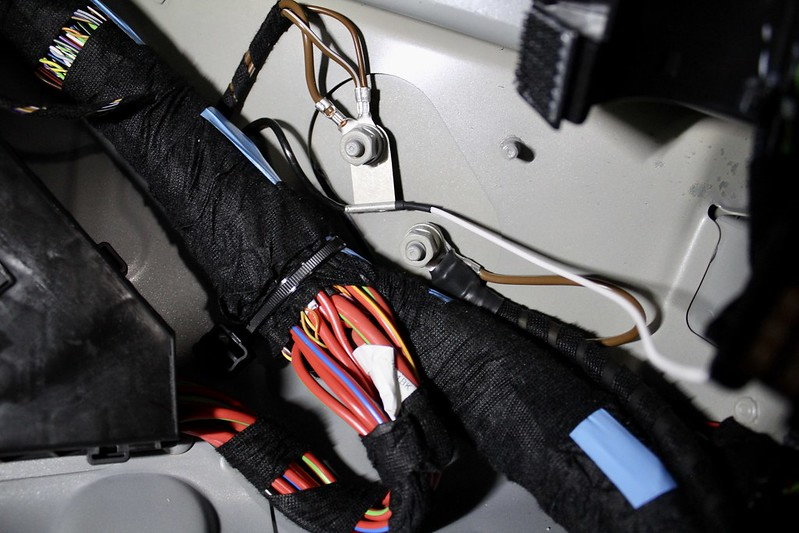
Now that the power is done we can take this time to quickly install the ground cable as well. Just forward of the kick panel there are two ground bolts. We want to use the lower rear bolt without the grounding plane attached to it.
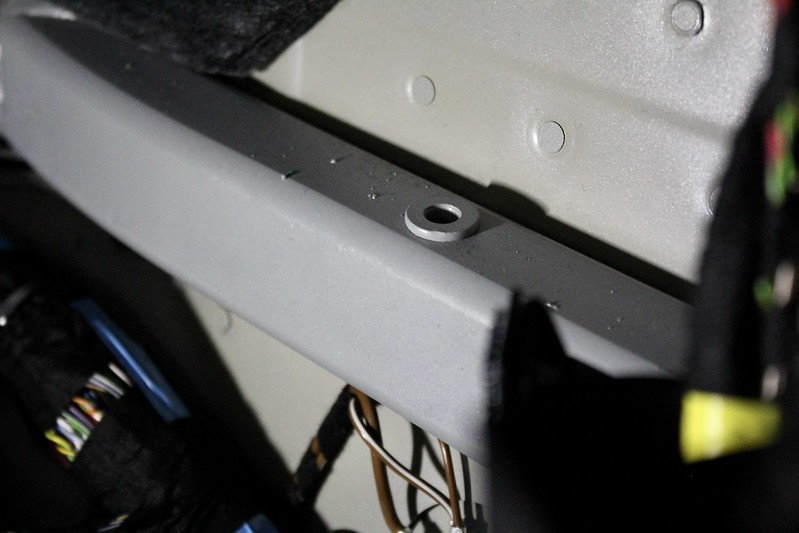
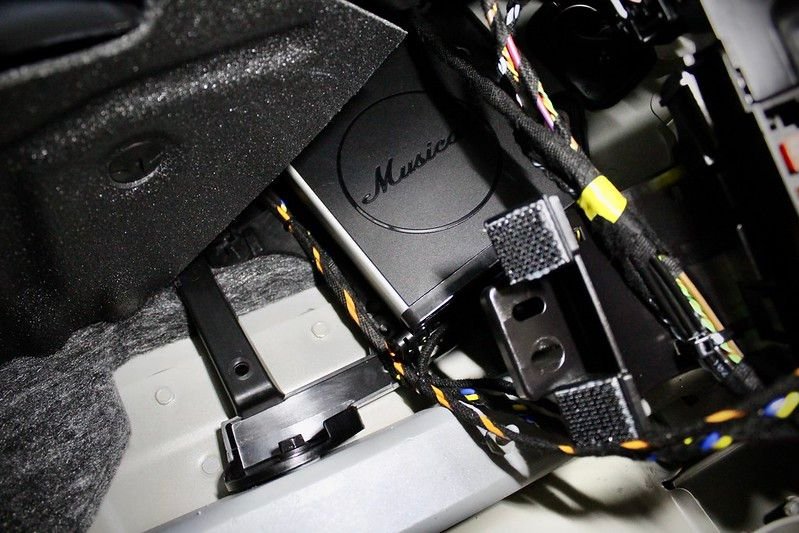
Finally, we install the fiber-optic interface above the kick panel. This is the least fun part of this install if you're right handed because it requires a fair amount of using your left hand in an awkward position. There is a provision above the fuse panel for a factory mount that holds the Burmester sub amp, if the car came with that option. The Musicar kit comes with that bracket already affixed to the module and the hardware needed. There are two mounting studs on the right above the fuse panel and one threaded insert in the top of the bar that runs in the bar just above our ground point. The bracket and module install there and I unbolt the fuse panel to run the wiring behind it for cleanliness. (hard to get good photos)
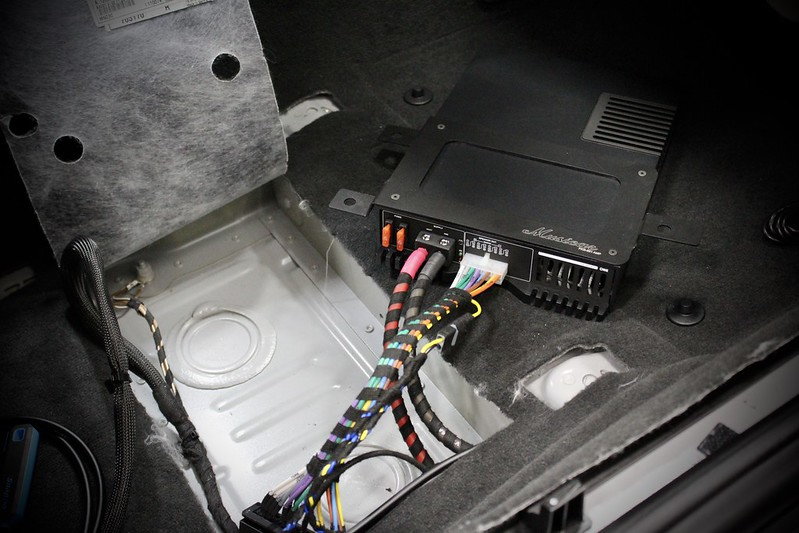
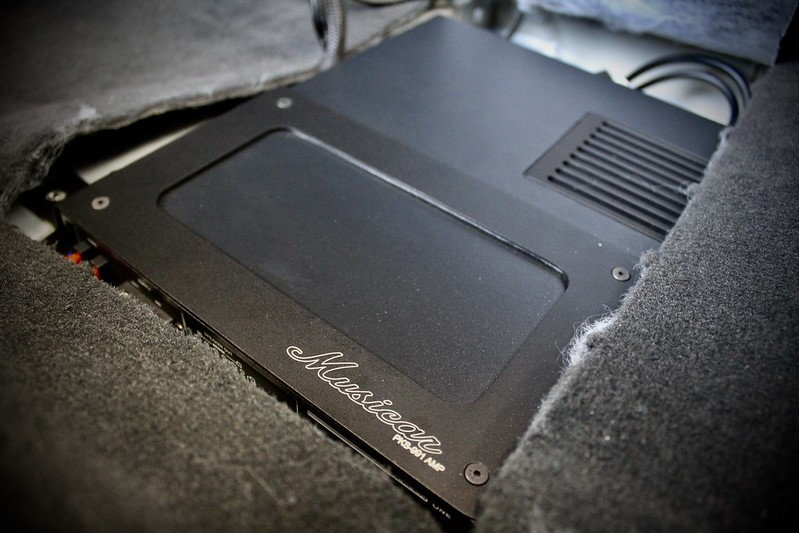
Last step is to get all of that wiring into the amplifier cavity by following the OEM wiring down the kick panel and door sill. I zip tie the new wiring to the factory wiring but it's not 100% necessary � it looks better though. Once the wiring is in the amp cavity we can connect the Bose harness, power & ground, signal RCA's and the power for the faber interface. I like to do as much as I can with the amplifier sitting in the floorboard for easier access. Once everything is connected I carefully manage all of the wires around the amplifier so that neither the amp or any hardware points will pinch the wiring. We also need to be very cautious not to bend the fiber cable too much since it will break at a certain point. With the wiring connected, the amp goes in its final resting place and the three T25's get reinstalled into the new Musicar bracket.
That's it � amplifier install is done. I don't like to reinstall the seat or even the kick/sill panels until I've done the speakers and tested everything first. That leads us to the next step � Speakers!
INSTALL PROCESS � SPEAKERS
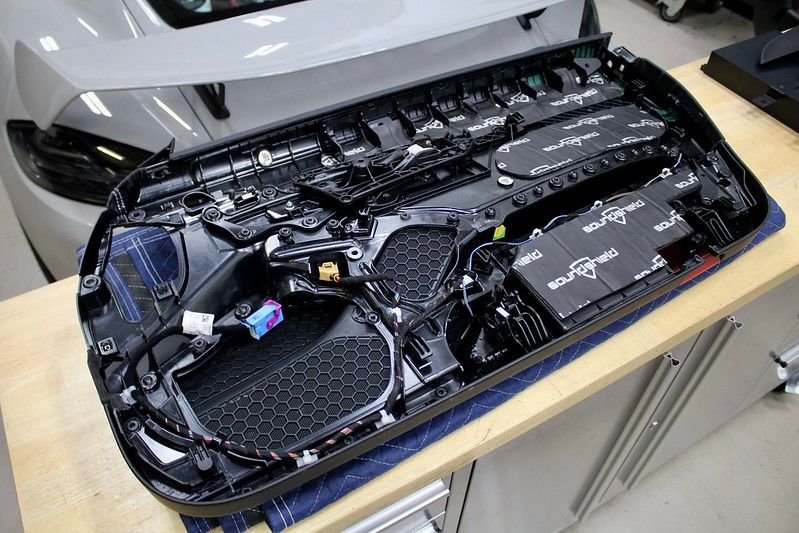
Installing the speakers is a relatively simple process with these kits. It's essentially just removal and reinstallation of parts. There are no wires to run or holed to drill. The lengthiest portion will definitely be the sound deadening.
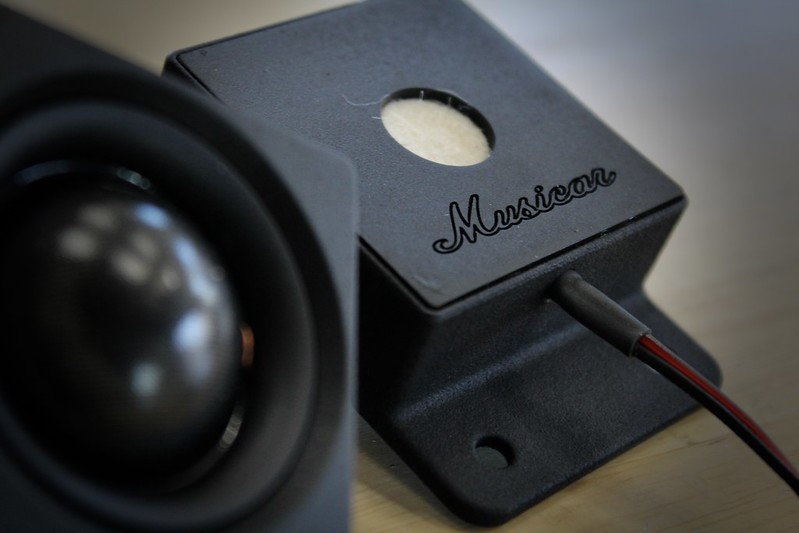
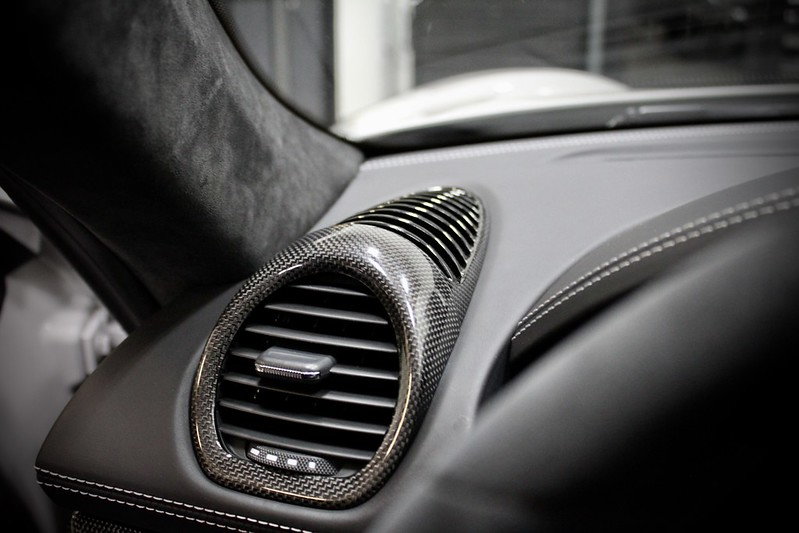
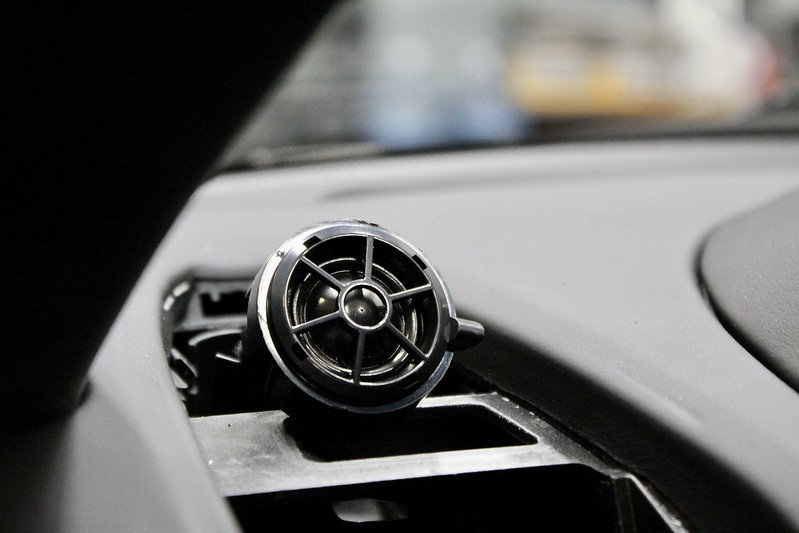
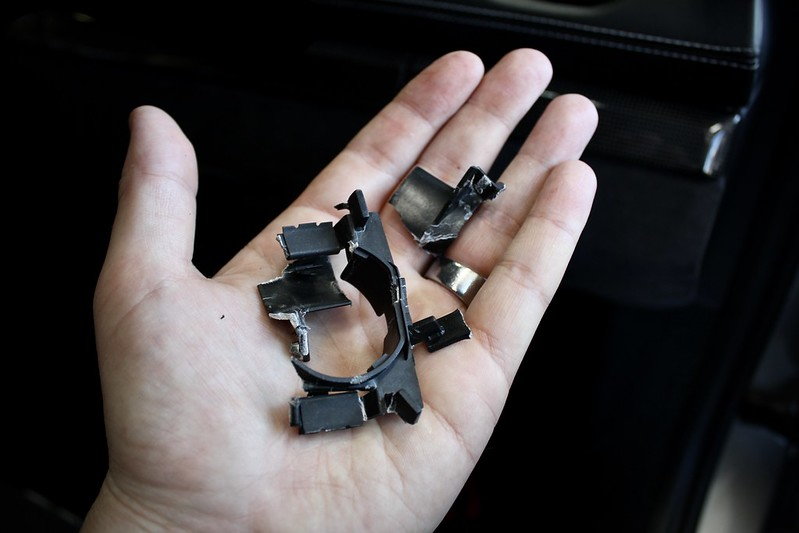
I always start with the tweeters, and that process begins by removing the vents that cover them. A small plastic pry tool is used to get the vent out enough for us to grab on with our hands and shimmy the assembly back and towards us. As a note, we don't want to pry against the dash to release the vent. Instead, grab the vent and tool firmly and pull up towards the windscreen. Once that piece is out, we unclip the tweeter from its two metal tabs and disconnect the wiring harness. That reveals the OEM mounting plate that needs to be removed from the dash by breaking it away from its plastic tabs holding it in. I just use pliers and a long screwdriver to do that. It's an awkward task and the mount usually ends up coming out in several pieces, but that's okay because we no longer need it.
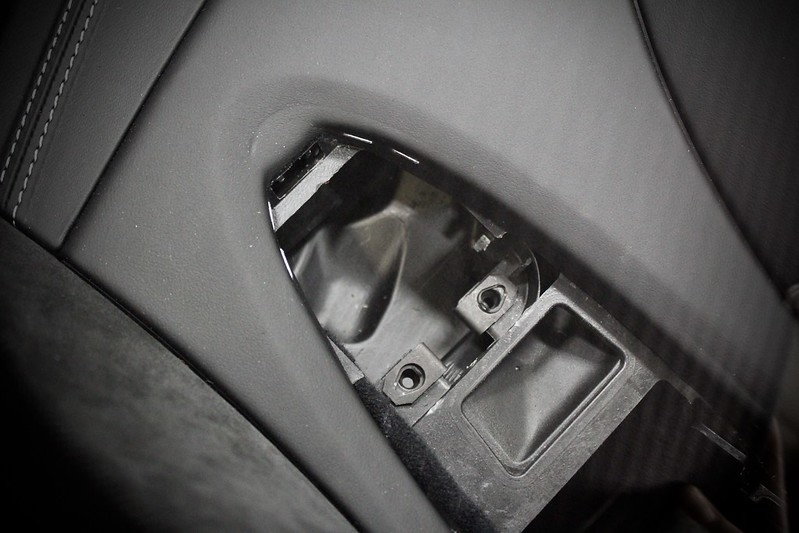
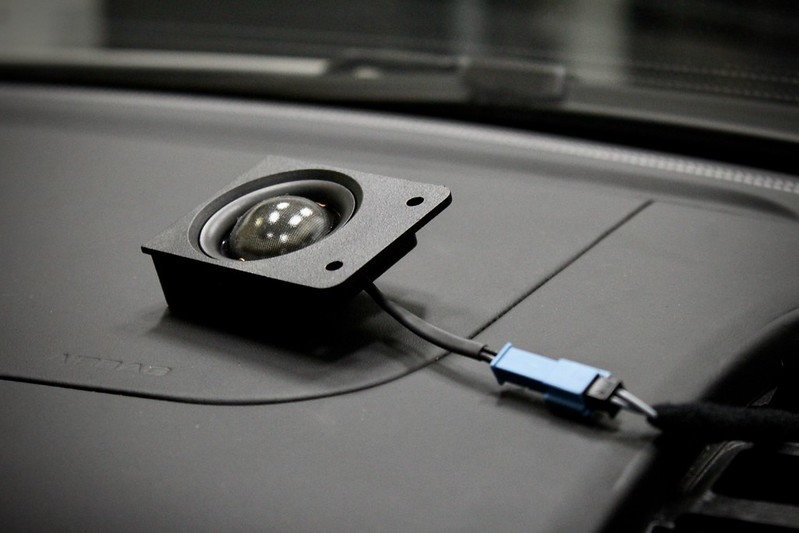
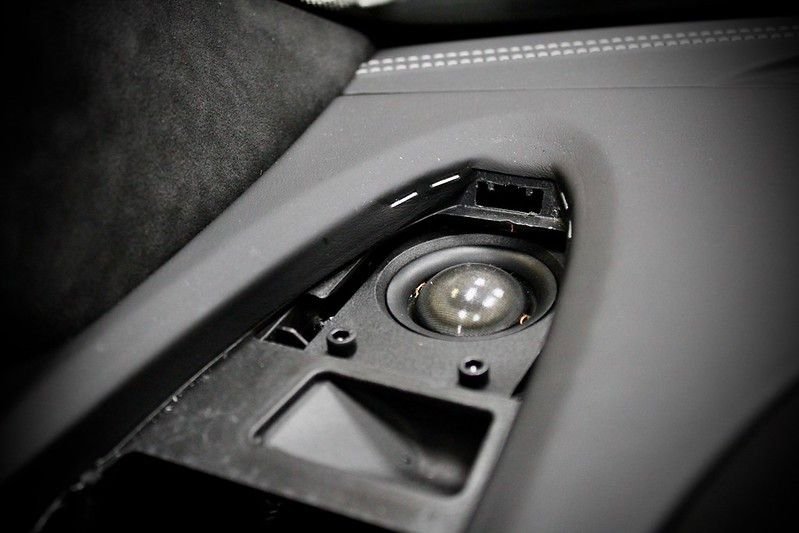
With that plastic piece out, we can see the two mounting holes where we need to install the hardware. The kit comes with two speed nuts for each side that slide and clip onto the existing tabs in the car. With those installed, we can plug in the wiring harness, guide the tweeter into place and install the securing hardware. Once it's installed, the vent can be clipped back in being cautious not to poke the new tweeter with the clips/guides from the vent assembly.
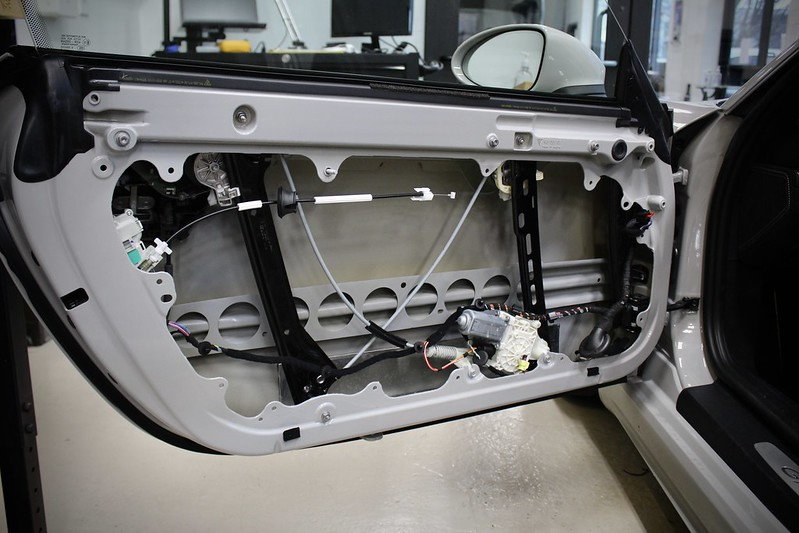
Next step is the doors. Removing the door panel is as simple as removing three plastic covers, removing four T30 bolts sliding the door upward and releasing the clips/harnesses. For the covers, there is on large piece in front of the door release handle, one under the door release handle(or strap in this case), and another at the top of the door jam. Once those are removed with a plastic pry tool we have access to the hardware. We remove those and the door is free to slide up. It won't pull too far away from the door because of the wiring, so we need to look around and over the top to disconnect all of those. I took pictures of this process but they were corrupt due to a fault camera battery.
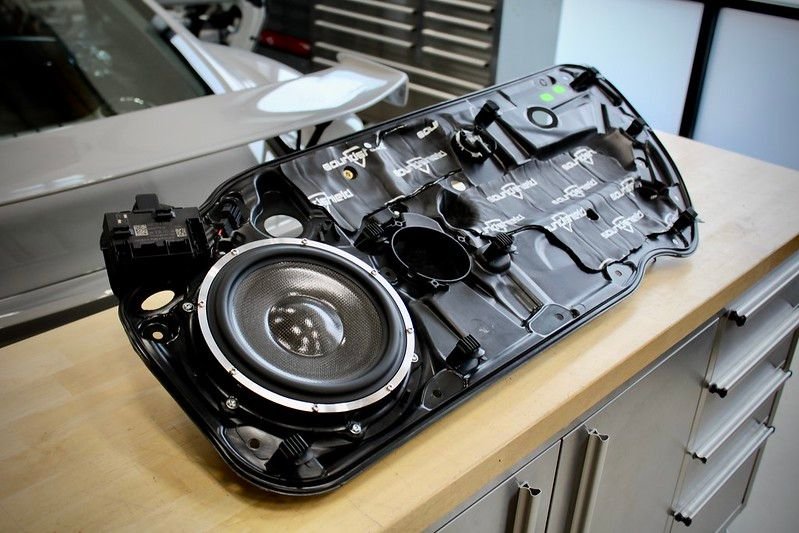
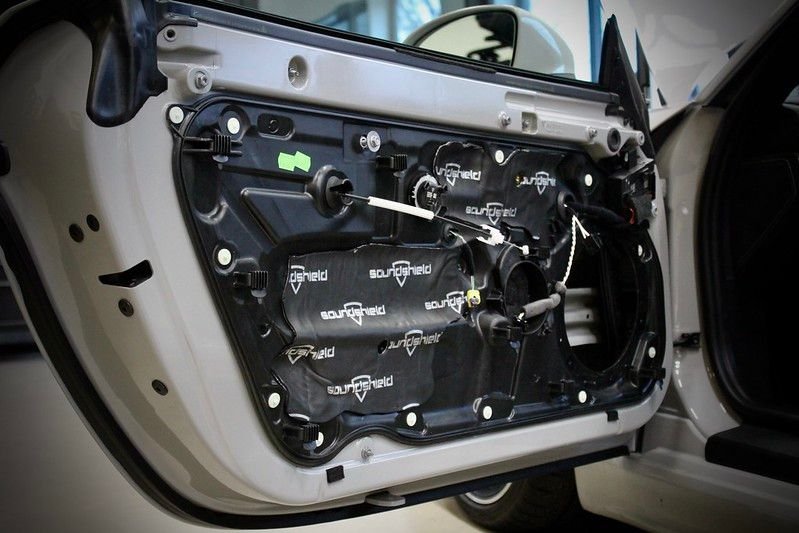
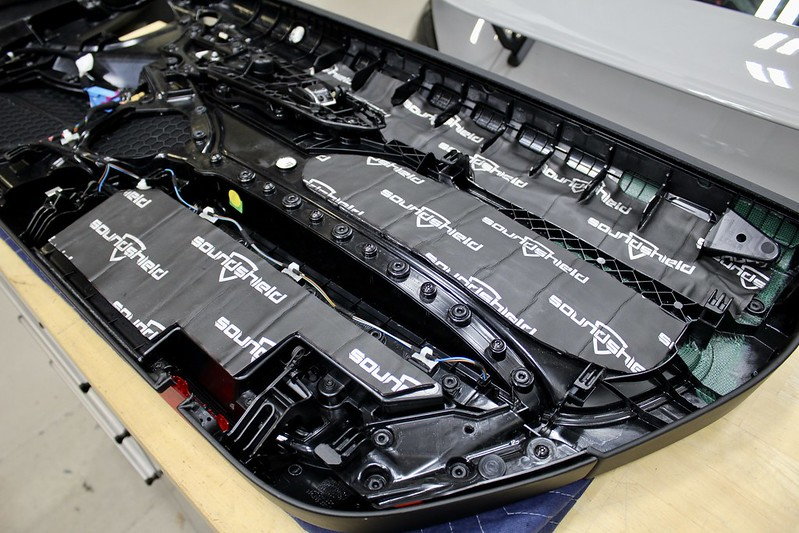
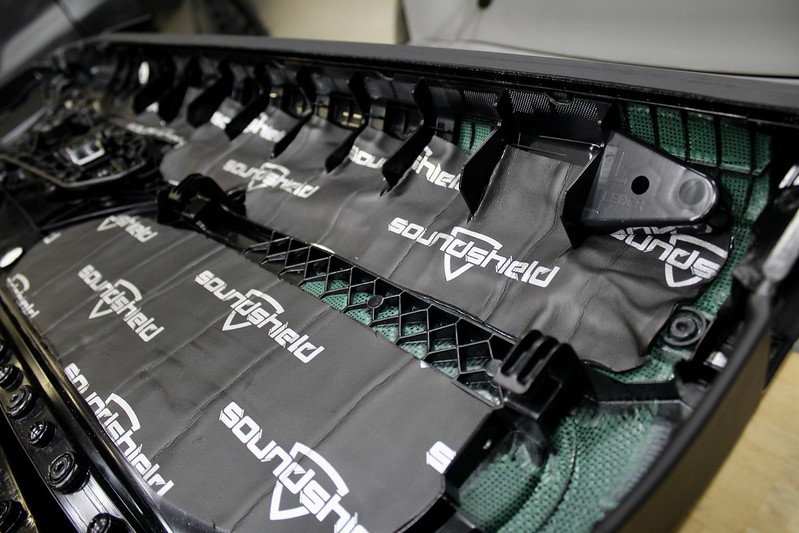
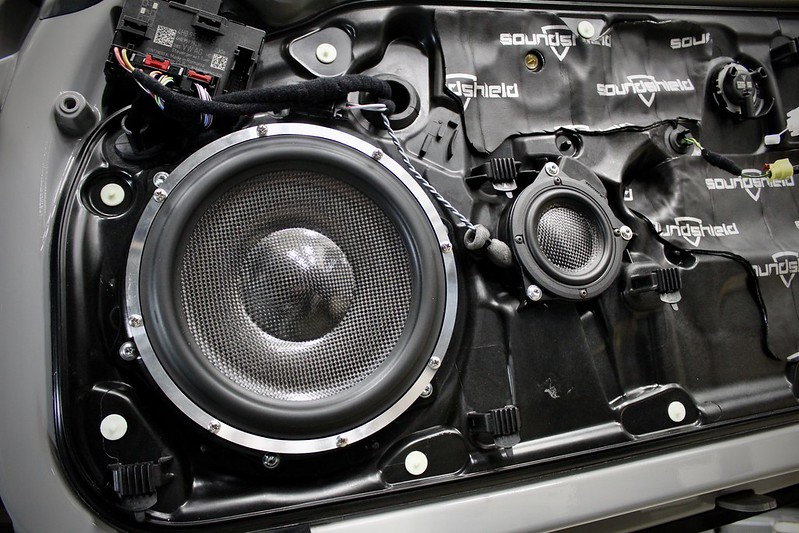
This next step is the acoustic treatment install, and I went a lot further than I recommend for our shipped systems. I pulled the whole inner door skin, but it's not necessary since we can install the majority of sound damping material through the woofer hole by just contorting our arms a bit. That said, if you want to be incredibly thorough, you can do this. All of the damping is pre-cut and ready to install in it's respective locations.
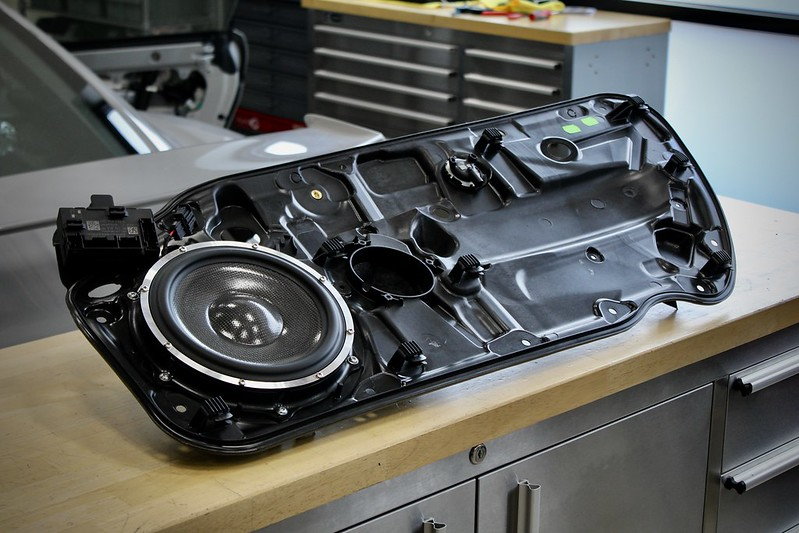
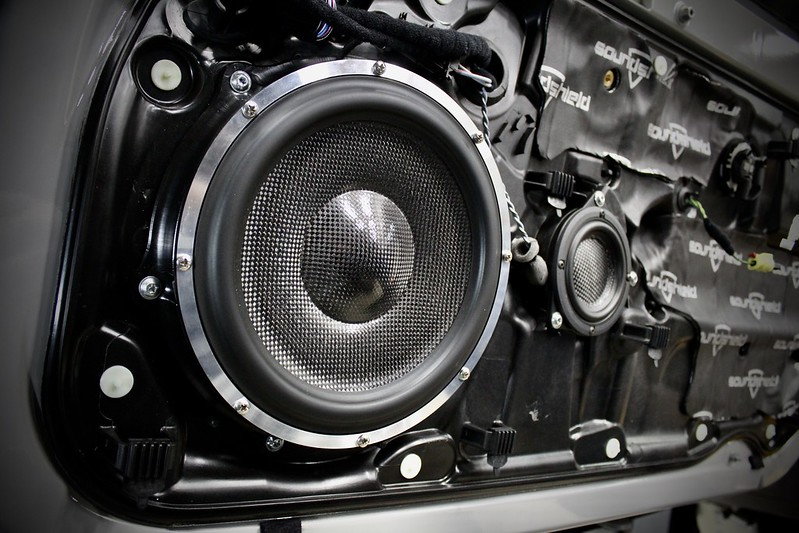
With all of that done, I reinstalled the inner door panels and moved onto installing the woofers and midrange. This is pretty simple since we're just bolting them into to factory locations and reusing the original hardware, but I do have one important note. The midrange will come with a neoprene gasket pre-installed, but the woofer will not because it doesn't like to stick to the adapter material. I install this on the door itself around the opening perimeter. The gasket tape is included in the kit.
Once those are all installed, I like to reconnect the battery but make sure not to turn the ignition on since it will trip an airbag light with the seat still unplugged. We can clear that with our shop scanner/programmer but you won't be able to at home, so a dealer visit will be required. Test the system by pushing the volume **** on the PCM to turn it on independently. From there, I like to make sure the system sounds clean and that all of the amplifier settings are where they should be. Since this on all seemed in order, I reinstalled the door panels, seat, and door sill/kick panel.
That's it. From here I spent some time listening to make sure the system sounded proper. We'd already tuned the Stage 3 in a 718 at this point so I didn't need to make any adjustments there, just verify it sounded right!
I hope this was informative and also serve as a pseudo install guide for anyone that's looking to get into the setup. We also have a Group Buy going on for this(and all of our other kits) until the end of the month. Check it out over at: https://rennlist.com/forums/718-foru...981-991-a.html
For a 2021 Spyder, and living in Bend Oregon, we don�t have a lot of installer choices. I cannot do it myself. Any suggestions on finding an installer?
thanks
Thanks for sharing the detailed write up and the photos. Such a clean looking and well designed upgrade. I can’t wait for my stage 2!
We're also excited for your Stage Two! I've got some fun ideas that I'll be passing by you soon to get your thoughts.
Originally Posted by IRM
Thanks a lot Nick! great to have these. Would this guide be similar enough to installing stage 3 on a base system (instead of BOSE)?
It's similar but different enough that there needs to be a different guide for that system. Instead of a fiber-optic interface, we have T-Harnesses that run to each kick panel(driver+passenger) along with a dedicated tweeter wire that needs to run to each dash location.
Seat removal, speaker install, and acoustic treatment are all the same.
Originally Posted by ajsdots
For a 2021 Spyder, and living in Bend Oregon, we don’t have a lot of installer choices. I cannot do it myself. Any suggestions on finding an installer?
thanks
Well, it just so happens that you've got a really great shop that's only a short drive north of you. I don't know them too well but I think they can handle the job:
Musicar Northwest
812 SE Division Place
Portland, OR 97202
503.208.6246 musicarnw@gmail.com
Ask for Nick — he's my contact for Porsche there. (Just in case the sarcasm didn't come through — it's me. I'm Nick. We're in Portland )


 12-14-2021 | 12:24 AM


 )
)
