When you click on links to various merchants on this site and make a purchase, this can result in this site earning a commission. Affiliate programs and affiliations include, but are not limited to, the eBay Partner Network.
I have many people praising the ease with which a Cayenne headlight can be removed. It is a great system, until it breaks.
In mine the driver's side headlight assembly is loose. Twisting the little tool anti-clockwise just produces a clacking sound, to me indicating that the sprocket is slipping. I got the car 2nd hand, and I suspect that the dick who owned it previously didn't realise that the two sides are mirror images, and wrenched it really hard the wrong way, clockwise on my car, stripping the sprocket. I have a fear that one day I will do an emergency brake and the whole assembly will fly out and kill the person or thing I braked for.
If you know the headlight area, it's simple enough to work in, when the assembly is removed, but it doesn't look like there's any simple way to replace a stripped sprocket. I was about to attempt a cheat by using some heavy-duty fine wire and making a pulley behind the connector, so that I could tie it to the little rolling bar thing, loop it round the 'pulley' and feed it back out through the access for the usual twisting tool. Please forgive my use of complicated technical terminology. Then, I realised that one or more of you chaps may have seen this previously, and it would be foolish to not bother asking you.
So, does anyone have experience or insight of this problem?
Sounds like you'll need to replace the whole headlight tray, of which the locking mechanism is a part of. The bumper will have to come off, etc. Find yourself a used one on fleaBay for $50 or so, of you can buy one new from your local dealer if you feel like they're not making enough money.
It helps to push in the headlight with moderate pressure as you're locking it in with the 9mm allen wrench tool. Otherwise, the locking mechanism has to push it in and that can get pretty hard. Turning the tool the correct way as indicated next to the hole for the tool helps, of course.
I have had success in the past, short-lived, by using the tool. I suspect that mine is not like yours. I have a little square head sticking up, and the original tool is dead, so I use a really cool old screwdriver that had changeable heads with a square socket that fits exactly. I used to apply a lateral pressure by holding the screwdriver at an angle and it could eventually find enough bite to do it up. It is unfortunate that my turn indicator bulb blew, and I had to touch it in the first place.
What a bummer. I need to go to Toulouse to see my Porsche dealer, and it's a 1:30 drive each way.
Still, I can buy a used tray as you suggest and ask my local guy to fix it. I still intend to try a home-fix though, as I need to do a 500km drive to Cannes in 2 weeks, so time is tight. I am now going to look through this site to see how hard it is to remove the bumper.
I just checked, it is, as you said a hex nut-type thing. My mistake. It is actually the identical size as a socket for exchangable head drivers, which is why my screwdiver thing fits so well.
It's Saturday, now, so I am going to remove the light and take a better look around.
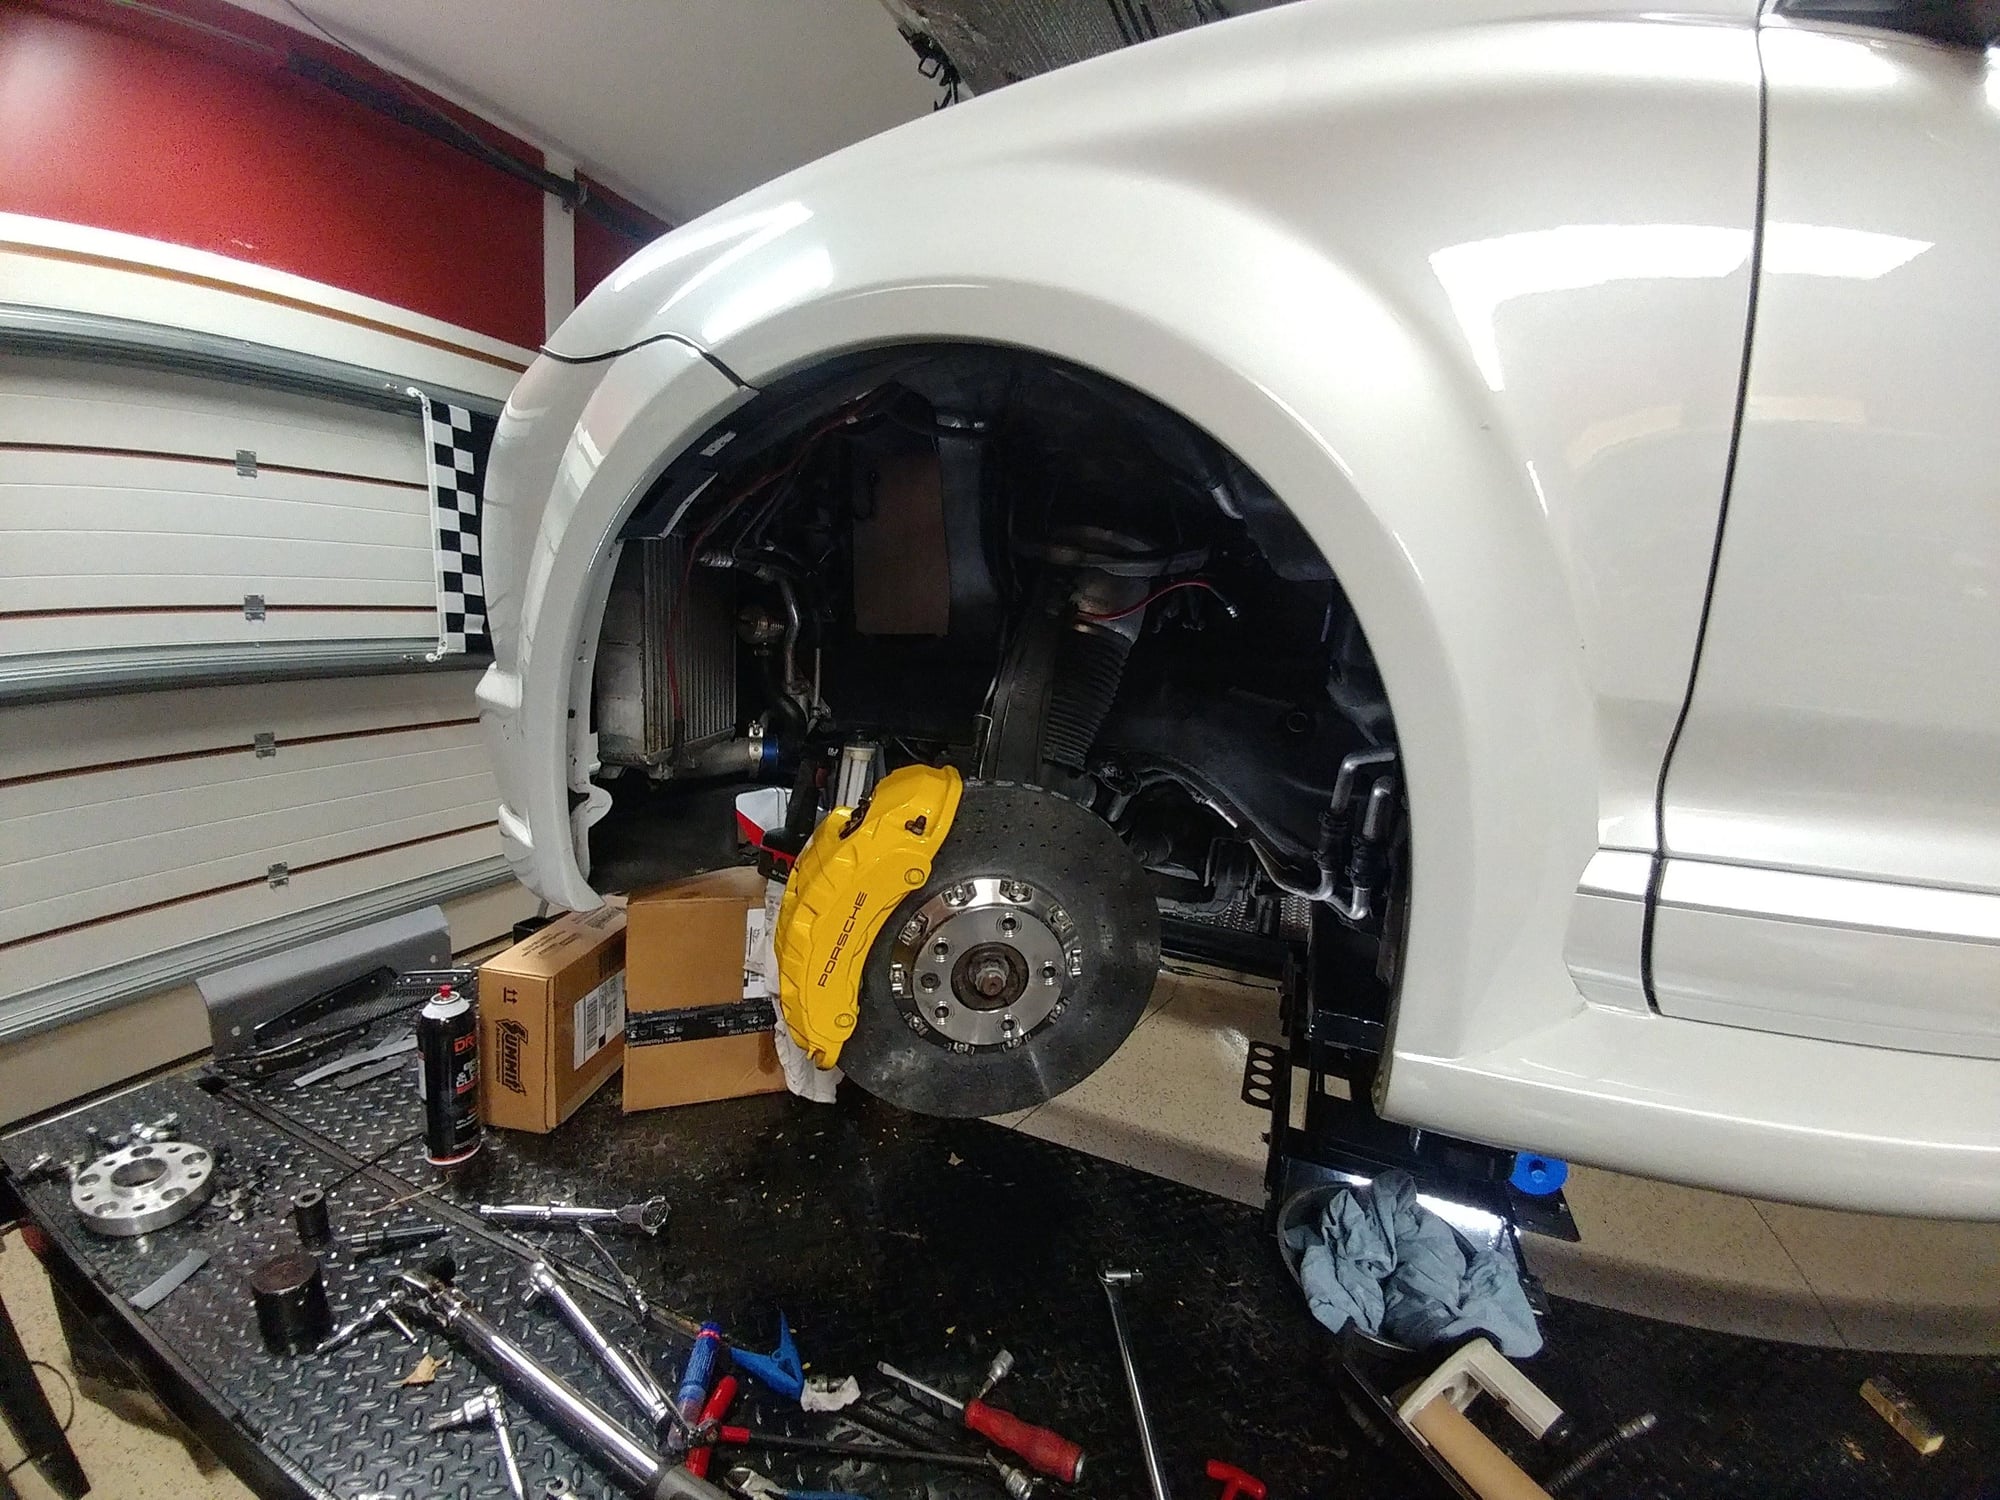
Can you get to the locking bar that holds the headlight from the side if you remove that wheel and the wheelwell liner. That might be easier and cause less potential damage than removing the bumper.
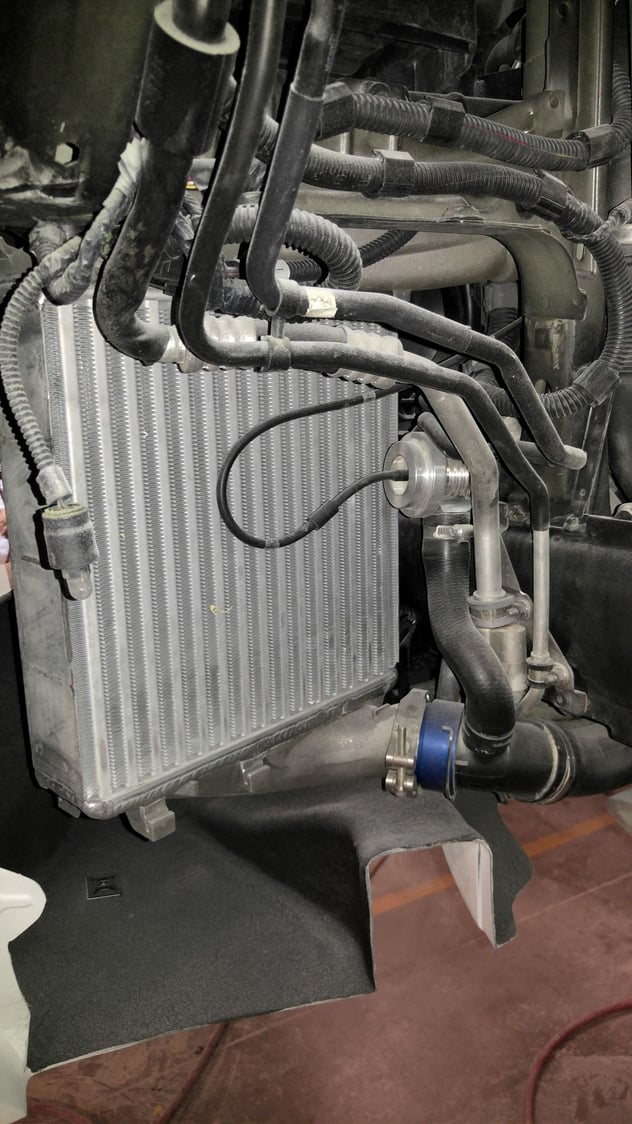
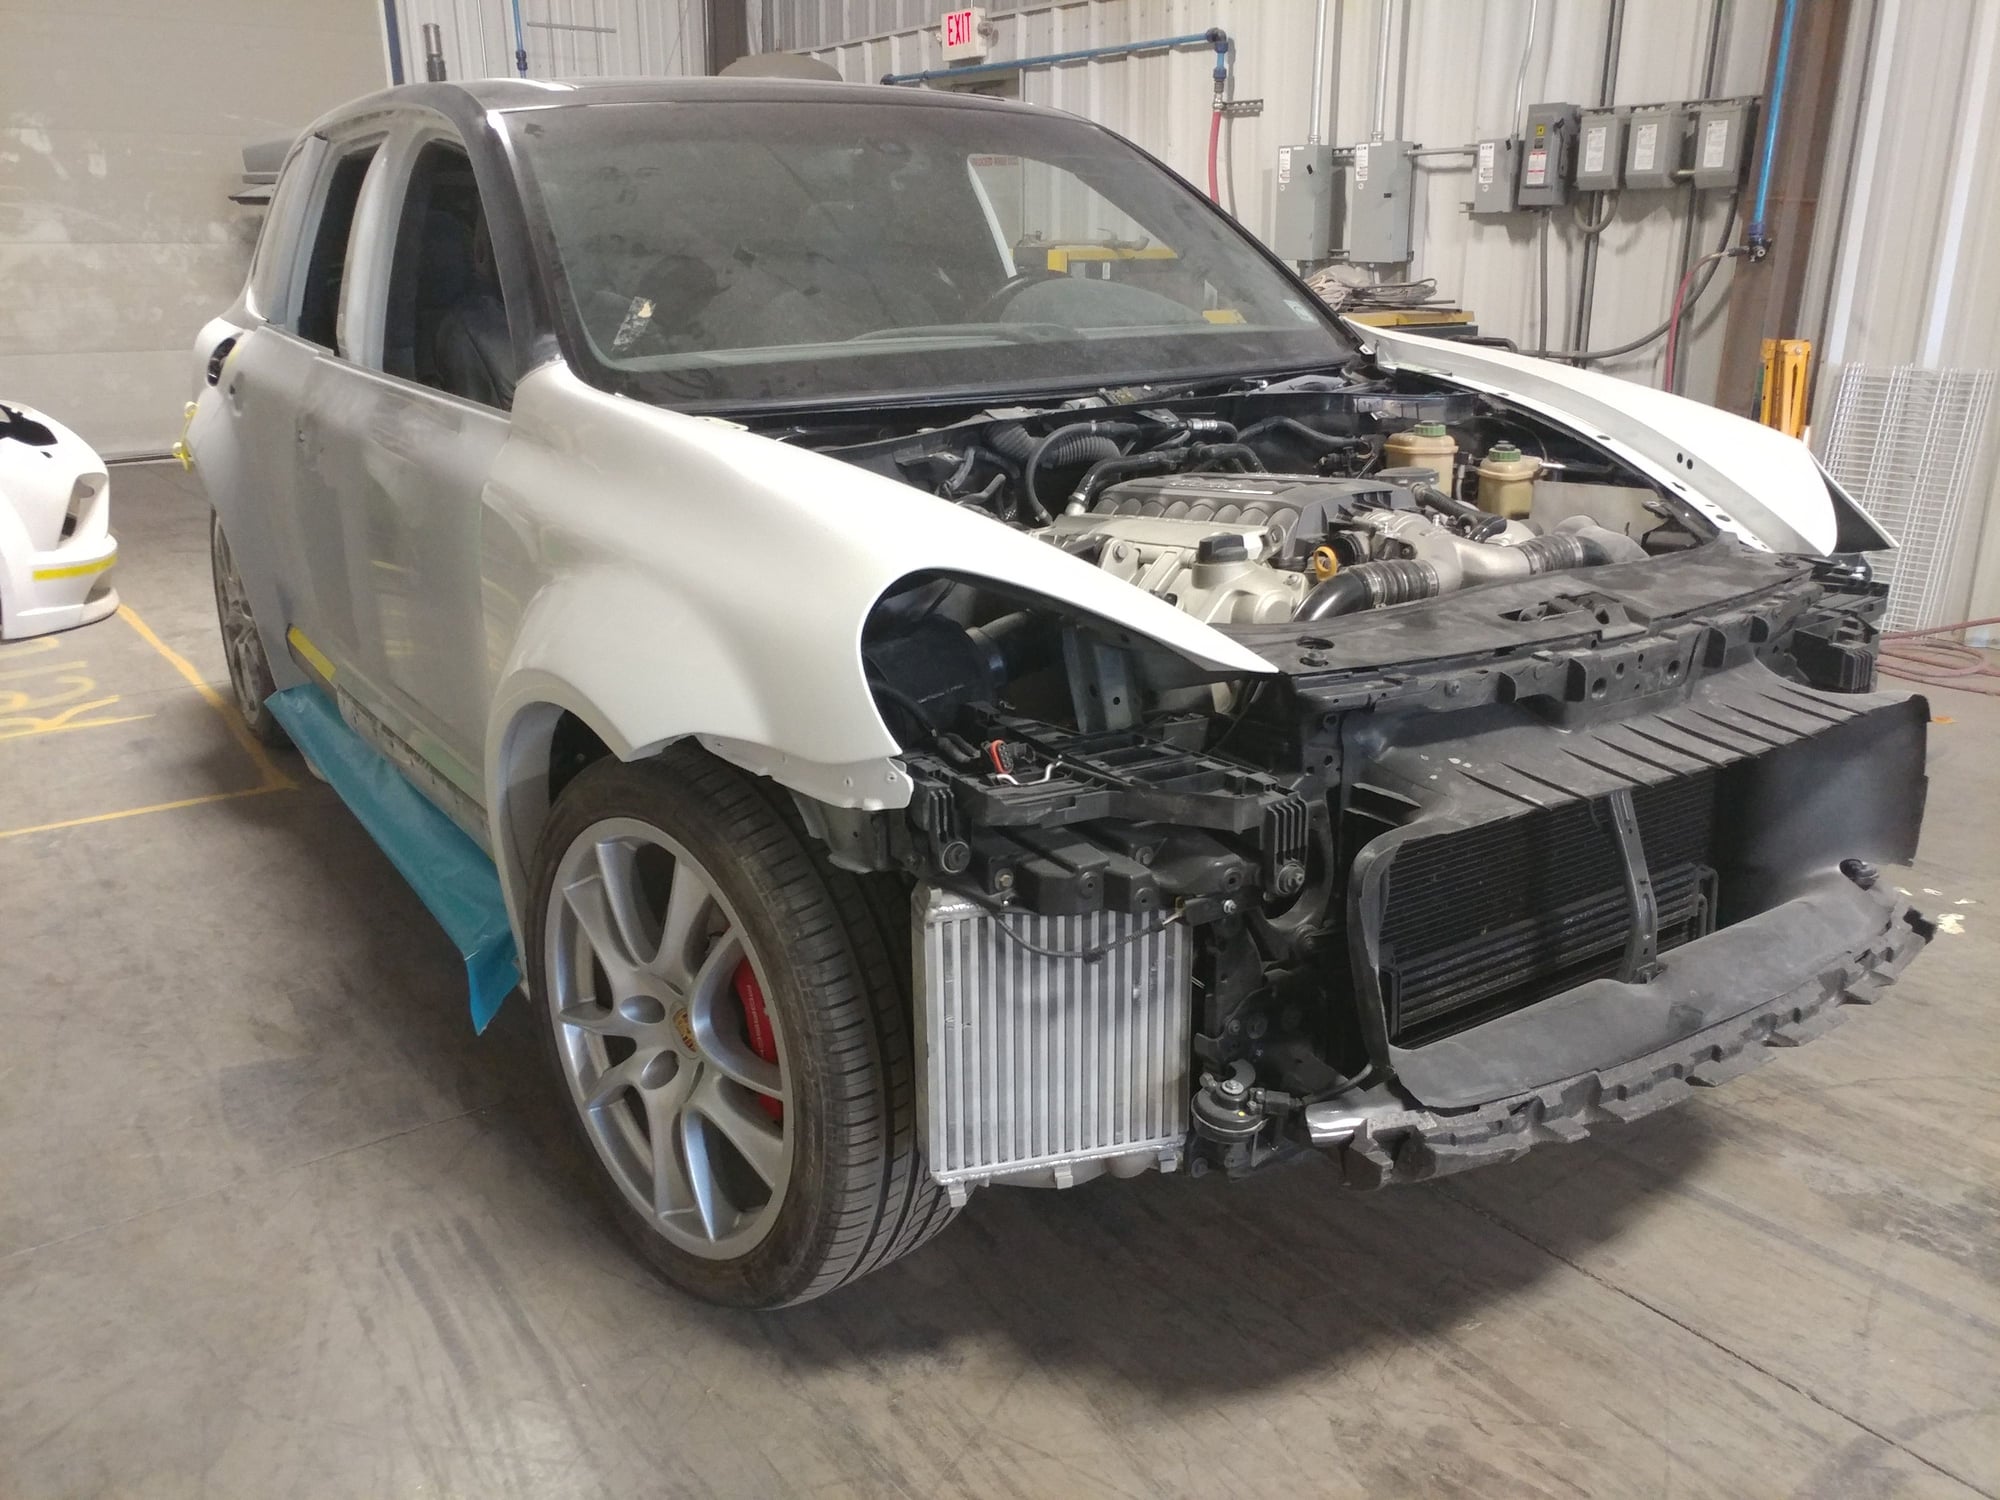
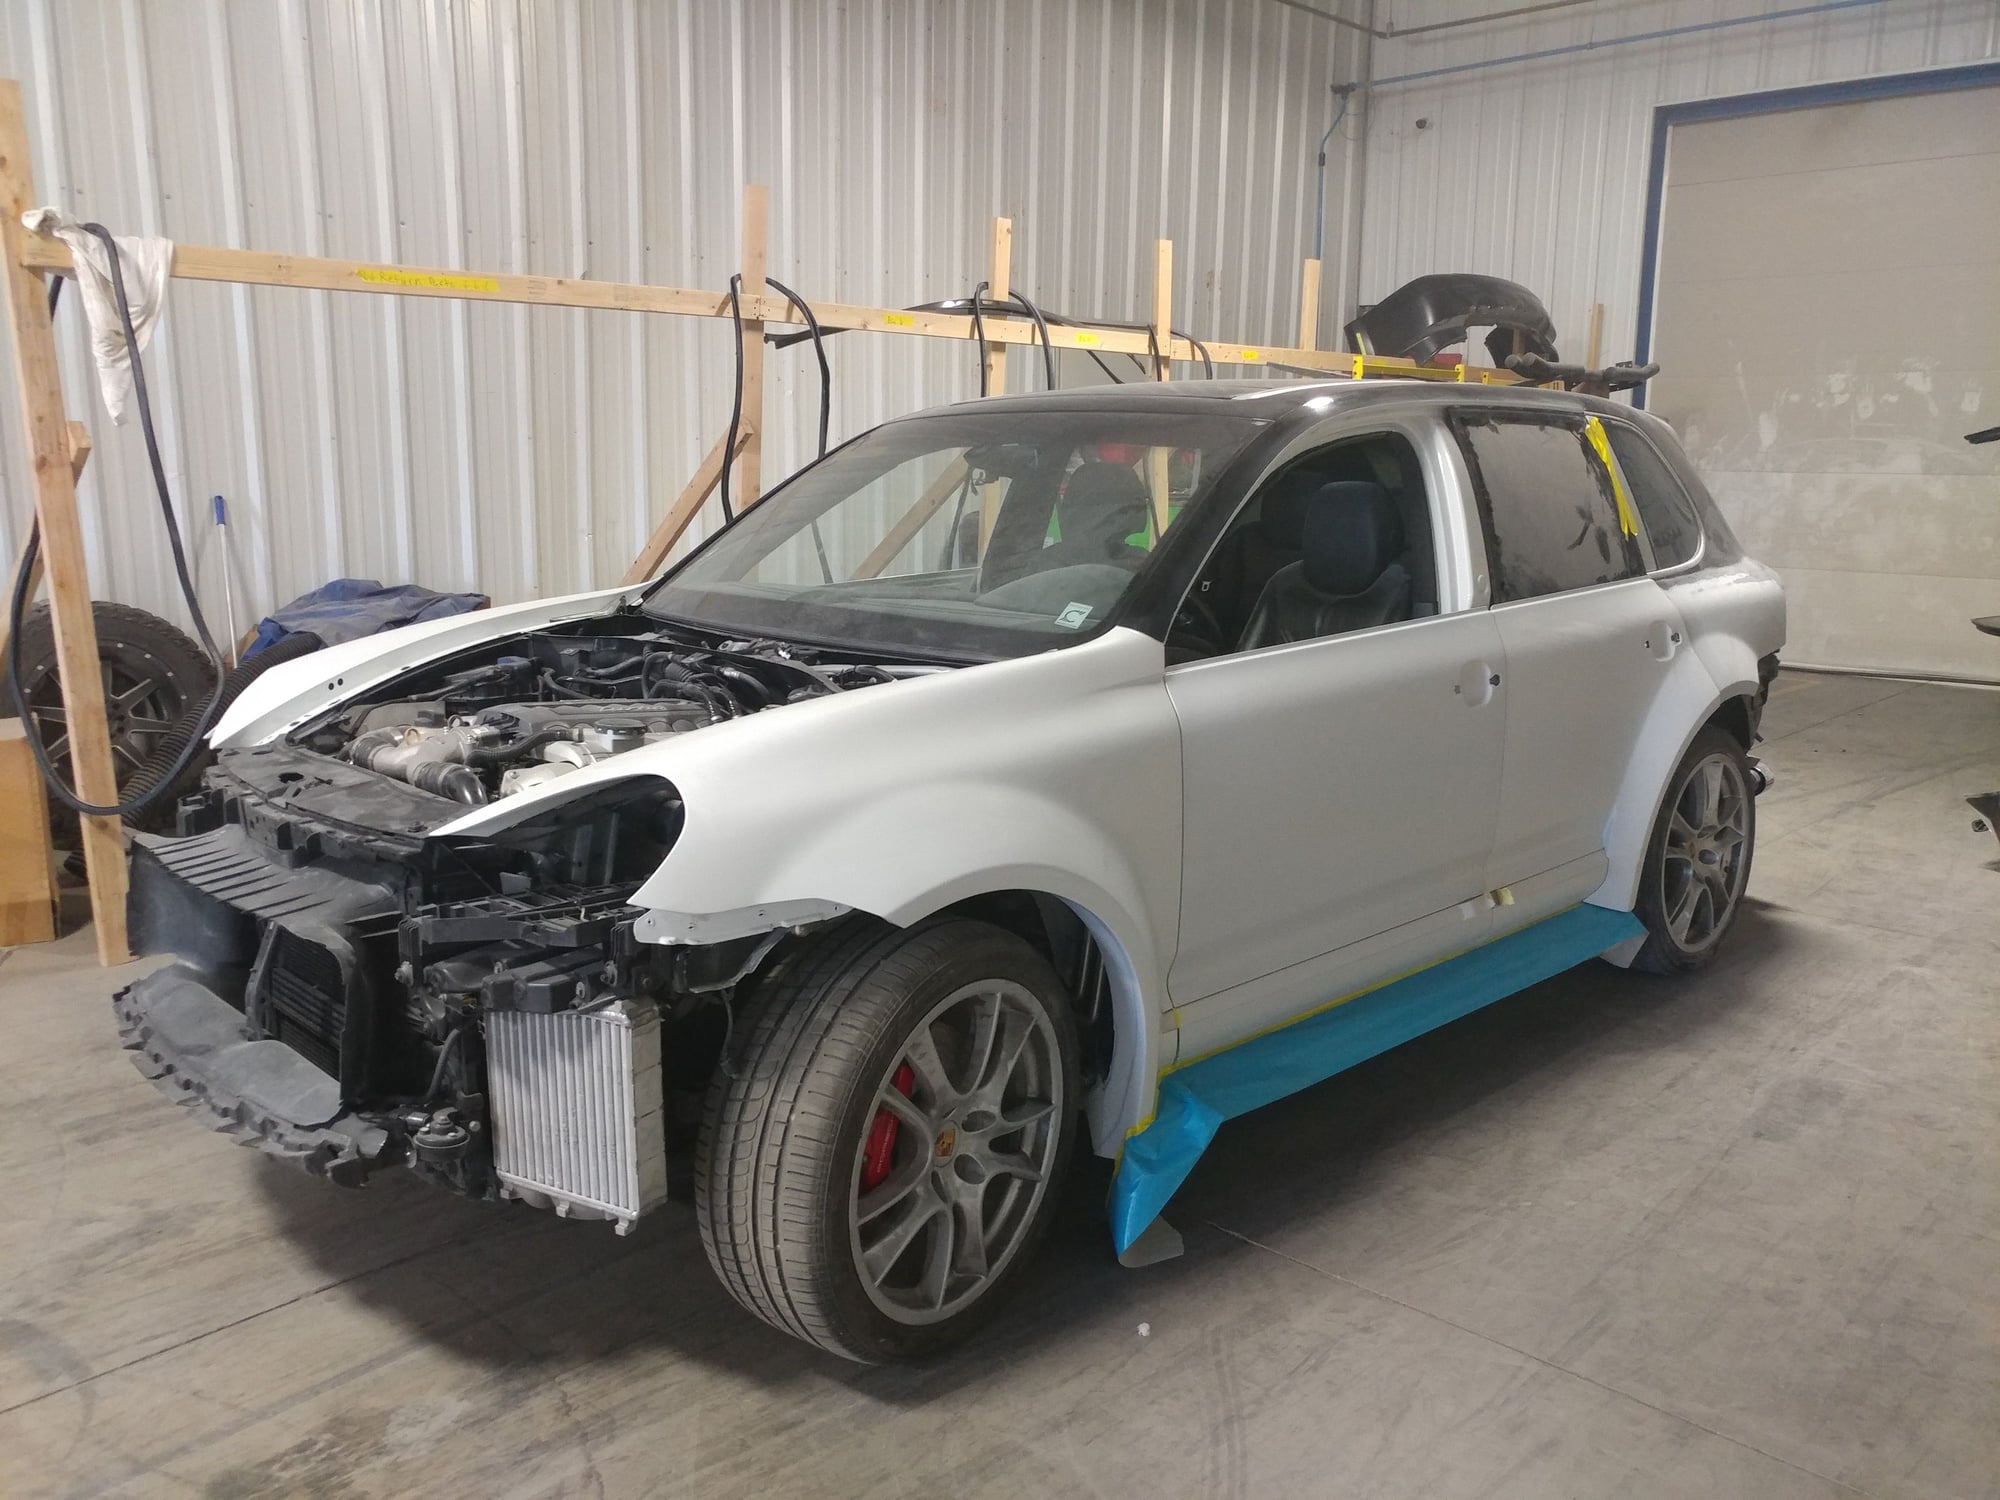
Here are some photos of my car during the widebody build and brake upgrade if any of them let you see whether you could get to the release arm from the wheelwell side after removing the liner. The last one is probably the most telling if you can brighten the image so you can see forward inside the fender.
That does look feasible. Looks.like a lot of effort though. Perhaps I will need to buy the new tray and ask my local mechanic to replace it. Skilled labour is cheap here.
Sounds like you'll need to replace the whole headlight tray, of which the locking mechanism is a part of. The bumper will have to come off, etc. Find yourself a used one on fleaBay for $50 or so, of you can buy one new from your local dealer if you feel like they're not making enough money.
It helps to push in the headlight with moderate pressure as you're locking it in with the 9mm allen wrench tool. Otherwise, the locking mechanism has to push it in and that can get pretty hard. Turning the tool the correct way as indicated next to the hole for the tool helps, of course.
How to replace a tray with stripped gears without taking bumper off (on my 2004 CTT the passenger side part number is 955-631-042-02 and the driver's side is 955-631-041-02). Reuse the four rubber bushings from the stripped tray by pressing them out with your thumb or a socket.
How to replace a tray with stripped gears without taking bumper off (on my 2004 CTT the passenger side part number is 955-631-042-02 and the driver's side is 955-631-041-02). Reuse the four rubber bushings from the stripped tray by pressing them out with your thumb or a socket.
That was excellent. Thanks. I have done this twice now, and while it's a bit fiddly, a good selection of spanners makes it work. I think you made it look a bit too easy, though. Getting those bolts out from the back was a real struggle; I used a very short ratchet screwdriver rather than a spanner. One of the front ones is also a bit tight. I think it's a 10mm head, but I have a nice set of ratchet ring I bought for the purpose, and the process took me about 25 minutes.
Annoyingly, I had fixed it and about a week later the lights kept flashing intermittently, and I found that I had had rodent visitors which had eaten some of the insulation, so now I am waiting for a new wiring bundle. $57 from Porsche Lihtuania. I should probably have just rebuilt the old one.

 08-16-2019, 05:49 AM